Arch linux 3d printing
3D Printing Under Arch Linux
Artificial food created with a 3DprinterBrief introduction to 3D printing under Linux
3D technology and 3D printing are under quick development at this time. They have big future and can involve all parts of our live. But they are still quite expensive for normal user. BUT …. everything is changing. The 3D printing based on FDM technology is suitable and accessible for everybody.
Principles
The principles of 3D printing is almost common to all kinds of technology. The model is printed layer by layer as described bellow by FDM technology.
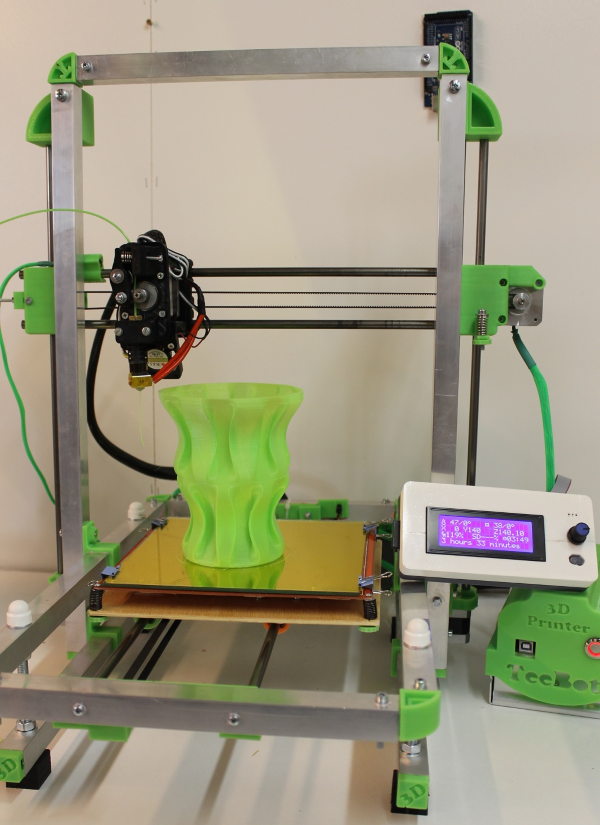
FDM – (Fused deposition modeling) is an additive manufacturing technology used for modeling, works on an “additive” principle by laying down material in layers; a plastic filament or metal wire is unwound from a coil and supplies material to produce a part.
3D printing under Arch Linux – FDMAs a filament the 3D printer uses thermoplastic materials as ABS or PLA in many colors. You can find other materials of course. But these ones are the most using.
ABS – Acylonitrile Butadiene Styrene, is an oil-based plastic. It is a strong, sturdy material that businesses widely use for constructing things such as plastic car parts, musical instruments, and the ever-popular Lego building blocks. ABS has a high melting point, and can experience warping if cooled while printing. Because of this, ABS objects must be printed on a heated surface, which is something many at-home printers do not have.
PLA – Poly Lactic Acid, is a biodegradable thermoplastic aliphatic polyester derived from renewable resources, such as corn starch (in the United States and Canada), tapioca roots, chips or starch (mostly in Asia), or sugarcane (in the rest of the world). In 2010, PLA had the second highest consumption volume of any bioplastic of the world.
Preparing model and data
At the beginning there is the most important thing – your IDEA. You have to know what to print, what do you want to have in real. After that you need to transfer your idea/model to digital data – modeling it by software like CAD or others modeling tools.
But do not be distressed. If you do not know what to print or you do not know how to use software for any reason – there is again your big friend – Internet – with big library of models for you. For example http://www.thingiverse.com where you can choose from many prepared models in suitable format for Slic3r. So you can skip steps about modeling and go straight to prepare data to your printer by Slic3r.
Openscad
OpenSCAD is a free software for creating solid 3D CAD models. OpenSCAD provides two main modelling techniques: First there is constructive solid geometry (aka CSG) and second there is extrusion of 2D outlines. As data exchange format format for this 2D outlines Autocad DXF files are used. In addition to 2D paths for extrusion it is also possible to read design parameters from DXF files.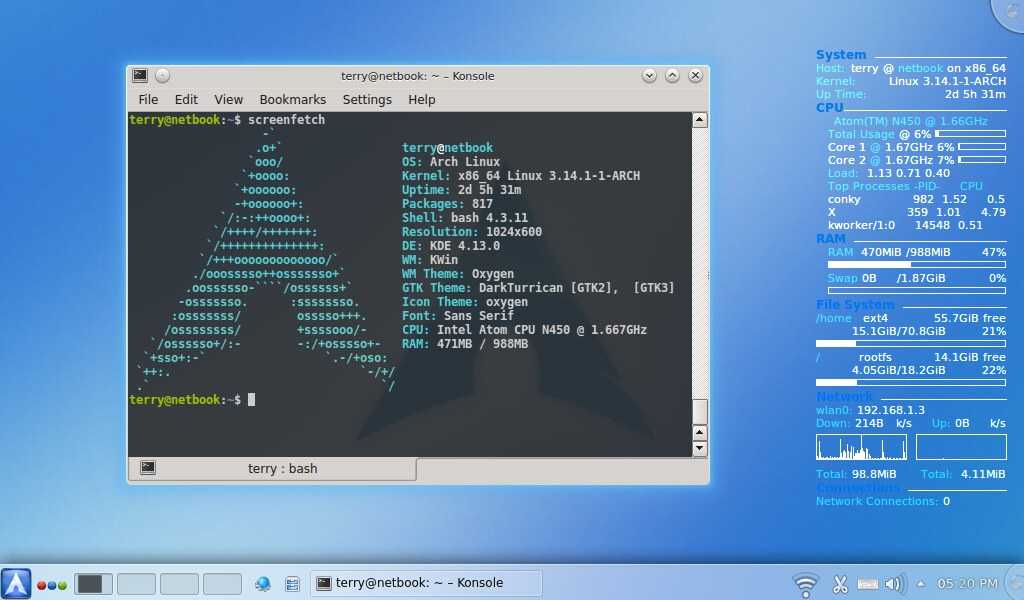 Besides DXF files OpenSCAD can read and create 3D models in the STL and OFF file formats.
To install it just type:
$ sudo pacman -Sy openscad
and launch the program:
$ openscad3D printing under Arch Linux – Openscad
Freecad
FreeCAD is a parametric 3D modeler made primarily to design real-life objects of any size and based on OpenCascade, QT and Python,. Parametric modeling allows you to easily modify your design by going back into your model history and changing its parameters. FreeCAD is open-source and highly customizable, scriptable and extensible. It can reads and writes many open file formats such as STEP, IGES, STL, SVG, DXF, OBJ, IFC, DAE and many others.
Install program:
$ sudo pacman -S freecad
and launch
$ freecad3D printing under Arch Linux – Freecad
and finally my favourit program. It is one of the best open source not only modeling programs.
Blender
Blender is the free and open source 3D creation suite.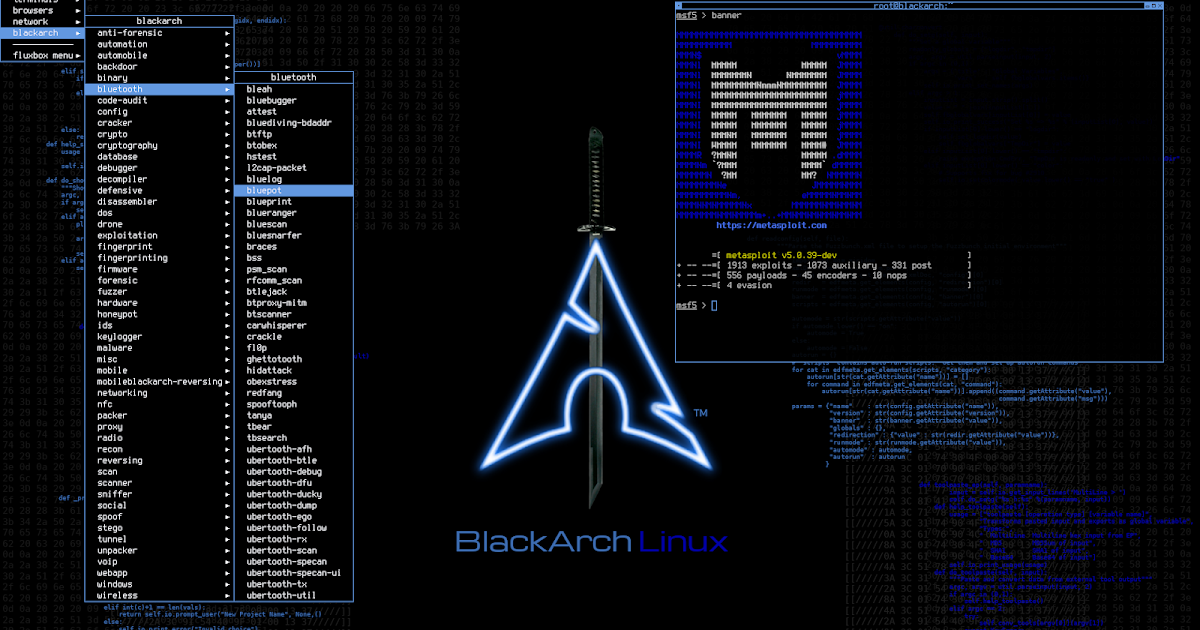 It supports the entirety of the 3D pipeline—modeling, rigging, animation, simulation, rendering, compositing and motion tracking, even video editing and game creation.
$ sudo pacman -S blender $ blender
After creation of your first model you need to export it to STL format which is used by Slic3r (see bellow) or other printer preparing software. This is also time to check if your STL file is not corrupted and fix possible errors.
Netfabb
Netfabb is an advanced software for professional editing of 3D printing data. It is licensed for non-commercial use only and features most of the tools used daily by professionals in additive manufacturing and 3D printing.
Most CAD systems and scanners for personal use create STL or OBJ data but the files often need to be edited for a good result. You may also wish to make solid parts hollow or add text or graphic elements and other features to a part before starting the 3D printer. netfabb Private will provide you with a fully-loaded tool-box to do all this and much more:
- fix complicated file errors
- make late design changes
- combine parts into one
- hollow out solid parts into a shell
- smooth the mesh to improve surfaces
- reduce file size
- edit parts on a triangle level to increase quality
- add text
- add graphic elements (pictures, textures, logos)
- design and create 3D parts in full color
- directly load your scans from Microsoft® Kinect® scanner into netfabb
- create 3D parts from 2D pictures
- merge parts together or subtract from each other with powerful 3D Boolean operations
- cut out areas from surfaces and extract them
- make design changes and add from a variety of included geometric primitives
- Text and Image Labeling function
netfabb is not at official repository so you must install it from AUR using yaourt
$ yaourt netfabb-basic $ netfabb-basic
Slic3r
Slic3r is the tool you need to convert a 3D model into printing instructions for your 3D printer. It cuts the model into horizontal slices (layers), generates toolpaths to fill them and calculates the amount of material to be extruded.
3D printing under Arch Linux – Slic3r
again – not at official repo and need to be build from AUR
$ yaourt slic3r $ slic3r
The 3D printer is basically CNC machine so it uses G-code. Bellow you can see the part of code which control your printer to print model of Batman:
; generated by Slic3r 1.2.9 on 2015-11-13 at 22:23:39 ; external perimeters extrusion width = 0.50mm ; perimeters extrusion width = 0.58mm ; infill extrusion width = 0.58mm ; solid infill extrusion width = 0.58mm ; top infill extrusion width = 0.58mm M107 M104 S220 ; set temperature G28 ; home all axes G1 Z5 F5000 ; lift nozzle M109 S220 ; wait for temperature to be reached G21 ; set units to millimeters G90 ; use absolute coordinates M82 ; use absolute distances for extrusion G92 E0 G1 Z0.500 F7800.000 G1 E-2.00000 F2400.00000 G92 E0 G1 X57.745 Y72.602 F7800.000 G1 E2.00000 F2400.00000 G1 X68.665 Y64.407 E2.86216 F1800.000
If you have right configured Slic3r according to your printer you can generate G-code – Expor G-code – and generated file upload to printer. And after some not short time you can see your model in real 🙂
Some my real models made only for presentation – so low quality:
3D printing under Arch Linux – models3D printing under Arch Linux – modelsPrinters
In this field you have many choices. The best known man of open source 3D printing is Josef Prusa (Czech man and I am proud of him) and his open source project RepRap. His newest printer Prusa i3 Plus (2015) is suitable for everybody. It is low cost printer for every user.
3D printing under Arch Linux – Josef PrusaOf course you can choose another one. Everything is up to you. Google is your friend
Conclusion
This article is not focused to be detailed how-to. 3D printing is very complex field of interest and every part of this tutorial can be described by the numbers of how-to’s. The scope is to show you the basics and what is necessary to know and have at start line of your 3D printing.
GOOD LUCK WITH YOUR FIRST MODELS
Links:
- Blender
- Netfabb
- Slic3r
- Openscad
- FreeCAD
- Printing troubleshooting
- Prusa printers
Install Ultimaker™ Cura on Arch Linux using the Snap Store
Install Ultimaker™ Cura on Arch Linux using the Snap Store | SnapcraftOther popular snaps…
See more...Jami
Publisher: Savoir-faire Linux
Privacy-oriented voice, video, chat, and conference platform and SIP phone
Krita
Publisher: Stichting Krita Foundation Verified account
Digital Painting, Creative Freedom
Thunderbird
Publisher: Canonical Verified account
Mozilla Thunderbird email application
notepadqq
Publisher: Daniele Di Sarli
A Notepad++-like editor for Linux.
postman
Publisher: Postman, Inc. Verified account
API Development Environment
mailspring
Publisher: Mailspring Verified account
The best email app for people and teams at work
spotify
Publisher: Spotify Verified account
Music for everyone
Slack
Publisher: Slack Verified account
Team communication for the 21st century.
foobar2000 (WINE)
Publisher: Taqi Raza
foobar2000 is an advanced freeware audio player.
GNU Image Manipulation Program
Publisher: Snapcrafters
GNU Image Manipulation Program
hugo
Publisher: Hugo Authors
Fast and Flexible Static Site Generator
inkscape
Publisher: Inkscape Project Verified account
Vector Graphics Editor
See more in Featured
More things to do…
Get the snap store
Browse and find snaps from the convenience of your desktop using the snap store snap.
Learn more about snaps
Interested to find out more about snaps? Want to publish your own application? Visit snapcraft.io now.
KOMPAS-3D and Linux → Part 1 / Sudo Null IT News
Hi Habr, today is a post from the KOMPAS-3D team. We are systematically digging up the Linux theme and have prepared instructions for running KOMPAS on Ubuntu (so far with Wine x86 ).
We have plans to create a native application for Linux, you can see the picture below (it's from here). The purpose of the article is not to replace the native Linux application, but to enable everyone to get started right now. We will periodically publish such small articles in the course of work.
Methodist Stanislav Ermokhin is speaking:
Water, of course, wears down stone and pecks grain by grain, and creeping Linuxonization has begun to overtake the industry. Apparently, the plan for the transition to operating systems based on the linux kernel is taking clear outlines and is beginning to be implemented. And one of the first on this path are the enterprises of the military-industrial complex of our country with their processes of design and technological preparation of production. The implementation of such a plan requires, in addition to launching office applications, also launching CAD under OS on the linux kernel.
Here, within the framework of this task, we “dig deeper” and tell you about our experience of running the KOMPAS-3D system in the Ubuntu operating system using Wine.
First of all, let's clarify that Ubuntu 20.04 was chosen for testing. Why? Yes, because it is LTS and has longer support, which is most often what enterprises need.
Why not Astra Linux, Rosa Linux or another domestic distribution? Because I've been using Ubuntu for years and wanted to run it in a familiar environment. Analysis of other operating systems was not included in my plans yet. Although the same Astra is a fork of Debian, and, to some extent, the process will be similar (if there are no overlays with packages).

The first thing I would like to draw attention to is that if you have a computer with a discrete vidyuhi, then immediately deal with its drivers. There are two reasons for this:
-
hello, black screen on system startup after installing nvidia driver via GUI. And the long, painstaking process of restoring system boot;
-
If you do not install the video card driver before installing KOMPAS-3D, then it will lag. And even the subsequent installation of the driver did not solve my situation.
I have an nvidia 3050 ti graphics card (for a laptop) so I do this:
sudo add-apt-repository ppa:graphics-drivers/ppa sudo apt-get update sudo apt-get install nvidia-driver-390 (Check the driver version number first!) Reload.
We will launch using Wine, right?! And the first thing they write about in all the forums is that its implementation of launching x86 applications will be more stable than x64. Let's not tempt fate:
sudo dpkg --add-architecture i386 sudo apt update
Next, go to the Wine website https://wiki. winehq.org/Download and do everything clearly according to the instructions.
Download the repository key and add it to the system:
wget -nc https://dl.winehq.org/wine-builds/winehq.key sudo apt-key add winehq.key
Adding the repository itself:
generally should be
sudo add-apt-repository 'deb https://dl.winehq.org/wine-builds/ubuntu/ groovy main'
but i have
sudo add-apt-repository 'deb http://dl.winehq.org/wine-builds/ubuntu/focal main'
Update the package:
sudo apt update
And here no one stopped me.
sudo apt install --install-recommends winehq-devel
So I have Wine 6.12 installed.
Let's clean up the garbage, suddenly we had previous configurations deployed. And we create a configuration for x86 applications.
rm -R ~/.wine env WINEPREFIX=~/.wine WINEARCH=win32 winecfg
Certain Windows components, eg NET. Framework, for KOMPAS-3D are vital. And they could be put on their own. But why do we need such difficulties?
To simplify the process, we put a rattle toy:
sudo apt-get install winetricks
And use it to roll NET. Framework 4.7.2 with all related packages:
winetricks --force -q dotnet472
Add secret ingredient:
winetricks -q d3dcompiler_47
And
winetricks me -q vcrun2015 guys from Etersoft, then you could go straight to the installation of KOMPAS-3D. But the trouble is, interface fonts would make me sad and sad, so:Winetricks -Q CorefontsLaunch Wine Configurator:
Winecfgand put up the Windows 7 or Windows 10.
Time Comers:
Wine MSIEXEC /I /kompasc /I /kompasC /I /kompasc /i /kompasc /i /kompasc /i /kompasc /i /kompasc /i /kompasc /i /kompasc /i /kompasec /i /kompassThe security key driver may not be installed during installation. From the distribution kit, it is useless.

If you need to work with security keys, then download the driver from the link and install it using standard tools via:
sh ./dinstAs a result, we get a shortcut to the KOMPAS-3D v20 system on the desktop and run it.
Ultimaker Cura 5.0 is out now and this is his news
In a new version of Ultimaker Cura 5.0 is released, which provides a graphical interface for preparing models for 3D printing (cutting).
Based on the model, the program determines how the 3D printer will work when applying each layer in sequence. In the simplest case, it is enough to import the model into one of the supported formats (STL, OBJ, X3D, 3MF, BMP, GIF, JPG, PNG), select the speed, material and quality parameters and send the print job. There are plug-ins for integration with SolidWorks, Siemens NX, Autodesk Inventor and other CAD systems. CuraEngine is used to translate a 3D model into a set of instructions for a 3D printer.

Index
- 1 Key News Ultimaker Cura 5.0
- 2 How to install Ultimaker Cura on Linux?
Highlights Ultimaker Cura 5.0
This new release of Ultimaker Cura 5.0 highlights that the user interface has been changed to use the Qt6 library (previously used the Qt5 branch). The transition to Qt6 made it possible to provide support for work on new Mac devices equipped with the Apple M1 chip.
Another change that stands out in this new version is that a new engine is proposed for cutting in layers: Arachne, which uses a variable line width in the preparation of files, which improves the accuracy of printing small and complex parts.
In addition to this, it is also highlighted that has updated the interface of the catalog of accessories and materials from the Cura Marketplace integrated into the application.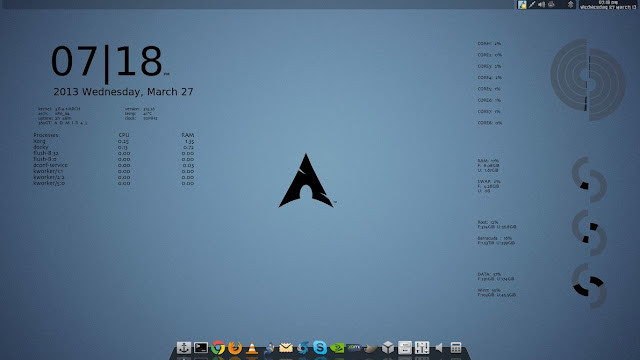 Simplified search and installation of plugins and content profiles.
On the other hand, we can also find improved print profiles for Ultimaker printers. Print speed increased up to 20% in some cases.
Of the other changes that stand out from this new version:
- A new splash screen has been added that appears when the application is launched, and a new icon has been proposed.
- Updated digital build plates for Ultimaker printers.
- The Minimum Wall Line Width parameter has been introduced.
- Added settings for metal 3D printing.
- Added support for plastic shrinkage compensation when printing with PLA, tPLA, and PETG.
- Improved default line width selection for printing spiral forms.
- Increased the visibility of options in the interface.
- Fixed a bug that caused the maximum resolution/deviation to not apply to surface mode.
- Fixed a bug that caused seam placement to be uneven.

- Fixed a bug that caused the upper surface layers of the skin to not work.
- Fixed a bug due to which the speed was not taken into account in the stream settings.
- Improved preview quality of scale model fragments.
Finally If you are interested to know more about it, you can check the details from the following link.
How to install Ultimaker Cura on Linux?
Those who are interested in installing this application on their system can do so by following the instructions below.
Usually for Linux Cura developers offer us the AppImage 9 file0118 which we can get on the official website of the application. The link is like this.
Or for those who prefer to use the terminal, they can get the package by typing the following command:
wget https://github.com/Ultimaker/Cura/releases/download/5.0.0/Ultimaker-Cura-5.0. 0-linux.AppImage
After downloading package , we will give you permission to execute .


