Anycubic 3d printer photon mono
Anycubic Photon Mono - Faster LCD-based /SLA Resin 3D Printer
FEP Film for Photon Mono here https://www.anycubic.com/products/fep-film-for-photon-mono-sla-lcd-3d-printer
- 6" 2K Monochrome LCD
- A much longer lifespan: It’s s 4 times longer than color LCD.
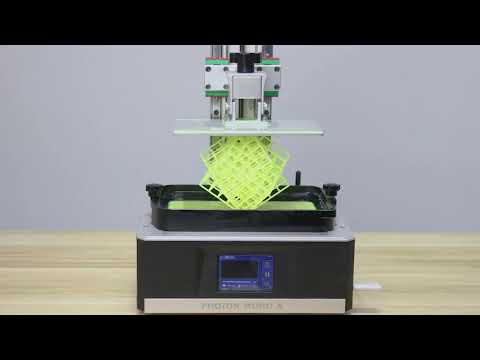
- Quick FEP Replacement
- Easy and quick to replace the FEP.
- Fast Printing Speed
- With a monochrome screen, the printer can use less energy while printing faster.
- High Quality Z-axis
- High Quality Z-axis Rail Structure & Stepper Motor.
- Technical Specifications
- ● System : ANYCUBIC Photon Mono
- ● Operation : 2.8 inch Touch Screen
- ● Software : ANYCUBIC Photon workshop
- ● Connectivity : USB
- ● Technology: LCD-based SLA
- ● Light-source: high-quality filament(wavelength 405nm)
- ● XY Res.
: 0.051mm 2560*1620(2K)dd>
- ● Z Axis Res.: 0.01mm
- ● Layer Res.: 0.01 ~ 0.15mm
- ● Printing Speed: MAX 50mm/h
- ● Rated Power: 45W
- ● Printer Size : 227mm(L)*222mm(W)*383mm(H)
- ● Build Volume: 130mm(L)*80mm(W)*165mm(H)
- ● Material: 405nm UV Resin
- ● Net Weight: ~4.5kg
- High Quality Z-axis Rail
- It improves stability while in motion and reduces the risk of layer shifting.
- Quick FEP Replacement
- Easy and quick to replace the FEP.
- Top Cover Detection
- The printer can be set to stop printing immediately after opening the cover.
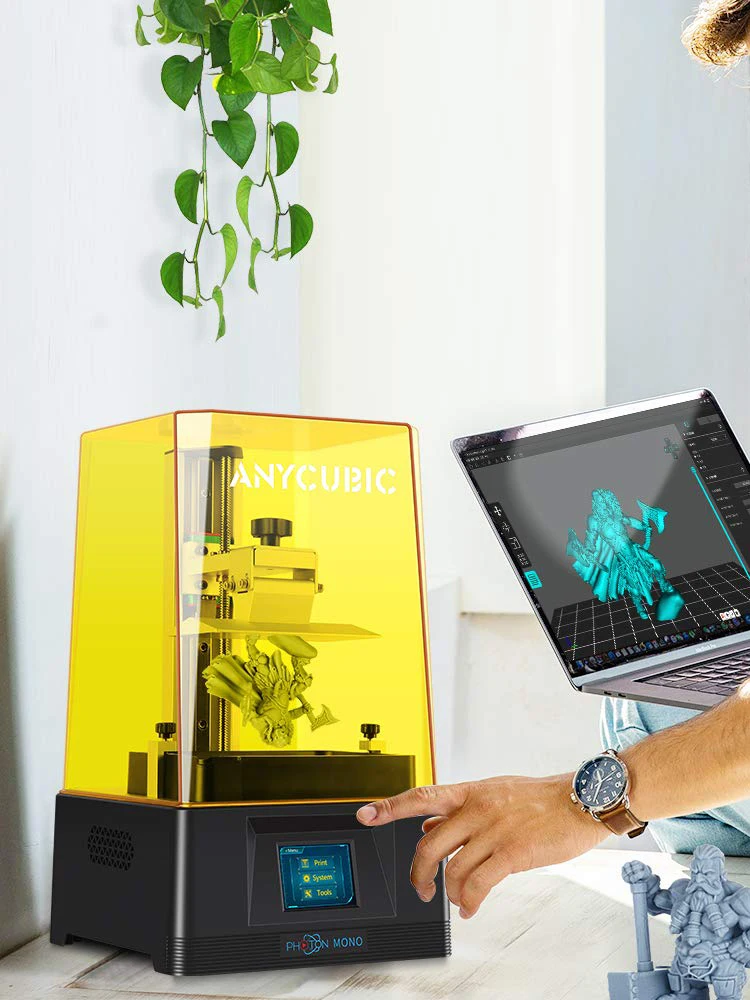
- More Creative Space
- For freedom to make
- Anycubic Slicer Software
- New features are added to the software. Supports up to 16x anti-aliasing. Fast slicing, Hollowing, Split Model, Text Paste
- 2K Monochrome LCD
- The exposure time is reduced to 1.5 seconds.
 A much longer lifespan: You can print up to 2000 hours with it, which is 4 times longer than color LCD.
- UV-blocking Top Cover
- With the transparent cover, you can watch your prints while still blocking 99.95% of the UV light.
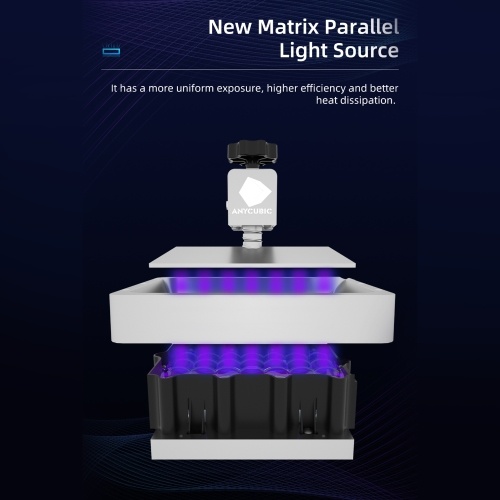
- New Matrix Parallel Light Source
- It has a more uniform exposure, higher efficiency and better heat dissipation.
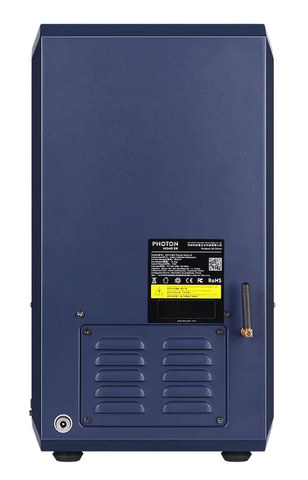
- High Quality Power Supply
- UL certification, CE marking, and ETL certification
Parts List
User Manual
Tool set
USB Drive
Scraper
Resin Vat
Platform
Service Card
Glove
Funnel
Power Adapter
|
|
| |
| Machine Weight | 4.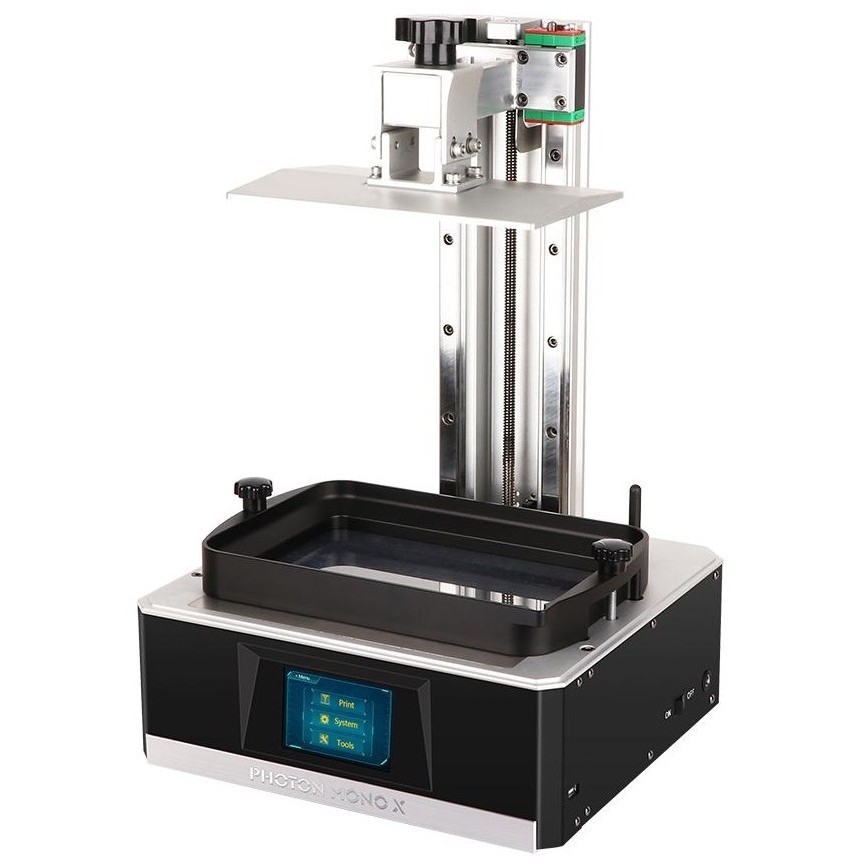 5kg 5kg | 4.3kg | 11kg |
| Machine Size | 383*227*222mm | 383x227x222mm | 475x290x270mm |
| LCD Resolution | 2560x1620px(2k) | 3840x2400px(4k) | 5760x3600px(6k) |
| LCD Size | 6.08’’ monochrome | 6.23’’ monochrome | 9.25’’ monochrome |
| XY Resolution | 51 microns | 35 microns | 34 microns |
| Z axis Accuracy | 10 microns | 10 microns | 10 microns |
| Build volume | 165*130*80mm(1.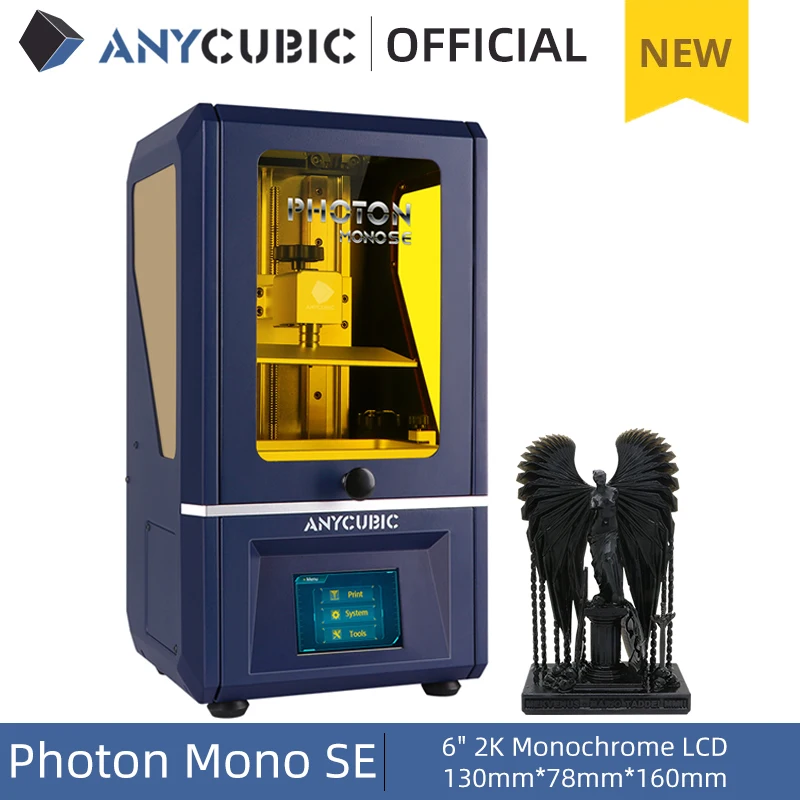 72L) 72L) | 165x132x80mm(1.74L) | 245x197x122mm(5.89L) |
| Max.Printing Speed | 50mm/h | 50mm/h | 80mm/h |
-
- Photon
- LCD-based SLA
- Build Area: 115x65x155mm
- Filament:405nm UV Resin
- Diffusion Illuminant
- Single Z-axis
-
- Photon S
- LCD-based SLA
- Build Area: 115x65x165mm
- Filament:405nm UV Resin
- Matrix Illuminant
- Double Z-axis
-
- 4Max Pro
- FDM (Fused Deposition Modeling)
- Build Area: 270x205x205mm
- Filament: PLA, ABS, HIPS, PETG,
Wood and TPU - Titan Extruder
Suspended Filament Rack - Single Z-axis
Anycubic Care
Firmware
Photon Mono_V017
Driver
/
Slicer
V2. 1.29-Mac
V2.1.29-Win X86
V2.1.29-Win X64
Manual
Test model
test_model_1
Manual
click here
please click on it to download.
Anycubic Photon Mono 4K - High Speed 4K LCD Resin 3D Printer
Skip to content- Large print volume
- Photon Mono 4K can print up to 6.5 x 5.2 x 3.1 in.
- Matrix parallel source
- 15 bright LED lights are placed into a matrix to make up a powerful and parallel light source.
- Print fast
- With an impressive print speed at ≤ 50 mm/hr. / 1.97 in./hr.
- One piece FEP film
- Technical Specifications
- ● Exposure screen: 6.23’’ monochrome
- ● Printing dimensions: 6.
 5 x 5.2 x 3.1 in. / 165 x 132 x 80 mm (HWD)
 - ● Light transmittance: 7%
- ● Contrast ratio: 400:1
- ● Light source: Parallel matrix (LED x 15)
- ● Power density: 3,500 - 4,000 μw/cm²/23,905 - 27,320 lux
- ● Printing accuracy: 3,840 x 2,400 px (4K)
- ● Suggested layer thickness: 0.01 - 0.15 mm
- ● Horizontal resolution: 35 μm
- ● Printing speed: ≤ 50 mm/hr. / 1.97 in./hr.
- ● Control panel: 2.8’’ TFT touch-control
- ● Data input: USB-A 2.0
- ● Power supply: 45W
- ● Software: Photon Workshop
- ● Machine dimensions: 15.1 x 8.9 x 8.7 in./383 x 227 x 222 mm (HWD)
- ● Machine weight: 9.4 lb./4.3 kg
- For Freedom to Make
- Anycubic Photon Mono 4K can print up to 6.5 x 5.2 x 3.1 in. / 165 x 132 x 80 mm (HWD) at a time, similar dimensions to a mini rugby ball. 58.9 oz. / 1.7 L total build volume leaves enough space and freedom for you to make any shapes of cubic.
- 4K Vivid Details
- With 3,840 x 2,400 px resolution, Photon Mono 4K's screen has a total number of over 9.
 2 million pixels, which is 122% higher than Photon, Photon Mono and its rivals' 2K resolution screen. High resolution brings vivid details to your 3D models.
- Sharp Edges and Corners
- Adopting an industry-leading screen with 400:1 contrast ratio, 100% higher than Anycubic Photon, Photon Mono and its rivals' 200:1, Anycubic Photon Mono 4K provides your 3D models with extremely sharp and clear edges and corners.
- Protect What Matters
- In order to better protect its premium screen, Anycubic Photon Mono 4K added a dedicated and replaceable anti-scratch film above the screen itself, making that expensive screen much more durable than its rivals.
- Print, One Step Ahead
- With an impressive print speed at ≤ 50 mm/hr. / 1.97 in./hr., Photon Mono 4K can print a typical 120mm / 4.7in. model in 2.5 hours, which takes 3.5 hours less than Photon's 6 hours, and 30 mins less than its rivals' 3 hours. Fast printing saves your time wasted on waiting.

- Powerful Light Matrix
- 15 bright LED lights are placed into a matrix to make up a powerful and parallel light source, so that Anycubic Photon Mono 4K can provide ≥90% light uniformity and ≤ 27,320 lux power density to each layer, making fast printing possible.
- High Light Transmittance
- Anycubic Photon Mono 4K is equipped with an industry leading screen with 7% light transmittance, which is 250% higher than Anycubic Photon and its rivals' 2%. High light transmittance makes quick forming possible.
- Adjustable Power
- With 30%-100% light power regulation, Photon Mono 4K supports not only ordinary 405nm UV resins, but also special resins. In addition, adjusting the light power appropriately can extend the lifespan of both the screen and light significantly.
- 6.23'' Decent Screen
- Anycubic Photon Mono 4K is equipped with a decent 6.23'' screen, which is 29% larger than Anycubic Photon's 5.5'' screen, and 8% larger than Photon Mono's 6.
 08'' in screen area.
In The Box
User Manual
Funnel
Tool set
SD-Card Reader
Scraper
Resin Vat
Platform
Power Cord
LCD Screen Protector
Glove
|
|
| |
| Machine Weight | 4.5kg | 4.3kg | 11kg |
| Machine Size | 383*227*222mm | 383x227x222mm | 475x290x270mm |
| LCD Resolution | 2560x1620px(2k) | 3840x2400px(4k) | 5760x3600px(6k) |
| LCD Size | 6.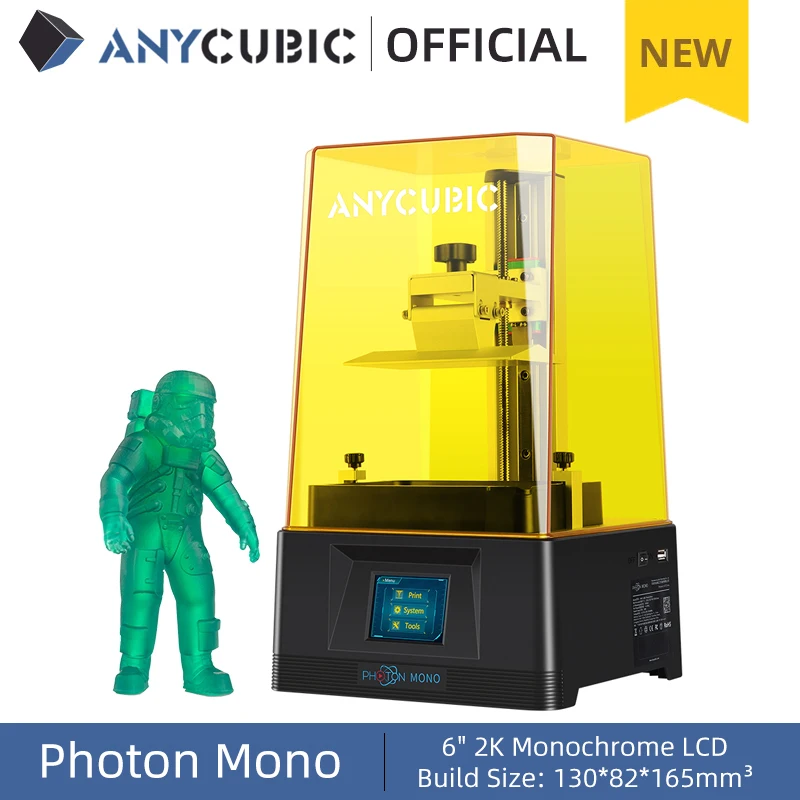 08’’ monochrome 08’’ monochrome | 6.23’’ monochrome | 9.25’’ monochrome |
| XY Resolution | 51 microns | 35 microns | 34 microns |
| Z axis Accuracy | 10 microns | 10 microns | 10 microns |
| Build volume | 165*130*80mm(1.72L) | 165x132x80mm(1.74L) | 245x197x122mm(5.89L) |
| Max.Printing Speed | 50mm/h | 50mm/h | 80mm/h |
-
- Photon
- LCD-based SLA
- Build Area: 115x65x155mm
- Filament:405nm UV Resin
- Diffusion Illuminant
- Single Z-axis
-
- Photon S
- LCD-based SLA
- Build Area: 115x65x165mm
- Filament:405nm UV Resin
- Matrix Illuminant
- Double Z-axis
-
- 4Max Pro
- FDM (Fused Deposition Modeling)
- Build Area: 270x205x205mm
- Filament: PLA, ABS, HIPS, PETG,
Wood and TPU - Titan Extruder
Suspended Filament Rack - Single Z-axis
Anycubic Care
Driver
/
Slicer
V2. 1.29-Mac
V2.1.29-Win X86
V2.1.29-Win X64
Slicer_Manual
Test model
Download
Manual
please click on it to download.
Review of 3D printer Anycubic Photon M3 • A guide to the photopolymer world
Again Anycubic and again Photon, but with the subtitle M3 - what will surprise the initial device in the new line? And will it surprise you at all? Find out in our review!
The devices from Anycubic in the review are always a small celebration for us, such a cozy friendly gathering where we can calmly talk about the pros and cons without fear of being disappointed in the end, because Anycubic hold the bar.
You are on the official LIDER-3D website and reading a review of the Anycubic Photon M3 3D printer!
Content:
- On company
- Assembly, appearance and equipment
- Technical characteristics
- Data transfer and management
- Software
- Video
- Where to buy?
- Company business card LIDER-3D
About the company
If you see a yellow protective cap, a nice streamlined design, a resin bath and a happy person who works with this device - most likely this is a 3D printer from Anycubic.
The Chinese company already has a bunch of good photopolymer printers in its arsenal, and Anycubic is definitely not going to stop there.
The best part is that the Chinese do not break the prices of their devices, so devices from Anycubic can be seen both in the hands of beginners and in the hands of professionals in the field of 3D printing.
Appearance and Package Contents
The Anycubic Photon M3 is the third generation of Anycubic photopolymer 3D printers. It's a compact printer with a recognizable Anycubic design and attractive price tag, which is tacitly positioned as the "entry level" device in the new M3 line, which also includes much larger and more expensive devices.
The Photon M3 is not a big step forward in technology compared to previous devices from Anycubic. Nothing really exciting or revolutionary. The only thing this printer tries to be is a solid platform on which to build your hobby and produce high quality print results.
This can be seen both in design and in characteristics (more on that later).
For now, let's talk about the configuration, although “talk” is a strong word. The package bundle of Anycubic is almost the same from device to device.
Specifications
Compared to the Photon Mono 4K, Anycubic's latest device in this price range, the Photon M3 has approximately 72% larger build volume, namely 163x102x180mm.
More print is nice, but what about resolution? The
Photon Mono 4K had a resolution of 35 microns, while the new Anycubic Photon M3 had a resolution of 40. In reality, this means very, very little. 5 microns is actually five thousandths of a millimeter. Unless you have absolutely perfect vision, you won't be able to detect such a small difference.
The Photon M3 matrix is monochrome, with a size of 7.6 inches and a resolution of 4096x2560 pixels, 4K is obtained. The screen is made of tempered glass with a layer of optical glue applied.
Plus, the Photon M3 features a new LED lamp with a 400:1 contrast ratio, which theoretically means sharper edges and a better surface finish.
Maximum Z-axis speed 10mm/s. By reducing the speed as you get closer to the screen, the layers light up better and the chance of print failures is greatly reduced. This, by the way, is a specific feature of Anycubic.
ThePhoton M3 features a new laser engraved platform to ensure excellent print adhesion.
It's hard to say if the laser engraving improved the print quality, but we can say that the prints adhered well to the platform and were also easy to remove.
A selection of articles from the "Knowledge Base" section from the LIDER-3D website: 1) How to choose a good portable 3D scanner • 2) 3D printing in jewelry: how does it work? • 3) Post-processing of models after 3D printing
Control screen and data transfer
Touch screens do not give the user much choice, they are either bad or good.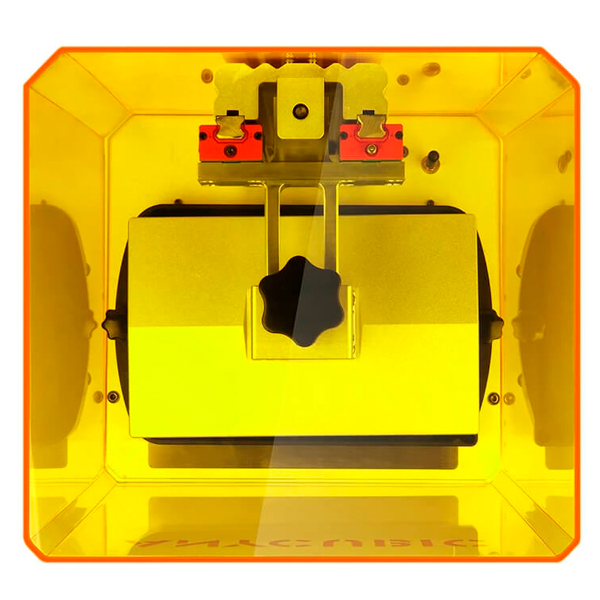 The Anycubic Photon M3 has a 2.8-inch color touch screen, which was used in previous models from Anycubic. It is responsive and fast, but quite small in size.
You can transfer files via a USB stick or USB cable.
Software
Works Photon M3 with Lechee slicer or Anycubic Workshop proprietary slicer - which, by the way, is quite good and constantly improving.
Examples
Video review
And to carefully consider the Anycubic Photon M3 and take part in the prize draw, follow our video in order!
Total
The Anycubic Photon M3 is a great starter device if you want to dive into the world of resin 3D printing. This is not a printer that is trying to do something new, unusual or exciting. The Anycubic Photon M3 is simply a reliable resin 3D printer.
The improvements made by Anycubic to the Photon M3 are not very noticeable and therefore unlikely to appeal to those who already have, for example, Photon Mono 4K.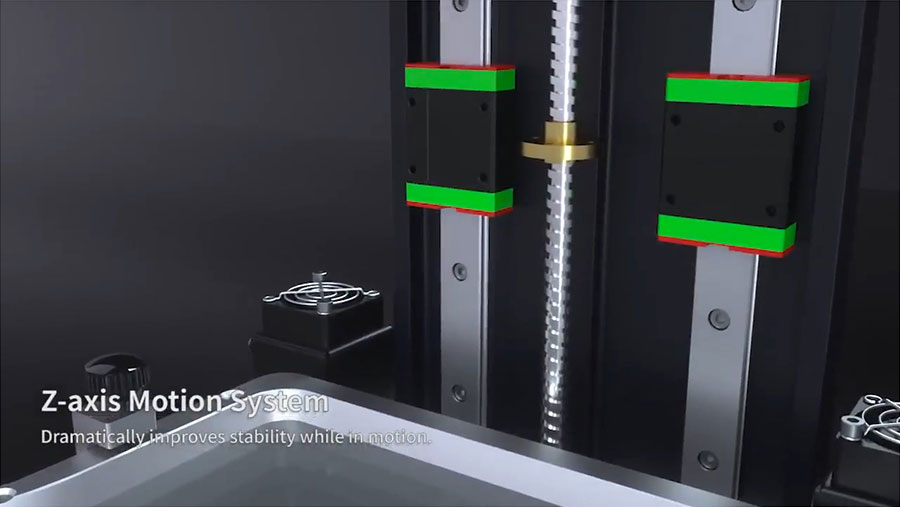 However, people who are just getting started with photopolymer 3D printing are a completely different matter, and we can say with confidence that they will like this device.
Minor drawbacks - such as a small control interface - are really minor, and do not spoil the impression of the Photon M3. It feels like Anycubic could have tried a little more, and they did, with other devices in the M3 line that we'll cover in the future.
In the meantime, we leave you alone with a good photopolymer 3D printer for beginners who are going to print at home or for professionals who are going to teach beginners.
Thank you all, the material was prepared by a team of LIDER-3D specialists, we will be glad to hear your questions in the comments.
If you are interested in the Anycubic Photon M3 3D printer, you can get detailed expert advice by contacting us at LIDER-3D, as well as purchase this equipment on our website.
Follow us on social networks: Telegram, VKontakte, Ya.90,000 User Management of the 4D printer Anycubic Photon Mono 3K LCD ResinZen, RuTube, YouTube, TikTok, My World, Odnoklassniki to be the first to receive the most interesting materials!
Photon Mono 4K-polymer 3D printer
User Management
Dear Client,
You are thank .
You may be familiar with 3D printing technology or have already bought CUBK: printers, but we still strongly recommend that you read this manual carefully. The installation methods and precautions described in this manual will help you avoid unnecessary damage or frustration.
Please visit https://www.anycubic.com/pages/contact-us to contact us if you have any questions. You can also get more information such as software, videos and models from the website.
https://www.anycubic.com/pages/contact-us
Copyright reserved by Shenzhen Anycubic Technology CO., Ltd, all rights reserved.
Safety Instructions
Always follow the safety instructions during assembly and use to avoid unnecessary damage to the 3D printer or personal injury.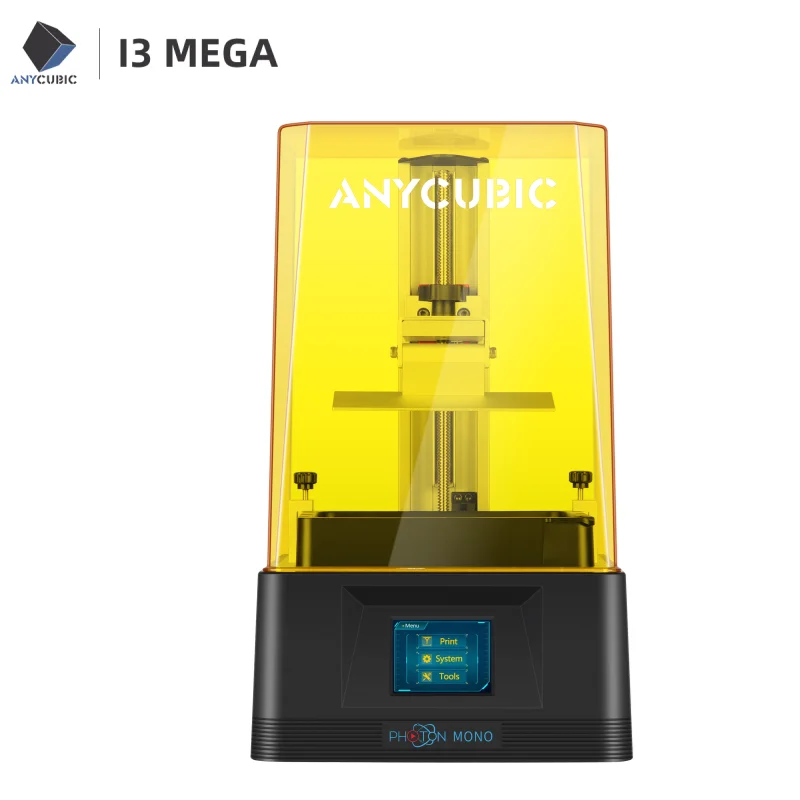
Please contact our customer service first if you have any problems after receiving the products.
Be careful when using the scraper. Never point the scraper at your hands.
In case of emergency, turn off the power of the ANYCURIC 3D printer immediately: and contact technical support.
The ANYCURIC 3D Printer has moving parts that could cause injury.
When sanding printed models, it is recommended to use protective goggles to avoid small particles getting into your eyes.
Keep the ANIYCUI3IC 3D Printer and its accessories out of the reach of children.
Vapors or vapors may cause irritation at operating temperature. Always use the ANYCURIC 3D Printer in an open and well ventilated area.
ANYCURIC 3D Printer should not be exposed to water or rain.
Operate the ANYCUBIC 3D Printer at 8°C-35°C and 20%-50% humidity. For optimal performance, do not exceed this range. Also avoid exposure to direct sunlight. 9
| Technique Source source Resolution 0.  01 mm 01 mm 0.01-0.15 mm Max. 50 mm/h 45 W |
Physical dimensions
| Dimensions Assembly volume Materials 0.5 C 40 C 6 6 mm 4 mm / sec 6 mm / sec 1 |
- The recommended above print parameters are given only for reference, which is more suitable for ANYCUBIC.
- The UV power of the machine is high. If solid residues often remain in the resin bath or print bed, reduce the UV output and increase the normal exposure time.
What to bring
Detection:
Read more:
Z = 0: Rate the zero point
REMOVE OF HOVER: Turn on . Then plug in the power cord and turn on the printer.

 Please use the plastic resin bottle supplied with the machine or the Anycubic Photon Mono Black Resin Bath. Do not use a metal container that may cause printing failure.
 First Print Instructions
- Print
Insert the JSB memory (test file"TEST.pwma" was stored in it) into the USB port. Then put on masks and gloves (to avoid direct skin contact with the resin), slowly pour the resin into the vat, while the amount of resin should not exceed the maximum size of the container.
Then put on the cover. Remove gloves, select test "TEST.pwma". file and start printing. (The printing time on the screen is for reference only, we do not guarantee that it is the actual printing time.) If you think that there is not enough resin to complete the current printing (or you want to replace the resin), you can press "Pause", the platform will go up, and you can slowly add (or change) the resin. After that, click "Start" to continue. - Door detection function
disabled by default.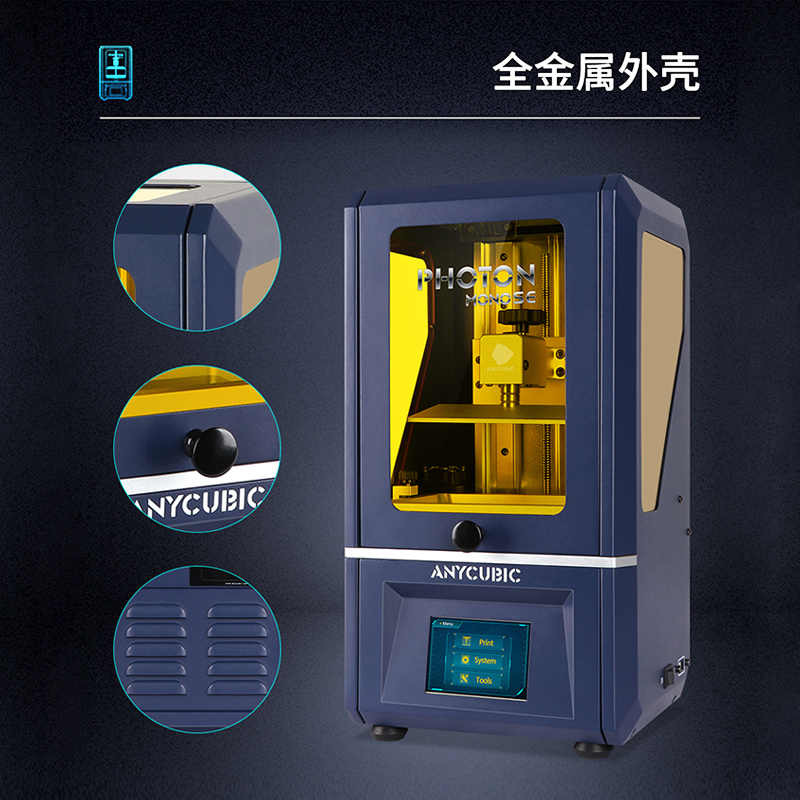 If this feature is enabled, the printer can detect if the cover is closed or not. Printing will pause when the cover is removed and continue when the cover is put back on. Click “ ” in the “Tools” interface, then click ON/OFF to enable/disable this function.
 - Set UV power
There are two ways to set the UV power. Click "Tools" before printing. “. Then click "UV power" in the setting interface to set the UV power. In addition, in the process of printing, press "" in the printing interface, and scroll down the page to find "UV Power". Then click on it to set the UV power. - Working with models and leftovers
After printing, unscrew and remove the platform when resin stops dripping from the platform. The model can be carefully removed with a scraper. The removed model should be washed with 95 vol.% ethanol. The printed object may need to be post cured to achieve greater hardness in direct sunlight or in a UV curing box.
[IMPORTANT] Inevitably, in the event of incomplete curing or unsuccessful prints, some cured resin may remain in the bath. It is suggested to filter the resin through a funnel and then store the liquid in a sealed container. Residues remaining on the platform or in the vat can be wiped off with a paper towel. Before each print, make sure there are no solid residues in the bath or on the platform, otherwise the FEP film may be crushed and broken during printing.
Slicing softwareview
3D printer reads sliced files and prints models. It is necessary to convert 3D files (table/object) into sliced files for machine recognition. The software that implements this process is called slicing software, such as Sample, Photon Workshop.
Photon Workshop can be used to export cuts. files. You must first select Photon Mono 4K as the machine type, then manipulate the model and set the parameters. Finally, export the sliced file (.pwma).
The Photon Workshop manual is saved on a USB stick, it is recommended that you read it carefully if you are using Photon Workshop for the first time.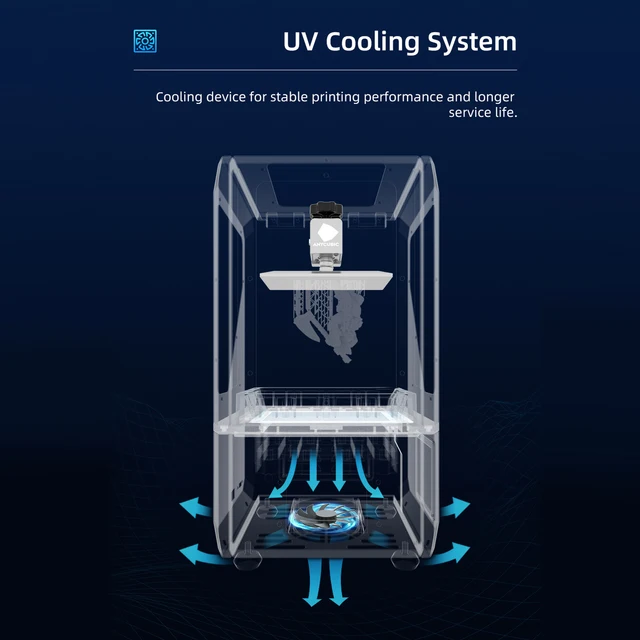
FAQ & Machine Maintenance
FAQ
- The model does not stick to the platform
> Bottom exposure time is not enough, increase the exposure time.
> Contact area between model and platform is small, add a raft.
> Poor pumping. - Layer separation or separation
> The machine is unstable during printing.
> The FEP film in the bath is not sealed enough or needs to be replaced with a new one.
> Print bed or resin bottle is loose.
> Add the normal exposure time accordingly.
> Lift speed too high.
> The print object is hollowed out without perforation. - Layer Offset
> Add supports.
> Reduce lifting speed. - Floccules remaining in resin bath
> Exposure time too long. Reduce normal exposure time and bottom exposure time.
Machine maintenance
- If the Z axis makes noise, apply lubricant to the Z lead screw.
Learn more