3D printing wax patterns
Discover the 3D Wax Printing Process
Additive manufacturing offers the possibility to 3D print using a wide range of materials from plastic to resin and metal. But what about wax 3D printing? There are actually different ways to print wax.
We are going to tell you about 3D printed wax processes and applications. Here is everything you need to know about wax 3D printing!
Wax 3D Printed Concept ModelsHow can wax be used for 3D printing?
There are actually different techniques to 3D print wax.
3D printing with wax is used to create a precise 3D mold out of a 3D file thanks to the 3D lost wax casting technique. 3D Lost wax casting (or investment casting) is a production process. The casting process mainly allows to produce customizable jewelry of very high quality and 3D design complexity in various printing materials, such as metals.
3D printing with wax is used to create a precise 3D mold out of a 3D file thanks to the 3D lost wax casting technique.
3D Lost wax casting (or investment casting) is a production process. The cast process mainly allows to produce customizable jewelry of very high quality and 3D design complexity in various printer materials, such as metals.
The idea is to create concept models with 3D modeling and then 3D Print wax patterns of the desired object thanks to a wax 3D printer. Then, by adding a refractory material around this model we obtain a mold. Melting the wax filament inside the mold creates an empty space that is filled with the 3D printers material, molten metal. The only remaining step is to break the mold to obtain the final object. Variable finishing options for this 3D printing technology are then available
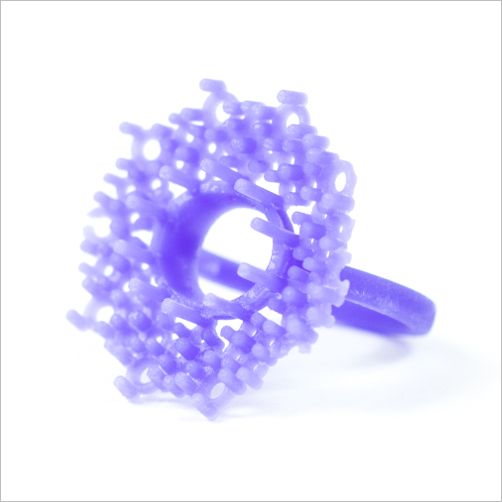
Lost wax casting technique (or investment casting) framework with 3d printed casting patterns 3D printed jewelry produced with Sterling silver thanks to the a 3d printed model with waxIn addition to the lost-wax casting process, it is possible to actually 3D print wax.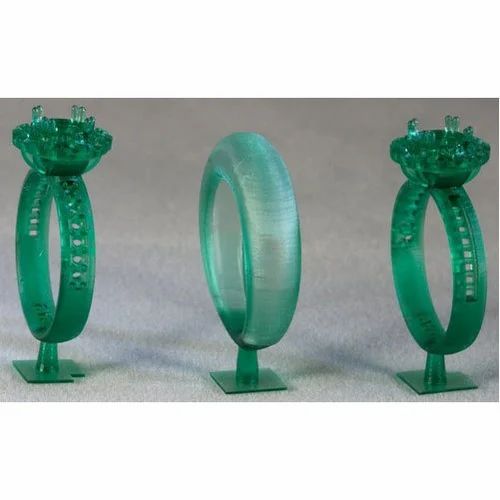 The material often used to print wax is not real natural wax, but it is a wax-like material, the mechanical properties of this material are then similar to wax.
Wax 3D printing is made possible with technologies such as Fused Deposition Modeling (FDM) technology. Using an FDM 3D printer, the 3D printing filament material will allow you to get great wax molds.
What is the 3D Printing Process for Last Wax casting?
In the Additive Manufacturing industry, wax 3D printing is made with multi jet printers like the Projet 3500 CPX HD printer that is used at Sculpteo. Unlike filament printing technique, multi jet modeling process (MJM) looks a lot like ink jet technology. Molten wax filament is deposited by nozzles on an aluminum build platform that moves down, layer by layer. 3D Printers are able to simultaneously 3D print with two wax types:
- The main one that melts around 70°C (depending on the wax type) and which actually creates the objects and the functional prototypes.

- The one that supports the wax product during creation has a lowest melting temperature. It is removed at the end by heating the overall piece.
This support wax enables the creation of almost any form, even the most complex product designs and the most complicated wax patterns.
This whole printing process can print products with an incredibly high resolution of 25 μm (0.025mm) between each layer which allows to create pieces with a virtually unlimited level of detail.
But, other 3D printing processes exist using wax such as DoD or Drop on Demand. During this printing process, the wax is deposited in dots instead of a continuous line as we can see with technologies such as inkjet 3D printing.
What are the properties of 3D Printed Wax?
Wax used for Additive Manufacturing is made of 100% pure castable wax but can have various colours and properties. This will also depend on the 3D printing wax process you will use. Moreover, using wax for casting process will allow you to get really detailed molds for products with an intricate geometry.
How to use 3D Printed Wax?
Wax printing is mainly used to create dental molds and 3D printing jewelry. As a 3D printing service, we offer you a lot of different materials, technologies, and finishes to give life to all your projects. Among all of these possibilities we are offering you, you can choose to try lost-wax casting to start your jewelry business. Indeed, affording your own wax 3D printer might not be the most coherent and cheapest choice to develop your use of wax printing. Moreover, printing this material is a little bit more complicated to operate
Wax printing is mainly used to create dental molds and 3D printing jewelry. At Sculpteo, we are offering you the possibility to use our lost-wax printing process with our brass material and sterling silver material.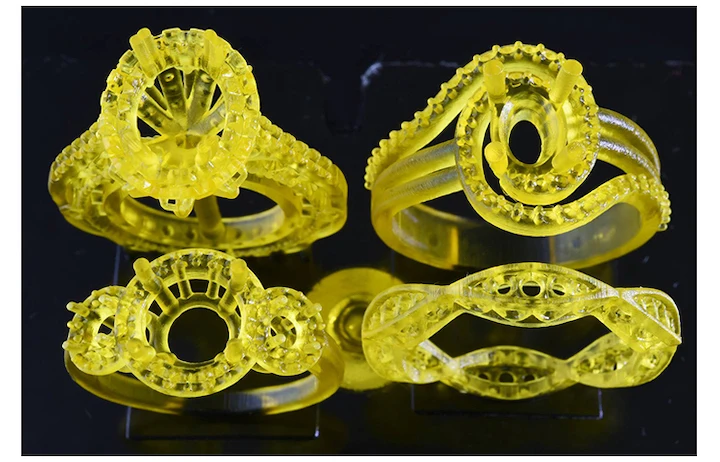 You can visit these material pages to see how you can use properly brass or silver as 3D printing material, to consult the safety data sheets and white paper for proper design guidelines, and to find their shipping info.
Are you convinced of the extraordinary potential of 3D printing with wax and want to order your personalized jewelry designs?
Getting started is easy if you have a design, upload it to Sculpteo to print it. Otherwise, browse our 3D printing marketplace where you can find a complete gift guide of our customers featured stories to find your dreamed gift.
In case you have any questions about 3D printing with wax or any other rapid prototyping technique, do not hesitate to contact customer support.
How To Get Into Lost Wax Casting (with A Dash Of 3D Printing)
I’ve always thought that there are three things you can do with metal: cut it, bend it, and join it. Sure, I knew you could melt it, but that was always something that happened in big foundries- you design something and ship it off to be cast in some large angular building churning out smoke. After all, melting most metals is hard. Silver melts at 1,763 °F. Copper at 1,983 °F. Not only do you need to create an environment that can hit those temperatures, but you need to build it from materials that can withstand them.
Turns out, melting metal is not so bad. Surprisingly, I’ve found that the hardest part of the process for an engineer like myself at least, is creating the pattern to be replicated in metal. That part is pure art, but thankfully I learned that we can use technology to cheat a bit.
When I decided to take up casting earlier this year, I knew pretty much nothing about it. Before we dive into the details here, let’s go through a quick rundown to save you the first day I spent researching the process. At it’s core, here are the steps involved in lost wax, or investment, casting:
- Make a pattern: a wax or plastic replica of the part you’d like to create in metal
- Make a mold: pour plaster around the pattern, then burn out the wax to leave a hollow cavity
- Pour the metal: melt some metal and pour it into the cavity
I had been kicking around the idea of trying this since last fall, but didn’t really know where to begin. There seemed to be a lot of equipment involved, and I’m no sculptor, so I knew that making patterns would be a challenge. I had heard that you could 3D-print wax patterns instead of carving them by hand, but the best machine for the job is an SLA printer which is prohibitively expensive, or so I thought.
A Pattern of Creativity
That perception changed when my brother Sam picked up an Elegoo Mars 3D printer. I was surprised that you could get a sub-$300 SLA machine, and absolutely floored by the quality of prints it produced. I was able to pick up some printer resin designed for investment casting, and printed my first pattern- two tiny Pikachus and a rook.
PikaSprue — A 3D printed Pikachu affixed to some sprue waxI use PowerResins WAX for my printing resin. It’s pricey but prints really well and burns out cleanly. It does have issues adhering to the build platform, but you can get around that by priming the plate. Some people recommend painting on a few payers of resin and curing them with UV light before printing. I follow a tip I found in this YouTube video and just include a few primer layers in my print. This may seem a bit wasteful, but if it keeps one print from coming off the plate, it’s worth it.
Of course, we can go the classic route here and make our patterns by hand instead. I’ve taken a swing at this and had success making simple things like a ring which I carved from wax, but I would be lost on more intricate designs. Like I said, I’m no sculptor, but it’s fun to carve a pattern manually. Wax is available in many forms — sheets, blocks, ring blanks, and others. There are some real nice carving tools out there which I own now, but my first ring was formed with a pocket knife, a file, and a disc sander. It’s not all about removing material either- since wax is easy to melt, it’s common to fuse parts together to create a finished piece.
A fully-built wax pattern tree, ready to be set in a moldSome like to either take their wax model, or something else entirely and make a silicone mold of it before starting the process. That lets them inject hot wax (a process called injection molding) into the silicone to create the pattern, allowing them to save the original. I’ve never tried the process, but its a great way to make multiple copies of a piece.
Once we have something to replicate in metal, it’s time to make a tree. The tree is a wax structure that holds all of the wax bits we’ve just made, and once wax is burned out of the mold, acts a guide for the molten metal as its poured. The branches of the tree are often referred to as sprues, and the process as spruing. To form the tree, we start with a central wax rod and attach smaller wax wires to it using sticky wax and a wax pen, which heats up wax to melt it. (Man, that’s a lot of wax.) We can then attach the parts we made to those wires. The tree sits in a rubber sprue base, which will form a bowl in the top of the mold called the button. Now that we have a complete pattern, it’s time to make a mold.
Set in Stone… Well, Plaster
We have a positive of our final part, but now we need to make a negative. We’ll take a steel cylinder called a flask and slip it onto the sprue base. We’ll need some investment plaster here too — standard plaster of Paris won’t cut it, as it won’t stand up to the heat. Thankfully, it’s not hard to get your hands on a bag of the the right material. Less thankfully, it’s nasty stuff. I always wear glasses, gloves, and a respirator with I work with it, and work outside for good measure. I even brush my clothes off before going indoors. It turns out that the ingredient that binds the investment, free silica, can cause cancer when inhaled. I’ve found that if something can withstand high temperatures and gives off powder, you probably shouldn’t breathe it. Anyway, we can mix some of that with water and pour it into the flask. I use a handheld electric mixer, which will never see a kitchen again, to mix my investment.
If we just pour it right in, the final piece won’t come out very nice. The mixing process introduces tons of bubbles into the slurry, and thanks to its high viscosity those bubbles aren’t gonna pop themselves. I like to use a vacuum chamber to debubble my investment before pouring it into the flask- don’t let that scare you though.
My “vacuum chamber” is an old mechanical pump plumbed to a Maxwell House coffee can. While the pump is running and the cup of investment is in the coffee can, I violently tap the chamber for a few minutes to help the bubbles make their way to the surface. Another trick I’ve picked up to get rid of bubbles is to wipe isopropyl alcohol onto the pattern and shake off the excess right before pouring the investment. Some like to paint a think layer of investment on and let it harden before mixing up more to pour into the flask. After pouring, I like to put the whole flask into the vacuum chamber to pull out any remaining bubbles, while tapping the chamber a bit more gently. Once we have a flask full of hardened plaster, we should let it to cure fully: at least an hour or two, but I like to wait overnight.
Getting Burned Out
So we’ve made a replica of our final piece, then entombed it in metal and plaster. Now it’s time to destroy all our hard work by throwing it in a furnace. Well, placing it in a kiln. Very carefully. While wearing gloves and safety glasses.
A flask undergoing burnout in a kilnThis part of the process, called burnout, is where we remove the wax/ plastic pattern from the mold. This leaves behind a cavity that, if we’ve done everything correctly so far, is free of ash and ready to accept some molten metal. It’s a bit nerve-wracking, especially if we’ve spent hours carving a wax model.
I like to start the flask out hole-down so that the wax can drip out into a tray as it melts, and then flip the flask hole-up to allow gasses to escape once the melting is complete. Some say to keep it hole-up the entire time. Investment manufacturers have recommended schedules (times and temperatures) to follow, but I like one suggested by Practical Casting by Tim McCreight. I listed the schedule I use in the original blog post I linked at the start of this article. We also have some leeway in our choice of kiln here; for my first few tries, I used a lab furnace I stole off of my brother’s nanofab bench, returning to it every 15 minutes or so to adjust temperatures to follow the scheduled ramps. Now I use a purpose-built programmable kiln.
The last step in any burnout schedule is to hold the flask at a temperature suitable for casting, generally a few hundred degrees below the pouring temperature of the metal. I usually keep it at 1250 °F until I’m ready to pour.
Melting Some Metal
After all that work we finally have a mold, and now it’s time to fill it. Basically, we’ll melt some metal the pour it into the cavity. We’ll need another furnace for this part- while our kiln is keeping the flask hot, we add metal to a crucible, place it in the furnace, and melt it down. Knowing the pouring temperature of the metal is important here- for example, silver melts at 1,763 °F but pours around 1850 °F.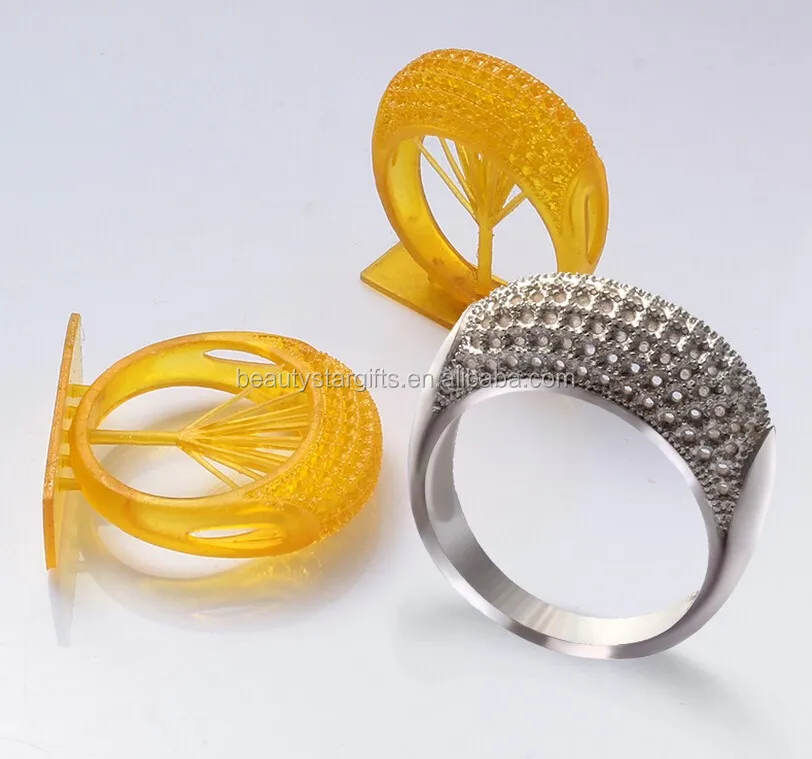 I learned that the hard way when silver which appeared molten in my crucible turned solid in the air between the crucible and the flask while I was trying to pour it. We also need to be careful not to boil the metal, which is actually something that can happen.
Similarly to the previous step, I started out with a furnace stolen from Sam before getting one meant for the task. Both my furnace and kiln are small electric ovens made by TableTop furnaces (in America!). I have links to them in the full equipment list in the blog post I linked to.
Pouring some molten metal (Photo courtesy of Beth Deene)There are a few ways we can approach the pour. We can take the flask out of the kiln and simply, well, pour the metal. This is known as gravity casting, because we rely on gravity to pull the molten metal down into the mold. It works, but we might see some loss of detail and unfilled crevices where the metal was not able to flow.
Another method is called sling casting, where we put the flask in a holder with a rope tied to it and use our arms to swing the flask in a circle next to us.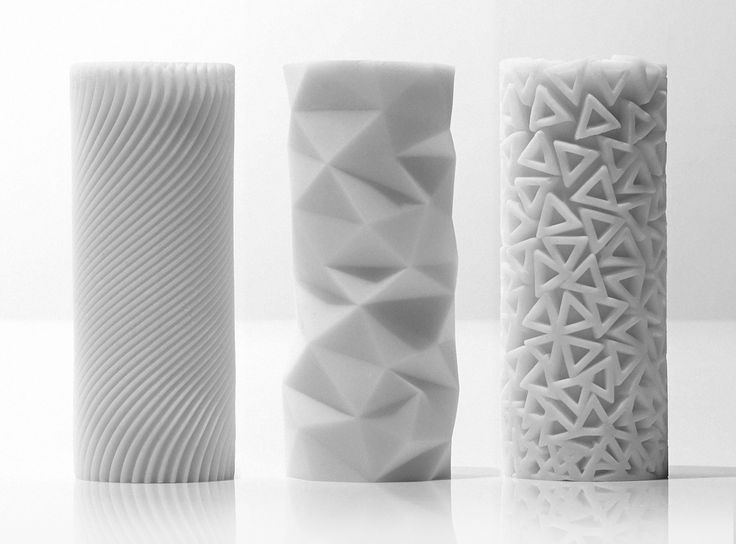 The centrifugal force helps push metal down into those hard-to-reach spots. I haven’t tried this method, as it terrifies me for obvious reasons.
A slightly more tame version of sling casting is centrifugal casting, where the flask is placed horizontally in a centrifuge, which uses similar action to pull metal into the mold.
My preferred method is vacuum casting. I have a hole in the top of my coffee can vacuum chamber, on which I place a silicone mat (also with a hole through it). The investment plaster is porous, so when I pull a vacuum through the flask, the molten metal is pulled down into the mold.
During the pour, it often doesn’t look like the mold took any metal at all. Instead, it looks like the metal just pooled up in the button rather than flowing through the cavity. This fools me every time, and the pour almost always turns out fine.
Regardless of the method we chose, now we wait a few minutes for the button to cool to a dull red color. At this point, we can quench the flask in a bucket of water. Using tongs, by the way. We’ve been using tongs this whole time. As the water around the flask boils, the investment dissolves and we’ll hear a thud as the metal tree falls to the bottom of the bucket. Wait a minute or so for everything to cool, assuming there’s enough water in the bucket: I use 5 gallons. (Less water = more cooling time.) Finally,we can retrieve the tree and hopefully marvel at how well the process went.
Post Processing
We’re done! Well, almost. We have a metal tree, but what we want is metal parts. Unless the parts we cast are tiny trees, in which case I suppose we have a tree of trees. Now we need to do a few post-processing steps to clean up the parts.
A metal tree right out of the quenching bucket (and after some scrubbing)First up is removing them from the tree. We’ll try to cut the part off of the sprue as close to the part as possible. I use a jeweler’s saw and a small hacksaw for this, but a rotary tool or larger saw should work fine too.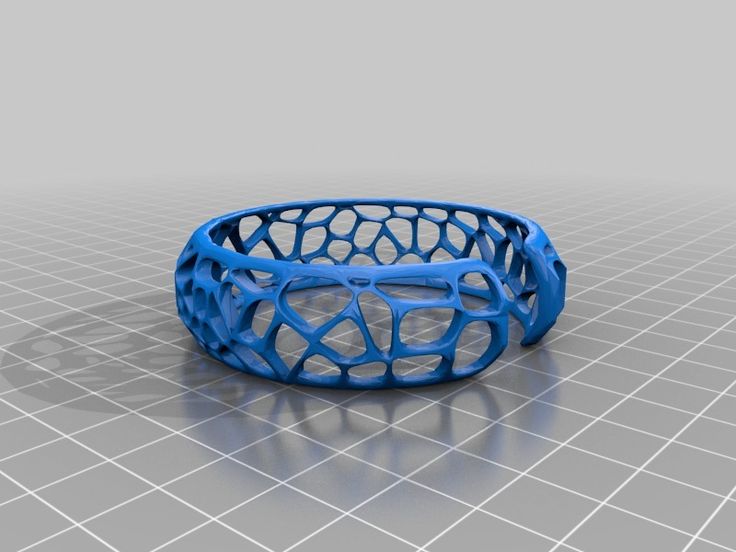 Once the parts are separated, we can clean them up. I often grind the remnants of the sprue off with a grinding wheel, and touch up the area with a file. Any bubbles or other defects can be similarly dressed up, then it’s off to a tumbler.
I like to tumble with Dawn dish soap and water in stainless steel shot for several hours to polish up the part. This won’t soften the raw cast texture, so if we want to smooth out any surfaces we’ll need to do that with files and sandpaper ahead of time. The post-processing is an art in itself, so we can expect to spend quite a bit of time in this area, depending on the final look we want to achieve. If the as-cast finish is acceptable then the process goes much quicker.
Well, now we’re actually done. All that’s left is to admire the cool thing we just cast, and make our friends jealous with our newfound hobby.
Waxing Philosophical
I’ve been making things with my hands as long as I can remember, but this process feels different from all the others. There’s something existential about spending hours crafting (or even printing) a wax pattern, only to consume it in the process of forming something new. Most steps of this process are a “point of no return” so everything we do must be deliberate, creating as well as destroying. Any mistakes in the wax pattern are carried through to the final metal piece. There are countless ways for it to go wrong, but it’s the most gratifying process I’ve ever worked with.
Maybe I’m reading too far into the whole thing though. All I can say for sure is that I made some cool stuff, and had a ton of fun along the way.
3D wax printing: advantages, features, equipment
Basics of 3D
Casting
Jewelry industry
3D printers
Author: Viktor Naumov
Author: Viktor Naumov
Wax 3D printing vs traditional technologies | Wax 3D printers: advantages, disadvantages, applications | Wax 3D Printing Technology | FlashForge WaxJet: large-format machines for creating high-precision models | Order a consultation and printing services
Wax is an environmentally friendly, non-contact, soluble material commonly used in the manufacture of investment casting products.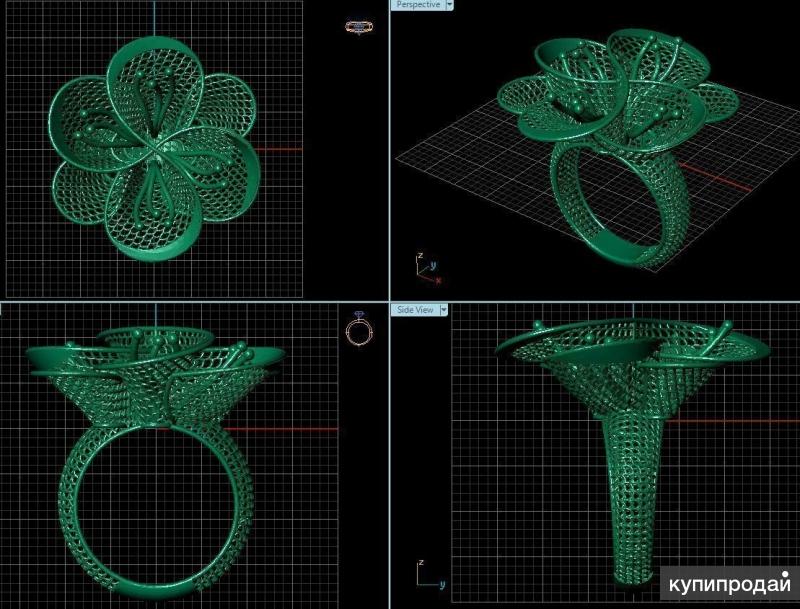 A casting mold is removed from the investment model, into which molten metal is then poured and the final product is obtained.
Wax 3D printing vs traditional technology
For traditional casting, as well as for other classical technologies, the advent of 3D printing was a turning point: additive methods immeasurably expanded the possibilities of production, making it possible to significantly optimize the technological cycle in enterprises of various industries.
Wax, characterized by good meltability (at temperatures above 60°C) and requiring simple post-processing, has become one of the most affordable and popular materials used in 3D printing. Today, even in a typical office or laboratory setting, you can install an additive machine and print high-quality wax models that closely match CAD models around the clock.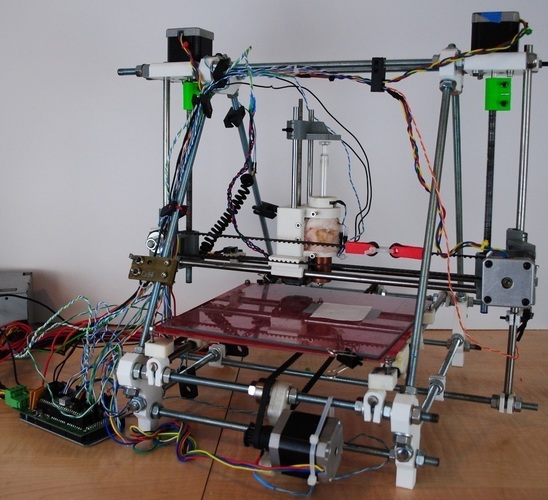
Thanks to the high performance of 3D wax printers, an enterprise can reduce the time it takes to make prototypes by several times, and sometimes even dozens of times, and, accordingly, reduce production costs. Models printed from wax are distinguished by high precision, perfectly even and smooth surfaces, as well as the finest detail, which makes it possible to create products of complex shapes and textures that cannot be made using traditional technologies.
How to make a casting mold in a week? Read the history behind wax and photopolymer 3D printed gas valve models.
Wax 3D Printers: Advantages, Disadvantages, Applications
Pluses
- High print speed.
- High level of detail for the production of geometrically complex products (printed layer thickness up to 16 microns).
- Ability to simultaneously manufacture parts of different configurations on the same platform.
- Perfect model accuracy (up to 0.
 1016 mm per 25.4 mm part size).
 - Convenience and ease of use.
- Possibility of continuous operation.
Cons
-
Fragile and vulnerable to sunlight models.
-
Primarily functional prototyping.
-
High cost of consumables.
Wax models on the FlashForge WaxJet 400 build platform
Where is 3D wax printing used?
Wax 3D printing is used to create functional prototypes, tooling molds, and investment casting master patterns in areas such as jewelry, manufacturing, consumer goods, automotive, aviation, and medicine.
In particular, wax 3D printers are used to create:
- industrial components for the automotive and aerospace industries, mechanical engineering and instrumentation;
- items of jewelry and watch industry;
- prostheses and other medical devices;
- art objects, souvenirs.
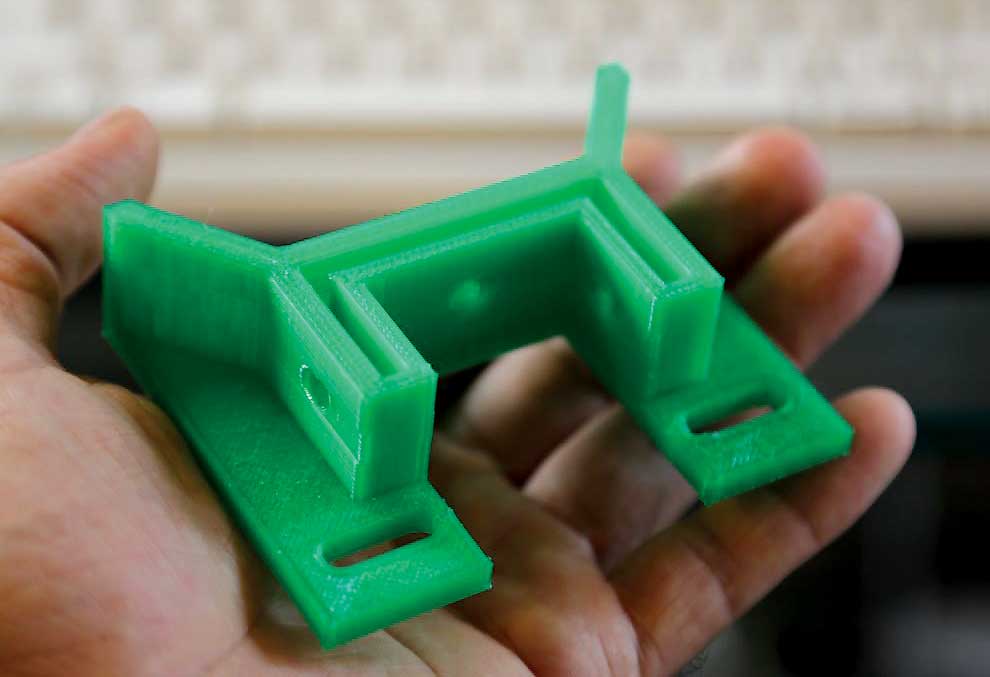
Order a 3D test print of your product for free! Other services available - find out more and apply online:
Order service
Wax 3D printing technology
Wax 3D printers use multi-jet printing (MJP) technology. One of the features of this method is that the protruding parts of the product require supporting structures - they are easily removed at the end of the printing process or dissolve themselves.
When comparing wax and photopolymer, the latter wins in terms of the quality of the printed model, strength and cost, however, in terms of the quality of the final molded product, the advantage is definitely on the side of the wax.
MJP technology works in much the same way as conventional inkjet printing. The layer is applied by a print head with a large number of tiny nozzles through which the model material is fed onto a horizontal platform.
3D printed wax models and finished jewelry
Steps of the wax printing process
- The material is melted in a heated cartridge.
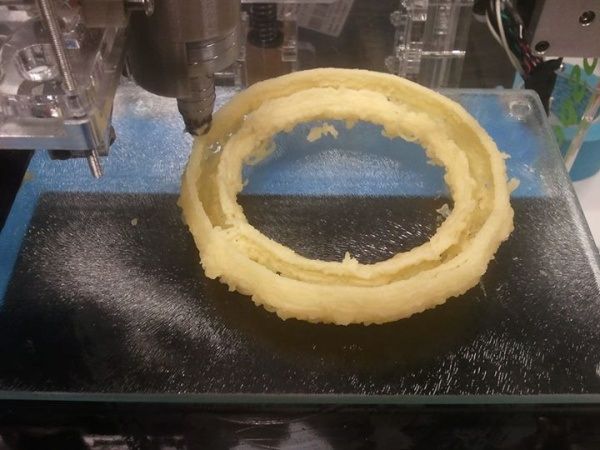
- The printhead applies wax to the build platform at the desired location.
- The build platform is lowered in the chamber by the thickness of the layer, and the process of applying the material is repeated layer by layer until the model is completely built.
- Wax solidifies immediately upon contact with the build platform.
- Models are removed from the build platform.
- Supports are removed with a special solution.
- The model is drying.
When printing with wax, two types of materials are used:
- harder (melting at about 70°C) - model wax for product printing;
- is softer or fusible - for creating supports.
Read on our blog: 3 Case Studies of Additive Manufacturing in Investment Casting
FlashForge WaxJet: Large Format Machines for Precision Modeling
Introducing professional MJP printers from the Chinese manufacturer FlashForge WaxJet 400 and 410.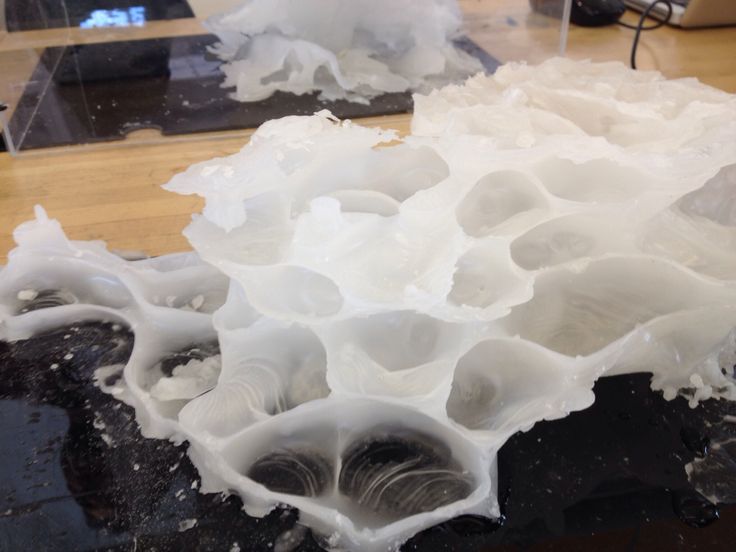 This is a line of large-format machines for printing high-precision and extremely smooth waxes up to 289 x 218 x 150 mm in size. The inclusion of WaxJet in the process will reduce production costs by 20-30% compared to a traditional casting cycle and create products 2.5 times faster than with classical methods.
Benefits of the WaxJet 400 and 410
printers- Increased productivity: print up to 180 (WaxJet 410) or 360 (WaxJet 400) items per day.
- High resolution 1200 x 1200 x 1600 dpi and a layer thickness of only 16 microns.
- An ideal choice for printing jewelry, industrial tools, watches and souvenirs, as well as investment casting in aviation.
- Automatic material loading system.
- Stable material supply due to the immobility of the main print module with a movable build platform.
- An enclosed build chamber that isolates the printing process from external influences such as dust, microscopic debris, or excess moisture.

- Compatible with two kinds of materials: 100% purple wax and white support wax material.
- Easy management and maintenance of 3D printers.
Read our review of WaxJet wax printers
WaxJet 400 3D printer example: impeller
Print time: 4 hours 38 minutes
Wax Model Weight: 7.18g
Application: For In713c
Alloy Turbine Casting Benefits compared to the traditional process: 80% faster time to market, 45% less labor
So, wax 3D printing will allow your business to achieve better efficiency by saving time and money on designing and manufacturing prototypes and master models for casting.
Are you convinced by the benefits of wax 3D printing?
Learn more about implementing 3D technologies, get detailed advice, order a demonstration of equipment or 3D printing services you can contact iQB Technologies : we have been successfully implementing 3D solutions for industry and business since 2006. Contact us: +7 (495) 223-02-06, [email protected] .
Article published on 05/19/2022, updated on 09/23/2022
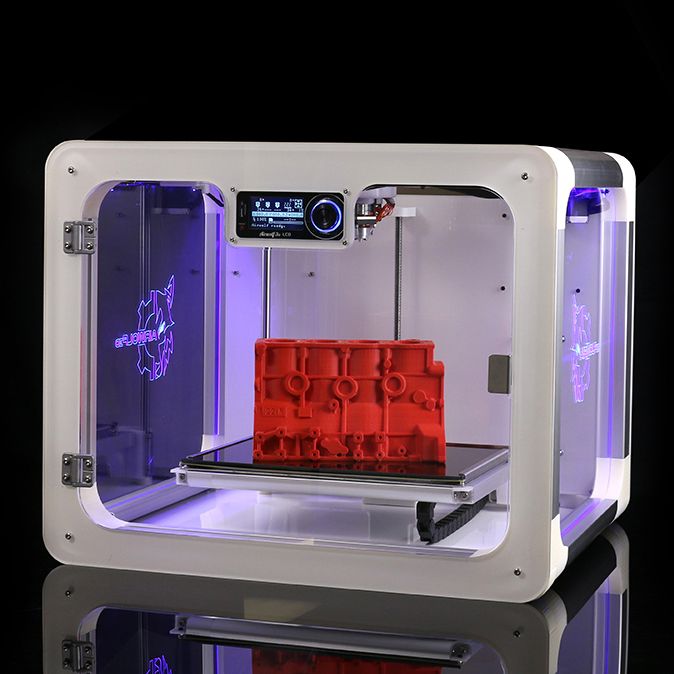
3D printing with wax on an FDM 3D printer. Recommendations and settings on the example of 3D printer PICASO Designer X.
- 1. First, a little history of
- 2. What is Filamentarno Wax Base?
- 3. Which printer is suitable for printing?
- 4. Why is Picaso Designer X good for Wax Base printing?
- 5. Preparing Picaso Designer X before printing Wax Base
- 6. Printing process
- 7. Result and output
Hello friends, 3DTool is with you!
Investment casting is a fairly popular method of manufacturing metal products. Most of the jewelry is produced in this way, this method is used to create parts of mechanisms, cases and other elements and assemblies that require increased strength. The starting point in the casting process is the original model or ready-made matrix, from which a copy is made from wax or other easily melted material to create shell molds into which the metal is already poured. But what if we bypass the initial model creation phase and make an immediately meltable wax model? This is where 3D printing and new material from 9 come to the rescue.0215 Filamentarno - Wax Base .
1. A little history first
The idea of printing waxes on a 3D printer is far from new, initially, the technology appeared in the camp of photopolymer 3D printers, was used, and is still used today, for example, by such giants as 3D Systems and Solidscape . Entire lines of devices have been honed to produce high-precision lost wax printouts with a perfect surface. However, such printers had and still have one tangible minus - what if the desired object is much larger than the size of the working area of the device, and the quality of the surface, in general, does not matter much within reasonable limits? The first thing that comes to mind is to find a device with a larger working area, however, among photopolymer printers, there are negligible models that meet this requirement and, basically, they are sharpened precisely for high quality and miniaturization. Or too expensive to maintain. What to do? But what if you use FDM for these purposes?
Photo from open sources, site sapr.ru
The first experiments with FDM 3D-printed/lost-waxed models used PLA and PMMA, the relatively low ash content of which, in theory, promised to achieve good casting quality, and some enthusiasts actually achieved quite good results. Instead of smelting, however, the technique of burning the material was used. However, widespread practice has shown too high a dependence of the result on the quality of the material, the presence or absence of a dye, the correct temperature regime and a strong limitation on the equipment and materials forming the shell form, not all of which withstand subsequent annealing and do not burst. Moreover, the crust-forming compound is able to transfer even the smallest defects and artifacts on the surface and any spills, cavities and flaws immediately appear on the final result. And avoiding the formation of unwanted gases when burning PLA is very difficult.
Photo from open sources, site sapr.ru
And if large-format casting in industrial, factory conditions allows the use of PLA and PMMA, due to the complication of production technology (there is a wide practice of using such giants of the world of FDM printers as BigRep for these purposes), then medium-sized workshops and small studios equipped with conventional boilerclaves require more flexible approach. And it is in this case that the Wax Base is perfect for them.
2. What is Filamentarno Wax Base?
Filamentarno WAX Base is a filament for 3D printing using FDM technology for subsequent investment casting from metals, the bulk of which is real jewelry wax. Of course, the composition contains other impurities to stabilize the rod and meet its characteristics in accordance with the requirements of fdm 3d printing, however, the final result is fully compatible with any melting techniques of conventional wax compositions and is easily glued to them, for example, to form sprues.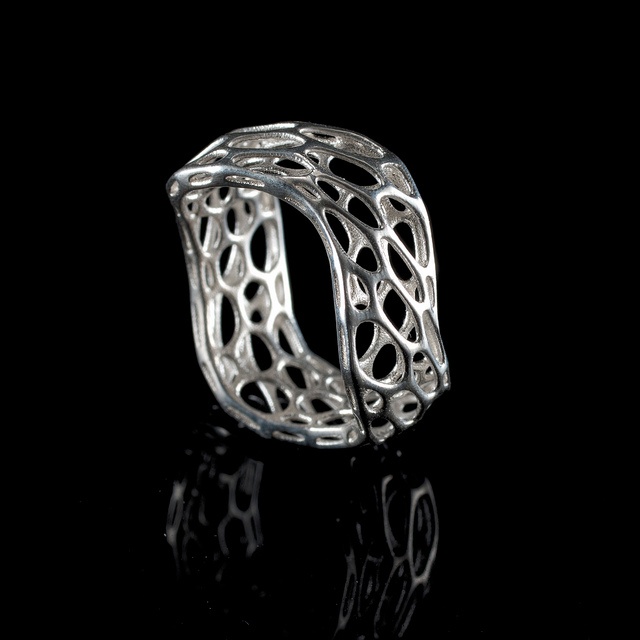
The company F ilamentarno took a long time to produce this material, the idea appeared a relatively long time ago, but the results were achieved only in the last couple of years, nevertheless, the sensation was such that the company even had to open a small 3D printing studio in order to gain experience applications and respond to the market demand since there were no analogues to this material before.
The material turned out to be promising, among its advantages there is a sharp increase in the maximum possible size of wax waxes, and printing speed, as well as the ability to greatly reduce costs, because the cost of melted wax in the form of a thread turned out to be much more profitable than photopolymer, not to mention the price of photopolymer 3D printers.
This material also has certain features that can hardly be called obvious disadvantages, but they impose strict requirements on the device on which it is planned to print. More about them below.
3. Which printer is suitable for printing?
Due to the physical characteristics of the raw material, Filamentarno Wax Base is printed at significantly lower temperatures than other materials. Softening occurs already at ~ 45 degrees, and melting, from ~ 95 degrees Celsius. Because of this, it can be easily smoothed out in post-processing using hot air guns, torches or soldering stations. The recommended print range is from 110 to 130 degrees, while most standard 3D printers do not allow the extruder temperature to drop below 190, less often 170 degrees Celsius, which is excessive in the case of Wax base .
Owners of simpler and cheaper models of 3D printers, as a rule, have the opportunity to correct the corresponding parameters in the printer's hardware firmware, or lower the temperature using special control commands. Meanwhile, expensive brands usually do not provide such opportunities and completely close both the firmware and the “console” commands from users from changes. Here is what the manufacturer writes on its website in the description of the material in this case:
“Most often printing on a 3D printer with a nozzle temperature below 170°C is prohibited by the printer firmware. To bypass this limitation, use the G-Code command: "M302 S80" - it can be inserted into the starting G-Code in the slicer settings. This command will lower the print temperature limit to 80°C."
Also, since the material is quite easily torn, soft and melts easily even at low Cold End heating temperatures, you will need to use a direct extruder drive (Direct) for printing, a remote (Bowden) broaching mechanism will not cope with the task and, at best, will “jam » material.
Nevertheless, at least one manufacturing company that took care of printing with low-temperature materials “out of the box” and has printing units equipped with direct drive, we can definitely name. Of course, we are talking about the manufacturer of 3D printers Picaso3D and line of 3D printers Designer Series X .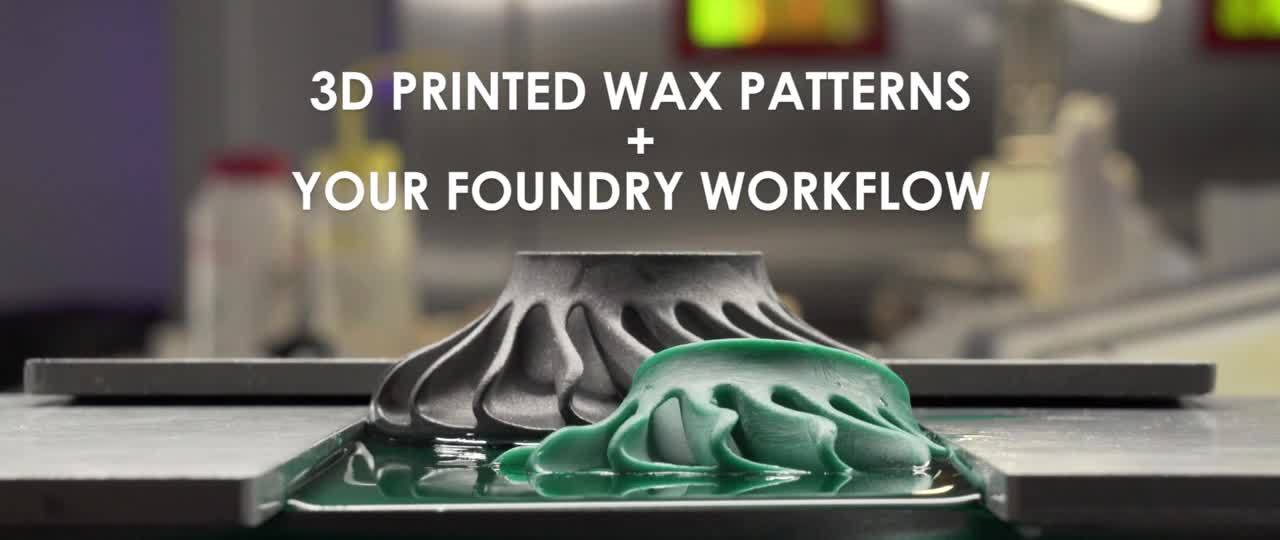
Let's take a look at the benefits of the Series X line for wax printing using the Picaso 3D Designer X as an example .
4. How good is Picaso Designer X for Wax Base printing?
In addition to the ability to set extremely low extruder temperatures for FDM 3D printing in material profiles, the Series X platform has a number of additional features that make working with the Wax Base easier.
First of all, it is the adjustable temperature of the cold zone (thermal barrier) of the printing unit. It has another temperature sensor that allows you to monitor and adjust peak performance by increasing and decreasing the cooling cooler speed.
This feature prevents the formation of plugs in the extruder tube above the melt zone. The special structure of the receiving "neck" in the pulling mechanism also plays into the hands, which eliminates the bending of the material during filling and printing.
In addition, the system of active “purging” of the working area, thanks to several turbine fans, allows you to quickly cool the material during printing, which also has a positive effect on the quality of the surface when printing roundings and overhanging elements.
And sensors for the presence of filament and control of the upper layer will help prevent damage to many hours of printing in the event of a break or end of the thread.
5. Preparing Picaso Designer X for printing Wax Base
To confidently print Wax Base on your device, you need to stock up on a clean, preferably new, extruder block with a new or carefully cleaned copper nozzle with a diameter of at least 0.4mm. In our case, the most suitable in the Picaso Designer X line is the 0.5 nozzle.
It is also necessary to take into account the following nuances:
-
A rubber scraper is installed on Picaso 3D printers to clean the PG - when printing WAX, it smears the material and harms rather than benefits, it must be removed.
-
For normal adhesion, the heating table on the first layer must be heated to 85-90 degrees, subsequent layers must be set to 0-30 degrees so as not to deform the wax. To do this, you need to have two different material profiles.
-
Airflow - required when printing overhanging elements, the main thing is not to overdo it, otherwise the layers will not bake well.
-
Wax, like many elastomers, does not like retracts, this parameter must be set to 0.
-
Refilling plastic takes place in two stages. The first is filling at an elevated temperature of 190-200 degrees, to eliminate a possible wax plug. The second stage is filling at the extrusion temperature - 110-130C
-
It must be remembered that plastic is very sensitive to extrusion temperature, too high clogs the nozzle, too low gives poor interlayer adhesion. The optimum temperature for picaso designer x is 115 degrees for the first layer, 120-125 degrees for subsequent ones.

-
Periodically, it is necessary to check whether the plastic thread wound on the spool does not stick to itself, this can cause material slippage, because. it pulls out easily.
-
It is very important to correctly set the height of the nozzle above the table, because if the nozzle is pinched, a plug will quickly form in the extruder, which can be eliminated only by refilling the plastic again.
Before printing for the first time, be sure to replace the entire hot end or nozzle with a new / clean one, otherwise the desired result will not be achieved.
When preparing a 3D model for printing at Polygon X , you must adhere to the following rules, try not to make the outer wall very thin, the material may burst. The ideal option is 2 perimeters, approximately 1.2 mm, with a nozzle of 0.5
Percentage of filling, not less than 15%, if the geometry of the model allows.
Otherwise, the requirements for the material are the same as for conventional plastics. It should be noted that the supports come off very easily and, if necessary, the attachment point can be treated with a burner or a building hair dryer in order to achieve a smooth surface.
We printed the current models at the following settings (pictured above).
It remains to create two print profiles for printing the first and subsequent layers, send them to the printer and wait for the print results.
6. 3D printing process
Before printing, be sure to thoroughly rinse the glass stage bed and apply fresh adhesive to it. In our case, a regular spray is suitable - glue from PICASO 3D , however, the manufacturer also offers a proprietary adhesive:
Next, you need to prepare two print profiles according to the following settings, experimentally they showed the best result when printing.
Wax3D_F - profile for subsequent layers, Wax3D(1Layer) for the first.
When rendering the model, be sure to manually set a pause after the second layer in order to have time to switch print profiles.
If you have previously printed with wax on the current printer, you need to start another profile with a higher temperature and load the material only after the old material has “melted through”.
Leaving material in the nozzle at high temperatures is not recommended. This is fraught with traffic jams.
7. Result and conclusion
When printing, we encountered several times the delamination and peeling off of the material from the heating table during the printing process and the selection of parameters.
As you can see in the photo, the material diverges in layers and it may feel that the temperature is insufficient for sintering. However, this is not the case, because when the temperature rises, the material does not extrude, but flows out of the die, which disrupts the layer structure, and the wax does not have time to cool. The difference is clearly visible in the photo below, on the left the temperature is too high.
However, after several reprints, we managed to achieve good print quality. Both with and without support.
The material withstands rather steep angles of inclination "perfectly", as can be seen from this flange in the photo.
The artistic approach is not alien to the material, we printed the head of this character for about a day and, as you can see, the result is excellent.
In general, when printing products with low detail, it is best to select a slow (quality profile) or medium (standard profile) print speed setting so that the material has time to properly form and cool during extrusion. Otherwise, sagging "pulling" of the thread may form.







-kupit-v-soin-store.ru-3.png)
