3D printing test boat
The 3D Benchy 'torture test' that pushes 3D printers to the limit
0Shares
New to the world of 3D printing? Or wondering why people keep printing little boats on their 3D printers? The 3D Benchy is ‘the jolly 3D printing torture-test’ designed by Swedish 3D technology reseller Creative Tools.
The name ‘Benchy’ is short for benchmark. This little boat is designed with geometric features, such as the portholes and an open cabin, that provide a challenge to 3D printers. When using a new filament, or 3D printer, the 3D Benchy can be used to see how they measure up. On setup, they can also highlight problems that may be occurring in the software commands sent to a 3D printer, or the filament.
Layer separation and ‘delamination’
If layers of extruded plastic aren’t sticking properly, the issue could be that the layers are too thick, or extrusion temperature is too cold. Both issues can be easily solved in the software used to program a 3D printer.
Spaghetti-ing
The dreaded (and occasionally comical) spaghetti-ing effect of a 3D print occurs when layers become completely delaminated, but the 3D printer continues printing. It can be caused by the same settings as above, but if it’s persistent it can be a fault with a 3D printer part.
A 3D Benchy boat with some spaghetti-ing on the hull. This is the result of an experiment using 2 different colored filaments, which is an extra challenge to extrusion. Photo via: 3DBenchy on FlickrStringing/webbing to make ‘hairy’ prints
This is when thin strings of plastic build up in areas of the object that should be empty.
Enabling filament retraction can solve this problem. Retraction ensures that the 3D printer’s extruder doesn’t let the filament spill over between one section and another. Retraction on – the filament returns into the extruder in-between sections so it is not still melting out of the print head.
A hairy 3D Benchy with some layer delimitation on the hull.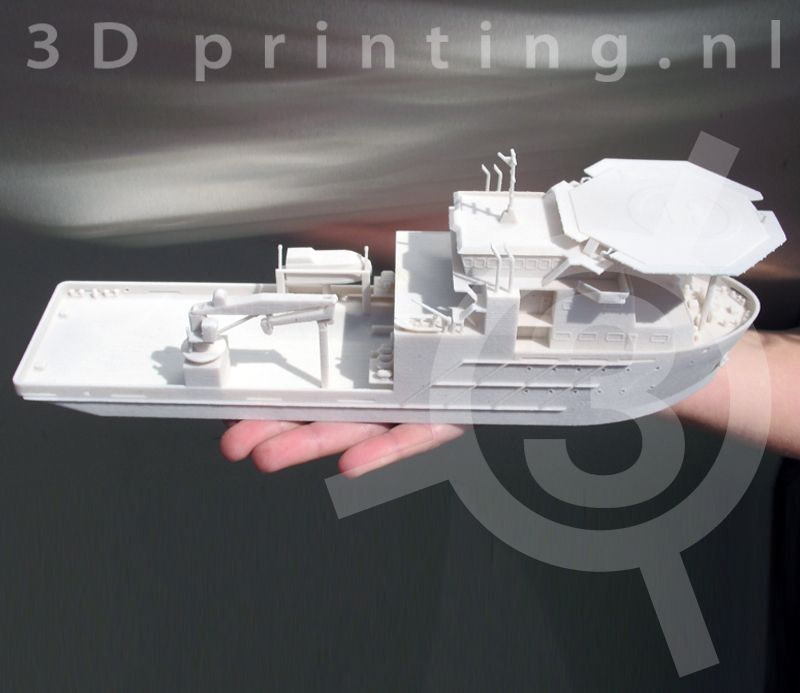 Photo via: wizardru.net
Rough surface blobs
This is a problem that may be solved by turning retraction off. If a 3D printed object doesn’t have any spaces in it, e.g. portholes and cabins, in some cases, it is better to turn retraction off so that the extruder isn’t resetting itself between every layer, meaning it can print more smoothly.
Surface blobs on a 3D print. Photo via: Simplify3DInfill settings
Infill is the interior structure of a 3D print. An ability to set this percentage is one of the things that makes 3D printed objects so light and efficient from a materials usuage perspective. The part of an object you don’t see doesn’t need to be solid, so a 3D printer creates it as a kind of waffle structure instead.
Waffle-like infill of an incomplete boat. Photo via: madprinter.orgThe solid layers is an object’s exterior, i.e. the visible part of an object. Imbalance between the infill and solid layers can create holes or gaps in an object.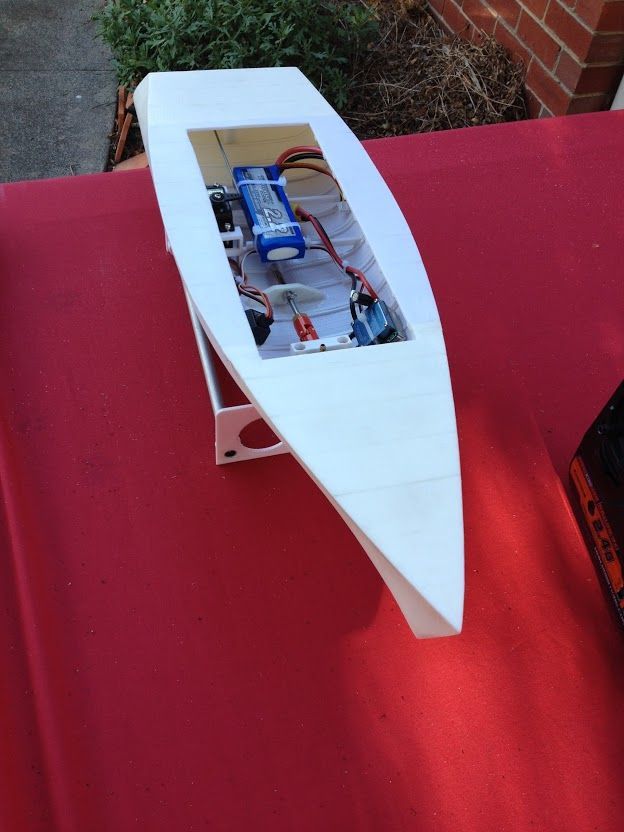
Available for everyone
Licensed under the Creative Commons Act, Creative Tools encourage 3D printer users to download, distribute and remix the 3D Benchy .stl file as much as they please. The license even allows users to sell their 3D printed Benchy creations, as the site stipulates: ‘you own them!’
A devoted Flickr photo archive tracks the different 3D prints and designs of the boat in photos submitted by the 3D printing community.
From left to right: 3D Benchy smoke plume design by AKIRA, boat stand by Tomáš Vít, and a LEGO compatible boat by Creative Tools. Photos via: 3DBenchy on FlickrFailure is a badge of honor
YouTuber Vicky Somma, (TGAW on YouTube) who 3D Printing Industry interviewed for global 3D printing day, has turned the iconic boat design into a badge of honor for 3D printing beginners, and frustrated veterans alike.
From Failure Comes Knowledge Maker Coin by Vicky Somma Photo via: VickyTGAW on ThingiverseThe From Failure Comes Knowledge Maker Coin celebrates the idea that failures are part of the process of 3D printing, and features a Benchy boat with the infamous ‘spaghetti-ing’ effect on top.
In 3D Printing Nerd’s video ‘My Top 5 3D Printer Tips After Getting Your First #3DPrinter’, Joel Telling also lists failure as an important part of the process. Essentially, it means that you are learning and experimenting.
Other tips, and a preview of people’s first 3D prints can be found in our Welcome New Makers article, from the beginning of 2017.
Joel Telling’s ‘Top 5 3D Printer Tips After Getting Your First #3DPrinter’ Screenshots via: 3D Printing Nerd on YouTubeAny 3D Printing Industry readers making remixes of the 3D Benchy design can send them to us via email, or tweet photos to us on Twitter.
The 3D Printing Industry Awards for innovation are now open for nominations.
Featured image shows Neon 3D Benchy boats by Javen Wilson of Mosaic Manufacturing Photo via: 3D Benchy on Flickr
Tags 3D Benchy 3D printing community 3D printing Nerd 3D printing newcomers beginners benchmark Benchy boat Creative Tools Joel Telling makers new makers TGAW TouTUbers Vicky Somma
Beau Jackson
The ‘Jolly’ 3D Printer Torture Tester
What is a ‘Benchy’?
Benchy is a small model of a boat made by Swedish technology reseller, Creative Tools. It is a calibration model designed to be printed quickly, and without support, to highlight the problems your printer may have under extreme circumstances. From Creative Tools on their Thingiverse page for the model, “(Benchy) is a 3D model designed by us at Creative Tools specifically for testing and benchmarking 3D printers. It is a small recognisable object that you can download for free, make and share.” On their
page for the model, they encourage users to print the small boat and document their results as well as settings used for printing the model. They offer a multitude of social media sites to share the results of your own Benchy. You can find the Thingiverse page for the model at https://www.thingiverse.com/thing:763622
The name given to the small boat, Benchy, stands for “benchmark”. The boat model was designed with torture testing in mind, as it includes challenging geometric features such as bridges, overhangs, small text and steep angles.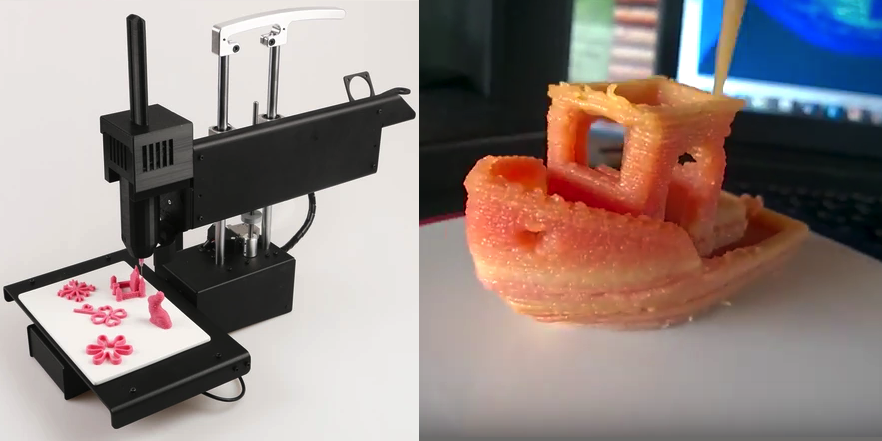 The idea behind printing a Benchy boat is to be able to figure out exactly what your printer’s weakest point is. As it is known, “A chain is only as strong as its weakest link.” In the case of 3D printers, this is also true.
Why You Should Print a Benchy
By printing out a Benchy boat, you may be able to realize areas of improvement your 3D printer needs. For example, after you print out a Benchy on your own 3D printer, you may realize there are areas of inadequate part cooling, under-extrusion, stringing, etc. Lots of people use a Benchy to test new filament colors, new materials, or new settings using that filament. Furthermore, a Benchy can also highlight problems that may occur during print setup, such as layer delamination, command errors or the filament itself.
If you would like to learn of all the kinds of problems that can occur before or during printing, you can check out the Print Quality Troubleshooting Guide by Simplify3D here: https://www. simplify3d.com/support/print-quality-troubleshooting/
There is no wrong way to print out a Benchy, so get printing and test your printer!
References:
The 3D Benchy ‘torture test’ that pushes 3D printers to the limit. (2020, July 10). 3D Printing Industry. https://3dprintingindustry.com/news/3d-benchy-torture-test-pushes-3d-printers-limit-103662/
Print quality guide. (2019, June 21). Professional 3D Printing Software | Simplify3D. https://www.simplify3d.com/support/print-quality-troubleshooting/
Thingiverse.com. (n.d.). #3DBenchy - The Jolly 3D printing torture-test by CreativeTools.se by CreativeTools. Thingiverse - Digital Designs for Physical Objects. https://www.thingiverse.com/thing:763622
What does a chain is as strong as its weakest link mean? (2017, March 21). Writing Explained. https://writingexplained.org/idiom-dictionary/a-chain-is-as-strong-as-its-weakest-link
Posted on Apr 21, 2022 2:46:43 PM by Max Edward in Student Work, in Digital Maker Fabrication Degree, in UAT News
FDM printing technology in 3D printers. Pros and Cons, Applications
FDM or FFF technology involves the creation of objects by layer-by-layer application of molten material. FDM literally stands for fused deposition modeling or layer-by-layer deposition technology.
It sounds complicated, but the technology is actually very simple. It's basically like a hot glue gun. On the one hand, thermoplastic or any other material is pushed through, which melts from heat, and then solidifies without losing its properties.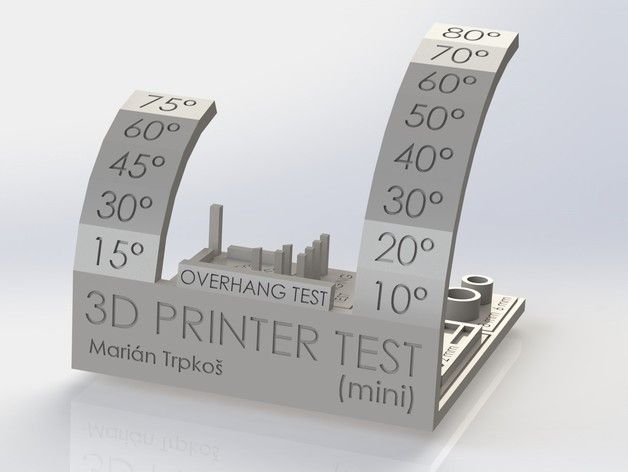 The thermoplastic passes through a hot nozzle, melts and solidifies immediately. The extruder and table are driven by stepper motors, leaving plastic behind them, layer by layer, from bottom to top, recreating a 3D model.
MJM technology can be called an analogue of FDM. Only MJM uses wax or photopolymer. On the print head there are many small nozzles (from 96 to 448) through which molten wax is supplied, or droplets of photopolymer that are immediately illuminated by the lamp.
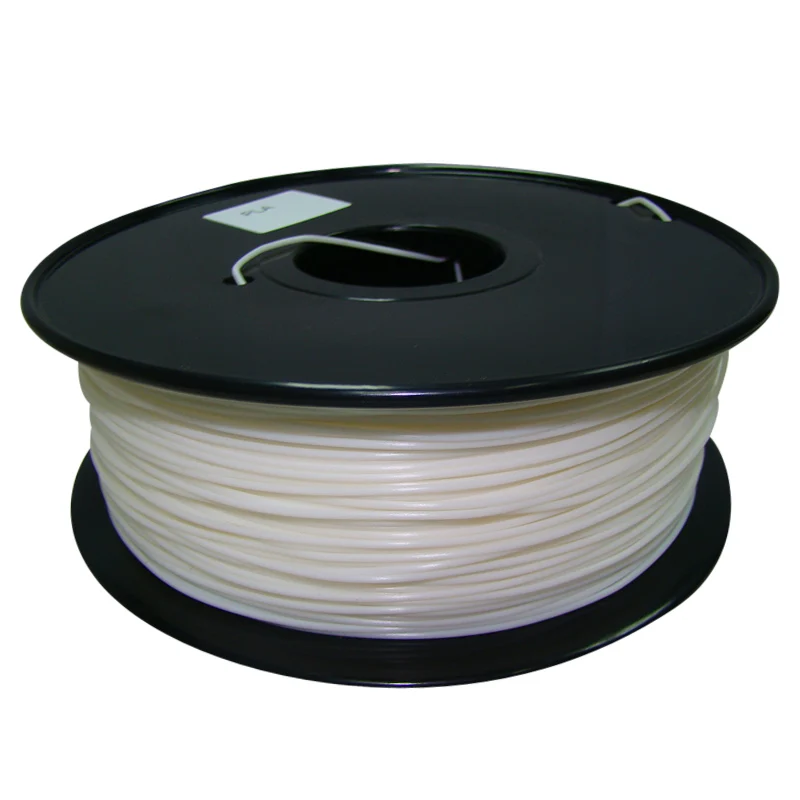
Plastic thread is used as a material for making models. There are 2 diameters of plastic thread - 1.75 and 2.85 (3mm). Printers that need 3mm filament are rare, mostly Ultimaker and its clones. Most printers use 1.75 filament for printing.
The first material for 3D printing was a plastic welding filament with a diameter of 3mm, so for a long time this size was the standard for 3D printing.
A 3D model is prepared using a slicer program before printing. The slicer separates the model into layers and prepares commands for moving the print head. The sliced model can be saved in different formats, but GCode is used by default. Therefore, the printer is basically a CNC machine.
History
The method was invented by S. Scott Crump in the late 1980s. The patent was received in 1988. And already in 1990, Stratasys appeared on the market with the first industrial 3D printer using FDM technology.
Scott Crump is one of the founders of Stratasys.
The first 3D printers were rather expensive industrial machines designed for large companies. Everything began to change in 2006, after the founding of the RepRap project (from the English Replicating Rapid Prototyper - a self-replicating mechanism for rapid prototyping).
First version of RepRap 3D printer.
The goal of the project was to create a self-copying 3D printer. Shafts were used as a frame and guides.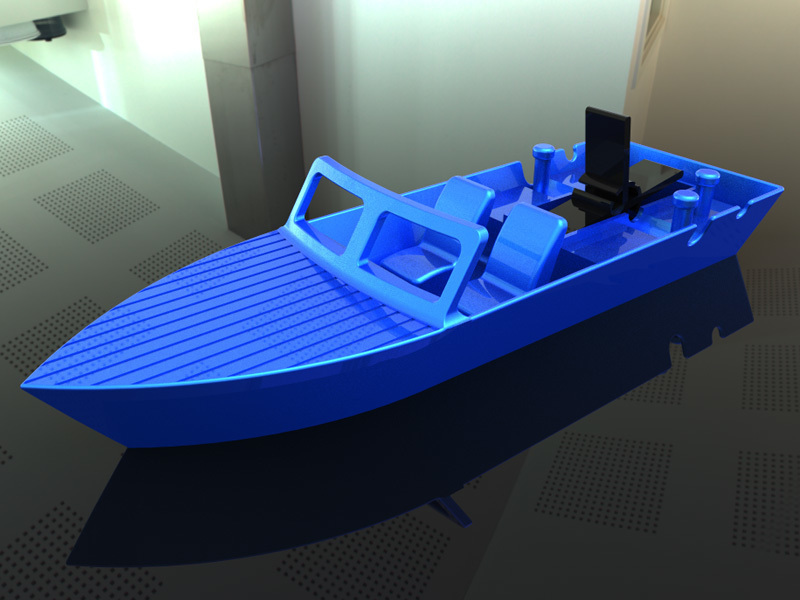 Almost all parts were connected by printed parts. The extruder and table were driven by stepper motors. The source code was open. Of course, visually, it looked like a homemade “made from improvised materials”, but it worked. The printer uses about 50% of printed parts.
Since the term FDM was patented by Stratasys, 3D printing enthusiasts and RepRap project contributors have coined their own term - FFF. Literally stands for - fused filament fabrication (production by fusing threads). The meaning remained the same, but it helped to avoid legal problems.
As RepRap has developed, projects based on OpenSource (open source code) have developed. The most prominent representative of the OpenSource movement was MakerBot. In addition to developing their 3D printer, MakerBot is actively developing the Thingiverse website. On Thingiverse you can find a huge number of free 3D printable models.
MakerBot founders Zack Smith and Bre Pettis with the final MakerBot Cupcake prototypes.
Separately, it is worth highlighting the company Ultimaker. If in the ideology of RepRap the printer was supposed to reproduce itself, then Ultimaker went the other way. They designed their printer from laser-cut plywood parts. This was much faster and more affordable than the manufacture of printed parts. In 2013, the first Ultimaker Original was released. It was sold as a KIT - a set (assemble it yourself).
All the drawings and developments were posted on the network. This made it possible for anyone who wanted to purchase all the necessary components and electronics, order cutting of the case and some components anywhere and assemble their printer. And after assembly, it was possible to print upgrades on the same printer and replace plywood parts with plastic ones.
Quite quickly, Ultimaker had a large and friendly community. Many free 3D models of various Ultimaker Original nodes have been posted online. A lot of upgrades appeared, many unpleasant “sores” of the design were removed.
Plywood Ultimaker Original
In addition to Ultimaker 3D printers, based on the Replicator-G, they developed their own CURA slicer. Due to its versatility and affordability, CURA has become a favorite among 3D maker slicers. In addition to Ultimaker printers, a bunch of ready-made profiles for other 3D printers have been added there. It is easy to set up CURA for a self-assembly printer.
Modern CURA
There were many more different projects - large and small, but it was the RepRap and OpenSource projects that made FDM 3D printing more accessible. Due to the mass character, not only 3D printers themselves, but also consumables for them, have become cheaper and more affordable.
Of course, there are several differences between FDM and FFF technology. The main thing is the presence of a heated chamber for more stable printing. FFF abandoned it in order to make 3D printers cheaper and more affordable.
Later, a closed case appeared in some printers. Together with the heated table, a passive heating chamber is obtained.
FDM pros and cons
The most important advantage of FDM printing is affordability. The cost of a home printer is comparable to the cost of a smartphone. With a very limited budget, you can find OpenSource projects and build a printer yourself.
Large variety of models.
You can easily choose a printer for a specific task. For example, Flashforge Adventurer 3, due to the closed case and the absence of a heating table, will be a great gift for a child. Anycubic Mega is suitable as a home assistant for a person who loves upgrades and experiments. And Raise3D Pro2 is suitable for production tasks.
Variety of materials for 3D printing.
Due to the mass application, in addition to the standard ABS and PLA, a variety of plastics began to appear. For example, decorative plastics with imitation of various materials.
Decorative laminates imitating copper and bronze.
Engineering - with improved physical and mechanical properties. These materials can be used to create functional products and prototypes.
Printing example for functional products
Or special. plastics for specific tasks. For example, burnable with low ash content or melted wax.
Blank cast from 3D burnout model
But there are also disadvantages.
Poor accuracy compared to other printing technologies.
The discrepancy with the 3D model is usually no more than 0.1mm. This value depends on the mechanics of the printer and the characteristics of the media. For ordinary gears and domestic needs, such accuracy is quite enough. But in some industries (for example, jewelry), the accuracy of the finished model should be higher.
Layered surface.
It is impossible to get a perfectly smooth surface on an FDM 3D printer. Layers on the model can be smoothed out by sanding, puttying, or by treating with a solvent.
On the left is a printed model on an FDM 3D printer, and on the right is the same model after processing.
Applications
With a wide variety of printers and materials, FDM 3D printing has a very wide range of applications.
Prototyping
The most popular is prototyping. FDM printing has made it much faster and easier to create test models and mechanisms.
From 3D printed model to finished product
FDM printing allows you to quickly prototype anything and quickly make changes.
Medicine
In medicine, using 3D printers, they began to create comfortable, breathable orthoses for fixing fractures.
3D printed orthosis.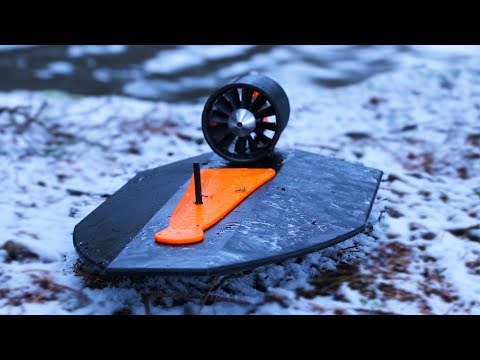
Printed orthoses can be fixed much faster than a classic plaster cast. And the process itself is less time-consuming and dirty.
Creation of simple traction mechanical prostheses. This is especially true for children. After all, children grow quickly and they need to change the prosthesis often. Thanks to FDM printing, the process of creating a prosthesis has been made cheaper and faster.
Child traction prosthesis
Dentures are lighter and more comfortable than those made by the classical method.
Film industry
In the film industry, FDM printing is used to print props and costume elements, masks, mechanisms, and other items.
Geisha robot from the movie "Ghost in the Shell"
Sometimes 3D printing is used to create small prototypes of models on a reduced scale, for more accurate calculation of proportions, staging scenes, lighting and further rendering.
Hobby
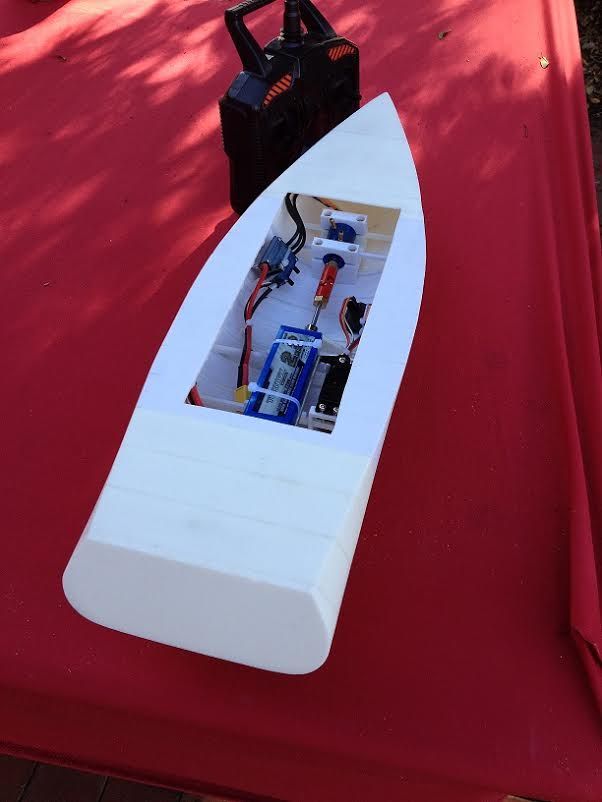
FDM printers have helped to simplify the creation of RC models of boats, cars, aircraft and spare parts for them.
3D printed RC aircraft
Websites have even appeared with models of radio-controlled aircraft, machines adapted for 3D printing.
Cosplayers have also fallen in love with 3D printing due to the variety of materials and the faster and easier production of masks, functional elements, and some pieces of armor.
Cosplay from the movie "Pacific Rim 2"
Previously, it was necessary to select material for a long time and painstakingly, prepare patterns, carefully prepare the surface for priming and painting. Now it is enough to model a 3D model of the desired costume, it can even be adjusted to the figure of the cosplayer and printed. Simplified manufacturing of complex, moving elements and parts of mechanisms.
Modeling
In breadboarding, the 3D printer made it possible to speed up the creation of complex models of buildings and landscapes by several times.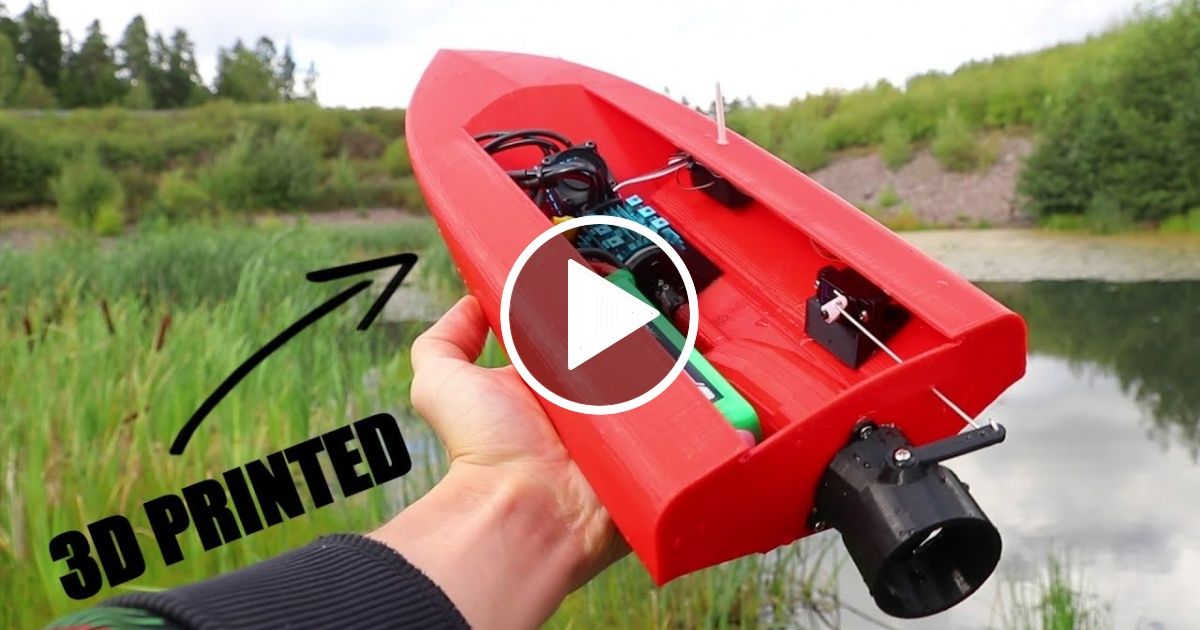 Previously, many elements had to be painstakingly made by hand.
Block layout
A three-dimensional physical model helps the customer to see the future object more fully, compared to the digital environment. You can quickly change the layout if necessary.
Short run
If you need a small batch, for example, key rings with a company logo or a piece product, it will be faster and cheaper to print it on a 3D printer.
Small batch of spare parts
Making a master model with subsequent casting is a laborious and expensive process. If the part is of a complex shape with various protrusions and undercuts, then casting may not be possible, and a 3D printer can easily cope with this task.
Education
The use of 3D printers in the educational process allows students to develop imaginative thinking, to make the learning process more visual. On paper, it is difficult to notice the flaws of the part, and by creating a test part, you can clearly see all the flaws.
Children assemble 3D printer
In robotics, a 3D printer allows you to quickly create various mechanisms and simple robots.
A child assembles a robot in a robotics circle
3D printing is becoming popular for creating visual aids. For example, for visually impaired or blind children. They “see” with their hands, and thanks to 3D printed models, they can perceive information more fully.
Home
At home, a 3D printer can turn out to be not just a toy, but a useful tool. For example, for the repair of household appliances. In some household appliances, plastic gears are erased or broken from the load. With the help of 3D printing, a replacement can be easily made.
Printed and original gears
Or print interior items: coasters, vases, lamps, boxes for small items. Everything is limited only by 3D modeling skills and imagination.
Totals
FDM printing technology, thanks to a wide variety of 3D printers and materials, is very versatile. The main thing is to choose the right tool - a printer suitable for the given tasks.
Despite its youth and active development, FDM has already found many areas for application. From year to year, mechanics are being improved - printers are becoming faster and more accurate. The software is constantly updated so that the novice user is comfortable and does not have to read long instructions before starting the printer, as well as understand millions of settings.
Various plastics appear, helping to obtain more accurate and durable products. Or imitating a different texture and material. This allows you to expand the scope of 3D printers using FDM technology.
3D printing in the production of propellers
3D printing in the production of propellers
Konstantin Innokentiev
3D scanning engineer, metrology expert
British manufacturer of propellers and steering equipment for yachts, boats and ships, CJR Propulsion uses 3D printing technology to prototype and test new products.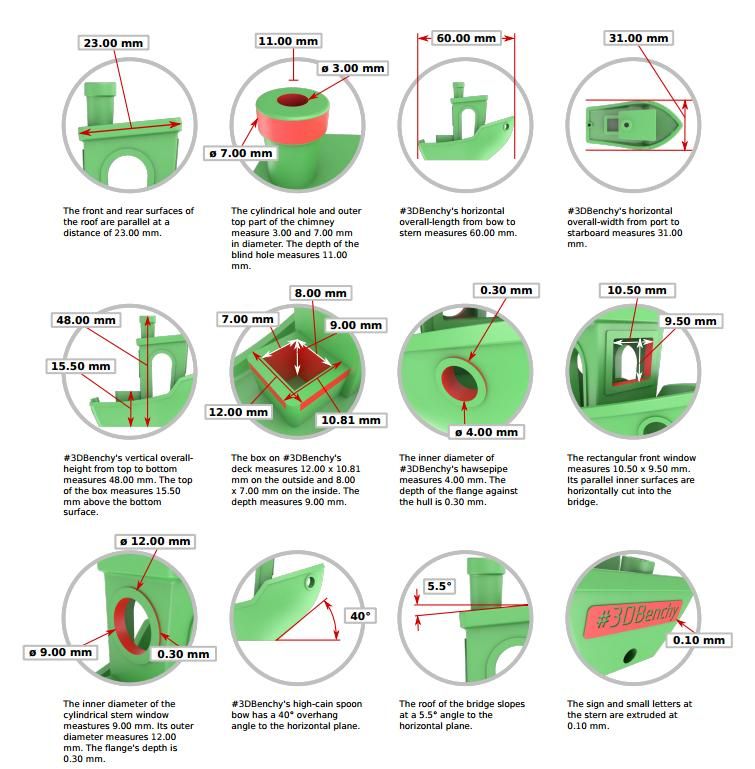 The philosophy of the company is that each vessel must be equipped with unique equipment, the propeller for maximum efficiency must match the design and features of the ship.
British manufacturer of propellers and steering equipment for yachts, boats and ships, CJR Propulsion uses 3D printing technology to prototype and test new products. The philosophy of the company is that each vessel must be equipped with unique equipment, the propeller for maximum efficiency must match the design and features of the ship.
To accurately calculate how a designed propeller will behave in real conditions, simple computer simulations are not enough. For extensive testing, CJR Propulsion creates test propellers using the BigRep ONE large-format 3D printer. The large size of the working chamber (one cubic meter) allows you to quickly produce prototypes of new plastic products at a scale of 1:1.
To accurately calculate how a designed propeller will behave in real conditions, simple computer simulations are not enough.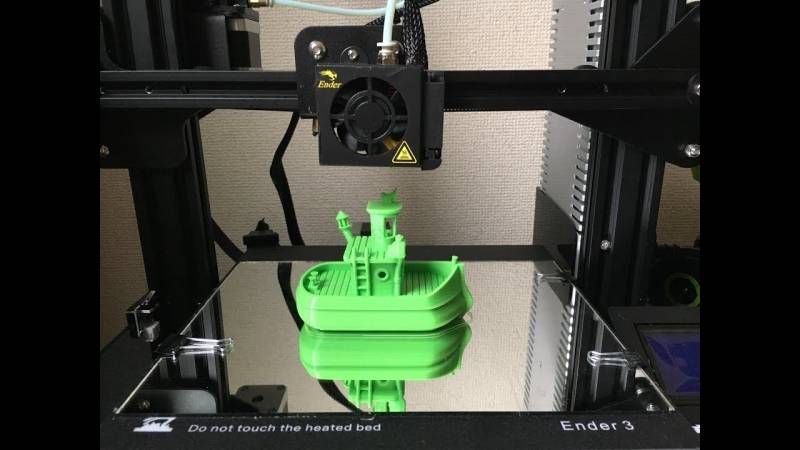 For extensive testing, CJR Propulsion creates test propellers using the BigRep ONE large-format 3D printer. The large size of the working chamber (one cubic meter) allows you to quickly produce prototypes of new plastic products at a scale of 1:1.
Product quality is our top priority. Every propeller we manufacture must be perfectly matched to its vessel. Therefore, every time we design the propeller anew, so that it fits the ship as much as possible. 3D printing makes our task easier by helping us get templates quickly. Additive manufacturing is simple and cheap, allowing us to experiment with a wide variety of designs and designs. Simon Lewis, CJR Propulsion Representative
According to CJR engineers, it takes only 2-3 days to produce one sample on a 3D printer. After minimal processing (sandblasting, painting), the prototype is tested and, with successful results, transferred to the foundry, where a metal screw is made on its basis.
The introduction of 3D printing into the production cycle has allowed CJR Propulsion to significantly accelerate the development of new products, expand the line and maximize the customization of the proposed design options.