3D printer unboxing
How to Unbox the Pro2 Series 3D Printers
Setting up the Pro2 and Pro2 Plus 3D printers is a simple process. There are six main steps to unboxing a Pro2 Series 3D printer. Raise 3D provides a video covering the step by step process in addition to this step by step manual.
Contents inside packaging
-Hex head wrench set
-Quick Start Guide
-5 international power cords
-3D build plate
-Accessories box
Carefully remove its protective packaging
1. First, cut off the packaging straps.
2. Slice the packing tape along the top of the box.
3. Remove cardboard spacers and keep the provided hex wrench set and Quick Start Guide in a space place to reference later.
4. Out of the 5 international power cords, select the appropriate one for your use.
5. Remove the rest of the packing materials and set aside the clear acrylic lid.
Recommendation: it may be useful to have a second person to help you remove the tall cardboard box from the printer.
6. Lift your printer out of the lower half of the cardboard and foam packaging, placing it in a clean, safe area to continue setup.
Preparing the 3D Printer
7. Locate and remove the four shipping zip ties, then peel off the four yellow stickers. Remove the 24 plastic security spacers by gently twisting each one.
8. Once these are removed, manually slide the print head to the back center. Select the largest hex bead wrench and remove the z-axis clamps on both sides.
9. Attach the power cord to the printer and turn on.
Once your Raise3D printer is turned on and booted up
10. When you see the home screen, push the Utilities option on the bottom navigation bar, select the Z-Axis Home then OK to move the z-axis origin.
11. Remove additional accessories that were shipped inside your 3D printer.
Use the spatula from the accessories box to remove the test print pattern from the plate before it is installed.12. Install the printing plate on the z-axis platform and secure it with the locking knobs.
Installing Filament
13. Place filament spool holders on slots located behind the side door and place the first filament spool on the left.
14. Feed the filament up the guide tube.
15. Add the second filament spool to the right and feed filament up the right guide tube.
Note: the filament spools feed toward the center
16. Remove the temporary guideline and feed the filament into the print head.
17. Close door to filaments and get ready to print.
Creating a test print
18. Move the z-axis down 60 millimeters.
19. Push the load button.
20. Wait while your printer heats up to the proper extrusion temperature
Note: the temperature indicator will show when ready
21. Once ready, press the Load button.
22. Discard the stream of melted filament from the print head and press “OK.”
23. Place lid on the machine and remove any leftover plastic shipping film from the surfaces of your printer.
Selecting a print file
24. You can use a USB drive or connect wirelessly to load a sliced g-code image into your machine.
25. Select “Print” then select the file location to locate the file you wish to print.
26. Open the file and select “Print.”
27. After that, your printer is ready and will begin printing.
Unboxing – Page 2 – Tom's 3D printing guides and reviews
tomUnboxing
Join in as we get the Printr Element going – a WiFi-cloud-server-addon-device that lets you control and share your 3D Printer from anywhere in the world! Cloud slicer included! You know, to to slice your files in the cloud. Not to slice up clouds in the sky. Obviously. Learn more printr.com Live tips/donations here! Matterhackers https://www.matterhackers.com/?rcode=TSAN86 Music is Chris Zabriskie – Mario Bava Sleeps In a Little Later Than He Expected To
tomTips and Tricks, Unboxing
Josef Prusa sent me two of the brand-new Prusa i3 MK2 – one ready to go and one as a full kit! We’ll start with the ready-built one and then assemble the kit version. Again, no idea how long it’ll take, but we’ll keep going until the job’s done! Live tips/donations here! This video is licensed as Creative Commons Attribution Share-alike thanks to my supporters on Patreon! Music is Chris Zabriskie – Mario Bava Sleeps In a Little Later Than He Expected To
tom3D Printer Reviews, Build, Unboxing
Josef Prusa sent me two of the brand-new Prusa i3 MK2 – one ready to go and one as a full kit! We’ll start with the ready-built one and then assemble the kit version. Again, no idea how long it’ll take, but we’ll keep going until the job’s done! Live tips/donations here! This video is licensed as Creative Commons Attribution Share-alike thanks to my supporters on Patreon! Music is Chris Zabriskie – Mario Bava Sleeps In a Little Later Than He Expected To
tomBuild, Unboxing
/* Youtube only captured the first 12h of this marathon stream – here’s the entire thing, including troubleshooting in the end! */ This will be one massive livestream (probably all day)! I’ll be building the Atom 2.0 Delta kit http://www.atom3dp.com/en/atom2/ Frog @ 10:32:15 This video is licensed as Creative Commons Attribution Share-alike thanks to my supporters on Patreon! Music is Chris Zabriskie – Mario Bava Sleeps In a Little Later Than He Expected To
tom3D Printer Reviews, Unboxing
Dynamo3D sent me their newest 3D printer, the OnePro! Join in as we unbox this beast of a machine and try to tame it to get the first print out of it! Dynamo3D OnePro unboxing and first print! This video is licensed as Creative Commons Attribution Share-alike thanks to my supporters on Patreon!
tomUnboxing
Getting the E3D BigBox up and running was quite a task – many, many little things to assemble! Get one here Music is Desembra – Hit Em
tom3D Printer Reviews, Unboxing
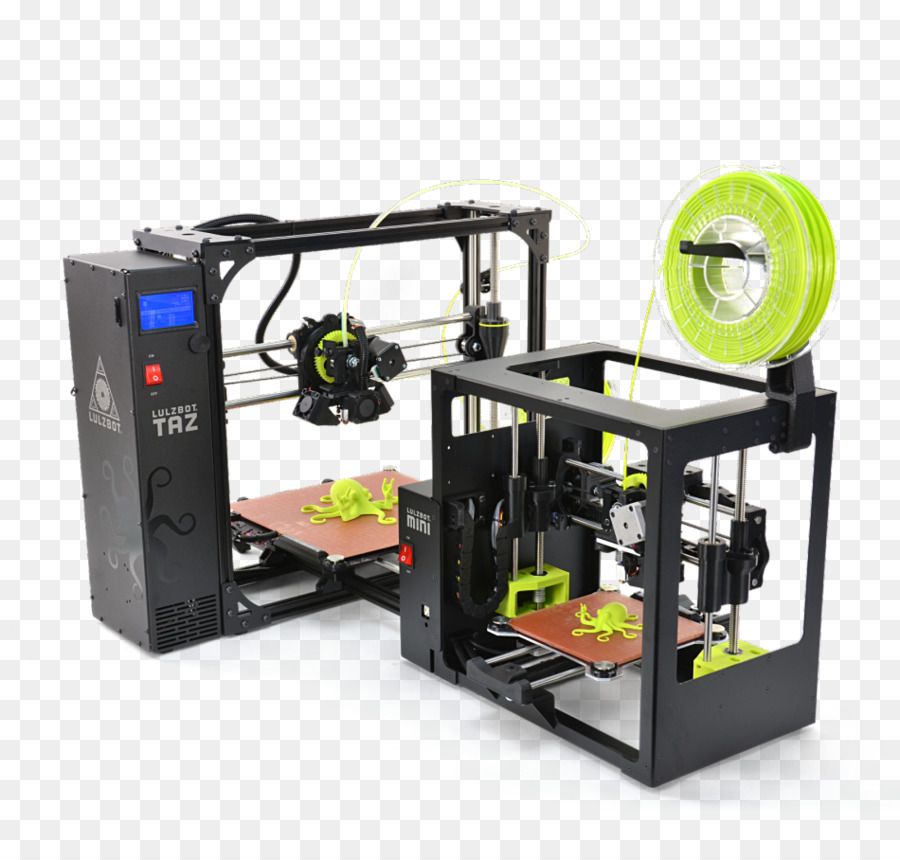
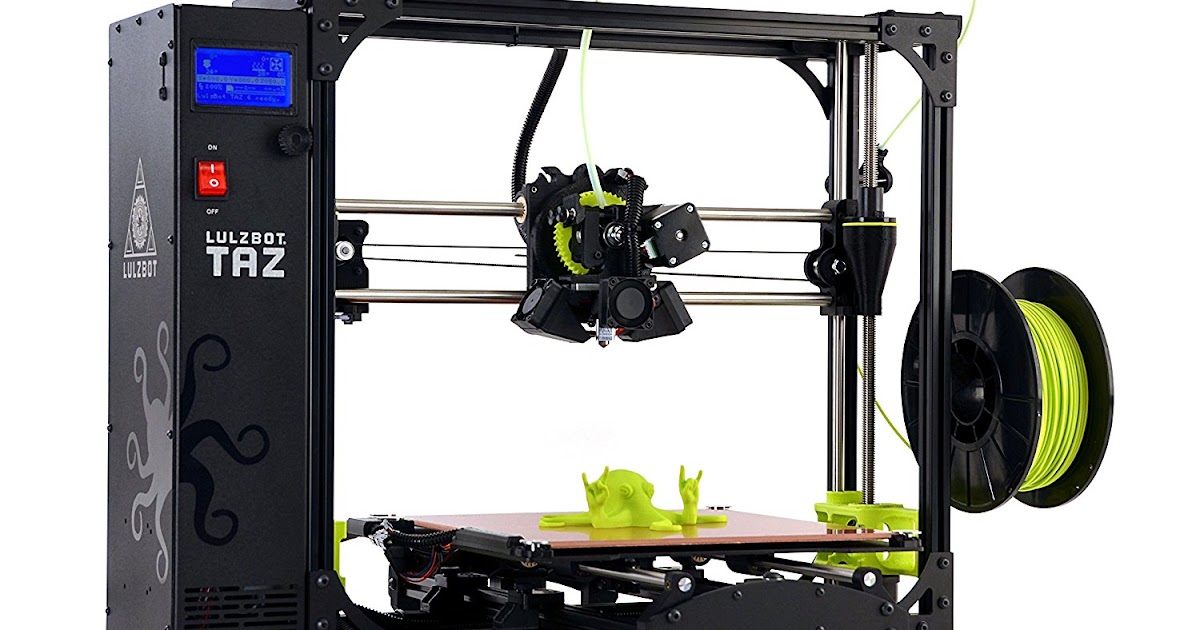
For the Lulz! This is the closest to “Plug and Play” i’ve gotten with any 3D printer yet. Audio missing from 10:23, that’s just the usual “stay tuned, like, subscribe and watch this video next”. Not sure why that keeps happening, the last video had the same issue before a reupload… Get a Lulzbot Mini
tomBuild, Unboxing
The brand new Printrbot Play is here to replace the Simple Maker’s Kit for good! Get a Printrbot Play Music is Itro – Panda
Unpacking the 3D printer
We noticed that you have JavaScript turned off.
It must be enabled for the site to work correctly.
- Open the box. Remove the top protective sheet.
- Remove the shipping tape from the top of the printer.

- Remove the top door directly from the printer in the box (video instruction)
- Using both hands, hold the printer by the inside edges of the frame on the sides, and pull it up out of the box with foam . An assistant should hold the box from below.
- Move the printer to its intended location and remove the shipping tape from the printer. nine0020
- The table inside the printer contains the printer components in the shipping package, which must be carefully lifted from the table and removed.
- Remove the "Remove" soft release from the vertical screw from the printer chamber.

Take the latch from above and slide it to the left in the direction of the arrow.
Try not to bend the screw. - Carefully use a wire cutter or knife to cut off the shipping straps tightened on the vertical screw. If this is not done, the table will not be able to move up and down.
- Check that the top edge of the vertical screw is flush with the rest of the components, if the screw is higher then lower it all the way into the bottom black sleeve.
- Install the spool holder according to the instruction video, which is also included on the SD card supplied with the printer. nine0018
- Install the filament tube holder according to the video instruction, which is also recorded on the SD card supplied with the printer.

- Install the door handles from the kit on both doors. Most of it should be outside. Pull the handle on the door so that the door can close tightly but still open easily. The tighter the handle is pulled, the tighter the door will close. nine0020
- Before installing the software and connecting the printer for the first time, read all the steps in the "Instructions" section.
- Before connecting the printer for the first time, install from the SD card or download the electronics driver "lpc176x_usb_driver.inf". To install, right-click on the file and select "Install".
- 3D printer
- cover with protection against UV radiation
- Module Wi-Fi
- Printing platform
- Papour Instruction
- for the selection
- Screen Protector + Screen Degreasing Cloth
- Screws and Hexagons
- Metal Spatula for Product Removal
- Plastic Spatula
- Resin filter
- Gloves
- Mask
- Flash drive with test model, instruction manual and software (Photon Workshop slicer)
- Raise the Z axis via the menu
- Insert print platform
- Align the build plate (more on this step below)
- Check UV shield nine0019
- Insert resin bottle and screw tightly
- Install Wi-Fi module
- Cavity: this function saves resin by creating a cavity inside the object. Users can set the wall thickness and select the infill pattern. nine0019
- Hole punching: the tool allows you to make a hole in the finished product, in order to be able to wash the inside.
- Create supports: supports are placed automatically or manually. Also available are settings for the points of contact and their diameter.
- Slicing: the tool allows you to cut 3D models using a slicer to avoid printing unnecessary parts of the object.
- Insert text: function to insert free text to make the product unique. nine0019
- Quadruple Smoothing: By smoothing the edges, layering is reduced and the surface is smoother.
- Technology: LCD Shadow Masking
- Assembly: fully assembled nine0019
- Dimensions: 270 x 290 x 470 mm
- Weight: 10.
 75 kg
75 kg - Power: 120 W
- Operation: 3.5" TFT color touch screen
- Print volume: 197 x 122 x 245 mm
- Layer height: 0.01 - 0.15 mm
- XY resolution: 0.0344 mm (34.4 µm)
- Screen resolution: 5760 x 3600 pixels
- LCD screen: 9.25 inches
- Print speed: max. 60mm/h nine0019
- Print platform leveling: semi-automatic
- Material: UV resin 405 nm
- Slicer: Anycubic Photon Workshop
- Operating system: Windows, macOS
- Connection interface: USB, WiFi, App
- Data format: STL
- Very high accuracy nine0019
- Fast print speed
- High print volume
- Simple design and operation
- Compatible with Photon Workshop Slicer only
- Expensive (but worth the money)
Anycubic Photon Mono X 6K 3D Printer Overview • Unboxing, Specs, Printing
Article applies to printers:
Anycubic Photon Mono 4K Anycubic Photon Mono X 6K ANYCUBIC Photon Mono X
Anycubic has released the revolutionary Photon Mono X 6K 3D printer. This is a photopolymer 3D printer with a large printable area, high speed and excellent accuracy for its size. In this article, you'll find out if the Photon Mono X 6K is truly the perfect combination of size, resolution, and speed.
Mono X 6K has a build area of 197x122x245 mm. The printing accuracy is 34.4 µm (XY-axis) and the layer height is 10-50 µm. At the same time, the print speed reaches 60 mm / h and it can be adjusted through the application.
Anycubic Photon Mono X 6K is in stock and can be ordered from the LIDER-3D store.
► You can find out the current price by following this link.
Scope of delivery
As expected, the Anycubic Photon Mono X 6K comes with a rich bundle. In addition to the instructions and user manual, the kit includes everything you need to start printing. nine0010
Supply includes:
 If you plan to print a lot and often, then you should consider buying a reusable resin filter or a set of disposable filters. nine0010
 Tip: With some resins, the first layers may stick to the FEP film and not to the print bed. In this case, it is recommended to coat the FEP film with PTFE lubricant to reduce adhesion. You need to use quite a bit of lubricant and be sure to wipe off the residue with a paper towel. It is not recommended to carry out this operation if there are no problems with adhesion to the film.
If the first layers are still stuck, it is very difficult to remove them mechanically without damaging the FEP film. Soak the film overnight in isopropyl alcohol, then the cured resin will detach on its own. nine0010
Setup
Includes a USB flash drive with detailed instructions for assembling the printer. Simple and clear illustrations allow even a beginner to cope with assembly and configuration.
Just a few steps to prepare the Photon Mono X 6K for printing:
After this simple setup, the Photon Mono X 6K is ready for test printing. All that remains to be done is to fill in the resin and run the file for printing.
Print Bed Leveling
The alignment of the print bed on the Photon Mono X 6K is the same as on most other resin 3D printers. Semi-automatic calibration involves alignment through the menu and manually. nine0010
Install the print bed first. To set the platform, you need to move the Z axis up through the menu. The platform itself is attached to the axis with a large screw.
Next, loosen the four screws on the side using the hex wrench included. This allows you to freely adjust the angle of the printing platform.
To correctly adjust the distance from the printing platform to the UV screen, place a sheet of paper between them. Then you need to move the platform to its original position through the menu. The platform will press tightly against the sheet, you just need to check that there is no distance between the sheet and the platform on all sides. nine0010
After making sure the platform is level, tighten the screws. To do this, you need to attach the platform to the sheet with one hand, and slowly tighten the screws one by one with the other.
Once the platform is leveled, the Z home position will change. Through the menu settings, this distance must be adjusted in 0.1 mm increments before the sheet moves between the platform and the screen with some friction.
If you need maximum print accuracy, calibration can take a long time, because fixing with four screws slows down and complicates the process. nine0010
Limited Edition Photon Mono X 6K
A total of 1,000 uniquely designed Tribes printers will be available for order.
Photon Mono X 6K is very similar to its predecessor Photon Mono X. Perhaps, it is distinguished only by higher resolution. All the features of the new model are presented below.
Large printable area
Anycubic Photon Mono X 6K print volume is 197x122x245mm (L x W x H). If you use the entire possible area, then this is approximately 5.89liters! This means that with such a construction area, it is not necessary to split large models into smaller elements and print them separately.
But be aware that larger items will take longer to print. Depending on the thickness of the layer, printing may take several days. And during the printing process, regular pouring of the photopolymer will be required.
In comparison, the Elegoo Mars 2 Pro has a print volume of only 129x80x160mm. Thus, the Photon Mono X 6K not only prints more accurately, but can also print objects about 3.5 times as large as a whole! nine0010
XY High Resolution
4K resolution is now the standard for resin 3D printers. Depending on the size of the UV screen, you can print products in lower or higher resolution.
Large format 4K resolution resin 3D printers typically have an XY resolution or pixel size around 50 µm. Anycubic Photon Mono X 6K with its 6K screen with a resolution of 5760 x 3600 pixels in an area of 197x122 mm, has a pixel size of only 34. 4 microns!
For a large resin 3D printer, this is very good. With such a small resolution, you can achieve high-quality printing of products with the smallest elements. nine0010
Layer Height
The Anycubic Photon Mono X 6K can print with a layer height of 10 µm, but the manufacturer recommends 50 µm for most products. Thanks to very low XY resolution and thin layers, excellent detail and a smooth surface without pronounced layering can be achieved. For a better result, the original Photon Workshop slicer has an edge smoothing function that allows you to achieve impressive results.
Double Z-axis guide prevents vibrations, thus ensuring high precision. powerful stepper motors make printing smooth, even with a fairly heavy platform and the impressive weight of the printed product itself. nine0010
Monochrome LCD
Anycubic Photon Mono X 6K, as the name suggests, has a monochrome display. The use of such a screen provides high speed - up to 60 mm / h and high printing accuracy.
Monochrome screens can last several thousand hours before they need to be replaced. Most likely, you will need to replace other components before the LCD screen fails. Powerful cooling system extends the life of the display.
Textured print bed
The print bed has a textured surface so the resin adheres to it better. Even large or heavy items will not fall off the platform into the vat during printing.
The only disadvantage of the platform is that when immersed in the bath, the adjustment screws become encased in resin, which is then very difficult to clean.
Touch screen
The 3D printer is equipped with a 3.5 inch touch screen. Using the screen, you can easily manage printer settings. Convenient intuitive menu navigation makes operation comfortable even for beginners. nine0010
The touchscreen has a good resolution and responds accurately to touch. The screen allows you to view files before printing, as well as track the progress of work.
Slicer
Anycubic Photon Workshop slicer has profiles for all manufacturer's 3D printers. The program has all the usual functions for preparing 3D models for printing on a photopolymer printer:
At the time of writing, the popular ChituBox slicer does not support Anycubic Photon Mono X 6K. But the functionality of the original software allows you to perform all the necessary manipulations to prepare a 3D model for printing.
Application
Anycubic Photon Mono X 6K is equipped with a Wi-Fi module that can transfer print data. The Photon Remote Control application also allows you to control the printing process and change settings. nine0010
The application allows you to change settings that are usually only changed in the slicer. For example, set the layer exposure time, print speed, the number of first layers to be printed.
Since the print area allows you to create large objects that take a long time to print, the application can be used to track progress. Now you do not have to regularly monitor the printer to add more resin.
Print stop function
Anycubic's new resin 3D printers have a function to automatically stop printing when the cover is removed. This feature can be enabled or disabled on the Photon Mono X 6K if desired.
This feature keeps printing large objects open and protects users from exposure to UV radiation when the lid is accidentally opened when used at home or in schools.
Resin amount
Despite the fact that all modern 3D printers have a mark for the maximum amount of resin, this small nuance is very important. If there is too much resin in the bath, then it can spill over the edges of the bath when the platform is immersed. Liquid polymer is difficult to clean from surfaces and may damage the LCD screen. nine0010
Printing noise level
The average volume of the Anycubic Photon Mono X 6K is 38 decibels at a distance of about 1.5 meters. This value is indicative when the print platform is moving along the Z axis. When the platform is not moving, the internal fans at the same distance operate at only about 25 decibels.
With this noise level, you can easily place the printer on your desktop without distracting you from your work. But it should be remembered that photopolymer fumes can be toxic, so you should not be near the printer for a long time. nine0010
Compared to other printers, the Anycubic Photon Mono X 6K is slightly noisier, simply because it has a larger build area and requires more cooling.
Print speed
Anycubic Photon Mono X 6K with a powerful monochrome screen allows you to print quickly and with high quality. Compared to other photopolymer 3D printers, the exposure time of one layer is 2-3 times faster. With a layer height of 0.05 mm, the Photon Mono X 6K can print at a speed of 60 mm per hour. nine0010
When printing miniatures, be aware that the Anycubic Photon Mono X 6K has a large build area of 197x122x245 mm. By placing several objects on the platform at the same time, you can reduce the printing time by several times.
Print quality
The Anycubic Photon Mono X 6K can print layers 0.01 to 0.15 mm high with an XY resolution of 0.0344 mm (34.4 µm). This means that the printer can reproduce even the smallest details as accurately as possible. In addition, using the slicer, you can adjust the smoothing to improve the result.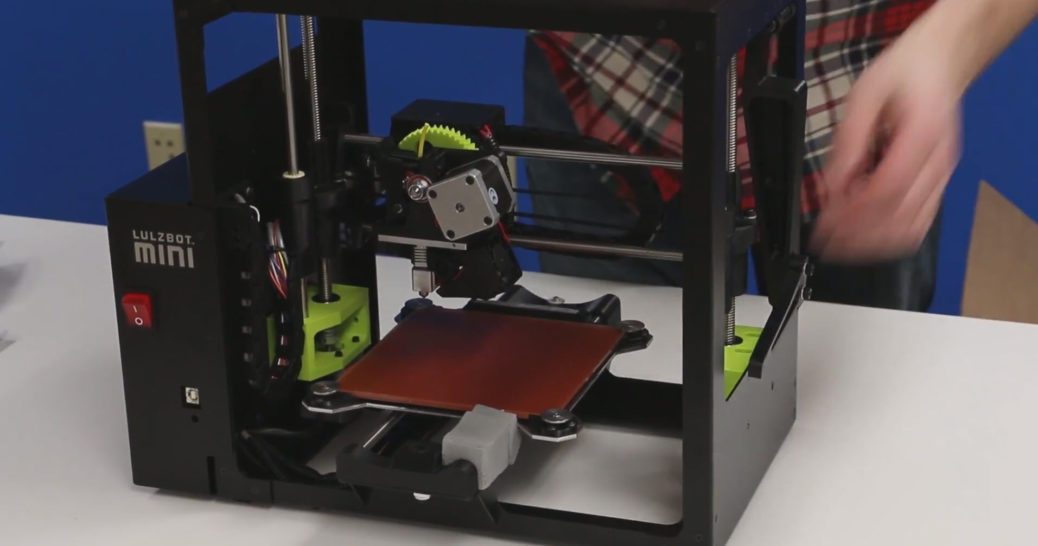 nine0010
To check the print quality, you must first print test patterns to help you adjust the exposure time of the layers. And then you can start printing the products themselves.
Printing a test pattern
The first print on a new printer and with a new resin must be a test print. An excellent solution would be to print such a matrix. With the right settings and satisfactory printing results, you can sign the necessary parameters on a test sample and create a small file cabinet for further use. nine0010
With this test matrix, you can see if the exposure time of the layers is set correctly, whether it is too long or too short. A good indicator is the shapes in the middle. If the two arrows touch, the exposure is set correctly. If the protruding tip is thicker than the other, the exposure is too long.
Printable figure
This raven skull model has a lot of small details. The surface, decorated with runes and the filigree elements of the bones in the lower part of the skull, allow us to appreciate the accuracy and quality of printing. nine0010
Due to the position of the model on the print bed, a relatively flat surface is obtained, on which the layer height is very clearly visible. In the settings, the layer height was set to 0.05 mm - it is very clearly visible on a straight surface, as well as a single smoothing.
The very high XY resolution allowed the other sides of the skull to be very smooth, so that if the object were placed correctly on the platform, no steps would be visible.
Bust of character from movie
The bust of Jedi Master Ki Adi Mundi is much larger to test the capabilities of such a large print area. The model has very fine hair-like features and is ideal for checking accuracy.
The result was really impressive. The hair is printed with maximum detail, even individual hairs are visible. The layering is almost invisible, and at first glance the figurine is indistinguishable from an injection-molded model. nine0010
In order not to use too much resin for such a large object, the figurine is empty inside. Using a Photon Workshop slicer, two holes were also made at the bottom for flushing with isopropyl alcohol. Supports have been automatically generated inside the figurine.
Failed experience
After printing a test pattern for setting the exposure time, a raven skull was printed. For him, standard support was installed in the Photon Workshop slicer. However, it turned out that the diameter of the supports is too small for such a large product. Thin supports simply bent during printing like blades of grass. nine0010
The result is a raven skull that is completely destroyed at the back and bottom. To solve this problem, a choice had to be made between thicker supports and slower travel speeds. As a result, thicker supports were again placed, which slightly increased the polymer consumption.
Specifications
Device:
Seal
Software
Advantages and disadvantages
FOR:
Vs:
Anycubic Photon Mono X 6K is suitable for anyone who wants to print large objects quickly and with high accuracy.


