3D printer stepper motor skipping
8 Ways How to Fix a Clicking/Slipping Extruder on a 3D Printer – 3D Printerly
I’ve heard many stories of clicking and grinding noises coming from an extruder, but not many stories on getting them fixed. This is why I decided to make a simple-to-follow post on how to fix this noise.
The best way to fix a clicking/skipping sound on your 3D printer is to do a series of checks such as seeing if your nozzle is too close to the print bed, extrusion temperature is too low, printer can’t keep up with the speed, there’s a blockage in your nozzle or tube and if dust/debris is trapped in your extruder/gears.
Once you identify the issue, the fix is generally quite simple.
Clicking noises on your 3D printer usually means that it’s trying to push out filament but it can’t.
This can be due to many different reasons such as your nozzle is too close to the print bed, your stepper motor is losing steps, your extruder gears aren’t gripping the filament tightly enough, or you have issues with your bearings which hold pressure on the filament.
These are the main reasons but there are a few others which affect some people which I’ve detailed below.
Pro Tip: Get yourself one of the best metal hotend kits to improve your extrusion flow. The Micro Swiss All-Metal Hotend is a drop-in hotend that melts filament efficiently so the pressure doesn’t build up and contribute to a clicking/slipping extruder.
If you are interested in seeing some of the best tools and accessories for your 3D printers, you can find them easily by clicking here.
1. Nozzle too Close to Print Bed
It could be from your nozzle being too close to the printer bed on the first few extruded layers.
The hard metal material of your nozzle scraping on your printing surface can easily cause a grinding noise from your 3D printer. If this is a problem you are experiencing, the fix is pretty easy.
How this causes your extruder to skip, which in turns causes the clicking sound, is by not having enough pressure build up to pass your filament through successfully.
You also want to make sure your 3D printer’s z-stop is in the correct place to prevent it from going too low on your printer.
Solution
Simply level your bed using the paper/card under the nozzle technique so there is a slight ‘give’. Once you’ve done all four corners, you’ll want to redo the four corners to make sure the levels aren’t off from the previous levelling, then also do the center to ensure your print bed level is good to go.
I wrote a useful post on How to Level Your 3D Printer Bed Properly which you can check out.
It’s a good idea to level your printer bed when it’s preheated because beds can slightly warp when heat is applied.
You can also run levelling print tests which are quick prints that show any levelling issues so you know if your extrusion is good enough or not.
The video below shows a more accurate, in-depth levelling method.
If you have a manual levelling bed, this is a lot more likely to occur.
Instead of always manually levelling your bed, you can let your 3D printer do the work for you, by implementing the popular BLTouch Auto-Bed Leveling Sensor from Amazon, which saves a bunch of time and frustration in setting up your 3D printer.
It works on any bed material and several users have described a significant increase in overall print quality and reliability. Being able to trust that your 3D printer is level every time gives you a genuine feeling of confidence in your machine, that is worth every penny.
2. Extrusion Temperature Too Low
When the clicking happens in layers past the first few extruded layers, it means your extrusion temperature is too low.
If your material isn’t melting fast enough because of a low extrusion temperature it can result in a clicking noise because your printer is having trouble advancing your filament.
Sometimes when speed settings are too fast, your extruder can find it hard to keep up.
When extrusion temperatures are too low, it can mean that your materials aren’t melting evenly. What happens in this case is the thermoplastic that is being extruded is thicker than it should be and doesn’t have good flow rates through to the nozzle.
If the cause of your extruder clicking is happening on your Ender 3, Prusa Mini, Prusa MK3s, Anet, or other FDM 3D printer the fix is fairly simple as shown below.
Solution
If this is your issue, the simple fix here is of course, to increase your printer’s temperature and things should be back to running properly.
3. Extruder Can’t Keep up with Printer Speed
If your printing speed is set too fast, your extruder can have trouble keeping up with the feed rates which can cause this clicking/slipping of the extruder. If this is your issue it’s a pretty easy fix.
Solution
Lower your print speed to 35mm/s then slowly work your way up in 5mm/s increments.
The reason this works is because in some cases, higher printer speeds works fine going at simple angles like a straight line, but when it comes to sharp turns and different degrees, your printer can have trouble extruding accurately at higher speeds.
Getting a higher quality extruder can definitely help out in this regard. I recently ordered a BMG Dual Drive Extruder from Amazon which works wonders.
Now you can either get the genuine Bontech, or the BondTech clone, you check the price difference and decide which to go for. One user who tried both did really ‘feel’ and see the difference in print quality with the more defined teeth and detail on the machined parts.
Check out my article on PLA 3D Printing Speed & Temperature.
If you experience your extruder clicking on infill, it could be to do with the print speed, as well as the nozzle temperature needing an increase.
4. A Blockage in Your Nozzle or PTFE Tubing Failure
Many times, your printer will give you this clicking noise when your nozzle is blocked. It’s because your printer isn’t printing as much plastic out as it thinks it should. When your nozzle is blocked up, the extrusion and pressure builds up which sets off your extruder to start slipping.
Another issue that’s related is the thermal break between the heater block and the heat sink, where heat works its way up to the heat sink and if not fully functional, can cause plastic to deform slightly.
This can result in the plastic forming a plug, or small blockage on the cold side and can happen at random points throughout the print.
Solution
Give your nozzle a good cleaning, maybe even a cold pull if the blockage is bad enough. I’ve done a pretty detailed post about Unclogging a Jammed Nozzle which many have found useful.
The solution for the thermal break and bad quality heat sink is to lower your temperature or get a more efficient heat sink.
A faulty PTFE tube can easily go unnoticed for a while before you realize it is messing with your prints.
For the serious 3D printer hobbyists out there, we have access to a premium PTFE tube called the Creality Capricorn PTFE Bowden Tube from Amazon. The reason this tubing is so popular is just how well it works and it’s long-term durability.
The Capricorn PTFE tube has extremely low friction so filament can travel freely. It’s more responsive, leading to more accuracy in prints along with having a lesser need for retraction settings which saves you time.
You’re getting less slippage, wear and tear on your extruder, and most beneficial is the significantly higher level of temperature resistance.
It comes with a cool tube cutter too!
Some people that experience their extruder clicking backwards found that it can be fixed by clearing out clogs.
5. Dust/Debris Trapped in the Extruder and Gears
Your extruder and gears are constantly working and apply constant pressure to your filament as it gets extruded. While this is happening, your extruder and gears will be biting down on your filament which, over time, can leave dust and debris within these parts.
Solution
If you wanted to do a quick-fix, you could just give the extruder a hearty exhale and if it’s not built up too bad, should do the trick. Make sure you are not breathing in the dust though.
It might not be enough doing this or just wiping down the extruder from the outside.
Using a damp paper towel should be able to get most of the debris off without pushing it around.
The most effective solution here would be taking it apart and giving it a thorough wipe down to make sure you get the offending dust and debris trapped inside.
The simple fix here would be to:
- Switch off your printer
- Undo the screws for your extruder
- Remove the fan and feeder assembly
- Clean out the debris
- Refit the fan and feeder and it should work smoothly again.
The type and quality of your filament could also affect this, so try out a few different filament brands and see which one works best for you. Filament that tends to get brittle like PLA are more likely to result in this issue, as opposed to TPU.
6. Gear Slip Issues From Idler Axle Sliding Out of Axle Support
This issue happened to a Prusa MK3S user and it resulted in a clicking as well as the idler gear slipping. It would cause under-extrusion and be responsible for many failed prints, but he came up with a great solution.
Solution
He designed an Idle Gear Axle Stabilizer which can be found on Thingiverse and it removes the holes from the axle support so there isn’t any room for the axle to slip around.
The idle gear axle should snap firmly into place and still leave the gear free to move as it was intended. The user has now been printing for hundreds of hours over many months with this stabilizer in place and it’s working great.
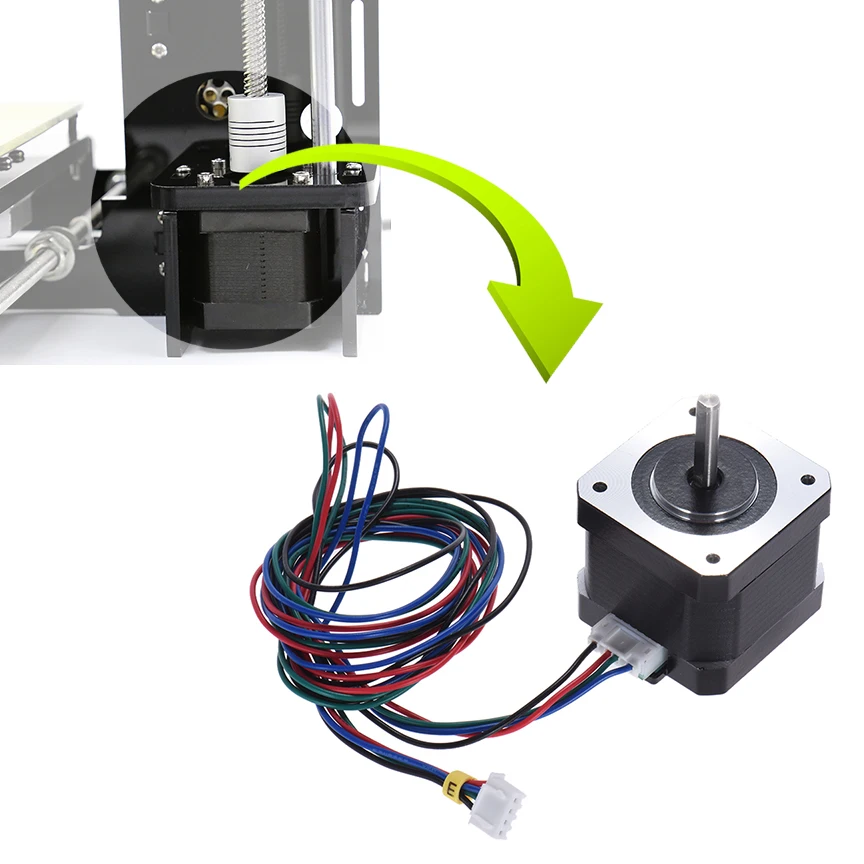
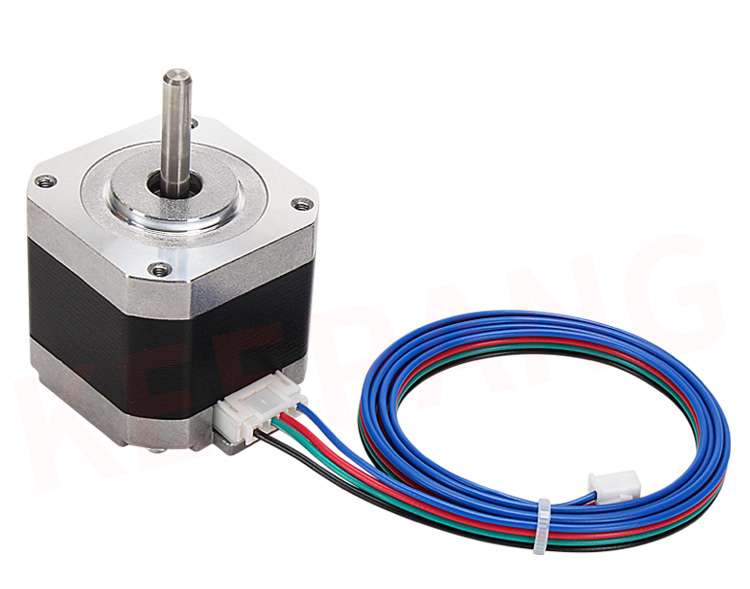
7. Extruder Motor is Improperly Calibrated Or Low Stepper Voltage
This reason is more of a rare one but it’s still possible and has happened to some users out there. If you’ve tried many of the other solutions and they aren’t working, this may be your problem.
A loose or broken power connection can cause your printer’s motor to run sporadically, causing a slow feed to the print head. If you experience this issue, you could also experience this clicking noise in the printing process.
Whether it’s due to bad or weak cables it’s an issue that can be solved once you identify this issue.
Manufacturers can sometimes be at fault here by issuing power accessories that don’t get the job done as well as they should over time.
You want to double-check the wheel on your extruder is fitted well and isn’t slipping on the feeder motor.
Solution
Make sure power connections are well-fitted and don’t have snags or damage to the cables. Check that your power cable is strong enough to handle your printer and has the correct voltage to give proper power.
You can purchase a new power cable or power supply if you suspect that this is the issue.
8. Filament Feeder Issues Due to Bad Filament Spring Tension
High spring tension can grind away at your material, leaving a deformed shape and slower movement. This can result in a clicking noise, as detailed previously.
When your filament isn’t fed through properly, you’ll get uneven extrusion similar to having a printing temperature that’s too low. You can get these filament feeder issues from having an improper spring tension on your printer’s extruder.
If your printer’s spring tension is too low, the wheel that grips the material won’t be able to generate enough pressure to consistently move the material through the printer.
If your printer’s spring tension is too high, the wheel will grip your material with too much force and cause it to deform and change shape. You’re printing material has tolerances set for how wide it can be usually in the 0.02mm range for 1.75mm filament.
You can see the problem that can occur if the material is squeezed and deformed.
Printing materials will find it hard to pass through the tube and when it gets further down the printer, it won’t feed through as good as it needs to print smoothly.
Solution
Your solution here is to tighten or loosen the spring tension by adjusting the screw, or to buy a completely new feeder.
If you have a cheaper printer, I would recommend buying a new feeder, but if you have a higher quality printer that doesn’t usually have spring tension issues, you shouldn’t have to purchase a new feeder.
If you love great quality 3D prints, you’ll love the AMX3d Pro Grade 3D Printer Tool Kit from Amazon. It is a staple set of 3D printing tools that gives you everything you need to remove, clean & finish your 3D prints.
It gives you the ability to:
- Easily clean your 3D prints – 25-piece kit with 13 knife blades and 3 handles, long tweezers, needle nose pliers, and glue stick.
- Simply remove 3D prints – stop damaging your 3D prints by using one of the 3 specialized removal tools
- Perfectly finish your 3D prints – the 3-piece, 6-tool precision scraper/pick/knife blade combo can get into small crevices to get a great finish
- Become a 3D printing pro!
fdm - What could be causing my y axis to slip?
Asked
Modified 25 days ago
Viewed 50k times
$\begingroup$
Occasionally, while printing, my y axis will slip and the layer will, from that point forward, be shifted, ruining the print.
What might be the causes of an axis slipping? I have tried cooling the motor which seemed to have been getting warm, and the belts are not too tight.
This does not happen with every print, and seems to be an intermittent problem.
My printer is a MendelMax RepRap, and the y axis is my moving bed.
- fdm
- calibration
- y-axis
$\endgroup$
7
$\begingroup$
(source: all3dp.com)
Your printer is skipping steps in the y-direction. This can have several causes. Take a look into Shifted layer guide on RapRap.org which lists 29 possible problems that can cause this issue and how to fix them.
First items of the list:
- Driver current is too low
- Driver current is too high
- Belt too Loose
- Belt too Tight
- Loose Set Screw/Grub Screw
- Belt or Bearing is binding
- Speeds are too high
- Acceleration is too high
- .
 ..
..
When I was dealing with this issue on my RepRap I had to increase current to the particular driver.
$\endgroup$
4
$\begingroup$
In my experience, the most common reason for positional offset during printing, is the motor skipping steps due to physical impact.
Your stepper motors do not give positional feedback to your printer. So, if you forcefully move your motor during print, then the printer will not notice, and simply pretend it never happened.
In particular, the motor could skip steps if:
- Your nozzle collides with erroneous extrusions (e.g. blobs) during print.
- Your speed settings (jerk and acceleration) are too high for the mass (inertia) of the parts moved by the y-axis motor.
Smaller collisions and nozzle drag at high speed (e. g. during travel) could also cause this problem, since the strength of stepper motors is reduced at high speeds.
$\endgroup$
6
$\begingroup$
The current to your motor driver could be set either too high or too low. If it's set too low then the torque might not be sufficient and the motor will skip steps. If it's set too high then the driver might overheat and occasionally shut down to protect itself.
Another option is that the printing speeds (or jerk/acceleration settings) are too high. I would start by reducing the travel speed (which presumably is higher than your printing speed) and see if that makes a difference.
The motor getting warm is normal and will not cause these issues.
$\endgroup$
$\begingroup$
From what I've experienced, there could be three potential reasons.
- Your belt(s) could be loose. Simply loosen your Y-Axis motor and pull the motor until the belt is slightly more than taught (it will relax into a taught position). Then, tighten the motor securely in its place.
- One of your axis endstops could be triggered mid-print. If you have a larger print, you run the risk of hitting an endstop, which could cause the machine to lose its coordinate system.
- I found on my machine, if you run your program via USB (on MakerWare specifically, possibly others) there might be some sort of lag in the serial connection that could cause the entire program or coordinate system to shift. I repeated this issue multiple time using a USB connection and fixed it (repeatedly) by either running off of an SD card, using a different slicer (in my case the Cura plugin for OctoPi), or trying an earlier version of your software (this was my long term solution).
The latter worked best for me. I tried running MakerBot Desktop on my Dual Replicator 1, but ran into the same exact issue as you. In fact, I encountered this issue around firmware 5.0 on the Replicator as well (7.? is the latest). Finally I switched back to using MakerWare 2.4.? and everything worked fine.
$\endgroup$
$\begingroup$
Had Y axis stepping issues
Solved the issue by correct pressure on the guide wheels on the Y-axis track.
Too much pressure caused binding and the Y stepper motor to skip steps
Hope this helps some people
$\endgroup$
$\begingroup$
Given the last few questions you have.. I am going to say that you have too much mass.
F = M*A. If you are trying to move a heavy plate, you will need to reduce the Jerk setting. As well as maximum acceleration.
Post your firmware settings for more advice.
Also just for completion, sometimes the pololuls overheat.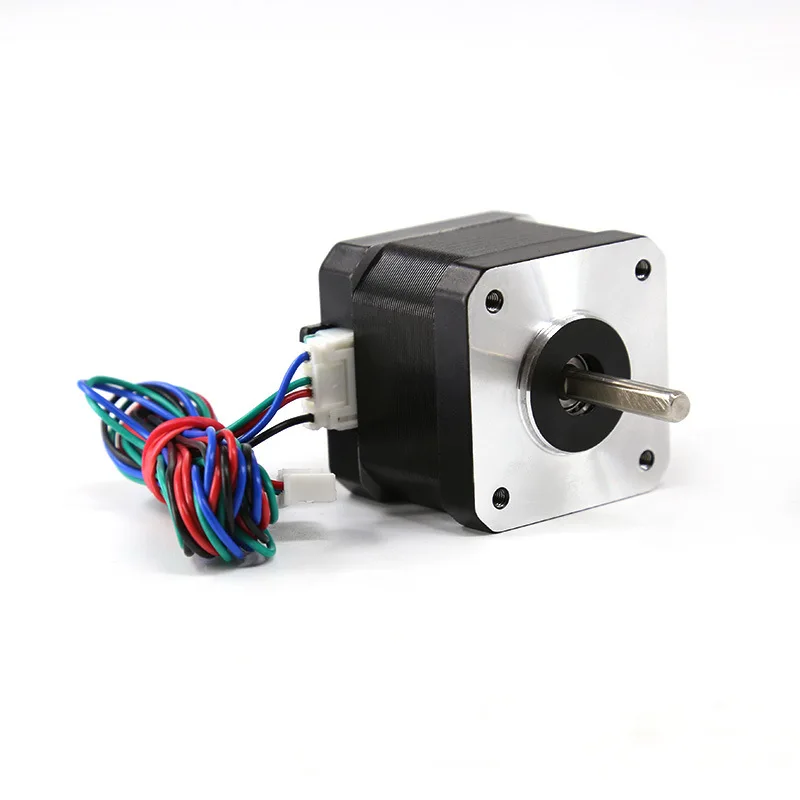 that can cause it too. As well as a loose belt.
$\endgroup$
$\begingroup$
Make sure your controller board/electronics board etc is as cool as possible - if not the axis may jump - that's what happened with me - after adding additional fans over the Ramps/Adruino - I did not have the problem again (so far)
$\endgroup$
$\begingroup$
I had the same issue. the only thing that helped me was settings.. uneven surface of layers caused collisions with the nozzle. I adjusted the flow by calibrating my steppers.. also the type of infill pattern you use can cause nozzle collisions.
$\endgroup$
$\begingroup$
I have some suggestions that might solve your problem
Try to use belt tensioner which is suitable from your printer.
 (You'll probably find one on Thingiverse)
The belt has teeth but your bearing which slides your belt does not. So try a bearing cover that has teeth. That will prevent slipping of the belt.
Most importantly lower your acceleration constant. This has a lot to do with missing steps from the motor.
Decreasing the print speed can help as well.
$\endgroup$
$\begingroup$
I had a repeatable problem where my prints were shifting to the side after about 5mm. This was down to a loose z-axis guide rail that would come out of its end support about 5mm into the print, but appeared secure when the bed was set to its initial position. (My print head moves down). There was a grub screw hidden below a panel at the base of my printer.
I'm not familiar with the build of the MendelMax so this may be different for you.
$\endgroup$
$\begingroup$
One possibility is that after some time, your bed's sliding rods become sticky (where printer but not yourself notice).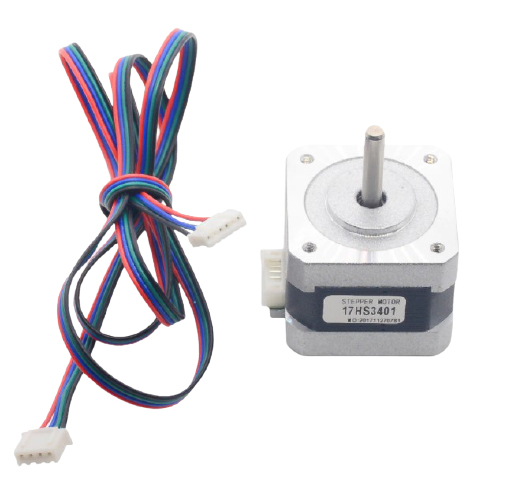 Turn printer's power off, spray windex on rods and bearings, slide the bed forth and back until it becomes slippery, wipe any excess around, turn power back on. reconnect printer and send it to home xyz coordinates since you moved bed, messing up its xyz memory.
$\endgroup$
2
$\begingroup$
My Y axis runs on a channel and I believe there was some grit or metal flakes in the channel left over from manufacturing. The wheels in the channel got stuck on the debris and caused the belt to slip. It made a horrible grinding noise when this happened.
So I blew out the channel with pressurized air and tested all the wheels.
I'll update if necessary as I test my fix with longer (taller) prints.
Update
Actually, the print had messed up g-code. The gcode file was corrupted.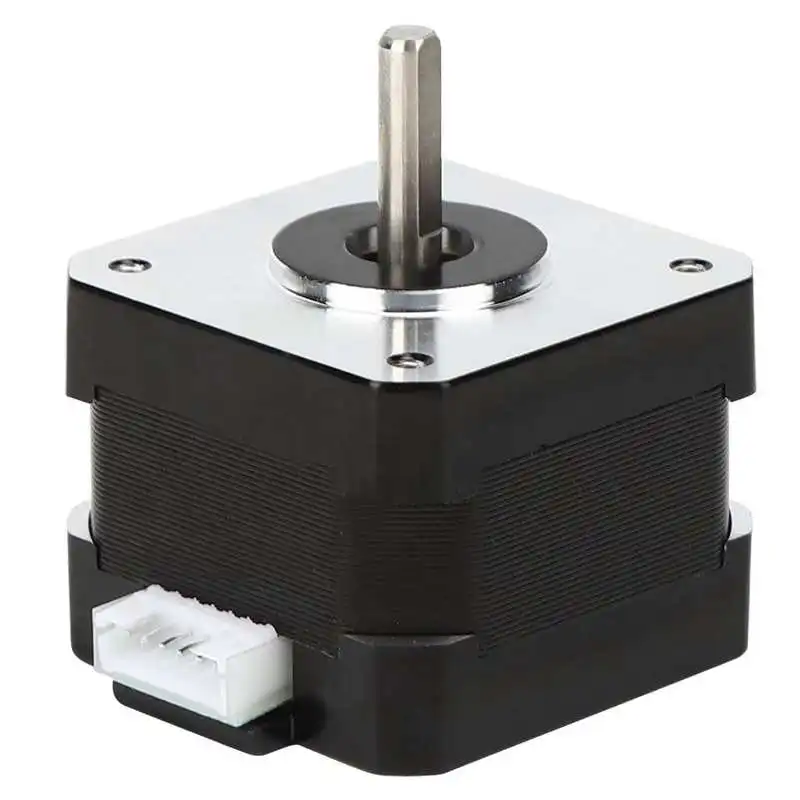
$\endgroup$
1
Stepper motor of the extruder began to twitch / poke
Hello everyone! :)
Damn thing happened with the Flyingbear P902 printer...
So, in order (I will write everything to the maximum, maybe it will help the problem). The printer was purchased in 2017. But just a couple of months ago I put a 220 V heating pad on it. It always worked flawlessly and there were no such problems.
I did not particularly attach the wires to the extruder head with ties, and somehow I noticed that the red wire of the stepper motor had broken off. More precisely, he remained to work on a pair of wire veins. Without changing or soldering the cable, I stripped the wires, stuck it into the plug connector and mechanically fixed it so that it would not come out. After some time, I repeated this procedure, because. again the wire is frayed. nine0003
A week ago, during night printing, the stepper motor of the extruder began to click, and the filament went up and down. The extruder was not clogged. First of all, I thought that the whole thing was in the detached wiring to the stepper motor. But even after the "repair" by the previously tested method, he did not want to work.
Then I thought that the stepper motor was out of order, but by connecting it instead of the stepper motor of the X coordinate, it worked.
the printer has a bunch of Ramps 1.4 + Arduino 2560, I decided to reflash it using arduino 1.8.13 + marlin 1.1.9by changing the pins in the configurator to the connectors of the second extruder.
The printer worked, but did not print for long - about 20 minutes, and then the screen blinked, and then lit up again. The printer has stopped. I re-printed. Everything repeated. I launched it for the third time ... but then the same posting from the SD fell out treacherously. On the fly I tried to insert it - there were sparks between it and the plug. Turned printer off and on again. SD began to click.
I thought I burned something on the board. I bought Ramps, Arduino (just in case) and a stepper motor driver. What was my surprise that everything happened again, moreover, immediately. (Maybe in vain I inserted the old SD driver into Ramps, albeit in place of the missing exruder?)
I bought a "starter kit" (Ramps + Arduino + SD drivers + screen) and, just in case, a more powerful PSU (360 W). This is to be sure.
What was my surprise that, having already changed all the electronics, the SD continued to click / "poke"! Moreover, it worked if it was connected to X or Y. ShD-Y, connected instead of ShD-E, also clicked. Further more: ShD-E, as well as ShD-Y, connected to both X and Y, could "bump" when tilting. That is, let's say, I hold it in my hand, the axis is horizontal, I start the rotation by a dozen or two mm, it starts to work normally. But as soon as I tilt it, "poking" begins. It is independent of the motor, wire, and position. Just at some point during the move. nine0003
I take an old bunch of Ramps + Arduino. I connect only wires for the extruder (temperature sensor, hotend, stepper motor). If the SD is on the floor, then it works normally. If he lies at his workplace, he silks - regardless of the wire. I thought that maybe it was some kind of pickup from the wires of the hotend, and took it off, putting it on the table. But no. Nothing has changed.
In the process of searching for a problem, I swapped the SD drivers, but XYZ worked properly, and E poked. Swapped SD in places. The problem recurred. But on Y ShD-E poked a couple of times, and on X ShD-X too. Dismantled SD-E. I did not find anything criminal in it. Well, some of the windings touched each other. He pushed them away with a knife. Collected. Nothing has changed. True, during one of the inclusions, smoke from the SD-E driver went out, and the old screen burned out. Now it seems that XYZ and even SD-E work, if it is at a distance from the hotend. nine0003
What is this? Should I change SD? Change hotend? Or even change the 3D printer o_O? I will be grateful for answers.
Thank you for your attention :)
Ender 3 - extruder step skip
creality-ender-3 stepper
I have a problem, most likely very similar to some posts by other users: the extruder stepper visually skips a step at times. It spins rapidly in the opposite direction from where it should spin. nine0003
I've noticed the following:
- The extruder jumps around completely by accident - there's nothing specific about the printed pattern, position, etc.
- Stepper jumps more often on the fill, less often on the walls.
Print details:
- PLA (Devil Design - different colors, they don't matter)
- The filament guide is on top but not in front of the extruder yet (it's printing right now, I'm also waiting for ball bearings).
- Top-mounted thread - at a location determined by Creality
- Extruder already replaced with aluminum
- Motherboard SKR E3 mini V2 (recently replaced)
- 95% flow installed in Cura
- Printing on glass, flat bed (jumps occur on all layers, not just the first)
- 215 °C hot air temperature, 60 °C table temperature
- Stepper motor current settings (from Marlin menu): 580 for X, Y and Z, 650 for E1
Other notes:
- The interesting thing is that the extruder motor bounces even if I manually unwind some filament, so the only force it has to overcome is just pushing the filament into the die.
 nine0042
 - I made a quick homemade wooden spool holder so that the thread was fed almost horizontally. It actually seemed to make things worse - the stepper jumped more often. I moved the coil up again and it reduced the jumps a bit.
- Prints are done beautifully (i.e. after motherboard change) - no lost lines or layers, walls connected with filler, perfect first layer, etc.
What can cause stepper motor surges? How can I solve it? Does this pose a threat to the motor or stepper motor? I need to print a filament guide and a spool holder with ball bearings so that I can minimize the force required by the extruder motor, but then the stepper will probably jump around while printing. I already damaged the original motherboard due to a stuck thread, I don't want to ruin another one. nine0003
This is what the regular retraction of the extruder looks like:
(10 seconds)
This is what the stepper pass looks like:
(13 seconds)
(13 seconds) nozzle) to a new one (original, for now), and the motor stopped leaking - at least on the calibration cube. I'll see how it performs on more complex prints.
However, even with the previous one in hand, I could not find a reason why the motor was leaking - other than the fact that I could not remove the Bowden tube from the radiator (so maybe some thread really dripped inside?)
@Spook, 👍0
Talk
2 answers
▲ 0
I have a problem, most likely very similar to some of the posts by other users: the extruder stepper visually skips a step at times. It spins rapidly in the opposite direction from where it should spin.
These two sentences are talking about something completely different, and the last one doesn't look like a missed step at all.