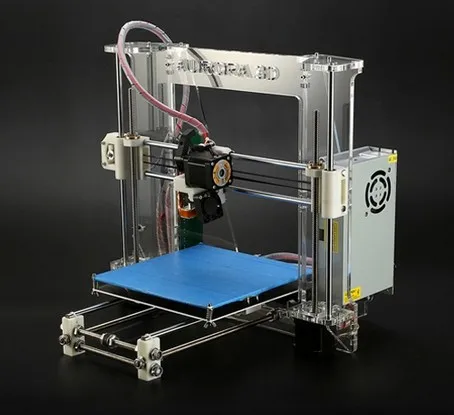
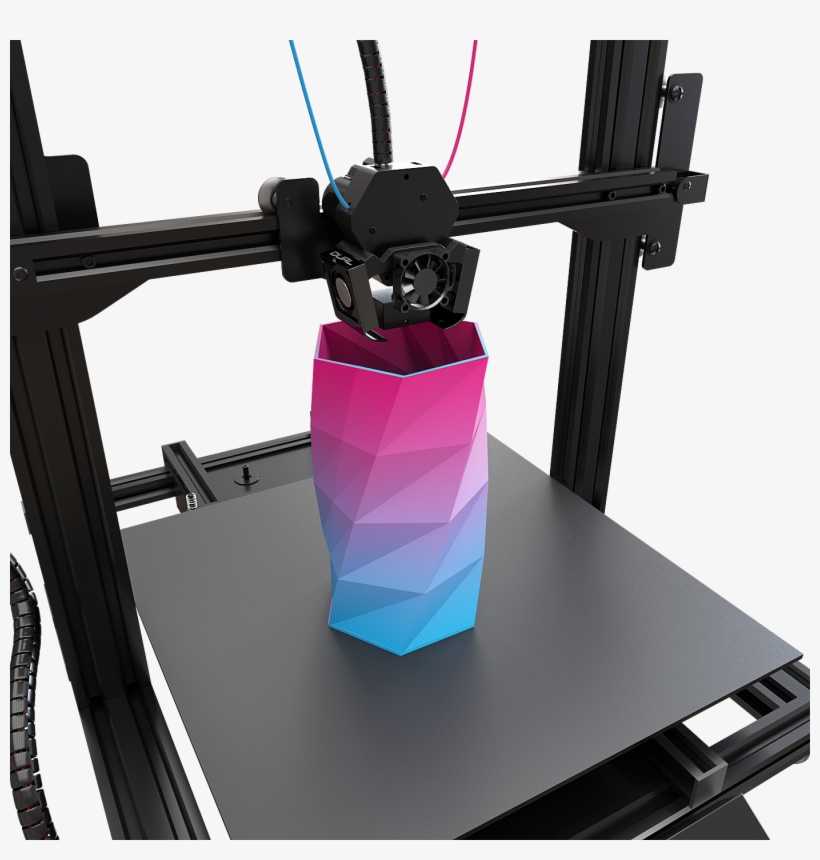
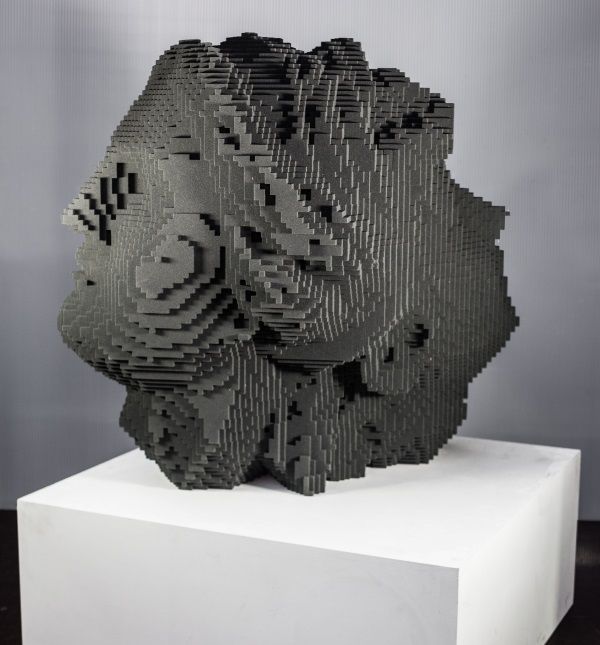
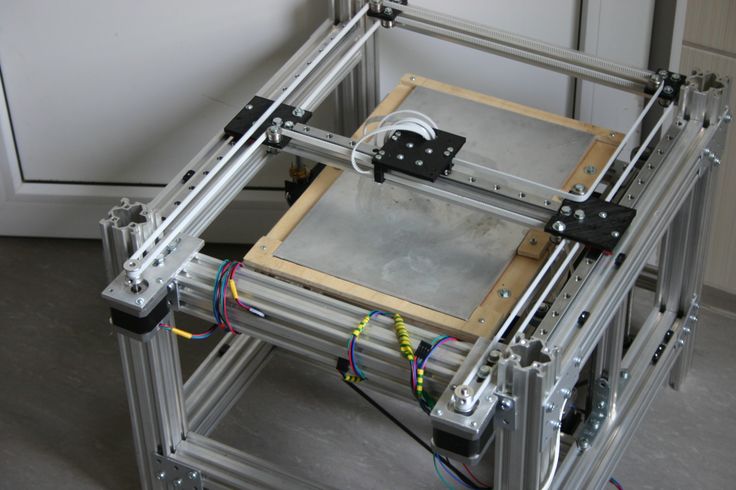
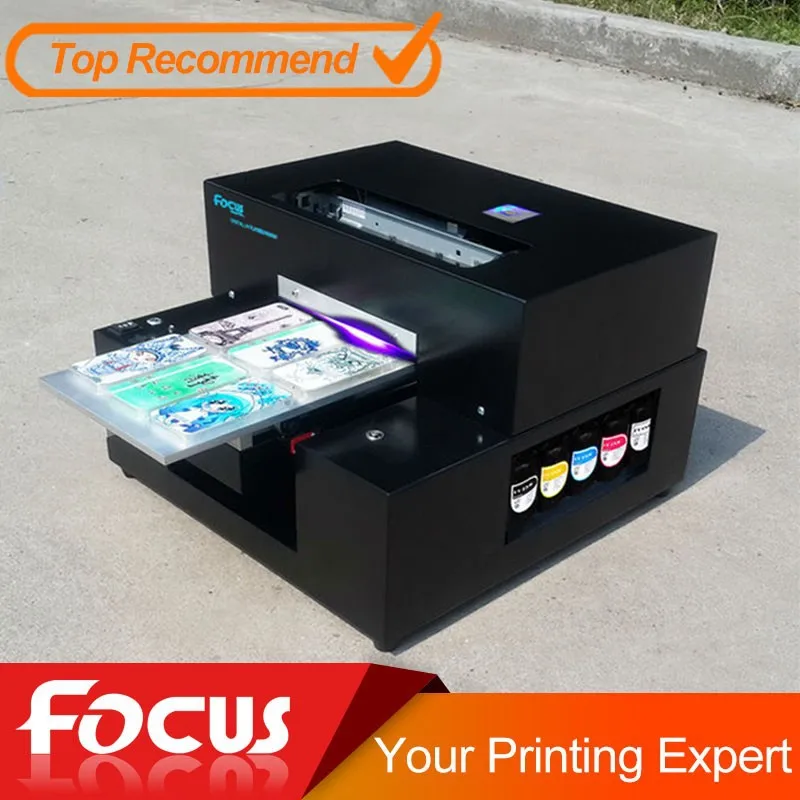
3D printer self build kit
Cheap 3D Printer Kit, Best DIY 3D Printer and Reprap Kits
DIY 3D Printers
We have the collections of high quality reprap 3d printer kit to make your own 3d printer. 3d printer kit became very popular with students and enthusiasts who wants to make a 3d printer. Our store provides best 3d printer kits and you can choose your DIY 3d printer on your choice based on your budget and specifications.
3D Printing has been declared as one of the top emerging technology of the past decade and now is certainly the best time to get your hands on with it. 3D Printers have been around for some time now however the recent expiry of patents and the widespread availability at an affordable price has been a real catalyst in the spread of its acceptance with general public.
One of the most budget friend kind of the 3D Printers are the DIY (Do it yourself) 3D Printer kits. Although assembly of these 3d printers need some patience and some basic DIY skills, we have to point out that they are the one of best if you are inclined to understand the mechanics of these amazing machines.
All the DIY 3D printer kits available on our store have been handpicked and have gone through our strict quality control. We keep close eye on these printers and make sure every product delivered to our customers have gone through rigorous quality testing, such as inspection of raw materials used to make the kit , safety tests conducted on electronics and circuits used, and inspection of all finished products before delivery to our customers.
DIY 3D printer kit is the best low-cost option if you want to learn the Nitty-gritty of 3D printing.
We are proud to pamper our customers with 3d printer options that are available at our store. You can chose from the widest range of 3d printer like 3D printer DIY Kits, Personal 3D Printers, Professional 3D Printers as well as Consumable which work with most kind of 3D printers.
Product Compare (0)
Filter
Sort By:
DefaultName (A - Z)Name (Z - A)Price (Low > High)Price (High > Low)Rating (Highest)Rating (Lowest)Model (A - Z)Model (Z - A)
Showing 1 to 25 of 93 (4 Pages)
Show:
255075100
QUICK VIEW
SALE
-54%
$139 USD$299 USD
(5 reviews)
(5 reviews)
QUICK VIEW
SALE
-36%
$159 USD$249 USD
(17 reviews)
(17 reviews)
QUICK VIEW
SALE
-25%
$169 USD$225 USD
(2 reviews)
(2 reviews)
QUICK VIEW
SALE
-11%
$169 USD$189 USD
(1 reviews)
(1 reviews)
QUICK VIEW
SALE
-20%
$179 USD$225 USD
(4 reviews)
(4 reviews)
QUICK VIEW
NEW
SALE
-22%
$179 USD$229 USD
(1 reviews)
(1 reviews)
QUICK VIEW
SALE
-28%
$179 USD$249 USD
(5 reviews)
(5 reviews)
QUICK VIEW
SALE
-54%
$183 USD$398 USD
(41 reviews)
(41 reviews)
QUICK VIEW
SALE
-24%
$189 USD$249 USD
(106 reviews)
(106 reviews)
QUICK VIEW
SALE
-60%
$199 USD$499 USD
(9 reviews)
(9 reviews)
QUICK VIEW
SALE
-33%
$199 USD$299 USD
(1 reviews)
(1 reviews)
QUICK VIEW
SALE
-23%
$199 USD$259 USD
(5 reviews)
(5 reviews)
QUICK VIEW
SALE
-31%
$206 USD$299 USD
(88 reviews)
(88 reviews)
QUICK VIEW
SALE
-40%
$209 USD$349 USD
(32 reviews)
(32 reviews)
QUICK VIEW
SALE
-43%
$209 USD$369 USD
(19 reviews)
(19 reviews)
QUICK VIEW
SALE
-56%
$222 USD$499 USD
(10 reviews)
(10 reviews)
QUICK VIEW
SALE
-54%
$229 USD$499 USD
(24 reviews)
(24 reviews)
QUICK VIEW
NEW
SALE
-8%
$229 USD$249 USD
(1 reviews)
(1 reviews)
QUICK VIEW
SALE
-41%
$234 USD$398 USD
(1 reviews)
(1 reviews)
QUICK VIEW
SALE
-20%
$239 USD$299 USD
(4 reviews)
(4 reviews)
QUICK VIEW
SALE
-20%
$239 USD$299 USD
(15 reviews)
(15 reviews)
QUICK VIEW
SALE
-38%
$248 USD$399 USD
(5 reviews)
(5 reviews)
QUICK VIEW
SALE
-17%
$249 USD$299 USD
(43 reviews)
(43 reviews)
QUICK VIEW
SALE
-22%
$249 USD$319 USD
(1 reviews)
(1 reviews)
QUICK VIEW
SALE
-49%
$252 USD$499 USD
(17 reviews)
(17 reviews)
This product has no stock!! Please enter your information to form bellow.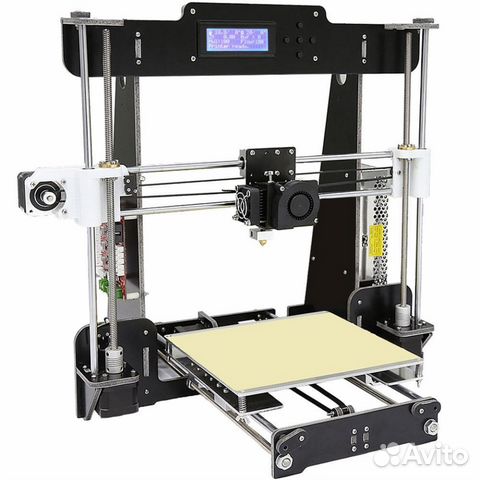 We will send you notification when it is back!
Your Name
Your Email
Your Phone
Top 15 Best DIY 3D Printer Kits
Published on May 13, 2021 by Alex M.
Most FDM 3D printers are now sold as Plug & Play models. However, this wasn’t always the case. The origins of these 3D printers trace back to the RepRap project, started by Adrian Bowyer in 2005. This movement still continues today through some 3D printer kits and DIY 3D printer enthusiasts, most notably the Prusa kits. We have already listed the Best Low Cost 3D Printers, but now we have searched for the best DIY 3D printer kits out there. We’ve ranked them from most to least expensive for your convenience!
Sintratec Kit, an affordable SLS DIY 3D Printer Kit
Based in Switzerland, the Sintratec startup has developed one of the first low-cost 3D printers, Sintratec Kit based on laser sintering technology. It first appeared following a fundraiser campaign on Indiegogo in 2014, the firm today markets its machine as a kit. This is the only 3D printer on this list that uses SLS, as it is a more expensive technology. It is available for €4,999 ($5,610) – SLS printers are usually around €200,000 – the Sintratec Kit is capable of producing PA12 nylon parts and presents a maximum build volume of 110 x 110 x 110 mm. The startup explains that it takes about 4 days to assemble this 3D printer, however you can see it as the price to pay to access laser sintering so cheaply! For more information, you can visit their site HERE.
This Sintratec S1 DIY 3D printer kit is the only SLS 3D printer on our list
Moai, an SLA 3D printer kit
In 2016, Chinese manufacturer Peopoly launched its Kickstarter campaign to finance its new SLA kit machine called Moai. After great success, it was quickly delivered worldwide thanks to a very attractive price for a photopolymerization machine – it costs approximately $1,295. Moai offers a printing volume of 130 x 130 x 180 mm as well as a laser beam of 70 microns and a layer thickness between 10 and 200 microns. It is compatible with any resin on the market. Allow about 4 hours to assemble the machine – for your information a pre-assembled version is also available.
Vertex Kit, a Transparent 3D Printer Kit
The Vertex 3D printer is produced in the workshops of the Velleman manufacturer, a reputable company in the electronics sector founded in the 1970s. It is one of the few printers to offer a transparent chassis, and includes a glass tray and double extruder option. With a build volume of up to 180 x 200 x 190 mm for a layer thickness of between 50 and 200 microns, it’s a solid option. The single-extruder version is available from €599 ($672). Compare the Vertex’s specs in our comparator HERE.
Prusa i3 MK3S, the well-established DIY 3D printer kit
The Original Prusa i3 MK3S is the successor of the award-winning Original Prusa i3 MK2 3D printer. With the rebuilt extruder, a plethora of sensors and the new magnetic MK52 heatbed with replaceable PEI spring steel print sheet, it is their best version as of yet. With a printing speed of 200 mm per second, this 3D desktop printer has a 250 x 210 x 210 x 210mm printing tray. It can print on almost all thermoplastics, including nylon and polycarbonates. On its official website, you can find the assembly instructions, validated by the whole community. It is available in kit form from $749 (€769.00 including VAT). For a cheaper price, there is also the Original Prusa MINI+ kit, starting at $349.00 (€379.00 including VAT), which as the name suggests is a more compact printer. With a build volume of 180 x 189 x 189 mm or 7 x 7 x 7 in, it is not significantly smaller than its older sibling and still boasts a number of the same features.
Micro Delta Rework
The MicroDelta Rework is the new version of the Micro Delta 3D printer designed by the Toulouse-based eMotion Tech. Equipped with a rigid structure with two steel blocks, the 3D printer kit can be assembled in 3 hours according to the manufacturer, with around 200 pieces to assemble. Available with or without a heating plate, MicroDelta Rework offers a print volume of 150 mm in diameter and 200 mm in height. If one looks at its performance, it has layer thickness of 100 to 350 microns and can reach a print speed of 200 mm/s. It is available from €400 with the possibility of adding features.
FLSUN QQ-S Pro
The QQ-S Pro is the partially DIY offering from manufacturer flsun. With a retail price of $329.00, it is certainly not one of the cheapest on the market. However, the printer makes up for that with impressive features, including continuous printing from an interrupted position and automatic levelling. Additionally, the printer was designed for speed, printing 1.5time faster than printers based off of the I3 structure printer. Additionally, it has a “flexible three-axis linkage system, a powerful 32-bit motherboard, a 24V power supply, a lattice hot bed, and an all-metal side shell for better printing quality and a more stable structure.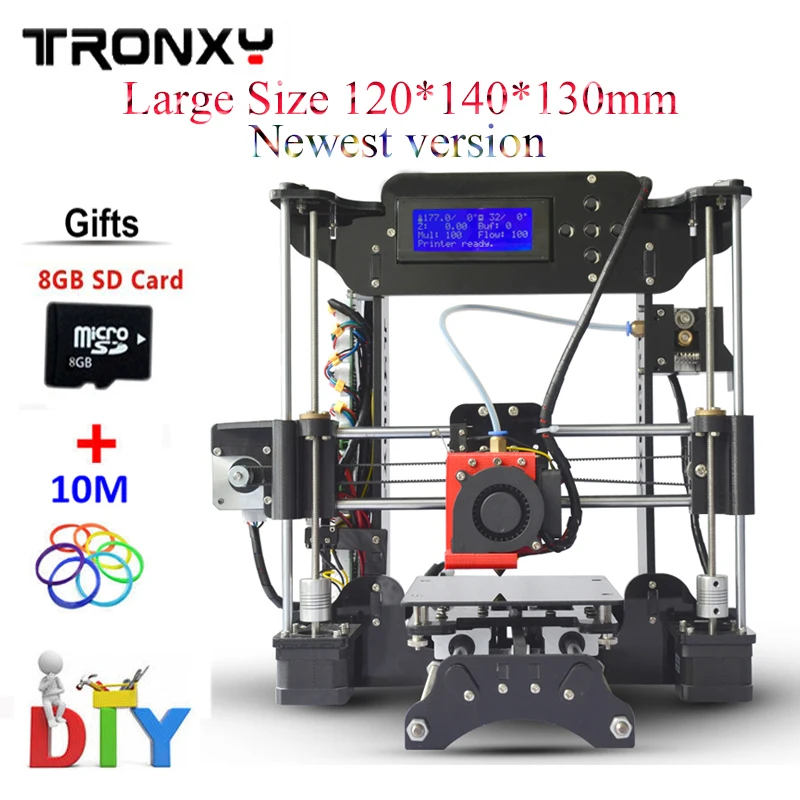 ” The build volume is 255x255x365mm, making it another relatively large offering among the DIY printer kits. The print accuracy is 0.1mm and a layer thickness of 0.06-0.4mm, allowing for detail and accuracy. An additional benefit, it comes mostly assembled, meaning users should have it up and running in under an hour.
Disco Ultimate
Starting at a price of €399, French manufacturer Dagoma’s Disco Ultimate is one of the most affordable DIY 3D printer kits, marketed as the most accessible bi-color 3D printer on the market. Supplied with an SD card, an inductive probe (for levelling the tray) and several 3D printed components, it requires less than one day of work to assemble. Despite its appearance, the Disco offers a decent build volume of 200 x 200 x 200 mm. In addition it offers 50 micron layer thickness, 50 micron XY positioning and a maximum print speed up to 30% faster than its predecessor the DiscoEasy 200.
Tronxy X5SA
The 3D printer Tronxy X5SA was developed by the Chinese manufacturer of the same name and is one of the most popular DIY 3D Printer Kits on the market.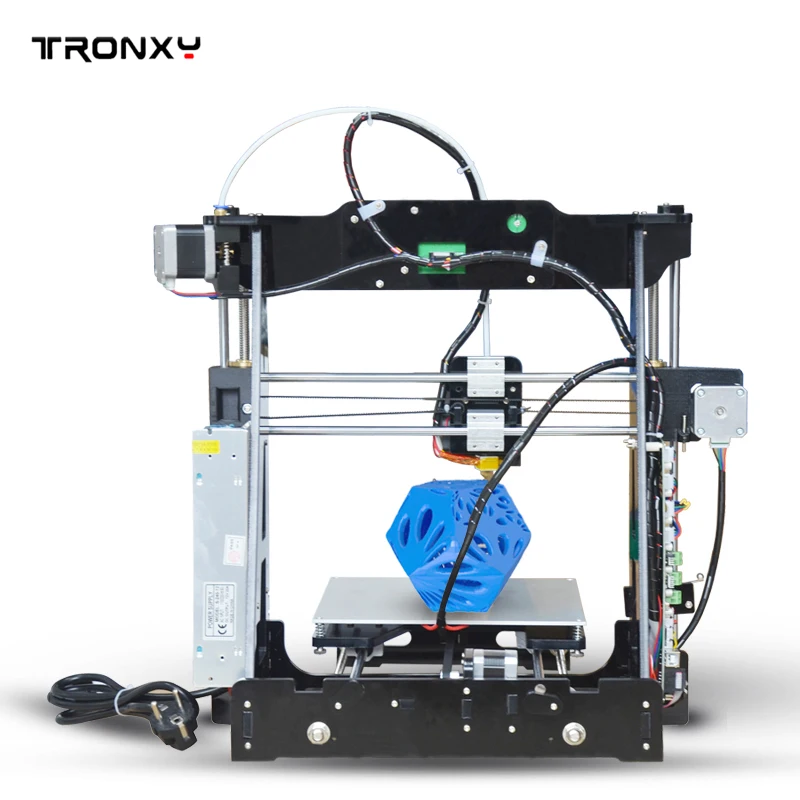 Based on FDM technology, this desktop machine offers a build volume of 330× 330×400 mm(12.992×12.992×15.75 in). Though originally based on the X3SA, the X5SA quickly overtook its predecessor in popularity thanks to its features such as the TITAN Extruder which is compatible with a variety of filaments including PLA, ABS, PETG, TPU, Wood, among others. It also has an automatic filament detector which will notify you when the machine has run out of filament saving time and trouble for the user. The manufacturer does note that this DIY machine is more suitable for 3D printing enthusiasts with some 3D printing experience, though they say that if you are willing to spend the time to learn how to assemble the machine, it could still be worth it. You can buy the X5SA starting from $258.00.
Tarantula Pro
The Tarantula Pro is the latest version of the Tarantula 3D printer kit from the China-based 3D printer manufacturer, TEVO. It is based on the classic RepRap Prusa i3 3D printer, its structure is known for its simplicity and robustness.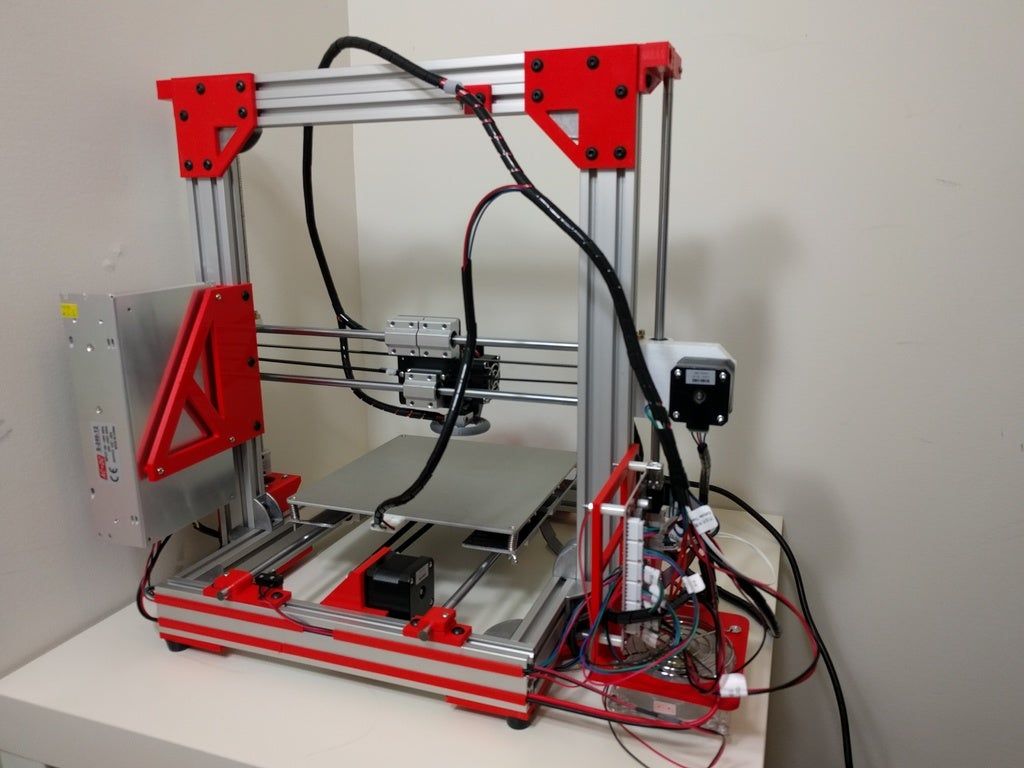 It presents a build volume of 235 x 235 x 250 mm and can print with a variety of filaments, from ABS, PLA, PVA, WOOD, etc. It is also equipped with a LCD screen for improved user experience. In terms of layer resolution, the manufacturer claims that you can achieve between 0.05mm-0.35mm and the extruder has been upgraded to a volcano extruder. This kit comes with a heated bed also. It retails for $229.
Anycubic
Founded in 2015, Chinese manufacturer Anycubic has become one of the more popular 3D printer brands on the market, especially when it comes to their DIY machines. With a variety of choices, it can be hard to choose just one. The most talked about in the line is the i3 Mega S. Neither the cheapest nor the biggest out of Mega’s options, its reliability as the mid-range option from the manufacturer has made it extremely popular with users across the globe. Starting at $219.00 and with a build volume of 210x210x205mm, anycubic is notable for its excellent adhesion, high quality accurate printing with a layer resolution of 5 microns as well as the variety of supported print materials (TPU, PLA, ABS, HIPS and Wood).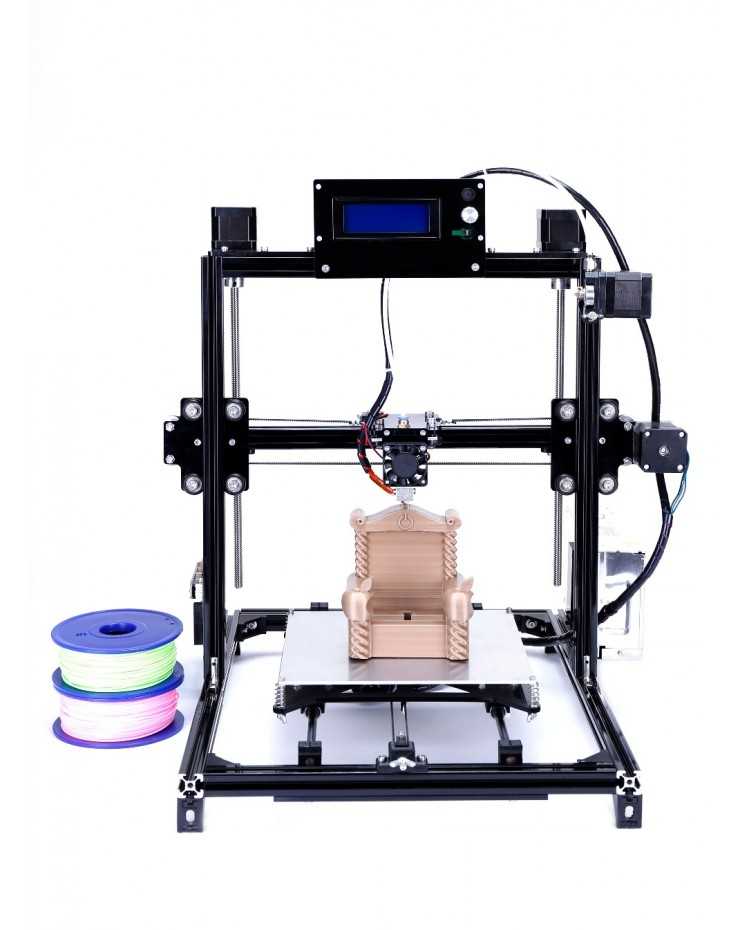 Of course, there are choices for any number of needs among Anycubic’s other offerings. In the rest of the Mega series, the Mega Zero 2.0 has a larger build volume (220x220x250mm) for a cheaper price (starting at $169.00), though it has less features than the i3 Mega S. It is also comptabilie with PETG unlike the i3 S. For those willing to pay more for a more professional printer, the Mega Pro (210×210×205 mm³, starting at $309.00) and Mega X (300 x 300 x 305mm and starting at $359.00) could also be good options. Finally, Anycubic also offers the Chiron ($379.00 and 400x 400x 450 mm) and Predator (370×370×455mm, starting at $519.00 but only available in the EU), for those looking for a large build size.
Colido DIY
The 3D printer Colido DIY comes from the Chinese manufacturer Colido. This fused deposition technology 3D printer has a print volume of 200 × 200 × 170 mm, it also has an integrated fan which helps improve the print quality.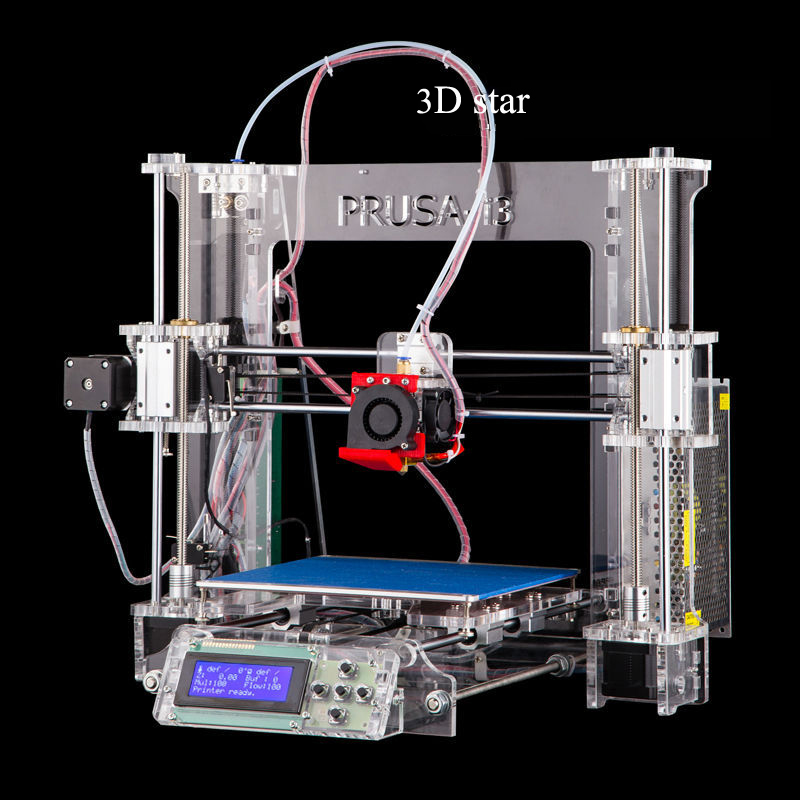 According to the manufacturer, the assembly of the machine is very simple and only takes 15 minutes. The machine comes with a PLA coil, the only material it can use to print, as well as an USB key and two explanatory videos. You can find the Colido DIY from €180 ($202).
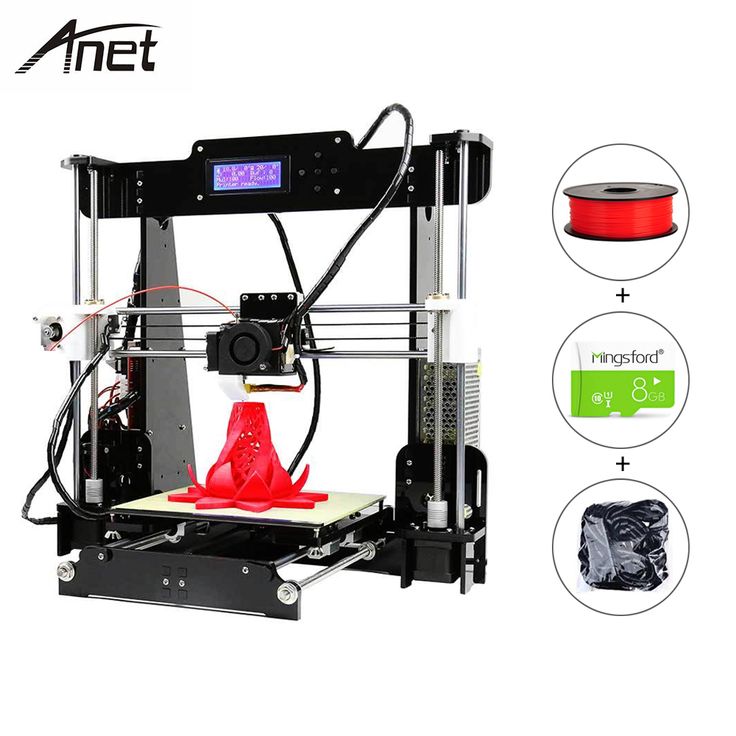
Anet A8
The Anet A8 is a 3D printer kit developed by Chinese manufacturer Anet. The Anet A8 uses FDM technology with a Cartesian FDM head that can print ABS and PLA filaments. The Anet A8 is compatible with a wide variety of filaments. It has a maximum build volume of 220 x 220 x 240 mm and comes with a heated print bed, reaching up to 100ºC. It is equipped with an LCD screen to provide an easier user experience. It is one of the most accessible machines on the market, with a starting price around $180. The manufacturer, Anet has also launched the Anet A8 Plus: an upgrade to its Anet 8 printer.
Voxelab Aquila
Voxelab, a subsidiary of 3D Printer developer Flashforge, has made it its mission to provide comprehensive 3D printing solutions for both 3D printing beginners and advanced users for a cheap price.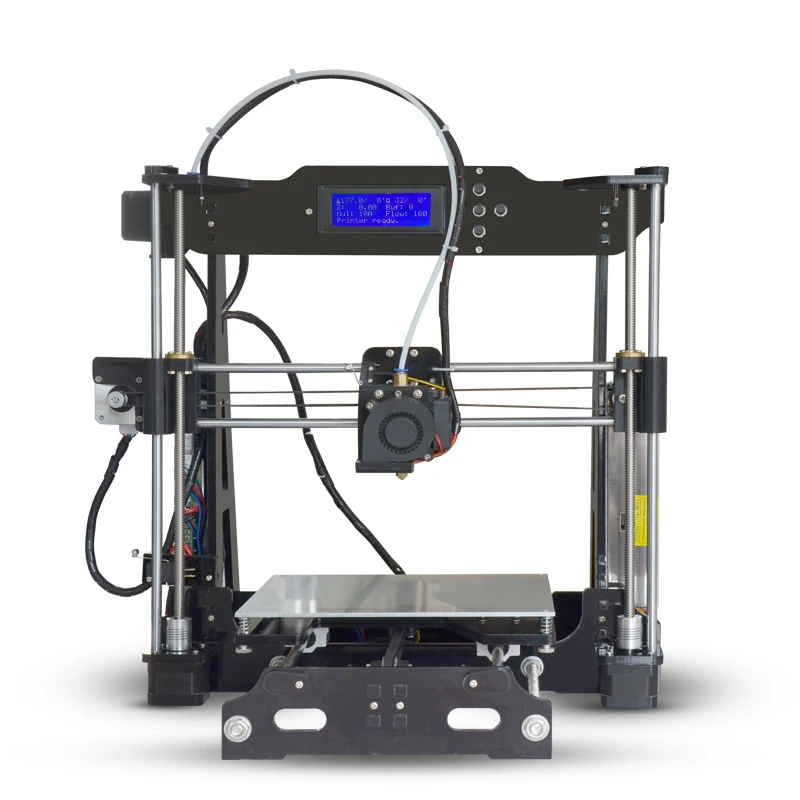 They certainly deliver on the promise with the Voxelab Aquila DIY FDM 3D Printer. Currently priced at only $179.00 on their website (down $20 from the regular listing of $199.00), Aquila is one of the cheaper DIY options on our list. Additionally, it boasts a larger build volume 220x220x250mm than many of the other options in the same price range. Though it is marketed as a DIY machine, the manufacturer notes that the machine is almost entirely assembled, the user will just need to install several main accessories, cutting down on time. The machine is compatible with PLA, ABS and PETG and boasts certain notable features, including a flexible print bed, a colourful screen with a user-friendly UI interface and filament auto-feeding.
Photo Credits: Voxelab
Creality Ender 3
When you think of DIY 3D printer kits, you would be remiss to not mention Creality, and especially the Ender 3 3D Printer. With a starting price of $155.00, it is one of the most affordable kits on the market.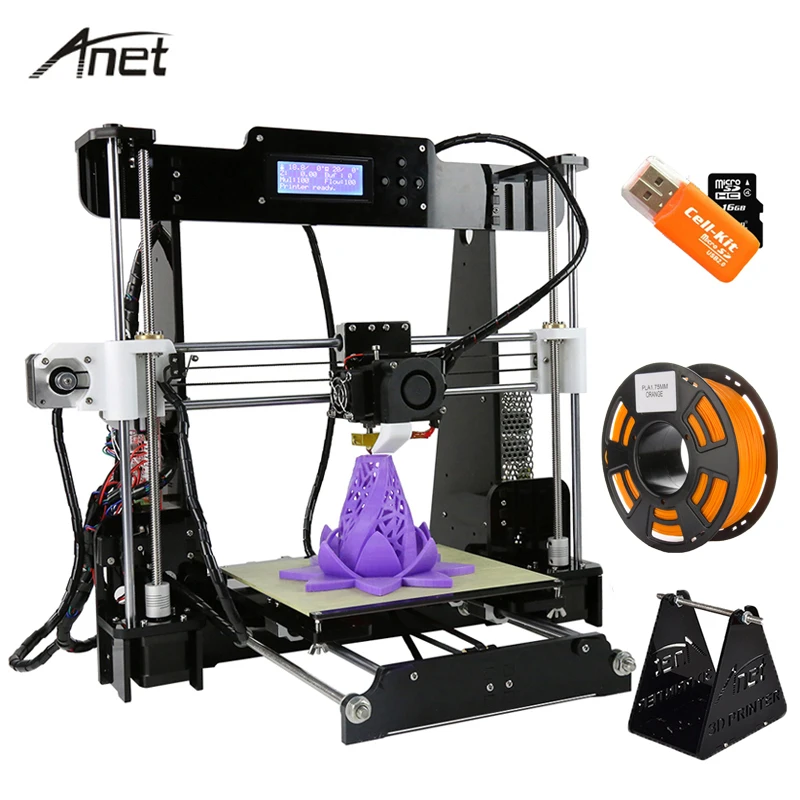 The Ender 3 comes with several assembled parts, meaning that it will only take about 2 hours to fully assemble it. Additionally, the upgraded extruder helps to reduce plugging risk and the machine only needs about 5 minutes for the heated bed to reach 110℃. Customers can choose between the Ender 3, the Ender 3X (the Ender 3 + 1 tempered Glas and 5 nozzles), Ender 3 Pro, or Ender 3 V2 (the upgraded version). For those wanting a larger print volume (and not minding the higher cost), the CR 10 is also a popular DIY machine that is available from Creality.
Startt, the most affordable of all the DIY 3D printer kits
This DIY 3D printer kit belongs to the English brand Startt that produces its machines in China and the printer is distributed by the British company iMakr. It is undoubtedly one of the cheapest machines on the market, as it can be purchased from 100€ ($112). This FDM technology printer has a printing volume of 120 × 140 × 130 mm, can print with PLA filament and has interchangeable extruders to achieve different print qualities: 0. 3, 0.4 or 0.5 mm. You can find more information about this 3D printer HERE.
Did we include your favourite one of your favourite DIY 3D printer kits? Let us know in a comment below or on our Facebook and Twitter pages! Don’t forget to sign up for our free weekly Newsletter, with all the latest news in 3D printing delivered straight to your inbox!
UNI 2.4.1 kit
Be careful when ordering the kit variant:
1. Table dimension: 250x200 or 300x200
2. Screen holder option: Lerdge or Mini12864
Check out the list of differences from version 2.3 here: Community Forum UNI
Please note that the kit mainly includes printer body parts! Other accessories must be purchased separately.
ASSEMBLY INSTRUCTION
Parts list
More about set
Using this kit you can assemble a reliable 3D printer in a steel case with a passive thermal chamber, H-BOT/CoreXY kinematics, bowden or direct extruder, print area 300x200mm or 250x200mm in XY and 280mm in Z.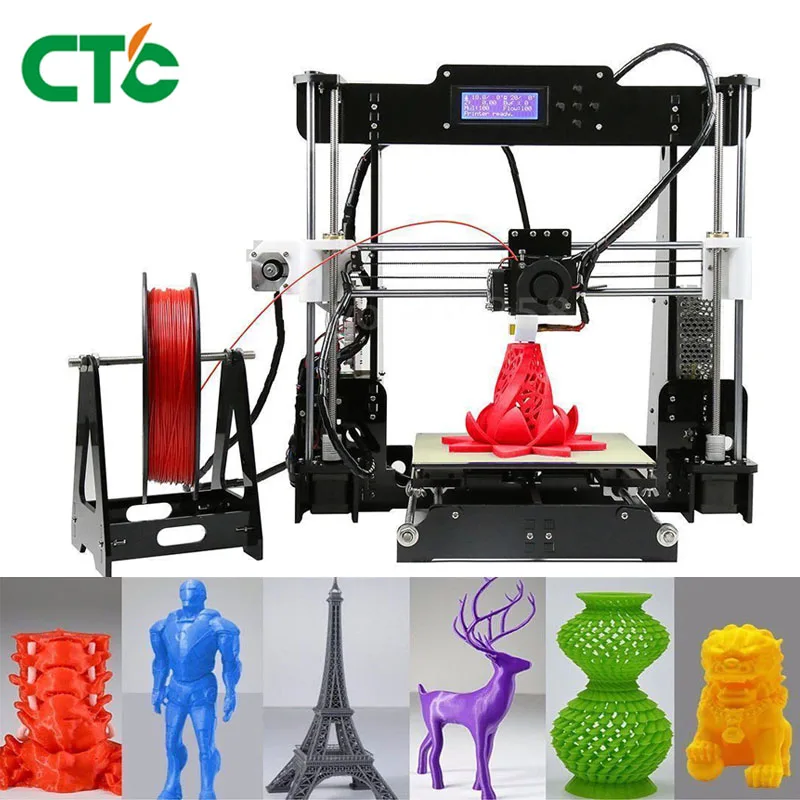
Standard electronics holder allows you to conveniently install Raspberry PI and printer control boards from Lerdge and other manufacturers (for example, SKR 1.4 board)
The highlight of the kit is that you get complete creative freedom to assemble your own version of the UNI steel case printer!
Of course, this requires some perseverance and thirst for knowledge. But it also gives a lot: a self-assembled 3D printer will be completely understandable to you. You will know the principle of its operation and understand why this or that component is needed.
Having gone through all the stages - from assembling the case, setting up the mechanics and connecting the electronics to the first print, you will know the zen of a real 3D printer!
This path is difficult and thorny, at the same time exciting and giving an incomparable feeling of exultation at the first print of YOUR printer.
In addition, the resulting printer will be useful at home, in the workshop or in production.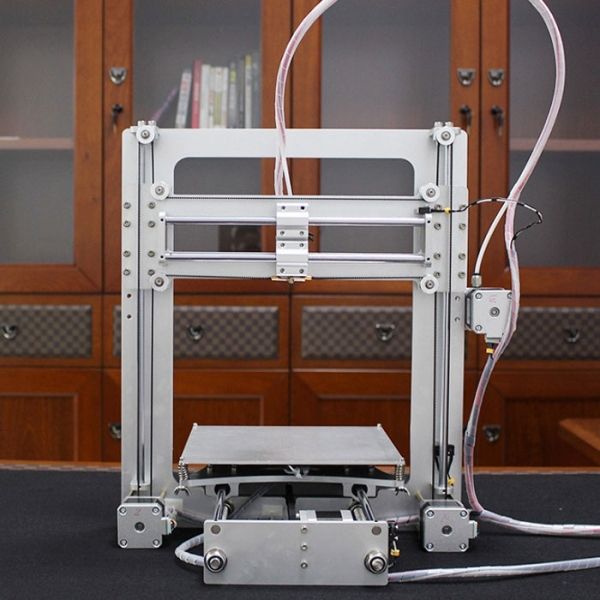
Benefits of UNI kits:
We understand that it is quite difficult for a beginner to figure out what parts and accessories are needed. Therefore, we have prepared a list of necessary components, as well as ready-made modules to facilitate the assembly of a specific (fixed) printer model.
In addition, there are video tutorials, a forum and chats on social networks to help a beginner, to communicate and solve problems that arise.
A large and friendly community of owners of serial printers and those who have assembled their 3D printers based on UNI is always ready to help beginners and already quite experienced 3D printers.
Software requirements:
As a rule, for self-assembly, open firmware developments (marlin, etc.) are used, but closed ones (Lerdge) can also be used. Thus, compatibility and software requirements will depend on your choice.
Additional information:
Please note that UNI does not provide private lessons or training on how to assemble 3D printers from kits.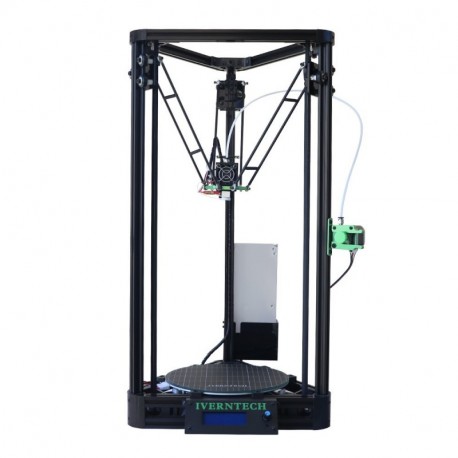 All emerging issues are resolved by studying the instructions, video tutorials, communication on the forum, chats, and social networks. Technical support is provided ONLY to customers who have bought ready-made 3D printers.
Due to the lack of an official warranty and technical support, as well as the cost of wages and other production costs, you get your 3D printer much cheaper.
To assemble a 3D printer, you must separately purchase the remaining components - mechanics and electronics, wires, power supply, and more.
Recommended with the kit:
- a set of acrylic panels, or cut them yourself by downloading the necessary files from our cloud (all links are on our forum!)
- UNI heatsink and adapter bushing for standard Direct extruder installation.
Perhaps, with some options for assembling the printer, you will need additional printed parts - you can print them by downloading models from our cloud.
From the UNI 2. 4 kit version there are 2 table platform options to choose from: with print area 300x200 and 250x200 and 2 screen holder options (Lerdge and Mini 12864)
1. When choosing a table with a maximum printable area of 300x200mm, the bar spool can be mounted on the print holder for the rear panel.
2. When choosing a table with a maximum printable area of 250x200 mm, a steel frame of the printing spool holder is added to the kit for installation inside the case.
3. Lerdge screen holder selection assumes use of Lerdge electronics.
4. The Mini12864 shield allows multiple electronics options from SKR to RepRap.
ATTENTION!
To build a direct extruder you need:
1. X-axis steel beam from the UNI 2.4.1 set (ALWAYS IN THE KIT)
2. Direct extruder kit from UNI 2.4.1 (ALWAYS IN THE KIT)
3. Radiator UNI
4. Radiator adapter sleeve
5. Extruder BMG
6. Printed parts: belt clip, model blower, spacer and BLK board cover (download for printing in the cloud)
7.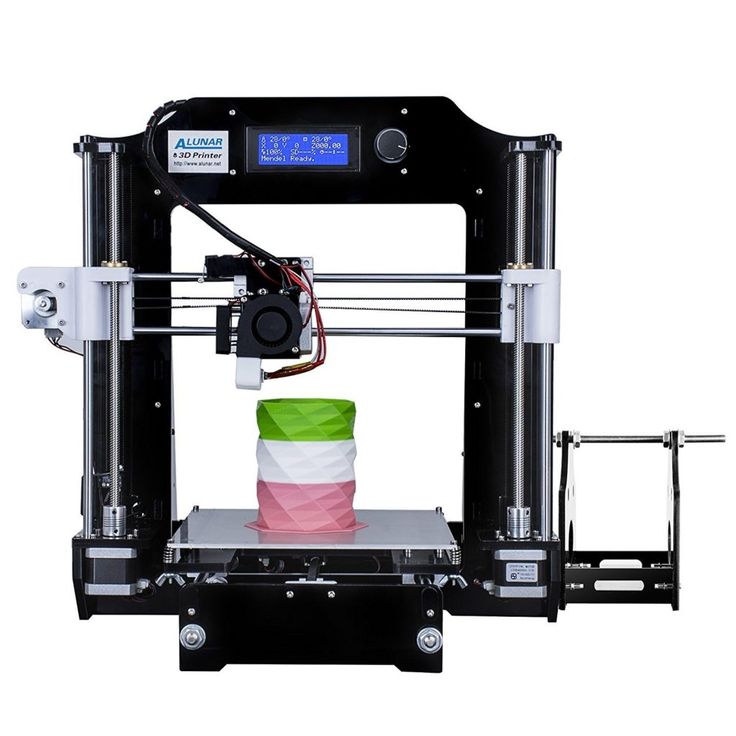 Snail fan 5020
8. Radiator cooling fan 40x40x10 mm
9. Threaded neck M7 + thermoblock + nozzle
10. Board BLK
Consent and Legal:
By purchasing the kit, you assume all the risks of assembling, setting up, aligning the assembled 3D printer, as the parts of the UNI kit may have manufacturing errors and tolerances.
UNI is not liable for damage to property, ill health, financial or any other possible consequences! And they also do not guarantee the stable and high-quality operation of the 3D printer assembled by YOU.
The warranty for the company's 3D printers does not cover those assembled from a self-assembly kit.
You warrant that the UNI 3D Printer DIY Kit is purchased for personal use and not for resale or commercial purposes. The right to technical, warranty and post-warranty maintenance of UNI 3D printers belongs only to organizations authorized by UNI that have a certificate.
You also agree to the sale of a 3D printer that you have assembled based on the UNI, 9 self-assembly kit.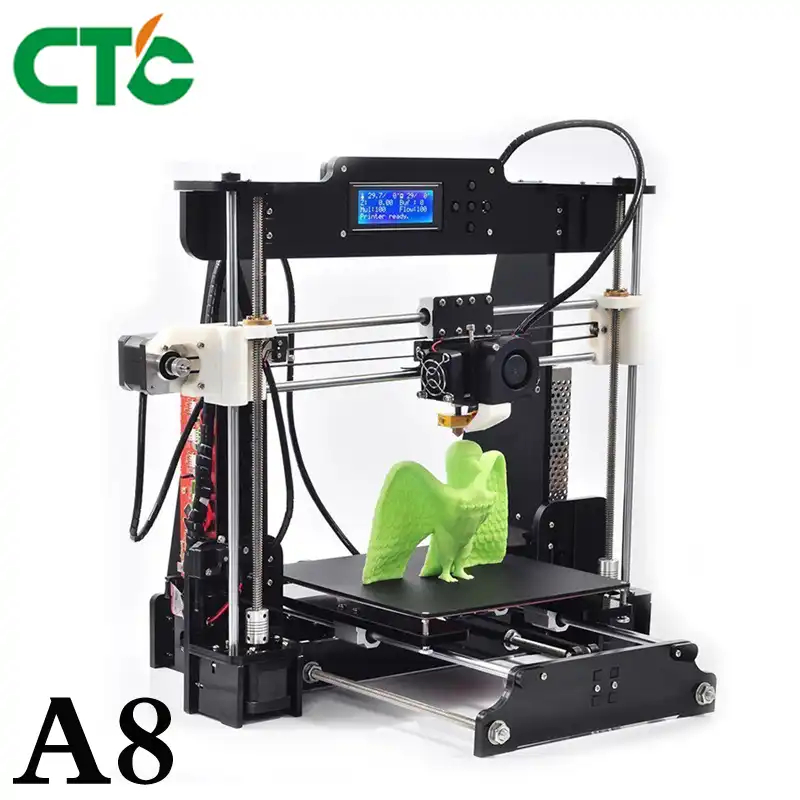 0003 MUST indicate that it is not officially manufactured by UNI and does not have an official UNI warranty. In addition, you undertake not to use advertising, promotional, photos and videos, other materials of UNI.
Trademark registered and owned by UNI only.
Warranty: 14 days
Package dimensions and weight
Width: 580 mm
Height: 150 mm
Depth: 480 mm
Shipping weight: 16.5 - 17 kg
preview / 3D Printers, Machine Tools & Accessories / iXBT Live
The B&R 3D project is growing and a PRO version of the kits is now available. Sets of body parts for self-assembly are universal and allow you to assemble a 3D printer both on H-bot and Core XY kinematics. The B&R PRO versions of the kits have received a number of changes in a positive way and have received larger “Plus” versions of the kits. Now this is one of the most affordable ways to assemble a steel printer, which outperforms its brethren with a plywood case or an aluminum profile frame in all respects.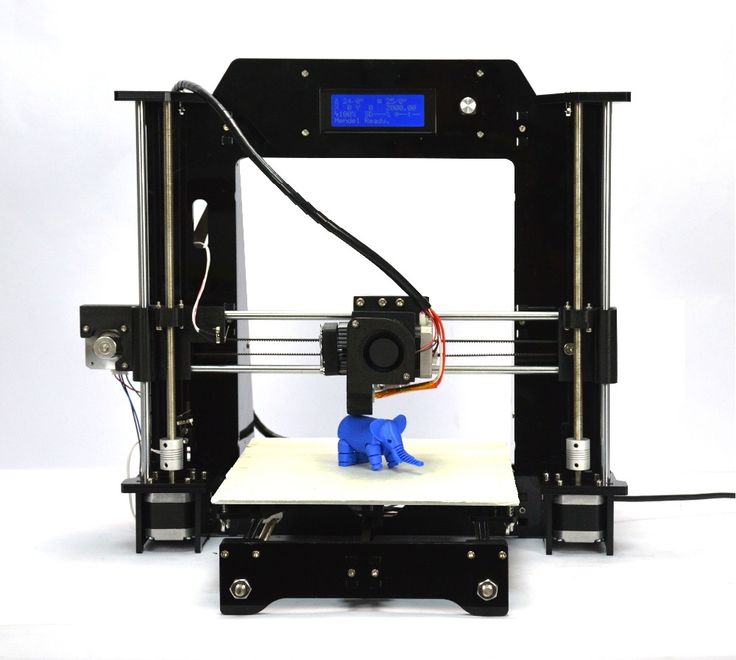
Such a 3D printer allows you to assemble a fairly budgetary structure from metal, and not from plywood / profile. The side walls are sheathed with acrylic panels (if necessary). The design allows the installation of a direct feed (direct extruder) of plastic, as well as dual extruders for color printing.
The range includes three new B&R Pros and two basic build kits:
- The B&R PRO 3030 kit has a printable area of 300 x 300 x 350 mm. Overall size 615 x 471 x 481 mm with a set weight of 19kg.
- Kit "B&R PRO 3030 plus" has an enlarged printable area of 320 x 320 x 350 mm. Overall size 615 x 496 x 501 mm with a set weight of 23 kg.
- Kit "B&R PRO 2525 plus" has a print area of 270 x 270 x 300 mm. Overall size 615 x 450 x 450 mm with a set weight of 19 kg.
- The B&R 3020 basic kit has a printable area of 300 x 200 x 300 mm. Overall size 570 x 455 x 370 mm with a set weight of 15 kg.
- B&R 2020 basic kit has a print area of 200 x 200 x 300 mm.
 Overall size 570 x 405 x 370 mm with a set weight of 14 kg.
A heavy printer is good. The massive body well dampens excess vibration when working at high print speeds. The body itself is rigid, made of thick stamped steel with a powder coating. There are holes for installing a touch display (diagonal options are possible), holes for installing encoders, switches, USB panels. The electronics compartment is located under the "floor" of the device. I covered the nuances of assembling the basic kit for assembling a B&R 3D printer in a separate article.
The peculiarity of the project is not only the openness and accessibility of information, but also the possibility of implementing a moving scheme both in the form of CoreXY and in the form of H-Bot. The top panel provides for the installation of one of two versions of kinematics.
The assembly of B&R kits is quite simple - fastening the panels in turn, setting up the table, assembling the guides (shafts, rails), motors, connecting the electronics.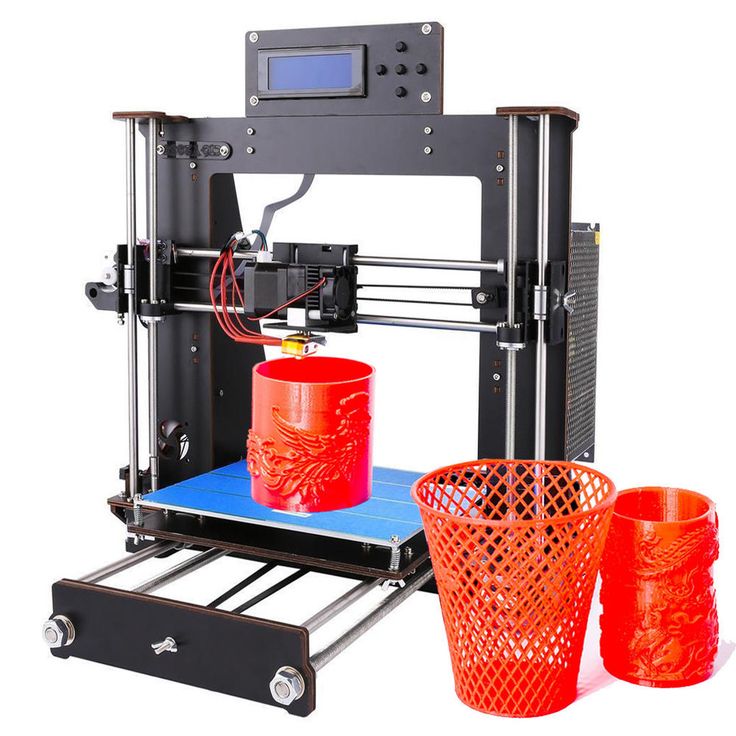 It should be noted that only steel painted panels are included in the B&R kit. Additional components are purchased by the user according to the list based on his own preferences. There is both an opportunity to save money and a path to assembling the most advanced 3D printer.
The advantage of 3D printers with a large printable area is that you can create large models without cutting into pieces and without subsequent gluing. An example of a complex layout mechanism is shown in the images below.
The B&R kit is one of the most affordable and smart options for DIY 3D printer assembly. Detailed information on assembling and setting up the printer can be found both in the official B&R group and in the project's telegram chat.
Source : Official chat of the B&R 3D printer project
News
Publications
The new building of the Tretyakov Gallery on Kadashevskaya Embankment. There used to be an 18th century house on this site. Building built according to the project of the architectural bureau SPEECH by Sergey Tchoban.