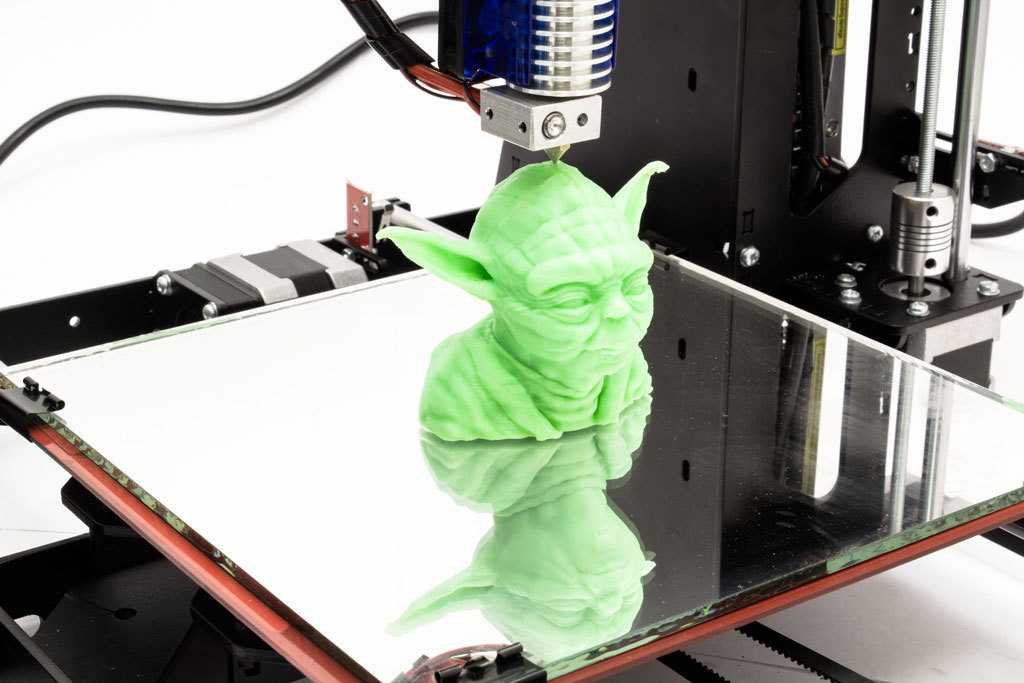
123D catch 3d print
Learn to use 123D Catch app to get your 3D models printed
Posted By Zach Correa on Oct 7, 2014 |
Can’t make it to our meetup in Paris this weekend with Autodesk? Learn how to use 123D Catch app to get your 3D models printed from anywhere in this tutorial!
123D Catch app offers an easy, seamless way to get a 3D scan of any physical object you can imagine. With the app you can take pictures and generate a 3D model through the cloud without using an additional camera (or even saving all of the pictures on your phone’s camera). However, there is no way to get a 3D print from within the 123D Catch app interface (this is likely because the models usually need additional optimization in order to 3D print). You can still print the objects you catch using the app, it just takes a few more steps.
This 123D Catch Tutorial will teach you how to use the 123D Catch Smartphone Application, the 123D Catch PC software, and Sculpteo to create a figurine in Sculpteo’s multicolor material.
We’ve broken the process down into 5 Steps
-
Download the 123D Catch App from Autodesk
-
Take the pictures with 123D Catch App
-
Upload to the Autodesk Servers
-
Edit your 123D catch model
-
Upload to Sculpteo.com and 3D Print!
1. Download the 123D Catch App from Autodesk
The 123D Catch app is available on two different smartphone platforms: in the App Store, in the Android Marketplace. Download the one for your smartphone by searching for ‘123D Catch’ in the corresponding marketplace. After downloading, open the app and create an account – this step will make it easier to find your catches later for download.
2.Take the pictures with 123D Catch App
For a successful 3D capture there are a couple things to keep in mind:
- The object should be clear of obstructions
- The object should NOT be transparent, translucent or reflective
- There ought to be enough room to view each angle of the object
From there follow the in-app guides to circle the object.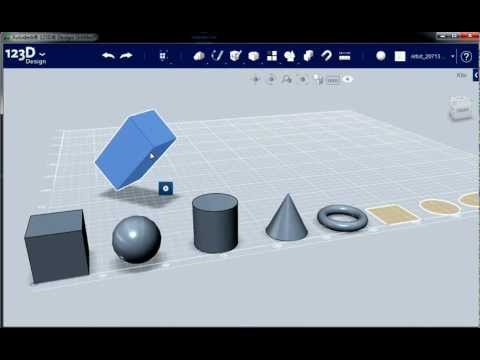 Remember you must move around the object, do not turn the object itself. The app uses the area around the object to orient the camera’s locations.
As the app uses the area around the object to orient the camera location, it sometimes helps to give the app some more objects with which to orient. Adding post-it notes or a piece of newspaper can do just that.
3. Upload to the Autodesk servers
The 123D Catch app uses cutting edge photogrammetry software that quite simply could not fit on most phones (at least without taking up a large portion of the phone’s storage space). All of the app’s processes are done through the cloud. That being said the upload and processing times can be somewhat lengthy but don’t get discouraged! It’s well worth the wait, not to mention.. its free!
4. Edit your 123D catch model
After your file is finished uploading it will be automatically become available on the Autodesk 123D website. You can email a link to yourself that will take you directly to the online version from within the app.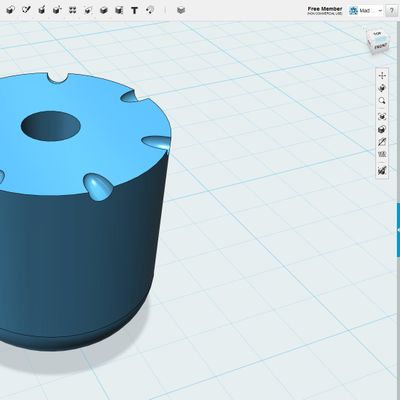 This can be done from the object view screen then by click on the share button in the bottom right corner.
When you are on the online page of your 3D model, you can download the object from ‘Edit/Download’ menu, then click on ‘Download 3D Models’ at the bottom of the list.
The current version of the 123D Web application does not allow for optimization of the 3D File, such as deleting of excess information or filling holes. However, you can download the 123D Catch PC software to optimize the file for a print. (If you are using a mac, there are other programs that will recognize the models you download and allow you to edit them).
The PC app is extreme intuitive. Simply use the lasso select tool, select the information that you dont want in your print.
After you delete the information you want excluded from your print, select the area of the object you’d like to print and choose ‘Export 3D Model As…’ from the ‘File’ menu.
This will export the files into a folder with all of the information you need for a 3D print.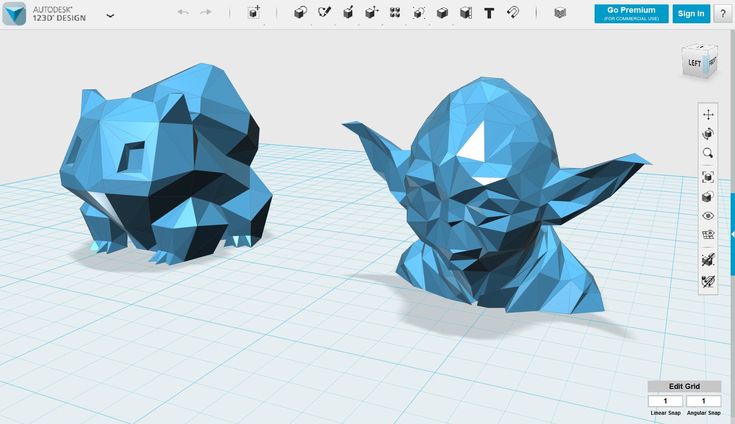 From there simply take the file and compress it and you’re ready for Upload to Sculpteo.
5. Upload to Sculpteo.com and 3D Print!
On the Sculpteo website, click on ‘Upload a 3D File’ and drag your compressed folder into the website. After it is finished uploading it will optimize and repair the file automatically for a 3D print.
From there choose the material you’d like (likely multicolor to keep all of the fine details), choose the size you’d like according to your budget, and print!
We’ll update the blog post with pictures of the final print in a few days!
Another guide on photogrammetry using high quality photographs and Autodesk’s memento is coming soon.
If you have any other questions don’t hesitate to contact us!
123D Catch for the Masses
Leave a comment Share
This entry is part 3 of 9 in the series xyHt in print, November 2015
Stereoscopic imaging, better known as 3D, is not new.
In the 16th century, “binocular” images were viewed cross-eyed. In 1838, Sir Charles Wheatstone invented the stereoscope to give depth to images. It presented two offset 2D images separately to the left and right eye of the viewer, which the brain then combined to give the perception of 3D depth. In 1849, Sir David Brewster invented the first lens-based, hand-held stereoscope. The View-Master stereoscope that you might remember from your childhood was patented in 1939. The 1950s saw a boom in 3D movies.
Now, you can not only view 3D models but create them yourself. All you need is a smart phone and Autodesk’s free 123D Catch application. Here’s how.
Choose your subject—such as a toy car, a pile of laundry, or your cat sleeping. Make sure it is not transparent or reflective.
Choose the setting. It is best if you can easily move around your subject 360 degrees, although 180 degrees can work as well.
Adjust your lighting so that you don’t have sharp shadows. Natural light on an overcast day is usually best.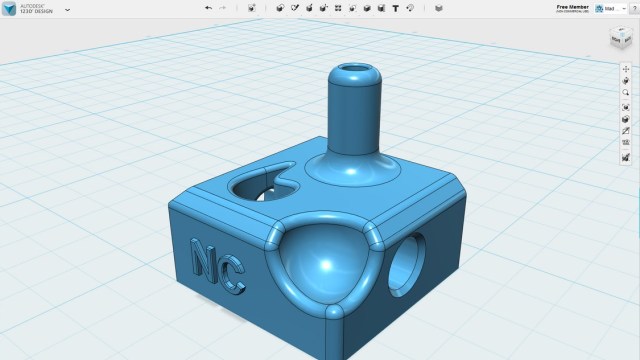
Take 30 to 70 photos, the more the better, all around your subject and from above and below, with a lot of overlap between them.
Submit them via 123D Catch.
Wait. In the cloud, Autodesk will convert the photos into a full-color 3D object in the OBJ file format, texture it, and then convert the textured OBJ file into a streaming 3D model for display on your mobile device.
“This finalizing bit can be somewhat complex, and usually we see folks get hung up here if the project gets really huge,” says Christian Pramuk, Autodesk’s product manager for 123D Catch. Just wait, though.
On a computer, download and install Meshmixer, another free offering in Autodesk’s 123D Catch family of programs. From this program, you can access your 123D Catch projects as well as more than 10,000 models made by other users. You can download any model in one of three export formats: 1) an STL file, which is a typical 3D printing format, 2) a mesh package, which is the color version of it and comes with an OBJ file and a texture, and 3) a photo package, which consists of the original set of photos that you uploaded to create the capture.
“Meshmixer can help clean up models and make them water-tight for 3D printing,” says Pramuk. “The strength of all these 123D Catch applications is that they are connected by a common account. So, for example, with your iPhone, you can capture something while you are out on the town, and then when you get back home you can do some further refinement on your desktop.”
For professional uses, you can open your model in Autodesk Maya 3D animation software or Autodesk 3ds Max 3D modeling, animation, and rendering software.
From the application on their mobile phones, users upload their photos for processing into 3D models.
I asked Pramuk a few questions.
Where does 123D Catch fit with other Autodesk products, such as ReCap 360 and Memento?
Pramuk: 123D Catch is a mobile version for consumers to turn 3D photographs into a 3D model. It is a way to bring 3D to the masses. We see this as the next big revolution of sharing. With smart phones, many people share photos and now even videos. It is inevitable that we will get heavy into 3D sharing as well.
Will this explosion of 3D be another huge burden of data on the internet?
That’s why we developed this mobile format. The mobile versions that you see on your phone are a lot smaller [than the full models in the cloud], so that they can be downloaded and shown in a few seconds without ruining your data plan.
Do you expect a certain percentage of users to upgrade to a pay version?
Perhaps, indirectly. We launched the desktop app first, then released 123D Catch in October 2011, and shortly after came out with the mobile version. We really see that that’s the way to get people into 3D and to get people thinking in 3D. They just have to perform the familiar task of taking photographs, but with a little more attention. With some practice, you can get better at it.
We have other applications, such as 123D Design that may be more suited toward modeling stuff with hard edges and specific tolerances, whereas 123D Catch is really good at capturing, for example, a big pile of laundry or your dog in a funny sleeping position or a rock wall at an ancient historical site, that kind of thing.
How would you compare the capabilities of this free, consumer product with those of your professional products?
Our Memento product is in beta right now. There’s ReCap 360, in which you can also create 3D models from photographs. These products are aimed at professionals—maybe someone with a digital SLR camera with a very high-end lens or somebody with a UAV who wants to do a digital survey. Technically, under the sheets, we are using the same engine, more or less, to create the models.
The difference is that we are allowing Memento and ReCap to use more photographs. 123D Catch limits you to 70 photos; ReCap goes to 250. You have a lot more data, and it exponentially increases the computational power and the quality of your model. You can also upload photographs at a higher resolution. Some of the digital cameras have 80 megapixels, which is an insane amount of information.
To make an analogy, Memento and ReCap 360 are for museum curators, whereas 123D Catch is for students on a field trip.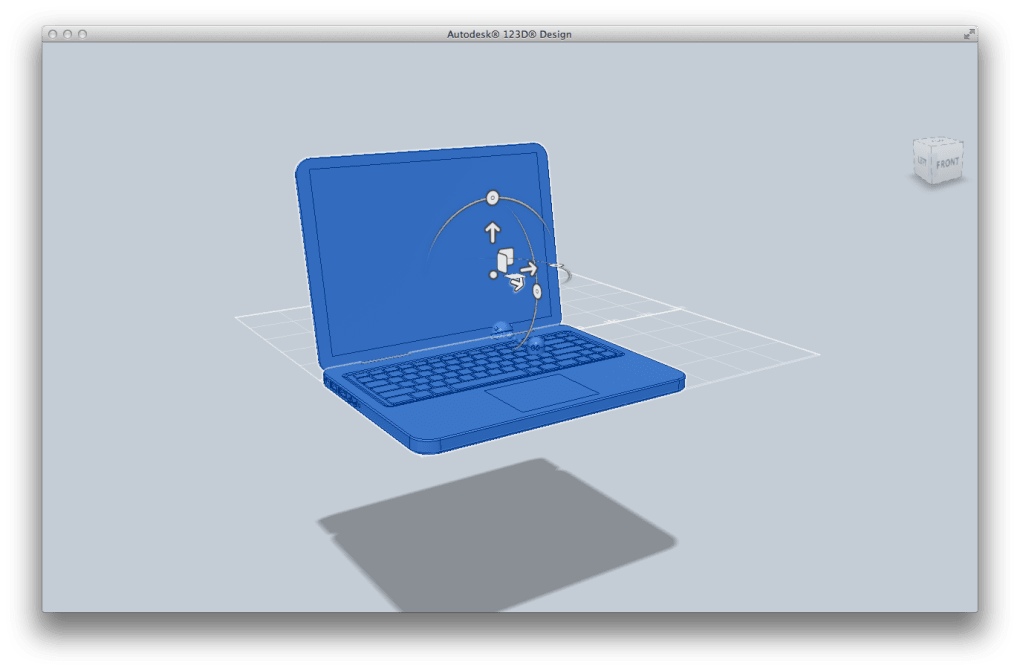
Besides resolution, what other major differences are there, in terms of ability to edit, export, etc.?
123D Catch and Meshmaker evolved to be my products because I started with 123D Catch and then I was using and recommending Meshmixer to edit the captures. Memento is the professional version of that combo and uses some of Meshmixer’s technology. The difference there is that you can actually submit the photos within Memento, and the meshes you get back are so huge that we needed to build this out so that you can handle these large meshes. Most applications would not be able to process 80 million polygons in a scene. So, what differentiates Memento is that it can handle this many triangles and it can also help you reduce those down into something more consumable for other outputs.
ReCap is combining different photo modeling and laser scanning workflows and helping to get the reality capture data into other Autodesk applications such as Revit. Memento and ReCap can be used by heritage experts, film makers, game developers, architects, engineers, and medical experts. They are going to be able to get the best possible quality because of those upper limits of resolution and number of photos that they can submit.
Series Navigation<< SHS 2015 RendezvousRTCM >>
Share This Article
3D printing and 3d modeling software. Free software for 3d printers and 3d scanners and model creation.
What software should I use for 3D printing?
3D printing software is a very broad topic. It is not realistic to describe all the existing programs within the framework of one article. Therefore, we will only consider the main points and learn about the most necessary software for those people who have just bought their first 3D printer.
The first thing you need for 3D printing is to create a 3D object and save it in an STL file.
The easiest way is to scan an already existing object . And here you have 3 options:
1) You have a 3D scanner - then use the software that came with the kit.
2) You have Kinect - in this case, the choice of software is huge, a number of paid and free programs for creating 3D scans based on a game controller. Read more about using the controller in this article.
3) You don't have either the first or the second, but you still want to get a 3D model. - Use your camera and Autodesk 123D Catch.
If you need to create something new on a 3D printer, and not create a copy of an existing one, then first you need to draw a full-fledged three-dimensional model .
And so we go to the overview of 3D editors:
There are many different 3D editors. The most popular of them is -
Autodesk 3Ds Max. The program is extremely functional, in it you can draw anything you like. It is used by designers and engineers around the world. The program is difficult to master, but it has two significant advantages:
* There are a huge number of free lessons and community on the Internet. You can find the right lesson and learn how to create any object without a long study.
* there is a free license for 3ds max. Any student can use it and start building their own 3D objects.
But the program also has a fly in the ointment. 3Ds Max is a surface modeling program that creates hollow objects that are not suitable for 3D printing. If for some reason at least one miniature hole is formed in your object, then the entire model will collapse when built by a 3D printer.
SolidWorks. This is a solid alternative to 3Ds Max. SolidWorks creates 3D objects that are initially filled in. Another plus, the program was originally created for high-precision modeling. With it, you can digitize 2D drawings. To work with the program, it is desirable to have basic knowledge of drawing and descriptive geometry. Free lessons of SolidWorks can also be found on Youtube.
Autodesk 123D Design. Another gift from Autodesk. We recommend that you take a closer look at the 123D line of free programs. Despite the altruistic beginnings, the programs came out extremely interesting. Good functionality, convenient not overloaded interface, free cloud technologies. By the way, the latter also has the other side of the coin, because of the same cloud technologies, programs are often slowed down, at least in Ukraine. What to do, a priority for the English-speaking community.
Autodesk 123D Design is the best 3D editor for beginners. It is simple and easy to learn. The main drawback is the lack of lessons and communities. If you get stuck at some stage, then there will simply be no one to ask.
As an alternative to the editor, you can use one of three online editors:
123D Design is the most functional online editor on the planet.
3DTin is a beautiful and convenient 3D editor with Russian language support.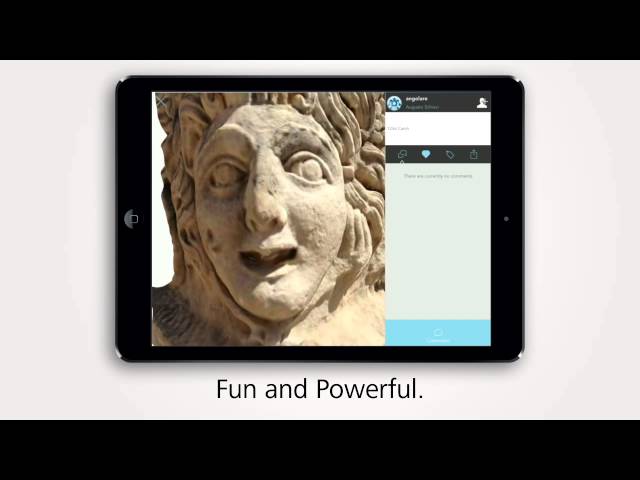
Thinkecard - this 3D editor was originally built with an eye on the children's community. This explains his "cartoon" stylization and selection of finished objects. One of the advantages is the fact that it is combined with a gallery of 3D objects, so immediately after the creation of the file, you can share it with your friends or the whole world, and they, in turn, can create a copy of any open project and start finalizing it. Also, a distinctive feature of the project is the fact that the finished files can be easily and conveniently transferred to the popular children's game MineCraft.
The layout is ready, but it is too early to print it.
First, let's make sure that your object fits into the working area of your 3D printer. But what if you need to create a very large object? Well, let's say a few meters in height. Unreal?
No, on the contrary. Here, Autodesk comes to the rescue again. The free 123D Make software allows you to "cut" the part into several elements, which, after printing, can be easily connected.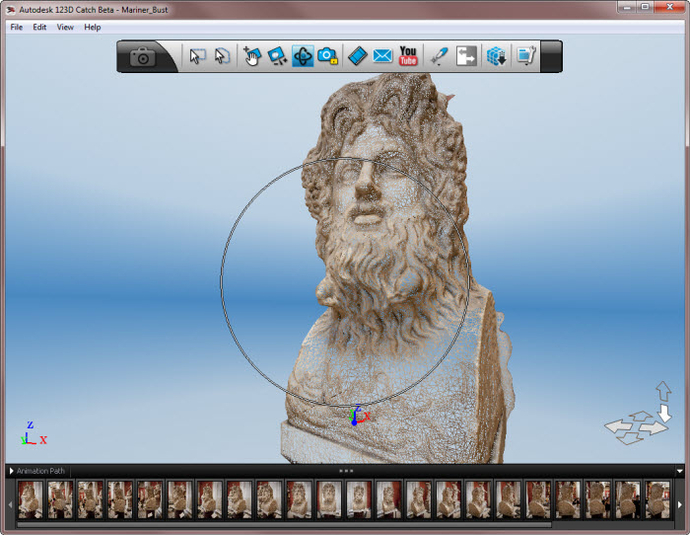
Also, before sending the STL file for 3D printing, it does not interfere with checking and preparing this file. To do this, Autodesk has developed a special software "layer" between the 3D editor and the program for three-dimensional printing. This program is called AutoDesk 3D Print Utility. The program is optional, but sometimes it is simply irreplaceable, especially in a situation where you accidentally made a mistake in the layout. The program can fix this. The program can also calculate and visualize support material, which is also important to check before starting printing.
3D printed STL layout.
Most 3D printers do not work directly with 3D layouts. To send a file for printing, you must first convert the STL file into a format understandable for a 3D printer. As a rule, the necessary software comes with a 3D printer. For example, Ultimaker and Reprap printers come with Cura software, while MakerBot comes with MakerWare and ReplicatorG.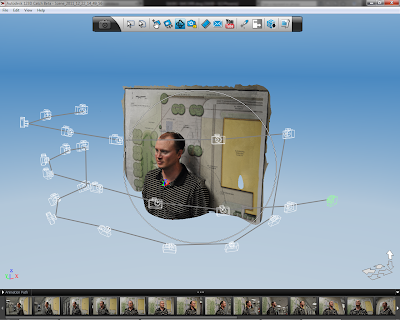
Cura is free software with a wide range of settings and plugins. With Cura, you can dynamically change the temperature during printing, or, say, print tree rings when printing with Laywoo-D3 plastic, and much more. The calculation of the model is extremely fast, "on the fly", due to the fact that the software uses its own high-speed slicer.
All in all, Cura is a very versatile, cross-platform software that currently has almost no competition in terms of quality, speed, and ease of customization.
MakerWare - Software for MakerBot printers. The program is very simple and convenient. Here you will find a minimum of settings, but what you find works well. The big plus of the program is that the developers have left compatibility with their old 3D printers - Replicator Dual, and therefore with all Chinese analogues of this amazing printer.
Repetier host may seem overly complicated and incomprehensible to beginners. In general, this is how it is. The software has a minimum of usability, but at the same time it has rich functionality, Russian language, as well as the ability to connect all kinds of third-party slicers. We recommend getting acquainted with such software only after you get a good experience of practical work with 3D printers. A beginner in this software environment will simply not be comfortable.
ReplicatorG - outdated software. The program is used with Replicator clones, M-Bot series printers and many other devices. The disadvantages of the program include a rare update, low speed and poor usability.
3D printing software doesn't just convert a 3D model from one format to another, it prepares objects for printing. With proprietary 3D printing software, you can efficiently place objects on the print platform, build support structures, calculate print times, or even calculate how much money it will cost to print a particular part.
1) Licensed software store
2) Buy professional software from AutoDesk, or free for educational institutions.
3) Free software for 3d modeling
4) 3DZavr free online editor for 3d modeling
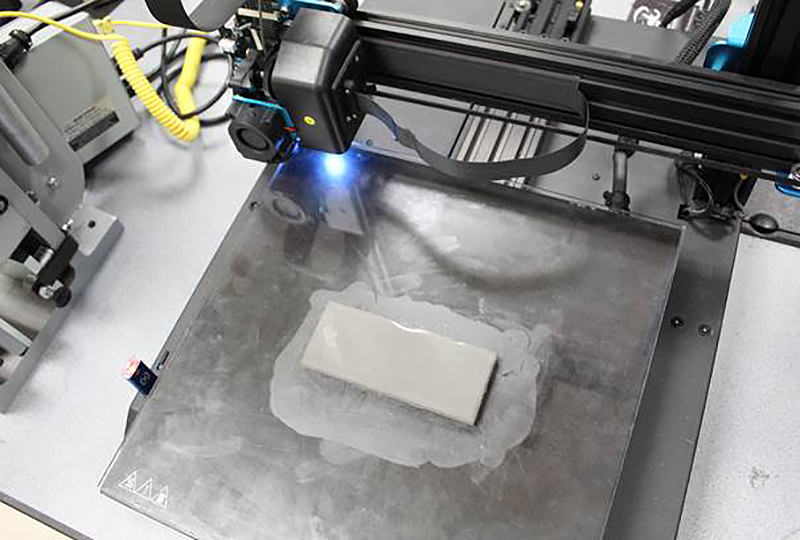
The first layer problems in 3D printing: how to make it perfect
The first layer plays a role in 3D printing project success. If you follow simple procedures and use the experience of professionals, there will be no problems.
Expert Tips
Printing the first layer with a 3D printer is important because this step forms the base, requiring more plastic. If the starting layer does not adhere well to the work surface, the model may move before it is completed, resulting in scrap. Excessive adhesion should also be avoided, as it will then be difficult to separate the finished object from the table. The first layer should strike a balance between print stability and ease of removal of the model from the desktop plate.
Setting the first layer settings
First you need to properly level the surface to build. Many new printers already have built-in auto leveling technology.
The key to a successful first coat is optimizing your print settings. By adjusting the settings in the slicer, you can ensure that the initial level is successful and the appearance of the rest of the printed product remains unchanged.
Most useful settings:
• Extrusion and table temperature. Higher heat levels will allow the plastic to melt and adhere better to the plate, so it's worth trying to raise the heat of the nozzle and table by about 5°C each.
• The line width of the first layer. Setting this value higher will allow the layers to cling to the platform and hold well, reducing the chance of failure. You can often set this to twice the nozzle size of a 3D printer (which is typically 0.4mm).
• First layer height. A higher level will mitigate the effect of small leveling errors, effectively increasing reliability. Usually the thickness can be increased up to 0.3 mm using a standard nozzle.
• First layer print speed.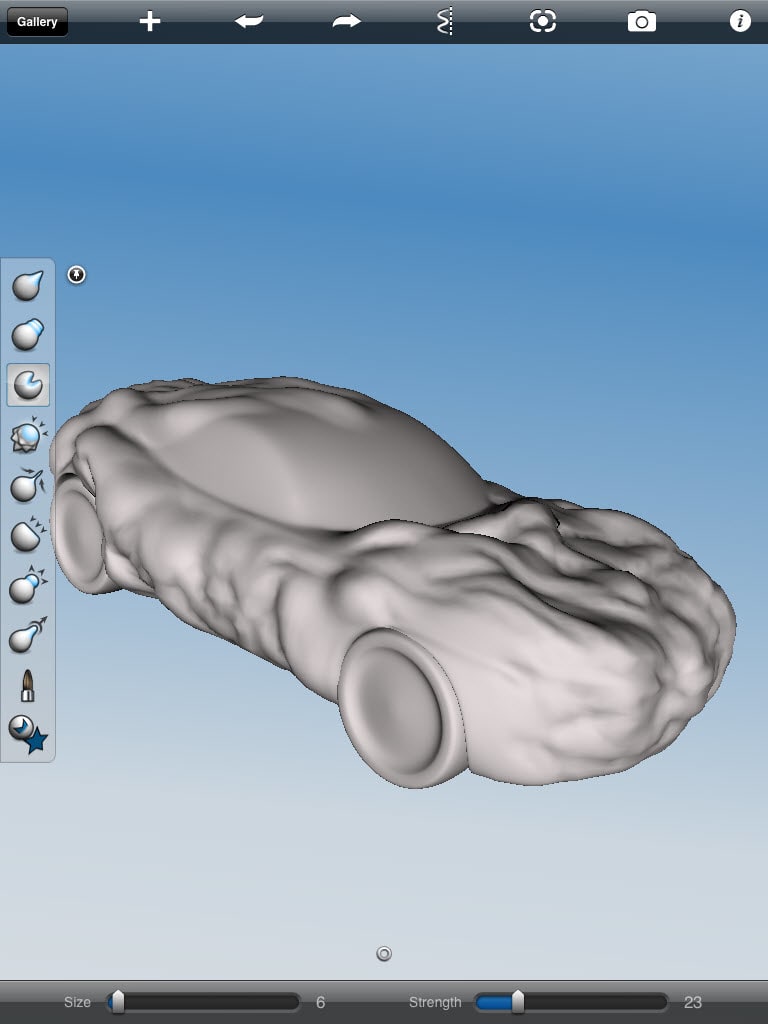 A slower build process will give the plastic more time to melt, which will have an effect similar to raising the print temperature. It is worth trying this adjustment if the layer height or line width is increased.
• Auxiliaries for the first layer. The rafts, supports and margins help with adhesion by refilling the nozzle to ensure a smooth flow of plastic. In the case of rafts and boards, they also increase the surface area for better traction.
When the first layer settings are ready to work, care must be taken to care for the plate to "grow" the object.
Cleaning the build platform
If the printable surface is dirty and greasy, then correctly set first layer settings will not help. The base layer will most likely not stick, and the print will fail.
To avoid these problems, you should wipe the platform before each print cycle, or at least between several cycles.
The procedure can be performed with isopropyl alcohol (regular rubbing alcohol or IPA) and a paper towel.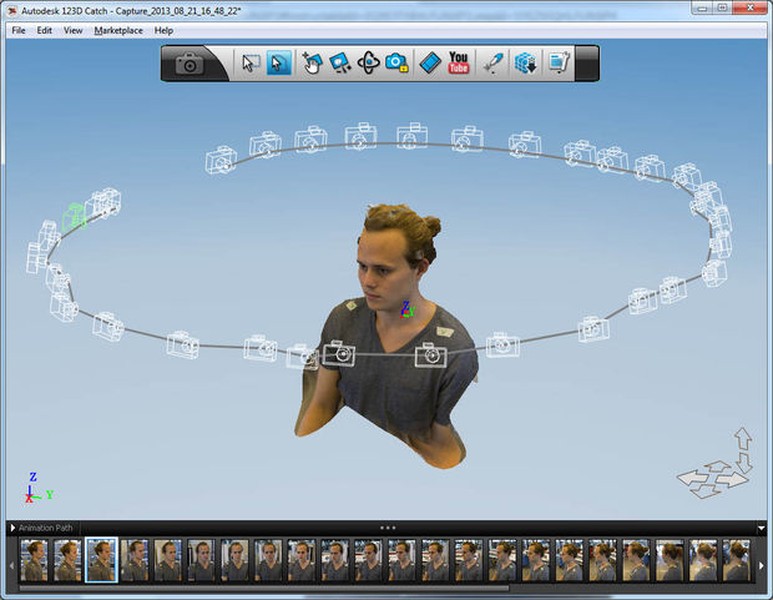 It only takes a couple of seconds, but it will be an excellent preparation for work.
IPA can also be used to clean models when ready, so it's a good idea to keep the liquid in an accessible place.
Choice of materials
Finally, you need to make sure that all available resources are taken into account. This applies to both the filament, which is built, and the print surface of the printer. The following tricks will help you avoid trouble:
• Apply a thin layer of adhesive to the platform to improve adhesion to the table plate. This can be hairspray, blue masking tape, or standard household glue. This will help tough materials stick, and will also act as a spacer for materials that adhere too well, preventing damage to the surface.
• Avoid printing directly on the TPE and PETG board. These filaments are notorious for sticking unnecessarily to the print bed and can rip out pieces of any surface, including PEI, Kapton tape, and even glass.