3D printer sander
Ultimate Guide to Sanding 3D Prints
Sanding 3D printed models can be a great way to eliminate layer lines in preparation for painting, silicone molding, or vacuum forming.
In this “how to”, we will show you the best practices associated with sanding your 3D prints.
Working time will vary depending on your model. The process shown took us about 3 hours from start to finish.
SUPPLIES
Sandpaper (80, 120, 240, 220, 1000, 1500 grit)
Handheld electric sander
X-acto Knife
Needlenose pliers
Flush cutters
Chisels
Bin to hold water
Respiratory Mask
Eye protection
Gloves
Need some of these products? We've curated an Amazon wish list for you.
STEP 1: PREPARE & PRINT MODEL
Consider: Print settings, print orientation, number of build plates. Surfaces printed in the Z axis will have the smoothest surface finish.
Surfaces printed in the Z axis will have the smoothest surface finish.
Supplies used: Needle-nose pliers or flush cutters and chisels
A. Remove the print from the build plate
B. Remove rafts and support material from the model
When removing supports using pliers or clippers, be sure to wear eye protection.
C. Remove large pieces of support first, and then approach smaller pieces and fine details
D. Clean the edges and seams of your model to ensure better alignment of pieces
If you plan to glue your model, take care not to remove too much material around seams or joining surfaces, or you will need to use filler later on.
The 2021 Guide to 3D Printing Materials
Learn about polymers, composites, and metals all available for 3D Printing!
Supplies used: Electric sander and 80 grit sandpaper
A. Begin sanding with coarse (80 grit) sandpaper
Be sure to wear eye protection and a respiratory mask as sanding will release particulates.
B. When sanding with 80 grit sandpaper, the goal is to remove any leftover blemishes from raft or support material, and create an even surface that you will later refine. This process will remove the most amount of material and take the most time.
C. In early stages of sanding you will notice that your model surface that was once fairly shiny will become dull and rough and change in color. The shine will return as you move to higher sanding grits.
Be sure not to sand in one place for too long as heat generated from friction could melt the PLA.
D. To save some time you can use an electric sander or multitool. If using a multi tool, be sure to choose a low setting to avoid overheating/melting the PLA.
E. After each sanding stage, clean the model of any dust and inspect for a uniform surface finish
Move on to sanding with higher grits when all large to medium sized imperfections or blemishes have been removed.
STEP 4: SAND WITH MEDIUM GRIT SANDPAPER (DRY)
Supplies used: Electric sander and 120 & 240 grit sandpaper
A: Sand with 120 grit sandpaper (dry)
B: Sand with 240 grit sandpaper (dry)
C: If you notice large imperfections that you have missed, return to a lower sanding grit to refine those areas
As you move up through various finer grits, sanding should require less time. You will also notice that the model’s texture becomes more refined and much smoother.
Supplies used: 1000 grit sandpaper, plastic bin and water
When your model’s surface is even and refined it is time to wet sand the model using fine grit sandpaper. This process will not remove much material, but will do the most to polish its surface.
A: Submerge the model in a tub filled half way with water
Take care around fine features, round surfaces, and other small or difficult to reach places.
B. Using 1000 grit sandpaper, sand the model until it is completely smooth to the touch
C. Dry the model and inspect for a uniform surface finish
If you have properly sanded your model, its surface should now be even, blemish free, and glass-like to the touch.
Here you can see the difference between the unfinished surface and final sanded part.
Visit one of our other applications pages for tips on how to take your print even further.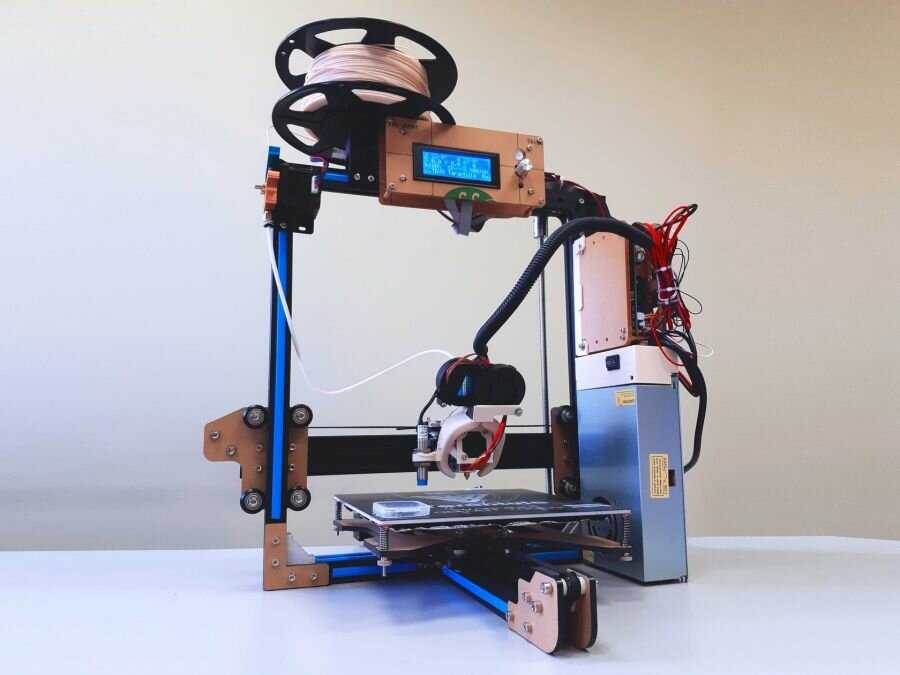
We recommend that you visit our pages on:
Gluing
Painting
Silicone Molding
Last but not least, remember to share your work with us on Thingiverse and social media @MakerBot.
We can’t wait to see what you make!
Hair Dryer Shell
Ferro
10/2/2015
https://grabcad.com/library/hair-dryer-shell-1
Powered by MakerBot Learning.
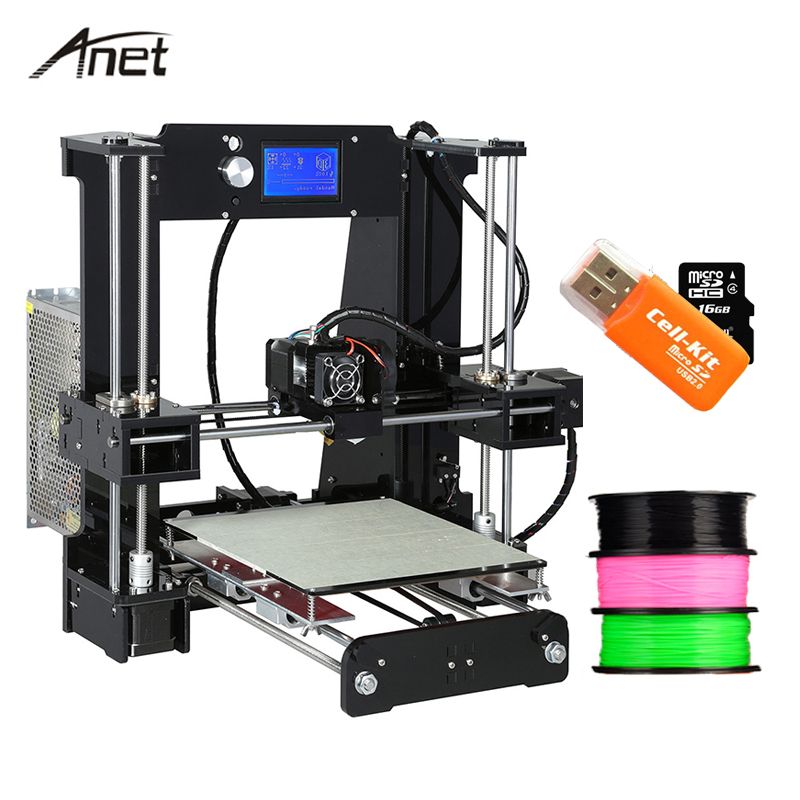
Amazon.com: KXA DIY 3D Printer Full Sander Tools Kit with Tweezers+Mini Scissors for Clean Out Nozzle Filament : Tools & Home Improvement
We're sorry, an error has occurred. Please reload this page and try again.
Our Price: To see product details, add this item to your cart. You can always remove it later.
Add to Cart
Previous page of related Sponsored Products
-
1
$6.
 99
99 -
$21.95
Save 5% with coupon
-
$7.04
-
78
$36.
 99
99 -
1
$9.45
-
$13.86
Next page of related Sponsored Products
Previous page of related Sponsored Products
-
78
$36.
 99
99 -
$21.95
-
1
$9.45
-
1
$6.
 99
99 -
$7.04
-
$13.86
Next page of related Sponsored Products
See questions and answers
Gone・Cults
Skip to contentBut don't panic!
Here at Cults, we always have something to make your 3D printer happy. For example, look at these little hooligans:
01
The Nightmare Before Christmas Cup and Ball Game
Free
02 nine0007 Cable holder, cable clip, cable management, audio cable, storageFree
03Propagation Station, Tabletop Propagation Station, Propagation of Plant Cuttings in Water, Hydroponics, XMASCULTS
Free
04SEAL ON SITE TELESCOPIC AND HINGED YETI
€2.83 nine0023 -thirty% 1.98 €
ADDIMP 3D - DH-98 Mosquito - 1350 mm
28€ -25% 21 €
3D sock knitting machine
28. -25% 21.30 €  39€
39€
Cute space flexi print - crocodile
€3.19 -twenty% 2.55 €
SAINT
3.39 €
09Racing truck Dakar Rally - printing on site
1.79 €
10Pocket Dungeon (board game)
5.94 €
elevenAvatar Ikran Flying mobile
2.83 €
12 nine0007 Printing in place Alien APC2 €
13Santa Express - HotRod version
€3. -twenty% 2.75 €  43
43
Ruben 🎅🎄 Christmas Decoration
Free
fifteen nine0007 Treasure chest Printed in place1.25 €
16RENAULT BABY
1.21 €
17Lego boxes x 48 options!
1 €
eighteenMobyBook
7€ -fifty% 3.50€
Addams Medium
12 € -thirty% 8. 40 €
40 €
Sea Dragon
1.50 €
A Yekaterinburg school has its own laser machine and a professional 3D printer
And now, students in computer science and technology classes can not only design, but also make models of varying complexity. nine0005
At Timofey Soldatov's computer science class, there is a special task: to make a portrait of Fyodor Dostoyevsky for the Literature class. Moreover, in the form of an engraving. But for this, the writer's snapshot must be converted so that a program is obtained. “And after that we start the editing phase. Somewhere to fix the eyes and beard. So we saturate with details, and the image becomes what it is, ”said Timofey Soldatov, a student of class 11 “B” of school No. 67.
A piece of wood, cardboard, paper or plastic is then placed into the laser engraving machine and the machine marks the image onto the surface.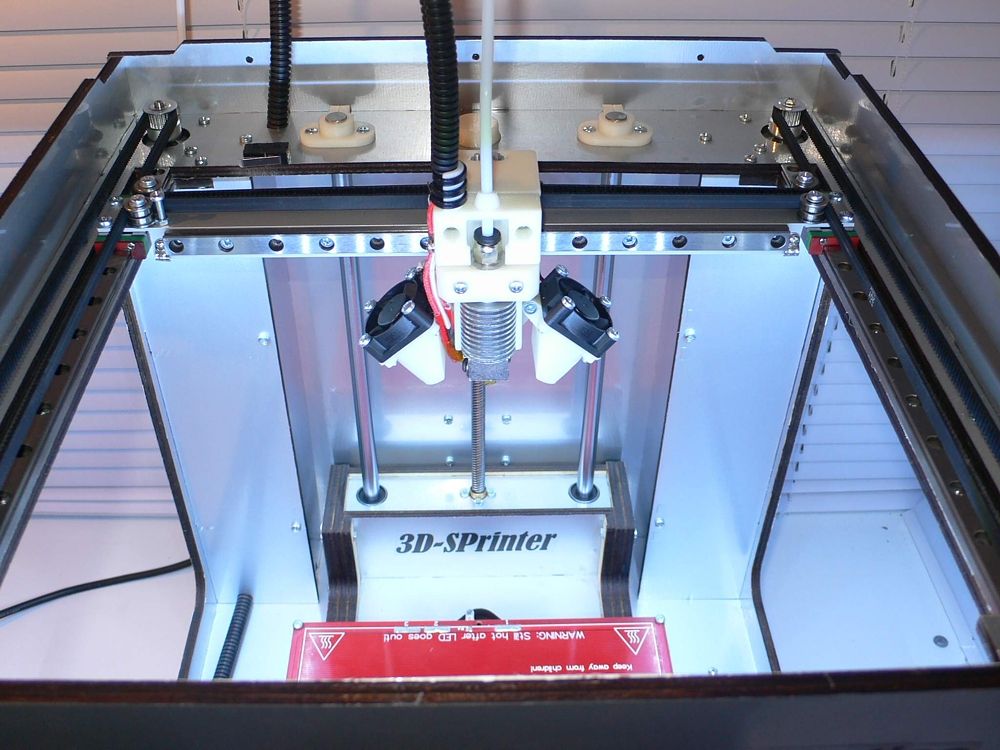 In addition, with the help of a laser, various parts can be cut out and then any design can be modeled from them. “Firstly, it is an early entry into the profession. They now understand how many professions associated with laser machines work. Secondly, we are looking at what Russia needs now, and now we need technological personnel and IT people, and this is just a point of attraction for children to move in this direction, ”explained Dmitry Dubrovin, computer science teacher at School No. 67. nine0005
Not every school has such equipment for laboratory and extracurricular work. Yekaterinburg City Duma deputy Aleksey Vikharev helped buy it. “We continue to help schools in the Ordzhonikidzevsky district. Today we are visiting school 67, we did not come empty-handed. They gave me a laser machine and a 3D printer. All this is necessary for the guys to become high-class professionals in the IT industry and bring our country, our economy to a new level,” said Alexei Vikharev, a member of the Yekaterinburg City Duma.