3D printer firmware comparison
2022 A Complete Guide to The Best 3D Printer Firmware
ADVERTISEMENT
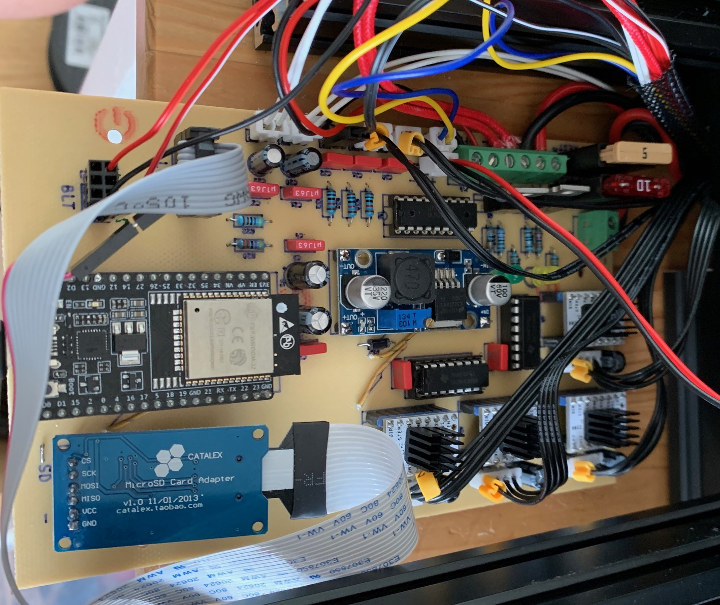
The word ‘Firmware’ is not to be afraid of. It is a simple program, like Firefox and Chrome that links software with the hardware. It translates input from the software into an output that the hardware can understand.
For example, the USB controller has firmware that allows the chip to receive information from the USB drive and convert it into a container that can be easily understood by the window explorer.
In 3D printers, firmware understands the ‘G-code’ sent to the slicer software by the user and translates it to the stepper drivers that control the motor, heater, flow, speed, and display, etc.
For example, the given G command ‘G1 X 20 Y 10’ to the software is translated into a set of instructions understood by the stepper. Thus, the extruder reaches X=20 and Y=10.
In this article, we will list down the top 3D printer firmware in detail to make it convenient for you to choose one from different options available in the market.
List of Best Firmware for 3D Printers
ADVERTISEMENT
Marlin
Marlin is one of the most widely used firmware. It was created in 2011 by Erik van der Zalm for RapRep and Ultimaker 3D printers.
Being reliable and precise, it now manages most of the 3D printers. It was derived from the previous codes of Sprinter and GRBL. It has tons of features that are useful for 3D printing.
Marlin offers a comprehensive G-code with 150 commands. It supports five multiple extruders. It is licensed under GPLv3 and is free for all applications.
It is available in two different versions, one for 8 bits microcontroller and the other for 32 bits board. The 32 bits version offers more advanced and better features. It enables you to customize almost everything.
Salient Features:
- Supports Cartesian, SCARA, Delta, and Core Kinematics.
- Smartmotion system with linear acceleration, interrupt-based movements, and look ahead features.
- Complete G-code movement, including arcs, lines, and curves.
- Heater power control with thermal protection, auto-tuning, and cut-off and is useful for monitoring PID.
- Controls LCD that supports 30 languages.
- Supports SD cards with folders and long filenames.
- Supports auto bed leveling with or without bed probe.
- Linear advance extrusion.
- Supports volumetric, mixing, and multi extruders.
- Supports Filament width/ runout sensors.
- Print counter and print job timer.
PROS:
- Large community support
- Open-source
- Highly compatible
- Frequently updated
- Versatile
CONS:
- Causes a lot of memory issues when upgrading to Marlin 2.0
- Issues with Marlin build
ADVERTISEMENT
Repetier
Repetier firmware is the firmware that is designed to work with all Arduino-powered circuit boards and a range of 8 bits boards.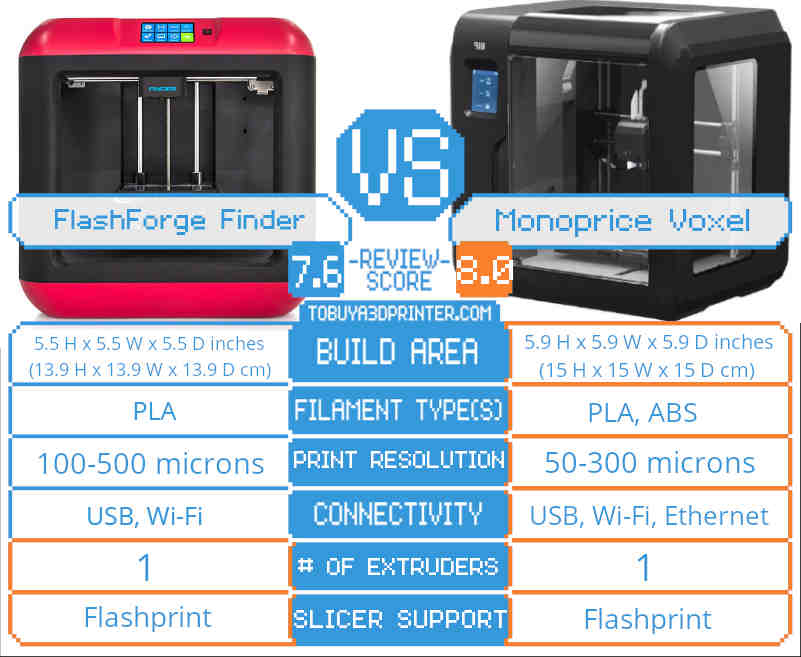
It is known for its reliability and has remained dominant in the 3D printing market for many years. It works well with Repetier Host software and complements its features. It operates great on both Delta and Cartesian 3D printers.
The firmware is highly customizable. You can control many parameters and put in your requirements by using the Repetier firmware configuration tool. As its open-source, you can easily update and maintain it by freely downloading its advanced version.
Salient Features:
- Supports multiple extruders and slicers.
- Enables multi-part printing.
- Supports SD card reader.
- Supports Ramp acceleration.
- Continuous temperature monitoring.
- PID control for extruder temperature.
- Fast with a 16000 Hz and more stepper frequency.
- Controls nozzle pressure for quality 3D print with RAMPS.

- Path planning for higher speed.
- Fast ooze prevention.
- Improved binary communication and standard ASCII.
- Configuration parameters are stored in EEPROM.
PROS:
- Reliable
- Fast
- Compatible with a graphical user interface
- Uninterrupted communication
- Smooth 3D printing
CONS:
- Does not repair input files
- Not suitable for beginners
- Difficult to operate
Prusa Firmware
The skilled engineers and developers of Prusa Research developed Prusa firmware for their 3D printers. It is the modified version of Marlin firmware and offers features that are not available with other 3D printers.
It is designed to work well with all Einsy Rambo boards that come in Prusa 3D printers. It is free and open-source.
The firmware is regularly updated based on the users’ feedback. You can check Prusa’s GitHub repository for beta or pre-release candidate versions and a full log for each version.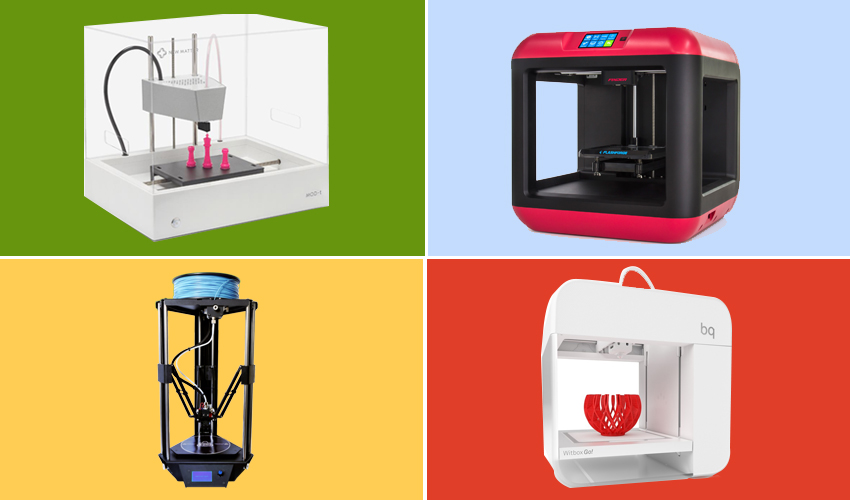
These versions are for advanced professional users to try and provide feedback for future improvements. However, you should always take care when upgrading to a newer version as they are not fully tested and may be unstable.
Prusa 3D printers are one of the best printers that offer advanced features that include multi-material 3D printing, TMC 2130 driver and auto bed leveling, etc. These features are greatly supported by Prusa firmware.
Salient Features:
- Maintains fast motion via planner look ahead.
- 20KHz or more stepping rate.
- Linear acceleration with interrupt-based movement.
- Supports temperature maintenance sensor.
- Maintains extrusion pressure.
- Supports end stop.
- Support SD cards with long file names and subfolders.
- Support 20 x 4 character LCD with an Encoder wheel.
- Configurable parameters are permanently stored in EEPROM.
- Temperature oversampling.
- Reports heater power for PID.
- Faster and quieter XYZ calibration.
PROS:
- Well documented
- Clean and easy to use
- Open-source
CONS:
- Only for Prusa 3D printers
ADVERTISEMENT
RepRap
RepRap Firmware is an object-oriented highly modular control program that is designed to work on a duet controller board. It is one of the earliest options that support 32 bits board.
It can be easily updated by making a few changes in the configuration file through an SD card. Online configuration tool also enables you to define or upgrade your firmware.
The RepRap firmware not only supports 3D printers but also CNC machines, laser engravers, and cutters. It supports many G codes that are not supported by other firmware for configuration.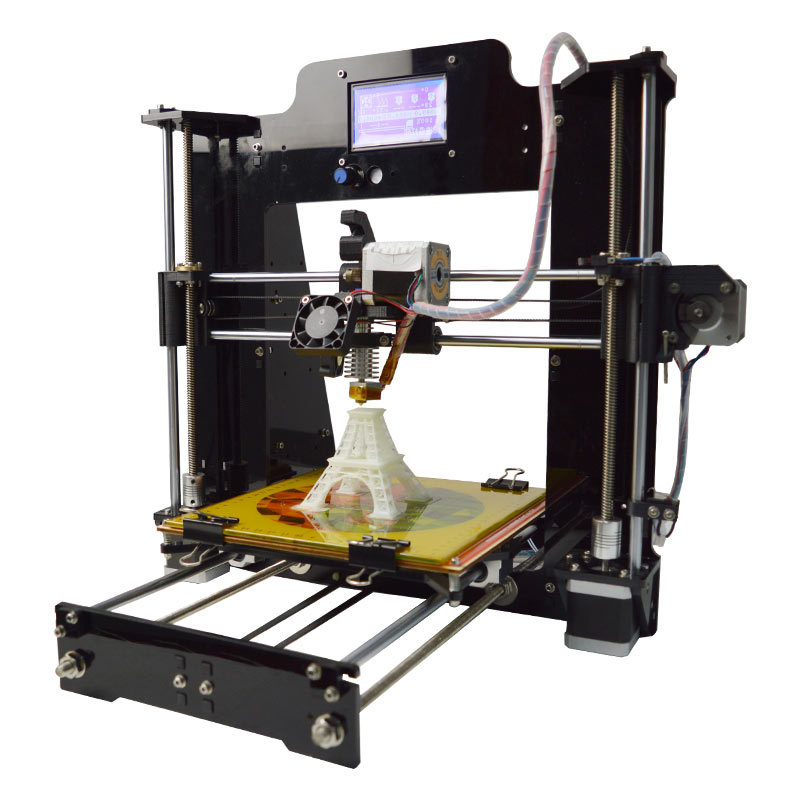
Setting up RepRap firmware can be tricky for someone who is not experienced and unfamiliar with the general steps. However, if you patiently read through the document and follow the process accordingly then the features that it offers are worth your hardship and patience.
Salient Features:
- Precise step time generation during both constant speed and acceleration.
- Precise carriage motion on delta 3D printers.
- Supports auto-calibration.
- Web user interfaces for all printing operations.
- Reports printer status comprehensively.
- Heater auto-tuning for PID monitoring.
- Dynamic acceleration adjustment to mitigate ringing.
PROS:
- Web-based configuration and control
- Highly modular
- G code used for all configuration
CONS:
- Tricky to set up
- Compatible with only 32 bits boards
ADVERTISEMENT
Smoothieware
A multipurpose firmware, Smoothieware was designed for Smoothieboard controllers. It works well on 32 bits boards.
It is rich in features and was developed with best-in-class performance in mind. It allows huge customized configuration including extra stepper motors and configures the board for CNC milling and laser cutting.
Smoothieware is limited to Azteeg X5 mini and Smoothieboard only. Its development and user community are relatively small and new. It is easy to use due to detailed documentation.
The firmware is free and small. It receives G code generated by the slicer software and then executes them for example auto-calibration.
Features:
- Compatible with USB and Ethernet.
- Easy and fast configuration.
- Digital current control.
- Fast acceleration and perfect next step generation.
- Supports stepper extruder.
- Controls extruder speed.
- Support SD card drive.
- Heated bed temperature control.
PROS:
- Easy and flexible
- 32 bits compatibility
- Powerful
- Free
- Can be used for 3D printers, CNC milling, and laser engraving
CONS:
- Limited to few boards
- For small devices only
- Small community
Klipper
Klipper is relatively new firmware with lots of great features. It was developed by GitHub. It uses a different approach for G code processing. Instead of the microcontroller performing the algorithms, all calculations are done by the host like Raspberry Pi and have the MCU execute steps at a particular time.
It makes use of an additional microcontroller. It is able to do calculations faster that enable quick 3D printing for example your 8 bits 3D printer can run at a speed of 80 to 100 mm/s.
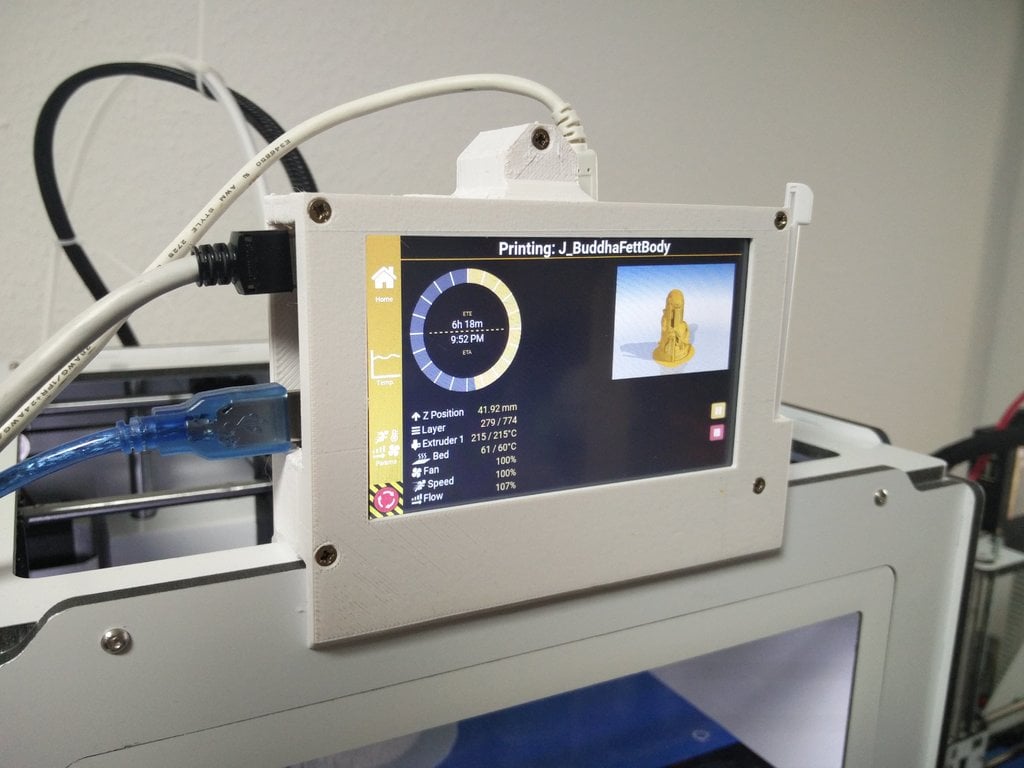
Klipper features offer a great 3D printing quality experience and reliability. It can run on all types of 3D printers with little extra hardware. These include Delta, Core, and Cartesian. It is written in Python with simple coding and supports OctoPrint.
Features:
- Enables stepper movement with a high precision of 25 microseconds on both new and old microcontrollers.
- Supports printers with multi controllers.
- Simple configuration.
- Smooth advance pressure that reduces extruders oozing.
- Supports ‘Input Shaping’ to reduce vibrations and eliminate ringing while 3D printing.
- Portable codes.
- Custom programmable G code commands.
- Supports auto bed leveling, delta calibration, temperature sensors, thermal heat protection, and cooling system.
- Constant acceleration with planner look ahead.
- Supports LCD and stepper end stop.
PROS:
- Precise
- Simple and easy to use
- Well documented
- Fast processing
- Open-source
CONS:
- Relatively new
- Less online community support
- Requires extra computing power
ADVERTISEMENT
Sprinter
Kliment and Caru are the leading developers of the Sprinter firmware. However, many others also contributed with their patches. It is designed for RAMPS and other RepRap single controller board machines. It is licensed under GNU GPL v3 and is based on Tonokip’s firmware.
You can easily make adjustments to the calibration in the firmware. You need to know how to compile and upload it to get your hands on its useful features.
Features:
- Supports SD card driver.
- Stepper extruder.
- Controls extruder’s speed and movement.
- Exponential or constant acceleration.
- Controls heated build plate.
- ATmega internal pull-ups.
PROS:
- Easy to make adjustments
CONS:
- Slow down the printers speed
- Not following the guidelines will damage your machine
Sailfish
Sailfish is the next-generation firmware designed for Makerbot 3D printers. It targets advanced professional users by offering features that are incredible.
It is fast and offers better quality 3D printing. It receives printing instructions from MakerWare software, SD card files, ReplicatorG, and other desktop programs and then executes those commands.
Sailfish has been around since 2011 and is based on various RepRap and MBI Gen 4 firmware. It was initially known as the Jetty firmware.
Features:
- Supports acceleration with look-ahead planning.
- Supports dual extruders enabling features like ditto printing.

- Supports asymmetric advanced algorithms.
- Enables auto bed leveling feature.
- High stepper rate.
- Supports safety cutoff.
- Temperature control for PID monitoring.
- Linear acceleration with interrupt-based movement.
- Supports SD cards with high capacity and LCD control.
- Configuration parameters stored in EEPROM.
- More robust handling feature.
- Supports Core XY and H-Gantry drive system.
PROS:
- Enables advanced printing features
- Well documented
- Precise
- Fast
- Improved leveling script
CONS:
- Not for beginners
- Complicated
ADVERTISEMENT
APrinter
If you are looking for portable firmware then APrinter is a great option to be considered. It was developed by Ambroz Bizjak for RepRap and other CNC 3D printing.
It was written in C++11with some features of G++. It offers a heavy metaprogramming template and a web-based configuration. It is used to do both high and low-level configurations for supporting different components of various 3D printers.
The developers have paid special attention to coding and avoided hard coding. It works well on Duet, Ramp, 4pi, Melzi, and Radd controller boards. It doesn’t rely on inefficient libraries such as Arduino. The configuration parameters are either stored in an SD card or EEPROM.
Salient Features:
- Supports various geometries. These include rotational and linear delta and Core XY. More new geometries can be added. However, you need RAM and a processor for sufficient speed.
- Enables bed probing and calibration.
- Supports multiple extruders, heater, and fan cooling.
- Unified runtime configuration.
- Homing of multiple parallel axes.

- Constant acceleration with look-ahead planning.
- High precision stepper.
PROS:
- Portable
- Great advanced features
- Web-based configuration
- No hard coding
CONS:
- Not used widely
Redeem
Redeem firmware is the default firmware for Replicape. It was developed by Elias Bakken and is mostly written in Python.
Since version 0.14, it is based on Repetier code. It uses two heavy Programmable Realtime Units (PRU) on BeagleBone Black. One is for stepper timing and operation and the other is used to monitor end stops.
The firmware is similar to software like Marlin and Teacup etc. It allows you to monitor and restart some important processes including basic configuration editing through a web interface. It supports Octoprint and enables communication with Ethernet, USB, and virtual TTY pipes.
Salient Features:
- Constant acceleration with PRU-based movement.
- High stepper rate.
- 128 steps look ahead planner.
- Uses SI units.
- Enables end stop configuration.
- Enables web interface and supports SD card.
- Temperature oversampling.
- Automatic bed leveling.
- PID autotune.
PROS:
- Extendable plug-in architecture
- Compatible with Delta, Core XY, and H belt
- Bugs are reported
- Controls extruder movement and speed
CONS:
- Dependable installation requires system integration
ADVERTISEMENT
Teacup
For those who are looking for better 3D printing quality and have already messed up with 1000 configuration files and such stuff, Teacup is their go-to option.
It is easy to use and offers high performance and simple coding. It is the first RepRap firmware that offered acceleration.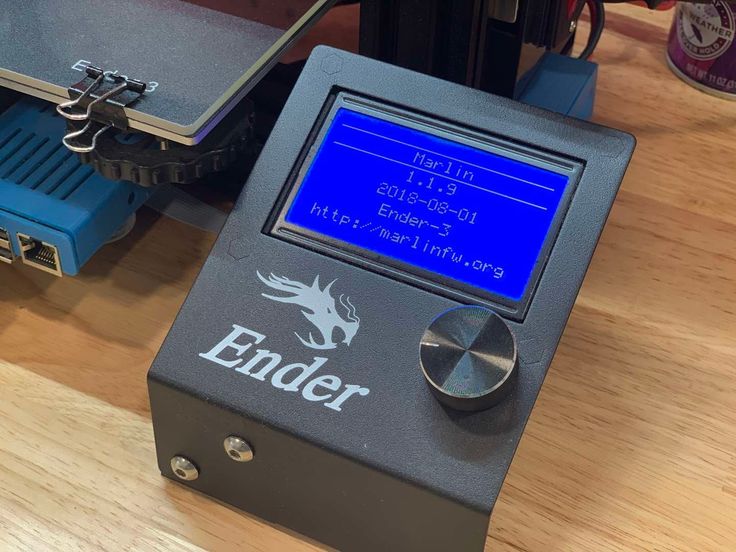 It is designed for many ATMega and Arm-based controllers.
Teacup runs smoothly and fast. Instead of C++, it uses 100% integer math and avoids long math operations. It offers optimum precision over a wide range of controllers. These include 8, 32, and 64 bits controllers. It can be easily tailored to run on small controllers like ATmega168.
Salient Features:
- Supports printing from SD card and USB drive.
- Smooth stepper.
- An indefinite number of heaters, temperature sensors, and devices.
- Enables CNC milling and spindles.
- Start-stop ramping with a look-ahead feature.
- GUI-based calibration and uploading.
PROS:
- Easy to run
- High-quality 3D printing
- Fast and smooth processing
- Compatible with a wide variety of controllers
CONS:
- Teacup Firmware and Skeinforge don’t run well together
MK4duo
MK4duo is firmware designed for Arduino compatible setups by MagoKimbra since 2013. It is based on Sprinter, Marlin, and Grbl firmware and is licensed under GNU GPL v3.
Its lead developers are Caru and Kliment. It works well on Rumba, RAMPS, Alligator, Generation 6 Electronics, and many other controllers based on 8 or 32-bit microcontrollers.
MK4duo supports all types of 3D printers. These include Delta, Cartesian, Core, Reverse MORGAN SCARA and MAKERARM SCARA.
Salient Features:
- Linear acceleration with interrupt-based movement.
- High step rate.
- High speed with look ahead planner.
- Interrupt-based temperature control.
- Supports a full end stop.
- Supports SD Card with folders and long filenames.
- Supports LCD both character-based and graphical.
- Standalone 3D printing.
- EEPROM storage for configuration parameters.
- Reports power heating.

- Delta kinematics.
- Supports filament width and run out sensors
- Up to 6 multiple extruders.
- Auto calibration.
- Supports Laser beam.
- Enables color mixing.
- Added nozzle cleaning.
- Stop and Resume feature.
- Controls cooler and hot chamber.
PROS:
- Advance features
- Best for multi-color 3d printing
- Fast acceleration
- Easy to install
CONS:
- Not too widely used
ADVERTISEMENT
Grbl
Grbl is a high-performance and low-cost firmware with no compromise. It is a substitute for parallel port-based movement control for CNC milling.
It operates on a vanilla Arduino (Duemillanove/Uno) till it runs on Atmega 328. It is written in modular C and uses all great features of the AVR chips for simultaneous operation and precise timing.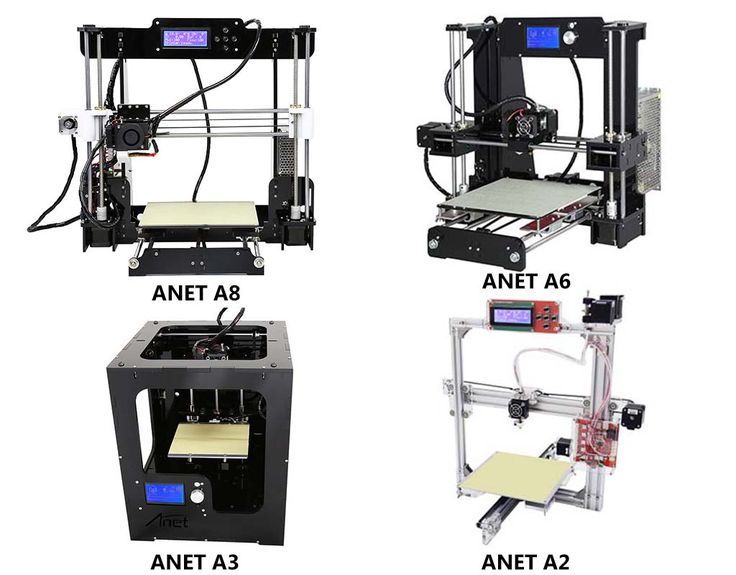
The firmware accepts standard g-code and has undergone several tests with several CAM tool’ outputs without any problem. It was licensed under the GPLv3.
Salient Features:
- Supports Arcs, circles, and helical motion, and all other primary g-code commands.
- Full acceleration management with a look ahead.
- Smooth acceleration.
- Jerk-free cornering.
PROS:
- Great performance
- Low cost
- Precise operation
CONS:
- Does not support macro variables, functions, and most canned cycles
- Does not require a parallel port
- Does not control extruders
SJFW
Looking for advanced firmware for modern 3D printers, SJFW serves the best. It was authorized by ScribbleJ and has been active since January 2012. It is for Atmega644p and greater processors. It is rich in features.
Features:
- Intra-Move speed chaining.
- Supports SDcard and LCD control.
- Stores parameters in EEPROM.
- Full runtime configuration.
- Temperature history.
- Advanced Gcode Pipeline.
- Lookahead.
- ISR driven movement.
- High Acceleration.
- Supports ReplicatorG and Pronterface RepRap host.
- It is easy binary to install.
- Supports Thing-O-Matic or Gen4 3D printers with extruder.
- Optional use of Marlin firmware motion engine.
- Bluetooth.
PROS:
- Most advanced features
- Easy to install and use
- Best for powerful controllers
CONS:
- No guarantees
- Only tested by the author
- No homing command
ADVERTISEMENT
ImpPro3D
Impro 3D was authorized by MaxPro3D and was active since February 2014. It is based on Sprinter firmware and was designed for a specific electronic, an Arduino MEGA 2560 with a specific shield.
Features:
- Stepper extruder.
- Controls extruder speed.
- Controls movement speed.
- Supports heated print platform.
PROS:
- Was part of a project by a team of 7 engineering students of the Ecole Centrale de Lille, an engineering school
- A modified version of Sprinter
CONS:
- Not much tested or used
Buyer’s Guide
There are numerous factors one should consider when buying a 3D printer with the best firmware. These include:
Advanced Features
You should know the firmware of the 3D printer you are going to purchase as it will tell you the features that you can access. You might need to get firmware for your 3D printer to have a hand on certain specific advanced features.
The Controller Board
The controller board of the 3D printer is like the motherboard of any CPU or cellphone. Like Apple drive cannot run the android applications, similarly, the controller board cannot run all firmware.
If you want to run a specific firmware, you need to check whether the specifications of the controller board of your 3D printer are compatible with your chosen firmware or not.
Faster Calculation
It depends on the 3D printing technology you are going to purchase. For example, the delta 3D printers require complex instructions for precise movement control. If the firmware cannot process these instructions quickly, the printer might collapse at high speed.
Frequently Asked Questions (FAQs)
How do I find out the firmware of my 3D printer?
If there is any menu option available named ‘About’ or ‘Version’, then you could know the firmware from there. Alternatively, you could simply visit the manufacturer’s website and search for your printer information by model or serial number.
When should I update the firmware?
If your 3D printer is freezing when trying to operate it quickly, you need an upgrade of the firmware. This will allow you to also access advanced features that your current firmware might not support.
How do I update firmware on my 3D printer?
- Connect your 3D printer to a computer and power it on.
- Log in to your computer using an administrator account.
- Download the latest firmware update file relevant to your 3D printer from the manufacturers’ web page.
- Double click on the updated firmware file to begin the installation.
Conclusion
Choosing the best firmware for your 3D printer might be challenging. By reading this guide, we hope you were able to choose one that best fits your 3D printing goals.
Editorial Team
Stay updated on the recent happenings in 3D Printing and be the first to know when an awesome product hits the market.
A Guide to Choosing Firmware for Your 3D Printer
3D Insider is ad supported and earns money from clicks, commissions from sales, and other ways.
Amidst all the bells and whistles of 3D printers, it is easy to overlook the importance of the programming that lies within the hardware. The firmware of a 3D printer is basically what gives it life. It interprets the G-Code generated from the slicer and sends out instructions to the various hardware components for execution.
If you’re really into tinkering with your 3D printer, you can even consider changing up its firmware. This can potentially improve the performance of your 3D printer. Here’s our guide on how to change the firmware of your 3D printer, as well as the most popular firmware options.
What does the firmware do?
The firmware of the 3D printer is often described as the bridge between hardware and software. It is a program that can interpret commands from the G-Code and translate these commands into specific actions of the hardware components.
To demonstrate, the firmware can read a G-Code command like “M109 S180” and it will send an instruction to the heating block to increase its temperature up to 180 C. Similarly, a G-Code command like “G1 X20 Y50” will prompt the firmware to send instructions to the stepper motors that control the movement of the print head so that it will reach the position described by X=20 and Y=50.
Underneath all these seemingly simple instructions are thousands of calculations and logic operations that the firmware does. This determines just how precisely and accurately the components of a 3D printer function. In some cases, firmware can have unique features that open up different options for 3D printing.
Why should you change a 3D printer’s firmware?
Although changing a 3D printer’s firmware does not take a lot of work, it can be quite a daunting task if you’re doing it for the first time. There will almost certainly be some troubleshooting involved, as well as a new learning curve that you will have to overcome. Is a new firmware worth all the extra work? Here are a few good reasons for making a firmware change:
Hardware changes
The number one reason that people change firmware is because of compatibility issues. This can come up if you’re installing a new control board in your 3D printer. Some control boards may have a limited list of compatible firmware. In some cases, your new control board may only work with a proprietary firmware.
Before getting a new control board, make sure to do your due diligence and check for any compatibility issues. If you’re unsure about any compatibility issues, then it would not hurt to ask the manufacturer.
Faster performance
Each firmware is uniquely coded and gets periodic upgrades. This can mean significant differences in performance across different firmware. In many cases, this can mean better performance for your 3D printer through faster calculations and more precise movement. Tweaking with firmware is one of the many ways that professionals can make their 3D printers just a little bit faster or more accurate.
Unique features
3D printing firmware might also have differences that are more than subtle. One firmware may offer better compatibility with multiple extruders, while another may support the printing speeds of Delta or CoreXY 3D printers. These are highly specialized features that you may find only on a specific handful of firmware options.
Most popular 3D printing firmware
There are probably more than a dozen different firmware options out there for 3D printers, but we will just narrow down the list to the five most popular and widely used.
1. Marlin
To this day, Marlin remains the most widely used firmware in 3D printing. Created in 2011, Marlin has since been adopted and improved by a huge community via GitHub. With this level of support, GitHub is known as one of the more reliable firmware options – should it have any bugs, you can count on the community to have them fixed quickly.
This open-source nature is also one of the reasons why Marlin is known as a highly versatile firmware.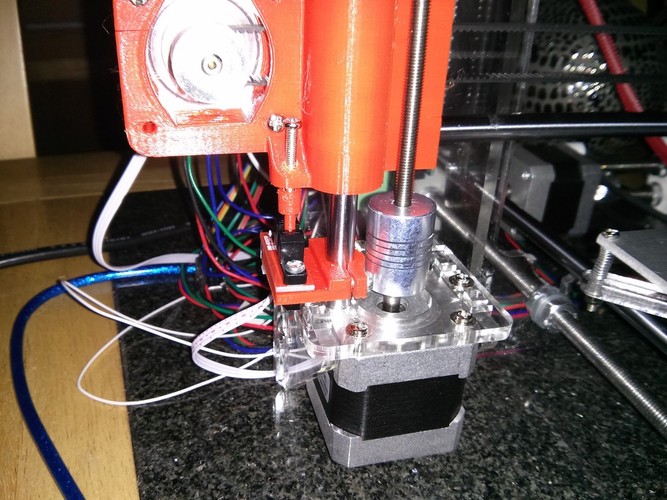 It can be used on both 8-bit boards and 32-bit boards and is compatible with a wide range of 3D printers and control boards. Users who are building their own 3D printers from separate components often go to Marlin as their firmware of choice.
Marlin is compatible with practically any type of 3D printer hardware. It works with Cartesian, Delta, and CoreXY printers, multi-extrusion printers, auto bed leveling, filament run-out sensors, heater power control, and up to 30 languages. Marlin is so versatile that it is often also used in CNC machines.
2. Repetier
Repetier is as much a mainstay in the 3D printing community as Marlin. It works with a wide range of 8-bit boards and, more specifically, control boards that use Arduino. It is mainly this lack of compatibility issues that has made Repetier popular for a very long time.
In terms of reliability and consistency in performance, Repetier is an excellent firmware choice. It works exceptionally well with the Repetier Host all-in-one software, so you might want to consider combining the two in your 3D printing setup.
Repetier supports various performance and quality-of-life issues. These include high-speed printing, compatibility with LCD monitors, and the ability to print files directly off SD cards. With its long history and very active community of users, documentation and guides on Repetier are easily available and incredibly detailed.
3. Prusa
Prusa is one of the top brands in the market for 3D printers, so it’s no surprise that their proprietary firmware is also excellent. The Prusa firmware is a modified version of Marlin that is programmed specifically to work with the Einsy Rambo control boards of Prusa 3D printers. This is probably the biggest drawback of this firmware – you can’t really use it unless you own a 3D printer from Prusa.
The big advantage of developing firmware specifically for a small selection of 3D printers is that it can be optimized to work extremely well with the hardware. The Prusa firmware supports all the best features that Prusa printers have been known for. These features include multiple extruders, multi-material printing, mesh bed leveling, and temperature oversampling. Despite being proprietary, the Prusa firmware is still open-source and has benefitted from user customization and improvement.
4. Klipper
Klipper takes a different approach to processing G-Code commands. Instead of the control board having to do all operations, some of the execution steps are off-loaded to a separate microcontroller in addition to a general-purpose computer such as a Raspberry Pi. The result is that Klipper can do calculations much faster, making it an ideal firmware for high-speed 3D printers.
With a more sophisticated processing sequence, Klipper is capable of executing more steps per second. This can result in significantly improved print quality and detail accuracy. One of its more intriguing features is its ability to cancel out errant movements of the print head using an attached accelerometer. This can help avoid common artifacts such as ringing or misaligned layers.
The biggest drawback of Klipper is that it’s a lot more complex to set up, especially compared to more mainstream options like Marlin.
5. SmoothieWare
SmoothieWare is firmware that was written specifically for the Smoothieboard controller, but its compatibility range has expanded a bit since then. This firmware for 32-bit boars boasts of easy configuration and versatility not just for 3D printers, but also laser engravers and CNC machines.
The focus of this firmware is performance and freedom of configuration. It allows for jerk-free motion even when running at higher speeds, making it ideal for CoreXY and Delta 3D printers. Setting up Smoothieware is easy if you will be running it on a Smoothieboard controller, mostly because most of the documentation is based on the original hardware.
If you’re using a Smoothieboard, then installing Smoothieware is really a no-brainer. Unfortunately, the range of compatible boards is still very limited. If you’re lucky enough to have a compatible board, the Smoothieboard is among one of the best firmware in terms of performance and ease of use.
How to check your 3D printer’s firmware
If you’re still just beginning with 3D printing, you might now even know exactly which firmware your 3D printer is using. There are several ways that you can check depending on your 3D printer.
- If your 3D printer comes with a firmware by default, then it is likely documented in the printer’s manual. You can also try checking if the printer displays the firmware name and version on its display or user interface.
- Conversely, you can use access the firmware of your control board using a console and send the M115 command. This will return the firmware information including its name and version. In some cases, this will also provide a link to where the source code of the firmware can be downloaded.
Knowing your printer’s firmware has several advantages. The first is that you can check if there are more recent versions of your firmware. You can also try to check online for community support should you run into problems.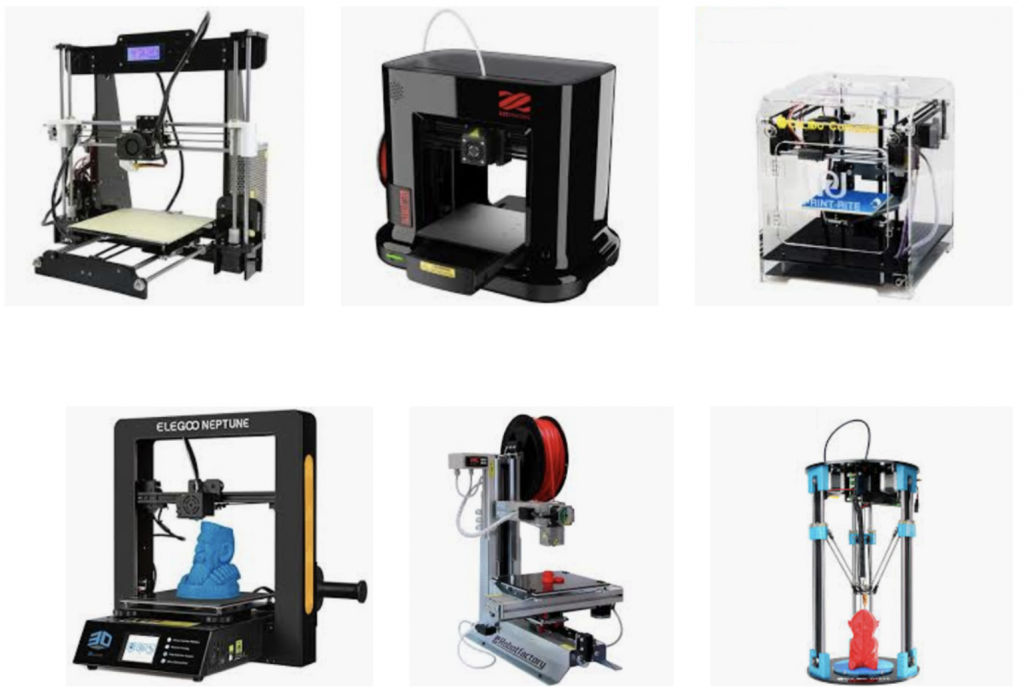 Lastly, it is crucial information in deciding whether a change in firmware is in order.
How to install new firmware in your 3D printer
If you have finally decided on installing new firmware in your 3D printer, there are a few things that you will need to download or look up online first. These can be done on any standard computer. The one you use regularly with your 3D printer should work perfectly fine.
Download the firmware and lookup printer settings
The first step would be to download the firmware of your choice. The default option would be to download the latest version, although you may want to look at the developer notes to see if there are any bugs that need to be addressed. In such a case, it would be better to stick with the latest stable release.
Each firmware should have a general profile for the type of 3D printer you are using. Now would be a good time to look this up and write down the most important parameters. At a minimum, this includes the steps of all the stepper motors, as well as their maximum feed rates and travel distance values. This will eliminate much guesswork in setting up the new firmware.
Some firmware options, such as Marlin, come with an “examples” folder that has configuration files for the most popular 3D printers. You can try exploring for those or read up on the documentation of your firmware.
Download Arduino IDE
The Arduino Integrated Development Environment (IDE) will allow you to view the code for the firmware, edit it, compile, and upload it to the 3D printer. It can be downloaded here.
First off, connect your computer to the 3D printer using a USB cable and open your firmware of choice using Arduino IDE. At this point, you can edit the firmware code according to the recommended parameters for your printer.
Go to the “Tools” section of Arduino IDE and look for the control board of your 3D printer in the drop-down list. You can then click the “Verify” button at the top left of the window which will start compiling the code. Hopefully, the code will compile without errors.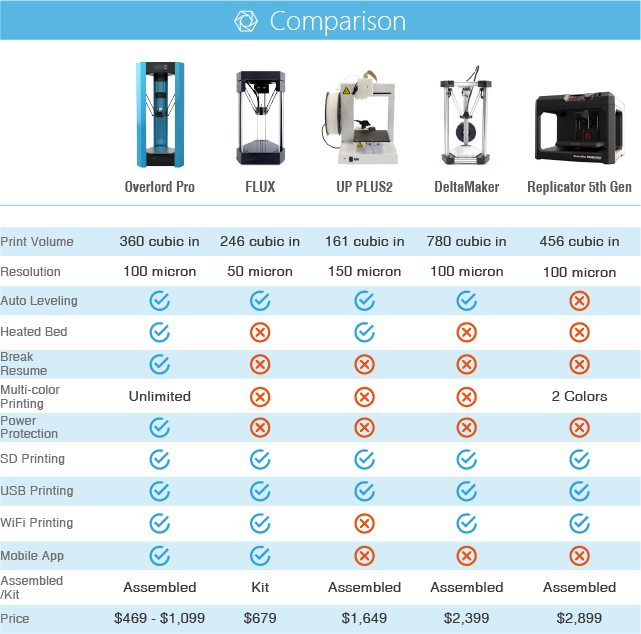
With the firmware compiled, you can now upload it to your 3D printer using the “Upload” button, also located in the upper left section. If you’re changing to a completely new firmware, many of your printer settings will likely have been reset to default values. To restore these settings based on your preferred configuration, you can run the “Initialize EEPROM” tool in the interface of your 3D printer.
Final thoughts
The idea of changing the firmware of your 3D printer may seem daunting, and that’s for good reason – this is not something that you should do on a whim. Using new firmware could mean having to reevaluate the settings of your 3D printer, with due consideration of how it works with different filaments.
We have outlined some of the acceptable reasons for changing a 3D printer’s firmware. You can do it to improve the printer’s performance or just to avoid compatibility issues. The act of changing the firmware actually isn’t very hard. The real challenge is in adjusting and learning how to use the new firmware.
Warning; 3D printers should never be left unattended. They can pose a firesafety hazard.
Versioning of Faberant Cube 3D printers, firmware
| Printer version | Improvements | Firmware | Changes |
| V1.22 V1.21 | Design improvements to improve printer build quality. | firmware_v1.21_04.bin Download Firmware compatible with printers V1.18, V1.19, V1.20 | Extruder and stage temperature recalibrated in operating temperature range. Transition from tabular to parametric calibration technique. Read more |
| V1.20 | Remote shutdown function from the control program, from the print code, from the display menu. Automatic shutdown in case of malfunction. New reinforced extruder connector. 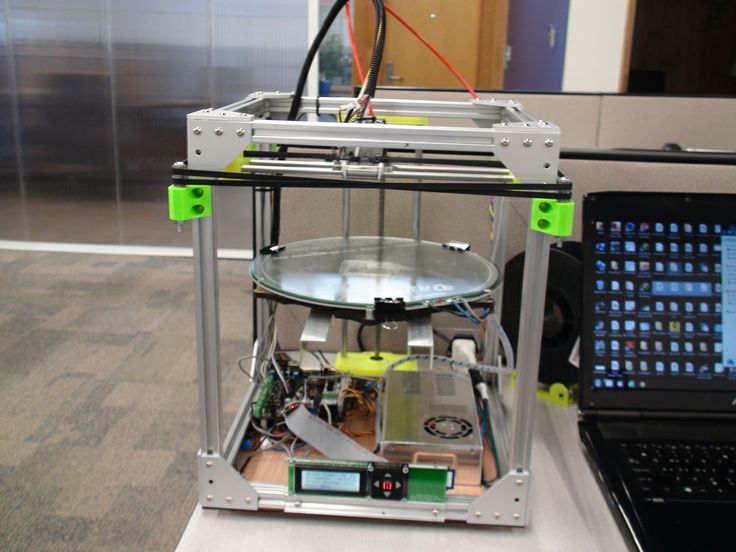 Increased the brightness of the interior lighting. | firmware_v1.21_04.bin Download | Improved filament change algorithm via display menu. Improved algorithm for semi-automatic table calibration by 9 points. |
| V1.19 | Design improvements to improve printer build quality. | firmware_v1.21_04.bin Download | Firmware update |
| V1.18 | The accuracy of determining the temperature of the extruder in the operating temperature range has been improved. | firmware_v1.21_04.bin Download Firmware is not compatible with previous printer versions! | Firmware update |
| V1.17 | Optimization of the shapes of metal parts, the shape of the printer shell. Hole for adjusting the brightness of the display in the outer frame.  | firmware_v1.17_04.bin Download Firmware compatible with printers V1.16 | Firmware update |
| V1.16 | New version of electronics - SKR 1.3 | firmware_v1.17_04.bin Download | Firmware update |
| V1.15 | New electronics 32 bit SKR 1.1 instead of Arduino DUE. Possibility to install standard and short nozzles - steel and small diameter 0.2 and 0.1 mm. | firmware_v1.15_47.bin Download | Firmware update |
Firmware installation procedure:
menu Configuration -> EEPROM configuration
4) Select "Export EEPROM data", save the *.mepr file in a convenient location
5) Download the new firmware from
6) To upload the firmware to the 3D printer, rename the firmware file to firmware. bin
bin
7) Copy the firmware.bin file to the internal memory of the 3D printer (defined as a disk in Windows)
8) Restart the 3D printer with the button below the monitor. This will automatically overwrite the new firmware in the printer's memory
9) After the printer becomes active, turn it off. If this is not done, the firmware may not work correctly the first time
10) Turn on the 3D printer again, run the program "Repetier-Host", in the menu Configuration -> EEPROM configuration select "Import EEPROM data", import the previously saved settings in a file with *.mepr extension
11) 3D printer ready to go
What is the Clipper and should I use it?
Klipper is a very powerful firmware add-on for most 3D printers.
Before jumping into Klipper, it's first important to understand the computing technology commonly used in desktop 3D printers. The most common configurations involve a microcontroller board such as an Arduino, Duet, or other model.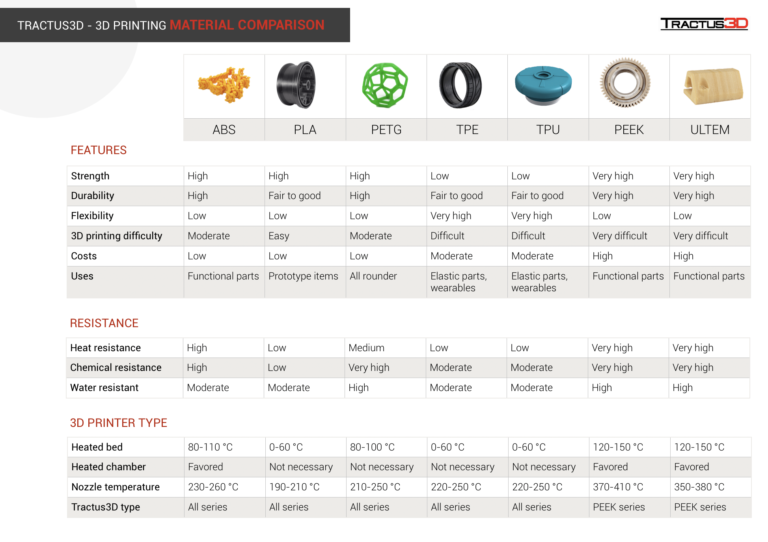 These devices are directly connected to stepper motors that drive the movement system, heaters and other elements of the system.
These microcontrollers use firmware, which is simply software that runs on these embedded microcontrollers. Of several widely used standard firmware versions, perhaps the most popular today is Marlin.
The problem is that microcontroller boards usually do not have enough power for what is required of them. They don't have enough power because they are the least expensive boards you can find for a given configuration. This allows the manufacturer to keep the price of the machine low while still operating at an acceptable level of performance.
However, there are many who want to develop their equipment further. In particular, two aspects are desirable:
Faster print speed
Best print quality
Often they are related: if you type too fast, the quality suffers. If you type slower, the print will be better, but at the expense of time.
Klipper can solve these problems by introducing new possibilities. Their project explains:
“Klipper is a firmware for a 3D printer. It combines the power of a mainframe computer with one or more microcontrollers.”
They add a much more powerful general purpose computer that will sit on top of microcontrollers and provide more computing power. This capacity can be used both to increase speed and to maintain or even improve print quality.
Klipper's main feature is that it takes the burden of stepper motor calculation that would otherwise fall on a low-capacity microcontroller board. Klipper uses all its power to calculate the printer's steps and simply passes the received instructions to the microcontroller for execution.
This calculation model allows for much faster stepper motor movements because the microcontroller does not get bogged down in the calculations. And that means you can 3D print faster. Clipper says that even old 8-bit microcontroller boards can be rated at up to 175k steps per second! For modern boards, they claim they reach 500k steps per second.
But there is another problem: when you turn the tool so fast, you have to overcome a lot of momentum. Clipper does the same. They explain:
“Each step event is scheduled to within 25 microseconds or faster. The software does not use kinematic estimates (such as Bresenham's algorithm) - instead, it calculates the exact step time based on the physics of acceleration and the physics of the machine's kinematics. A more precise stepping motion ensures a quieter and more stable operation of the printer.”
Klipper uses processing capabilities for other features, one of which is called "Smooth Pressure Advance". This is an extended calculation to account for fluid pressure flow at the hot end of an extruder.
As you might have guessed, simply starting and stopping the extruder does not mean stopping and starting extrusion exactly. As the extruder pushes the filament into the hot end, the pressure gradually builds up until it reaches a critical point, and then the flow begins to flow out of the nozzle. Similarly, when the extruder motor stops the pressure at the hot end, and therefore the nozzle, does not stop immediately.
Smooth Pressure Advance performs advanced calculations to control these effects. In other words, extrusions should start and stop exactly when they should. This should result in fewer gaps and smudges on the prints, as well as greatly reduce the stretching of the mucus from the nozzle.
Another interesting feature is "Input Shaping" which eliminates ringing. Ringing occurs in the form of repetitive waves at the corners of objects. The pattern reflects the vibrations that occur when the direction of the print head changes abruptly.
Sound degrades surface quality, but can be reduced or eliminated with Input Shaping, which again uses processing power to calculate toolpath instructions, avoiding ringing effects.
Klipper offers many other features that you can see on their Features page.
Klipper is available for free via GitHub and can be installed using OctoPrint.