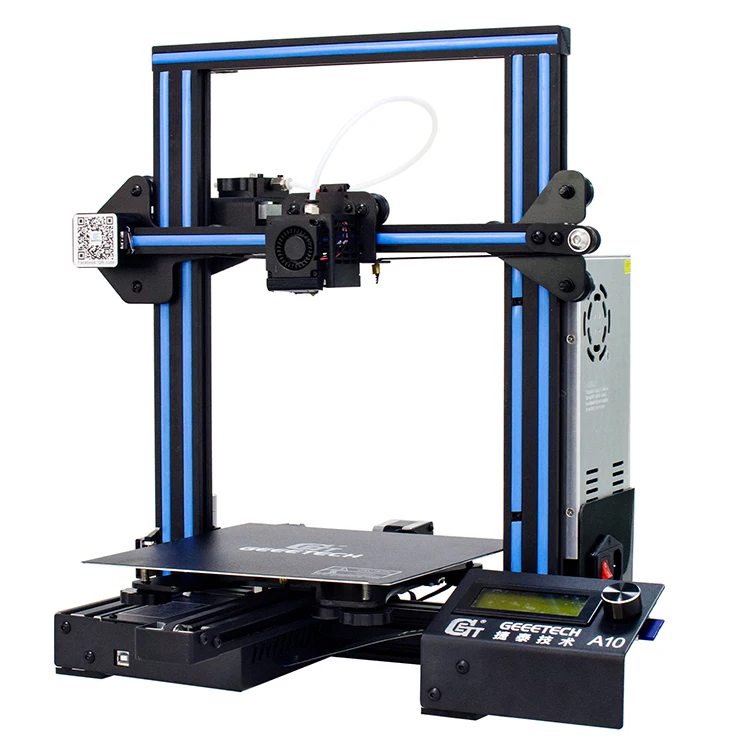
3D printer filament hips
Ultimate Materials Guide - Tips for 3D Printing with HIPS
Overview
HIPS, or High Impact Polystyrene, is a dissolvable support material that is commonly used with ABS. When being used as a support material, HIPS can be dissolved in d-Limonene, leaving your print free of any markings caused by support removal. HIPS has many of the same printing properties as ABS, making it a logical dual extrusion partner. Not only is HIPS great for supporting your ABS prints, it’s also more dimensionally stable and slightly lighter than ABS, making it a great choice for parts that would end up getting worn out or used in applications that can benefit from the lighter weight.
- Low cost
- Impact and water resistant
- Lightweight
- Dissolvable by d-Limonene
- Heated bed required
- Heated chamber recommended
- High printing temperature
- Ventilation required
Hardware Requirements
Before 3D printing with HIPS make sure your 3D Printer meets the hardware requirements listed below to ensure the best print quality.
Bed
Temperature: 100-115 °C
Heated Bed Required
Enclosure Recomended
Build Surface
Glue Stick
Glass Plate
Kapton Tape
PET Sheets
Extruder
Temperature: 230-245 °C
No special hot-end required
Cooling
Part Cooling Fan Not Required
Best Practices
These tips will help you reduce the chances of common 3D printing issues associated with HIPS such as warping and poor bed adhesion.
Invest in a Good Build Surface
Kapton tape can be applied on top of your heated build platform, creating an ideal surface for HIPS to adhere to. Each layer of Kapton tape is about 0.1mm thick, so make sure to account for this in your first layer settings. You can make this adjustment in Simplify3D by increasing the global Z-axis offset on the G-Code tab of your process settings. PET sheets can also be applied over a glass bed to greatly enhance the adhesive properties while keeping the surface finish smooth. These solutions will all help to mitigate warping from your HIPS prints. If you need more suggestions on how to improve the bed adhesion, we have a section on our Print Quality Guide dedicated to this issue: How to Improve First Layer Adhesion.
Print with a High Ambient Temperature
To keep HIPS from contracting rapidly, you can try to increase the temperature surrounding the 3D printed part. This can be accomplished by enclosing the build environment and allowing the heated bed to slowly heat the air to the desired temperature. Some newer printers may actually include a heated chamber out-of-the-box which makes this process even easier. If you aren’t able to enclose the printer’s build volume on your own, you can also try using an ooze shield in Simplify3D, as this will create a shell that encases your model, allowing the air within that shell to stay at a higher temperature. This shield can also act as a wind block to keep colder air from rapidly cooling your freshly extruded plastic.
Adjust Settings to Prevent Layer Separation
Printing with HIPS can require some extra care to ensure that each layer of the print is securely bonded to the prior layer. Otherwise, you may notice splitting or cracking between layers. To improve the bonding between layers, consider lowering your layer height or increasing the extruder temperature. Both of these changes will help improve the adhesion between layers. If you want more information on how to combat this issue, please refer to our Print Quality Guide which contains an entire section dedicated to this issue: Layer Separation and Splitting.
Pro-Tips
- Some HIPS filaments include additives that make the filaments easier to print, but these same additives can frequently make the material harder to dissolve and remove if you plan to use HIPS as a support material.
- To improve bed adhesion, consider using an ABS slurry. This mixture can be created on your own by mixing pieces of ABS filament with acetone and then applying the mixture to your print bed surface.
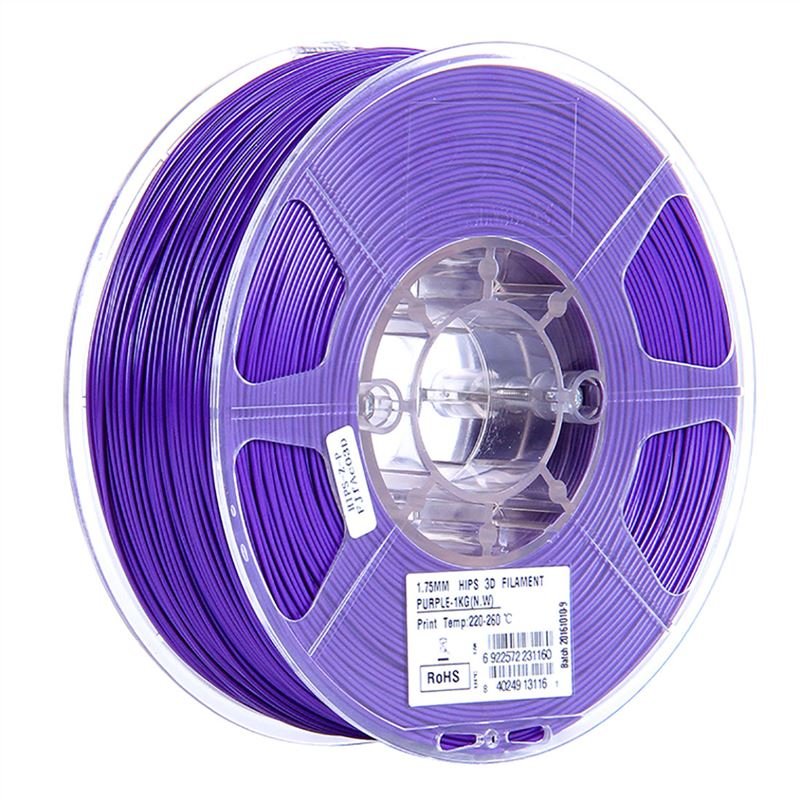
Get Started with HIPS
Congratulations you are now ready to start 3D printing with HIPS! Get project ideas from our common applications and sample projects and check out the popular HIPS filament brands below.
Common Applications
- Dissolvable Support Material for ABS
- Cosplay & Wearables
- Protective Cases
Sample Projects
- Dissolvable Material Pivot Test
- U-Joint
- Cosplay Rick’s Portal Gun
Popular Brands
- GizmoDorks HIPS
- FormFutura EasyFil HIPS
- Matterhackers HIPS
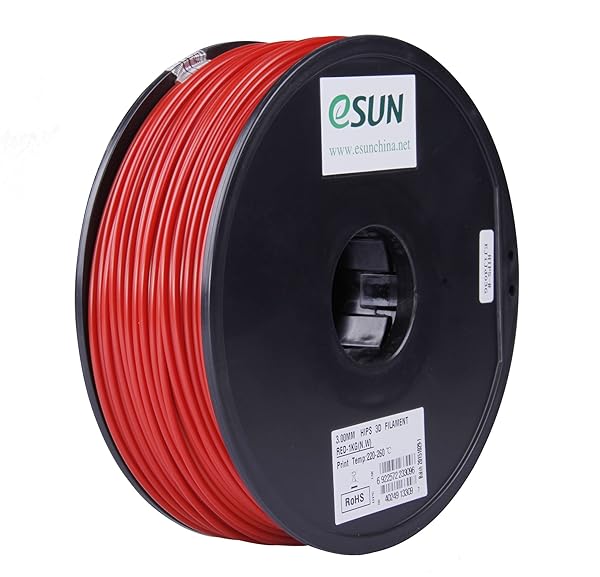
- eSun HIPS
HIPS Filament: The Complete HIPS 3D Printing Guide
What do you do when you want to print a more complicated design, one that has overhanging parts that require support or involves a lot of detail? How about a situation where you want to print a prototype, one where painting or gluing will be involved.
Or maybe you simply want to stretch the envelope a bit and try printing with a thermoplastic that you haven’t tried before, one that’s fairly easy to use.
If any of these situations apply to you, then HIPS could be the support filament you’ve been looking for.
However, HIPS isn’t just a support material. It’s also a very capable 3D printing material in its own right. In fact, we think it’s one of the most underrated available.
In this article were going to take a look at HIPS support and see what it is, examine its main features and benefits and give you some tips on how to 3D print with HIPS material so that you get the best results.
What is HIPS Filament?
HIPS stands for high-impact polystyrene. High impact polystyrene is a synthetic copolymer that is strong, durable, non-toxic and recyclable. In addition, HIPS is soluble in Limonene, an easily obtainable solvent that is derived from the skin of lemons.
Chemically, HIPS is a graft copolymer incorporating pure polystyrene and polybutadiene rubber. It combines the hardness of polystyrene with the elasticity of rubber to produce a high impact thermoplastic that is tough and strong without being brittle.
Commercially known by the trade name Bextrene, HIPS is widely used to manufacture toys and appliances. It is also used for product packaging and cases.
In 3D printing, HIPS makes an excellent soluble support material.
When is support material needed? Well, all 3d printers, by necessity, start printing an object from the bottom of the design and then progress upwards.
Because of this, if you have a design that incorporates overhangs, areas in the print job that don’t have any underlying support, you’ve got a problem. You see, your printer can’t successfully extrude filament onto thin air.
HIPS can be used to provide the necessary support that these overhanging areas require. The printer first lays down HIPS under where the overhang will be and then lays the selected printing material down on top of the layer of HIPS. The HIPS supports the overhanging material and prevents the warping, deformation and collapse that would occur without the support.
Once the printing is complete and the object has cooled, you remove the HIPS by submerging the object in Limonene. After 24 hours, the Limonene will have dissolved the HIPS leaving you with a print job that has clean, crisp angles, corners and overhangs.
There is no need for knives, scraping or sanding. The solvent does all the work leaving you with beautiful results.
HIPS works really well as a soluble support material when ABS is used as the printing material. If your support material and your printing material have significantly different printing temperatures you run the risk that the one will warp and deform the other due to this difference. HIPS and ABS share nearly identical printing temperatures. This means they will lie together cleanly without any warping or deformation due to heat.
HIPS also makes an excellent printing material in its own right. When comparing HIPS vs ABS, you’ll notice it’s harder and stronger than either PLA or ABS, but is just as easy to use. It won’t warp as easily as ABS.
HIPS 3D printer filament can be glued using any one of number of specialty adhesives. It also handles sanding well and can be painted with ease. This makes HIPS 3D Printing an excellent choice for mockups and prototypes.
HIPS 3D printing properties:
- Strong and durable printing material with good impact resistance
- Excellent soluble support material
- Good machinability, easily paintable and works with a wide variety of adhesives
- Food safe, non-toxic and recyclable
- Non-hydroscopic
- Printing HIPS filament temperature is from 230°C – 240°C
- Recommended printing bed temperature of 90°C to 100°C
Some comparisons to ABS and PLA include:
- HIPS density: around 1.05g/cm3, compared to ABS: 1.07g/cm3, PLA: 1.24g/cm3
- HIPS tensile strength: around 40 MPa, compared to ABS: 27 MPa, PLA: 37 MPa
- HIPS glass transition temperature: 90-100C, compared to ABS: 105C, and PLA: 60-65C
The data stats of HIPS back up its ability to be used in a wide variety of applications.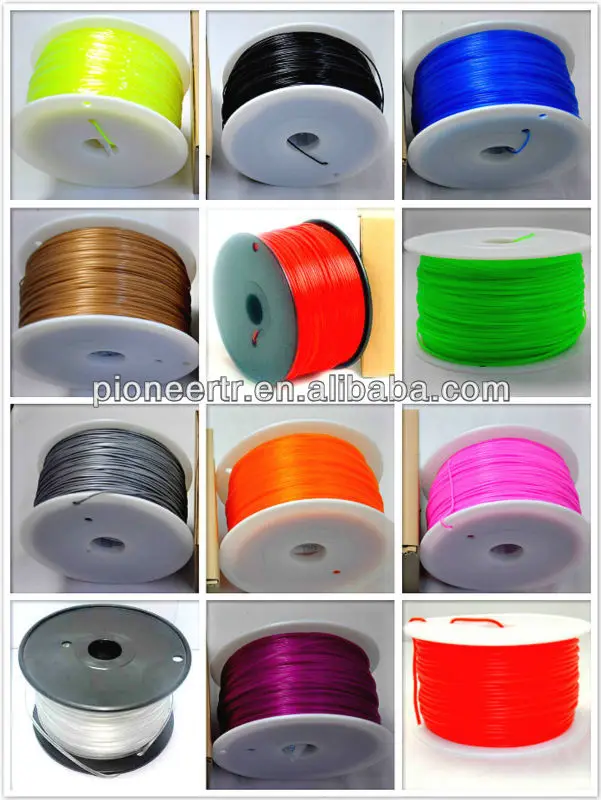 HIPS density has a specific gravity of 1.05 g/cm³. This is comparable to the density of ABS but is less than other thermoplastics such as PLA or PMMA.
HIPS has a Rockwell hardness of R 95 which, again, is comparable to ABS, slightly more than PLA and significantly less than PMMA.
It also has a maximum tensile strength of 5801 psi (40 MPa) which is also, you guessed it, right on the money with the maximum tensile strength of ABS.
So, with HIPS Plastic 3D printing you get a material that shares many properties with ABS, but is also easily soluble and can be machined, sanded, glued, and painted.
It is this versatility that makes HIPS printing filament an excellent choice for a soluble support material, prototyping and as an all-around general printing material.
When it comes to comparing HIPS vs PVA (polyvinyl alcohol) as soluble support materials, it quickly becomes apparent that the two are apples and oranges. The lower printing temperature of PVA works means that it will work much better with a material like PLA while, as we’ve discussed, HIPS dissolvable filament and ABS are more suited to each other.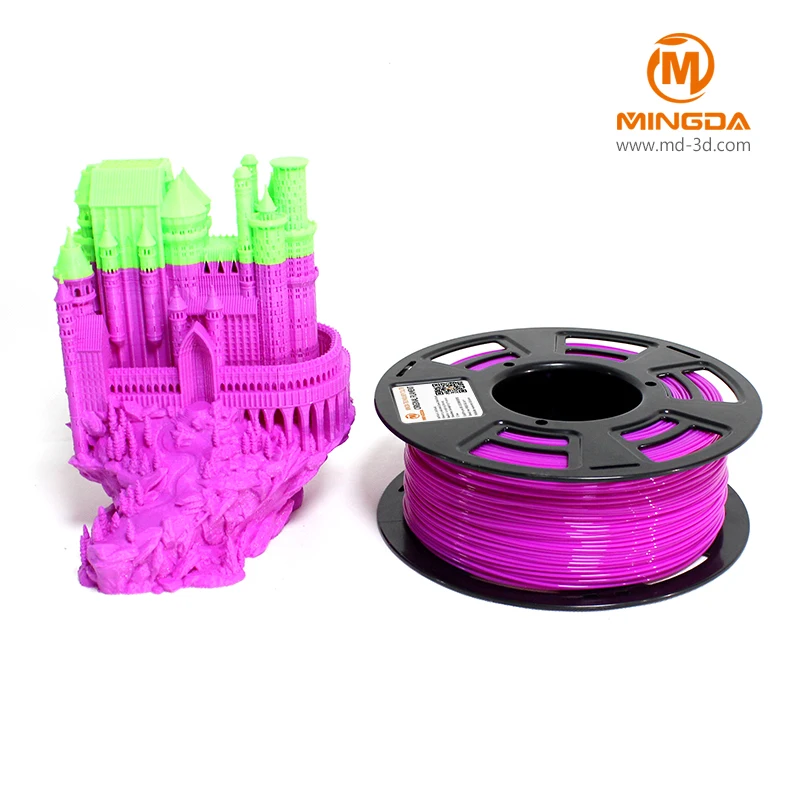
Both are equally soluble, PLA in water and HIPS in Limonene, so the only reason to pick one over the other as a support material comes down to what printing material you are using for your job.
HIPS Filament 3D Print Settings
When it comes to printing with HIPS, there are a few things to keep in mind in order to get the best results possible. First, HIPS prints best at a temperature between 230°C and 240°C. Don’t be afraid to play around with temperatures in this range to see what works best for you.
Next, your printing bed should be set to a temperature of anywhere from 90°C up to 115°C. Again, experiment with temperatures in this range to find the sweet spot that allows HIPS to properly adhere without curling or warping.
After your print job has finished, wait for it cool completely before removing it from the printing plate. HIPS 3D printing material can still be workable when warm and it will bend if you try and remove your object too early.
When a print job that you’re running gets ruined because of inferior product, you’ve not only wasted your time, you’ve also wasted money.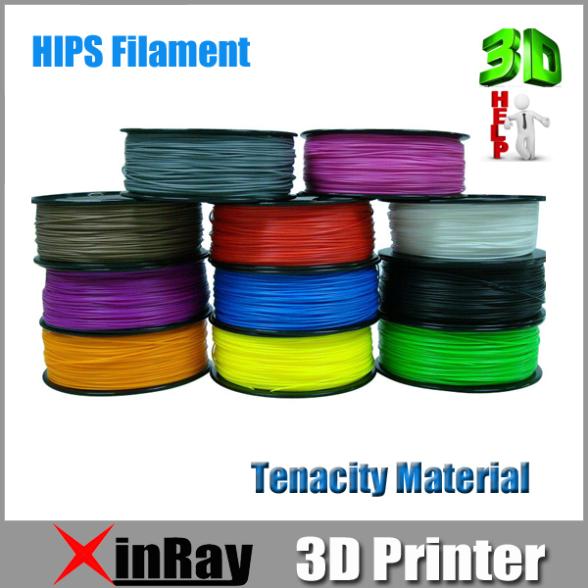 Low-quality filament yields low-quality results.
In the end, you’ll actually spend more on replacement filament than you would have spent stocking up on quality product. Make sure you choose a high-quality HIPS support material (or any filament, for that matter) when printing.
Dissolving HIPS in limonene
Limonene is an affordable and readily available solvent made from lemons, oranges, and other citrus fruit peels.
If you’re using HIPS as a soluble support material, you want to immerse your printed object completely in Limonene and wait at least 24 hours for the HIPS to completely dissolve. It can help move things along if you give the container the object is in a couple of gentle shakes now and again.
And while HIPS dissolves completely in limonene within around 24 hours, this doesn’t affect ABS, making it perfect for removing HIPS supports from ABS parts with a dual extruder 3D printer.
HIPS prints at the same temperature as ABS, making it the most appropriate dissolvable filament for ABS.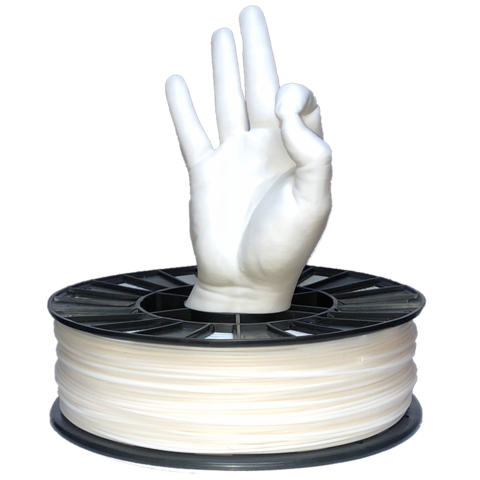 Other dissolvable materials such as PVA filament print at far lower temperatures and will not work with ABS, and for this reason PVA is instead commonly used when 3D printing PLA.Stages of HIPS dissolving process. Source: gambody.com
Best build surfaces for 3D printing HIPS
HIPS is a forgiving 3D printer filament, and can work well with Kapton tape, PEI sheets, glue stick and hairspray. If using a build surface that adds height to your build plate, remember to adjust your first layer in your 3D slicer settings before printing.
However, as with ABS, HIPS releases toxic fumes when melted and 3D printed. Therefore, it is essential to store your 3D printer in an area with good ventilation where you will not inhale any styrene fumes.
Best HIPS filaments
Some HIPS filaments and selections we recommend are included below:
- Matterhackers range of HIPS filaments
- 3DJake UK & Europe HIPS selection
Best HIPS 3D Printers
To 3D print HIPS as a support material, you’ll need a dual extruder 3D printer, and a printer with a closed enclosure.
We recommend a number of these in our dual extruder buyer’s guide.
Advantages and disadvantages of 3D printing HIPS filament
Advantages of HIPS filament
- Reasonable price: though not as cheap as ABS, HIPS offers more than ABS does at not far higher prices.
- Non-hygroscopic: whereas almost all other filaments are hygroscopic and will deteriorate over time if left out in open air, HIPS is not hygroscopic.
- Dissolvable: leaving HIPS in limonene dissolves it quickly, leaving smooth ABS parts with no imperfections.
- Versatile: HIPS parts can be easily painted, machined, sanded and processed, making it a great material for rapid prototyping and testing new iterations of products.
Disadvantages of HIPS filament
- Toxic odors while printing: like ABS, HIPS emits fumes while 3D printing, and therefore you must store your 3D printer in a well-ventilated area or room while printing.

- Warping: therefore, you must use a heated bed and chamber to minimize warping and cracking between layers. 3D printer kits are therefore less suitable for HIPS 3D printing.
Applications of HIPS in 3D printing
HIPS is most used as a support material for ABS 3D printed parts to be dissolved post-print in limonene.
However, HIPS also has standalone uses in aesthetic parts and projects such as cosplays and other costumes due to its glossy clear finish, as well as in 3D printed toys and other appliances. Its light weight, strength and ease of painting and post-processing also makes it a great filament for testing pre-manufacturing models.
Outside of 3D printing, HIPS is used in toys, laptop, CD, DVD and phone cases, and is used extensively in signage and point of sale displays due to its ability to be vacuum formed, bent and molded into shape with ease.
Due to being classed as food safe, HIPS is also used in millions of food and drink packaging, disposable cutlery, and yoghurt pots every year. HIPS’ color range and versatility make it a commonly used copolymer for signage.
History of HIPS in 3D printing
German apothecary Johann Eduard Simon first discovered polystyrene back in 1839, but it was not industrialized and sold until almost a century later in 1931 by I. G. Farben company.
However, standard polystyrene is brittle, and was therefore unsuitable for many industrial uses, and other materials were generally preferred.
A solution was found however by mixing it with polybutadiene – a synthetic rubber – to create a copolymer called HIPS, making it tough yet flexible and solving the brittleness problem. This primed HIPS to become a wildly successful material used in signage, point-of-sale and food packaging across the world.
HIPS Filament Frequently Asked Questions
What extruder temperature should you print HIPS at?
Depending on your HIPS filament, generally print between 230°C to 240°C, with the higher end of the scale better for adhesion. If you are struggling to get good layer adhesion, increase the temperature, but if you encounter stringing or oozing, lower the temperature slightly and check your retraction settings.
Do you need to use a heated bed and enclosure to 3D print HIPS?
Yes. Though it doesn’t warp quite as much as ABS, HIPS filament will warp if you do not use a heated bed and a heated chamber or enclosure. Use a heated bed of between 90°C and 100°C depending on your type of HIPS filament, though 100°C+ can be best for adhesion. Higher temperatures prevent warping due to the material cooling too quickly.
Using an enclosure or heated chamber also keeps the high ambient temperature consistent during printing, preventing any rapid cooling that causes warping and deformation. Many desktop FDM 3D printers now come with enclosures, but 3D printer kits and RepRap 3D printers are typically open printing and will struggle to 3D print HIPS.
How much does HIPS filament cost?
Standard HIPS filaments typically cost between $30-$55, depending on the quality and blend.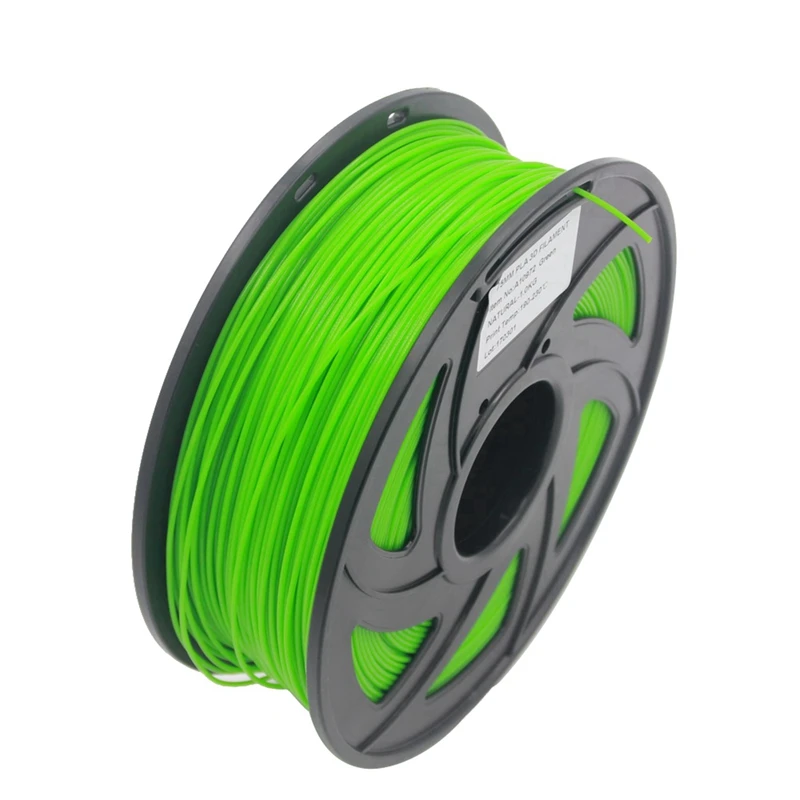 Though more expensive than basic filaments such as PLA or ABS, HIPS falls far below the industrial filament prices of Polycarbonate and carbon fiber filaments.
Is HIPS recyclable?
Yes, HIPS is fully recyclable. However, check your local recycling center to ensure they accept HIPS before attempting to recycle it.
Problems, defects, 3D printing errors and solutions
Often during the operation of a 3D printer, problems may arise due to which defects appear on the finished model. Or instead of a neat product, plastic noodles suddenly appear on the table.
In fact, the causes of defects can be conditionally divided into 2 types - these are physical and software.
Physical ones are those that arise due to problems with the mechanics or any other causes that can be eliminated physically. These include problems with printer mechanisms (belt tension, backlash), clogged or deformed nozzle, incorrect table geometry, etc.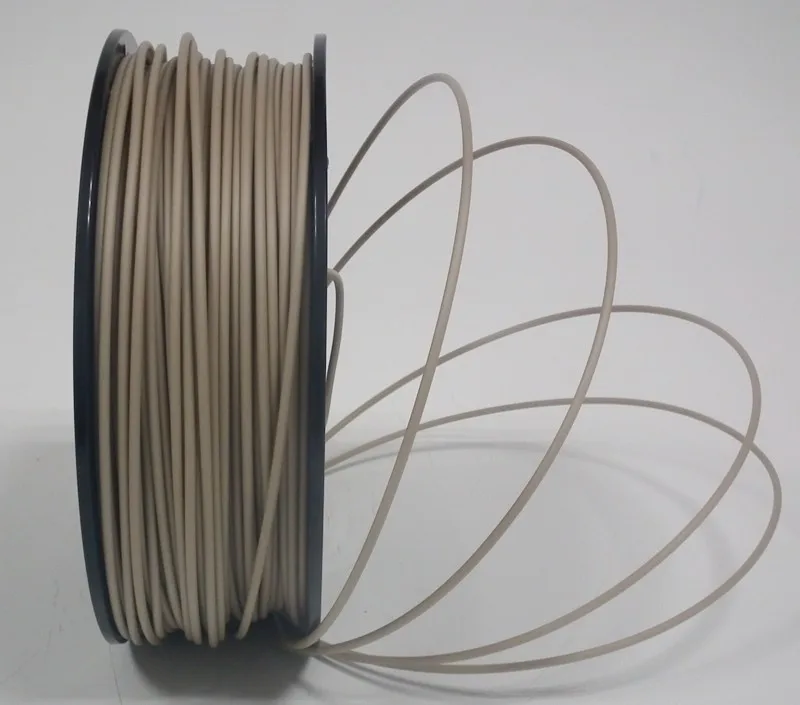
Software - these are defects that occur due to incorrect slicer settings or, less often, errors in the printer firmware. For example, incorrectly selected print speed, retract settings, incorrectly selected temperature for plastic, etc.
Very rarely, the problem may lie in the wrong or “flying” printer firmware (although usually the printer simply will not start then), overheating of some boards during printing, etc. These are rather special cases, so we will not consider them.
Model peels off or does not stick to the build plate
This is the most common 3D printing problem. Every 3D printer has had a case when the first layer treacherously rolls, clinging to the extruder, or the most offensive - when it tears off a partially printed model from the table. The first layer must stick tightly otherwise nothing will be printed.
Gap between table and nozzle 9 too large0023
This is the most common reason. You just need to set the correct gap between the table and the nozzle.
Modern printers often use an auto-calibration (auto-leveling) table system or an auxiliary table leveling program. To calibrate such printers, use the instructions. If there is no manual, it can be downloaded from the manufacturer's website.
If you have a simple printer without auto-calibration, a self-assembly or KIT kit, use a probe or a piece of paper folded in half to calibrate. The probe should be slightly pressed against the table by the nozzle. Before calibration, the table and extruder must be heated. Align the table surface over each adjustment screw (there may be 3 or 4) in turn, and only then check the center point.
If you're having trouble getting your table surface perfectly level, try raft printing. Raft is a thick substrate in several layers that is printed under the model. It will help smooth out the slight curvature of the table.
A small cheat sheet to determine the correct gap on the first layer
Plastic with poor adhesion
Some types of plastic, due to various reasons, such as large shrinkage, do not adhere well to the surface of the printing platform. In this case, try using stickers or special 3D adhesives to improve adhesion between the table and the first layer of plastic.
In the early days of 3D printing, there were experiments with different homemade 3D adhesive recipes. ABS diluted in acetone, BF glue, sugar syrup and even beer. Some experiments have been successful. Until now, some enthusiasts use some types of hairspray or glue sticks as 3D glue. But still they are inferior in their properties to industrial 3D adhesives.
Some types of high temperature plastics with a high percentage of shrinkage (ABS, Nylon, etc.) may peel off the table during printing. This is due to uneven cooling and “compression” of the model (the lower layers have already cooled down, but the upper ones have not yet). For such plastics, it is imperative to use a 3D printer with a heated table and a closed case.
Plastic temperature too low
The hotter the plastic is when it exits the nozzle, the better it will adhere to the print platform.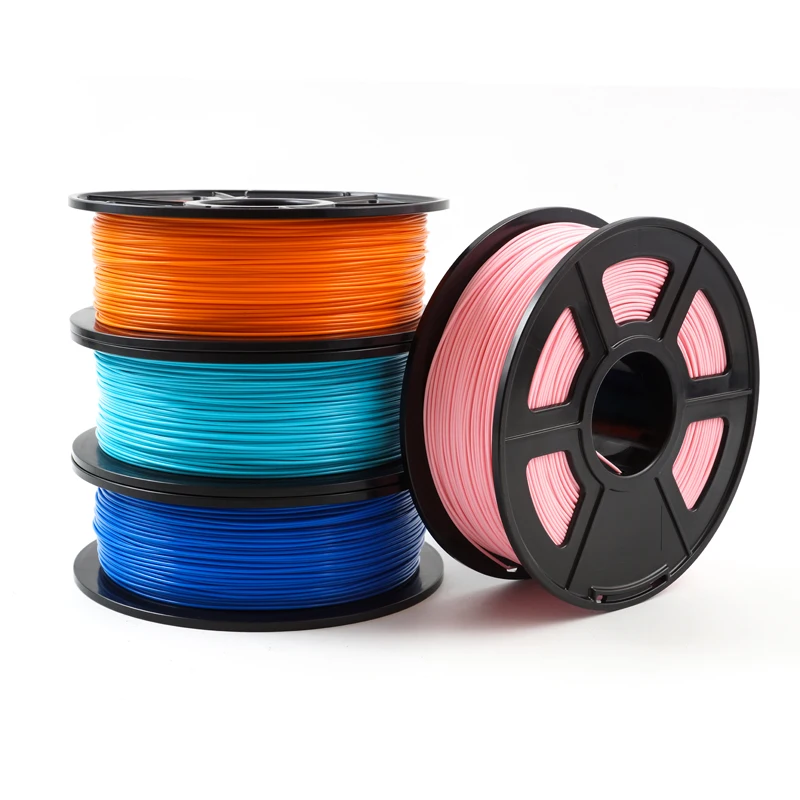 It is better to print the first 5-10 layers at a higher temperature (+ 5-10 degrees) and turn off the blower fan.
Wrong first layer settings (speed and thickness)
A thicker layer sticks easier, so the standard first layer is 0.3mm thick. With an increase in print speed, the heating block may simply not have time to heat the plastic to the desired temperature and it will stick to the table worse. Before printing, check the speed and thickness settings of the first layer in the slicer.
A lot depends on how the 3D printer prints the first layer. Try to control the printing of the first layer and only then leave the printer to work alone.
Plastic does not choke from nozzle
The printer has already begun to print, but the print table remains empty. Or part of the model did not print.
Clogged nozzle
In 3D printing, a nozzle is a consumable.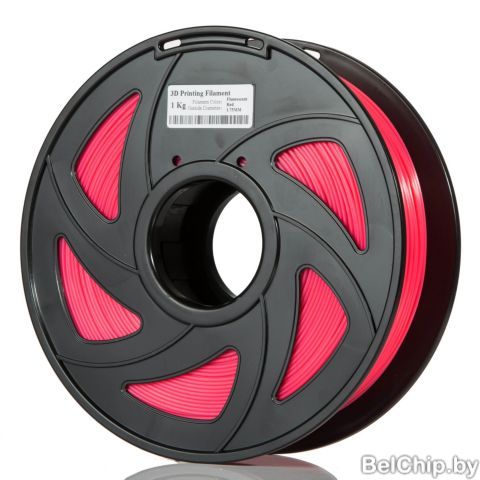 The nozzles are clogged or worn out (frequency depends on the type of plastic). The simplest thing is to replace the nozzle. But if there was no spare at hand, you can try to clean the old one. To do this, there is a whole set of thin needles. Or you can heat a clogged nozzle above the melting point of the plastic and “burn out” the blockage. But later it is still better to replace the nozzle.
Low temperature nozzle
You need to increase the temperature of the extruder in the slicer settings or check the thermistor and heating block. Sometimes the thermistor may not read the temperature correctly due to a malfunction or incorrect 3D printer firmware settings.
If the problem occurs after replacing the thermistor - contact the manufacturer or read articles about PID tuning.
Empty extruder
As the extruder heats up, plastic begins to ooze out of the nozzle. Because of this, the extruder may start printing half empty. Because of this, part of the first layer is not printed. You can push the plastic manually by simply pushing the bar into the nozzle. Or solve this problem programmatically - in the slicer, add a contour print around the model (one line).
Some manufacturers and 3D enthusiasts add a line print on the edge of the table at the beginning of each GCode. This is done so that there is plastic in the nozzle by the time the model is printed.
Feed mechanism does not push through plastic
The plastic pushes the feed mechanism to the extruder - a motor with a special pulley put on the shaft. If for some reason the plastic is not pushed through (nozzle clogged, extruder temperature low, etc.), then the pulley “gnaws” through the bar. You need to push the plastic bar with your hands or cut off the damaged piece.
Elephant foot
The first layers of the model are wider and protrude beyond the boundaries of the model. This is due to the fact that the upper layers put pressure on the first ones that have not yet cooled down and flatten them.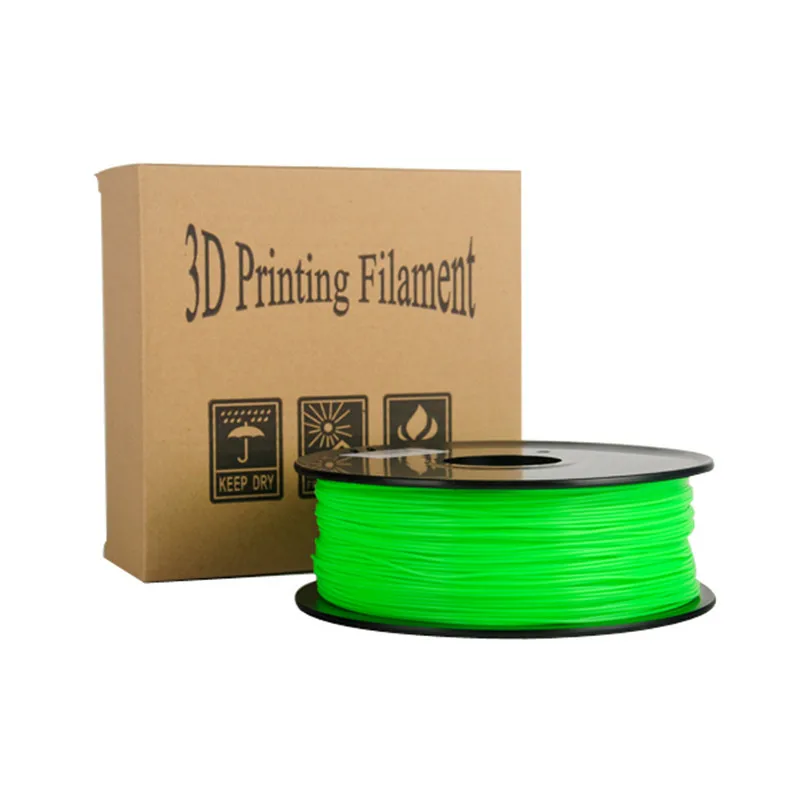
High table temperature
Due to the too high temperature of the table, the lower layers remain soft for a long time. Try lowering the table temperature. It is better to reduce gradually (in increments of 5 degrees). You can try to turn on the blower when printing the first layers.
Small gap between nozzle and platen
If, when printing the first layer, the nozzle is too close to the table, then excess plastic will be forced out. After a few coats, this will not be as noticeable, but can lead to the effect of an “elephant's foot”.
Plastic re-extrusion
When too much material is squeezed out of the nozzle, the walls of the model are not smooth, but bumpy, with sagging.
The solution is software - in the settings of the slicer, you need to set the material feed rate (fluidity) to a lower value. The average value is 95-98%.
It is worth checking the diameter of the rod.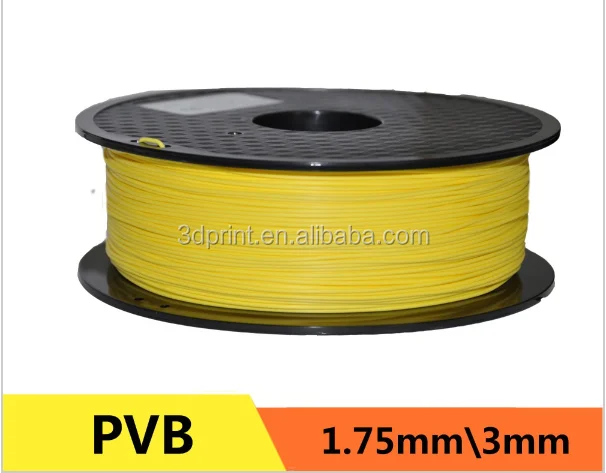 If its size is greater than 1.75, then the plastic will be squeezed out more than necessary.
Plastic underextrusion
The plastic is squeezed out too little, because of this, gaps may appear between the layer. The finished model will be fragile and fragile.
Wrong thread diameter
Check the filament diameter in the slicer settings. Sometimes, instead of the popular 1.75, the default is 2.85.
Incorrect feed rate settings
Check the fluidity settings in the slicer. The average should be 95-98%.
Clogged nozzle
Something could get into the nozzle and partially block the exit of the plastic. Visually, the plastic will choke from the nozzle, but in a smaller amount than necessary for printing.
Hairiness or cobwebs on finished model
Thin threads of plastic protrude from the outer wall of the model (most often on one side). The defect appears due to the flow of plastic from the nozzle during idle movement.
Insufficient retract
A retract is a slight pull of a plastic filament from an extruder. Due to the retract when the extruder is idle (from layer to layer or from model to model), heated plastic does not drip from the nozzle. For some flowable plastics (eg PETG) the speed and amount of retraction must be increased.
"Hairiness" can be easily removed by grinding or cutting off the threads with a sharp scalpel.
High temperature extruder
The higher the extruder temperature, the more fluid the plastic becomes. It is important to find a balance so that the plastic is not too liquid and sticks well in layers.
In the selection of the optimal extruder temperature, a test model - a tower - helps a lot. It clearly shows how plastic behaves when printed at different temperatures.
.
Temperature test
Top "perforated" or uneven
The top of the model is bumpy or with holes. The problem may arise if the top of the model is flat. For example, like a cube.
Insufficient airflow
When printing the top plane (cover), the plastic does not have time to cool down and remains too liquid. Because of this, the threads are torn and holes are formed. Increase the fan speed on the last layers.
Few top layers
The top of the print may be too thin and deform as a result. Check slicer settings. The number of upper layers is not recommended to be set less than 6.
Low percentage of filling
If the infill percentage is too low, then the top layer will simply have nothing to rely on. Increase the fill percentage in the slicer settings.
Model deformation
Some parts of the model seem to have melted in some places or on one side. The problem most often occurs when printing with PLA plastic. The defect appears due to the fact that the plastic does not have time to cool and deforms.
Insufficient airflow model
Turn the fans on to maximum. If their power is not enough (in some printers, the fan is located only on one side), you can put a regular desktop fan and direct it to the 3D printer table.
Small model
Small models are difficult to blow well. Try to print small items alongside larger ones, or place several identical models in different corners of the table. So the plastic will have more time to cool.
Layer offset
Layers shift along the x or y axis during printing.
Print head jam
Turn off the printer and try to move the extruder along the x and y axes with your hands. The extruder must move freely. If there are jams, check the mechanics of the printer. Bearing wear or the curvature of the shafts may be to blame.
Electronics overheating
Sometimes electronics problems can be to blame for misaligned layers. The most common cause is overheating of the drivers or too low current exposed to them.
Table top is loose
This is most often seen in 3D printers with glass. During printing, the nozzle may hit the model and move the glass slightly. Before printing, check if the glass or other printing surface is well fixed on the heating table.
Skip layers
Small holes are visible on the print, or the shell of the model is not continuous.
Teflon tube deformed
There are 2 types of thermal barriers - all-metal and with a Teflon tube. If overheated, the Teflon tube may deform. Plastic will pass through it, but in a smaller amount.
Low extruder temperature or high print speed
If the extruder is not heated enough, then the plastic will not be liquid enough and simply will not have time to be forced through the nozzle. The higher the print speed, the higher the extruder temperature should be.
Sometimes the outer walls print well, but the infill is “torn”. In this case, slow down the infill print speed in the slicer.
Model bundle
Cracks form on the surface of the printout during or after printing. Cracks can be large or very small. Most often, this problem occurs with plastics with a high percentage of shrinkage - ABS or Nylon.
Sudden temperature difference (if model delaminates during printing)
With a sharp temperature difference (for example, a draft), part of the model cools down faster. This leads to uneven shrinkage and incorrect distribution of internal stress. For plastics with low shrinkage, this is not critical. But if the shrinkage percentage is more than a few percent, the model may burst in layers.
For printing with such plastics, it is recommended to use a printer with a closed housing. If this is not possible, try to avoid drafts and sudden temperature changes in the room where the 3D printer prints as much as possible.
Print temperature
Due to too low printing temperatures, the layers may not “stick” well to each other. Raise the print temperature in the slicer settings.
Hardening (if the model cracks after printing)
Sometimes cracks appear on the model a few days after printing. This is due to uneven distribution of internal stress after cooling. You can try to “harden” the finished product.
For hardening, the model is placed, for example, in an oven, and heated to the softening temperature of the plastic. After that, the heating is turned off and the oven is left to cool slowly with the model inside. Due to this, the stress inside the print is distributed more evenly. But accuracy is very important in this method - if you make a little mistake with the temperature, the finished product can “float”.
Ringing
In places where the extruder changed direction, ripples are visible. Most often it looks like a shadow around the “sharp” protruding elements of the model.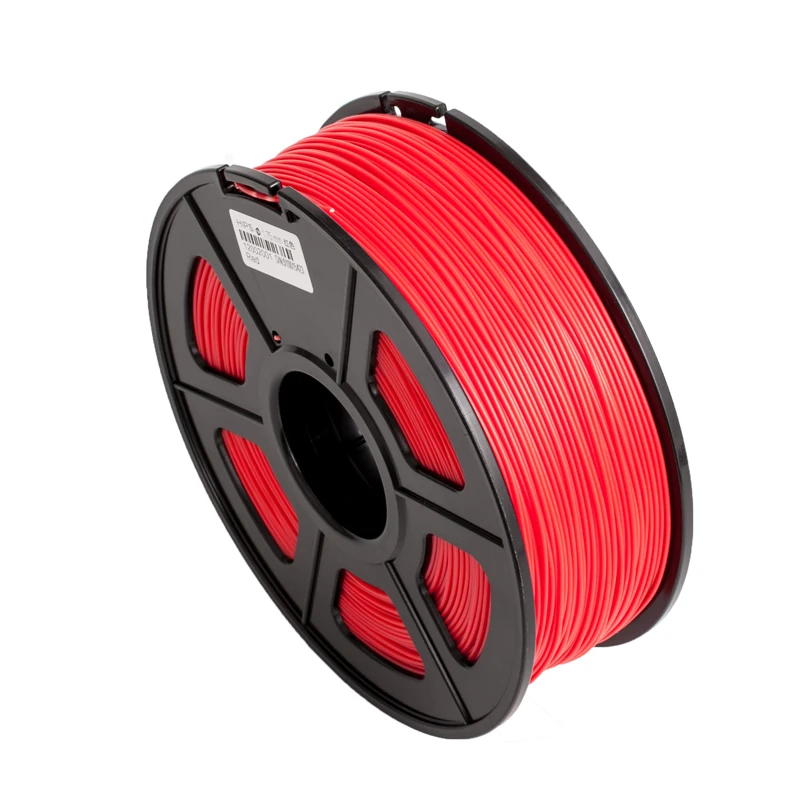
Mechanical problems
Sometimes the problem occurs due to extruder play. Check if the extruder mount to the rails is loose. Be sure to check the tension of all belts.
High print speed or high accelerations
Moving the extruder too fast can cause vibrations that cause ripples on the wall of the model. The lighter the weight of the extruder, the less noticeable the ripples will be. To get rid of ringing, simply reduce the print speed in the slicer settings.
Slits for thin-walled models (not solid shell)
The thin wall of the model is not solid, but consists of two thin walls with a narrow gap between them. This problem is often faced by fans of printing "cutting" for baking.
Left model with wall defect, right without
Wall thickness and nozzle diameter mismatch
If the wall thickness is 1 mm, and the nozzle diameter is 0.4, it turns out that for a solid wall, 2 nozzle passes are few, and 3 are already many. The result will depend on the slicer algorithm, but most often you will get 2 walls with a thin slot in the middle (the slicer cannot change the wall thickness). The solution to the problem may be a slight refinement of the 3D model or the use of a different slicer.
Algorithms for calculating 3D models are constantly being improved and refined, and now this problem is less common.
When modeling, take into account not only the thickness of the nozzle, but also the percentage of “overlapping” of lines on each other. If you have a nozzle with a diameter of 0.4 - make the wall in your model not 0.8, but 0.7 - 0.75.
Wrong model geometry
When instead of a circle you get an oval, and instead of a square you get a semblance of a rhombus.
The main reason is malfunctions in the mechanics of the printer. Be sure to check:
Belts
Check belt tension in x and y. Belts stretch over time and may need to be tightened or replaced. Each 3D printer has its own way of tightening the belt. If the belts are slightly stretched, you can tighten them with the help of a "spring".
Loose pulleys, etc.
Check if all bolts and nuts are tight. Are there backlashes. Pay special attention to tightening the pulleys located on the motors along the x and y axes.
Sagging of some parts of the model
Some parts are not printed, broken, or instead of a neat surface, a swollen plastic snot is obtained.
No support for overhangs
A 3D printer cannot print in the air, so if there are overhanging elements in the model, you need to set supports - supports. The slicer can set the necessary support itself, you need to check the appropriate box in the settings.
When printing with soluble support, you can set the gap between the model and support - 0. This will make the surface smoother. If the support material and the model are the same, you need to add a small gap. Otherwise, it will be difficult to separate the support from the model.
Split model
Sometimes the supports can take more plastic than the model. In this case, to save material and time, it will be more convenient to cut the model. If you have more than one 3D printer, then the model will print several times faster.
When cutting the model, you can leave grooves or mortgages so that the pieces of the model are connected without displacement.
Totals
In this article, we talked about the most popular 3D printing defects and how to solve them. Don't be intimidated by such a long list. Some problems are rare and you are unlikely to encounter them.
There is a list of problems that arise due to the design features of a 3D printer, so try to choose a printer that suits your needs. To do this, you need to understand what products and what material you need.
Problems associated with printing algorithms are quickly eliminated by software developers.
Do not be afraid of possible difficulties and each seal will be successful.
3D : Infinity Matryoshka —— Print 3D printer with 3D printing technology
Request now
News
Publication time: 2021-09-13
If creative breakthrough and innovation in 3D printing is a combination of art and technology, then Do-it-yourself 3D printer is something cool and interesting!
Compared with ordinary 3D printers, homemade 3D printers are more flexible. You can customize 3D printers with different performance, printing accuracy, prices, and different looks. Usually, the cost of a homemade 3D printer is lower than that of a general-purpose printer with the same performance, and a homemade 3D printer will also have higher precision and stability than a general 3D printer, which can improve its printing efficiency. .
.
So you must be wondering why I mentioned "DIY 3D printer" today?
This is also the application area for eSUN 3D printing materials. As we all know, there is nothing better than 3D printing in case of customization. Using 3D printing technology to customize 3D printer parts is a typical case of "using magic to defeat magic".
There are many open sources about 3D printers in many forums nowadays. Raven and Prusa are very popular among 3D printing enthusiasts.
In 2015, users from overseas founded the Voron project with the intention of building the perfect 3D printer. Compared to other printers, it strives for silence, cleanliness and beauty, while still working 24/7. After many years of development and optimization, thanks to the efforts of many users with enthusiasm and dedication, Voron 3D printers have completed several iterations and won the love and recognition of more people.
Voron 3D printer 2.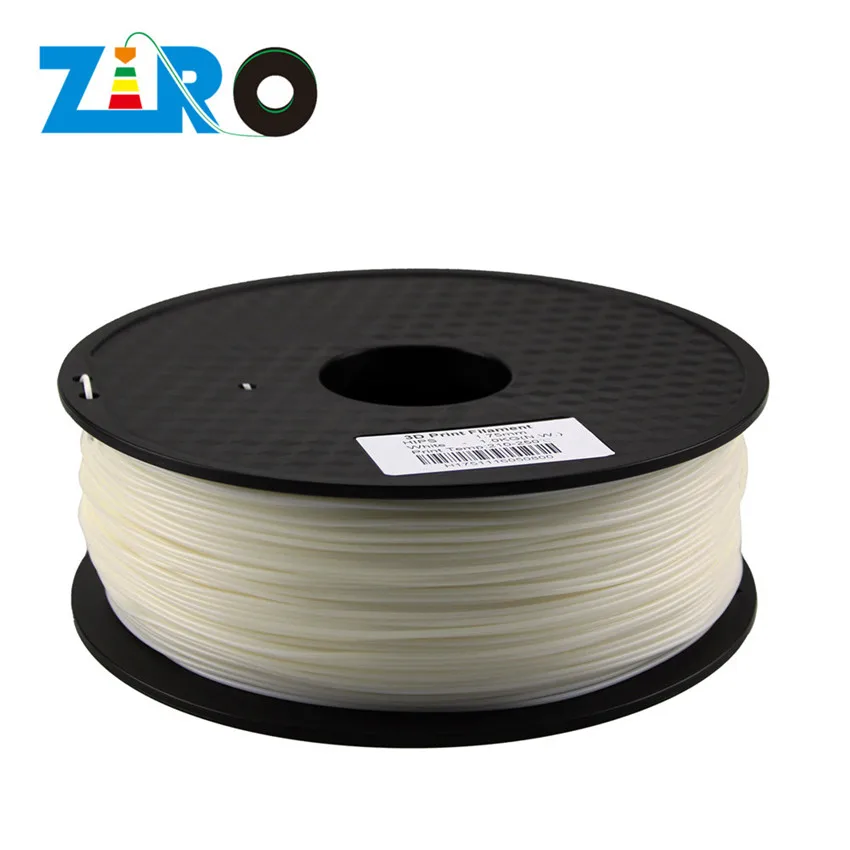 4
4
VORON 2.4 At the moment there are 250, 300 and 350 in three sizes. It has a fully enclosed design, linear guideway movement, XY-owned Corexy structure, Z-axis four-belt synchronous transmission, magnetic printing platform, automatic leveling, and support for Klipper firmware.
As shown in the picture above, many parts of the Voron 2.4 3D printer are 3D printed. Among them, eSUN's ABS+ filament, especially the red fire engine, is recommended by many users because of its color stability, matte texture, durable appearance, and harmony with the Voron brand.
3D printer parts display
detailed display
Note. The above images are courtesy of Crow's partner company Shenzhen Fuyuansheng Electronic Technology Co., Ltd. and some users. Copyright belongs to the original creator.
eSUN ABS + introduction
eSUN ABS + filament (red fire truck)
eSUN ABS+ material is a technical material modified from ABS. Compared with conventional ABS materials, ABS+ has higher mechanical properties, less odor and less shrinkage. At the same time, it also has high strength and impact resistance, which allows you to print durable parts; low VOC content, low odor during printing, comfortable printing without pressure; low shrinkage, not easy to warp and crack during printing.
ABS+ can be used to print parts and models in machines, molds, toys, automobiles, electronic appliances and other related industries and fields.
By assembling a 3D printer on their own, from the initial selection of a plan, printing parts, purchase, assembly, debugging, and finally putting it into operation, everyone will gradually strengthen their understanding of 3D printing and 3D printers. And improve creative thinking ability and practical ability during the whole process.
Live Preview:
In September, eSUN and Fuyuansheng FYSETC will jointly launch a live broadcast on "Homemade 3D Printer".