3D printer filament guide
Ultimate Materials Guide - 3D Printing Flexible Filament
Overview
Flexible filaments are made of Thermoplastic Elastomers (TPE) which are a blend of hard plastic and rubber. As the name suggests, this material is elastic in nature allowing the plastic to be stretched and flexed easily. There are several types of TPE, with Thermoplastic polyurethane (TPU) being the most commonly used among 3D printing filaments. In many cases, these terms are used interchangeably, along with popular brand names such as Ninjaflex. The degree of elasticity in the plastic depends on the type of TPE and the chemical formulation used by the manufacturer. For example, some filaments can be partially flexible like a car tire but others can be elastic and fully flexible like a rubber band. This guide will cover tips to help you with both of these variations of flexible filaments.
- Flexible and soft
- Excellent vibration dampening
- Long shelf life
- Good impact resistance
- Difficult to print
- Poor bridging characteristics
- Possibility of blobs and stringing
- May not work well on Bowden extruders
Hardware Requirements
Before 3D printing with flexible filaments, make sure your 3D printer meets the hardware requirements listed below to ensure the best print quality.
Bed
Temperature: 45-60 °C
Heated Bed Optional
Enclosure Not Required
Build Surface
PEI
Painter’s Tape
Extruder
Temperature: 225-245 °C
Direct Drive Extruder Recommended
Cooling
Part Cooling Fan Required
Best Practices
Flexible filaments come with many unique challenges that you want to be aware of. These tips will help you reduce the chances of common 3D printing issues such as clogging, kinking, and stringing.
Use Direct Drive Extruders
While some partially flexible filaments work fine with Bowden Extruders, most fully flexible filaments require a Direct Drive extruder for best results. The distance between the drive gear and the melt zone of the hot-end needs to be as short as possible to efficiently feed the filament into the nozzle. Additionally, the pathway through which the filament travels into the melt zone should have tight tolerances to prevent the filament from kinking or coiling inside. For these reasons, it is typically much easier to print flexible filaments with a Direct Drive extruder versus a Bowden extruder. If you are unsure about your 3D printer’s capabilities, you may want to check with the manufacturer to see if the extruder has been approved for use with flexible filaments.
Use Slow and Consistent Feed Rates
Flexible filaments typically print best using a slow and consistent feed rate. Because the material is elastic, it can be very difficult to control sudden changes in the print speed. Higher print speeds can cause the filament to compress and will most likely result in a jam. Slow and steady is the best approach. Simplify3D provides all of your feed rate settings on the Speeds tab of your process settings so that you can easily configure these values. Finding the optimal print speed for your material can take several attempts based on trial and error. We have seen that speeds of 1200 mm/min (20 mm/s) can be a good starting point for most materials.
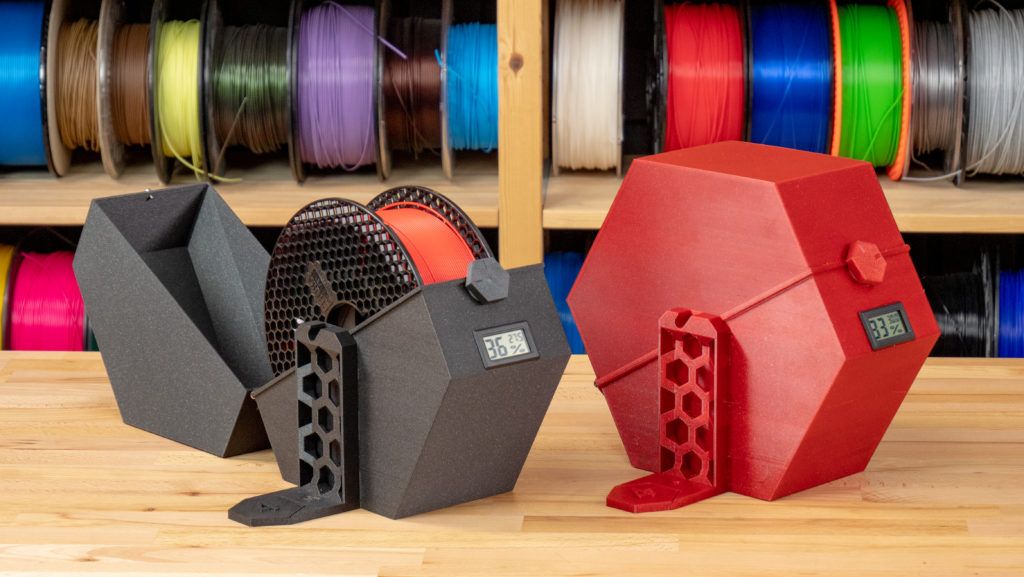
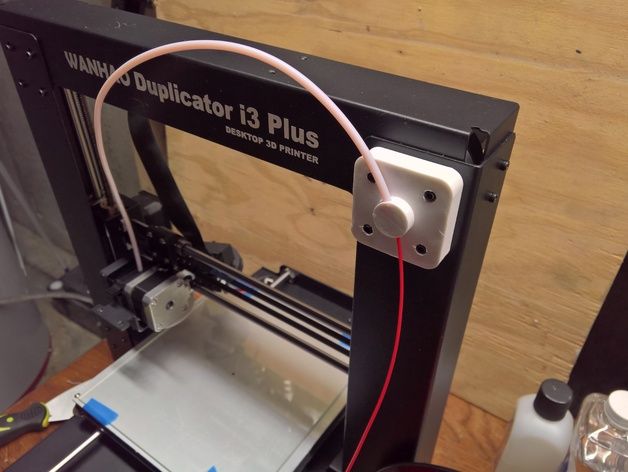
Reduce Resistance from the Filament Spool
A few tweaks to your material spool can also make a big difference with flexible materials. Typically, your extruder will pull the filament into the nozzle, forcing the filament spool mounted on your printer to unwind a bit of plastic in the process. However, because flexible materials are elastic, this will stretch the filament out as it is being pulled in and can actually result in under-extrusion. Try mounting the spool above your printer so that the filament unwinds in a downward direction which can reduce the resistance. It can also be incredibly helpful to mount the spool’s hub on a bearing to allow the spool to spin as freely as possible.
Tune Your Retraction Settings
The elastic nature of flexible filament makes it sensitive to quick movements such as retractions. In order to successfully print the filament, you will need to optimize your retraction settings to reduce these movements. While you are first starting with this material, we would recommend disabling retraction completely.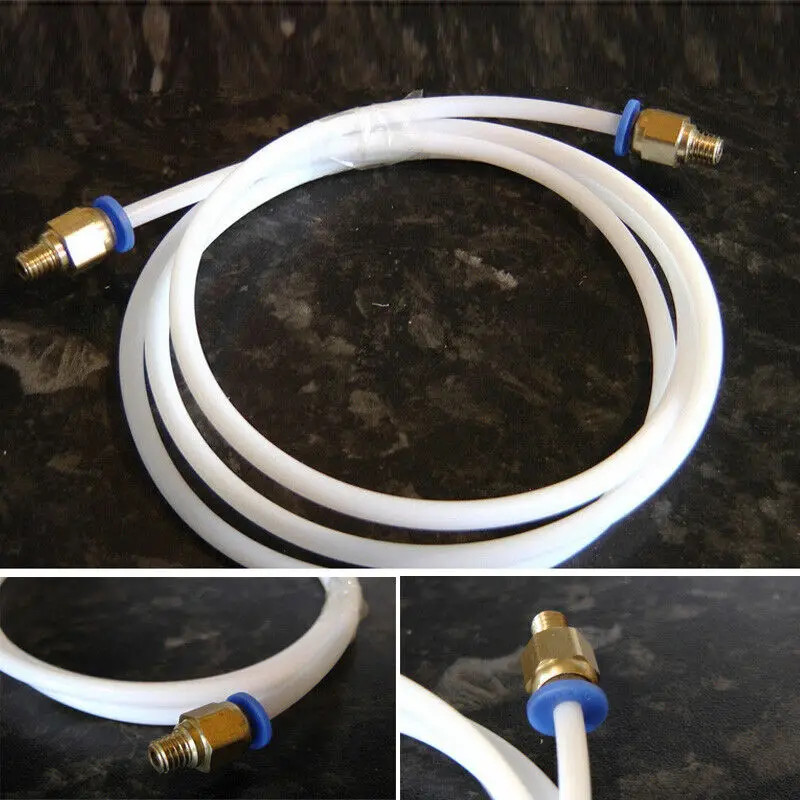 You can make this change in Simplify3D on the Extruders tab of your process settings. With retraction disabled, you can focus on finding the perfect speed and extrusion rates that allow you to reliably print your models. After you are more confident in these settings, you may wish to add a very small amount of retraction with a slower retraction speed to help with any potential oozing from the hot-end. Simplify3D also includes a unique option called Coasting, which will automatically help lower the pressure in the nozzle when you approach the end of a segment, which can significantly reduce blobs and stringing with these materials. If you want more information about other options that can help reduce hairs and stringing on your prints, we have an entire section on our Print Quality Guide dedicated to that issue: How to Reduce Stringing and Oozing.
Optimize Your Travel Movements
Retractions can be particularly troublesome for flexible materials, so it is typically best to minimize the number of retractions required for your print.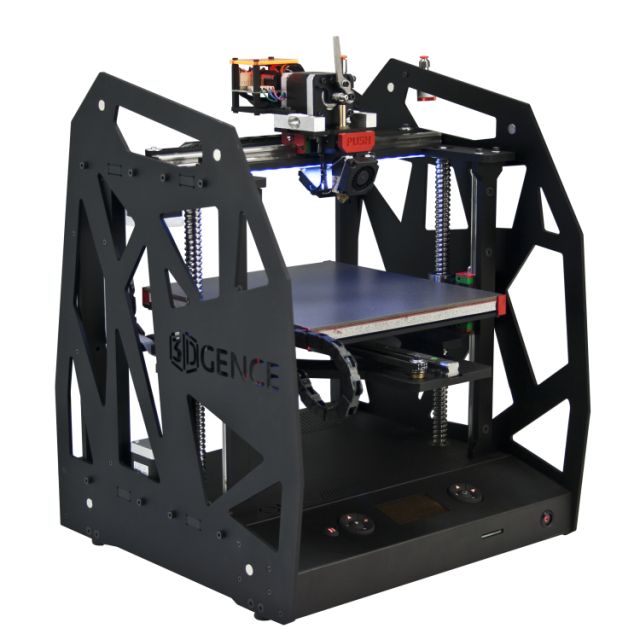 Simplify3D has a great feature that was built specifically for this situation. Instead of moving in a straight line from point A to B, the software will actually choose a completely new path when moving between these points, with the goal of staying within the interior of your object so that there won’t be any oozing or stringing. With this unique feature enabled, you can greatly reduce the amount of retractions required for your print and significantly improve your print quality. To use this feature, click on the Advanced tab of your process settings, and enable the “Avoid crossing outline for travel movement” option.
Pro-Tips
- Optimize the feed rate by printing at lower layer heights in the 0.1mm – 0.2mm range. The lower layer height requires less plastic, so it allows your extruder to use a lower feed-rate, relieving the burden on the filament.
- Try to avoid using rafts with flexible materials, as the base layers of the raft have higher extrusion rates which may create issues.
- If you are designing a flexible part that needs to fit on top of another object, try using a negative tolerance between the parts so that the flexible part will need to stretch to fit over the other object snugly.
Get Started with Flexible Filaments
Now that you’re ready to start printing with flexible materials, we have a few tips to help you get started. View some typical applications below, try out a few of our sample projects, or choose a popular filament brand to purchase for your next project.
Common Applications
- Vibration dampening
- Grip Sleeves
- Phone cases
Sample Projects
- RC Car Tire
- Phone case
- Bike Handle
Popular Brands
- NinjaTek Ninjaflex, Armadillo, Cheetah
- Polymaker PolyFlex
- eSun TPE
- Sainsmart Flexible TPU
Ultimate Materials Guide - Tips for 3D Printing with PETG
Overview
PETG is a Glycol Modified version of Polyethylene Terephthalate (PET), which is commonly used to manufacture water bottles. It is a semi-rigid material with good impact resistance, but it has a slightly softer surface which makes it prone to wear. The material also benefits from great thermal characteristics, allowing the plastic to cool efficiently with almost negligible warpage. There are several variations of this material in the market including PETG, PETE, and PETT. The tips in this article will apply to all of these PET-based filaments.
- Glossy and smooth surface finish
- Adheres well to the bed with negligible warping
- Mostly odorless while printing
- Poor bridging characteristics
- Can produce thin hairs on the surface from stringing
Hardware Requirements
Before 3D printing with PET / PETG make sure your 3D printer meets the hardware requirements listed below to ensure the best print quality.
Bed
Temperature: 75-90 °C
Heated Bed Recommended
Enclosure Not Required
Build Surface
Glue Stick
Painter’s tape
Extruder
Temperature: 230-250 °C
No special hot-end required
Cooling
Part Cooling Fan Required
Best Practices
These tips will help you reduce the chances of common 3D printing issues associated with PET / PETG such as stringing, oozing, and poor bed adhesion.
Invest In a Good Build Surface
Some 3D printers come with a glass bed or blue painter’s tape installed on the bed. Although these surfaces might work fine for PETG, we recommend using a heated build platform for best results. The heated bed can significantly improve the first layer adhesion, making things much easier for future prints. Many of these heated beds come with a glass surface, allowing you to print directly on the bed without needing to apply any additional layers of tape or glue.
Calibrate Retraction Settings to Reduce Stringing
One of the few common issues that we see with PETG is stringing. These strings are thin hairs, similar to a spider web, that run between the different surface of your 3D print. Preventing these strings requires precisely calibrated retraction settings, so make sure to adjust your retraction distance and speed for the best results. Simplify3D also includes several useful features that can further reduce stringing.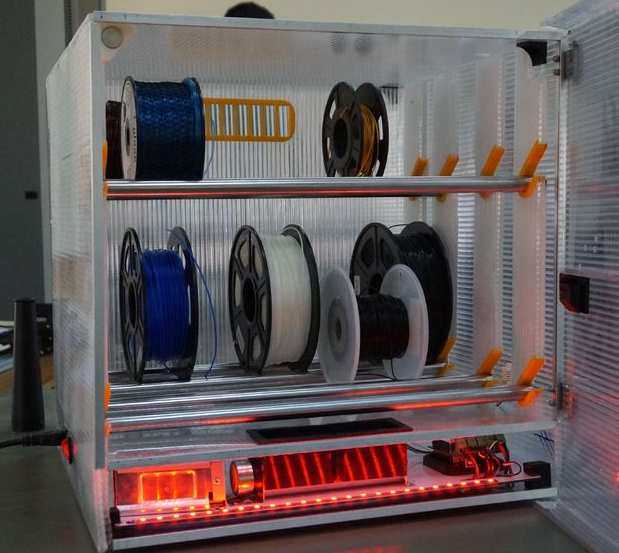 The first is called Coasting, which works by reducing the pressure in the nozzle right before the end of a segment. This way, when moving to the next segment, there is less pressure in the nozzle, so you are less likely to see stringing and oozing during that move. Another great option can be found on the Advanced tab of your Simplify3D process settings. By enabling the “avoid crossing outline for travel movements” option, the software will automatically adjust the travel movements of your print to stay on top of the interior of your model as much as possible. This means that the strings stay inside of your part where no one can see them, instead of being on the outside of your model. If you are looking for more tips to reduce stringing, we have an entire section dedicated to this issue on our Print Quality Guide: How to Reduce Stringing and Oozing.
Optimize Extruder Settings to Prevent Blobs and Zits
When 3D printing at higher temperatures associated with PETG, you may notice small blobs or zits on the surface of your model.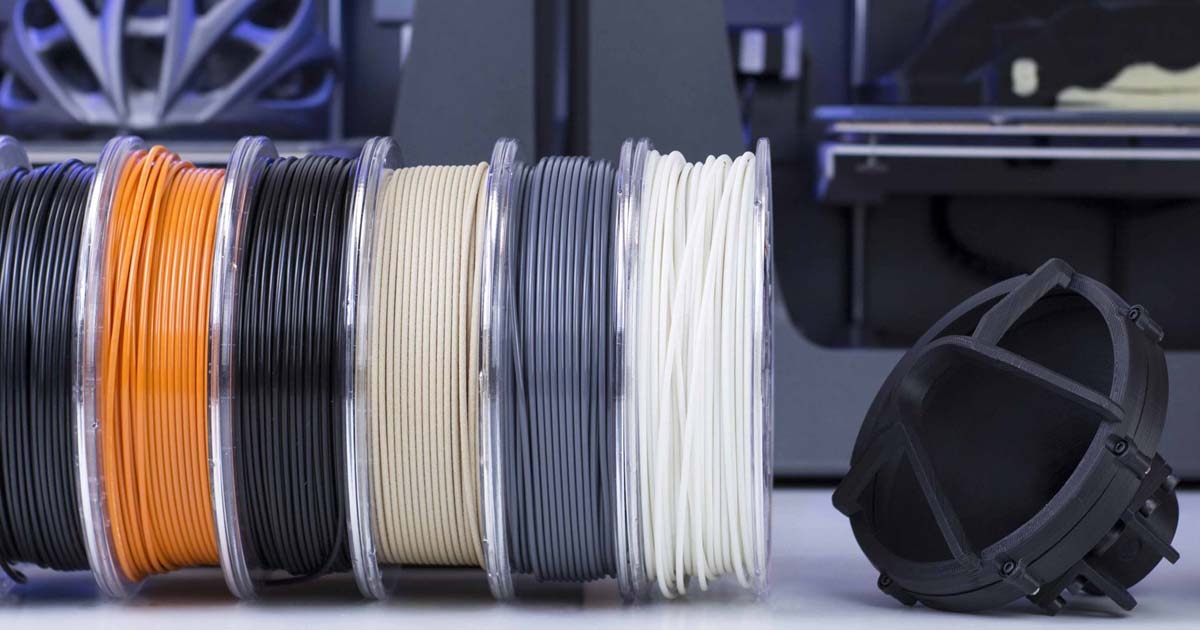 These print defects typically occur at the beginning or end of each segment, where the extruder has to suddenly start or stop extruding plastic. There are several ways to eliminate these print defects such as enabling “Extra Restart Distance” or “Coasting” options located in the Extruder tab. Simplify3D also includes an option to perform a dynamic retraction, where the filament is retracted while the extruder is still moving. This completely eliminates blobs that are typically formed from a stationary retraction. To learn more about these features and other tips for reducing blobs on the surface of your print, please refer to our Print Quality Guide.
Pro-Tips
- The glossy surface of PETG is especially useful when using rafts. The part separates easily from the raft and maintains a clean surface finish.
- Try disabling your part cooling fan for the first few layers of the print to prevent warping. This trick especially works well for larger prints.
Get Started with PET / PETG
Now that you are ready to start printing with PET / PETG, here are a few ideas to help you get started – from common applications to popular filament brands.
Common Applications
- Water proof applications
- Snap fit components
- Planter Pot
Sample Projects
- Self-watering Planter
- Water Bottle
- Snap Fit Parts
Popular Brands
- ColorFabb PETG
- eSun PETG
- E3D Spoolworks Edge
- Hatchbox PETG
- HobbyKing PETG
Free 3D File 3D Printer Filament Guide with Bearing・3D Printer Model Download・Cults
Freddy Krueger Glove (easy to print for Halloween)
Free
Mini Commodore PET with ESP8266 and SSD1306 Oled Screen
Free
USB-C connector for Mac book pro
Free
Walking man laser zoetrope
Free
Adjustable hose diameter adapter and connector
Free
Slim case for Oled screen SSD1306 (arduino / ESP)
Free
Adjustable peristaltic pump tube bracket for aquarium
Free
Ikea Lack table screwless glueless leg tie
Free
The best files for 3D printers in the Tools category
Print in Place Mini Vise
Free
COCOLOR - for TAMIYA and MR.
 HOBBY acrylic colors
 5,80 €
Lumix lens mount replacement 14-42
0,96 €
Masque contre le COVID 19
Free
Asian Hornet Trap
2 €
LED Architect's Lamp (ERI:)
1,30 €
Vernier - Pie de Rey - Rule
Free
Stamp roller for ceramics - complete set
5,90 €
Bestsellers in the Tools category
Quick print stackable parts containers / storage boxes
2.91 €
ENDER 3 S1/PRO SPRITE, V3 AIR DUCT 5015 OR 4020
€2.70 -twenty% 2. 16 €
16 €
Fire hydrant storage container
1.92 €
Cooling system Minimus Hotend
€2.38 -thirty% 1.67 €
Case for Chill Buddy lighter
0,95 €
PRECISE DIAL INDICATOR 3D PRINT DIY
1,90 €
Tool holder for 3D printer V3.0
1.06 €
PET-Machine, make your own plastic bottle filament at home!
15 €
Ender 3, 3 V2, 3 pro, 3 max, dual 40mm axial fan hot end duct/fang. CR-10, Micro Swiss direct drive and bowden compatible. No support required for printing
1.62 €
Bambu AMS Stand for placement raised 2nd block behind
1. 15 €
15 €
Bit holder Spartan 4 mm Hex
1,80 €
Cut-Man - PET bottle cutter with handle!
€3.49
Display holder FLSUN v400
€4.99
well designed: Hemera fan duct
2.50 €
Spartan pen holder
1,80 €
Paint stand with scissors
5,30 €
Do you want to support Cults?
Do you like Cults and want to help us continue our journey on our own ? Please note that we are a small team of 3 people, so supporting us in maintaining activities and creating future developments is very easy. Here are 4 solutions available to everyone:
-
AD: Disable your AdBlock banner blocker and click on our banner ads.
-
AFFILIATION: Shop online by following our affiliate links here Amazon.
-
DONATIONS: If you want, you can donate via PayPal here.
-
* INVITE FRIENDS: * Invite your friends, discover the platform and great 3D files shared by the community!
Instructions for starting a 3D printer -Manufacturers -News
Instructions for starting a 3D printer -Manufacturers -NewsMoscow, Dubninskaya st., 24, building 3
+7 (499) 391-38-03
Mon-Fri from 10:00 to 19:00
- All
-
Applications
-
Manufacturers
News
The possibilities of 3D printing are incredible. We would like to share the most inspiring user stories with you.
Instructions for starting the Felix Tec4 3D printer
Quick Start3D printer FelixTec 4 | |
1. Safety Safety | |
SecurityDo not allow children to use the printer without adult supervision. The printers are intended for professional use.Operation warningDo not lean on the printer.Be careful with long hair and loose clothing. Do not move the printer during operation.Check that there are no foreign objects or residues of the previous printing in the printable area. Do not remove objects from the plate while printing or while it is still warm. Be careful of any moving parts that move in the X, Y and Z directions. There is a pinch hazard at the end of each moving part.Network SecurityUse only power supplies and cables supplied by FELIX - printers. Always turn off and unplug the printer before performing maintenance or upgrading.The power supply complies with all CE regulations and has protection against short circuit, overload, over voltage and over temperature.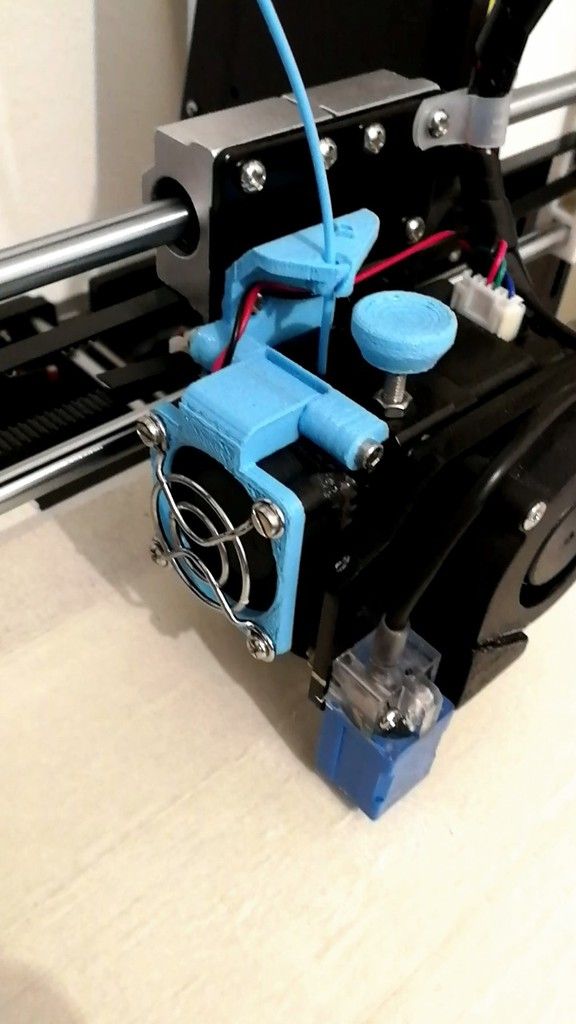 Printer locationPlace the FELIXprinter on a stable support or table. It should be placed so that small children do not have access to it. | VentilationGood ventilation during printing is recommended, although printing with PLA is considered safe. When printing ABS, small concentrations of Styrene fumes may be released. This can (in some cases) cause headaches, fatigue, dizziness, confusion, drowsiness, malaise, difficulty concentrating, and feeling drunk.We recommend using the filament types shown on the felixprinters.com website. Examples of PLA, PETG, ABS, PVA etc. Other types may be toxic. Please follow the instructions from the filament supplier.Care with heating elementsThere is a potential risk of injury as the print head can reach up to 275°C and the heated bed up to 100°C. Do not place objects that cannot be printed on the heated bed, even if the printer is turned off. Do not touch the heating elements while the printer is in operation and until they have cooled down. Do not touch the heating elements while the printer is in operation and until they have cooled down. Do not leave the printer unattended for long periods of time. |
Datasheet | |
| | |
Schematic of 3D printer | |
| Accessory installation | |
| Place the back of the flex plate on the edge of the table. Lower the front of the flex plate and make sure all edges are inside the table platform. Fit the thread guides and material spool holders into the aluminum profile as shown. First you need to mark the part of the fastener in the T-slot, then turn it a little until the fastener wraps around the aluminum profile. | |
3D printing table leveling | |
Go to the main menu by pressing the button and select the "Control" section. | |
| Select "Level Build Platform" by turning the button, confirm the selection by pressing the button | |
| Next, the 3D printer will start measuring the angle of the platform (table), this may take a few seconds, wait until the measurement is completed, and you will see the measurement results on the printer display | |
| Shows the values for the necessary adjustment of the table with the adjustment screws. These values will be used to level the platform (table) with the two large screws. | |
| Turn the front screw 90° to the left (counterclockwise) and the rear screw 45° to the right (clockwise). Now select "Measure Again" | |
| If the screws are adjusted correctly, the process will end automatically and you will see "OK" on the screen. Otherwise, the measurements must be repeated. | |
3d printer surface sensor calibration | |
| 1. 2. Next, rotate to find the item "Calibrate Z-Probe" and press the button 3.Place the calibration card between the nozzle and stage flex plate. Click the button to continue. | 4. If you turn the button to the left (counterclockwise), the distance between the table and the extruder will decrease, to the right (clockwise) it will increase. The calibration card should be lightly pressed between the nozzle and the table, then press the button to continue. 5. "OK" means everything went well, this setting affects the distance between the nozzle and the table at the first printing layer, and is the most important! |
Felix Tec4 3D Printer Replacement and Threading | |
1. Take the Teflon guide tubes and insert them into the holes on the printer print head and guide. The Teflon tube is used as a filament guide. With a Felix 3D printer, you can use any 3D printable plastic, but you will achieve the best quality with plastic from Felixprinters. With a Felix 3D printer, you can use any 3D printable plastic, but you will achieve the best quality with plastic from Felixprinters. | |
| 2. Place the media spools on the holders at the end of the printer | |
| 3. Take the free end of the filament on the reel, check that it does not break (bend the material at a distance of 2-3 cm from its end, if the material breaks it means that it has absorbed moisture and may get stuck when fed into the extruder). Cut off a little (2-5cm) of excess thread with scissors. The thread to be threaded must be without fractures and with a neat butt. | |
| 4. Repeat steps 1-3 for the second spool. | |
| 5. Push the thread through the guides and the Teflon tube, leaving the thread 5-7 cm out of the tube. | |
| 6. Go to the main menu by pressing the button and select the "Control" section | |
7. Select "Change Filament" from the opened menu Select "Change Filament" from the opened menu | |
| 8. Select the desired extruder to load the filament. If you have a printer with one extruder, you just need to select "Extruder 1" | |
| 9. Select the type of plastic you want to replace or insert. | |
| 10. By turning the button you can both pull out the material from the extruder and refill it. With a smooth rotation of the button, it is necessary to draw the thread through the entire extruder until the thread starts to come out of the nozzle, as in the figure, the thread that has come out of the nozzle must be removed with tweezers (CAUTION: the nozzle heats up to high temperatures, do not touch it during the plastic replacement procedure with your hands). If necessary, you can slightly push the thread from above. | |
Please note that for high-quality printing, there should be no filament residues on the nozzle, and the table must be clean, so it should be cleaned before printing. | |
Printing with an SD memory card | |
| 1. Save the gcode print program and insert the memory card into the slot near the printer's power connector | |
| 2. Enter the main menu and press "Print" | |
| 3. Select a file to print and click the button. After that, printing on the 3D printer will start, the extruders and the table will warm up according to the settings, the platform and the distance to it will be measured at several points, after which the printer will print a preliminary strip from the front side of the platform and start printing the object itself. | |
| 4. Do not leave the printer unattended until at least two or three layers have been printed, be careful about the first layer, it must be in contact with the table surface, otherwise the print will be damaged. | |
5. If you need to stop printing or pause, press the button and in the menu that appears, you can stop printing "Cancel print", pause printing "Pause", change material and adjust the Z-axis printing. | |
 Go to the main menu by pressing the button and select the "Control" section.