3D printing invisalign
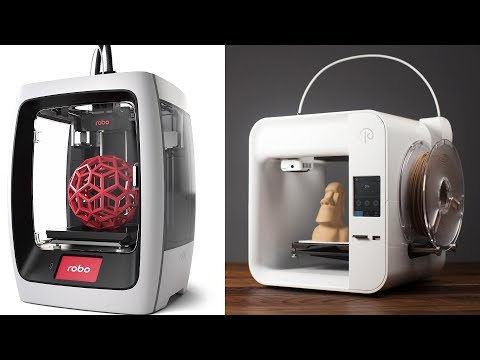
3D Printed Clear Aligners - Bellevue Orthodontics & Smile Design
We are proud to have been early-adopters of the orthodontic digital revolution. 3D printed clear aligners are a recent development in orthodontic care which has opened the door for discreet orthodontic treatment for esthetically-minded patients.
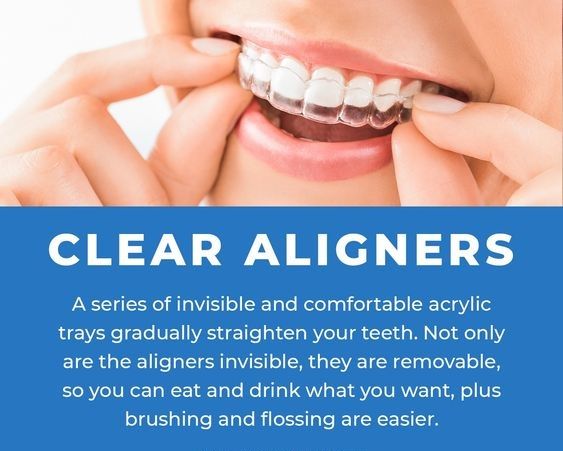
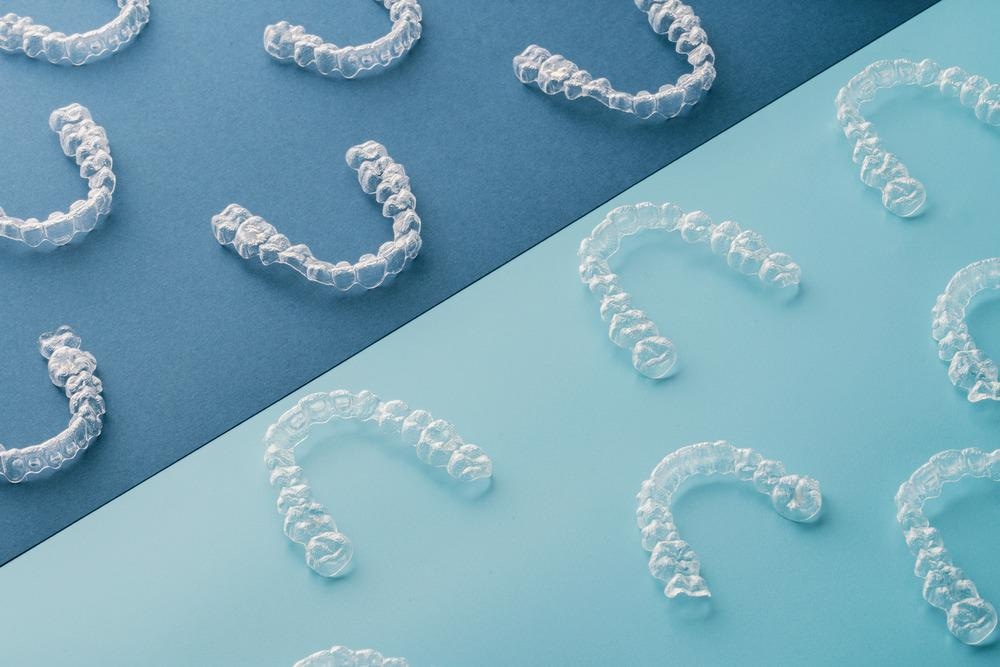
3D printed clear aligners are commonly known under the brand name “Invisalign.” Printed clear aligners are clear, thin, comfortable, and safe plastic aligners that fit over your teeth. Using your 3D printed molds, the orthodontist uses digital modeling to digitally align your teeth in a sequential order. A series of aligners is then made, with each aligner moving your teeth ever so slightly per aligner. By the end of the clear aligner series, your teeth will be aligned and your bite will have improved.
When made in the orthodontic office, clear aligners depend on a 4-step fabrication process:
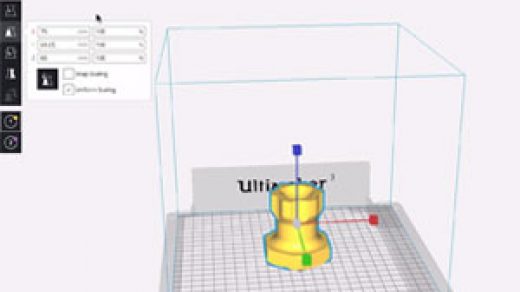
- Digital Scanning
- Digital treatment planning
- 3D printing
- Clear aligner fabrication
Digital Scanners
If you are an adult who had braces as a child, you may remember having “goopy” molds taken. These molds were called alginate impressions and chances are, they were not the most enjoyable part of your orthodontic experience.
In a nutshell, 3D digital scanners do exactly what molds did, but without the “goop,” bad taste, gagging, mess, and the anxiety many patients experience with molds. In fact, scanners do everything better than “goopy” molds:
- 3D Scans are more accurate and less prone to errors
- We can 3D print molds over and over again without having to rescan your teeth
- No gagging
- Not anxiety provoking
- Not messy or bad tasting
3D digital scans offer a more accurate impression of your teeth and an overall more pleasant experience.
Digital Treatment Planning
Once our team has taken digital molds of your teeth, our orthodontists can begin planning your treatment digitally. The 3D molds allow for each tooth to be manipulated in all three planes of space. This in-house process allows us to control every variable involved in your care to ensure that treatment is simultaneously predictable, efficient, and evidence-based. Through this process, we are able to achieve straight teeth as well as a functional and stable bite.
3D Printers
3D printers are the third piece to the orthodontic puzzle. A scanner will create 3D digital models of your teeth. 3D printers turn digital molds into solid molds made of a resin material.
3D printers and printed models have many advantages and play a significant role in your orthodontic care:
Printed molds can be used to make retainers on the same day you get your braces off. It used to be that patients would have to come back several days later to pick up their retainers. With 3D printing, we can now make your retainers on the same day, check its fit in your mouth, and send you on your way!
Printed molds are more accurate than goopy molds. This means that your retainers or clear aligners will have a better and more reliable fit to your teeth. They will be perfectly customized to your mouth, down to a few hundred micrometers.
Printed molds allow for faster turnaround. If you lose your retainers or clear aligners mid-treatment, we can print your molds and give them to you on the same day. This is not the case when working with an outsourced company like Invisalign. An outside company like Invisalign requires that our office send your digital models so that the aligners can be made and sent back to the office. This can take weeks at times and delay your treatment
Printed molds allow us to make our own clear aligners. By controlling every step of the process, you don’t have to wait weeks to get your clear aligners. It also means we know everything about the materials used in our aligners and retainers. This increases overall safety and offers peace of mind.
Printed molds reduce your overall retainer cost. Because printers have made it so convenient to make retainers, we have instituted a lifetime retainer policy*. This makes it considerably cheaper for you to get your retainers replaced in the event of wear and breakage. We’re happy to provide more information on this policy during your free initial examination.
3D Printed Clear Aligners
Once your teeth have been scanned, digitally treatment planned, and a resin mold has been printed, we are now ready to make your clear aligners.
Your clear aligners are made of state-of-the-art transparent plastic material which is heated and molded onto your sequential printed tooth models. Our team produces these plastic aligners right here in the office and refine them so that they are comfortable and deliver a perfect fit.
How 3D printing has changed dentistry, a billion dollar opportunity
0Shares
Align Technology Inc., the company behind the Invisalign range of clear-aligner orthodontics, are on track for $1.5 billion in sales this year, according to a new article published by Forbes.
Align has already earned $660 million in the first two quarters of the year, the majority of which comes from clear aligners, and rest from their iTero 3D Scanning system. Align has made a significant impact by combining 3D printing with dentistry.
The customised orthodontics are produced within Align’s vast factory of 3D printers, estimated by Forbes to number between 50 and 60. The machines produce 8 million orthodontics per year, a number which has grown steadily following the improvement of Invisalign technology, and the aesthetic and convenience advantages they offer over conventional braces.
The Invisalign process
Dentists scan the oral cavity with a scanner instead of impressions using either a 3M TruDef or an iTero system. The intra oral digital scans are then converted into digital files. From this, shape engineered aligner molds are 3D printed and then manufactured using techniques including thermo-forming and milling, allowing the teeth to adjust and be guided into place.
The Invisalign orthodontics are using a process including bio-compatible polyurethane resin and using 3D Systems’ Stereolithography (SLA) 3D printers.![]() Invisalign products have been approved by the US Food and Drug Agency since 1998.
Invisalign products have been approved by the US Food and Drug Agency since 1998.
Increasing competition in the digital dentistry sector
NextDent, whose parent company Vertex-Global Holding B.V. was bought by 3D Systems in January, are one rival to the Invisalign brand with their Ortho Clear range.
NextDent also provide 3D printed dental trays for making impressions, and personalised 3D-printed gingiva masks for gums. The company demonstrated a 3D-printed MFH crown in 2016.
More recently Swiss dental supplier Straumann branched out into orthodontics in June 2017, when they acquired a 35% stake in German 3D printer company Rapid Shape.
3D printing in dentistry is not limited to orthodontics. Italian company DWS 3D printed restorations provide an alternative to subtractive processes such as milling.
The DWS DFAB 3D printer, was previewed in February at Chicago Dental Society’s Midwinter Meeting and can produce crowns, implants and bridges with personalised shading in 20 minutes.
Maintaining the 3D impact on dentistry
While Invisalign’s profits are impressive, market penetration remains relatively low with only 9% of all potential customers reached. The company’s next step will be to expand their Invisalign range to a wider customer base.
Undoubtedly with the multi-billion dollar opportunity presented by digital dentistry others will also be seeking their share.
For more news on medical and dental 3D printing developments, subscribe to our 3D Printing Industry newsletter, like our Facebook page and follow us on Twitter.
Featured image shows a Wisdom Tooth glass paperweight by Frost Glass.
Tags 3DSystems 3M TruDef align align technology inc invisalign iTero NextDent Rapid Shape SLA Straumann
Rushabh Haria
Rushabh Haria is a writer at 3D Printing Industry. Hailing from South London, he has a degree in Classics. His interests include 3D printing in art, manufacturing design, and education.
Innovations in Dentistry - Using 3D Printing in Aligners
The first attempts to use 3D printing in dentistry were made a long time ago, back in the late 1990s. Now high-tech 3D printers successfully solve many problems in dentistry, for example, they print aligners (transparent caps) for orthodontic treatment.
The first attempts to use 3D printing in dentistry were made quite a long time ago, back in the late 1990s. Now high-tech 3D printers successfully solve many problems in dentistry, for example, they print aligners (transparent caps) for orthodontic treatment.
How are aligners printed with a 3D printer?
- At the first visit, the orthodontist takes all the necessary pictures, including an orthopantomogram and X-ray of the head in a lateral projection, and takes casts of the patient's dentition. All information is sent to the laboratory, where the aligners will be made using 3D printing.

- A special computer program creates a virtual model of tooth movement at all stages of orthodontic treatment until the desired result is obtained.
- An orthodontist prepares a treatment plan, after which a set of files is ready for subsequent printing on a 3D printer.
- First, molded models are printed on a 3D printer. And then the aligners are created by molding the printed models with a special material.
- Sets of ready-made aligners are sent to the orthodontist, who gives them to the patient at a scheduled visit.
What are the benefits of 3D printed aligners?
- The use of 3D printing has reduced the cost of aligners and made this treatment more accessible to patients.
- 3D printing guarantees high accuracy – the percentage of errors is reduced to a minimum, therefore, the effectiveness of this type of orthodontic treatment has become even higher.
- Modern 3D printers can now print aligners in less than an hour.
 These are truly impressive results compared to traditional aligner manufacturing methods.
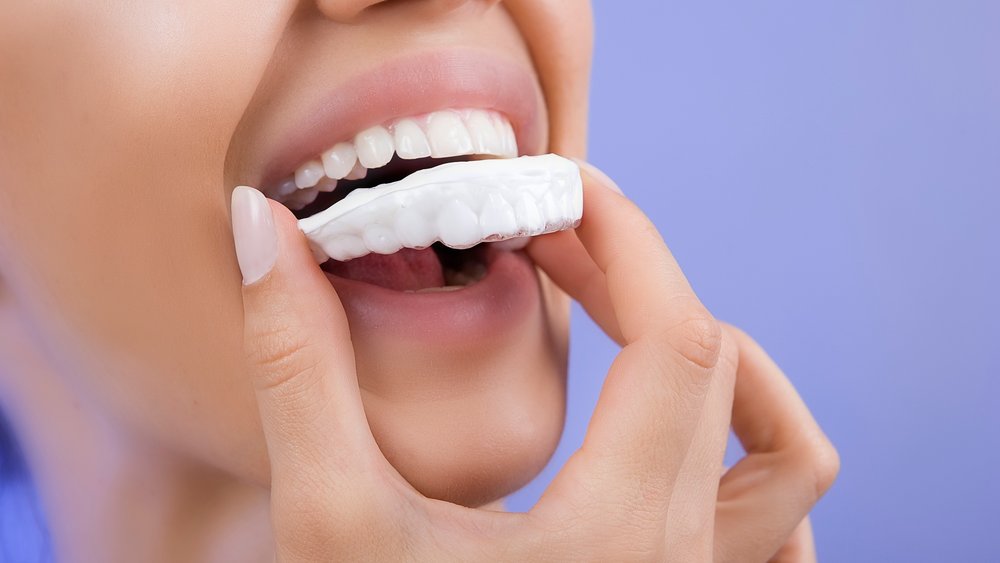
Recall that orthodontic treatment with aligners for adults has become a modern breakthrough method of orthodontic treatment. When correcting the bite on the aligners, the patient receives maximum aesthetics, since transparent caps are completely invisible on the teeth, and at the same time high efficiency. The period of orthodontic treatment on aligners averages from 1.5 to 2, which is comparable to the average period of treatment with braces.
The use of 3D printing in the manufacture of aligners has allowed us to combine high quality products with lower costs and bring the demand for aligners in patients to a whole new level.
Back to article list- Oral hygiene
- Diagnostics
- Treatment under anesthesia
- Orthodontics
- Recommendations
- Therapy
- Implantation
- Surgery
- Whitening
- Orthopedics
Other related articles
Adult bite correction
According to statistics, 8 people out of 10 have malocclusion.![]() It is believed that it is best to correct defects of this kind in childhood. But what about adults who also want to shine with a Hollywood smile?
It is believed that it is best to correct defects of this kind in childhood. But what about adults who also want to shine with a Hollywood smile?
December 11, 2019
A bit about aligners
If you have long dreamed of straight teeth, but were embarrassed to wear braces, there is a way out - aligners, which are not in vain called the most aesthetic method for straightening teeth. Aligners are transparent caps that are made individually for each patient and completely repeat the shape of the teeth.
January 27, 2020
Braces during pregnancy
There are no contraindications for the installation of braces during pregnancy, and even more so, they do not need to be removed if you find out that you are pregnant during the process of orthodontic treatment. In the article, we want to tell you that pregnant women may face a number of difficulties that it is better to know about in advance.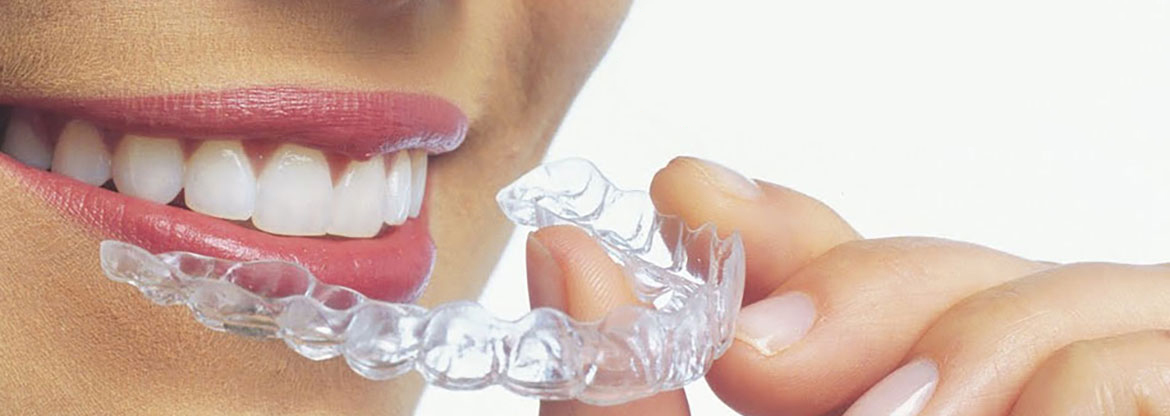
February 10, 2020
Why it is important to have a correct bite
Statistics show that more than 80% of the population of developed countries have malocclusion. Sometimes this is only a cosmetic defect or minor deviations, but there may be serious pathologies that provoke the appearance of headaches and many other problems.
February 19, 2020
Differences between aligners and braces
We continue our series of interviews with CrocoDent clinic dentists, in which our doctors will answer a number of the most common questions. Today our dentist-orthodontist Victoria Sergeevna Kulikova talks about the main differences between aligners and braces.
March 12, 2020
Features of aligner orthodontic treatment
Today, in an interview with an orthodontist at the CrocoDent dental clinic, Kulikova Victoria Sergeevna will tell you how orthodontic treatment is carried out on aligners.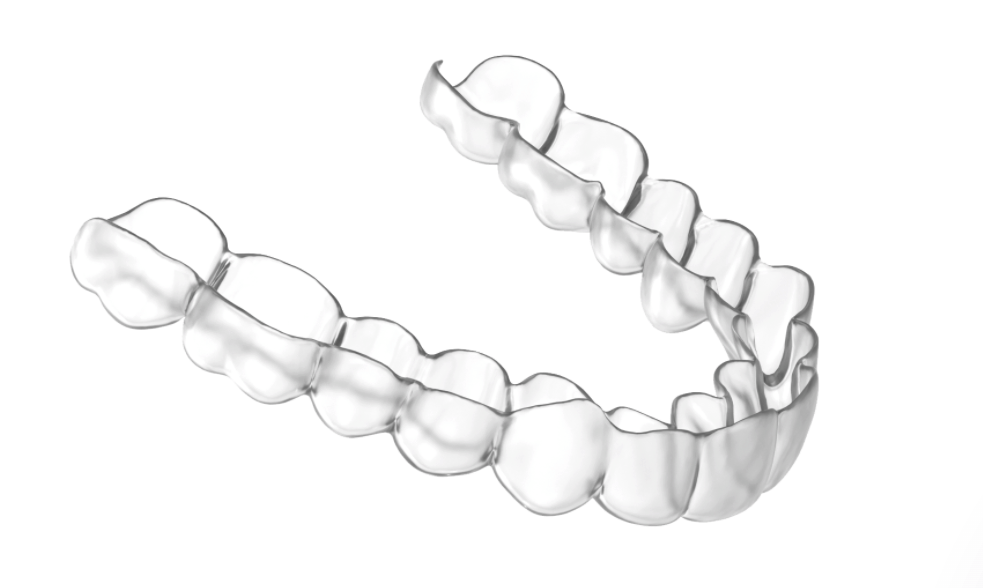
March 12, 2020
Invisalign aligners - a clear path to a beautiful smile
Invisible bite correction - no braces. Aligners Invisalign (Invisalign) - a modern method of alignment of teeth and a transparent way to a beautiful smile.
March 24, 2020
Teeth alignment
Based on the condition of the jaws, existing problems, as well as taking into account the patient's
age and wishes, the dentist recommends a suitable
orthodontic treatment method.
March 31, 2020
Sign up for a consultation at CrocoDent
Enter your phone number, we will call you back and find a convenient appointment time for you
By clicking the "Call me back" button, you consent to the processing of your data
Or call us:
8 495 532 63 83
Production of aligners on Formlabs Form2 :: 3DHub.
 by
by
Production of transparent aligners (Aligners) and retainers (Retainers) using 3D printed models on a Form 2 3d printer
Creating transparent aligners is an expensive service that does not require small initial investments in both practice experience and laboratory equipment. Treatment planning for these devices is done using CAD software, then each treatment sub-stage is made by 3D printing a model and molding from those models.
The complete process using the Form 2 3D printer, from start to finish.
1. Scan
Orthodontic CAD software requires a digital file to create a clear aligner. Scanning occurs either directly using an intraoral scanner or indirectly using a desktop optical scanner. If you are not working inside a closed cad system, export the scan as an STL file.
2. Design
After the digital image has been acquired, import the scan files into the orthodontic CAD software and create the movement of the teeth to achieve the desired clinical result. Be sure to select an orthodontic CAD software that offers open STL file export to ensure compatibility with Formlabs PreForm software.
The exact procedures for treatment planning and design vary by software package, but generally follow the workflow described below. Detailed guidance on treatment planning and design can be obtained from the software manufacturer.
2.1 Import
Import scanned data into the software.
2.2. Build a Model Base
Depending on the quality of the data, the scan may need to be trimmed slightly below the gingival margin. This can help minimize model size and print time.
Then create a horseshoe base for the model. Since aligners are usually cut towards the gingival margin of the patient's tooth, it is recommended to stretch the base below the lowest point on the gingival margin by approximately 2 mm. Keeping base height close to a minimum will help reduce print time and media usage. Formlabs recommends leaving the base 2 mm below the minimum gingival margin. If a higher base is preferred, avoid extending the base to more than 8-10 mm from the gingival margin to keep the overall height of the model below 19mm. This ensures that the larger model size does not stretch the thermoform material to the point where it becomes too thin.
2.3 Orthodontic treatment design
To design an orthodontic treatment, first cut the teeth in the software by separating the individual teeth from the complete model. Then move each tooth to its final position. Divide the treatment plan into separate models, with each step moving the patient's teeth in small steps. The number of aligners generated depends on the complexity of the case.
Which manufacturer to use is up to you... there are many StarSmile programs on the market, InvisalignInvisalignInvisalign
2.4 Modeling (optional)
For each model from the treatment plan, you can improve:
- Improving printability
- Easier removal
- Add special features such as identification tags.
 These steps are optional and depend on your workflow and desired print orientation.
2.4.1 Chamfered Model Base
Chamfering the model base makes it easier to remove parts. This can easily be done at the back of the model with the flat cut tool.
A chamfer angle of 30-45° with a chamfer height of 2-3mm is recommended so that the parting tool can be easily inserted.
2.4.2 Model identification tags
Typical identification information on printed models can be very useful for producing a large number of machines. The treatment step number, ID number and/or patient name may be embossed somewhere below the gingival margin, except at the base of the model. For optimal printability, place the embossed information on the vertical wall of the expanded base.
Hollow vs. solid models:
Model placement can improve print time and reduce unit cost, although this feature is only available in some orthodontic CAD software. If you remove a part, make sure that the wall thickness is at least 2-3mm. Formlabs recommends printing solid models to reduce post-processing complexity
2.5 Export Models
Export models for each processing step in STL or OBJ format.
3. Printing
3.1 Importing model files into PreForm
Open PreForm and import the generated STL or OBJ files.
3.2 Setting Printing Options
From the Printing Preferences menu in PreForm, select the printer to be used based on its name, a unique combination of two words. Choose Model or Gray from the Material menu and 0.1mm for the layer thickness.
Accuracy analysis in printed orthodontic models showed that 0.05 mm print layer thickness yielded only minor differences in accuracy while doubling the print time. Printing orthodontic models with a thickness of 0.1 mm greatly reduces print time while maintaining clinically acceptable accuracy.
Note. Formlabs recommends printing horizontal models for maximum accuracy, but many Formlabs users also have success printing orthodontic models vertically.
Models must have a flat surface when printing parts directly on the build platform.
The cutting tool on the right side can be used to double check the correct orientation of models on the platform.
To orient the part base directly to the platforms, select the model base in Orientation > Select face.
3.3b. Estimated parts to print with supports
Printing with supports makes it easier and easier to remove parts, but
requires additional print time for supports.
3.3b.1 Orient the models
Orient the model with the occlusion up.
It is recommended to orient models at an angle of 15° or higher. The bottom corners improve the quality of the 3D print. Higher angles allow you to print higher density models in the same build.
3.3b.2 Creating Supports
Create supports using the automatic PreForm generation function, then check the model to make sure there are no supports touching the surfaces of the teeth or gums.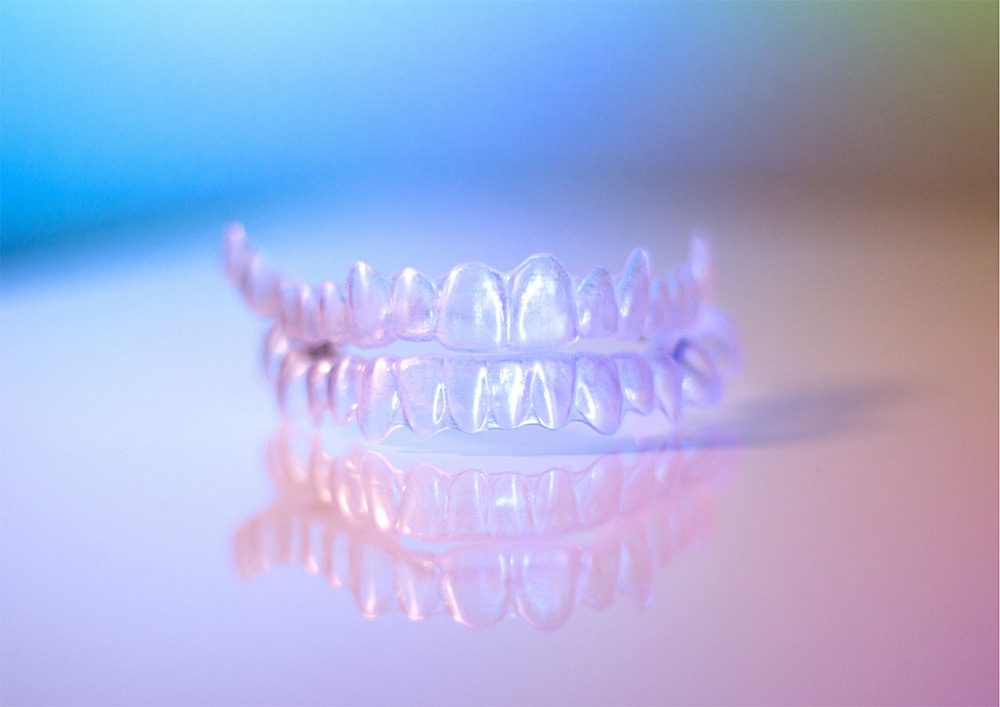 A dot size of 0.7 mm is recommended.
Remove any wandering supports in Support > Edit or orient the model with a less steep angle.
3.4 Prepare the Printer and Resin
Shake the resin cartridge thoroughly by shaking and rotating it several times. Insert the cartridge into the dental model 3D printer, or insert the gray resin cartridge and build platforms into the printer.
3.5 Printing
Click the orange Print button in PreForm, then download the job to the printer. Once
print, press the button on the printer to start printing.
4. Preparation
4.1 Parts Wash
Place the print bed with models still attached in Form Wash filled with 90% isopropyl alcohol (IPA) or higher. Alternatively, remove the models from the prefabricated plate and place them in a washing basket. Set Form Wash for 10 minutes to clean parts and remove excess resin from models.
Warning! Hollow models printed directly on the print bed will contain liquid resin in the hollow areas underneath the model. Hollow models must be removed from the build deck prior to rinsing.
When using Finlabs standard kit, Formlabs recommends using Form Wash for optimal resin removal and surface finish. When using the Finish Kit, first remove the models from the print platform using the detail removal tool.
Rinse models in two baths of isopropyl alcohol (IPA), 96% or higher for an initial bath for 10 minutes and a second bath for 5 minutes.
4.2 Remove parts
Then remove the parts from the print platform. For beveled models, insert the supplied spatula into the bevel, then carefully turn the blade from side to side.
4.3 Air or dry
Use a compressor to remove IPA from surfaces. Inspect the parts to ensure that all uncured resin has been removed. Repeat flush if necessary. If compressed air sources are not available, simply leave the parts before air drying.
4.4 Remove the supports if necessary
Use the cutters included with the Formlabs Finish Kit to carefully cut off the supports where they attach to the part. Be careful when cutting the supports as the material can be brittle. Supports can also be removed using other specialized tools such as cutting discs or round cutting tools such as carbide burs.
4.5 After curing models
Expose dental models for lighting and heating for optimal mechanical properties, precision and accuracy. If using Form Cure, place prints inside Form Cure and after curing for 30 minutes at 60°C.
5. Thermoforming
At this point, the workflow is identical to the traditional one for creating mouth guards and retainers. Use a dental thermoformer to form a clear aligner using the recommended settings for the thermoformer and material used. The material and equipment you need for the production of aligners can be found in our hub.
Warning! Depending on the aligner material used, if the model base is too high, the resulting aligner walls will be too thin. Make sure the models you create are short enough for the recommendations provided by the manufacturer.