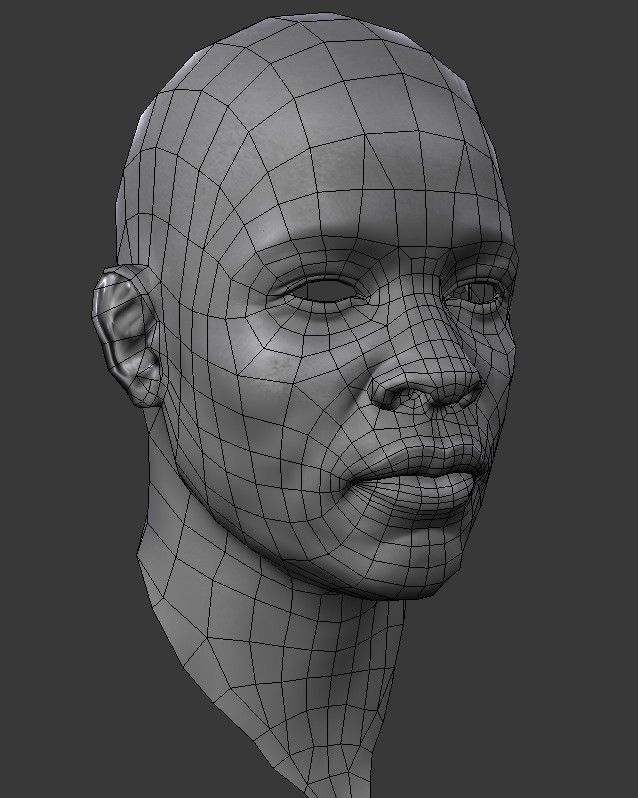
3D printer face model
How to Make a 3D Printed Selfie With Your Phone
(Image credit: Tom's Hardware)If you’ve ever been interested in 3D scanning, you might be surprised to find out that you may already have a 3D scanner in your pocket. Using the front-facing TrueDepth camera on the iPhone X and newer (sadly, Android is not supported), you can create a 3D scan of your face, export it as a 3D model, and create a copy using a 3D printer. In this article, we’ll go over the process of how to create a 3D selfie using your phone and how to 3D print it. No 3D sculpting experience is required, as the app we’ll be using creates a fully printable model with no modifications required.
We’ll be using the iPhone app FaceApp by Bellus3D for this article. The app is free to download and use, and you can create unlimited scans with it for free. The app costs $0.99 to export a 3D model for printing, but you can take as many scans as you want before printing to get the hang of the scanning process.
What You’ll Need
- 3D Printer: In this article, we’ll be using the Anycubic Vyper FDM 3D printer, one of the best 3D printers you can buy in 2021.
- Filament: For quickly printing models on the Vyper, PLA is a great material choice. We’ll be using Begonova brand PLA for this article.
- Slicer App: Ultimaker Cura is the slicer app we’ll be using with the Anycubic Vyper, but your slicer may be different depending on your printer. Most of the steps are similar for all slicers, so you should be able to follow along regardless of what you’re using.
- iPhone: Most 3D scanning apps require a LiDAR sensor (like the front-facing TrueDepth camera on the iPhone X and later), so you’ll want to check to make sure this is a feature you have on your phone. We’ll be using an iPhone 11 Pro in this article, but the app we’re using is compatible with iPhone X and later.
- Bellus3D FaceApp: There are many 3D scanning apps you can use to make a 3D model of your face, and most use a similar process.
 We’re going to use the Bellus3D FaceApp for iOS which gives fast and easy results.
 - SD Card: The Anycubic Vyper requires an SD card to transfer sliced files from your computer to your printer, so you’ll want to make sure you have one on hand. If your printer has Wi-Fi, however, you can also transfer your STL file that way.
Getting Started
(Image credit: bellus3d.com)Before we get started, you’ll need to download the FaceApp scanning app on your iPhone, as well as the slicer app for your 3D printer.
1. Download the FaceApp scanning app from the iOS App Store . This is a free app to download and use, so you can experiment with the software without buying any scans or subscriptions.
2. Download the slicer software for your 3D printer. We’ll be using Ultimaker Cura, a free app, with the Anycubic Vyper but other slicer apps for FDM 3D printers such as PrusaSlicer, Simplify3D, FlashPrint and others will have similar workflows.
Part 1: Create a 3D Selfie Using Bellus3D FaceApp
(Image credit: Bellus3D)The first part of this project is going to be creating a 3D model of your head to 3D print. The model we create needs to be 3D printable, so we’re going to make a full model of your head and ensure that it is in a file format that your 3D printing software can use after exporting it. By the end of this step, you should have a 3D model that’s ready to use.
1. Open Bellus3D FaceApp on your iPhone and take note of the different scan options. FaceApp offers three separate modes for scanning: Face, Face + Neck, and Full Head.
2. Select the Full Head option to create a 3D model that can be printed.
(Image credit: Bellus3D)3. Follow the prompts from FaceApp and rotate your head to the sides, up, and down to allow the app to fully capture your face. FaceApp will take this scan data and automatically generate a mesh of your face while extending the side edges to create the back of your head.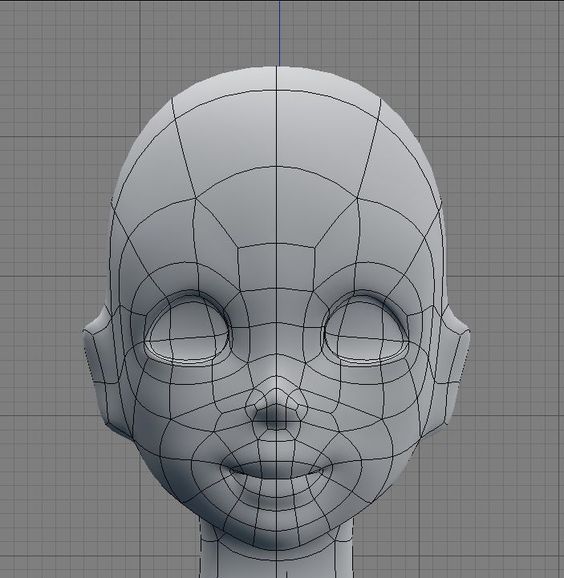
Image 1 of 3
(Image credit: Tom's Hardware)(Image credit: Tom's Hardware)(Image credit: Tom's Hardware)4. Select ‘Light’ then ‘Surface’ once the scan has finished to see the mesh of your 3D scan. The mesh is the actual geometry of the model without the colored texture wrapped around it. This is what we’ll be 3D printing, so we want to make sure it looks satisfactory before continuing. If you’re not happy with the mesh, you can redo the scan until you have one you’re satisfied with.
(Image credit: Tom's Hardware)5. Unlock the model for 3D printing by selecting ‘Unlock’. Once unlocked, the scan can be shared as a 3D model or just a link to see the scan in 3D.
(Image credit: Tom's Hardware)6. Toggle the Watertight setting to create a solid 3D mesh. This will create a solid base for your model, which allows it to be 3D printed.
7. Select HD for mesh resolution to create a high resolution mesh. This will have more detail at the expense of a slightly higher file size, but it will result in a sharper 3D model.
8. Select export STL file to export a 3D printable file. Once exported, this file can be loaded into your slicer app to prepare for 3D printing.
Part 2: Preparing the 3D Scan for 3D Printing
In this step, we’ll be creating a 3D printable file from our 3D scan. If this is your first time printing a 3D model, you can learn more about the process in our guide to making your first 3D print from an .STL. Once exported from FaceApp, the 3D scan is ready to be sent to your slicer app to prepare it for 3D printing. The model itself will export from the app as watertight (not requiring any holes to be filled), so no additional sculpting is required.
(Image credit: Ultimaker)1. Import the 3D Scan .STL file by dragging it into the Cura workspace. Notice that the model imports at full size (the size of your actual head), so we’ll need to resize and angle it before printing.
2. Scale the model so it fits entirely inside the build volume of the 3D printer. We scaled this model down to 35% for this article, but you can make it bigger or smaller.
3. Rotate the model to reduce the amount of support material generated. By rotating the model on the Y axis so it’s facing upwards, the amount of support material generated underneath the eyes and nose is minimized. Rotating about 45 degrees should give the best results without making the model unnecessarily difficult to print.
(Image credit: Ultimaker)4. Slice the model to preview the full toolpath before printing. You’ll want to make sure you have selected ‘Supports’ to generate support material before printing. You can see the difference in amount of support material generated between the original model and the rotated model, which results in a faster, cleaner print.
Image 1 of 2
(Image credit: Ultimaker)(Image credit: Ultimaker)5. Examine the toolpath to check for any issues before printing. This model was sliced using the default slicer app settings included with the Anycubic Vyper, with only some minor changes made to speed up the print.
6. Save and export the model to the SD card once it has been sliced and prepared for printing. Once this step is complete, your 3D scan is fully prepared for 3D printing.
Part 3: Printing the 3D Selfie
Once the model has been sliced and is ready for export, it’s time to transfer the file to the printer and begin the printing process. In this step, we’ll go over what’s required to load the model in the printer and start the print. These steps are specific to the Anycubic Vyper 3D printer, but most FDM 3D printers will be prepared in a similar fashion.
1. Load the PLA filament into the printer and make sure the bed has been properly calibrated. Properly calibrating the bed of the printer is a critical step of the 3D printing process, and you can read about the process in more detail in our guide to printing your first model.
2. Insert the SD card into the printer and select the exported model to begin the printing process. At 35% of life size, this print took five hours and 26 minutes to complete.
(Image credit: Tom's Hardware)3. Remove the model from the bed once the print has completed. On the Anycubic Vyper, this is easily accomplished by flexing the textured platform and allowing the part to easily detach.
(Image credit: Tom's Hardware)Part 4: Removing Support Material and Final Steps
In the final step of this article, we’ll remove the support material from this print and prepare it for display.
1. Remove the support material from the model while being careful not to damage the surface of the model or your hands. The support material should detach from the surface of the model without leaving any marks or defects.
Image 1 of 2
(Image credit: Tom's Hardware)(Image credit: Tom's Hardware)2. Check the model for any defects or areas that didn’t print correctly. At this point, your 3D selfie is complete and ready for display.
Once the part is finished, you will have successfully created a 3D selfie of yourself using a 3D scanner app and a 3D printer. You can take this idea even further by using this 3D selfie as part of a chess piece, creating a custom bobble-head for your friends, or making a family portrait by scanning your family and printing their 3D selfies.
(Image credit: Tom's Hardware)Andrew Sink first used a 3D printer in 2012, and has been enthusiastically involved in the 3D printing industry ever since. Having printed everything from a scan of his own brain to a peanut butter and jelly sandwich, he continues to dive ever more deeply into the endless applications of additive technology. He is always working on new experiments, designs, and reviews and sharing his results on Tom's Hardware, YouTube, and more.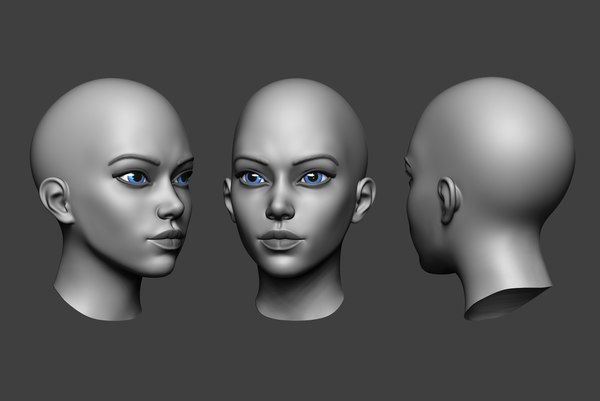
Topics
3D Printing
A 3D Printed Selfie – What It Is and How to Make One
3D Insider is ad supported and earns money from clicks, commissions from sales, and other ways.
Turning your phone camera to your face and taking a photo – a selfie – is so 2010. It’s now 2021, so it’s time to add a new dimension to your selfie game.
There are now various online services that can make a “3D printed selfie” for you. What exactly is a 3D printed selfie and how is it made? Can you make one yourself if you own a 3D printer?
What is a 3D printed selfie?
In a nutshell, a 3D printed selfie is simply a miniature 3D model of yourself. It can be a reproduction of just your face or an entire body model. Of course, you can also make a 3D model of another person – the word “selfie” is only being used in this context to make the concept easier to market.
3D printed selfies are products of the combined technologies of 3D scanning and 3D printing. They have become quite popular in the last couple of years as personalized gifts, mementos, or souvenirs for guests at events.
Making your own 3D printed selfie
If you already own and use a 3D printer, then you have almost all the hardware you will need to come up with a 3D printed selfie. The only question now is how to transfer a human face into a digital 3D modeling platform.
Scanning your face
The first step in making a 3D printed selfie is making a 3D scan of your face or your subject. There are two ways to do this – using a face scanning app on a smartphone, or by an actual commercial 3D face scanner.
If you’re just doing this for fun, then downloading a free face scanning app will be a lot more practical. The most common recommendations are Bellus3D Face App for iOS and Sony 3D Creator for Android. If you have an iPhone with a LiDAR sensor, you can also consider the much more powerful Scandy Pro 3D Scanner.
Companies that offer 3D printed selfies as a product will likely use standalone 3D scanners. Compact 3D scanners can be used for facial scanning. Full-body 3D scanning, on the other hand, is typically done using an array of sensors that scan different parts of the human body simultaneously.
If this is your first time doing a face scan, you will likely need to experiment with your app’s settings to get a good result. You will want to make sure that the 3D model is watertight, as it cannot be 3D printed otherwise. Set the resolution of the 3D model to the highest possible value. When it comes to face scans, you will want the model to be as detailed as possible.
Once the results look good, export the file as an STL file. You will then have to open this using a slicer software.
Preparation for 3D printing
With your face now fully modeled in 3D, you will then need to prepare the file for 3D printing. This is done using slicer software. There are lots of equally good software options out there. Good recommendations include Simplify 3D and Ultimaker Cura. Prusa Slicer is also worth considering if you’re looking for a slicer that is free and open-source.
If you have exported your model as an STL file, it should be immediately compatible with your slier. Your model should already be watertight at this stage. If not, you can fix this easily in the slicer.
You will then want to scale down the model to fit your 3D printer and to change its orientation to reduce the number of supports. The best way to do this is to orient the model so that the face of the model is facing away from the build plate. This means that the supports will be attached to the back of the head, which is much less visible.
You should be fine with the default settings for infill, layer thickness, and wall thickness. If you’re making a “miniature” figure, then you can go ahead and set 100% infill.
If you have done a final inspection, then save and export the sliced model to an SD card or directly to your printer via wired or wireless connection.
3D printing and finishing
Before getting started with the actual 3D printing, make sure to do the usual maintenance work first. The most important things to do are to level the print bed, make sure that the nozzle is clean, and use filament that has already been dehydrated. 3D printed selfies are very detailed and have little room for error.
A 3D printed selfie can take between 5 to 12 hours to print depending on the size and level of detail. Most people use PLA for 3D printed selfies as it is much easier to work with and can be printed at higher speeds.
After 3D printing, you have the option of sanding, polishing, or painting the 3D printed selfie as you see fit. The amount of work that will go into post-processing will largely depend on the size of the 3D printed selfie and the level of detail you’re going for.
3D printed selfie services
Do you want to have a 3D printed selfie but can’t be bothered to make one yourself? 3D printed selfies are so popular nowadays that several companies offer them as a service. You can either send in a 2D photo of your face for digital reconstruction or have your body 3D scanned using one of their professional full-body scanners.
Shapify is one of the more popular companies in this market. The approach of Shapify is multi-pronged. Enterprise customers can purchase the Shapify Artec booth – a full-body 3D scanning booth that can scan a person in 12 seconds and produce a detailed 3D model right after. Shapify also sells a handheld version of this 3D scanner, called the Eva.
Shapify also offers the option of sending in your own 3D scan so they can do the printing for you. They have a free software download on their website. The only caveat is that you will need a Microsoft Kinect camera to use the software.
My 3D Worlds further simplifies the process by only requiring customers to send in a 2D photo of any person they want to be modeled. Using the picture as a reference, the company constructs digital models which then have to be approved by the customer before printing.
Although this business model adds a lot of work for the service provider, it allows My 3D Worlds to cast a larger net over their potential market. After all, convenience is an essential factor for customers nowadays.
Few other businesses are offering similar services such as Holodeck 3D Studios, Reconstruct Me, and Twindom. Again, the services these companies offer can range from on-site full-body 3D scanning to 3D reconstruction from standard 2D photos.
Most 3D printed selfie services that can produce an output within a few minutes do so by using gypsum as the base material for 3D printing. Using binder jetting technology, a full-color gypsum reproduction can be made in around 5 to 10 minutes. The biggest downside of gypsum is that it’s a fairly fragile material – think of it like a porcelain figurine but still much more brittle and prone to cracking.
Final thoughts
It’s easy to see the appeal of a 3D printed selfie, as it’s essentially a miniature figure of yourself. 3D printed selfies make excellent keepsakes and will certainly catch the attention of people in any event.
If you’re curious about 3D printed selfies and have a 3D printer at home, then you can take a stab at making your own.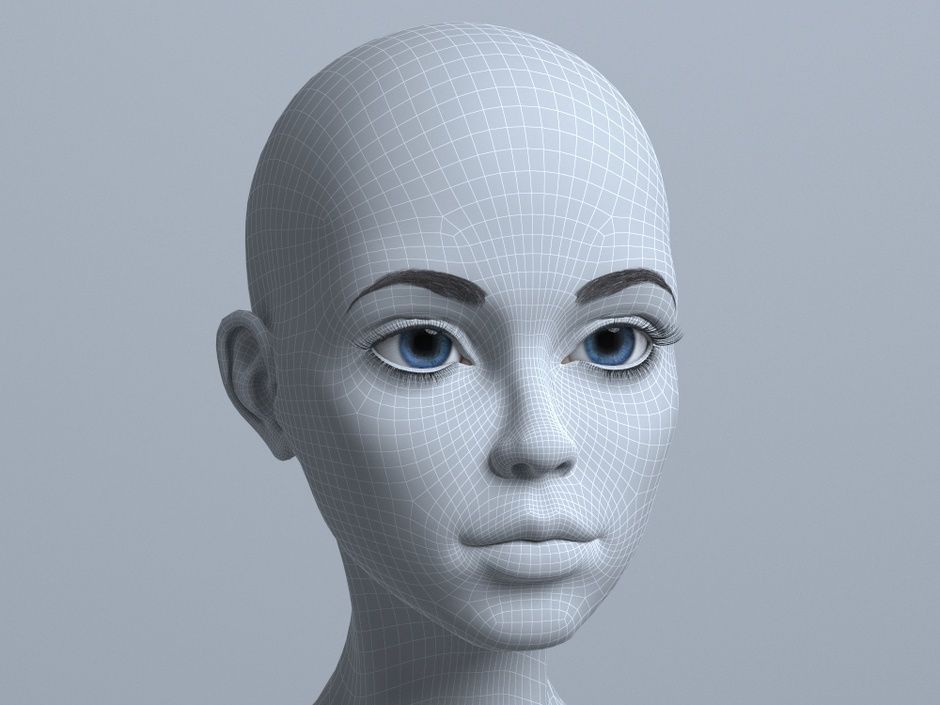 The great thing about modern 3D scanning is that you can do it using just your phone. Professional 3D scanning equipment, on the other hand, is so much more precise and faster to use.
3D printed selfies are huge businesses now. Try and get in touch with a company that’s near you to see what they can come up with.
Warning; 3D printers should never be left unattended. They can pose a firesafety hazard.
How I printed a model of myself on a 3D printer...
3D modeling
After reading this article, you will learn how I printed a model of my face and body on a 3D printer!
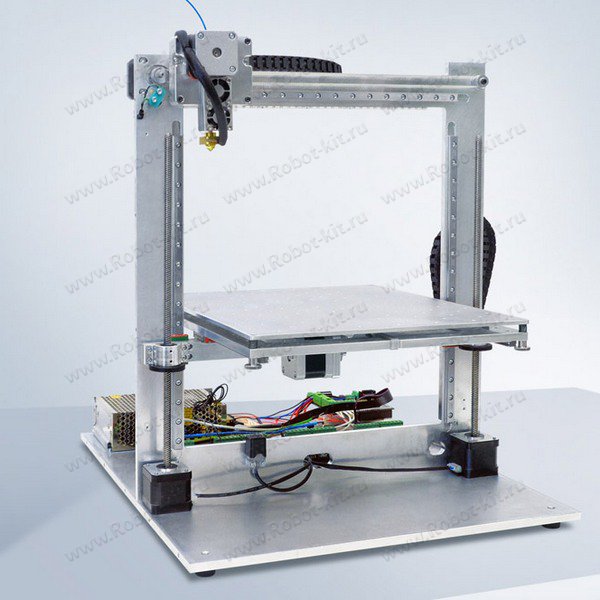
It all started with the purchase of a Kingroon KP3S 3D printer, with a table size of 180 x 180 x 180 mm.
I already had a model of a woman ready, and immediately after assembling the printer, and I assembled it for 15 minutes in total, I sent this model for printing.
For a printer out of the box, and even not fully configured, the quality is normal.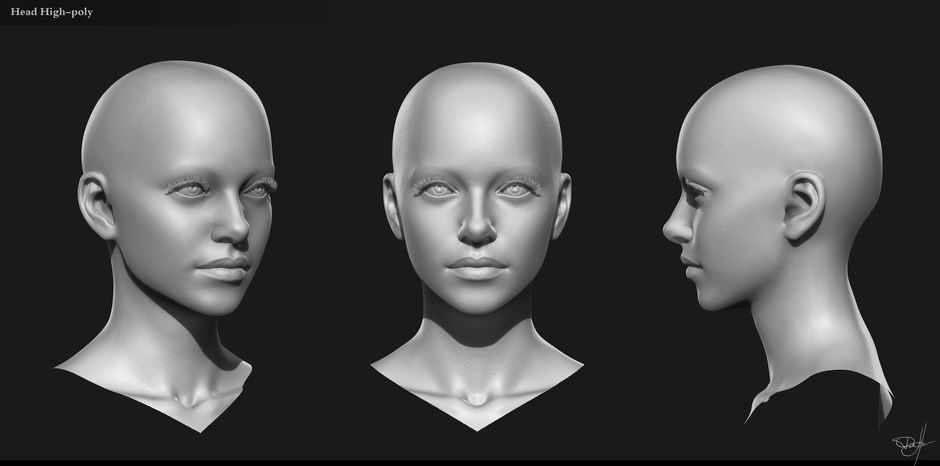
After some manipulations with the printer, I managed to get a completely smooth surface of the figure after printing.
While watching videos on setting up a printer for printing, I came across a video showing a face modeling program.
This program is called DAZ3D. (perhaps there was already an article on this topic, do not throw slippers)
And the idea came to my mind to make a model of my own face and body. Maybe in the future and earn extra money on this, making 3D models of people and printing them to order. (but hardly anyone needs it)
You can download this program on the official website for free.
After installation, we see the initial page of the program.
And to create yourself you need to go to the tab Windows - Panes - Face Transfer.
After opening this plugin, you will only have to insert your photo.
Insert a photo, click male - a man (female - a woman) and click - Generate (generation).
A body appears with our face and you see what a resemblance!!!
It seems to be similar, but I hasten to upset you. This model is not suitable for printing.
The point is that our photograph is stretched onto a blank, onto a blank. And it seems to be plausible, but if we print this model, we will get a figure, well, not at all like us. The program tried to automatically repeat our facial features, but she did not do it very well.
What to do?
To create a 3D model of your face, you will have to work hard.
For this we buy an extension for DAZ 3D - MetaMixer Toolkit.
Quickly install and first create a blank. Genesis 8 Basic Male
may not be installed, you will have to buy ;-)
We are looking for and launching Meta Mixer.
Next, select the Shaping tab and select the faces that are most similar to you, in your opinion.
After all, Ok Google MetaMixer is: "MetaMixer is a Daz Studio tool that allows users to create unique faces from a set of previously released characters using add-ons for Metamixer.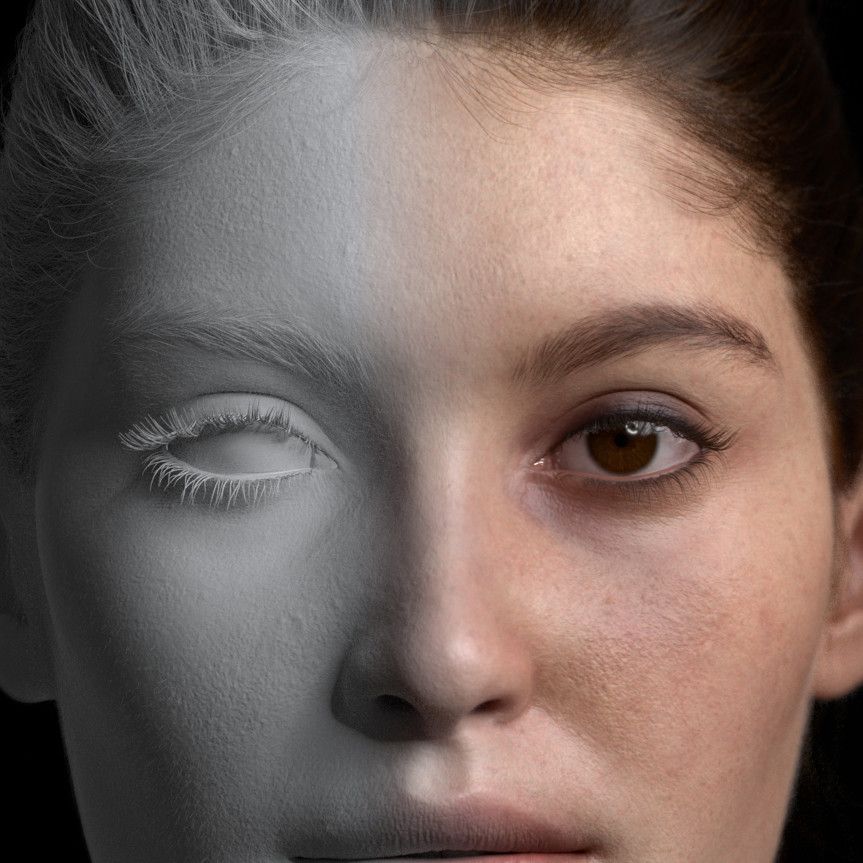 "
"
This tool will allow us to change the facial features of our disc, and not just overlay a photo (texture) on it.
After selecting the desired faces, we need to start Power Pose. Look at the picture below and start.
In Power Pose, select Sculpting or any other parameters that will help "blind" the face of your dreams. After many hours of work in das 3d, I managed to create my face and adjust the body.
Printing the model. File - Export - I save in .obj format and transfer it to the slicer. (I use Cura).
Printed with PLA.
And if you want to know what I got in the end, then Welcome to my YouTube channel =)
Link to the video:
How I printed a model of myself on a 3D printer ...
Do not swear in the comments, everyone of good. Thank you for reading)
Even more interesting articles
7
Subscribe to the author
Subscribe
Don't want to
Hello everyone and welcome to my world of amateur 3D.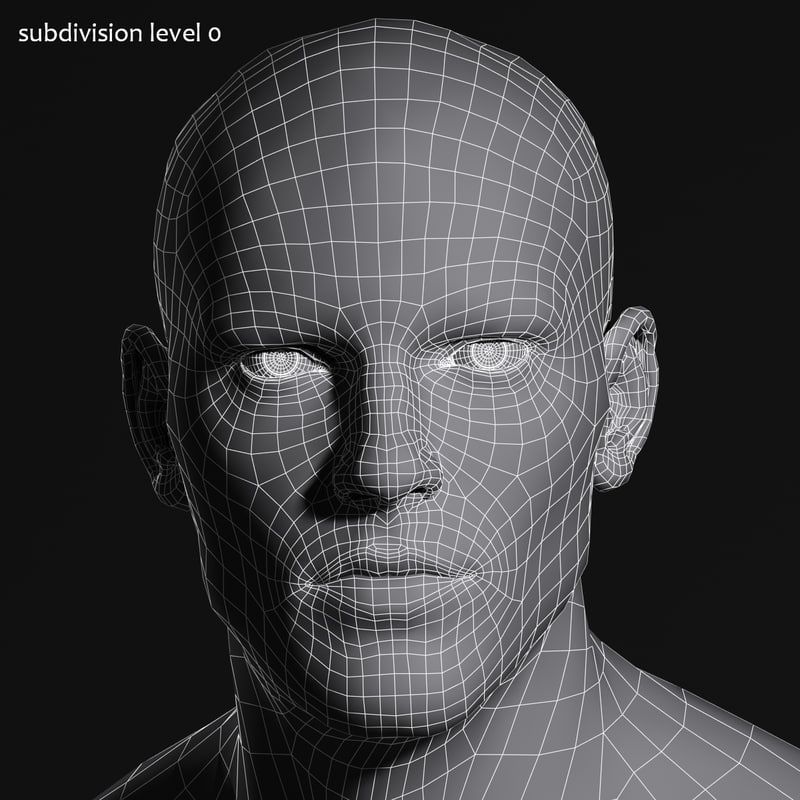 I consider myself an amateur because I myself never...
Read more
four
Subscribe to the author
Subscribe
Don't want
The CAD Competence competition is a unique opportunity to demonstrate to the professional community...
Read more
Sergey
Loading
03/16/2016
175417
264
Subscribe to the author
Subscribe
Don't want
Hello everyone. The materialise website recently published an article about public databases...
Read more
3D printer models
Looking for 3D printer models? The Internet is filled with sites that offer them for free. We have collected the TOP 10 catalogs that you can use to search and download free models in STL format.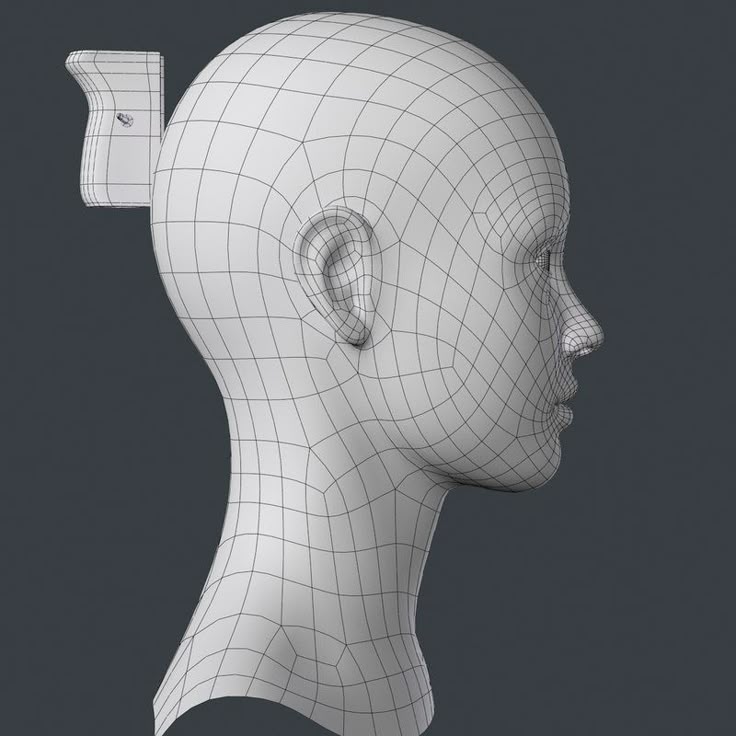 We hope you can find what you are looking for.
- Yeggi
- Yobi 3D
- STLfinder
→ myminifactory.com
My Mini Factory is a 3D model depository operated by iMakr, an online store that sells 3D printers and accessories. It also has one of the biggest 3D printer shops in Central London. The site contains 3D models designed by professionals, and all models stored on it are checked for quality. You can also make a request for the desired model, which their designers will create and put in the public domain. Billing itself as a 3D printing social network, MyMiniFactory is a thriving community of makers who love to showcase their creations. Users vote for the best models, which allows popular creations to rise to the top of the list and gain popularity. The site presents models that are stored on its social network, as well as outside it, for example, on the Thingiverse and YouMagine sites.
→ thingiverse. com
com
The most popular and famous site among 3D printer users, Thingiverse is owned by MakerBot Industries, the creator of the popular Replicator 3D printer series. The site allows users to store and share 3D model files that are used with 3D printers. It's a very popular site and has a large community of people hosting various categories of files on it. So if you're looking for "cool" printable stuff, Thingiverse is worth a visit. It is a portal designed to provide its users with ways to share their designs and to help print 3D creations. The site has a system that tries to find out what you like. The more you interact with the site, downloading and evaluating various developments, the better its recommendations will be.
→ 3dshook.com
Another online community for 3D printing hobbyists showcasing interesting 3D printer accessories, electronics and most importantly 3D models. The site contains many very interesting models of cars and buildings, as well as various add-ons and spare parts for your 3D printer. A huge catalog of paid and free models for a 3D printer. There are original unique products. Convenient search, navigation, rubricator. 3DShook has over 40 categories and adds over 100 new models to its collection every month. On 3DShook you can always find something for your home, animals, kids or something special for yourself.
→ youmagine.com
YouMagine catalog for 3D Systems Cube series consumer 3D printers. The site mainly offers various ways to buy 3D printer supplies and files, but it also has a number of cool free items available, mostly in the Kids section. Some of these elements can be customized by children using an online application. The company offers 3D modeling and publishing tools on its website for both hobbyists and professionals. The site offers a content warehouse where the community hosts and shares models. Registration is required to download files.
→ 123dapp.com
Autodesk 123D is a suite of computer-aided design (CAD) and 3D modeling tools aimed specifically at hobbyists. Along with the toolkit, Autodesk also has a website where users can record their designs and share them with other users. Many of these models can be downloaded and printed using Autodesk as a utility to interface with the MakerBot 3D printer. The goal of the Autodesk website is to "help engineers build products faster." The site offers tools to help them collaborate on their files. For the casual 3D printing enthusiast, the best part of the site is the large library of free files created by a community of over a million engineers. Registration on the site is required, but the number of files that are then available is worth it.
→ cgtrader.com
Being primarily a place to buy and sell a variety of 3D models (not necessarily just those designed for 3D printers), CGTrader does offer a selection of free models that can be used on 3D printers. The site has a system that tries to find out what you like. The more you interact with the site, downloading and evaluating various developments, the body will have better recommendations.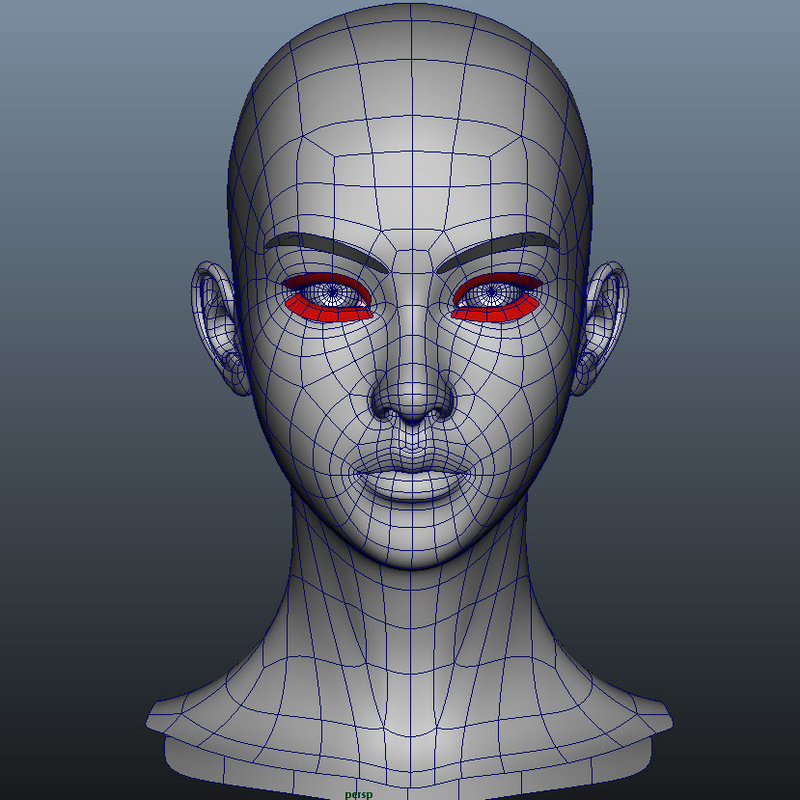
→ cults3d.com
A French community and marketplace where developers can share or sell their creations. The site has a collection of high quality models that you can download. Users can follow the work of the designers they like and get instant updates when a new creation is posted on the site. The site's name, Cults, is a backwards spelling of St. Luc, the patron saint of artists. The site also supports English. This is a relatively new community, so the number of its users is not very large yet.
→ instructables.com
The Instructables website is a community where users can share their DIY projects. This also includes products obtained using 3D printers. The site also provides explanations and instructions describing how to build 3D elements, and some designers take the time to answer questions from site members. Instructables allows users to store and organize their 3D printing projects. This is done to help them work together in the future. You can think of this site as a GitHub 3D printing site where users can share their files, discuss projects, and participate in them. The site also offers the ability to make a request, so if you can't find what you're looking for, you can ask the site's community about it.
→ pinshape.com
Pinshape, a marketplace for 3D models, is similar in style (layout, appearance, and ability to capture likes) to the well-known site Pinterest. You can buy models from designers, or download them for printing yourself if they are offered for free. Pinshape allows users to host and share 3D model files on it. Basically, this site acts as an online store where you can buy 3D printed parts, or order your own 3D model to be printed. But if you look closely enough, you can find people who sell their products and also offer the files you need so you can print them yourself.
→ 3dfilemarket.com
A new and growing repository of 3D File Market models. All models are tested for suitability for 3D printing. You can download as many models as you like without registration, although you must provide your email address to access the 3D model files. This is a very simple site aimed at being a repository of model files for 3D printers, and nothing more. The basic design of the site allows users to put files on it for public access, and download files that they would like to use. The site contains many small, simple 3D models ready to be printed, as well as a good selection of everyday items and even spare parts for 3D printers.
Search engines for 3D models in various formats, including STL for a 3D printer. Use queries in English, these search services collect information about models from all over the Internet.
→ yeggi.com
Yeggi is a search engine that will browse major 3D printing sites to find files compatible with 3D printers. You can also browse some popular searches to get an idea of what the community is currently interested in.