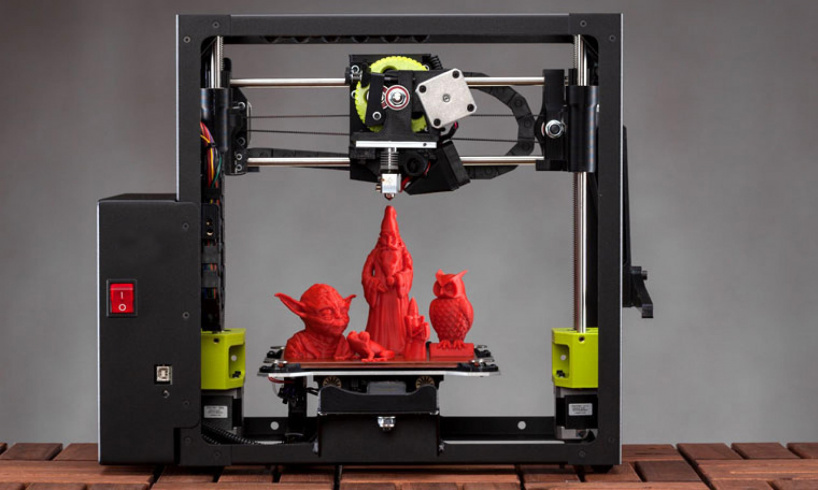
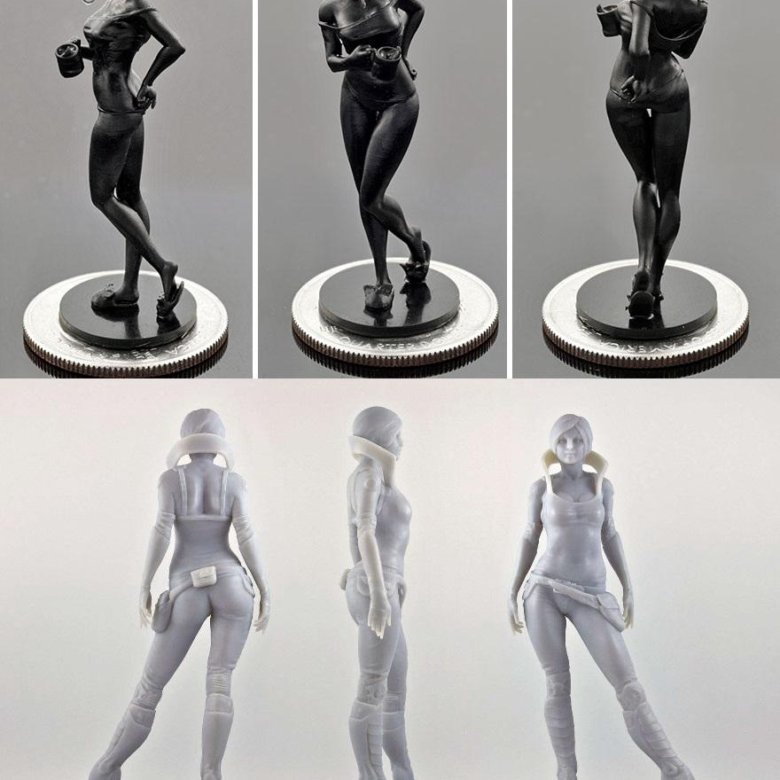
3D printer adhesive
What are Bed Adhesives in 3D Printing?
One of the issues that people face when 3D printing is getting their prints to stick to the build plate. If a print does not stick to the build plate properly, then it could move during the print process which will cause it to fail.
Manufacturers have, of course, devised remedies for this. Ultimaker 3D printers have a heated build plate for better bed adhesion and reduced warping and curling (the heated plate stops prints from cooling down rapidly, avoiding contraction). Some manufacturers have taken a simpler route, though – MarkForged recommends people use an Elmer’s Glue Stick to create a sticky layer on the build plate.
The simple truth of bed adhesives – whether they are cheap glue or expensive tapes – is that all of them have the same aim: to prevent warping, curling, print failure and to reduce waste. It is important to point out though that not all materials require a bed adhesive to stick to the build plate. PLA, for instance, adheres well to a heated build plate without adhesive. However, when glue or tape is used, the risk of warping and curling is reduced considerably.
How do bed adhesives work?
Simply put, bed adhesives work by forming a stickier layer for prints to adhere to. In the case of heated build plates (which are necessary for printing materials with a higher melting point than PLA), hard materials like ABS and CPE can warp even with support structures. The reason for this is the smooth glass plate with the introduction of heat; the print material sometimes doesn’t cool quickly enough to be strong. By introducing a layer of glue, print-bed adhesion is improved, and the glue also acts as a layer of protection for the glass.
Adhesives also eliminate the risk of print movement. If a print moves just a little during the print process, then it will fail. We regularly receive questions from people asking why their prints keep failing, and it is more often than not because they aren’t using an adhesive on their build plate.
Are there alternatives to external adhesives?
It is possible to print a ‘brim’ with your print, which is a thin platform around your print that helps ensure successful adhesion. These work because your part or model will be printed on a layer of filament, rather than directly on the build plate itself. Cura, Ultimaker’s software, allows you to create a brim quickly and the brim itself can simply be cut away afterwards. However, even with a brim, we still recommend using a bed adhesive to protect the build plate.
What are the best adhesives?
We are of the belief that what works best for manufacturers and the 3D printing community will work best for you.
So, here’s a list of products and who uses them:
Elmer’s Disappearing Purple Glue Stick – Recommended by MarkForged and other brands
Cheap and effective, Elmer’s Disappearing Purple Glue Stick is used by pros and hobbyists alike to improve print bed adhesion.
UHU stic- Recommended by the 3D printing community
If you can’t get hold of an Elmer’s sick, the UHU stic is the next best thing. It works just as well, and like Elmer’s stick, it can be used with PVA support material.
Makerbot Build Plate Tape – Recommended by Makerbot.
Makerbot’s Build Plate Tape is designed for Makerbot printers, but it can be used with any printer. The textured surface improves adhesion and lasts for several prints.
Blue Painter’s Tape – Recommended by 3D Platform
If you don’t want to use glue, the textured surface of blue painter’s tape lends itself well to bed adhesion. It can be used with PLA, ABS and high-temp thermoplastics.
Essentium’s 3D Printing Bed Adhesive – recommended by Essentium
Essentium 3D Printing Bed Adhesive is for printing nylon filaments. It works with nylon filament and other high-temp materials, formulated to reduce contraction.
Out of the above adhesives, we have had excellent results with Elmer’s Disappearing Purple Glue Stick, the UHU stic, and blue painter’s tape.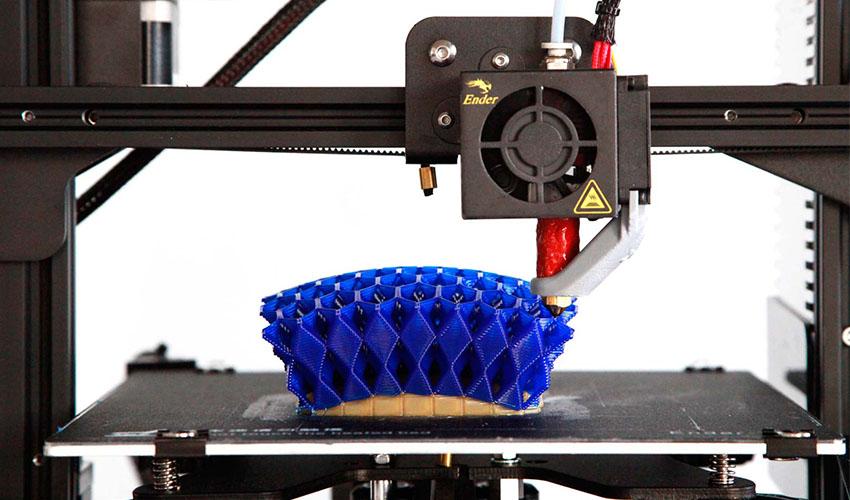 Blue painter’s tape can be picked up at any hardware store, or even your local supermarket. It can be pulled away from a glass build plate easily, without leaving any residue behind, and the grippy surface is ideal for ABS and CPE. Glue sticks are another excellent option, and they don’t cost very much either.
Just be careful with what glue sticks you use. Elmer’s Disappearing Purple Glue Stick and the UHU stic are tried, tested and proven. We tried the Original Pritt Glue Stick but didn’t get good results and this sentiment is echoed by most people who’ve tried it.
Also, remember to calibrate your build plate periodically. Today, most 3D printers will do this for you, but you will need to calibrate manually if you have manual levelling. Having a level build plate is crucial for good bed adhesion, print quality and reliability.
3D Print Not Sticking to Print Bed? Here's the Solution
First-layer adhesion is critical to ensuring that your 3D print will be a success. But achieving good bed adhesion can be easier said than done. Corners unstick from the 3D printer’s build surface, warping occurs, and ultimately parts fail. Moreover, adhesion problems can be caused by a number of factors or any combination of issues, including bed leveling, bed temperature, extruder temperature, build plate deficiencies, slicer settings, and more. Fortunately, there are several steps you can take to resolve the problem of a 3D print not sticking to print bed. Follow these methods to improve your 3D printing adhesion.
Method #1: Level the Bed
One of the main reasons a 3D print may not stick to the print bed is poor bed leveling. If one side of your printer bed is even marginally higher or lower than the other side, it will affect the quality of your 3D print and how well the first layers of the print adhere to the build surface. In short, this is because the nozzle will be further away from part of the print bed and filament won’t be deposited evenly.
Ensuring your 3D printed bed is level can solve adhesion problems. Depending on the 3D printer hardware you have, you might be able to level the bed automatically or you may have to do it manually. If you are adjusting the bed level manually, one of the most popular methods for leveling a print bed is to use a piece of paper. Bring your 3D printer nozzle very close to the print surface and place a sheet of paper in between the nozzle and the build plate. Gradually raise the corner of the print bed using your machine’s leveling knobs until there is a bit of resistance when pulling the paper out. Repeat this on all corners of the print bed.
Method #2: Change the Z-Offset
The distance between the 3D printer nozzle and the build platform, known as the Z-offset, may also be causing adhesion problems. In other words, if the nozzle is too close to the build surface, the first layer will be squished and won’t be evenly extruded; if it’s too far away, the filament extrusion also won’t stick to the build platform properly. The good news is that you can encourage good adhesion by positioning the 3D printer nozzle at the right distance.
The z-offset can be adjusted in slicing software by changing the measurement values. Once the value is set, the z-axis will align itself accordingly to the print bed. If you are having adhesion problems, changing the z-offset should be used as a last resort. Where this method is most helpful is in situations where you are working with a thick build plate or if you are printing on a substrate.
Method #3: Clean the Print Bed
It is imperative that your print surface be clean before you start 3D printing. If there are any inconsistencies, like leftover glue or filament stuck to the print surface area, it can cause first layer adhesion problems. The best cleaning technique for a print bed depends entirely on the build plate material.
If you are working with a glass print bed that has filament or adhesive residue on it, start by removing the glass bed from the 3D printer and scraping the residue off using a dry scraper. From there, you can wash the plate with soapy water or window cleaner. It is also a good idea to give your glass build plate a final wipe using Isopropyl alcohol (IPA) or acetone. These cleaning products will help to remove any remnants of grease without damaging the glass surface. You can also follow these cleaning steps with a removable borosilicate glass print bed.
A PEI build plate can also be cleaned with water and soap or IPA to remove residue. To ensure the thermoplastic bed surface remains smooth in the long-term, you can also wipe it down with acetone once a month or so. It is important not to use acetone on a thermoplastic build surface too often as it can erode the material. Ultimately, a clean, smooth print surface can help the critical initial layer of a print to adhere.
A clean build surface will help to promote good 3D printing bed adhesion.
Method #4: Increase Bed & Nozzle Temperature
Temperature settings plays a big part in the final quality of a 3D print.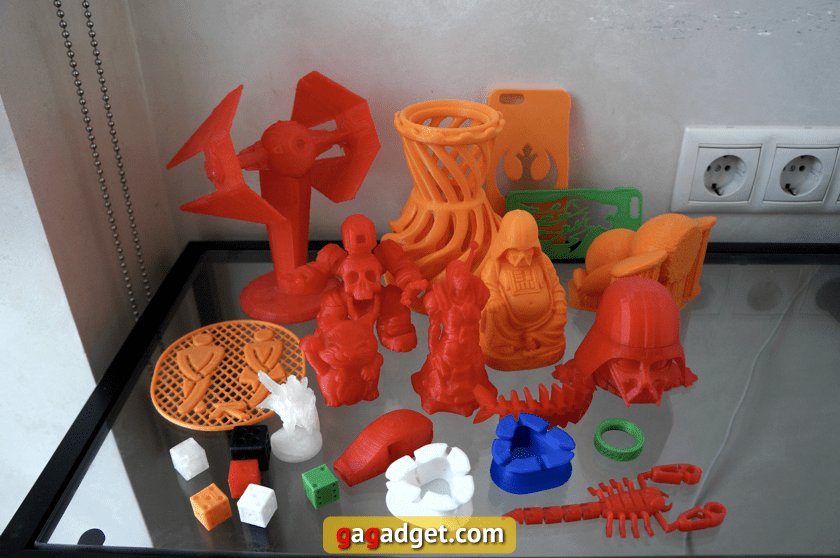 Thermoplastic filaments like PLA, ABS and PETG harden as they cool, but if printed layers cool too quickly, the materials can also shrink, which causes layers to pull away from the print bed and warp. Using a heated bed, especially for higher temperature materials, can therefore help to improve bed adhesion.
More than that, choosing the right bed temperature and nozzle temperature for different types of filament can also improve print outcomes. For example, ABS filament prints best with a build surface heated to between 90°C and 110°C and a nozzle temperature between 230°C and 260°C.[1] PLA, for its part, prints best with a heated bed of between 60°C and 80°C and with a nozzle temperature of 190°C and 210°C.[2]
If you are still experiencing bed adhesion problems with certain 3D printing materials, it can also help to increase the print bed temperature by a few degrees as the first couple of layers are extruded. As the print continues, you can lower the bed temperature back to the recommended degree.
Method #5: Use a Bed Adhesive
Another reliable way to improve your 3D printer bed adhesion is to apply an adhesive directly to the build platform before you start printing. There are a number of adhesive products developed specifically for 3D printing, such as Magigoo and Stick Stick. Some of these dedicated adhesives are even designed with specific materials in mind. For example, Magigoo sells adhesive sticks tailored to polycarbonate (PC) and nylon (PA).[3]
However, there are also several DIY solutions for bed adhesives: many makers have found glue sticks to be a reliable option, while others use hairspray or blue painter’s tape (best for PLA filament) or Kapton tape (best for ABS filament) to create a grippier print surface. If you do decide to use an adhesive coating on your 3D printer’s build plate, it is important to clean your build surface after the print is complete, otherwise you risk glue buildup and an uneven print surface.
Hairspray, glue sticks, or dedicated 3D printer adhesives can improve first layer adhesion.
Method #6: Adjust Slicer Settings
If your 3D print isn’t sticking to the print bed, tweaking your print settings in slicer software can often help fix the issue. For example, setting the print speed for the first layer of your print to be slower than the rest of the build can promote better adhesion. A slower deposition rate for the first thin layer of a 3D print will help the filament to bond with the build surface.
Other slicer settings that can be implemented to improve bed adhesion are rafts and brims. These are features 3D printed alongside your part to improve stability and reduce the chance of warping. A raft essentially acts as a base to your 3D printed part and ensures that your print adheres to its surface, rather than the build platform directly. A brim consists of a 3D printed border than connects to and extends from the edges of a 3D printed part. Brims are effective at anchoring the edges of a build to the 3D printed bed and are typically easier to remove than a raft. Most slicer programs, like Cura and Simplify3D, offer automated raft and brim features.
Method #7: Change the Build Plate
Another method for improving first layer adhesion is to change your 3D printer build surface. Some desktop FDM 3D printers have a removable plate meaning that you can swap out the build plate for a new one should the original be damaged. But even if your print bed is in fine condition, it could be worthwhile to think about using different build surfaces depending on the material you are printing with.
Glass is a common build plate material due to its stiffness and thermal resistance, however for many filaments it does not provide good adhesion. For this reason, many makers also use additional build surfaces like PEI sheets or Buildtak to improve first layer bonding. These can be applied directly to the existing build plate and are particularly effective for high-temperature filaments like ABS and PETG.
Conclusion
These seven methods can help you with troubleshooting your 3D printer adhesion problems. Sometimes a single method—like adding a layer of glue to your print surface—will do the trick. In most cases, however, making various adjustments will result in the best adhesion and high-quality prints. In sum, ensuring a level 3D printer bed and a clean build surface, as well as using adhesive aids, and having the right print settings and printing temperature will have the best print results.
References
[1] Tractus 3D, 2020. “ABS Filament” [Internet] https://tractus3d.com/materials/abs/ [Accessed April 13, 2022]
[2] Tractus 3D, 2020. “PLA Filament” [Internet] https://tractus3d.com/materials/pla/ [Accessed April 13, 2022]
[3] Magigoo, 2022. “Magigoo Pro PA (Nylon)” [Internet] https://magigoo.com/products/magigoo-pa/ [Accessed April 14, 2022]
Testing liquid adhesives for adhesion
Technician
Subscribe to the author
Subscribe
Don't want
10
So we managed to assemble the whole team of liquid products to increase the adhesion of the table in 3D printing. And this means that Mnogo3D, obsessed with adhesion, is back with you. Picaso 3D glue, 3DM 3D glue and I made 4D glue gathered in our hands at the same time. The first two are already familiar to the readers of the portal according to the test "Adhesion means: professional versus amateur". The last one just arrived. And so we will do a test of who is capable of what. In order not to be bored, the glue stick "Kalyaka-Malyaka" and Eeeee ... Povidone on isopropyl alcohol will take part in the test. Kalyaka is the standard of adhesion and it is needed as a guideline. And povidone to debunk or confirm the myth that a professional remedy can be created at home.
Since the last test, we have diluted our "Nurofen", bringing the concentration to approximately 1 sachet of medicine per 0.5 liter of alcohol. And very thoroughly mixed, getting rid of the flakes. Thanks for the recommendations on finalizing the solution to Ilya Pinchuk and advice on the test in general.
This time we decided not to test on nylon, ABS is enough. For the purity of the experiment, we will carry out the test on the material from two manufacturers. Black is Chinese, sold under the Good3D brand, and gray is from REC.
Disclaimer: I express my gratitude to the portal 3DToday because 3DM glue, as well as REC gray plastic are winnings in competitions held by him. Let's not forget Top3DShop either. Glue Picaso provided by them for the last test free of charge.
4D glues "I made" and "Kalyaka-malyaka" were bought from office. dealers without informing about the intention to conduct testing.
Introducing the participants. Glue from Picaso and 3DM are longtime players in the 3D printing market. Their composition is declared the same: Water, Isopropyl alcohol, P-complex and flavor. But manufacturers are different. 3DM smells stronger of alcohol. Either they saved on the fragrance, or the spirit was vigorous. 4D glue "I made" is different. In its composition, PVP is immediately indicated. It has a yellowish tint and is thicker.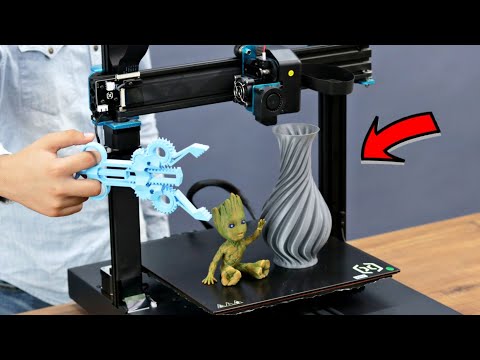 The smell of alcohol is less noticeable. On the contrary, there is a pronounced woody smell. Apparently the wombat is on the label for a reason. All three are supplied in 250 ml squeeze bottles. "I did" is also available in 100 ml bottles.
Homemade remedy is simpler and cheaper. In a pharmacy, we buy a sachet of medicine Enterodez 5 grams with the active ingredient POvidone and dissolve it in 0.5-1.0 liters of isopropyl or ethyl alcohol. Doesn't dissolve well. Therefore, you need to periodically shake the bottle until the flakes disappear. Why Povidone and where does the pharmacy?! It's simple, PVP is polyvinylpyrrolidone. And its other name is just povidone or polyvidone. This substance has a very wide range of applications in medicine and chemistry. But it is one thing to know the composition, and another to know the recipe. In the last test, homemade did not show itself in any way. Let's see what happens this time.
Magic glue stick "Kalyaka-Malyaka" is also not simple and has its own legends. We took several briquettes of this glue. we prefer this particular method of adhesion and can debunk a few more myths about it. Actually everything is in the photo.
Even in one briquette there are tubes of different shades of yolk with contents of different shades of pink. Also different ends of the glue. Some are pointed, while others are flat. And all this in one sealed pack from the dealer.
And so... to the test!
Test piece:
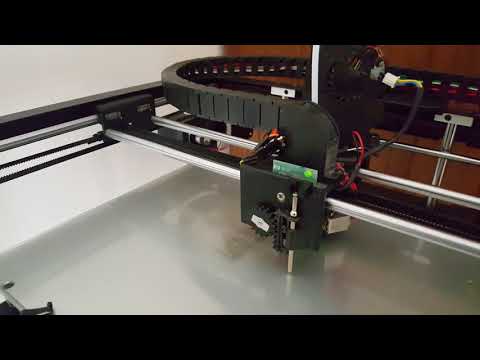
Frame with 0.8mm wall, 15x150mm, 50mm high. We print with a nozzle of 0.8 mm and a layer of 0.3. The first layer is 50% of the base layer height. Speed up to 50 mm/sec. Brim at 5 perimeters. Printer open Corexy with ball screw. The temperature in the room is 22-25 degrees, without drafts. The surface is a mirror. The conditions are deliberately set to be unrealistic, so that it would be easier to evaluate the result by the amount of printed material.
The idea was to put 4 parts side by side and see what happens.
But the idea turned out to be so-so. A part that went out of the way caused the test to stop. Here, either apply the Olympic system, or test it for a long time and dreary piece by piece.
We settled on the last method and started printing the same code with different adhesives. Accordingly, they waited for the platform to cool down, washed it, dried it, degreased it with pure alcohol, dried it, and applied the composition.
Contrary to advertising, one coat of compound does not work! Not even two work. Applying a large amount is also not an option. You need at least three layers. And for 3DM, even three layers do not work. In this regard, for the outsiders of the first round, the adhesives 3DM and "I did" were given a second chance to prove themselves. In the second attempt, only 3DM was given a second chance. The concentration of the substance, apparently, is less in it. Therefore, after a failed attempt on 3 layers, the printing was repeated on 4. The difference, as they say, is "on the face.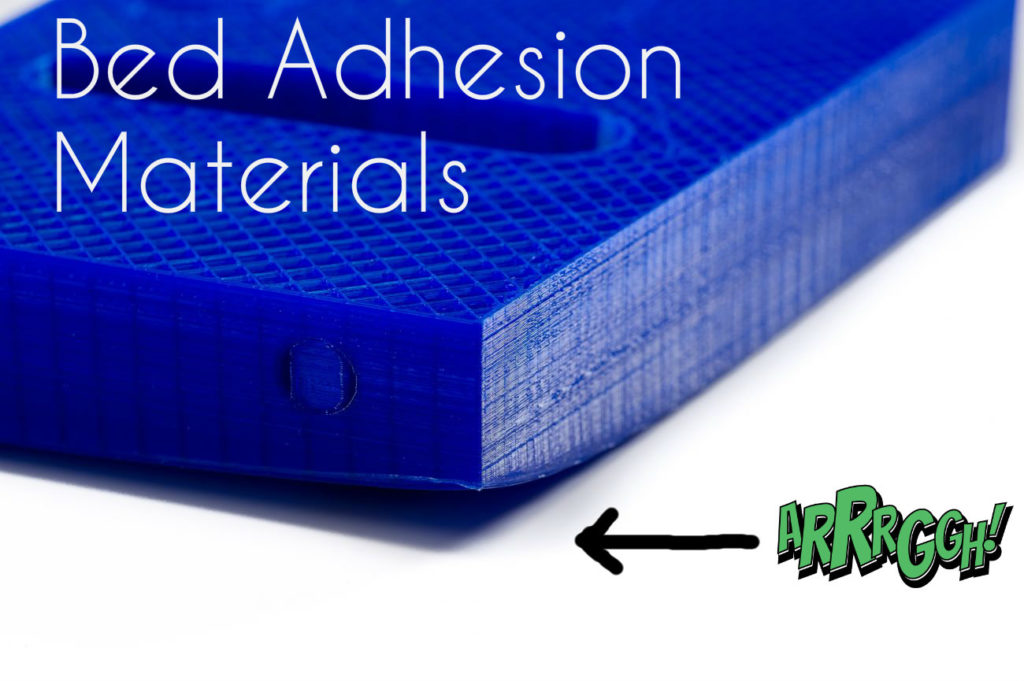 " Assigned seats are our subjective decision on typing comfort. And it wasn't easy. You run the test. You control that the brim began to stick to the table. If the composition is small, then a new layer of the composition was applied and the test was started again. If the print has gone, then you sit and wait for the coveted click and crackle of the extruder on skipping steps. You fix the % of the task completion and the separation. Stop printing. Table cooling, washing, drying and new. Over 100 photographs were taken. Let's show some.
Picasso 1st attempt.
Most printing stopped within 30-50%. The best results were shown only by "Kalyaka-Malyaka".
3DM glue and its 3rd attempt.
It should be noted that REC plastic, unlike Good3D, is more rigid and more prone to delamination. On it, the subjects showed poorer results. In particular, in the second attempt, when printing on a painter, the plastic tore the brim, and not completely tore it off, as in all other cases.
And almost broke another corner
Well, actually the results.
And in tabular form:
Thanks for reading.
Sincerely, Mnogo3D (3D printing in Ryazan and beyond)
PS Eta4Ever was the first in our VK mini-survey to guess which of the trinity of liquids is the best. Cool!
adhesion glue
Follow author
Follow
Don't want
10
3D Printing Adhesive 3D PrintFix Strong 60 ml
3D PrintFix Strong - adhesive for 3D printers
3D PrintFix Strong is an adhesive adhesive designed specifically for FDM/FFF 3D printing.
3D PrintFix Strong 3D Printing Adhesive is designed for use in 3D printers with and without heated bed. Provides excellent adhesion between model and 3D printer platform.
Application 3D PrintFix Strong securely fixes your model on the table and prevents deformation and peeling of the part.
The 3D PrintFix Strong 3D Printing Adhesive is applied quickly, easily and economically with a spray dispenser.
Benefits of 3D PrintFix Strong adhesive:
- Easy to spray
- Fast drying
- Suitable for 3D printers with heated bed
- Reliably fixes all types of plastics – PLA, ABS, PET, ASA, TPU, PA…
- Easy to remove from surface
- Allows you to firmly fix the part on the surface, and also easily remove it after printing
How to use:
- Spray 3 consecutive coats of adhesive liquid onto a clean table. Wait for the previous one to dry before applying each subsequent layer.
- If necessary, heat the table to a suitable operating temperature.
- Start 3D printing.
- After the 3D printing process is completed, wait for the platform and part to cool down
- Carefully remove the model.
Adhesive retains its properties for 8-10 3D printing cycles. There is no need to spray it every time. To clean the table, it is enough to wash off the adhesive with plain warm water.
Attention! 3D PrintFix Strong adhesive contains alcohol and is flammable. Do not use near open flame.
Spray available in the following sizes: 60 ml, 250 ml, 500 ml.
| Manufacturer | 3DProf |
|---|---|
| Print technology | FDM/FFF |
| Country | Ukraine |
| Condition | New |
| Consumables | for 3D printer |
| Accessory type | Glue (adhesive) |
| Volume ml | 60 ml |
4.7
reviews: 3
Write a review and get 5 loyalty points. You can convert your points into a voucher and get a discount on your next orders. Points will appear in your account after the review is posted.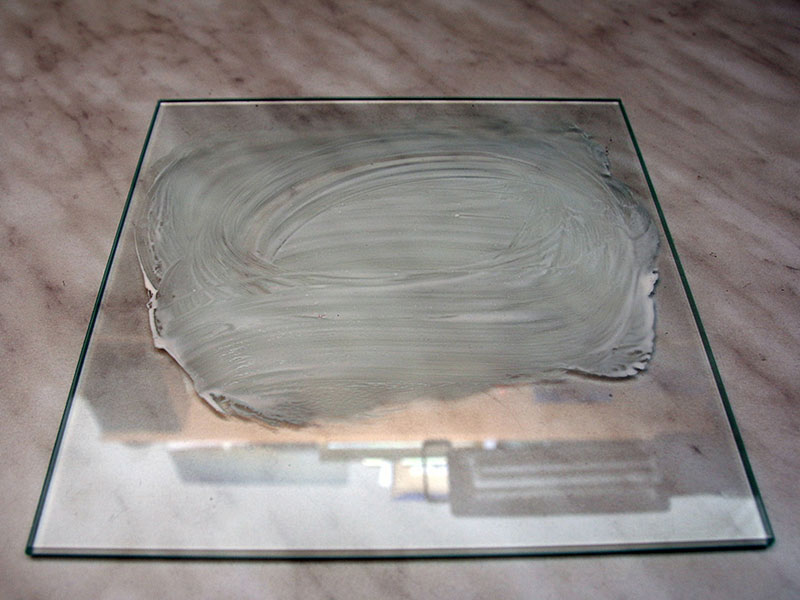
Date: Newest first Date: Oldest firstRating: Highest firstRating: Lowest firstReviews with picture: first with pictureReviews with picture: first without pictureVerified purchase: first customers who bought the productVerified purchase: first customers who didn't buy the product
Spraying more than directed. The adhesion is excellent.
Fixes the part well on the table, sometimes it is difficult to tear it off
thanks for the product. shipped promptly. keeps the model on the table well
Customers of this product also purchased:
Last items in stock
Available in different versions
3D accessories
Nozzle for 3D Printer Ender 3, Ender 3 Pro (Original) 9Nozzle for 3D Printer Ender 3, Ender 3 Pro. You can choose the nozzle exit diameter you need. ► Material - brass alloy ► Weight - 10 g ► Size - 12.