3D print water bottle
This device recycles plastic water bottles into 3D printing filament (and it's open source)
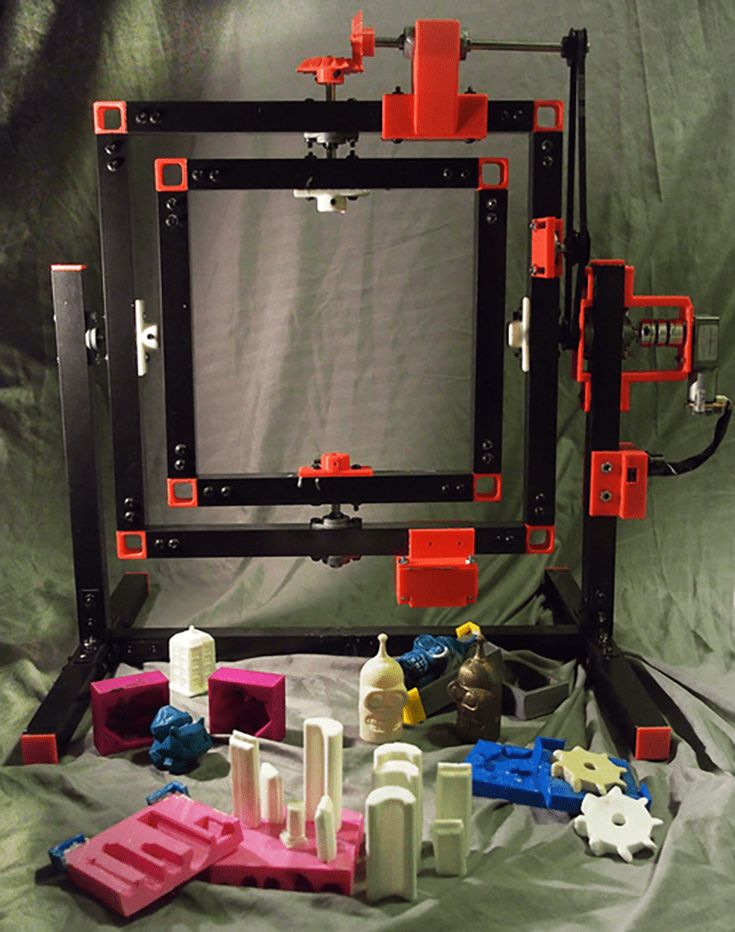
Here's a prototype of the Polyformer.
Image: Reiten ChengPlastics, ecologically speaking, have gotten a pretty bad reputation over the years, often quite deservedly so.
Nonprofit ocean conservation organization Oceana reports that two garbage trucks worth of plastic enters the world's oceans every minute. That's 33 billion pounds of plastic entering oceans every year. Mapping service Arcgis has charting data that shows there are five major patches of plastic-covered ocean covering 20 million square kilometers (7.72 million square miles). That's enough plastic to blanket Alaska, Texas, California, Montana, and New Mexico (The United States' five largest states by area).
The US Environmental Protection Agency reports that the US generated 35.7 million tons (roughly the weight of 17.8 million Tesla Model 3 vehicles) worth of plastic. Overall, only 8.7% of the plastic produced is recycled, but that rate differs based on the type of plastic because different types of plastics have very different chemical properties.
PLA, or polylactic acid, is the most common type of plastic used in 3D printing. It's a very easy-to-use material, it adheres to the print bed well, and is reasonably robust for many uses. It deteriorates in the sun and can be brittle, but the vast majority of items I've made have been printed with PLA because it works well in extrusion 3D printers.
PLA has some pluses ecologically, as well. Rather than being made from fossil fuels, it's made from renewable resources like corn, cassava, sugarcane or sugar beet pulp. PLA is also biodegradable, although there are some definite footnotes to that claim. It doesn't compost well. About half of the material decays over time, but the rest can remain for hundreds or even thousands of years. You don't want to dump PLA in landfills for the same reason. But PLA does incinerate rather nicely, leaving no residue or toxic fumes.
When it comes to recycling, PET (or polyethylene terephthalate), is something of a winner. According to the EPA, nearly 30% of all PET has been recycled. This is hugely important because PET is the material used to make plastic water bottles and jars. According to the University of Southern Indiana, Americans use 2.5 million plastic bottles every hour, most of which are thrown away after use.
A modified variant of PET, known as PETG (polyethylene terephthalate glycol-modified), is also quite popular in 3D printing. PETG replaces the ethylene glycol in PET with cyclohexanedimethanol, which adds six additional carbon atoms. This makes the molecular structure less tight, and that allows the plastic to melt at a lower temperature.
PETG will melt at about 230 degrees C. By contrast, PET (the water bottle plastic) will melt, but at temperatures closer to 280 degrees C. That's near the top end of the temperature range for most hobby-level extruders on 3D printers.
The fact that PET can technically be 3D printed opens up a simple question: How can we turn water bottle plastic into 3D printable filament?
Reiten Cheng, an industrial designer who just graduated this spring from Pasadena's ArtCenter College of Design, seems to have an answer. And it's open source. He calls it the Polyformer.
Polyformer heated extrusion mechanism
Image: Reiten ChengThe idea for the Polyformer is simple. Use a pair of scissors to cut the bottom off of a water bottle. Insert the bottle in the Polyformer. The device slices the bottle into strips. An extruder heats the strips and pushes out plastic filament. From used bottle to ready-to-use filament, it's an idea with potential.
Image: Reiten ChengWhile filament does come in larger and smaller amounts, most filament is sold on 1 kilogram spools. When I spoke to Cheng on his Polyformer Discord channel, he told me that roughly 33 bottles would create a kilogram spool of filament.
Image: Reiten ChengI see this as a great community or makerspace project. A school or makerspace could collect the bottles and turn them into filament spools.
3D printed parts and additional components that make up the Polyformer
Image: Reiten ChengAs I mentioned above, PET is a bit of a challenge to 3D print, especially with how stringy it gets and how difficult it is to dial in the temperature settings. But once that's figured out, a school or makerspace could have a virtually infinite (and free) supply of this very robust 3D printing material.
Slicing mechanism
I was particularly curious about how the bottles are cut. Discord user @Alextrical told me that, "It's the bearings that cut the bottle, the edges slide over each other and shear the plastic similar to scissors." So this would be safe in a community environment, and there are no issues involved in sharpening or replacing blades.
It should be noted that Cheng isn't the first to build a PET plastic bottle to filament recycling device. He cites as inspiration Joshua Taylor at recreator3d.com, which has plans and parts lists for a similar device. Taylor's approach is to convert a Creality Ender 3 3D printer into a "Plastic Bottle Pultrusion Unit".
It's an interesting approach -- upcycling a 3D printer to make a device that recycles plastic bottles to be used as filament for a 3D printer.
So what about you? Do you think you'll build a device like this? Do you want to do your part in recycling plastic bottles by turning them into 3D printing filament? Let us know in the comments below.
3D Printing
- The best 3D printers: From FDM to resin
- These are the most googled 3D printing questions of 2022, answered
- The top 3D printers under $500
- This device recycles plastic water bottles into 3D printing filament
You can follow my day-to-day project updates on social media. Be sure to follow me on Twitter at @DavidGewirtz, on Facebook at Facebook.com/DavidGewirtz, on Instagram at Instagram.com/DavidGewirtz, and on YouTube at YouTube.com/DavidGewirtzTV.
Air Up, the Water Bottle Designed With 3D Printing That Changes the Taste of Water
3D printing news News Air Up, the Water Bottle Designed With 3D Printing That Changes the Taste of Water
Published on August 15, 2022 by Madeleine P.
The possibilities of additive manufacturing are countless and varied. The company we’re featuring today, Air Up, is one such example.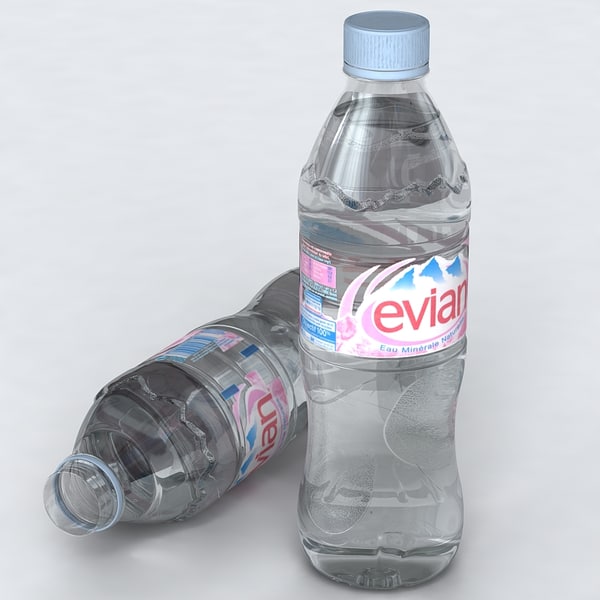 Based in Munich, it has set a new trend in healthy drinks by selling bottles that flavor water using the principle of retro-olfaction. The company was founded due to the fact that many of us don’t drink enough water in a day – yet we know how important regular hydration is for our health. So the founders decided to develop this original concept to encourage more water consumption.
Many of us rely on sugary drinks, coffee and herbal teas to keep us hydrated. Yet water is the best source of liquid for the body. That’s why the Air Up team wanted to develop a bottle concept that would give water different flavors, making people want to drink water more. The fast-growing company has reached 1 million customers and 240 employees in just two years, until March 2022. And for us it is particularly interesting because 3D printing played a key role in the development process of their bottles, both for direct printing of prototypes and for rapid manufacturing of molds for silicone molding to create food-grade prototypes, saving the startup time and money and getting to market quickly.
You can choose from a wide variety of flavors: lime, orange, strawberry, etc. (photo credits: Air Up)
How an Air Up Bottle Works
The principle is quite simple: the user of the bottle clips a Pod, or a capsule of the flavour of his choice, to the straw. When he or she starts to drink, flavored air bubbles rise through the capsules into the oral cavity and reach his olfactory receptors. These are responsible for transmitting the smell to the brain. Since the smell of the capsules comes from the throat, our brain recognizes the smell but perceives it as a taste. In this way, the water becomes more attractive, but remains healthy and without added sugar. In addition, the aromatic capsules can flavor at least five to seven liters of water, which reduces the waste of plastic bottles.
The Role of 3D Printing
3D printing has long been an important tool for creating a final product concept quickly and cheaply. After deciding to realize the topic of their Bachelor’s thesis, Jäger and Jüngst, the founders of Air Up, chose the right 3D printing method to build the first prototypes of the water bottle according to their ideas.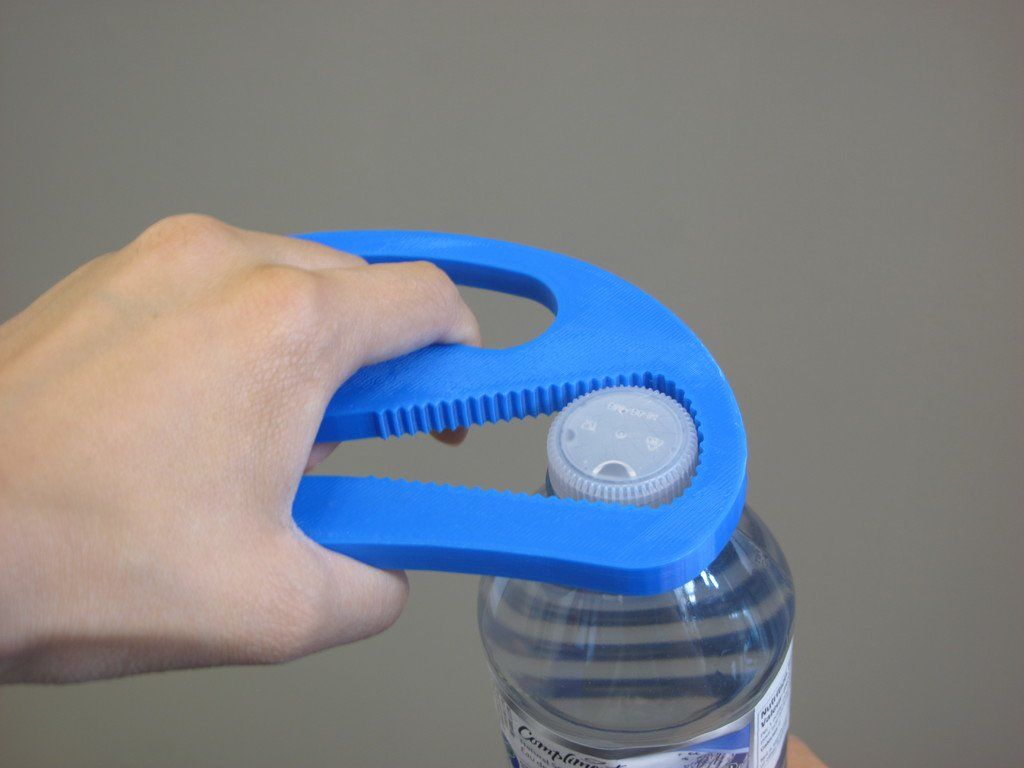 They used rapid tooling, a combination of 3D printed tools and traditional manufacturing methods such as injection molding, thermoforming and silicone molding. Among other things, this allowed them to modify their prototype designs flexibly, economically and very quickly.
Air Up’s prototyping lab is equipped with a Form 3L large format SLA 3D printer and Form 3 desktop printers (photo credits: Formlabs)
For this project, they worked closely with a Formlabs partner, Beta2Shape, who provided assistance and guidance to the team. The Air Up founders first purchased a Form 2 3D printer, and then expanded their printing capabilities to a Form 3 and a Form 3L. The Formlabs SLA machines were used not only for the silicone molding of the complex mouthpieces, but also for other parts, including prototyping the cap and straw mechanisms.
In order to offer consumers a pure and varied drinking experience with this feedback principle, special requirements had to be met in the design of the mouthpiece and the CEO Jäger describes the solution as such: “I used 3D printing to create a mold into which I could pour the silicone. I tried hundreds of variations and was always able to evolve the prototypes into a truly finished material.” The 3D printed molds and poured silicone allowed Jäger to work with extra attention to detail and dimension without losing valuable time. You can find more information about these water bottles HERE.
What do you think of the integration of 3D printing in the development of Air Up? Let us know in a comment below or on our LinkedIn, Facebook, and Twitter pages! Don’t forget to sign up for our free weekly Newsletter here, the latest 3D printing news straight to your inbox! You can also find all our videos on our YouTube channel.
Free plastic 2 (printed with PET bottles)
So the time has come for the second article
I will try to write about everything that I managed to learn as a result of experiments.
1) The difference between bottles
As it turned out, the bottles differ not only physically, but also in the properties of the plastic from which they are made.
The larger the volume of the bottle, the thinner its wall, for a 3l beer, it is 0.25mm, while for a 1.5l bottle it is approximately 0.4mm
One 1.5l bottle yields about 15g of tape
The hardest plastic in blue bottles (water/mineral water), while being the most fluid when molten.
Whites and greens are softer, the plastic is thicker.
Plastic from beer bottles is the most viscous, about the same as abs when melted, and perhaps the softest of all.
2) The best bottle cutter
Having shoveled the entire Internet, I found the best bottle cutter, which cuts very easily, and most importantly accurately, the strip width floats no more than 0.1 mm, and the minimum strip width that I cut was only 0.5mm
Photo of the original device, I will not give a link to the site itself, whoever wants to, he will find it through the search.
I have essentially the same thing, only I used bearings with a flange that is easy to sharpen.
3) Drying is our everything!
PET must be dried very well, because in the molten form moisture acts as a catalyst, while PET loses its properties, so bubbles would form, with a high moisture content, foam already climbs out of the extruder.
In the final version, I dry it like this: I put the coils of tape in a glass jar with silica gel, close the lid and put it on the radiator.
Ribbon printing example without drying
4) Temperature
For PET, the temperature at the outlet of the nozzle is very important, the plastic must quickly cool down to a temperature below 70 degrees, otherwise it will crystallize and almost completely lose its strength properties.
You need to print on an almost cold table (you can also on a very cold one), I set the table temperature to 35 degrees
The shrinkage of the plastic is low, as the abs in the corners does not move away from the table.
I cover the table with abs juice, it normally sticks to it, I have not tried other options.
I think the optimal extruder temperature is 265 degrees, it may differ depending on the type of bottle and printing speed.
5) Feeding mechanism
For printing with a simple tape, a piece of thin-walled rubber hose was put on the feed roller, PBO glides very well on brass and no matter how it clamps the spring, the roller still slides along the tape.
The grooved pressure roller has been replaced with a regular bearing of the same diameter.
The entrance to the thermal barrier was drilled and a piece of Tefno tube was inserted into it, which was cut off directly at the rollers themselves, thus the tape simply had nowhere to go except to climb into the extruder, after this alteration the tape stopped jamming.
6) Disadvantages of ribbon
It will not work quickly with ribbon, after all it is quite tender, and it cannot be quickly pushed into the extruder.
Also, the thickness of the tape varies quite a lot, both within one bottle and from bottle to bottle.
You have to take the part of the bottles that has the same wall thickness.
Requires modification of the extruder, printing will only work if the feeder is standing directly on the head (bowdens in the span).
We have a limited length of ribbon, we cannot print large items.
7) We produce a complete bar!
I started by making a new nozzle for the extruder, at its end a thermal barrier and a flange for a radiator, so that the plastic would harden in the nozzle itself.
The idea turned out to be a failure, the plastic just got stuck, despite the fact that the nozzle was made in the form of an inverse cone and was polished.
There was not enough melt pressure to eject the finished bar.
At that moment I was already very tired and, to be honest, I had very little desire to continue, but after a short rest, I still continued.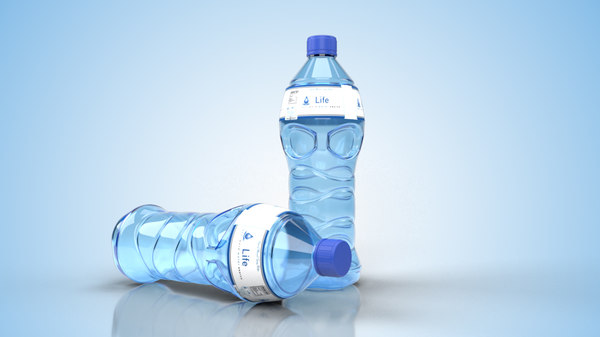
In his gradually expiring stocks of trash, the reducer was found by the janitor of the MTZ tractor :)
0003
With the help of a homemade lathe, a gear from the same robotron was attached to it, now it works as a pull roller.
Everything is mounted on a high-quality board from the bed, the exhaust mechanism is connected to the machine in place of the Z axis. melts, but as if compressed and sintered.
Thanks to this, it was possible to avoid crystallization, the resulting rod has a diameter of chotko 1.8 mm (such was the drill).
Productivity is not high yet, about 6 cm of finished bar per minute, on the other hand, you don’t need to follow the process, turn it on and let it buzz as they say.
This rod can be soldered to an unlimited length, it can be used on a regular printer without any modifications, in theory it should work fine with a bowden.
When using it, the snot was gone, the plastic does not pour from the nozzle as much as when using a simple tape.
I've only printed two parts so far, one of these days I'll make more of the rod and arrange more full-scale printing tests with this rod.
I also shot a very short video with a working device, I also give a link to a strength test if someone has not seen it.
https://www.youtube.com/watch?v=qPrURz1qpFs
plastic bottle filament, how to make filament
By making filament for 3D printing by yourself, the user can save a lot of money spent on consumables. Plastic filament for printing can be made from PET bottles. Consider which bottles are suitable for this, the procedure for manufacturing a filament, as well as the advantages and disadvantages of this method.
Is it possible to make plastic for a 3D printer from PET bottles?
When making filament for 3D printing, the following types of PET bottles are recommended:
- Blue.
 Such bottles have the hardest plastic, but when melted, it will be the most fluid of all.
 - White and green. The plastic of these bottles is softer than that of the blue ones. In molten form, the material is thicker.
- Brown. These bottles have the softest plastic. When molten, it is highly viscous (similar to ABS filament).
How to make DIY filament and print with plastic bottles?
Preparatory work
Bottles must be unraveled into ribbons before production starts.
Soft bottles have a thinner plastic, so it is better to break them into strips of 10 mm.
Containers with medium hard or harder plastic material can be cut into thin strips, about 7 mm thick.
PET bottle 3D printer filament tools
To create a filament from PET bottles, you will need the following tools:
- utility knife or bottle cutter;
Important! When choosing a bottle cutter, you need to pay attention to the accuracy of cutting plastic.
 The width of different cut strips should not differ by more than 0.1 mm.
 - oven;
- plastic crusher;
- homemade vertical extruder - it has a metal pipe with a drill screw that rotates with a stepper motor, and a nozzle with two heaters from a 3D printer;
- turntable;
- large basin;
- cold water.
Step-by-step instructions
Production of PET bottle filament for 3D printing is carried out in the following order:
- Cut plastic bottles must be melted in an oven at 180 °C. The melting time depends on the number of bottles.
Help. It takes approximately 40 minutes to melt 10 plastic bottles.
- After melting, the plastic must be completely cool. All excess moisture will evaporate from the material, and it will crystallize. In appearance, the polymer resembles glass.
- The cooled material must be ground in a crusher to a finer fraction.
- The crushed plastic is then fed into the vertical extruder. The rotating screw moves the ground polymer to the bottom of the device to the nozzle with heaters. The plastic starts to melt.
- As the molten PET exits the nozzle, it enters a bowl of cold water placed on the turntable. The rotation of the table will prevent sticking of the material. The thread must be cooled as quickly as possible so that it becomes flexible and transparent. In this case, it can be used for 3D printing.
- Let the homemade filament dry well before printing. Since in the presence of a large amount of moisture, a thread of molten plastic will exit the extruder in the form of foam. It is recommended to dry the skeins of thread in a closed container with silica gel at a temperature of 50–60 °C. To do this, you can use the oven or simply place the container on the radiator.
When using ready-made filament for 3D printing on a printer, there are a few things to consider:
- The product must be printed on a cold table, the temperature of which does not exceed 35 °C.
 This limitation of the temperature regime is due to the fact that the plastic must quickly cool down to a temperature below 70 ° C. Otherwise, the material may almost completely lose its strength properties.
 - Extruder temperature should be around 265°C. But it may differ depending on the printing speed and the type of plastic from which the filament is made.
- If the feed mechanism of the 3D printer is made of brass, then it is better to put a thin-walled rubber hose on the roller. It will not allow the PET thread to slide.
The pros and cons of using bottles to create plastic
The main advantage of recycling PET bottles for plastic filaments for 3D printing is that you can save on the purchase of industrial filaments and recycle unnecessary packaging, which, when taken to landfills, greatly pollutes the environment .
Disadvantages of using homemade filament:
- you can only print products at a low speed, because when it is increased, the thread breaks;
- requires a crusher to grind the material and a separate extruder to transport the plastic;
- It is not possible to print large size products, because the length of the thread is limited.

Learn more