3D printer stops printing halfway
Does your 3D printer stop in the middle of a print? We have the solution. – Geeetech
3d printing design,3D printing trouble shooting guide,problem solving,useful things,worth sharingLet’s be honest- 3D printing isn’t as easy as it looks. Especially if you’re a beginner, there are many problems that you will encounter but that shouldn’t stop you from pushing on. One of the most common 3D printing problems that we face is when your print stops right in the middle and you’re left confused wondering what went wrong. Sounds like something you’ve experienced? Read on for some simple solutions!
The 3D Printing Problem-
You’re in the middle of a print when suddenly the extruder stops printing and your work is left incomplete.
Why does it happen?
If you’re wondering if something is wrong with your 3D Printer then calm down. There are a few major reasons why a print will stop mid-way and all of them can be solved very easily. The problem lies either with the filament or the nozzle. In many cases, we simply run out of filament or face an issue with the current filament but aren’t aware till the print stops. If it’s not the filament then double check to see if the nozzle is blocked. Here are few ways to fix the problem:
1. Check if you’ve run out of filament
The first thing to check if your print randomly stops is if you have enough filament. Many times we forget that we’re coming to the end of a spool and that there isn’t really anything wrong with your printer. Just feed your extruder a new spool of filament and carry on with your print. Alternatively, you can use a slicer which will give you a material estimation for your prints. All it does it judge the weight of your spool of filament and tells you if there’s enough filament to complete your print.
2. Did your filament snap?
Filament usually only snap if they are old or have been incorrectly stored which makes them brittle.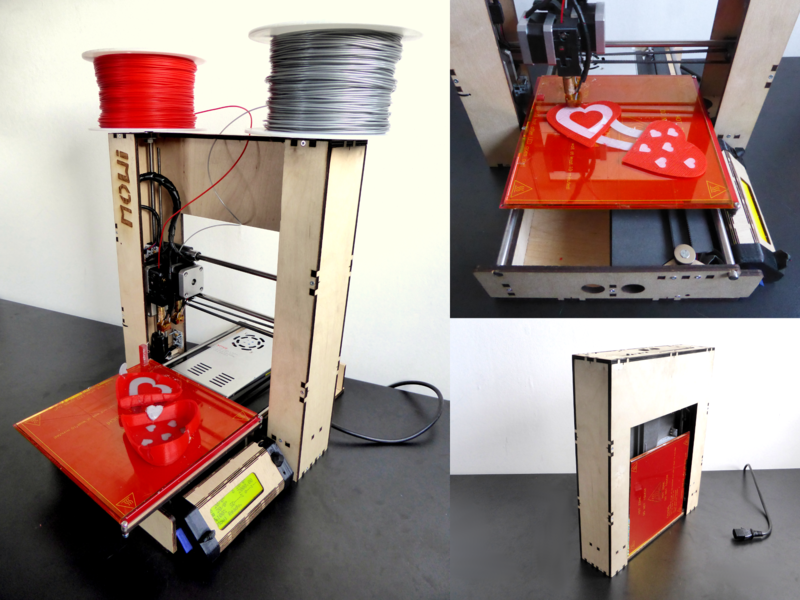 To make sure you’re keeping your filament stored in the best way check out our guide- An Easy Way To Store Your 3D Printing Filament
If you think your filament is in good condition then check the filament diameter as sometimes the diameters can vary which increases the tension. You can reduce the idler tension if it’s too tight by loosening it.
3. Is your filament stripped?
Stripping of filament is another reason why your extruder stops printing. You can try reducing the retraction and speed setting as well as increasing the temperature by 5-10 degrees. Another reason why your filament can strip is due to a blocked nozzle.
4. Check if your nozzle is blocked
If you constantly switch between filaments like PLA or ABS then there are higher chances of your nozzle getting blocked. A small amount of filament gets left behind which causes it to harden up and when this keeps happening, you’ll find that even though you have sufficient filament, none of will be pushed out through the nozzle.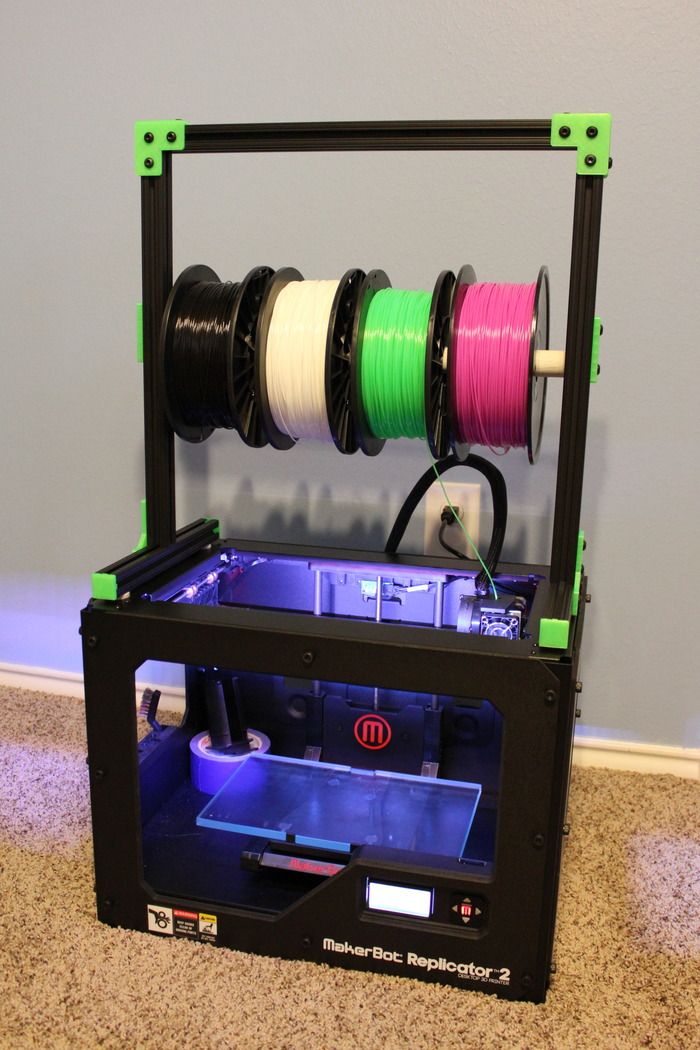 Take a look at our easy guide to fix your Blocked Nozzle.
5. Check if the extruder is over-heated
With the extruder doing all the hard work, it’s very common for it to heat up excessively during a print. The constant constantly back and forth movement for hours at a stretch can cause the extruder motor to overheat, especially if there isn’t sufficient cooling. Since they have a thermal cutoff, your extruder will stop working in the middle of your print if the temperature gets too high. The only way to resolve this issue is to turn off the printer and allow the electronics to cool down. To avoid the problem completely try adding an extra cooling fan.
If you found this guide helpful, share it with your friends to help them out!
Credits: all3dp.com, support.markforged.com, 3dnatives.com
Richa
6 Ways How to Fix Your 3D Printer That Stops Mid-Print – 3D Printerly
I’ve experienced my 3D printer stop extruding halfway in a 3D print, and just start printing in mid-air which can get frustrating.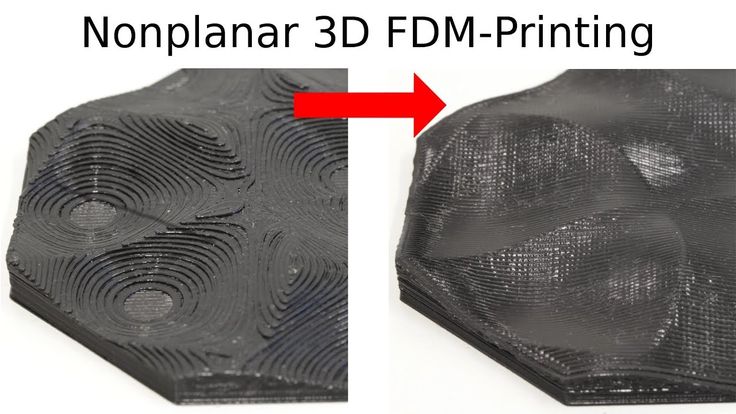 It took a while, but I finally found the solution to fixing a 3D printer that stops extruding mid-print.
Keep on reading to finally get the detailed solution to fix a 3D printer that stops extruding mid-print.
Why Does My 3D Printer Stop Extruding Halfway?
There are many reasons why your 3D printer might stop extruding halfway through a print. It could be due to the filament, incorrect temperature, a clog in the extrusion system and much more.
Below is a more extensive list of
- Filament has run out
- Extruder gear tension stripping filament
- Bad retraction settings
- Low extruder temperature
- Blocked nozzle or extruder pathway
- Extruder motor driver overheated
How to Fix 3D Printer That Stops Extruding Mid Print
1. Check the Filament
Yes, I’m going to state the obvious one to get the solutions kicked off! This kind of thing happens to the best of us, so double check that your filament is still finding its way through to the nozzle.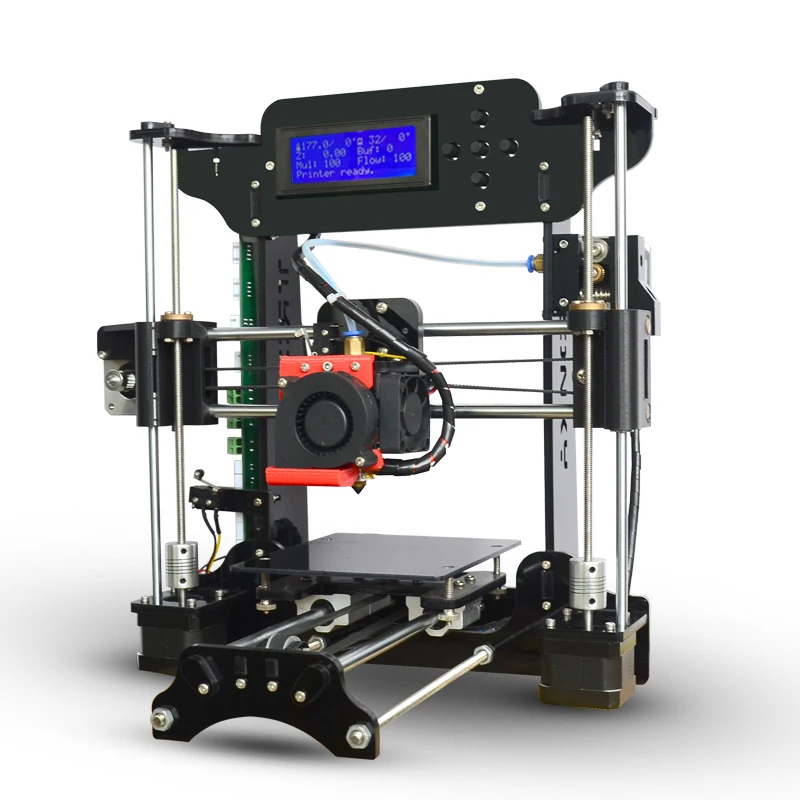
You also want to make sure there aren’t any obstacles or twists and turns which make it hard for filament to extrude. It would mean your motor has to work harder, and it might not have enough power to supply the filament through.
- If the spool is out of filament then simply insert new filament to continue
- Make the filament pathway smooth and unobstructed
2. Fix Extruder Gear Spring Tension
During a print, the extruder motor continuously spins. The motor tries to push the filament to the nozzle to extrude the filament from the nozzle.
However, when you attempt to print excessively fast, or you attempt to extrude much more filament than the nozzle capacity, the filament may get stripped off.
What can happen here is the extruder motor may crush the filament until there is nothing left for the gear to take hold of. The gear may end up filled or stuck with the plastic and lose the capability to grab more filament to extrude.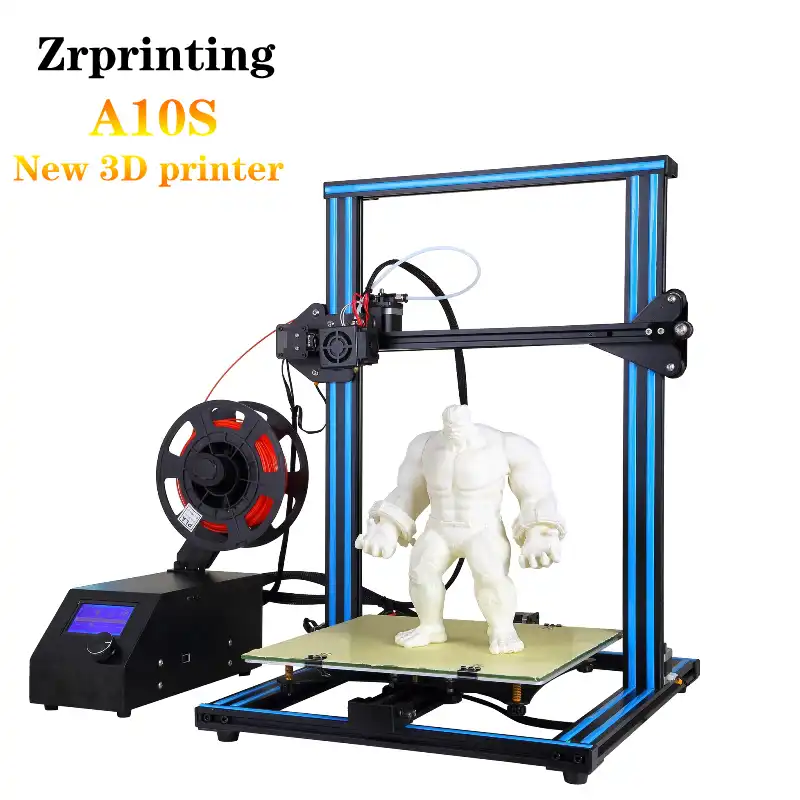
To resolve this problem, you may have to check a few things:
- Check if your motor is spinning and not extruding filament
- Undo the tension spring on your extruder, so it isn’t so tight and firm
- Look at the filament to see whether it has been chewed away at, meaning the spring tension is too tight
3. Retraction Settings
Retraction settings are really important to keep extruder working properly throughout your prints. You should look into the retraction settings as they are crucial.
If your retraction speed is too high the stress on the extruder will increase.
Even having a retraction distance too long can cause problems, as the filament gets pulled back a little too far which can cause clogs in your 3D printer.
- The first thing I would do is find an ideal retraction speed and length for your 3D printer
- Now, dial in your retraction settings using a retraction test so you can truly figure out the optimal settings
- Use trial and error with multiple prints until you pick the settings which return the best quality 3D prints.

4. Increase Your Printing Temperature
Temperature settings are also very important in fixing a 3D printer that stops extruding mid-print. There is generally a temperature range that is set for your filament which should be followed.
Within that range you should dial in your settings the same way as the retraction settings.
- I usually start with the middle of the range for printing temperature (205-225°C would be 215°C)
- If you really want to dial it in, run a test print using each temperature from 205°C then increase by 5°C increments
- Compare and contrast each 3D print and determine which print gives you the best quality.
- It should be high enough that it melts and extrudes smoothly
5. Clear Up the Clogged Nozzle
After following the previous steps If the problem persists, and it is slowing down the print speed, your printer nozzles are probably clogged.
A clogged nozzle makes it harder for the filament to come out properly which may result in your stopping extruder halfway.
Usually, the nozzle clog is identified at the beginning of the print job, however, it can get blocked midway through printing too. There can be several reasons for a nozzle clog.
Most common is a build up of dust and residue which gets heated up to high temperatures and gets burnt. This ends up leaving carbon in the extruder and can cause hardened plastic to get stuck in your nozzle.
Other reasons may include an idle nozzle or moisture affecting your extrusion process.
To resolve this issue try the following:
- Clear out the nozzle with a nozzle cleaning needle or wire brush
- You can sometimes clear the nozzle by manually pushing the filament in the nozzle by hand from behind the extruder.
- There are cleaning filaments out there which are commonly used to clean out a nozzle (cold a cold & hot pull)
- Heat up your nozzle to a high temperature and put the cleaning filament through, and it should clear out the clogs.
- If the clog is stubborn, some people have used a heat gun to loosen the material
- At last, if nothing works than just disassemble the hotend and clean the debris by soaking the nozzle in the recommended solvent.
6. Cool Down the Overheated Extruder Motor Driver
If the printer stops extruding in the middle of the print then another reason can be an overheated extrusion motor.
If the printer does not have a good cooling system, the extruder motor gets overheated. The drivers of the extruder motors typically have a thermal cut-off or a decided threshold at which the drivers make the extruder motor stop automatically.
Following will keep the temperature moderate and the extruder motor keeps on working effortlessly without any resistance.
- Stop printing for some time to let the motor rest and cool down
- Make sure that the printer gets resting time in between multiple printing jobs
- Check that your extruder motor isn’t working harder than it needs to with bad filament pathways
How to Fix 3D Print That Fails at Same Height/Point
To fix 3D prints that fail at the same height or point, you want to physically check your printer to see if there are any obstructions or tangles in the wiring or cables which are getting caught on something. A good lubrication of your printer is a good idea, as well as checking that your gantry isn’t screwed too tight.
These are just a few things you can try to fix this issue, as well as more listed below.
I would recommend trying to print a cube with no infill or top layers that has a height above where the failure is. You can do this with a 0.3mm layer height.
If the cube prints fine, you can then try a low-poly print like a Low-Poly Pikachu and see if the problem occurs.
This will allow your printer to quickly reach the observed point of failure so you can view what exactly is happening.
It could be a problem with the tightness of your gantry wheels on the side of the Z-axis.
For specific prints, it could be a problem with not having enough infill material to support the layers above, leading to a print failure.
Another thing you can do is to use an infill that is naturally more dense like the Cubic infill pattern.
I’d also look into increasing your printing temperature to account for any under extrusion because it can definitely cause prints to fail. If you are getting layer delamination or bad layer adhesion, a higher printing temperature can fix that.
One thing that many people do is to 3D print a pre-sliced file like one that comes with the SD card alongside the printer. If these files work fine but your sliced files have those same issues, then you know it’s most likely a slicer problem.
Either updating your slicer to the latest version or using a whole different slicer can fix the issue of 3D prints that fail at the same height. Cura has really good default settings nowadays so it should work fairly good without changes.
It’s a good idea to check the physical features of the printer such as the cables, wires, belts, rods and screws. Even a good lubrication around the moving parts can provide a solution to 3D prints from a machine like the Ender 3 or Prusa printers failing at the same height.
Ensure that you tighten screws around the printer because they can loosen up over time.
ConclusionAs you can see, there are a few different ways that you can solve the issue of your 3D printer stopping extrusion halfway through the printing process. Once you identify the cause, the fix is usually pretty easy.
I’m sure after you try out the methods detailed above, you should be well on your way to fixing this issue.
12 Troubleshooting Tips for
Filament 3D PrintingFilament 3D printers can produce anything from holiday decorations to medical implants, so there's no shortage of excitement in the process. The problem is getting from your 3D model to the actual print. A lot can go wrong and mess up your print, especially if you're new to it and still figuring out how 3D printing works.
In this article, we'll show you how to get better results by helping you fix your filament 3D prints that went wrong. Check out all our troubleshooting tips, apply them step by step, and above all, be patient. 3D FDM printing can be frustrating at times, but it rewards you with countless real world applications.
A caucasian struggles with a modern 3D printer with curls of filament
This is not printing
Is your 3D printer not printing anything? Don't worry, this is a common problem. There are quite a few issues that can prevent your printer from extruding any material. Here are the most common problems and how to fix them.
Programs for Windows, mobile applications, games - EVERYTHING is FREE, in our closed telegram channel - Subscribe :)
1. Check filament
You have prepared the printer and your model, but nothing happens. You may even get filament residue through the nozzle, but your design won't print.
Your printer has run out of filament. This may seem like an obvious problem, but it's easy to miss if you don't have a printer that alerts you when you need to add a new spool. Before looking at other possible issues, make sure your 3D printer has enough filament to print your model.
2. Check for clogged nozzle.
If you're dealing with a blockage, nothing will come out of the printer nozzle. This usually happens when you change filament or material type and the old material is stuck in the nozzle. Prevent clogging by performing regular maintenance and keeping the nozzle clean after every project.
However, if you forget to clean the nozzle, you can easily remove the blockage with a needle or other thin object. Poke the needle through the nozzle to remove as much of the remaining thread as possible. In doing so, you can heat the nozzle to make your job easier.
Alternatively, you can try pushing new thread through to clear the clog. This may not work on its own and you will have to apply some external pressure to force out the old thread. If you try this method, apply force carefully or you may damage the printer.
Adjust nozzle
If your printer still does not work, the nozzle may be too close to the print surface. When this happens, the filament cannot properly pass through the layer forming nozzle. This issue can also lead to missing layers, clogging, or adhesion issues, so be sure to adjust the nozzle height.
Go to the printer settings and change the Z-axis value. Increase the setting to the value recommended by the printer manufacturer's manual, or gradually change the nozzle height until the filament flows normally.
4. Look for Filament Fragmentation
One of the most common 3D printing problems that goes unnoticed is filament fragmentation. The filament spool seems fine, but nothing comes out through the hot end. In this case, you may be dealing with fragmentation somewhere between the coil and the nozzle.
It depends a lot on the type of material you are using, be it ABS or PLA, and how old it is. However, the only solution is to remove the filament to look for any damaged areas. If the material is new but you are sure it will break along the way, try a different spool or try lowering the temperature and flow.
5. Is the printhead missing from the platform?
Did you hear a terrible noise when you started typing? The printhead may be trying to deviate from its X or Y axis and completely lift off the print platform. This makes printing impossible and is usually caused by a software configuration issue.
Make sure you have selected the correct printer in the slicer software. Each model comes with its own customization options included in the configuration file. If you select the wrong model, the print head will be misaligned. However, you should also update your firmware as outdated configurations can also cause this issue.
The print was a complete failure
So you managed to get your 3D printer working, but the print was a complete disaster. This usually happens when the print is not sticking or when the supports are not working properly. Either way, here are the most common problems with 3D printing.
6. Eliminate Terrible Bed Sticking
One of the most common problems that cause print failures is lack of adhesion to the table. The print does not adhere properly to the print platform, so the whole project becomes a waste of time.
First, make sure the print bed is properly leveled and clean. Any material that does not belong to the print surface can prevent filament from sticking. After that, try using supports or edges.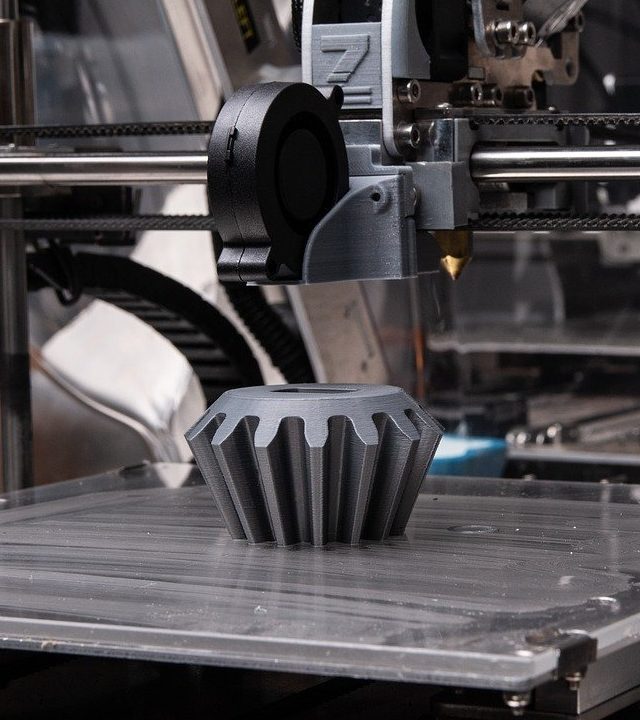 Go to your slicer settings and print using these additional items.
7. Did the supports fail and ruin the seal?
As mentioned, the use of pads can help with build platform adhesion, but they are also needed when printing complex models. Without supports, your print may be affected by other issues such as edge warping and misaligned layers. Also, using the wrong type of support or not enough supports can ruin your project.
Fortunately, your slicer software should automatically generate the necessary support. You then add additional supports by hand if you think your print might be marred by ridges, warping, and other issues. However, you will have to experiment with supports depending on your project. There is no way around this.
Extrusion gone bad
Sometimes, when you think you've got it all figured out, the hot end of your printer stops extruding filament halfway through the printing process. This will definitely ruin your entire project, but it's easy to prevent.
Make sure you have enough thread. Threading software like Cura should give you a rough estimate of how much thread you will need for your project. Just keep in mind that material types also matter when it comes to grading, so PLA requirements may not be the same as ABS requirements. Check the roll before you start.
Then check if your printer's nozzle is clogged. It can also suddenly stop extrusion during printing. In this case, refer to the clogged nozzle solutions above.
Your print looks bad
Despite your best efforts, something went wrong and your print doesn't look as nice and smooth as it should. Many things will affect the 3D printing process and result in warp, tension, messy layers, random drops, seepage, poor infill, and ugly side effects that will ruin your project. Here's what you can do.
9. Warp Correction
One of the most common problems with 3D printing with filaments such as PLA and ABS is warp. Your model bends its base upwards and detaches from the build platform. It can also cause cracks to appear, making your print even more unusable. Fortunately, there are several possible solutions:
- Heat up the print bed. By bringing the temperature of the print platform to the melting point of the material, you can make the first layers stay perfectly even. Adjust the temperature using the slicing software according to the manufacturer's recommendations.
- Recalibrate. Go through the calibration process and level the print bed. You should also adjust the height of the attachment and make sure it is not too close or too far from the platform.
- Use the rafts. If there are adhesion or contact issues, try adding rafts using the slicer software.
10. Get the first layer right
If something goes wrong with the first layer, you will most likely end up with an ugly print. Make sure the print platform is properly leveled before you start printing. An uneven bed is the cause of most failed prints. Then adjust the nozzle height and flow rate.
11. Cracking Prevention
There is nothing more ugly and useless than a cracked print. If the melted plastic cools too quickly, you are likely to get cracks, especially in the top layers. Going from such a high temperature to a low temperature will cause the material to shrink, resulting in cracks. This is usually a problem for large models.
There are two things you can try:
- Adjust the extruder temperature. Increase it in small steps, without going beyond the manufacturer's recommended values.
- Adjust the fan speed. If your model's cooling fan is blowing too hard, it may be cooling it too fast. Tune it gradually until you find a happy medium. Keep in mind that you still need a high enough fan speed to prevent warping and other deformations.
12. Tension Prevention
Tension, also known as bleed, is one of the most common problems that degrade 3D FDM prints. Thin pieces of fibrous plastic are formed on the model as the extruder moves from one point to another.
To fix this, several things need to be checked:
- Is the temperature too high? Overheating the extruder will cause the filament to flow out too quickly. Lower the temperature a few degrees so it doesn't leak out so quickly.
- Increase driving speed. If the printer is not moving fast enough in the X or Y axis, the extruder may leave thin filaments of plastic behind. Go to the slicing software settings and adjust the motion speed settings.
- Adjust the retraction speed setting. A slow retraction speed will cause the filament to bleed through the nozzle before the extruder can move into a new position. This will stretch the plastic from point A to point B like a web. Try your slicer software presets and consider the filament material when choosing.
3D printing can be challenging
Creating a 3D model is a lot of fun, but a lot can go wrong and it's impossible to cover everything in one article.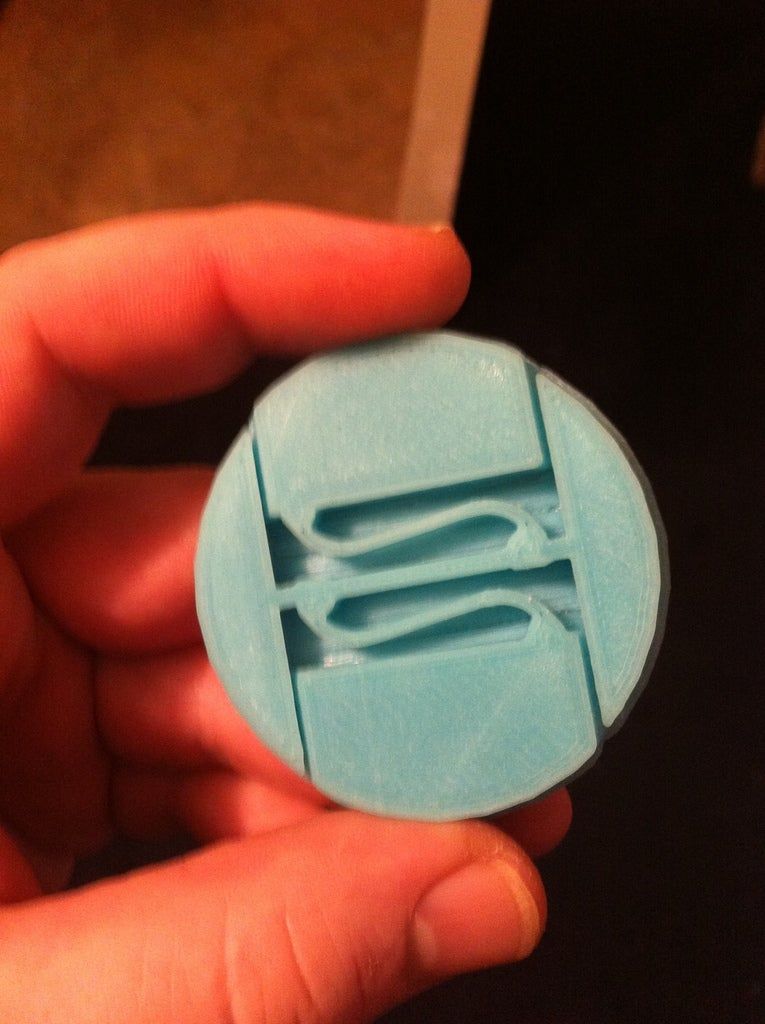 There are many variables to consider when using an FDM printer, so don't panic if your 3D print doesn't turn out the way you hoped. Make sure your printer is properly calibrated and that you are using high quality filament. After that, follow all the troubleshooting steps.
If all else fails, please let us know more details about your 3D printing issues in the comments section below and we will do our best to help you.
Programs for Windows, mobile applications, games - EVERYTHING is FREE, in our closed telegram channel - Subscribe :)
3D printer stops printing at an arbitrary moment, during printing
Fockus
Administrator
#1
#1
If your printer extruded normally at the beginning of a job and then suddenly stops extruding, then this problem is usually due to just a few reasons. We will explain each of them and suggest a way to fix the problem.
Filament out
This is obvious: before looking for the reason why the printer does not print, it is extremely useful to make sure that it has something to print. If the coil is over, you need to fill a new one, and then continue.
Filament ground off drive gear
During printing, the extruder motor rotates continuously trying to push the filament into the nozzle so the printer can extrude the plastic. If you're trying to print too fast or extrude too much plastic, the motor can bite into the filament to the point where it grinds everything away and the gear has nothing to grab onto. If the extruder motor is spinning but the filament is not moving, this is probably the cause.
Extruder clogged
If none of the above apply, it is very likely that the extruder is clogged. If this happens during the printing process, you can check the filament itself for dirt, and also make sure that the spool is not dusty. If dusty filament is fed into the nozzle, everything ends up clogged.
Extruder motor overheated
The extruder motor is having a hard time when printing. It constantly rotates back and forth, pulling and pushing the plastic back and forth. Fast movements are associated with a high consumption (and release) of energy, so if the printer electronics do not have enough cooling, they can easily overheat. Typically, motors have a thermal protection that turns them off if the temperature gets too high. In this case, it may turn out that the motors along the X and Y axes continue to work and move the extruder head, but the motor of the extruder itself is stopped. The only way to solve this problem is to turn off the printer and let the electronics cool down. It may also be helpful to install an additional cooling fan if the problem recurs.
I also ask you to answer the questions below, so that I can help you solve the problem
1) It can't be that you set the print to a certain layer in the slicer, or is there a pause command on this layer?
After cutting, check the model.
2) Doesn't the display show an error like "Termal runaway"?
3) It happens that on a certain layer the wires come off on the engines, of course the reaction would not be the same, but still check the wires and not only on the stepper motor.
4) Try writing gcode to another sd card.
Last edit:
For all questions, contact PM
SeregaWild_Dragon
Newbie
#2
#2
hello.


