3D print metal cost
How much does it cost to print a 3D metal part?
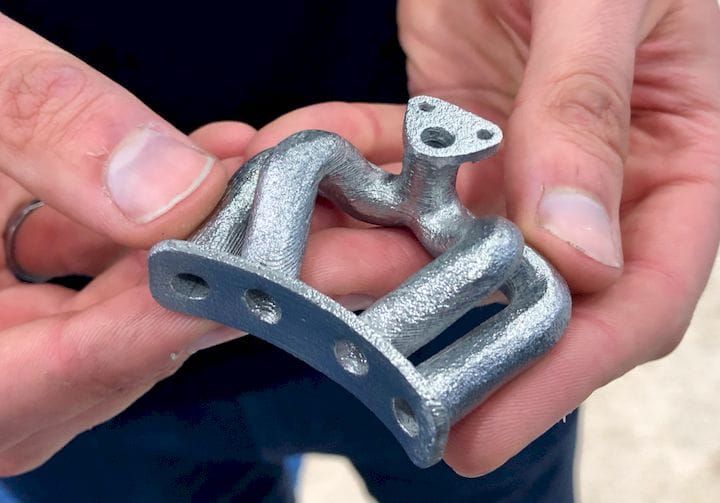
3D metal printing lets you produce very complex parts that have impressive structural performance while also being completely unique. However, it is usually relatively expensive to print an individual part. This is because, unlike traditional mass manufacturing techniques which become cheaper the more you produce, the creation of individual 3D metal parts will always be time and energy intensive. You can’t just continually reuse the same mould to produce thousands of identical widgets.
In this blog, we will look at the common costs of 3D metal printing, then explore some of the ways that you can reduce your outgoings.
What are the main costs of 3D metal printing?To get an idea of the costs of producing a 3D metal part, you need to consider both the manufacturing and the post processing stage. The exact cost of each part will of course vary depending on its size and complexity.
Nonetheless, it is possible to start to get a ballpark figure for the general costs of 3D metal printing, which you can then apply to your own designs. The following table, using data from the 3D Hubs website, will help you get an idea of the costs involved in producing a standard build plate of between 6 and 12 parts.
| 3D printing | Material cost | $ 175.00 | 8.05 % |
| DMLS/SLM cost | $ 375.00 | 17.24 % | |
| Post-processing | Stress relief | $ 68.75 | 3.16 % |
| Part/supports removal | $ 150.00 | 6.90% | |
| Heat treatment/HIP | $ 156.25 | 7.18 % | |
| CNC machining | $ 1,250.00 | 57.47 % | |
| Total | $ 2,175.00 | 100.00 % |
As the table shows, there are two areas in particular which contribute to almost three quarters of the total cost of printing a metal 3D part.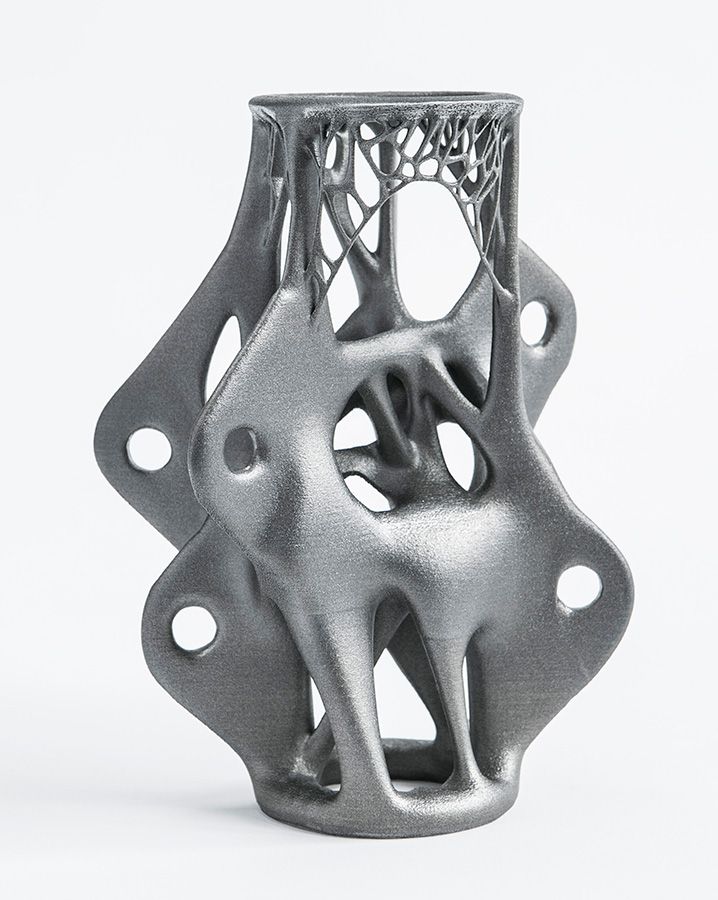 These are:
CNC machining
All 3D printed metal parts must undergo post processing. This typically involves the use of software controlled machinery and skilled machine workers who will require between a few hours and a couple of days to finish each part. The work involves removing each part from its base or support structure, polishing it and turning it into a ready to use widget. CNC machining includes the cost of the energy used in processing the part, but also staff salaries.
DMLS/SLM
Direct metal laser sintering (DMLS) and selective laser melting (SLM) refer to the costs of using the 3D printer itself. A metal 3D printer uses a significant amount of energy, so the longer that the printing job takes, the higher this cost will be. Larger, more complex jobs will of course cost you more money.
Learn more: 6 major cost factors in 3D metal printing
How to bring down 3D metal printing costsAlthough 3D metal printing will never be ‘cheap’, there are a number of things you can do to reduce the costs involved in using this method. These include:
Reduction of machine costs in 3D metal printing
The best way to reduce the cost of ownership of your DMLS or SLM machine is to reduce the time it takes to 3D print the part. For example, 3D metal printing might allow you to produce dental parts that are completely unique to each patient. By using software that can automate design, you can speed up this process significantly. On a dental part, much of the fundamental geometry is identical; you will still need to customise certain elements to the patient’s mouth, yet most of the work is already done for you. The part’s orientation, support structure generation, placement and slicing and matching can be repeated from one design to next. Your designer can then simply make a couple of tweaks to an existing design file without having to continually rebuild from scratch.
Cutting the CNC finishing costs of 3D metal printing
CNC machining costs are by far the largest cost component of a 3D metal piece. After all, it takes software-controlled machines and machinists to turn a “raw” 3D-printed part into a polished as well as ready-to-use part.
Most 3D printed workpieces come out of the machine with support structures. It takes experienced workers several hours to structurally remove these elements. The combination of technology, man-hours required and energy makes this the most expensive process step.
There are several emerging techniques that help to reduce the amount of time your teams spend on CNC finishing. Recent research shows that using supports that can be dissolved in acid can cut post processing time from a matter of days to just a few hours. Furthermore, some SLM editing software can help you design ways of removing support structures with greater ease.
Stay on the ball: advantages and disadvantages of metal printing
Reducing design time through automation
The beauty of 3D printing metal parts is that it allows you to produce completely unique and customized pieces. This would typically mean that each design needs to be custom built in the software – and that could take many hours of a designer’s time. However, today’s 3D metal printing software can help you to quickly increase the volume of parts you can produce by automating many stages of this process.
For example, 3D metal printing might allow you to produce dental parts that are completely unique to each patient. By using software that can automate design, you can speed up this process significantly. Built-in machine libraries and pre-defined support structures help to speed up the data preparation of your files, design more parts and therefore boost your profits while also reducing your costs.
Optimize 3D metal printingBy finding ways to optimize your 3D metal printing processes, you can save your company significant sums of money while boosting productivity.
At CADS Additive, our mission is to find ways to automate and improve your processes around 3D printing. Our software brings you powerful and easy to use 3D metal printing design tools that help with the automation of many aspects of design. That saves your skilled workers from having to continually repeat work – and means they can produce more parts in less time.
Try CADS Additive today to see how it can help you automate the design process while reducing the cost of 3D metal printing for your business.
« Back to overview
How Much Does It Cost To 3D Print Metal Parts?
It’s no surprise that metal 3D printing has been a hot topic for some time now, considering the technology’s potential. What factors affect the price of 3D printed metal orders? It’s understandable that part size and geometry affect metal 3D printing prices, but there are other factors that can affect them as well. Metal additive manufacturing (AM) is sometimes misunderstood by designers and engineers, dissuading them from pursuing the technology.
Industrial production is being transformed by additive manufacturing. There are various methods and materials for 3D printing metals. In general, metal 3D printers make up most of the costs of 3D printing, and the rest is split between raw materials, labor, preparing, and post-processing.
In the late 1980s, Dr. Carl Deckard of the University of Texas developed the first laser sintering 3D printer of plastics. Through this development, 3D metal printing was made possible.
The first patent for laser melting of metals was filed in 1995 by the Fraunhofer Institute in Germany. Companies like EOS and many Universities lead the development of this process.
In 1991, Dr. Ely Sachs of MIT introduced a 3D printing process that is today better known as Binder Jetting. Binder Jetting of metal was then licensed to ExOne in 1995.
3D printing of metal saw slow but steady growth in the 2000s. This changed after 2012 when the original patents started expiring and large investments were made by companies like GE, HP and DM.
Today, the Wohler’s report estimates metal 3D printing to be a $720 million market and growing rapidly. Metal 3D printer sales grew by 80% in 2017.
Metal 3D printing vs traditional manufacturing
When deciding between metal 3D printing and a subtractive (CNC machining) or formative (metal casting) technology, always conduct a Cost vs Performance analysis. A manufacturing cost is generally determined by the production volume, while the performance of a part is largely determined by its geometry.
Metal 3D printing is best suited for parts with complex & optimized geometries. In other words, it is ideal for manufacturing high-performance parts. However, it does not scale as well as CNC machining or metal casting at higher volumes.
Generally speaking:
The high cost of metal 3D printing can only be justified financially if it results in an increase in performance or operational efficiency.
Various industrial requirements are met by different metal 3D printing processes.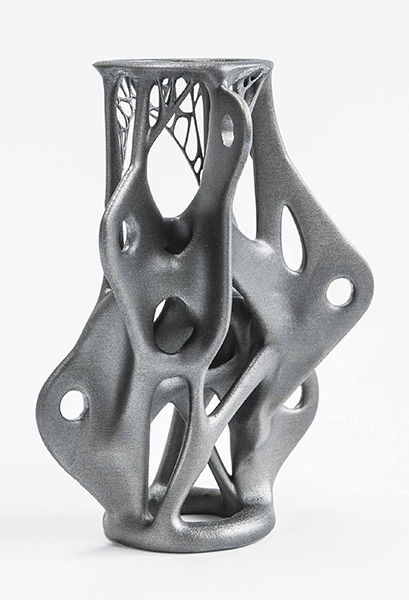 Below are some general guidelines to help you decide which process is right for you:
DMLS/SLM: In order to increase the efficiency of the most demanding applications, DMLS/SLM is the best solution for parts with high geometric complexity (organic, topology optimized structures).
Binder Jetting: For small and medium-sized batches, Binder Jetting makes the most economic sense for parts with geometries that cannot be efficiently manufactured by subtractive methods and for small parts, binder jetting provides the best alternative.
Metal extrusion: Metal extrusion is the best option for prototyping and manufacturing one-off metal parts with complex geometries that would otherwise require a 5-axis CNC machine.
Benefits & Limitations of Metal 3D printing
Understanding that 3D metal printing has a lot of unique benefits is essential. However, its limitations do not always make it the best option when it comes to manufacturing metal parts.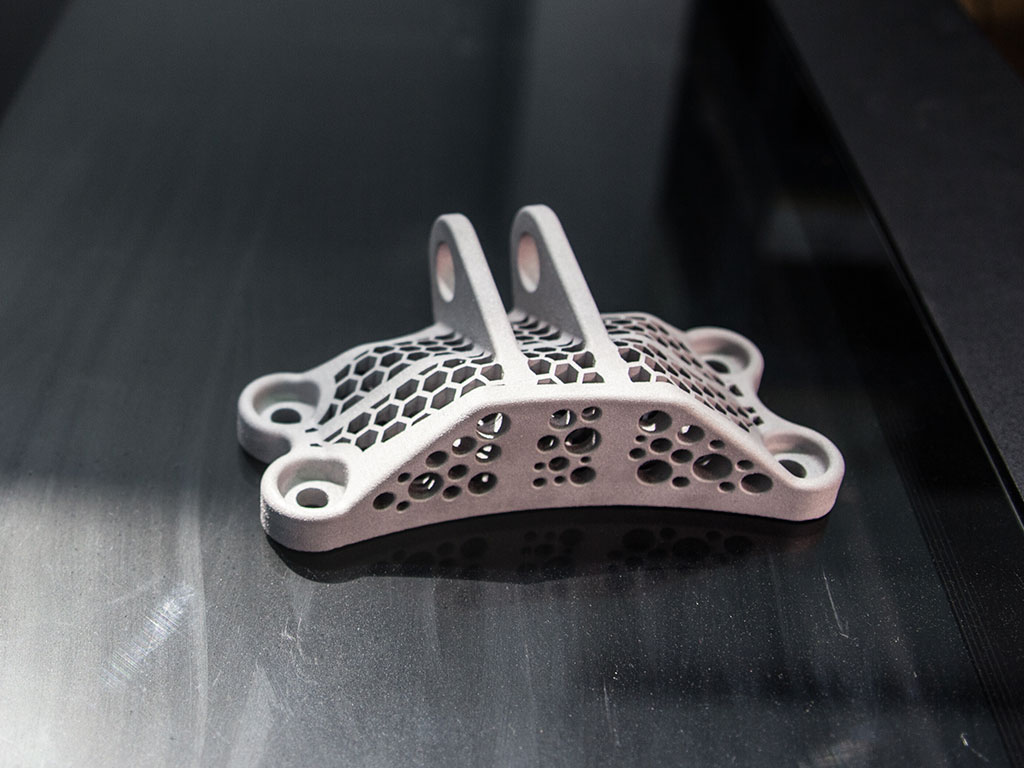
Geometric complexity at no extra cost
Its exceptional design flexibility is the greatest advantage of metal 3D printing compared to “traditional” manufacturing. Geometries that cannot be manufactured by other means (such as a mold or cutting tool) can easily be 3D printed since no specific tooling is needed. Moreover, if a part has increased geometric complexity, the cost of manufacturing it hasn’t increased. As a result, organic, topology-optimized structures can be printed on metal parts to greatly improve their performance.
Optimized lightweight structuresDesign flexibility and lightweight structure go hand in hand with metal 3D printing. By following best design practices for metal 3D printing, lightweight solutions are always possible. Advanced CAD techniques, such as topology optimization and generative design, are typically used for this purpose. As a result, parts are both lighter (typically by 25% to 50%) and stiffer. This is important for high-end applications in industries like aviation and aerospace.
Parts with internal structures can be made with metal 3D printing since tool access is not an issue. Internal channels for conformal cooling, for example, are a great way to increase the performance of a part. DMLS/SLM – manufactured injection molding cores with conformal cooling – can reduce injection cycles by up to 70%. Adding metal extrusion to a component’s functionality is another way to increase its functionality. This process enables custom jigs and fixtures to be created when needed, increasing the efficiency of other industrial processes on the production floor.
Merging assemblies into a single partA third strength of metal 3D printing is its ability to merge an assembly into a single piece. This eliminates the need for fasteners and creates parts that can perform multiple functions at the same time. Labor costs and lead times are also reduced, as well as maintenance and service requirements. Another way to create lightweight structures is to reduce the number of parts.
It can take 20 or more processes to manufacture a complex geometry part using “traditional” methods, even when it can be manufactured using “traditional” methods. Metal 3D printing is a viable manufacturing option in these cases. Binder jetting, for example, can reduce the total number of steps to five or less (including post-processing and finishing). In this way, the manufacturing supply chain is simplified.
Excellent material propertiesIn contrast to 3D printing of plastics, parts manufactured with DMLS/SLM or Binder Jetting have a more isotropic mechanical behavior. In addition, their material strength is comparable to that of wrought metal (and in some cases even better). Therefore, metal 3D printed parts have found applications in the most demanding industries, such as aerospace. It is important to note, however, that 3D printed parts generally have a lower fatigue strength. Surface roughness and internal porosity (typically, DMSL/SLM parts have * 0.2% porosity and Binder Jetting parts have * 2% porosity) play a role in this.
Higher cost than traditional manufacturing
The cost of metal 3D printing today is very high when compared to traditional manufacturing methods. A typical DMLS/SLM part will cost you approximately $5,000 to $10,000 to 3D print and finish. The use of metal 3D printing makes economic sense only if it is associated with substantial improvements in performance. However, affordable metal 3D printing solutions are in demand. In the near future, the new benchtop Metal Extrusion systems and production Binder jetting systems could fill this gap.
Limited economies of scaleIn terms of large volumes, metal 3D printing is not yet able to compete with traditional manufacturing.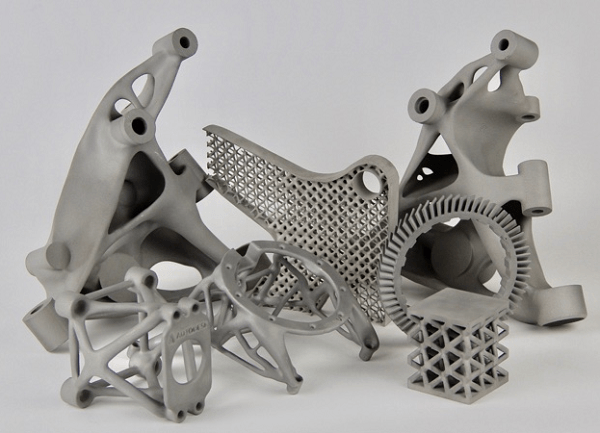 The lack of custom tooling leads to a low start-up cost, but also means that the total manufacturing costs are not significantly affected by the volume of production. This means that the unit price remains nearly unchanged at higher quantities, and economies of scale cannot be realized. Still, the industry is working towards metal 3D printing systems that can streamline production. Currently, DMLS/SLM machines with multiple lasers and Binder Jetting systems capable of continuous production are being introduced to the market.
Designing metal 3D printed parts follows a different set of rules than “traditional” manufacturing. As a result, existing designs often have to be re-designed. Moreover, the tools provided by older CAD software may not be sufficient to fully benefit from the advantages of metal 3D printing. In the last section of this guide, you’ll find a detailed description of the main design considerations, advanced CAD tools, and design rules for metal 3D printing.
Metal 3D printed parts will almost always need some post-processing before they are ready for use. This will increase the overall cost and delivery time. To produce the final part, thermal treatments, machining, polishing, and other finishing methods are almost always required irrespective of the technology selected. In later sections, we’ll see more details on the post-processing steps required for each technology.
Metal Powder Bed Fusion 3D Printing
The most popular metal 3D printing method is metal powder bed fusion. Selective laser sintering is known as SLS. A high-powered laser is used to sinter metal powder into a solid structure.
First, the machine will dispense a thin layer of metal powder onto the build platform. By heating the powder just below its melting point, the laser will be able to create a solid model from it. After a long process of layering, your prototype is finally complete! Any leftover powder will support the structure as it is built and can be reused for future projects.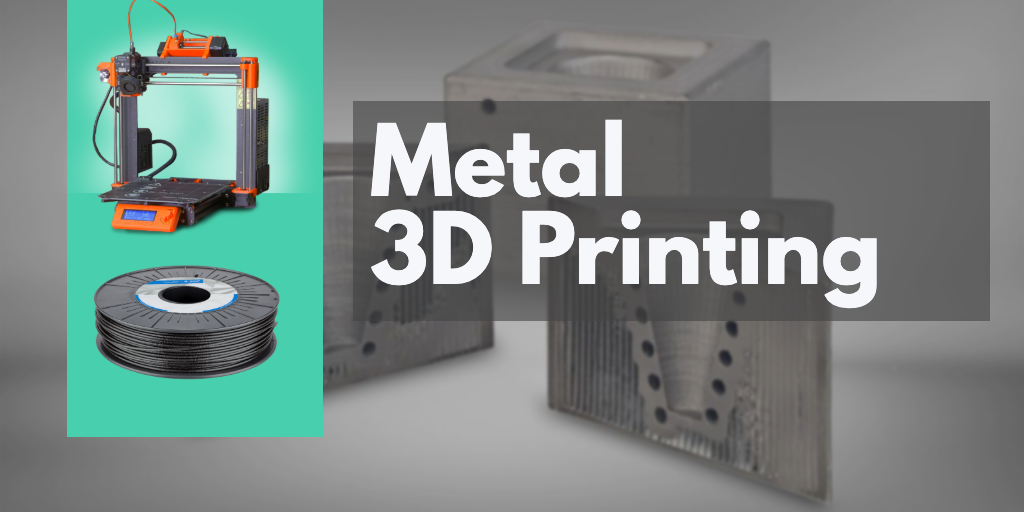 Upon completion, the structure will cool down within the machine to prevent warping and optimize its mechanical properties.
Post-processing is of course necessary. The excess powder must be removed and the part must be separated. To further process the piece, you can use media tumbling or blasting. Direct metal laser sintering (DMLS) or selective laser melting (SLM) are other names for this process. Regardless of the name, this technique selectively bonds the metal particles one by one using lasers. The average cost of an SLS or SLM printer is $550,000, but it can cost as much as $2,000,000 depending on the features you choose!
Directed Energy Deposition (DED)Directed energy deposition, also known as DED, is another type of metal 3D printing. Since the metal powder is pushed through a special nozzle, this method can be compared to filament extrusion. Metal in wire form can also be used, as it can also be pushed through the nozzle. In contrast to SLS, which sinters the material on the print bed, DED solidifies the material as it is being deposited with a laser.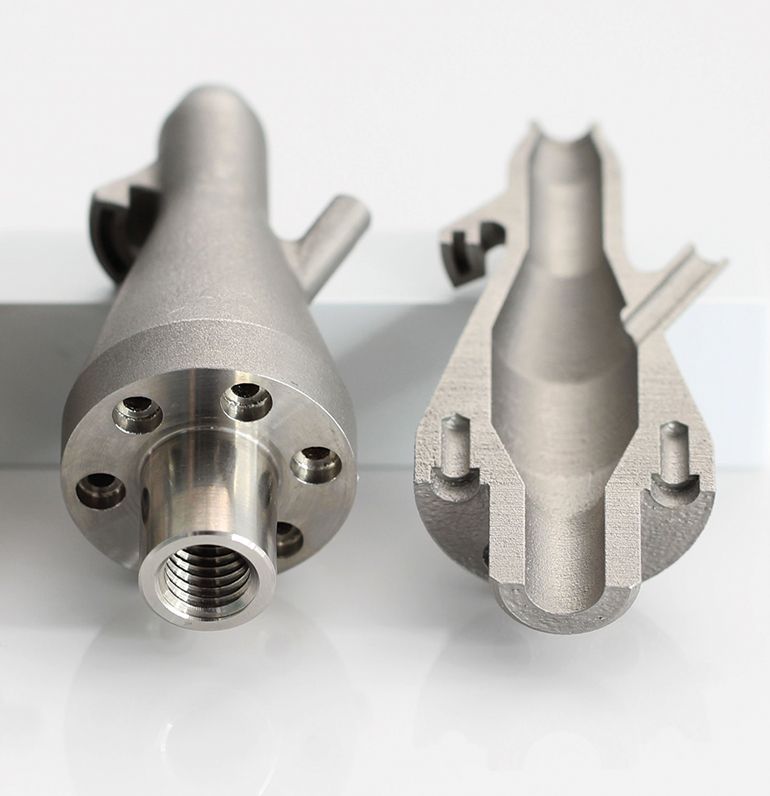 It also holds a laser that melts the material on the print bed while the robotic arm lays it down. SLS machines are known for their large amount of material waste, so this process increases the speed and efficiency of 3D printing.
To prevent unwanted oxidation and to maximize control, the entire process must also take place in a sealed chamber that is filled with inert gas. DED machines are ideal for repairing parts or building large objects made of metal. As well, its high printing speed makes it ideal for manufacturing large volumes of parts. However, it sacrifices surface quality and finish.It is not necessarily a cheap option, since most DED machines cost upwards of $500,000!
Metal Filament Extrusion
A metal 3D printer that uses filament extrusion is also an option. Heating up the metal material, or filament, enables it to be processed through nozzles. Instead of the dangerous metal powder used in the previous options, this filament is made of metal particles mixed with a binding agent.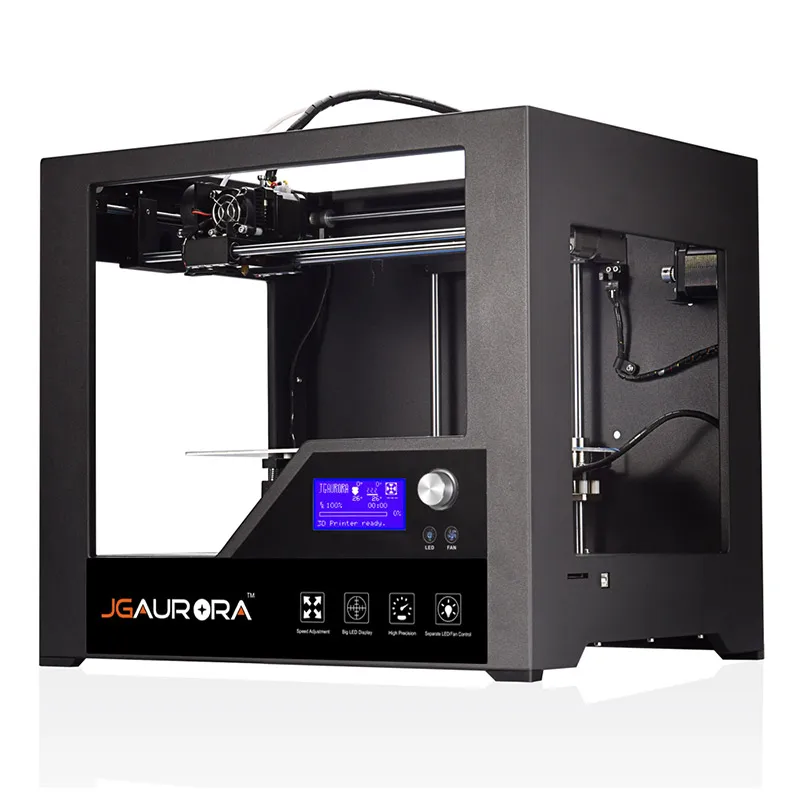 In other words, it is easy to handle and safe to use, but requires additional post processing steps. To reach its final form, it must undergo de-binding and sintering.
An average machine of this type costs around $140,000 with post-processing tools included. Although the price of a larger, more advanced machine can creep much higher, like with any choice.
Material Jetting and Binder Jetting
You can think of these machines as inkjet printers – they spray metal onto the build surface, and once it hardens, another layer of metal “ink” is added. Binder jetting uses the same principle, except that a liquid binder is also applied to the metal materials. The process is layer-by-layer, so it takes time to complete. As a result, the prototype you construct will be very fragile until all post-processing steps are completed. Sintering and infiltration will transform it from its green state into a stronger metal part. With this process, you can use more materials than just metal because of the unique technology. Sand or ceramics are great options for those who are interested in these subjects.
You can expect to spend $400,000 or more on a metal binder jetting system.
What is DMLS/SLM 3D printing?
Two powder bed fusion metal 3D printing technologies are DMLS (Direct Metal Laser Sintering) and SLM (Selective Laser Melting). SLM and DMLS have very few practical differences. Therefore, they can be treated as one technology.
Layer-by-layer, they use high-power lasers to bond metal powder particles together. Due to the extremely high temperatures, SLM reaches a complete melt, while DMLS causes the metal particles to fuse together on a molecular level. Metal alloys can be used in DMLS, but only certain (pure) metal materials can be used in SLM.
How does DMLS/SLM work?
Steps involved in 3D printing with DMLS and SLM are as follows:
First, the build chamber is filled with inert gas and then heated to the optimal temperature for printing. The build platform is covered with a thin layer of metal powder (typically 50 microns).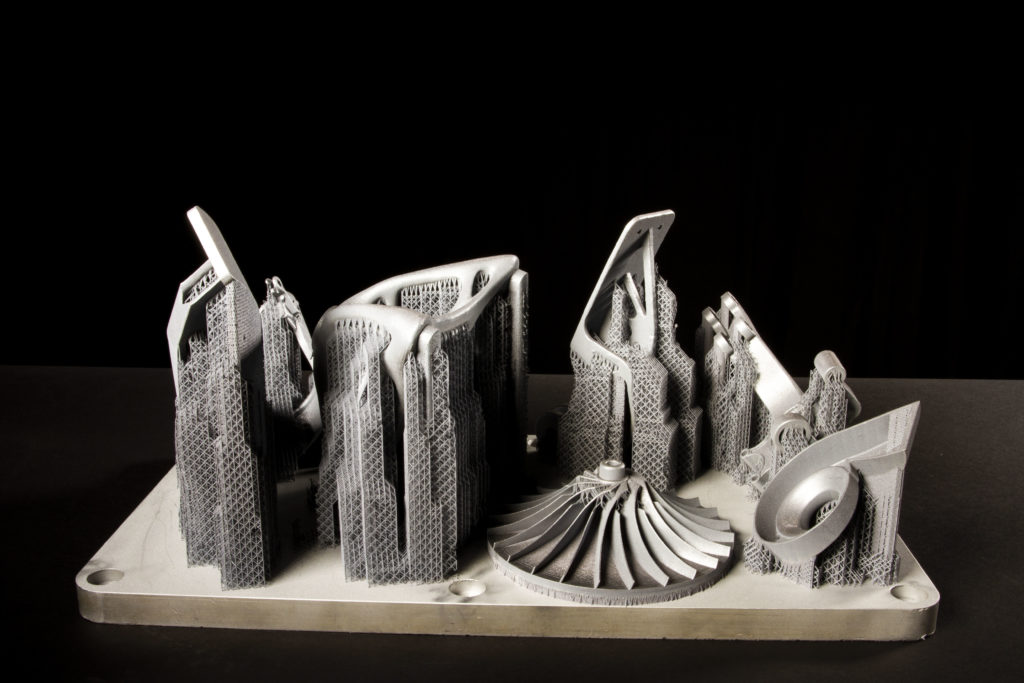 The laser scans the cross section of the part and selectively bonds the metal particles.
After the entire area is scanned, the build platform moves down a layer and the process repeats until the entire build is complete.
After printing, the built-up needs to cool down before the loose powder can be extracted. The 3D printing step is just the beginning of the DMLS/SLM process. After the print is complete, additional (compulsory or optional) post-processing steps must be performed before the parts can be used. Required post-processing steps include:
Stress relief: As a result of the very high processing temperatures during printing, internal stresses develop. Prior to any other operation, these need to be relieved through a thermal cycle.
Removal of the parts: SLM/DMLS basically welds parts to a build platform. Here, band saws or wire cutters are used.
Removal of the support: To mitigate the distortion and warping that may occur during printing, DMLS/SLM support is always required. This support is either manually removed or CNC machined.
Additional post-processing steps are often required to meet engineering specifications. This may include the following:
CNC machining: In order to meet tighter tolerances than the standard * 0.1 mm, machining is used as a finishing step. Very little material is removed this way.
Heat treatments: Heat treatments or Hot Isostatic Pressing (HIP) can be used to improve the material properties of a part.
Smoothing/Polishing: A smoother surface than the standard RA 10 *m of as-printed DMLS/SLM is required for certain applications. CNC machining, manual polishing, electropolishing, and chemical polishing are all available options.
Metal powders for 3D printingPowder is the raw material used in DMLS/SLM and many other 3D printing processes.
For the final result, the characteristics of the metal powders are very important. In order to ensure a good flow and close packing, metal particles should be spherical and between 15 and 45 microns in size.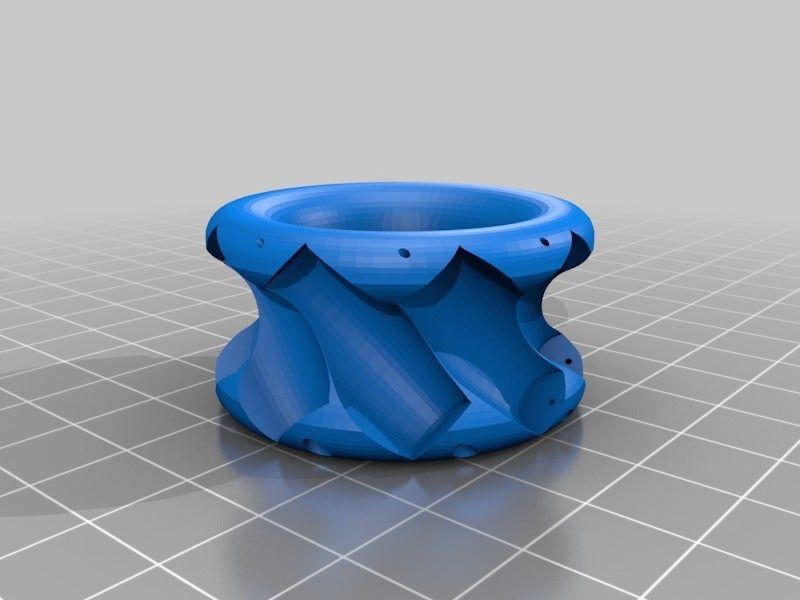 In order to meet these requirements, methods such as gas or plasma atomization are commonly used. A key factor contributing to the overall cost of metal 3D printing is the high cost of producing these metal powders.
Benefits and limitations of DMLS/SLM
The main strength of DMLS/SLM is the ability to create highly optimized, organic structures from high-performance metal alloys. When DMLS/SLM is used to manufacture parts, complex, organic shapes can be created that maximize stiffness and minimize weight. In addition, they can have internal geometries that cannot be produced by any other method.
DMLS/SLM parts have excellent material properties. Parts with almost no internal porosity can be made from a variety of metal alloys, from aluminum and steel to superalloys. DMLS/SLM have high costs, as we saw in a previous section. Because of this, these processes are only economically viable for high-value engineering parts. Technically, DMLS and SLM are limited by the requirement for extensive support structures.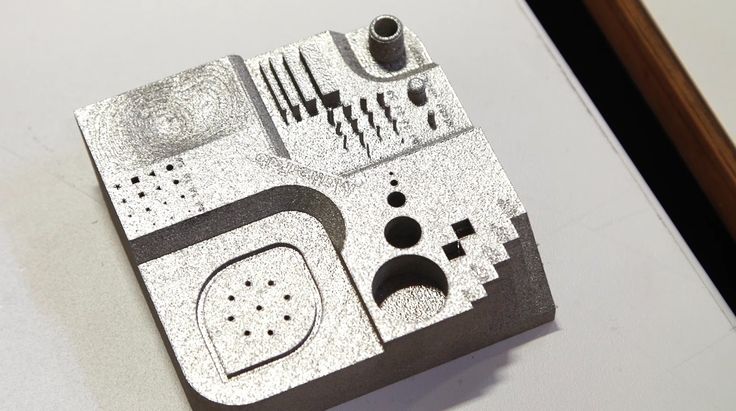 To avoid warping and anchor the part to the build platform, these are necessary. Additionally, out of the printer, the surface roughness of the produced parts is high for most engineering applications, so post-processing is required.
Excellent design freedom
High accuracy & fine details
High-performance materials
Disadvantages:High manufacturing & design cost
Extensive need for support structures
High surface roughness
Materials for Metal 3D printingMetal 3D printing materials are becoming increasingly common. Engineers today can choose from alloys such as:
- Stainless steels
- Tool steels
- Titanium alloys
- Aluminum alloys
- Nickel-based superalloys
- Cobalt-chrome alloys
- Copper-based alloys
- Precious metals (gold, silver, platinum…)
- Exotic metals (palladium, tantalum…)
The speed of metal 3D printing
It takes at least 48 hours and an average of 5 days to manufacture and finish a metal 3D printed part, regardless of the process.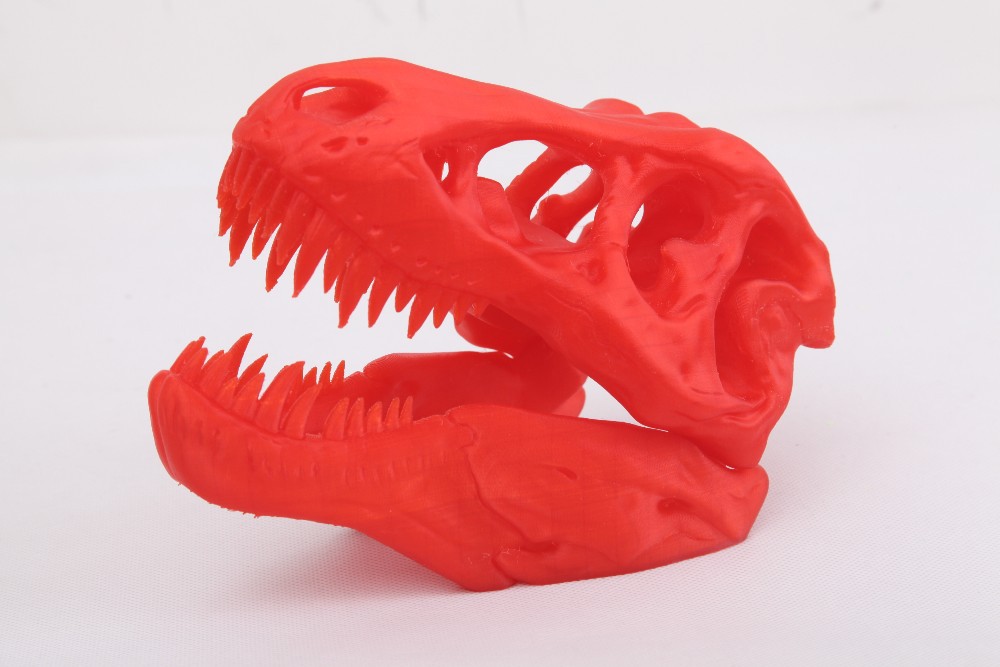 About half of the total production time is dedicated to printing. Obviously, this is dependent on the volume of the part and the need for support structures. As a reference, the current production rate of metal 3D printing systems ranges between 10 and 40 cm3/h.
Post-processing and finishing requirements account for the remainder of production time. The thermal treatments contribute significantly to the total production time: a typical thermal cycle takes 10 to 12 hours. Mechanical surface finishes require expert input (5-axis CNC machining) or manual labor (hand polishing).
Prices of metal 3D printersA laser powder-bed fusion system (10 x 10 x 12 inches) can cost between $400,000 and $800,000. It will cost $400,000 to buy HP’s metal 3D printer. A company called Desktop Metals, which has BMW, Ford and Google Ventures among its investors, announced last year that it will offer a metal 3D printer capable of printing a variety of shapes and sizes. Prices for businesses that need to 3D print metal are expected to become increasingly competitive as more companies enter the metal 3D printer market.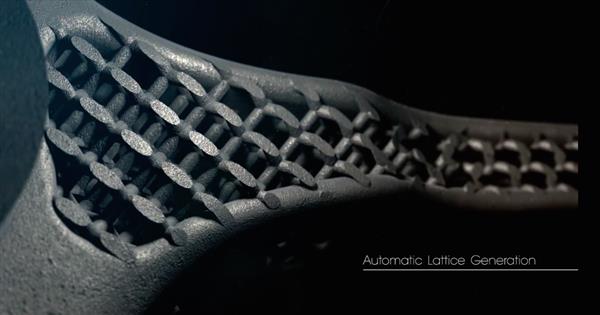 You should also consider the licensing costs of generative design, an iterative design process used in conjunction with metal 3D printing.
Currently, metal 3D printers require human intervention in order to operate. Depending on the machine, labor rates can range from low to high. Safety aspects should also be considered depending on the printing system used. Using powerful lasers or metallic powders, for example, requires safety measures. Nevertheless, safety is heightened in the case of metal binder jetting, a method in which the industrial printhead deposits a liquid binding agent onto a layer of powder particles. The cost of implementing safety measures will be minimal.
Costs of post-processing printed partsIn post-processing, parts are cleaned, support structures are removed, coatings are added, or other enhancements are performed. The associated costs vary depending on the process. For example, powder bed fusion (PFB) requires support structures, and because they also require more material, the parts can be expensive.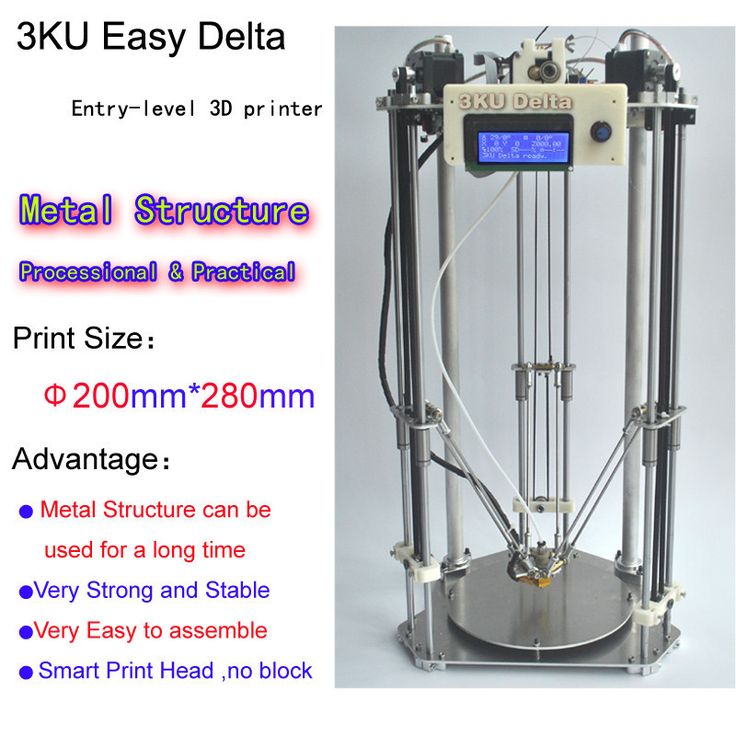
How much does metal 3d printing really cost?
You can expect to pay between $15 per piece up to $800 for larger models. Similar to the cost of a 3d printing service, the price for metal 3d printing also depends on factors including the volume of your 3d model, its complexity, and the type of finishing you use, in this case metal.
Things to Consider Before 3D Printing Metal
Material CostsYou must first purchase the materials needed for the machine to function before you can 3D print metal! You will need different types of metal and materials for various machines, but this will continue to be an ongoing expense. A kilogram of this powder costs between $300 and $600, and is used by most metal printers to create metal objects. However, if you are using an SLM or DMLS 3D printer, you can expect material costs to range from $2,000 to $4,000. You can use one single build plate to accommodate up to 12 parts.
If you plan to make objects with a 3D printer, your material costs will vary, so make sure you price them into your calculations in advance!
Post-ProcessingMetal parts or prototypes are only the beginning of the 3D printing process.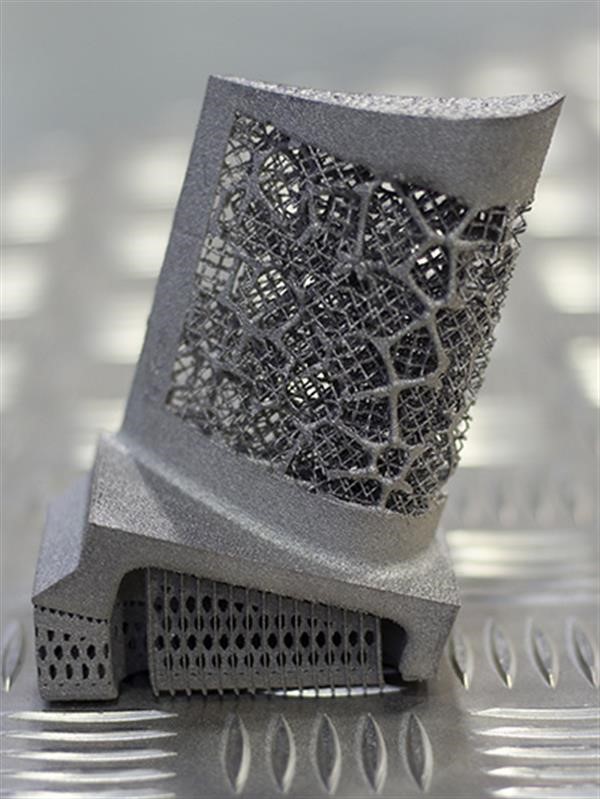 In the post-processing process, the object needs to be cleaned, coated, and support structures removed. Depending on the type of machine you buy, you will manage this differently. The objects for sintering must be heated in an oven if you choose to use a metal binder machine. Support structures are built to anchor powder bed parts to build plates, so when the part is completed, they must be removed.
These are some examples of standard post-processing techniques and their costs:
- Stress Relief: $500 to $600 per build
- Heat Treatment: $500 to $2,000 per build
- Support Removal: $100 to $200 per part
- Surface Treatment: $200 to $500 per part
- CNC Machining: $500 to $2,000 per part
Lastly, you need to consider the cost of operating and maintaining the metal 3D printer. These devices cannot be turned on and off. They require extensive setup and skill to operate, so you will have to hire someone to manage them.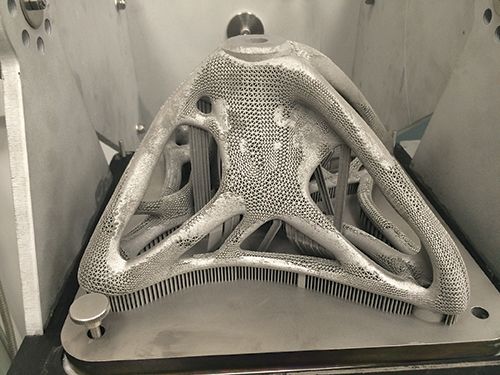 This means you would need a full-time operator if you planned to run the printer full-time. Metal 3D printers have a variety of costs associated with them, as it is evident!
Design for Metal 3D printing
Metal 3D printing demands a new mindset and a specific set of design rules and best practices. This section introduces you to the principles and tools that will help you make the most of your designs, including topology optimization.
Key design considerations
Additive manufacturing follows a different set of rules than traditional manufacturing. Due to both the unique set of design freedoms and limitations, the designer must shift their mindset.
Existing designs may not be directly transferableIt is rarely feasible to manufacture parts that have been designed for a traditional process using metal 3D printing because of its high cost. It is often technically impossible to reproduce these geometries. Sections thicker than 10 mm, for example, are prone to warping or other manufacturing defects and should be avoided.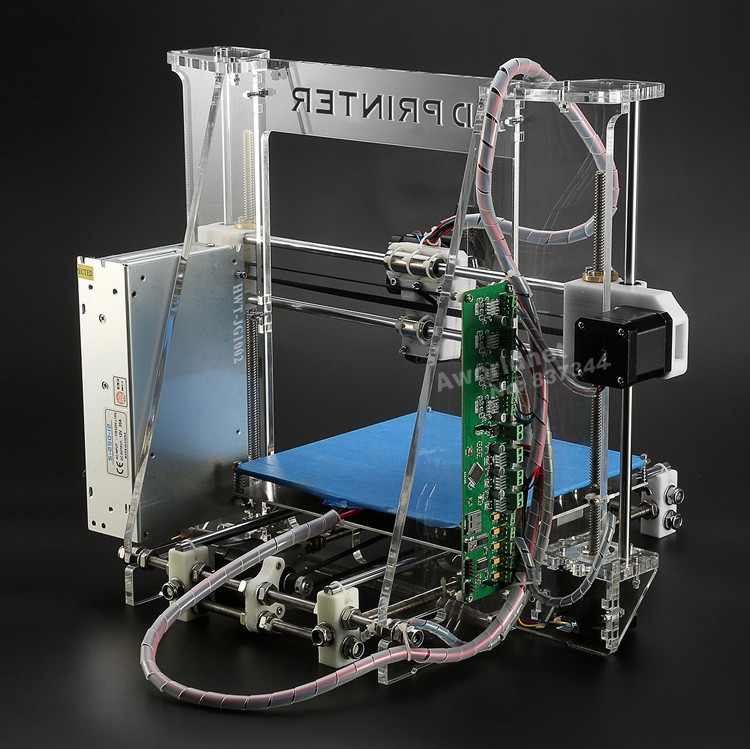
Complexity is often considered harmful, since it leads to higher costs. With metal 3D printing, this is not the case. The key to fully utilizing the benefits of metal 3D printing is to maximize the added value that geometric complexity brings to a system.
Start by defining the basic requirementsWhen you begin to redesign a part or assembly for metal 3D printing, it is usually a good idea to start from scratch. By doing so, you can avoid being limited by preconceived notions. Clearly defining the design requirements (loads, boundary conditions, part weight, etc.) is essential. In the next section, we will see how modern CAD software uses them to create structures with organic forms.
Always use minimum support structuresHaving a clear vision of how the part will be oriented in the machine is a good practice. The orientation of the print determines the position and need for support structures.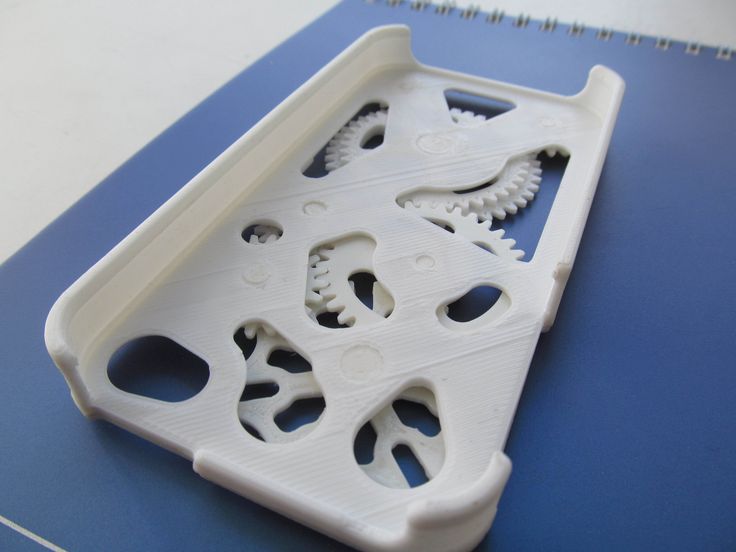 It is the designer’s responsibility to create self-supporting features, minimizing the need for support and ensuring build success.
With metal 3D printing, post-processing is always necessary regardless of the process. These can be mandatory (such as support removal in DMLS/SLM or sintering in Binder Jetting and Metal extrusion) or optional (such as a CNC machining step to achieve tighter tolerances or a heat treatment to improve material properties). Designing a part for metal 3D printing requires you to keep in mind the post-processing requirements and available options.
Design optimization tools & software
CAD packages offer tools for taking full advantage of metal 3D printing’s geometric freedom. You can create organic-like structures with these algorithm-driven design tools that outperform parts constructed using traditional methods. Today, three main strategies can be used. Depending on the design requirements, these strategies can optimize the performance of existing designs or be used to design completely new structures.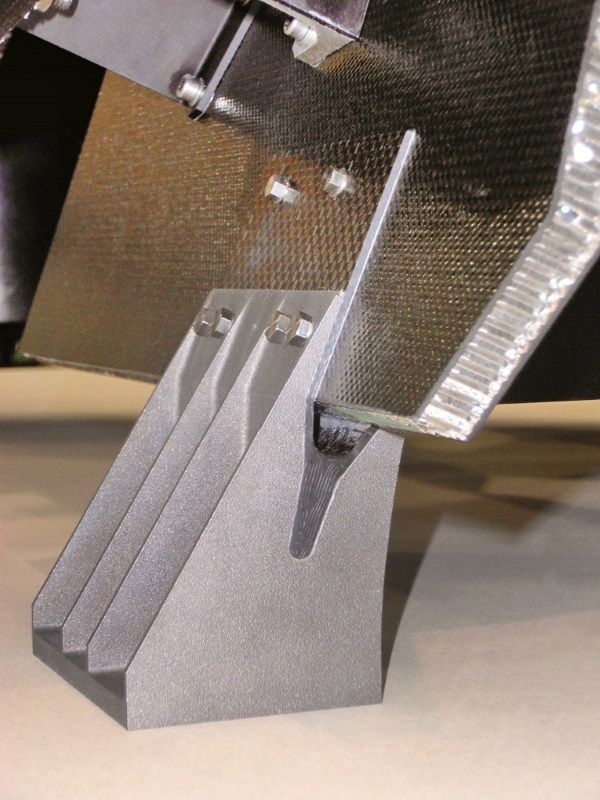
An existing design can be optimized by using a lattice pattern. In addition to creating lightweight parts, lattice structures can increase the surface area of heat exchangers, reduce manufacturing costs, or improve the printability of existing designs.
Topology optimizationMaximizing stiffness and minimizing mass can be achieved by using simulation-driven optimization of topology. In topology optimization, areas from which material can be removed are determined by analyzing the user-defined design space and the load cases. Based on the simulation results, parts can be designed for optimal performance under these loading scenarios.
Generative designSimulation-driven topology optimization is a variation on generative design. Rather than a single output, generative design produces multiple design options. The resulting designs are all capable of being manufactured and meet the design requirements.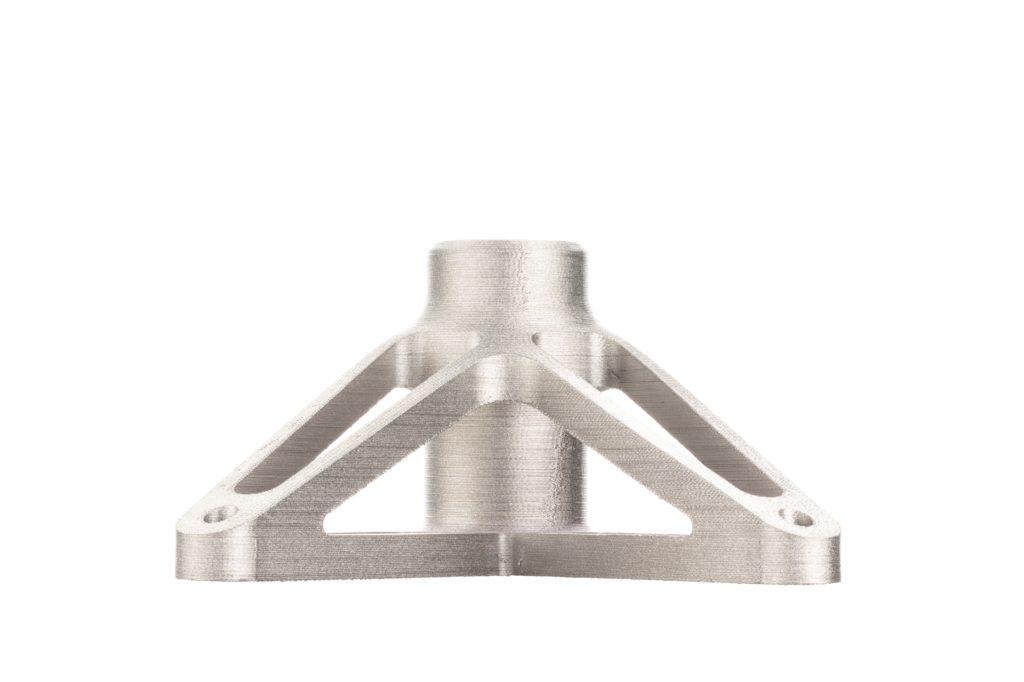 By exploring different solutions, the designer can find the most suitable one (for example, according to secondary trade-offs).
Is It Worth it to Buy a 3D Metal Printer?
Can you say for sure whether you should spend the money on a 3D metal printer? It depends on what your goals are. To find out what works, you should survey your peers and research your options.
By printing metal 3D parts, you can bring complex designs to life and support on-demand production. It improves your control and flexibility on the production line, in other words! As well, metal 3D printing generates less waste than CNC milling processes, thereby reducing costs over time. 3D metal printers have the obvious drawback of being costly to use. Obtaining a positive return on investment may take a considerable amount of time, so determine the value of your throughput before investing. Post-processing is almost always required as well, as printing is not perfect. It doesn’t matter if you are sintering or de-binding; you will still need to add some finishing touches to the final product.
There are a number of ways you can reduce the costs involved in 3D metal printing, even though it will never be a ‘cheap’ method. Here are some:
Cutting the CNC finishing costs of 3D metal printingSeveral emerging techniques are helping to reduce the amount of time your teams spend on CNC finishing. Studies show that using supports that can dissolve in acid can reduce post-processing time from days to just a few hours. You can also design a way to remove support structures with greater ease with some SLM editing software.
Reducing design time through automationThe beauty of 3D printing metal parts is that they can be completely customized and unique. It would require a designer to build each design from scratch in the software – which could take many hours. However, today’s 3D metal printing software can help you automate many steps of this process to increase the volume of parts you can print.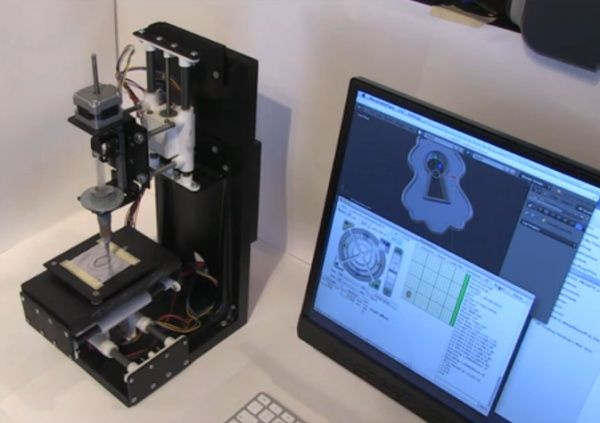
With 3D metal printing, you might be able to create dental parts that are unique to each patient. This process can be sped up significantly if you use software that automates design. Almost all of the fundamental geometry of a dental part is identical; you will still have to customize certain elements for the patient’s mouth, but most of the work has already been done for you. The part’s orientation, support structure generation, placement, and slicing and matching can be repeated from one design to the next. The designer can then make a few tweaks to an existing design file without having to restart each time.
By using 3D editing software that has automation capabilities, you can reduce the amount of routine work your 3D designers need to do. Machine libraries and predefined support structures enable you to speed up data preparation, design more parts, and therefore boost your profits while reducing your costs.
Optimize 3D metal printingYou can save your company significant amounts of money and boost productivity by optimizing your 3D metal printing processes.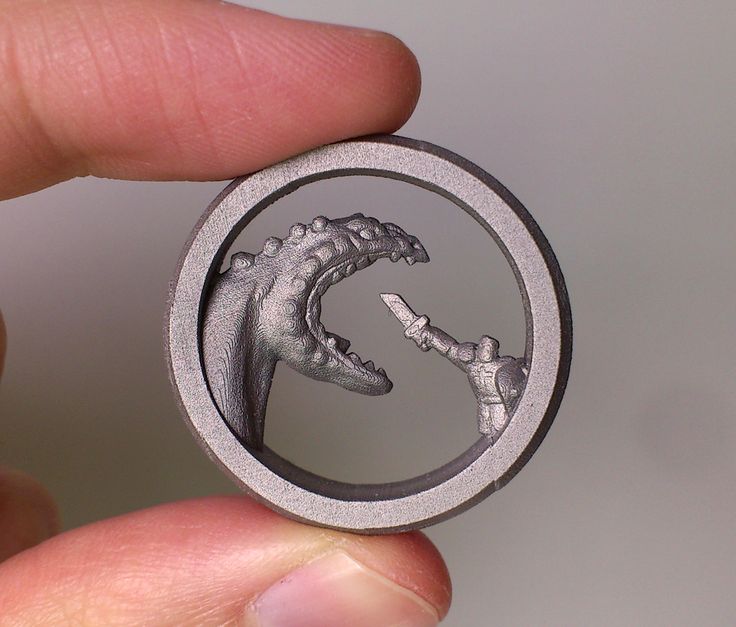
Layers.app‘s mission is to help you automate and improve your 3D printing processes. By using our software, you can automate many aspects of design, bringing you powerful and easy-to-use 3D metal printing tools. It frees up skilled workers from repeating work, allowing them to manufacture more parts more quickly.
Precise metal 3D printing on order in Sprint 3D
Metal 3D printing - additive manufacturing of metal products, which is rightfully one of the most promising and rapidly developing areas in 3D printing as such. The technology itself originates from the conventional sintering of materials used in powder metallurgy. But now it has become more perfect, accurate and fast. And today SPRINT3D offers you metal printing on 3 D printer on really favorable terms. But first, a little information about the production process itself and its capabilities.
Selective Laser Fusion Technology
SLM or Selective Fusion Technology is a type of direct metal printing that achieves a density of 99.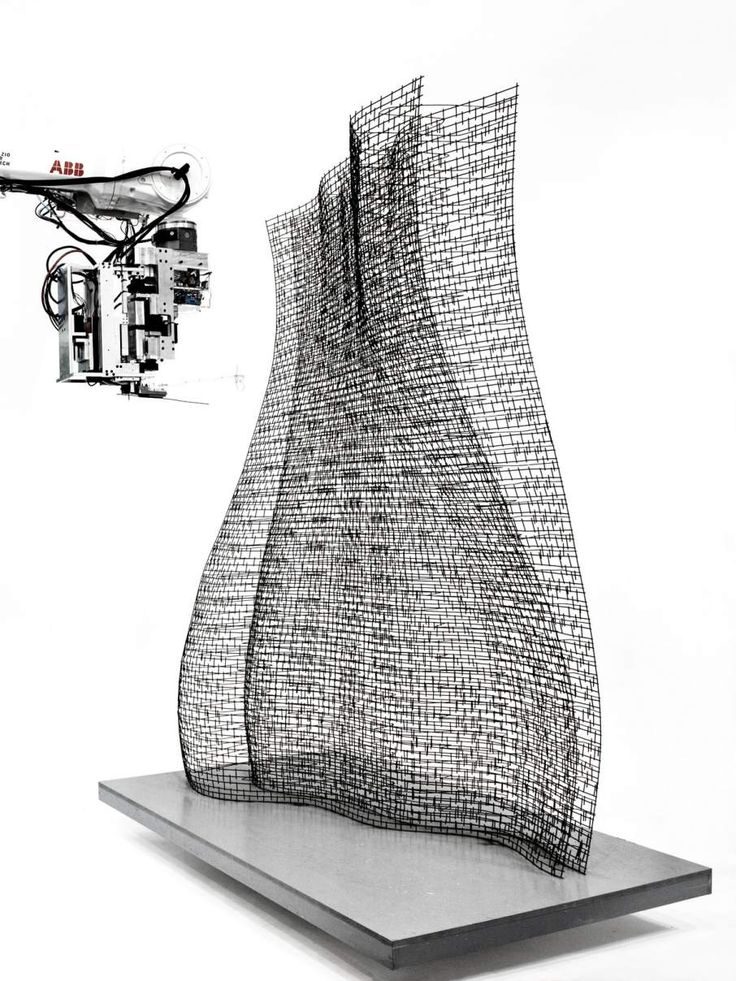 5%. The difference is especially noticeable when compared with models obtained by conventional casting. This indicator is achieved due to the introduction of the latest technologies in the hardware part:
- The use of special rollers for compacting powders and, as a result, the possibility of using powders with a particle size of 5 microns.
- Bulk density increase to help compact end products.
- Creates a rarefied atmosphere of inert gases, which ensures maximum purity of the material, no oxidation, and eliminates the risk of introducing third-party chemical compounds into the composition.
But most importantly, the modern 3 D Metal Printer makes it easy to customize the configuration for printing with a specific metal powder. Thus, even with inexpensive material, you can get a first-class result. But only if you use high-quality modern equipment. And here we are ready to surprise you too!
Metal 3D printing B SPRINT 3D
3D printing with own 3D printers
The largest working area is 280x280x350 mm
layer thickness up to 15 micron
3D with various types of metals
Delivery throughout Russia and CIS countries
installations for 3 D metal print, which we use
Production quality is a key requirement that we set ourselves.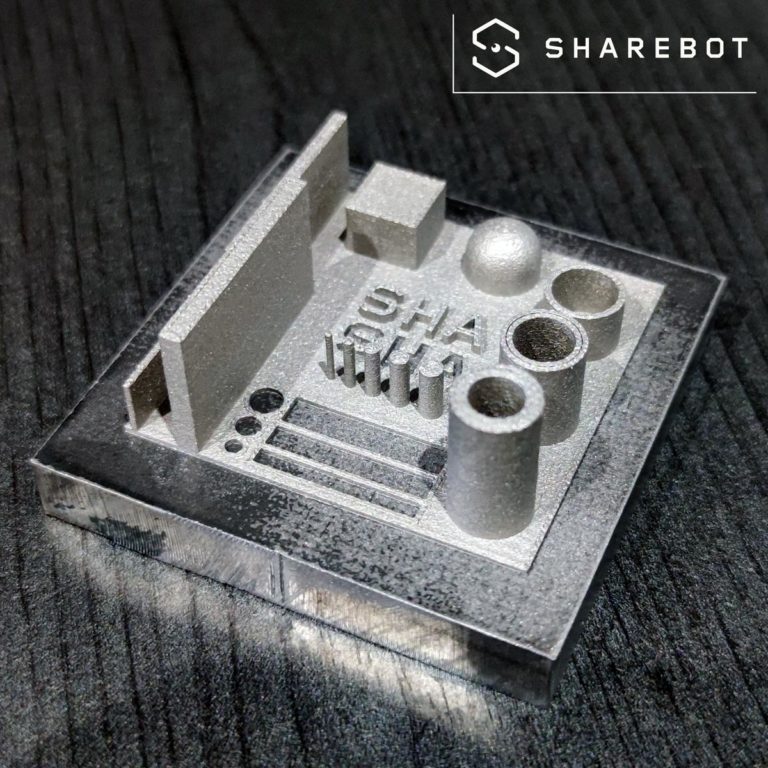 Therefore, in our work we use only professional equipment with wide possibilities for metal printing. Let's take a closer look at each of the production units.
Production unit SLM 280HL
SLM 280HL is a development of the German company SLM Solutions GmbH, which uses the technology of layer-by-layer laser melting of powder metal materials. The installation is equipped with a large working chamber and allows you to create 3D objects with dimensions of 280x280x350 mm. Among the main advantages of printing with this unit are:
- Small minimum thickness of the applied layer - 20 microns.
- Filling the working chamber with an inert gas, which allows you to work with various reactive metals.
- Print speed up to 35 cm/hour.
- Construction layer thickness – 30 and 50 µm.
- Power - 400 W.
A special highlight is the patented powder feed system, which delivers significantly faster print speeds than most production machines in the same price range.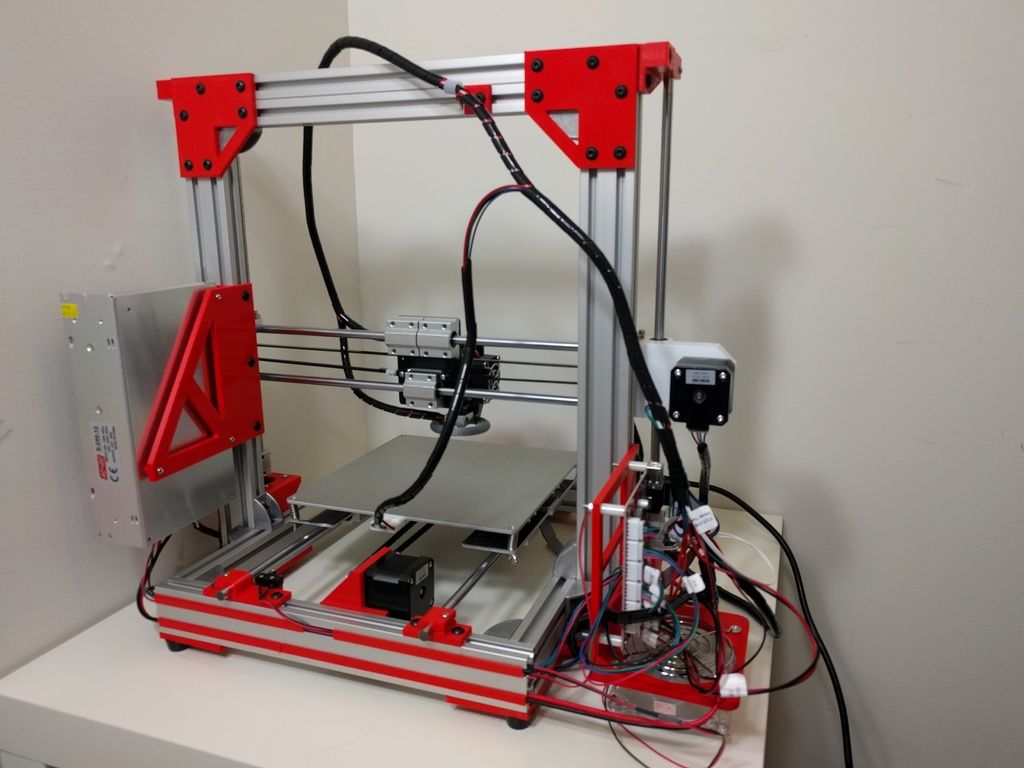 We use the following materials in production:
- Stainless steel (domestic 07X18H12M2 (Polema), 12X18H10T and imported 316L).
- Tool steel (imported 1.2709).
- Heat-resistant alloys 08KhN53BMTYu (similar to Inconel 718, produced by Polem) and EP 741 (produced by VILS).
- Cobalt Chrome (COCR)
The SLM 280HL 3D printer can be used to create all kinds of metal components, prototypes and end products. If necessary, we can provide small-scale production.
ProX 100 production unit
ProX 100 is a compact 3 D metal printing unit developed by the American company 3D Systems. It uses direct laser sintering technology, which ensures high speed and precision of production. Among the main characteristics it is worth highlighting:
- The size of the working chamber is 100x100x80 mm.
- Construction layer thickness – 20 and 30 µm.
- Power - 50 W.
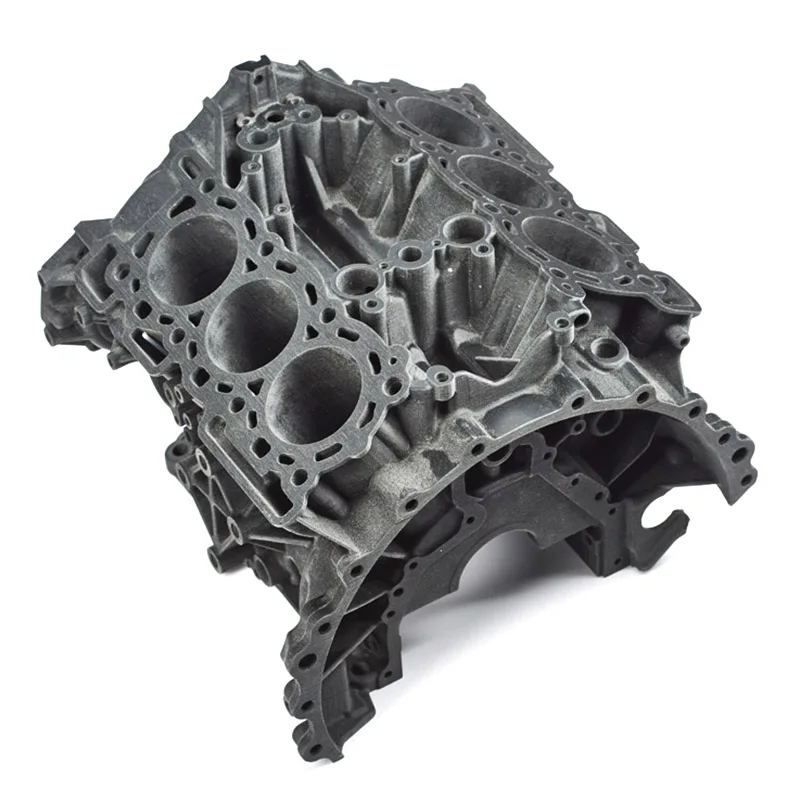
ProX 100 allows you to create prototypes that cannot be developed by standard methods, provides short lead times, guarantees the absence of material porosity and high part density. In addition, we note the standardized quality of all products, regardless of their structure. At the moment, the model is actively used in dentistry when creating high-precision prostheses, but it has found wide application in other industries:
- Manufacture of engines and their individual parts.
- Development of medical equipment.
- Printing jewelry and even contemporary art.
In printing, we use the KX28M6 cobalt-chromium alloy (Polem's production), originally developed for additive technologies when creating endoprostheses.
Metal 3D printing - current application
Many experts argue that 3D printing as such has not yet fully revealed its potential. For example, Elon Musk plans to use technology in the colonization of Mars to build administrative and residential buildings, equipment and technology right on the spot.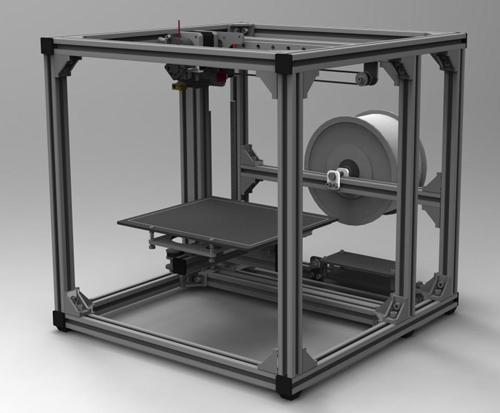 And this is quite real, because already now the technology of three-dimensional metal printing is actively used in various industries: The high precision of production and relatively affordable price have made 3D printing very relevant in this industry.
And this is only a small part of what can be created on modern equipment. Almost all metal products that you need can be created using metal 3D printing technology. And if this service is relevant for you, contact SPRINT3D. We will undertake work of any complexity and volume. And most importantly - we will provide first-class results!
The future is here!
You may be interested in
How metal 3D printers work. Overview of SLM and DMLS technologies. additive manufacturing. 3D metal printing.
Metal 3D printing. Additive technologies.
SLM or DMLS: what's the difference?
Hello everyone, Friends! 3DTool is with you!
BLT metal 3D printer catalog
Selective laser melting ( SLM ) and direct metal laser sintering ( DMLS ) are two additive manufacturing processes that belong to the family of 3D printing using the powder layer method. The two technologies have much in common: they both use a laser to selectively melt (or melt) metal powder particles, bonding them together and creating a pattern layer by layer.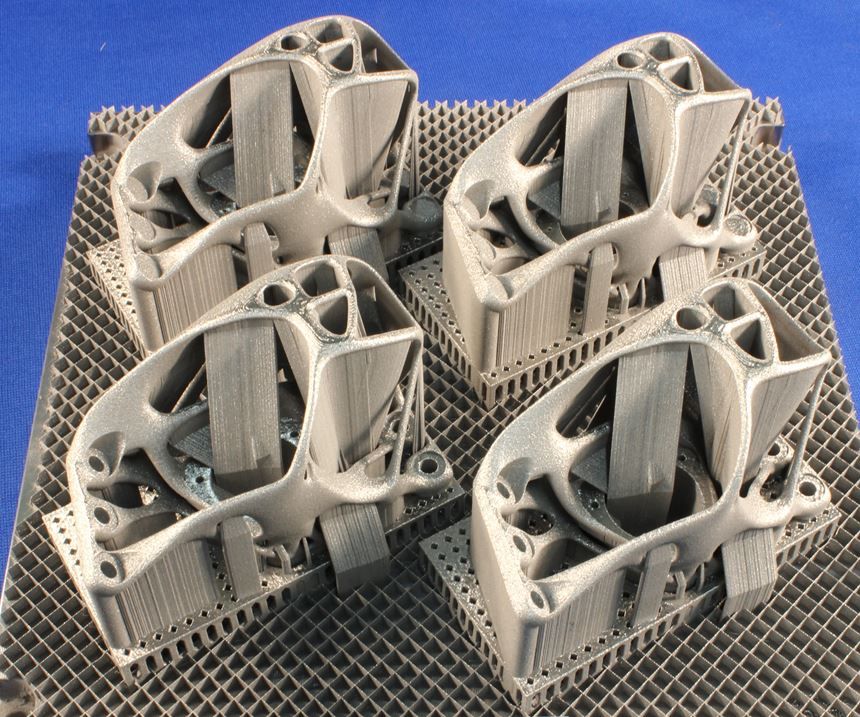 In addition, the materials used in both processes are metals in granular form.
The differences between SLM and DMLS come down to the basics of the particle bonding process: SLM uses metal powders with a single melting point and completely melts the particles, while in DMLS the powder consists of materials with variable melting points.
Specifically:
SLM produces single metal parts while DMLS produces metal alloy parts.
Both SLM and DMLS technologies are used in industry to create final engineering products. In this article, we will use the term "metal 3D printing" to summarize the 2 technologies. We will also describe the main mechanisms of the manufacturing process that are necessary for engineers to understand the advantages and disadvantages of these technologies.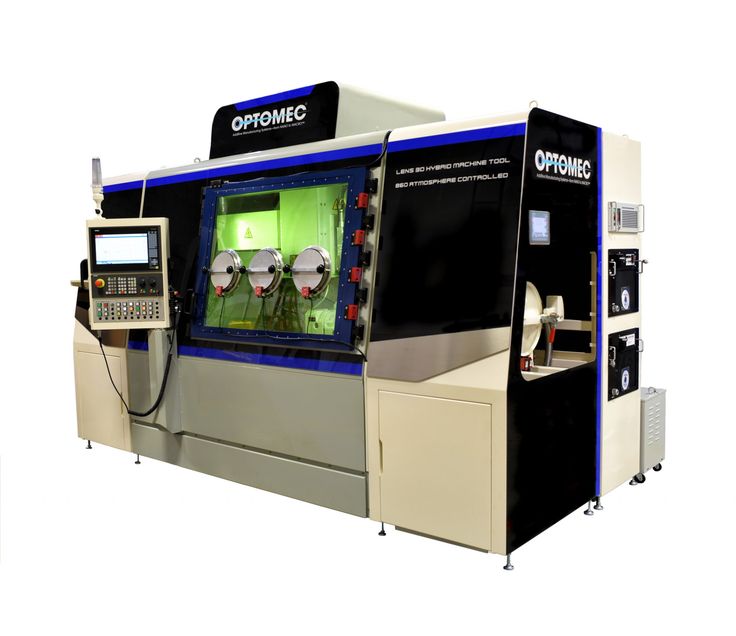
There are other manufacturing processes for producing dense metal parts, such as electron beam melting (EBM) and ultrasonic additive manufacturing (UAM). Their availability and distribution is rather limited, so they will not be presented in this article.
How 3D printing with metal SLM or DMLS works.
How does metal 3D printing work? The basic manufacturing process for SLM and DMLS is very similar.
1. The printing chamber is first filled with an inert gas (such as argon) to minimize the oxidation of the metal powder. It then heats up to the optimum operating temperature.
2. A layer of powder is spread over the platform, a powerful laser makes passes along a predetermined trajectory in the program, fusing the metal particles together and creating the next layer.
3. When the sintering process is completed, the platform moves down 1 layer. Next, another thin layer of metal powder is applied. The process is repeated until the entire model is printed.
When the printing process is completed, the metal powder already has strong bonds in the structure. Unlike the SLS process, parts are attached to the platform via support structures. The support in metal 3D printing is created from the same material as the base part. This condition is necessary to reduce deformations that may occur due to high processing temperatures.
When the 3D printer's chamber cools down to room temperature, excess powder is removed manually, such as with a brush. The parts are then typically heat treated while they are still attached to the platform. This is done to relieve any residual stresses. They can then be further processed. The removal of the part from the platform occurs by means of sawing.
The scheme of the 3D printer for metal.
In SLM and DMLS, almost all process parameters are set by the manufacturer. The layer height used in metal 3D printing varies from 20 to 50 microns and depends on the properties of the metal powder (flow, particle size distribution, shape, etc.).
The basic size of the print area on metal 3D printers is 200 x 150 x 150 mm, but there are also larger sizes of the working area. Printing accuracy is from 50 - 100 microns. As of 2020, metal 3D printers start at $150,000. For example, our company offers 3D metal printers from BLT.
metal 3D printers can be used for small batch production, but the 3D printing capabilities of such systems are more like those of mass production on FDM or SLA machines.
The metal powder in SLM and DMLS is recyclable: typically less than 5% is consumed. After each impression, the unused powder is collected and sieved, and then topped up with fresh material to the level required for the next production.
Waste in metal printing, are supports (support structures, without which it will not be possible to achieve a successful result).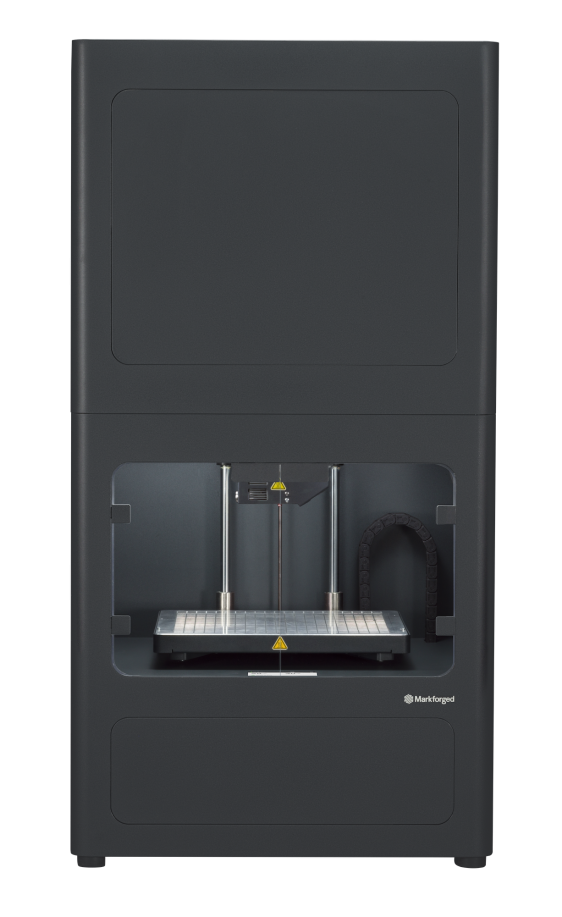 With too much support on the manufactured parts, the cost of the entire production will increase accordingly.
Adhesion between coats.
3D metal printing on BLT 3D printers
SLM and DMLS metal parts have almost isotropic mechanical and thermal properties. They are hard and have very little internal porosity (less than 0.2% in 3D printed condition and virtually non-existent after processing).
Metal printed parts have higher strength and hardness and are often more flexible than traditionally made parts. However, such metal becomes “tired” faster.
3D model support structure and part orientation on the work platform.
Support structures are always required when printing with metal, due to the very high processing temperatures. They are usually built using a lattice pattern.
Supports in metal 3D printing perform 3 functions:
• They form the basis for creating the first layer of the part.
• They secure the part to the platform and prevent it from deforming.
• They act as a heat sink, removing heat from the model.
Parts are often oriented at an angle. However, this will increase the amount of support required, the printing time, and ultimately the overall cost.
Deformation can also be minimized with laser sintering templates. This strategy prevents the accumulation of residual stresses in any particular direction and adds a characteristic surface texture to the part.
Since the cost of metal printing is very high, software simulations are often used to predict how a part will behave during processing. These topology optimization algorithms are otherwise used not only to increase mechanical performance and create lightweight parts, but also to minimize the need for supports and the likelihood of part distortion.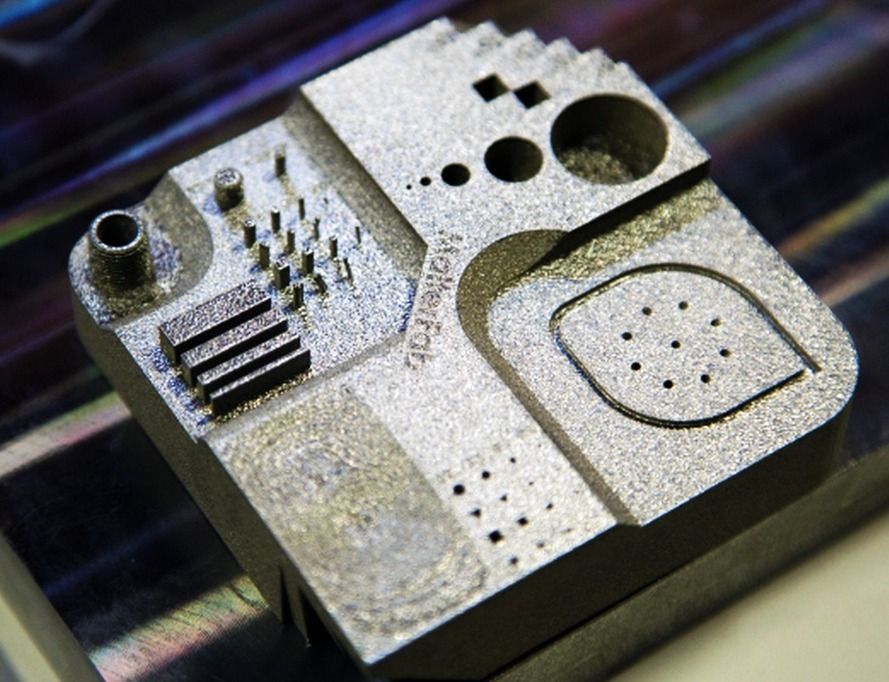
Hollow sections and lightweight structures.
An example of printing on a BLT 3D printer
Unlike polymer powder melt processes such as SLS, large hollow sections are not typically used in metal printing as the support would be very difficult to remove, if at all possible.
For internal channels larger than Ø 8 mm, it is recommended to use diamond or teardrop cross-sections instead of round ones, as they do not require the construction of supports. More detailed recommendations on the design of SLM and DMLS can be found in other articles on this topic.
As an alternative to hollow sections, parts can be made with sheath and cores, which in turn are machined using different laser power and pass rates, resulting in different material properties. The use of sheath and cores is very useful when making parts with a large solid section, as it greatly reduces printing time and reduces the chance of warping.
The use of a lattice structure is a common strategy in metal 3D printing to reduce the weight of a part. Topology optimization algorithms can also help design organic lightweight shapes.
Consumables for 3D metal printing.
SLM and DMLS technologies can produce parts from a wide range of metals and metal alloys, including aluminum, stainless steel, titanium, cobalt, chromium and inconel. These materials meet the needs of most industrial applications, from aerospace to medical applications. Precious metals such as gold, platinum, palladium and silver can also be processed, but their use is of a minor nature and is mainly limited to jewelry making.
The cost of metal powder is very high. For example, a kilogram of 316 stainless steel powder costs approximately $350-$450. For this reason, minimizing part volume and the need for supports is key to maintaining optimal manufacturing cost.
The main advantage of metal 3D printing is its compatibility with high-strength materials such as nickel or cobalt-chromium superalloys, which are very difficult to process with traditional methods.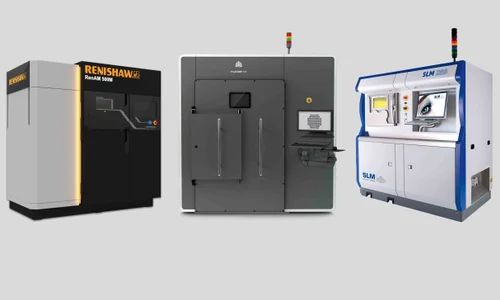 Significant cost and time savings can be achieved by using metal 3D printing to create a near-clean shape part. Subsequently, such a part can be processed to a very high surface quality.
Metal post-processing.
Various post methods. treatments are used to improve the mechanical properties, accuracy and appearance of metal printed products.
Mandatory post-processing steps include the removal of loose powder and support structures, while heat treatment (heat annealing) is typically used to relieve residual stresses and improve the mechanical properties of the part.
CNC machining can be used for critical features (such as holes or threads). Sandblasting, plating, polishing, and micro-machining can improve the surface quality and fatigue strength of a metal printed part.
Advantages and disadvantages of metal 3D printing.
Pros:
1.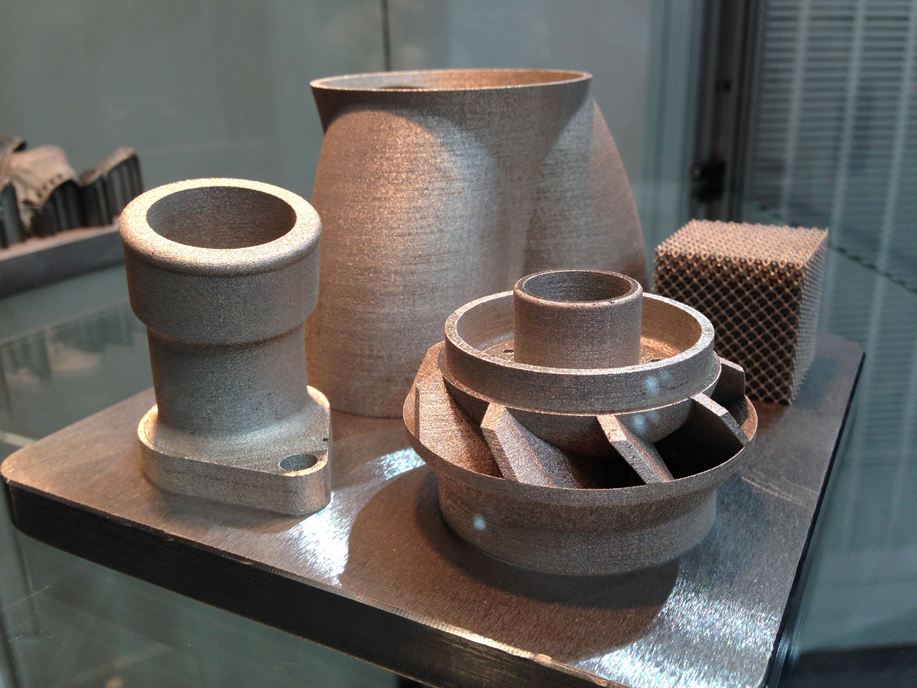 Metal 3D printing can be used to make complex custom parts, with geometries that traditional manufacturing methods cannot provide.
2. Metal 3D printed parts can be optimized to increase their performance with minimal weight.
3. Metal 3D printed parts have excellent physical properties, metal 3D printers can print a wide range of metals and alloys. Includes difficult-to-machine materials and metal superalloys.
Cons:
1. Manufacturing costs associated with metal 3D printing are high. The cost of consumables is from $ 500 per 1 kg.
2. The size of the working area in metal 3D printers is limited.
Conclusions.
• Metal 3D printing is most suitable for complex, one-piece parts that are difficult or very expensive to manufacture using traditional methods, such as CNC.
• Reduced need for building supports, greatly reducing the cost of printing with metal.
• 3D printed metal parts have excellent mechanical properties and can be made from a wide range of engineering materials, including superalloys.