3D printer filament dehydrator
Making A Filament Dryer from A Food Dehydrator
I’ve occasionally seen posts and videos about how to dry 3D printing filament using a food dehydrator, but never felt the need for one… until recently. I had a failed print that looked like wet filament was to blame, so I decided it was time to make my filament dryer. This post is about my experience – mostly good – with that dryer.
Disclaimer
This post is about my experience. Yours may be different. In particular, don’t blame me if you melt a reel of filament – it’s easy to accidentally do that. And be sure to follow all the safety information that comes with your dehydrator.
How I Made My Filament Dryer
Let’s get right to it:
- I bought a Rosewill Countertop Portable Electric Machine Food Fruit Dehydrator from Amazon for about $45 USD. I chose that one because Angus at Maker’s Muse had linked to it in his video on drying filament, it was large enough for a reel of filament, and had the temperature marked in Fahrenheit and Celsius.
- I used a pair of flush cutters (any cutters or scissors will likely work) to cut a large, circular hole out of each (but one) of the dehydrator’s drying trays to make room for a spool of filament. NOTE: I left one tray un-cut, to use at the bottom of the dehydrator.
- I checked the stability of the dehydrator’s thermostat by watching the temperature for a few minutes with a meat thermometer. It’s probably not the best monitor, but it covered the right range: 40° C to 150° C.
- Based on several recommendations I’d found, I dehydrated my wet PLA at 50° C for about 8 hours, depending on how bad the filament was. I’ve read you shouldn’t heat PLA higher than about 55° C, or it will melt into an unusable blob on the reel.
- Once my filament is dry, I store it in a watertight storage bin, with desiccant. I’ve described my filament storage in detail in another post.
 6° CMy waterproof reel bin, with a box of desiccant
Drying a Yellow PLA
As part of moving from Fusion 360 to FreeCAD (that’s another story), I found myself doing more printing than I had in a few years, using filament that was several years old. Some of that filament showed signs of being wet.
On two occasions, while I was printing using a yellow PolyLite PLA, the filament snapped off in the extruder, stopping the print and leaving a chunk of filament in the extruder that was hard to remove. The second time the filament snapped convinced me to try drying the reel – because brittle filament is one symptom of wet filament.
By the way, removing the broken filament from the extruder was a bit of a pain: the first time it snapped, I heated the hot end to extrusion temperature while I pulled on the end of the filament with a pair of hemostats (big tweezers). The second snap happened lower in the extruder, so I heated the hot end to extrusion temperature and this time pushed the filament down into the extruder.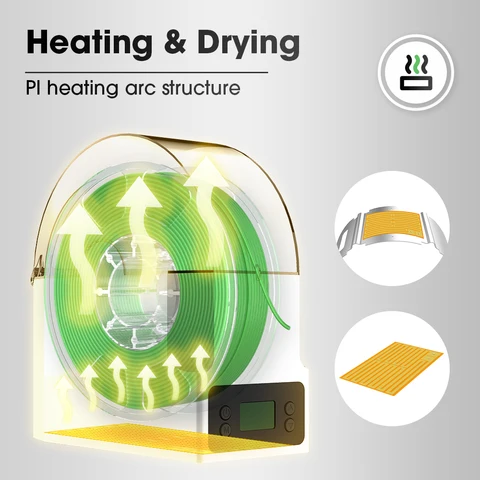 That didn’t work so well; I had to push it much further down, using a piece of smaller-diameter filament. I imagine I could have used any < 3 mm diameter needle or filament.
So I bought the Rosewill food dehydrator, cut reel-sized holes out of all but one of the trays, stuck a meat thermometer into it, and set the dehydrator for 45° C. After a few minutes I saw that the thermometer showed a temperature close to 45° C, and varied only one or two degrees C up or down, proving this dehydrator would suit my needs.
After reading a few posts on filament drying temperatures and times, I set the dehydrator for 50° C, popped the yellow PLA reel in, and left it for about 4 hours. I then stored the filament in my watertight storage bin.
The next day, after the filament had cooled completely, I did a print, with impressive results: not only did the filament not snap (even when I tried bending it), but the print was noticeably smoother. I regret I didn’t take a before and after photo for this reel.
Drying a Silver PLA
Later I tried to print my redesigned Mainspring Clamps Box in a very old silver Village Plastics PLA. That PLA was the oldest I have, and it likely absorbed a lot of moisture from the air before I bought watertight filament storage bins.
The print was a disaster; it was so bad that I sliced and printed it again to see whether I’d told the slicer the wrong filament… and again got a bad print.
A failed silver PLA print, showing very bad layer adhesionI had almost given up hope on this filament, until I found All3DP’s How to Dry Filament: PLA, ABS, & Nylon. That post showed a picture of a failed print made with wet filament, that looked nearly like my print.
After drying this filament at 50° C for 5 hours, I tried the print again. It still failed due to bad layer adhesion, but was promising.
After 5 hours at 50 C, somewhat better resultsAt this point I decided to switch to an actual test print: a Benchy by CreativeTools… and the result was even worse: not much more than a ball of filament stuck to the hot end.
So I lengthened the drying time: I put the reel in the dehydrator at 50° C for 12 hours and, after it cooled, tried another Benchy. Still no joy.
After 12 hours at 50° C, still pretty badSince the longer time had improved things a little, I tried a little higher temperature: 52° C for 15 hours. Once it had cooled, I tried the Benchy again, and it was starting to look good…
After 15 more hours at 52° C, very promising…Then, frustratingly, the adhesion failed at the roof of the Benchy, after printing the rest of that test object just fine. Although looking closely, I did see a few slight adhesion problems in the hull and in the square in the back.
…and yet the Benchy failed at the angled roofSince the higher temperature (or lots longer drying?) seemed to help a lot, I decided to be daring and go for 55° C for 15 hours. I worried a bit, because this temperature is only 15° C below the PLA Glass Transition temperature of 70° C: the temperature at which the filament will turn into a solid blob of plastic.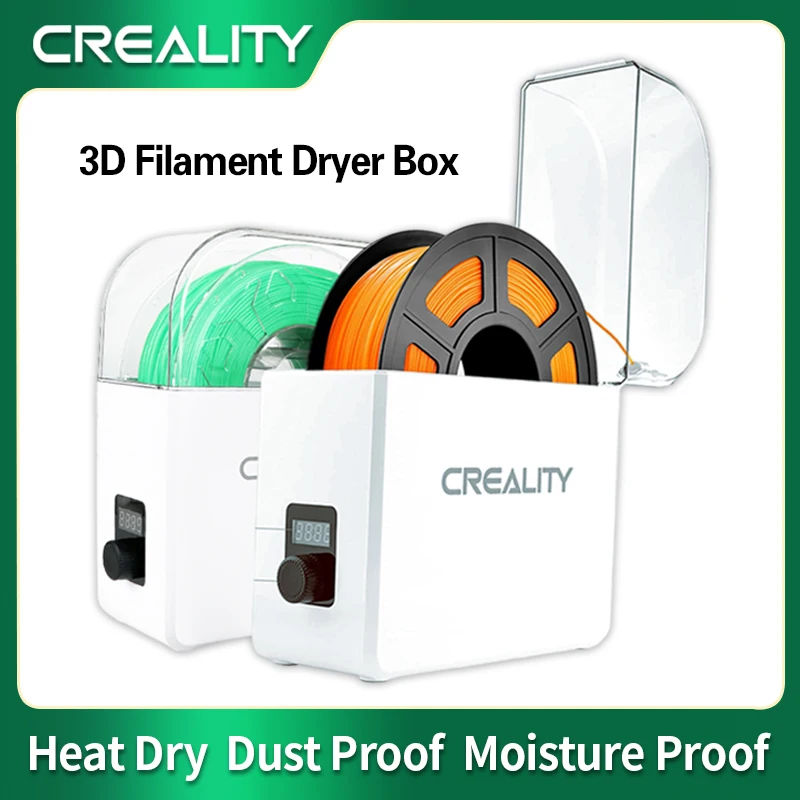
Unfortunately, the higher temperature drying (or something else?) made the next Benchy test worse than before: there was serious delamination in the hull, and a fuzzy deck from poor adhesion. I canceled the print and have given up on the reel.
Higher heat dehydrating seemed to make the prints worseOn the good side, since the reel was unusable to begin with I haven’t lost anything, and it was interesting to see the print improve with a little drying.
Conclusions
So the dehydrator definitely saved at least one reel, and improved – but didn’t save – another one. Based on my experience and the posts I’ve read, I think I’ve found a useful and inexpensive tool against overly-wet filament.
References
- Maker’s Muse’s Reviving 7yr old filament with a $20 Dehydrator.
- All3DP’s How to Dry Filament: PLA, ABS, & Nylon, which describes why filament absorbs moisture, various ways to address the problem, and gives a good list of temperatures for drying various types of filament.
- 3DInsider’s How to Dry Your PLA Filament, which gives a good list of symptoms of wet filament, and talks about the Glass Transition Temperature of PLA.
- CNC Kitchen’s very thorough Investigating Different Methods of Filament Drying compares several methods of drying filament, and presents lots of experimental data.
DIY 3D Printer Filament Dryer - for CHEAP!
Guides, Recommended Gear
We’ve talked about the benefits of drying your 3D printer filament, and there are clear benefits.
The next question might be “how do you dry 3D printer filament?”. The best way and most practical way is to use a dehydrating system. PrintDry, for example is a machine made specifically for drying filament. I’ve worked with a PrintDry and it does work well, but appears to be just a modified food dehydrator with a larger spacer between racks to enable you to fit filament spools inside the drying area. At $99, the PrintDry really only offers one benefit over modifying your own: It has a rotating spool holder that allows you to load your filament and feed it directly to your 3D printer. I didn’t see this as a major benefit, so it seems you can get very similar if not exactly the same performance, for less with a DIY option.
How to Build Your Own Filament Dehydrator for CHEAP
Choosing a dehydratorI decided to emulate the PrintDry in regard to size and shape. This meant looking for a pretty standard round food dehydrator with clear plastic sides. I found that the Westinghouse WFD101W model fits the bill perfectly, and looks a whole lot like the PrintDry.
I’m sure most standard food dehydrators will work, but here I’ll explain how to make your own with the Westinghouse model.
Making the mods
Standard food dehydrators use a similar form-factor, they have a heated base with a fan, and perforated trays that stack on top. Each tray is intended to hold a thin layer of food, so you would use multiple trays to dry a batch of food. The space between each tray is not tall enough to fit a filament spool.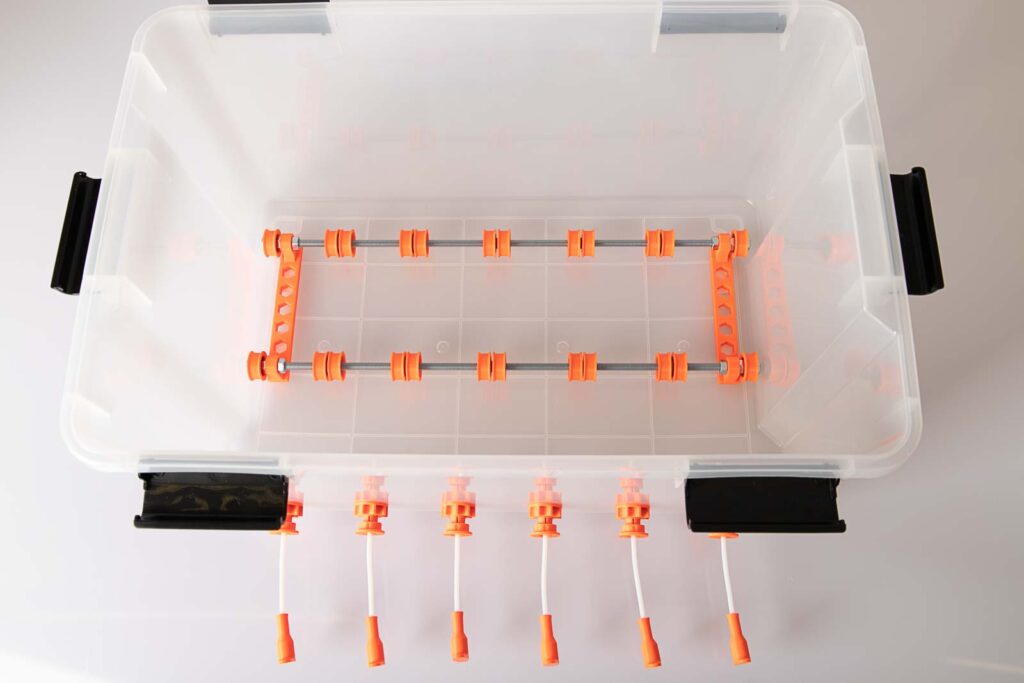 This is where we need to modify. The only modification needed is to clip along the edge of the perforated tray, all the way around until you’re basically left with a plastic “ring”. Modify three trays into rings, and they will stack up tall enough to fit a filament spool.
If you have an alternate way to fashion a similar sized plastic ring, you could go that route, but it was very easy to clip the trays and it allows you to use the dehydrator as it was intended by the manufacturer. We’ve just opened up the internal area to allow for our larger filament spool.
Operation
There are some recommended times and temperatures to use based on the material you’re using.
| Materials | Dehydrator Temp | Drying Time |
| PLA | 45C / 113F | 4 hours + |
| ABS | 60C / 140F | 2 hours + |
| PETG | 65C / 149F | 2 hours + |
| Nylon | 70C / 158F | 12 hours + |
| Desiccants | 65C / 149F | 3 hours + |
| PVA | 45C / 113F | 4 hours + |
| TPE / TPU | 50C / 122F | 4 hours + |
| ASA | 60C / 140F | 4 hours + |
Assemble the base and trays as according to the manufacturer’s instructions, and you’re ready to load your filament spool and start drying.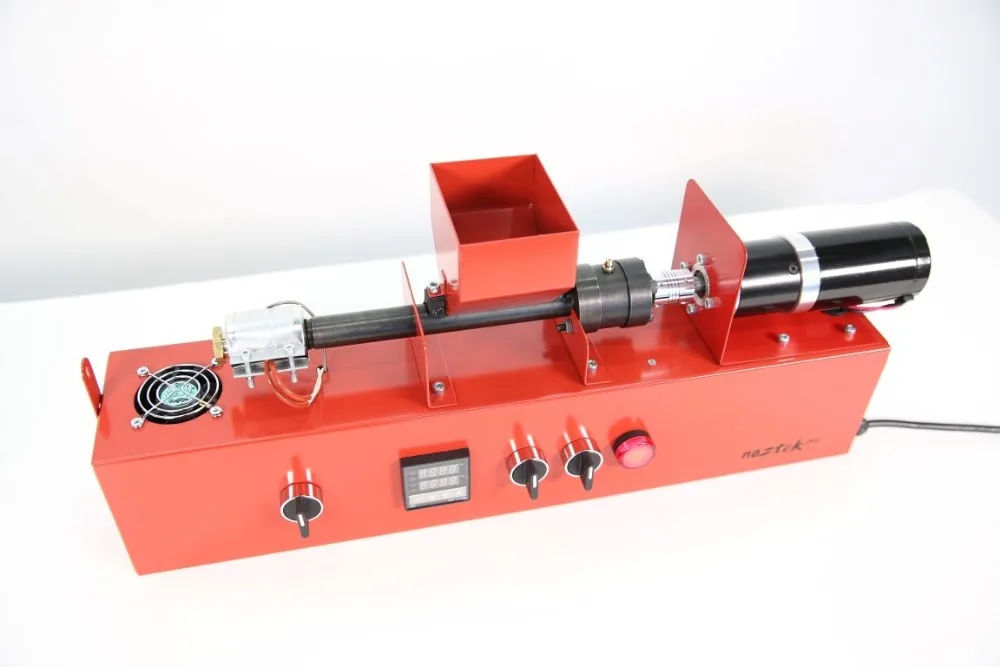 Once a spool is dried, you can store them in zip-lock bags or other airtight storage containers with desiccants. I also recommend building yourself a drybox for holding filament and keeping it dry while in use. This will help keep your material from absorbing moisture, and will keep you printing better for longer.
Enjoy your new, dry filament!
Dry filament needs to be kept that way. Use airtight containers to store your spools when not in use. Silica packs are effective and can be “recharged” using the food dehydrator. A more convenient alternative is the EvaDry system, which is a color-changing desiccant that plugs into the wall to be recharged.
Use of color changing desiccant is very helpful in determining if your storage is air-tight or has been compromised.
For our DIY filament dryer, we used a Westinghouse food dehydrator, similar to this one available at Amazon
Buy Now!
Dry filament for 3D printing! Need to dry plastic? How to dry thread?
3D printer filament is a very sensitive thing.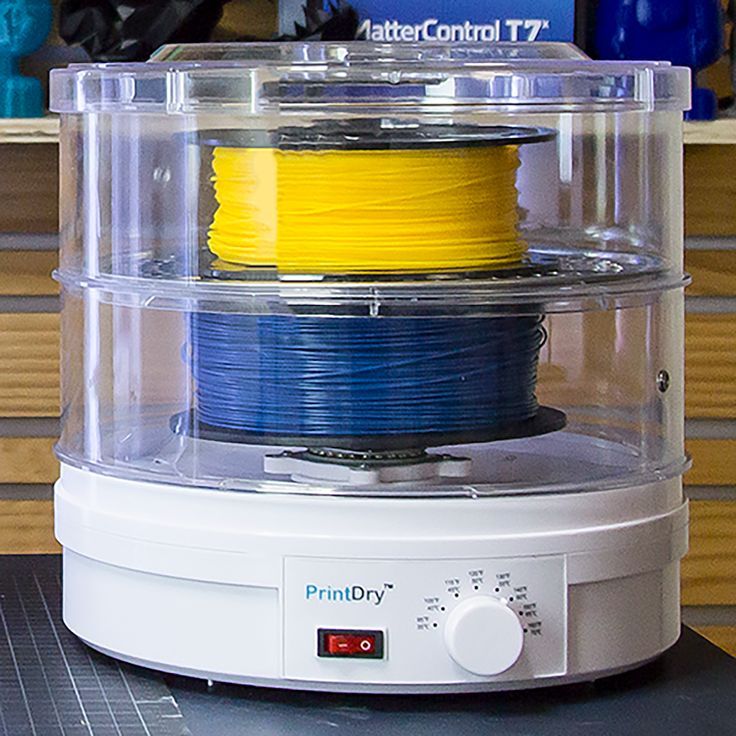 It can be damaged by banal moisture. In this material, we will tell you about how you can reanimate coils with plastics such as ABS, PLA, NYLON. Drying the filament for 3D printing correctly!
Drying the 3D Printing Filament Correctly!
It is important to understand that any 3D printing filament is hygroscopic. Some to a greater extent, some to a lesser extent. All plastics are polymers made up of molecular chains. It is these chains that are destroyed by the action of water molecules. As a result, the plastic deteriorates, and various problems can occur during printing that will affect the result.
And yet the problem can be solved. In order to avoid these unpleasant consequences, it is necessary to organize the proper storage of plastics. We will tell you how you can determine that the thread is wet, how to dry it and keep it in proper condition later.
How to detect wet thread?
Different types of plastic absorb moisture at different rates. But there are some signs that can give out a wet thread:
- cracking during extrusion;
- poor layer adhesion;
- strength reduction, moreover, strong;
- uneven extrusion lines;
- strict cutting, uncharacteristic for printing, model and material;
- seepage;
- pungency;
- Surfaces that are too textured or otherwise unclear.
If you find any of the above signs, then the thread needs to be dried. The most hygroscopic 3D printed plastics are PETG, PVA, and flexible filament types. Once they spend just a night in a leaky package, they are immediately fed.
Next, consider drying options.
First method: oven
This method is the simplest and therefore the most common. To dry the plastic, you need to set the temperature slightly below the glass transition of the material and leave it inside for 4-6 hours. Moreover, the more time the material spends in the oven, the drier it will become.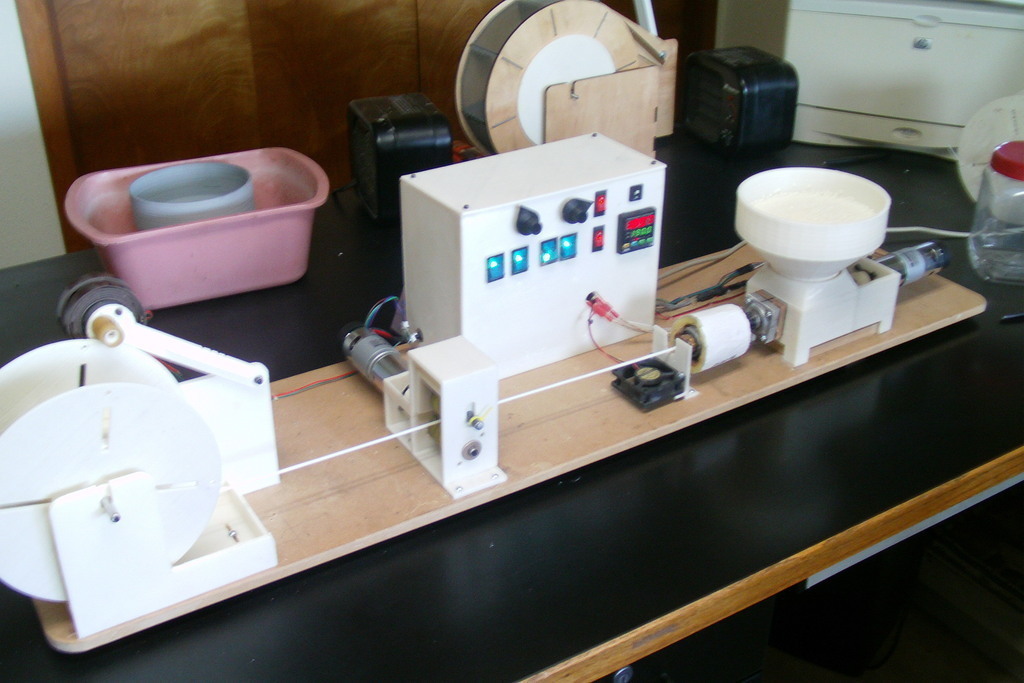 The temperature varies for different materials. For PLA, you should choose 40-45 degrees, for ABS - about 80 degrees, as for NYLON.
There is one important note. You must first preheat the oven, and only then put the plastic in it. The fact is that all ovens, when the temperature is set, first slightly exceed the heat indicator. Therefore, there is a possibility that by placing the coil in the oven early, you may damage the coil and the plastic. During the drying process, you also need to ensure that the temperature is maintained at a stable level, without rising.
Method 2: food dehydrator
This is a simple household dryer that can be used not only for fruit, but also for drying 3D plastics. Such devices maintain lower temperature levels than ovens and therefore do an excellent job of drying plastic. The temperature level is similar: for PLA, you should choose 40-45 degrees, for ABS - about 80 degrees, as for NYLON. If 80 is an unavailable temperature, then the maximum possible indicator should be selected.
An important advantage of drying is its affordable price.
Storing Plastics
It is important to keep the filament dry. This requires proper storage. The best option is to use sealed packaging. An airtight box with silica gel will do.
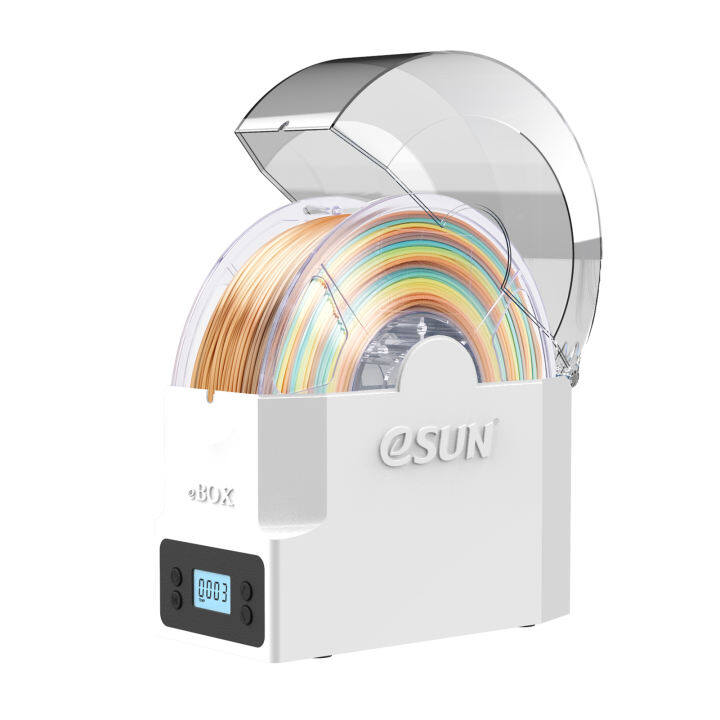
There are some commercial offers that specialize in the preservation of plastics and their drying. For example, ESUN eBOX plastic dryer; This is a professional box for storing and drying filaments. This box will relieve you of concerns about safety, issues of creating temperature conditions, humidity indicators, etc. But you will need to spend.
Thus, everyone has a choice and it all depends on your personal capabilities. It is important to understand that proper storage cannot dry out the plastic, only preserve it.
.ts-button-wrapper a.ts-button-1{background:#ffffff;border-color:#ff9923;border-width:1px ;color:#ff9923;}.ts-button-wrapper a.ts- button-1:hover{background:#ff9923;border-color:#ff9923;color:#ffffff;}
Buy ESUN eBOX plastic dryer
Need help choosing equipment?
Leave your e-mail or telephone and our specialists will contact you.
Free 3D File Thermal Bed Powered Dryer/Dehydrator・3D Printing Template to Download・Cults
Pin spacer
Free
Key for homebrew kegs
Free
Hanger/mount for wastebaskets
Free of charge
Relief map (topographic) of Longs Peak
Free
Taz 5 Pi Camera Bed Mount (RaspiCam)
Free
Lulzbot Taz 3/4/5/6/7 Raspberry Pi (and Pi Camera) case/mount - for AstroPrint or Octoprint
Free
HP Designjet 500/800 Paper Spindle Gap Spacers
Free
Suspension brackets for USB audio interfaces
Free
The best files for 3D printers in the Tools category
fig harvest
1. 25 €
25 €
Clips for beach towel holders
0.50 €
Spare key Midi usb controller Korg NanoKey2
0,85 €
Mold - Presse à Motte
3.75 €
Face cover - my version (v04)
Free
Ultimaker 2 temperature torture calibration test
Free
Modular Support (Case) for Arduino and Raspberry Pi - CustoBlocks
Free
Respirator Pocket Mask Covid SOS ITALY
Free
Bestsellers in the Tools category
Tool holder for 3D printer V3.0
1.04 €
Quick Print Paint Bottle Rack (6 sizes)
2. 91 €
91 €
Shrek Pooping Toothpaste Topper
2.85 €
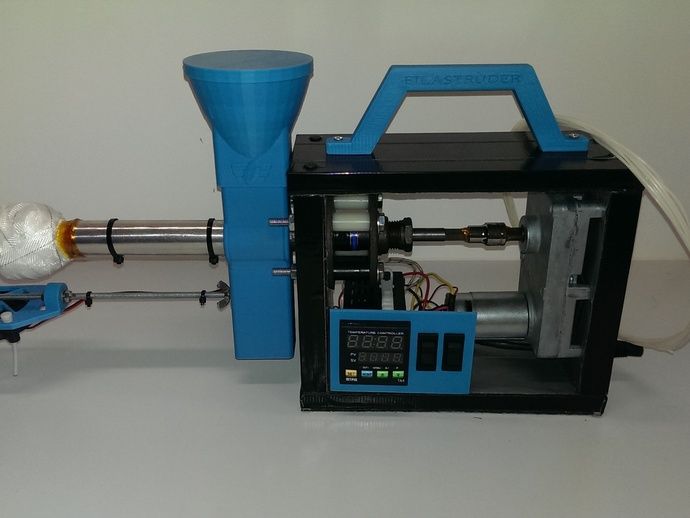
PET-Machine, make your own plastic bottle filament at home!
15 €
ARTEMIS -> Shop for Alligator 2 || 6.5" arrows || Repeating crossbow
6.25 €
Fire hydrant storage container
1.90 €
Ender 3, 3 V2, 3 pro, 3 max, dual 40mm axial fan hot end duct / fang. CR-10, Micro Swiss direct drive and bowden compatible. No support required for printing
1.57 €
ENDER 3 S1/S1 PRO COIL HOLDER AND DEPORTED COIL
€2.13 -twenty% 1.71 €
Quick print stackable parts containers / storage boxes
2. 91 €
91 €
PRECISE DIAL INDICATOR 3D PRINT DIY
1,90 €
Phone holder
2.46 €
3D printed wave transmission (harmonic drive)
4.99 €
Cooling system Minimus Hotend
2.35 €
Display holder FLSUN v400
€9.99 -fifty% 4.99 €
INDICATOR FOR BETTER BED LEVELING FOR ENDER 3 V2
2.84 €
well designed: Hemera fan duct
2.50 €
Do you want to support Cults?
Do you like Cults and want to help us continue our journey on our own ? Please note that we are a small team of 3 people, so support us in maintaining the activities of and creating future developments is very simple.