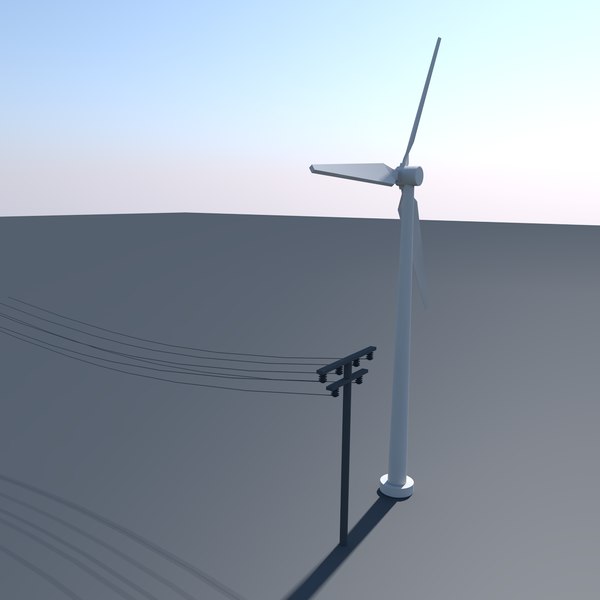
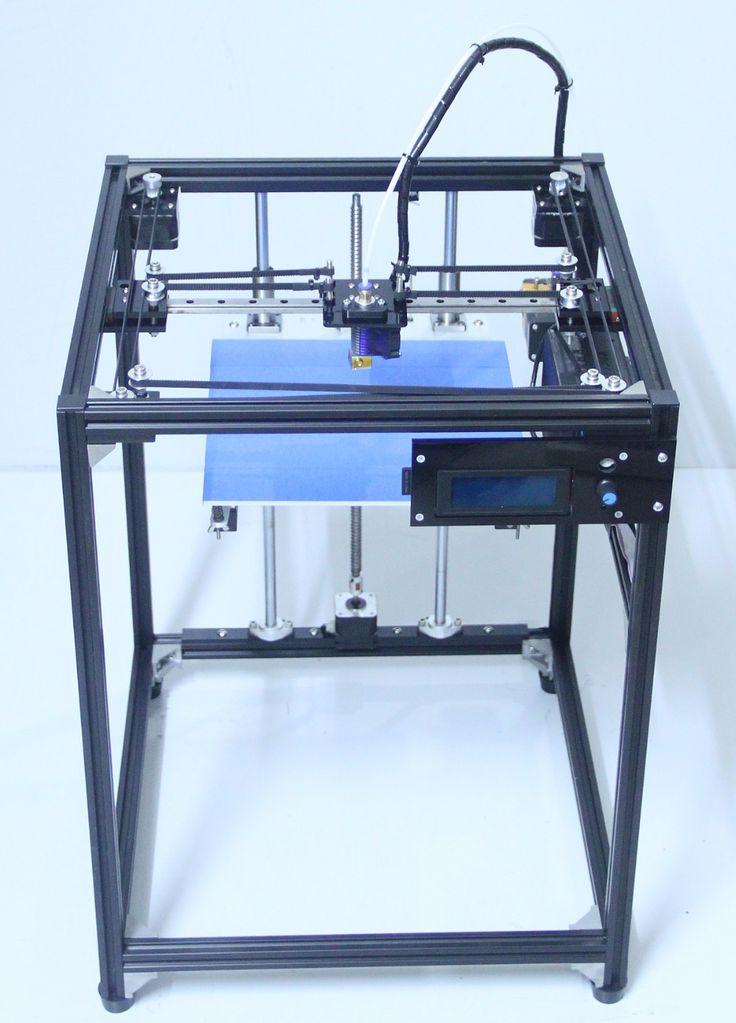
Wind turbine 3d printer
Fit To Print: GE Is Looking At 3D-Printing Wind Turbine Towers From Concrete For More Efficient Wind Farms
Driving across the eastern end of New York State, you can’t fail to notice the clusters of wind turbines that have popped up over the past decade on undulating fields and remote ridges. As in other parts of the world, these wind farms are a manifestation of America’s growing embrace of renewable energy.
But there’s more to wind power in this corner of the country than large rotors riding the steady Lake Ontario breeze. Just step inside a cavernous warehouse in Bergen, a village just south of Rochester, where engineers from GE Renewable Energy and their partners are working on innovations that could help the renewables industry pick up even more wind in the future.
Inside the warehouse, some 20 workers are using one of world’s largest 3D printers to form the bases of wind turbine towers from high-tech concrete. Their success could help the wind industry break through bottlenecks that today limit the size and power of onshore wind turbines and also lead to more efficient wind farm designs.
Christopher Kenny, senior engineering manager for emerging technologies at GE Renewable Energy and the leader of the facility, says that the wind industry has evolved tremendously in recent decades. But there are physical limits on how powerful land-based wind turbines can become. “Larger generators will require taller, stronger and larger towers,” he says. “If we don’t do anything, we’re going to run into a roadblock.”
To make a wind turbine tower today, builders bring prefabricated steel tubes to the location on flatbed trucks and weld them together on-site. But as anyone who tried to move a piece of furniture into a New York City walk-up apartment will know, there are limits that can’t be breached. For turbine towers, that limit is about 14 feet in diameter. Make them any larger and they become too wide to fit on many roads. (Wind blades face a similar issue with length. But GE found an ingenious way to split the blades into two pieces and assemble them at the wind farm. ) “It’s a real obstacle, but there’s a way around it,” Kenny says.
The way is 3D printing, also known as additive manufacturing. By 3D-printing the base of the tower from concrete on location, wind farm builders will be able to make it wider, and strong enough to support a taller and more powerful turbine. The method could also unlock new locations for wind generation.
The printer Kenny and his team are testing in Bergen consists of long trusses and beams connected at right angles in a way that resembles a concert stage at a music festival. Electrical motors attached to the beams move the printing nozzle in three directions and allow it to print concrete structures up to 20 meters tall — about 66 feet.
Kenny says that attaching a prefabricated steel tower to a concrete base 20 meters high could help wind farm designers build turbines with towers reaching 140 meters — 450 feet. Taller and more powerful turbines could help increase a wind farm’s annualized energy output (AEP), an important industry number that describes a wind turbine’s efficiency.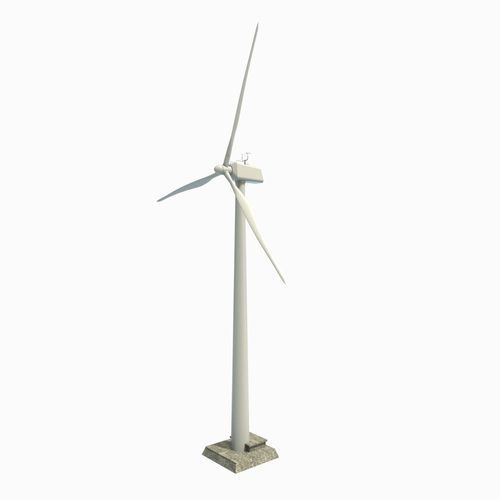 The number represents the actual amount of energy the turbine produces per year and depends on turbine design, wind speed at a specific location and the number of windy days. “The hub height is critical for AEP gain, and today it’s typically not fully optimized,” Kenny says, adding that wind is typically stronger and steadier higher off the ground.
Since the printed concrete base can vary in height, printing could allow for turbine heights that are optimized to the local terrain. “When you think about very large wind farms where the terrain and wind changes, we’re limited on how we can vary the height of the turbine to maximize the site layout,” Kenny says.
The U.S. Department of Energy is funding the research with $5 million, underscoring the importance of the project. “We appreciate the support of the U.S. Department of Energy for the research we are doing here and are confident it will help make the wind farms of tomorrow even more efficient, economical and environmentally responsible,” said Danielle Merfeld, GE Renewable Energy chief technology officer. She said that “innovation will continue to be a key driver in accelerating the energy transition.”
The facility will hold an “open house” on Thursday. Visitors will include Matteo Bellucci, advanced manufacturing technology leader at GE Renewable Energy; Henrik Lund-Nielsen, founder and general manager of COBOD, the Danish company that designed the 3D printer; Edelio Bermejo, head of global R&D, innovation and IP at Holcim, the partner helping GE develop the high-tech concrete for printing; and representatives from Optimation, a New York engineering firm assisting with developing and standardizing the printing process.
GE has been studying 3D-printed wind turbine towers for several years. Together with COBOD and Holcim, it printed concrete towers in Denmark in 2020.
Kenny, who was at the first printing test in Denmark, says that GE has spent the past two years working with COBOD on evolving the printer design and with Holcim on new compositions for the concrete. In Bergen, for example, GE is using local stone and sand to come up with a process that can help adapt the recipe at different locations. “Rather than trucking stone across the country, using local material makes economic sense and environmental sense,” Kenny says.
The collaboration has also led to identifying and building the core components the mobile printing operations will need in the field. They include the large printer, a mobile concrete batch plant on a trailer, a cement storage tank, also on wheels, and an assembly for forming circular rebar rings that go inside the concrete and support the towers. “All the tools and equipment we are developing to support the process will fit inside customized pods that can travel from site to site, and we’re testing the prototypes right here, right now,” Kenny says.
Don’t be fooled by the fact that the main construction medium here is concrete. This is high-tech work. The mobile concrete batch plant, for example, is loaded with sensors that weigh sand, stone and cement, measure the moisture content in the ingredients, and monitor the mixing torque, the rheology — the flow of the printing mixture — and other factors for each individual batch. Operators monitor and adjust the factors from a computer inside a glass cab in the middle of the trailer. “Once we mix it and make the concrete, we have only so much time to be able to print it,” Kenny says. “Based on a combination of testing, computer modeling and simulation work, the concrete is designed to develop strength at a certain rate to handle the layers above it and the weight of the rebar. This allows us to build the structure within our targeted time frame.”
The whole system is designed to work like this: The batch plant blends the cement from the storage tank and the stone, sand and water, and sends the concrete to the printer. The printer then extrudes layers of concrete in the desired shape through a special nozzle. Each layer is several inches thick. Like at the batch plant, the process is monitored by sensors and cameras.
There are many engineering challenges the team needs to nail down. The concrete mix, for example, has to harden quickly so the layer on top of it will not deform it. But if the concrete hardens too fast, it can clog the printer and destroy the equipment. “It’s a fine balance,” Kenny says.
This monitoring is also important for quality control and certification. Naturally, the government will have to approve the process before GE can roll it out. “That’s a big part of the purpose of this facility,” Kenny says.
GE will test the printing process indoors in 2022 and plans to start printing outside next year, with the goal of demonstrating a full-scale outdoor tower segment. The ultimate goal is to demonstrate the ability to deliver cost-effective tall towers, and to do that the GE team is looking for a viable site for installing a prototype turbine that will generate 2 to 3 megawatts.
Some builders have already started 3D-printing homes, but 3D-printing a wind turbine tower requires solving challenges of a different magnitude. “Our loads and our structural requirements are significantly higher than in a 3D-printed home you see today,” Kenny says. “We are learning to leverage the opportunities that additive opens for us.”
I designed and 3D printed a full-scale wind turbine on an SLA printer – mind.dump()
Back in high school, I wrote SOČ (student-paper) about designing and building a small horizontal wind turbine (available here, only in Czech). It was an interesting experience and I learned a lot about aerodynamic. Ten years passed and I decided to revisit the idea of having a small DIY wind turbine. However, with a modern spin on it in the form of 3D printing the whole full-scale turbine on an SLA printer. Spoiler: it turned out perfectly!
Finished turbine. Such a beaty, isn’t it?The Old Design
Before I dive into the process of making a new turbine, let’s briefly recap the design and manufacturing process of the old turbine.
The whole turbine was designed using the Galauert vortex theory. Back in the days, I wrote a simple C++ program, that numerically solved the equations to fnd the right angle of attack and profile lenght of the turbine.
Then I imported the data into Solidworks and designed a model. Then I handcrafted the turbine blades out of styrofoam using a hot wire and a series of templates. The styrofoam blade was glued to a beam out of spring steel. Then it was covered in several sheets of Tyvek (non-woven fabric) soaked in dispersion glue. Basically, it was a primitive form of making a laminate body. Surprisingly, once painted the material is rigid and very durable. It withstood outdoor weather conditions (-20 °C in winter, +30° in summer, a lot of sunshine) for 4 years with no apparent damage. Overall, this primitive manufacturing technique worked, but it was laborious and relatively imprecise. So I decided to print it!
The old manufacturing process - manually cut pieces of styrofoam using a hot wire
"Laminated" blades with tyvek and dispersion glue
Designing a new turbine
10 years passed and I become more skillful, but also a lazier programmer. So instead of revisiting my old primitive program, I did my research and I found out that there is QBlade. QBlade is an amazing piece of software for designing wind turbines. It allows you designed and simulate air profiles and blades. It is really powerful and yet easy to use. Just note there is a version 0.9 on Sourceforge which is vastly improved compared to version 0.8 on the main website. Just to give you a sense what QBlade can do:
With QBlade I can design a turbine. However, to print it, I need a proper 3D model. QBlade allows you to export the blade as STL. However with STL you cannot do much – I need to split the blade into smaller pieces, add infill, holes for transoms, and also to design some jigs to be able to precisely assemble it.
QBlade allows you to dump the critical blade data (profile length and blade twist) into a simple TXT file (an example). So as I (still) use Fusion 360 as my primary CAD tool, I decided to write a plugin that takes this file and builds a model of a single blade. I call it YBlade and I made it publically available on my GitHub. With this plugin, you get the basic blade shape that you can easily modify (add infill, cutouts, etc.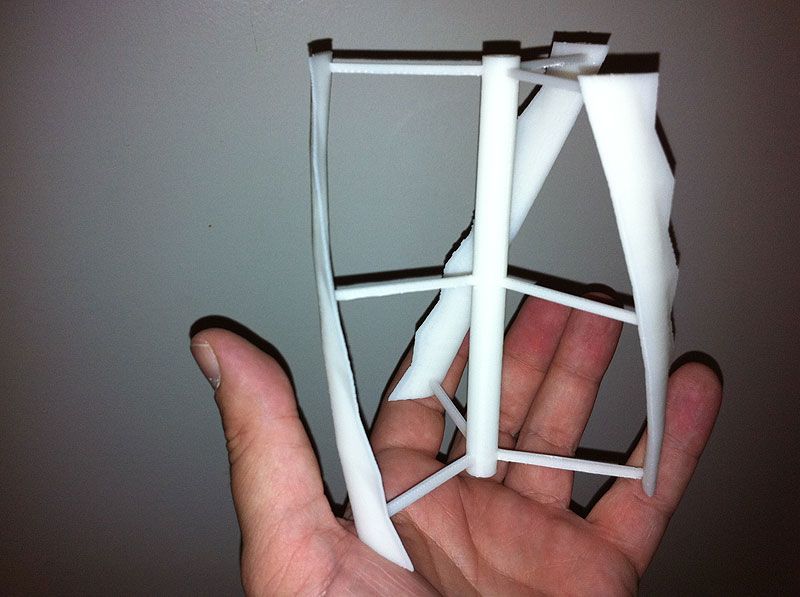 ).
).
The turbine is designed to have three blades with a diameter of 1.5 m. It uses the NACA4412 air profile. It is designed for tip-to-windspeed ratio 6. In theory, it should provide 80W for 5 m/s wind, 550W for 10 m/s, and 900W for 15 m/s (note that the wind energy increases with the third power of its speed). The computed efficiency should be around 50 % (roughly half of the wind kinetic energy is turned into the kinetic energy of the turbine).
I decided to reuse most of the components from the old design, so I preserved the metal hub and also use the same beams. The whole blade is a thin shell – the outer thickness is 1.2 mm and it has internal diagonal fins spaced 30 mm apart. You can see the model below (note that Fusion 360 wrongly makes the internal fins visible).
Also, there is an interactive preview of the model:
Printing
I split each blade into 4 roughly 190mm segments, so they fit on my Elegoo Saturn. I printed the blades on supports, though they have nice flat faces on the split planes. The reason I decided to not print them flat on the bed is to not form a suction cup and to allow the air from the to escape via the beam hole during the printing. If I printed them flat on the bed, the blades would collapse and form holes during printing. I also made sure that the infill does not form any closed cavities where the air and resin can get trapped.
Surprisingly, you can fit all three blades on a single build plate! With generous light-off time (the reason for this will be explained in an upcoming blog post) the print took about 12 hours to finish:
Priting the blades. All three blades fit on a single build plate!
Finished model
Finished model
Dry assembly
You can see the infill inside
First, I wanted to use Resione M68. It is a tough, quite flexible, and not fragile resin that is nicely snow-white. Recently I used it a lot and I like it. I even make the insert for my resin pouring spouts from it. However, on the first try I found out it has one property, that makes it not suitable for outdoor usage – it soaks moisture quite a lot.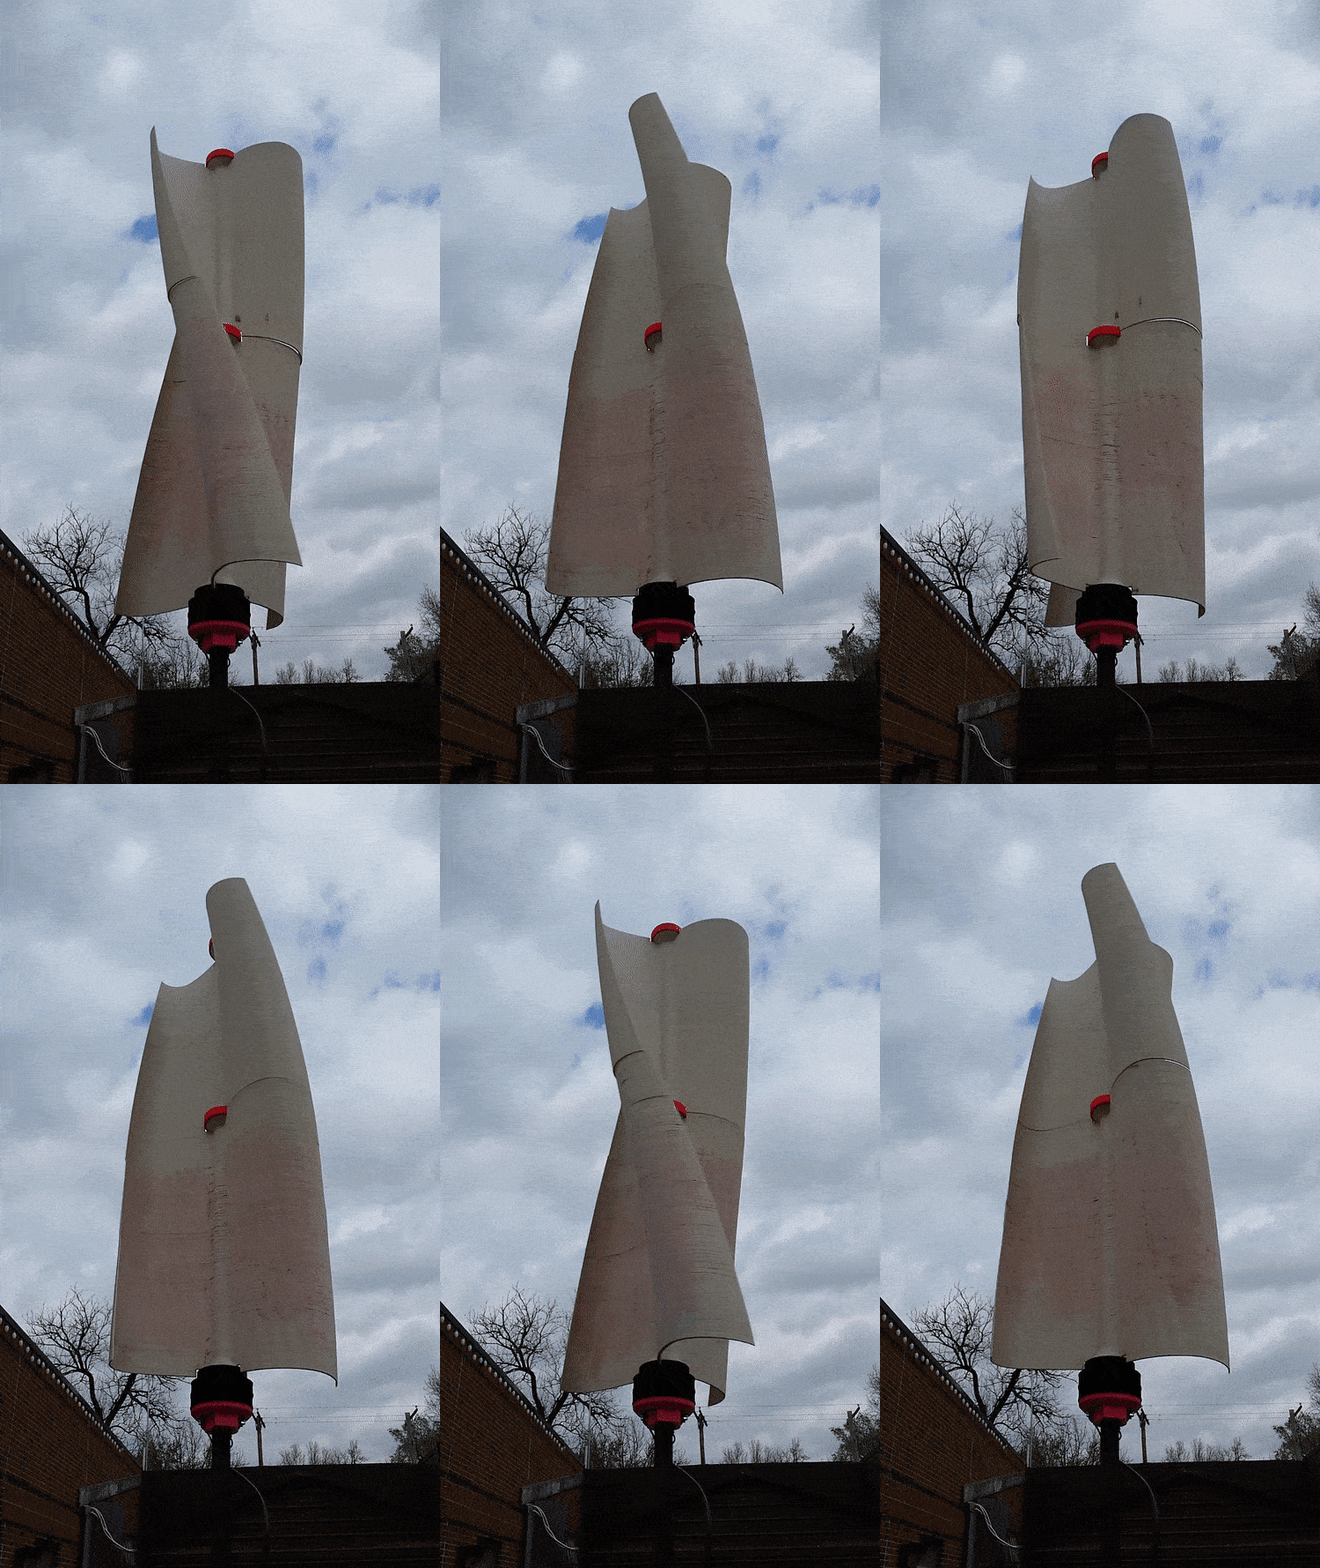 See the photo below. I made some experiments – read my findings of resins soaking water. Therefore, I decided to switch the resins and go with my favorite durable mixture – 80% Siraya Tech Fast and 20 % Siraya Tech Tenacious. This mixture is quite tough (though not as Resione M68, but it has a much harder surface and it is cheaper) and easy to print. The printed part of the blade weighs 158 g – therefore it is actually quite cheap to print the blades!
Resione M68 soaks water and wrinkles the surface
Resione M68 soaks water and wrinkles the surface
I also printed the turbine hub cover. It was a simple design. It is made out of two components that screw together so I can access the screws on the metal hub that hold blades. I used too lightweight supports, so the thread (M70) deformed slightly, but that is nothing that cannot be fixed with a file and a little handwork.
Printing the hub
Finished hub
Finished hub
Finished hub
Finished hub
I used too light supports.
If you are wondering why the components have light and dark stripes on them: I like the snow-white color of M68. Therefore I experimented with mixing white pigment into my mixture. However, two things went bad: I mixed too little resin, therefore I had to mix a new batch during printing and I didn’t manage to get the tone right. And as I was mixing in rush, I didn’t mix the pigment properly, so there are some darker and lighter spots. It is just a cosmetic issue.
Assembly
Once printing is done, the tricky part comes – assembling the blade. The tricky part is gluing the individual pieces of the blade to the steel beam in a correct twist and placement.
I came up with the following process: I printed the followin aligment jigs:
Stop jig for the first piece
Stop jig for the first piece
Jigs for seeting the correct twist. They are put directly below the partition face between two pieces of the blade.
The allow me to put glue on all the pices, put them on the beams, assemble the beams with hub and them put the whole turbine on this jigs and put some weights on it.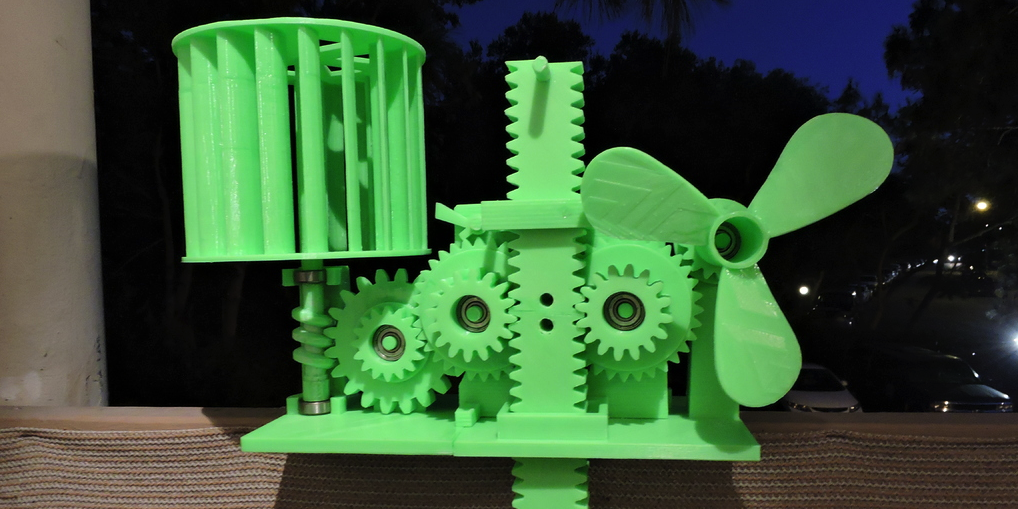 In this way, the blades will have a correct twist.
However, in order to make this procedure work, I need a flat surface to put it on. The alignment has be quite precise (otherwise the turbine looses efficiency). I used three old marble boards (they are out of old windowsill). I used spirit level to put them in plane like this:
Then it was just a matter of working quick – put glue on the spring steel beams, put the printed pieces on them and align them using the jigs:
Dry-assembly
Blade fits on the marble boards
Everything is glued and it just need to cure
The rest of the process is pretty standard and easy. I wet-sanded the blades and the hub to smooth out any small imprecistions, I used a putty for plastics to cover up small imperfections and then I spray painted the blades:
The finished blades with a putty before painting.
Finished turbine. Such a beaty, isn't it?
There were just two finishing touches to the blade. First, I drilled holes through the plastic pices and beams to put 2mm pin there to make sure the blades can’t fall of when the glue fails (e.g., due to weather conditions – extreme head). I modeled a massive pieces for the pins in the blade model. Second, I glued small winglets on the tips of the blades to make it less noisy.
Result
The finished turbine on the old body looks like this:
How does it perform in practice? Unfortunately, I don’t have a video of the new video on the pole (there was bad weather after installation). But once it was assembled I had to test it. Unfortunately, there was no wind on that day so I had to “walk the turbine” like a dog. It spins really nicely. It starts easily and it is really responsive to wind speed changes:
If you are interested in the turbine on the pole, I have a video of the previous version:
So now you might ask – how much electricity does the turbine produce? The answer is – currently none. There is no generator in the assembly. The turbine is just braked to prevent it from going into ridiculously high speeds. So all the energy goes to heat. Adding a proper and efficient generator to the turbine is actually quite challenging. Unfortunately, most of the DIY videos about wind turbines generating electricity are rubbish (I don’t want to be dishonest, but there is no proper engineering nor theory behind these videos). The authors usually just measure the voltage and they don’t care about current and power (so no information value on the actual power) or they connect 60 W light bulb that barely shines and they claim they “produce 60 W of power”. In fact, they probably produce less and with the size of the turbines they use, they should be able to get at least a couple of hundreds of watts.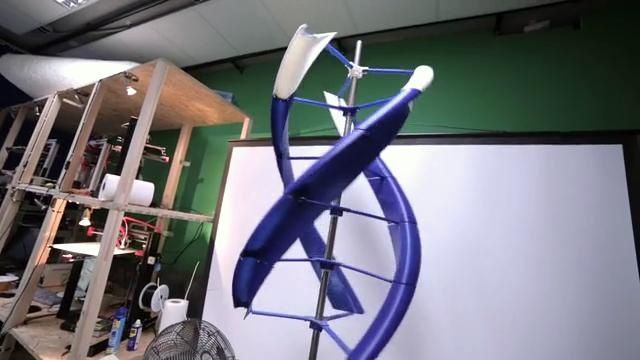 Also, none of the authors deals with the problem that the rotational speed of the turbine is linear to the speed of the wind, however, the power grows with the third power of wind speed. Therefore, to maintain a constant tip-to-speed ratio (and thus preserve optimal efficiency) you have to regulate the power you extract from the turbine. This is something I plan to do, but I haven’t actually managed to do so.
The second question you might ask “Why did you call it Aurae?”. Well, every project needs a decent name. Aura is the nymph of the breeze in Greek mythology. Why plural? It just sounds better.
What’s next?
This was my first attempt at printing the turbine. It worked quite well, but there is still room for improvement. In the next revision, I would like to focus on the infill of the blade. Recently, I stumbled upon Chaos (his Twitter and Youtube Channel) who prints aircraft on an SLA printer. He has some interesting findings, so be sure to check out his work. Based on his observations, I would like to improve the infill structure and consider making the last section of the blade self-supportive without a steel beam.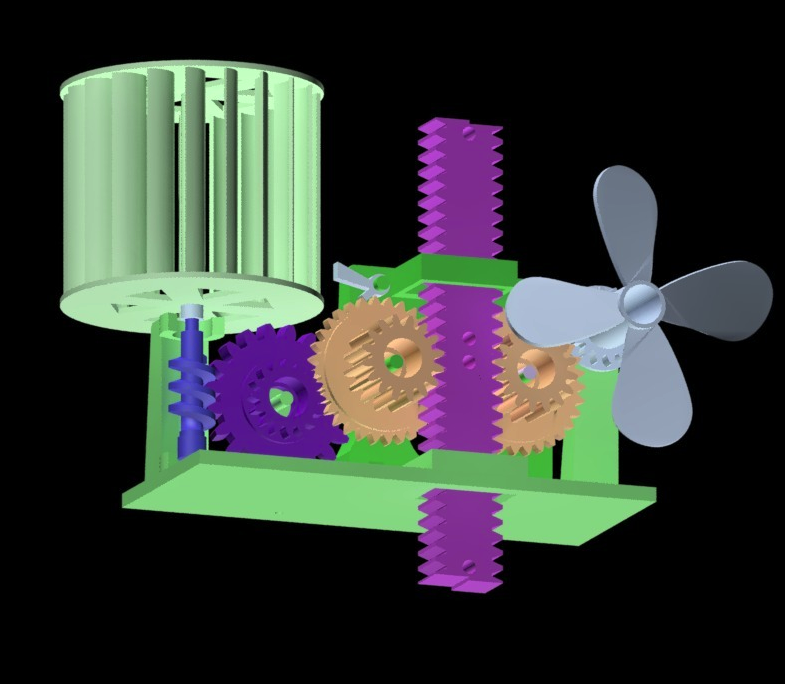
Another thing is that I will leave the current design outside for a few months to see how the resin copes with the weather conditions. I think it should do fine as it is painted.
Free STL file Wind turbine V1・Object for download and 3D printing・Cults
3D concrete balustrade
1.59 €
Gateway Exterior Mansion Gate
0,74 €
Road Safety Barrier Guard 3D
0.68 €
Historic Oakland Iron Street Light pole
0.64 €
Eiffel Tower 3D
0.64 €
Simple electric power tower 3D model
0.64 €
Gate External gate
0.64 €
Medieval ship 3D
0. 64 €
The best files for 3D printers in the Tools category
Honey Gate Wrench
Free
FMStation / Arduino Panel Rack System 1.0
Free
Spool Holder (RigidBot)
Free
Deactivated
Tape Dispenser - Tape Gun
Free
Smurf - Papa smurf cookie cutter
4 €
Pegboard hooks
Free
FACOM Hex Key case - JP9A
Free
Bestsellers in the Tools category
Phone Holder
2. 54 €
54 €
ENDER 3 S1/PRO SPRITE, V3 AIR DUCT 5015 OR 4020
€2.48 -fifteen% 2.10 €
INDICATOR FOR BETTER BED LEVELING FOR ENDER 3 V2
2.93 €
PET-Machine, make your own plastic bottle filament at home!
50€ -70% 15 €
Fire hydrant storage container
1.96 €
ENDER 3 S1/PRO SPRITE, 4020 FAN CR TOUCH NO Y OFFSET
€1.95 -fifteen% 1.66€
GEAR AND DRIVE
3. 43 €
43 €
SUPERBOX
1,50 €
Printer boxes for Ikea Lack Table
1,99 €
Quick print paint bottle holder (6 sizes)
2.87 €
Quick print stackable parts containers / storage boxes
2.87 €
Paint stand with scissors
5.41 €
Filament shielding
2.84 €
Business card embossing system
3 €
PRECISE DIAL INDICATOR 3D PRINT DIY
€1.90
UNIVERSAL BED LEVELING INDICATOR FOR VERY ALL PRINTERS
2,93 €
Do you want to support Cults?
Do you like Cults and want to help us continue our journey on our own ? Please note that we are a small team of 3 people so support us in keeping the activities of and creating future designs for is very simple. Here are 4 solutions available to everyone:
-
ADVERTISING: Disable the AdBlock banner blocker and click on our banner ads.
-
AFFILIATION: Shop online with our affiliate links here Amazon.
-
DONATIONS: If you want, you can donate via PayPal here.
-
* INVITE FRIENDS: * Invite your friends, discover the platform and the amazing 3D files shared by the community!
STL File Wind Turbine・3D Printed Model Download・Cults
Christmas gnome decor COMBO PACK -Crex
13 € -62% 4.94 €
Hidden Blade - Assassins creed
2.20 €
Christmas reindeer Rudolf - Crex
3,20 €
Christmas sign / 3D word
€2. -thirty% 1.89 €  70
70
Predatory Claw - Wristblade
2.40 €
Custom SIDE RELEASE QUICK BUCKLES with holes
0,50 €
Night lamp - stars (for children)
1 €
STORAGE BOX FOR LI-ION BATTERIES 4 CELLS 18650
1 €
Best 3D Printer Files in the Gadget Category
Stealth Air Fighter
Free
Bubble Copter-Oblivion
14.28 €
Tilting Tablet Stand cnc/laser
Free
Modular Prescription Fridge Magnet Bottle Rack
Free
International MaxxPro MRAP
13 €
Manfrotto RC2 quick release - GoPro Hero 3 adapter
Free
Keychain with One Piece logo
0,60 €
Bestsellers in the Gadget category
Bumper DJI Avata
3,50 €
Brush rinse
2. 26 €
26 €
Case for PIXEL 7 (two designs)
0,96 €
JEEP WRANGLER PEN HOLDER - 3-IN-1
1,86 €
Duck with pumpkin
1.25 €
Owl - wall key holder
1.85 €
Bone Finger Updated
6.51 €
AR-15 LOWER MULTI-CAL. REINFORCED DESIGN
8,50 €
Gato fantasma / creepy cat
3.22 €
Application for creating switchable business cards
3.50 €
Air motor printed fully assembled ready to use
3.18 €
Zhiromat
2,90 €
Fidget Jack Zombie - Halloween
2.