Bird feeder 3d print
🐦 Best STL files 3D printed of birdhouses・Cults
🐦 Best STL files 3D printed of birdhouses
Download free birdhouses 3D files
Discover our selection of STL files of beautiful 3D printable nest boxes and birdhouses to add a touch of 3D printing to your garden, balcony or even window sills. You will find in this collection all the 3D models to help birds and watch them!
Birdhouse
Free
Bird fat ball house feeder
Free
Mushroom fat ball birdhouse feeder
Free
Birdhouse
Free
The Light Sky Bird Temple
Free
Mangeoire à oiseaux Support boule de graisse / Bird feeder fat ball holder
Free
Harry Potter Birdhouse
Free
Birdhouse
Free
Gnomes Birdhouse
Free
Bird feeder
Free
Ramshackle Birdhouse
Free
Bird Water Trough
Free
CUTE CARAVAN BIRDHOUSE
€2. 32
Bird feeder on PET bottle 38 mm
Free
Birdhouse feeder
Free
Multicolor mushroom fat ball birdhouse feeder
Free
Birdhouse 16eme
Free
nesting box for chickadees/birdhouses
Free
Birdhouse -3 pieces
€3.80
Bird Feeder
Free
Vogel Futterspender / Bird food dispenser
Free
Easy Print Bird Box
Free
Bird Feeder - Pole Mounted
Free
Little Bird Feeder Air Temple
Free
Flowing Bird Temple
Free
Birdbath
Free
Nesting box flower pot
Free
SodaStream Bird Feeder with Roof
Free
Simple Bird House
Free
Easy to refill PET-bottle Bird feeder
Free
Drop birdhouse
€0.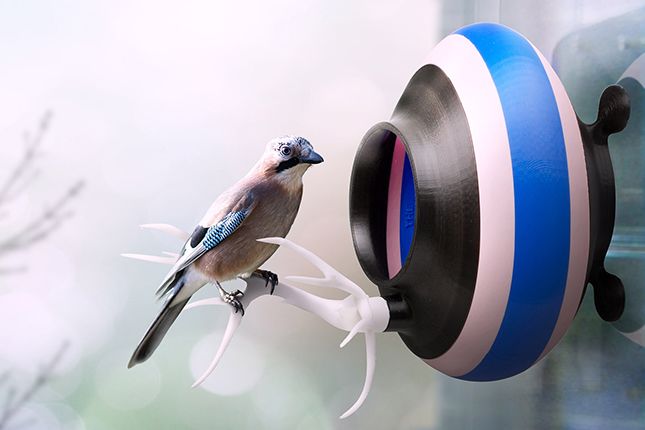 50
50
Bird Feeder
Free
Tiny Birdhouse
Free
Bird House - Simple print no supports needed
Free
Bird Feeder (Parametric)
Free
Bird Feeder (Parametric)
Free
Bird Suet Feeder - 2020
€2.19
Bird feeder for PET Bottle, Bird House 2.0
Free
Bird feeder for PET Bottle, Bird House 2.0
Free
bird house kuş evi
Free
Bubble Nest - Birdhouse
Free
Nesting box or house for small birds
Free
sodastream bird feeder
Free
Bird Feeder
Free
Old beerhouse birdfeeder
Free
Bird House Planter
Free
Autonomous bird feeder
Free
Bird feeder "Anna"
Free
Birdhouse
CUTE CARAVAN BIRDHOUSE
Birdhouse -3 pieces
CUTE CARAVAN BIRDHOUSE
Here is our selection of the best 3D printer files of birdhouses and bird feeders, all these creations are from the STL file site Cults and are 100% printable in 3D.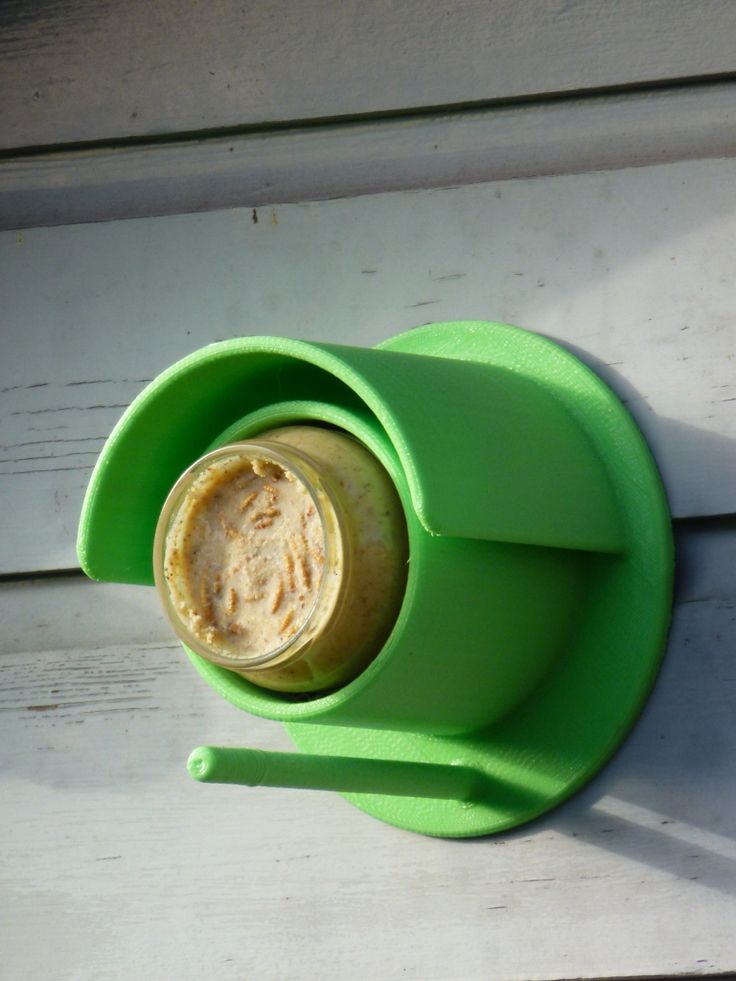
This collection includes free or paid STL files of superb nesting boxes and feeders created by the designers of our community. 3D printing allows you to make an extreme variety of shapes to help birds in the best way. All you need to do is download the 3D models and then launch 3D printing to attract many birds to your garden. In most cases the models are 100% 3D printable, you just have to fix the result to the branch of a tree or to the end of a stick. But other materials may also have to be mixed with 3D printing, such as empty bottles or wooden boards.
The 3D designers who propose their creations on the 3D file download platform Cults have really competed in ingenuity to make all these objects, if you download them, don't forget to post pictures of the result! We are very curious to see your pictures of these objects with a nest inside or birds perched on your brand new feeder printed in 3D.
For The Birds - Collections - glitchpudding
by glitchpudding, last updated
These 3D printed birdhouses and bird feeders will make you popular with the feathered crowd. (Bird Feeder 4.0 by printednest)
155 194
226 261
87 106
1844 2361
12472 16086
714 890
1336 1391
2425 2977
703 733
360 520
2733 3137
73 85
3D printed bird feeder
November came, the last month of autumn - snow began to fall more and more often outside the window. And although this snow melted time after time, the approach of winter began to be felt more strongly every day. Birds came out of the forest, mostly tits, but once I saw bullfinches in the trees. The tits constantly began to look into the windows, demanding food, and the sparrows, to arrange a loud party on the tree opposite.
The fact is that for several years in a row I have been hanging a feeder outside the window for the winter. Every time I try to make something interesting out of improvised materials, so that both birds and people, especially small ones, and my pet cat Timofey, will like it.
I will post a large number of photos of birds accumulated over several years at the end of this review, but for now let's return to the feeder.
Six months ago
In June of this year I bought a nice 3D printer and decided that the new feeder must be printed on it. The possibilities of 3D printing opened up unlimited scope for imagination. The new feeder was sometimes presented as a fantastic castle
then in the form of a space object
or something completely unthinkable abstract
But as the days passed, winter steadily approached, and the concept of the feeder did not go beyond sluggish sketches. Implementation was greatly hampered by common sense and lack of free time. And if it was not a pity to donate a couple of kilograms of plastic for the benefit of poor birds, then they could not carve out free time for the feeder project. Yes, and the printing time of such volumes was depressing. And finally, when the birds had already begun to brazenly knock on the window
and even the cat looked at the face in bewilderment, I made a compromise decision.
The concept of the feeder
First, it was decided to take as a basis the last year's design of plastic plates, bought at Thank you from Sberbank in Nadomarket
Secondly, print all connections in a contrasting color, taking into account the improvement in the functionality of the product, so to speak, “according to the results of operation of previous years”
The third, practical task was to acquire skills in designing movable 3D models for printing on a 3D printer.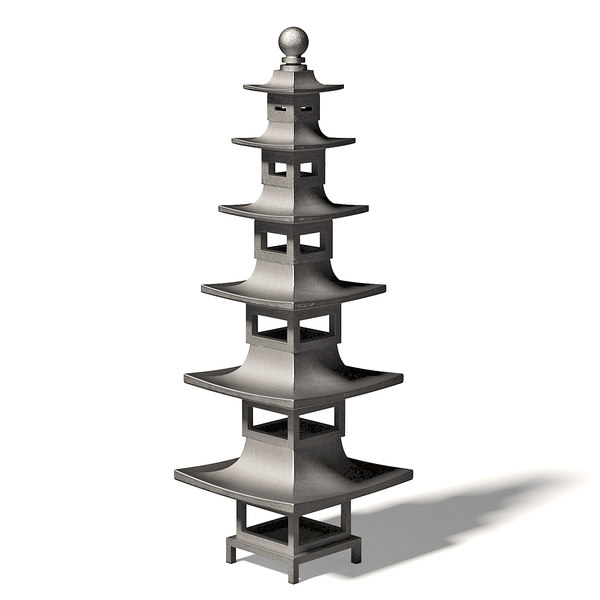
The requirements “based on the results” were as follows:
- The structure must be movable in order to have convenient access to all the plates
- At the same time, a strong wind should not turn it into a twitching epileptic (last year the wire on which the cups hung was frayed twice by the wind )
- The feeder should have comfortable seating for small birds - sparrows, tits, bullfinches. At the same time, the pigeons should be uncomfortable there. Let's not beat off bread from old women who feed pigeons and crows near the entrances.
- And finally, the design should make it difficult for birds to get inside. Last year, "cute" sparrows got into the habit of climbing right into the cup. At the same time, they simply threw most of the seeds outside, and shitted them into a cup.
3D project
To ensure the first and second points, I decided to use joints on bearings 604 and 606, which were purchased a long time ago on aliexpress, I don’t remember for what purpose))
We will print only yellow parts.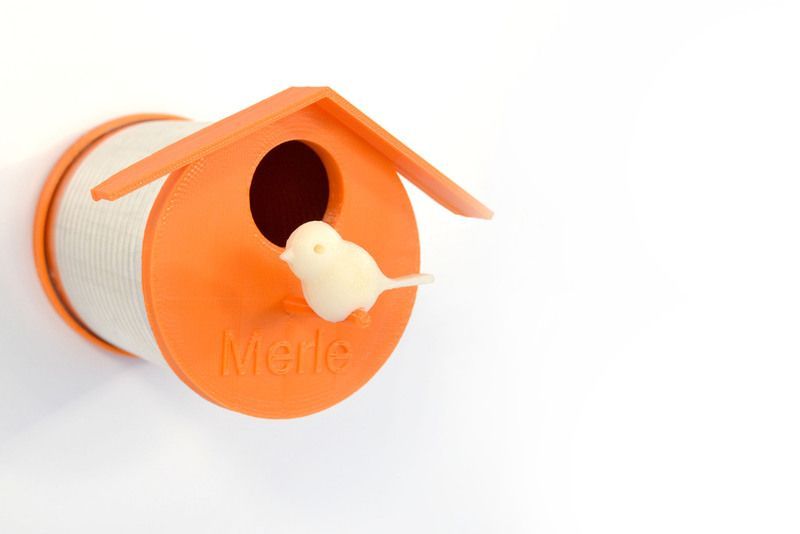 Connectors and perches for birds
View of all details. But most need to be printed in triplicate
Printing and assembly
The November holidays came very successfully with a completely incomprehensible reason, but giving an extra day off.
350g ABS plastic and about 20 hours of slow printing and ready to assemble
Perch for sitting around and at the same time a restriction for climbing inside
Each plate on 604 bearings (so that birds do not atrophy their foraging skills at all)
I collect everything on M4 fasteners (except for the central bolt M6 in the central bearing 606)
Long support brackets reinforced with M4 studs
And here is the complete feeder
Protruding screws leave a feeling of incompleteness. I urgently print decorative caps on them
Trial operation and state acceptance
As it turned out, the caps serve as an excellent stopper, preventing the feeder from turning into a crazy fan even in light wind
Meeting of the representative of the customer and the supervisory authority))
The customer tests the product for strength
And for the maximum load
And ergonomics
And nothing happened!
Now you can proceed to the final banquet
Well, the commissioning took place.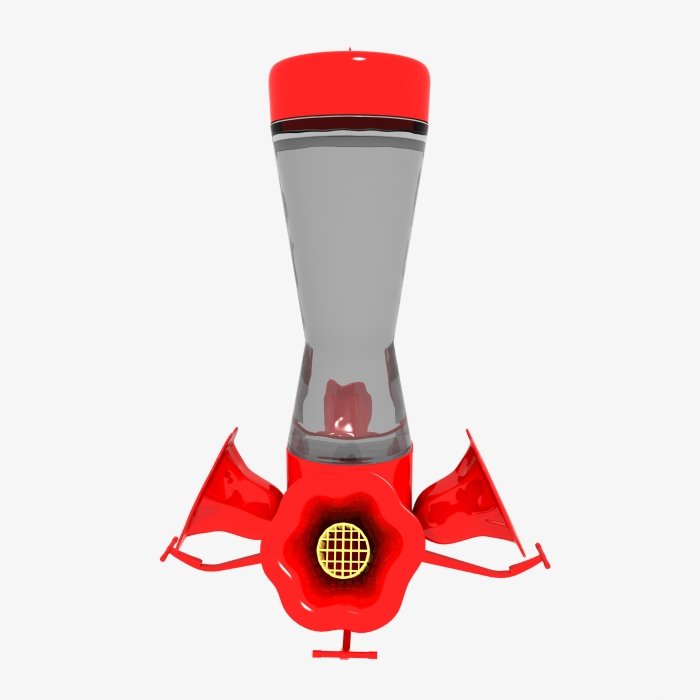 So far, all indicators are within the design limits. The bag of seeds is open. Salo is waiting for frost in the refrigerator.
If something goes wrong, the printer is always at hand. It can be corrected.
So far, only the first feathered scouts have arrived. With frosts to catch up the main forces. Last year I counted more than 3 dozen tits on the bush opposite. This is not counting sparrows and birds on other trees. And all this turned into a continuous conveyor for eating seeds and fat
Photos of past years
The first version of plastic flower pots. Of the shortcomings - snow got inside
New plate design. Grosbeak also liked
Bullfinches. Beautiful but quarrelsome birds
While the gentlemen are fighting, you can grab something
Last year's version - calculation for masses
Sparrows on the principle that I will not eat, I will bite
Duboss again. Pahan doesn't like it. The design was too mobile for him.
And for the cat it turned out to be a TV with a funny series
cat feeder, project for a 3d printer
If you have a cat or a cat, you probably know the situation when you wake up early in the morning and are urgently asked to feed. Or you can not always come home on time, and the pet has to stay hungry. This has happened to us, and more than once, so we came up with the idea to design an automatic pet feeder that can be controlled via the Internet.
Step 1: Design and Drawing
I needed to design a device that could be 3D printed and that could, of course, feed my cat. The device must also be controlled via the Internet, so that my mother can also feed a hungry animal, wherever she is. Therefore, the idea arose to use the WIFI Arduino with a servo for this project.
Fusion 360 selected for design; you can work, for example, in Auto CAD, 123D Sketch or OpenSCAD
However, if you are a little CAD specialist, you can simply download the drawings from the following link:
http://www.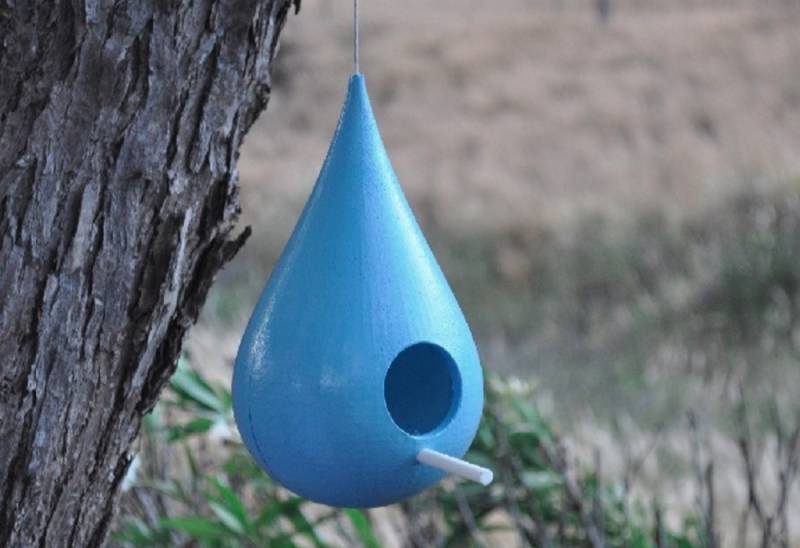 thingiverse.com/thing:1855459
Please note that the pictures are given in the sequence as described below steps.
Base 1
Draw the outer and inner circles and the servo tray holder according to the size and dimensions of the servo motor you require. You can choose any diameter.
Base 2
Extrude the round part and the tray holder separately, i.e. create 3D objects.
Tray 1
The tray must hold food inside the device.
Here, as shown in the figure, we need two drawings - for the top and bottom. The dimensions must match the dimensions of the base.
Cunning. Create a drawing based on the base drawing.
Tray 2
Now extrude the top part to access the bottom. Make the edges smooth using liquid plastic.
Cover 1
Draw the cover according to the previous dimensions. We will also need to draw two lines on the lid to divide it into quarters, three of which will cover the trays. Now add two circles under the servo sprocket.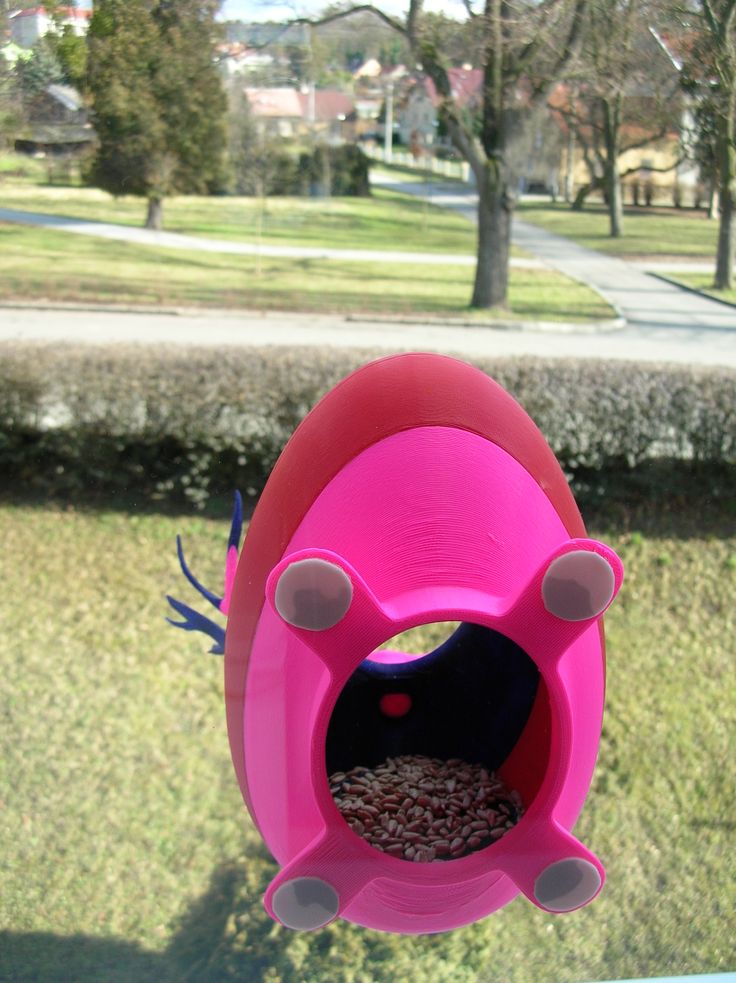
Lid 2
Extrude outer and inner contours separately, assemble the lid. One quarter must be open.
Cover 3
Smooth out the circular path connecting the surface of the cover (largest, top surface) and the surface that will hold the drive sprocket (smallest, topmost). Get a fairly smooth surface, use liquid plastic.
Step 2: Tools and Materials
3D Print Parts
All parts are drawn in Fusion 360. You can download them from Thingiverse.
http://www.thingiverse.com/thing:1855459
Electronics
Adafruit Feather HUZZAH and ESP8266 WiFi will drive the device, and Continuous Rotation Micro Servo - FS90R will drive the mechanism. We will also need a micro USB cable, preferably a flat one.
Tools
Here is a list of the tools you will need:
Cross screwdriver
Passatigi
Pleshots
pinch
adhesive thermal pistol
Computer
File
Squirrel
Tool for cleaning wires
Step 3: Assembly
9000 9000 9000 Wipe the hole in plastic. Smooth out the corners.
Lid
Using a hot glue gun, carefully attach the sprocket to the lid, making sure it sits exactly in the center.
Step 4: Electronics
Cut the wires
Install the motor and board first to determine the correct cable length; cut the wires.
Soldering
Solder three wires to the board. Be sure to tin the wires before soldering.
RED = USB
BROWN = GND
ORANGE = 5
Step 5: Further Assembly
Mounting the Electronics
Mount the servo and PCB on the base.
Arduino > Preferences
Install ESP8266 Package
Go to Tools > Board > Board manager and add ESP8266 package. Restart your computer.
Board Selection
Go to Tools > Board and select the Adafruit HUZZAH ESP8266.
Processor speed
Set the processor frequency to 80 MHz: Tools > CPU Frequency.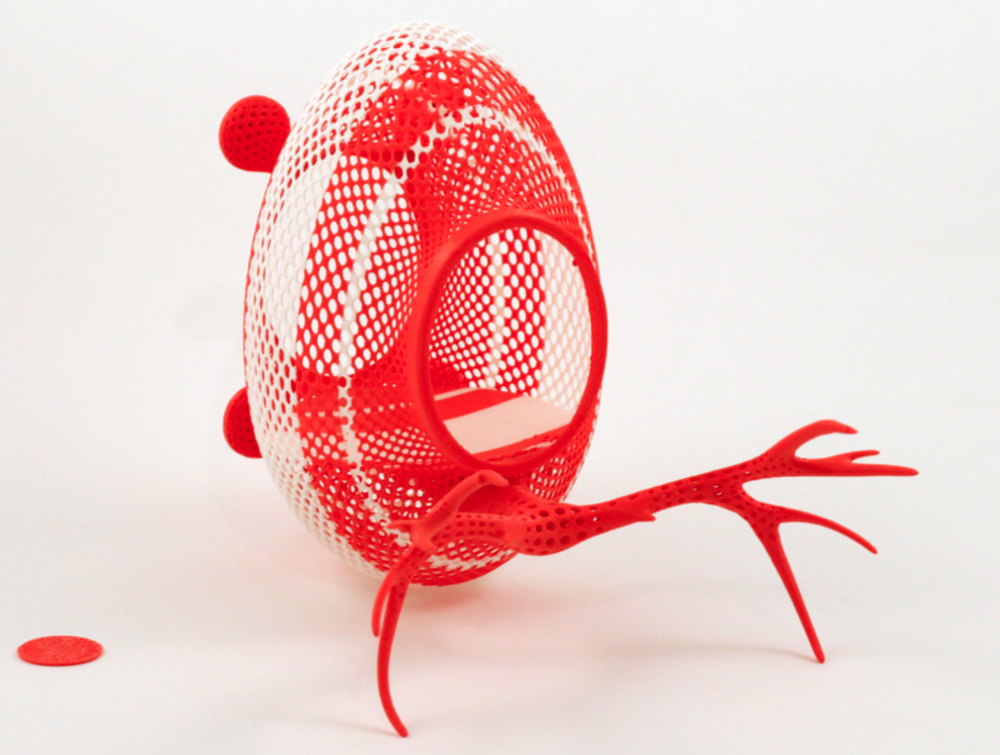
Upload Speed
Set Upload Speed to 115200 baud.
Port selection
Select a port for your FTDI or USB-to-Serial cable.
Code
Go to GitHub and download the code.
https://github.com/ntrobot2/IOT-Pet-Feeder-ino/blob/master/v1.ino
Enter your Wi-Fi SSID and password, but don't send them to the board first.
Application setup 1
As you may have guessed, we will use Blynk to communicate with the Arduino. In this case, we do not have to write an application from scratch.
Download Blynk to your phone: http://www.blynk.cc/
Application setup 2
Create a project inside the Blynk application.
Application setup 3
Email yourself an AUTH TOKEN and copy it into code: char auth[] = "AUTH TOKEN";
Now upload it to the board.
Application Setting 4
Click to create a widget icon.