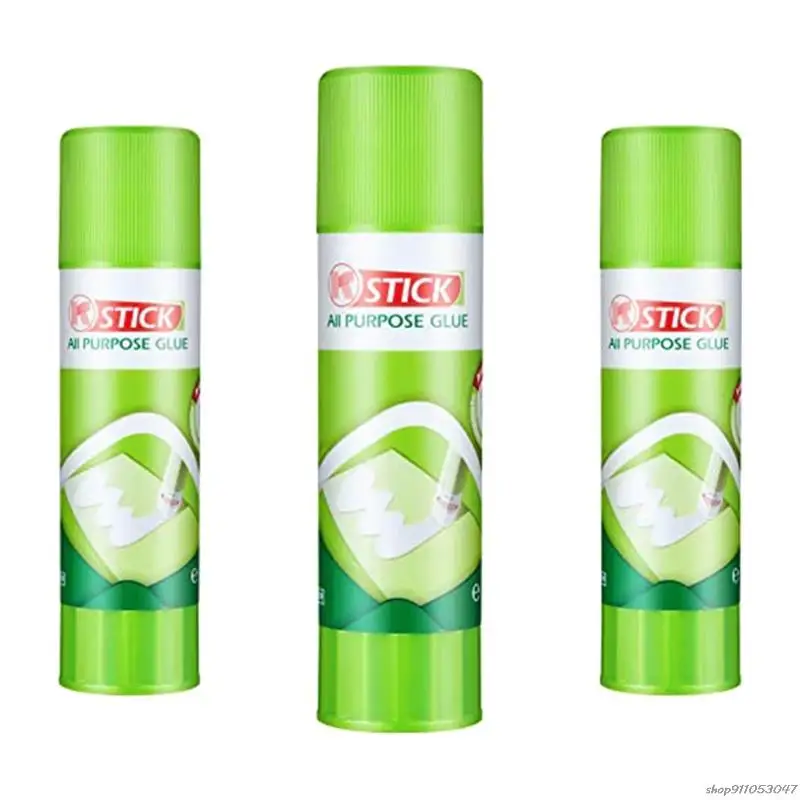
3D print glue stick
What are Bed Adhesives in 3D Printing?
One of the issues that people face when 3D printing is getting their prints to stick to the build plate. If a print does not stick to the build plate properly, then it could move during the print process which will cause it to fail.
Manufacturers have, of course, devised remedies for this. Ultimaker 3D printers have a heated build plate for better bed adhesion and reduced warping and curling (the heated plate stops prints from cooling down rapidly, avoiding contraction). Some manufacturers have taken a simpler route, though – MarkForged recommends people use an Elmer’s Glue Stick to create a sticky layer on the build plate.
The simple truth of bed adhesives – whether they are cheap glue or expensive tapes – is that all of them have the same aim: to prevent warping, curling, print failure and to reduce waste. It is important to point out though that not all materials require a bed adhesive to stick to the build plate. PLA, for instance, adheres well to a heated build plate without adhesive. However, when glue or tape is used, the risk of warping and curling is reduced considerably.
How do bed adhesives work?
Simply put, bed adhesives work by forming a stickier layer for prints to adhere to. In the case of heated build plates (which are necessary for printing materials with a higher melting point than PLA), hard materials like ABS and CPE can warp even with support structures. The reason for this is the smooth glass plate with the introduction of heat; the print material sometimes doesn’t cool quickly enough to be strong. By introducing a layer of glue, print-bed adhesion is improved, and the glue also acts as a layer of protection for the glass.
Adhesives also eliminate the risk of print movement. If a print moves just a little during the print process, then it will fail. We regularly receive questions from people asking why their prints keep failing, and it is more often than not because they aren’t using an adhesive on their build plate.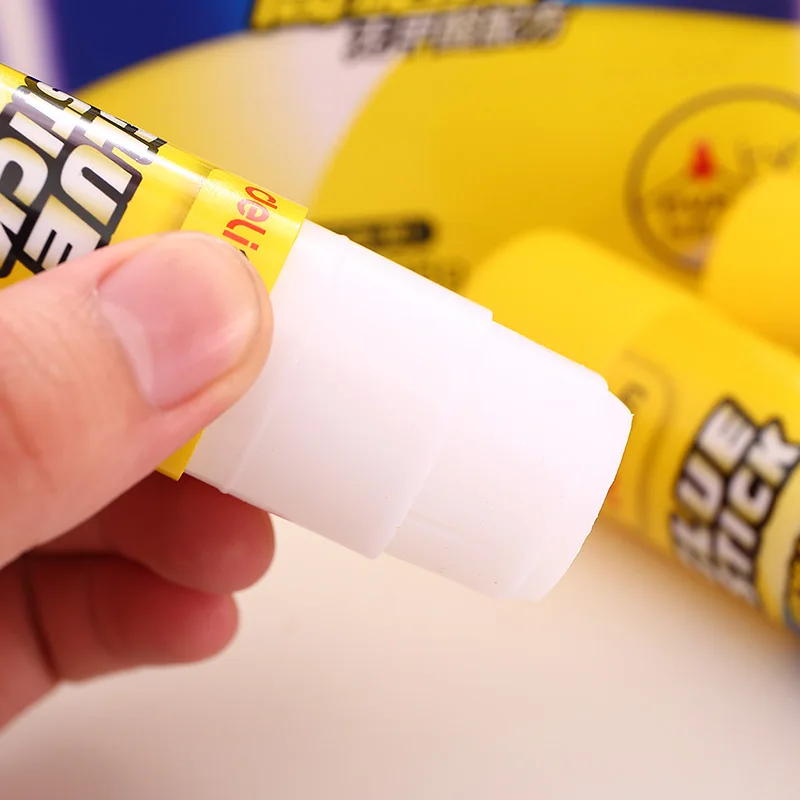
Are there alternatives to external adhesives?
It is possible to print a ‘brim’ with your print, which is a thin platform around your print that helps ensure successful adhesion. These work because your part or model will be printed on a layer of filament, rather than directly on the build plate itself. Cura, Ultimaker’s software, allows you to create a brim quickly and the brim itself can simply be cut away afterwards. However, even with a brim, we still recommend using a bed adhesive to protect the build plate.
What are the best adhesives?
We are of the belief that what works best for manufacturers and the 3D printing community will work best for you.
So, here’s a list of products and who uses them:
Elmer’s Disappearing Purple Glue Stick – Recommended by MarkForged and other brands
Cheap and effective, Elmer’s Disappearing Purple Glue Stick is used by pros and hobbyists alike to improve print bed adhesion.
UHU stic- Recommended by the 3D printing community
If you can’t get hold of an Elmer’s sick, the UHU stic is the next best thing. It works just as well, and like Elmer’s stick, it can be used with PVA support material.
Makerbot Build Plate Tape – Recommended by Makerbot.
Makerbot’s Build Plate Tape is designed for Makerbot printers, but it can be used with any printer. The textured surface improves adhesion and lasts for several prints.
Blue Painter’s Tape – Recommended by 3D Platform
If you don’t want to use glue, the textured surface of blue painter’s tape lends itself well to bed adhesion. It can be used with PLA, ABS and high-temp thermoplastics.
Essentium’s 3D Printing Bed Adhesive – recommended by Essentium
Essentium 3D Printing Bed Adhesive is for printing nylon filaments. It works with nylon filament and other high-temp materials, formulated to reduce contraction.
Out of the above adhesives, we have had excellent results with Elmer’s Disappearing Purple Glue Stick, the UHU stic, and blue painter’s tape.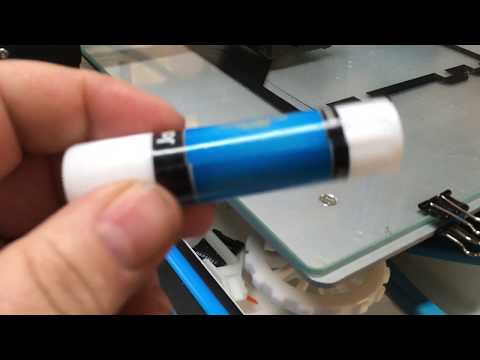 Blue painter’s tape can be picked up at any hardware store, or even your local supermarket. It can be pulled away from a glass build plate easily, without leaving any residue behind, and the grippy surface is ideal for ABS and CPE. Glue sticks are another excellent option, and they don’t cost very much either.
Just be careful with what glue sticks you use. Elmer’s Disappearing Purple Glue Stick and the UHU stic are tried, tested and proven. We tried the Original Pritt Glue Stick but didn’t get good results and this sentiment is echoed by most people who’ve tried it.
Also, remember to calibrate your build plate periodically. Today, most 3D printers will do this for you, but you will need to calibrate manually if you have manual levelling. Having a level build plate is crucial for good bed adhesion, print quality and reliability.
3D Printering: Printing Sticks For A PLA Hot Glue Gun
When is a hot glue stick not a hot glue stick? When it’s PLA, of course! A glue gun that dispenses molten PLA instead of hot glue turned out to be a handy tool for joining 3D-printed objects together, once I had figured out how to print my own “glue” sticks out of PLA.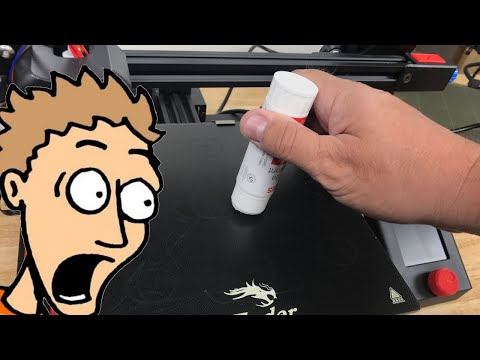 The result is a bit like a plus-sized 3D-printing pen, but much simpler and capable of much heavier extrusion. But it wasn’t quite as simple as shoving scrap PLA into a hot glue gun and mashing the trigger; a few glitches needed to be ironed out.
Why Use a Glue Gun for PLA?
Some solutions come from no more than looking at two dissimilar things while in the right mindset, and realizing they can be mashed together. In this case I had recently segmented a large, hollow, 3D model into smaller 3D-printer-sized pieces and printed them all out, but found myself with a problem. I now had a large number of curved, thin-walled pieces that needed to be connected flush with one another. These were essentially butt joints on all sides — the weakest kind of joint — offering very little surface for gluing. On top of it all, the curved surfaces meant clamping was impractical, and any movement of the pieces while gluing would result in other pieces not lining up.
An advantage was that only the outside of my hollow model was a presentation surface; the inside could be ugly.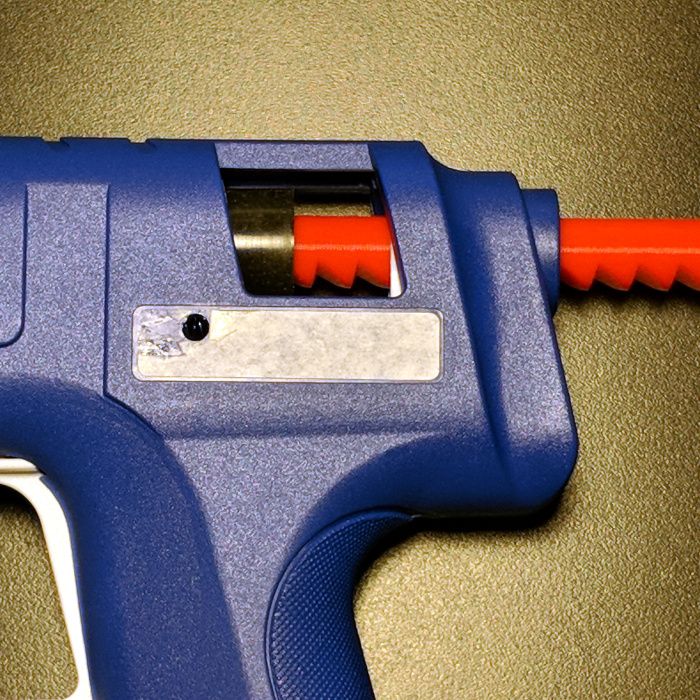 A hot glue gun is worth considering for a job like this. The idea would be to hold two pieces with the presentation sides lined up properly with each other, then anchor the seams together by applying melted glue on the inside (non-presentation) side of the joint. Let the hot glue cool and harden, and repeat. It’s a workable process, but I felt that hot glue just wasn’t the right thing to use in this case. Hot glue can be slow to cool completely, and will always have a bit of flexibility to it. I wanted to work fast, and I wanted the joints to be hard and stiff. What I really wanted was melted PLA instead of glue, but I had no way to do it. Friction welding the 3D-printed pieces was a possibility but I doubted how maneuverable my rotary tool would be in awkward orientations. I was considering ordering a 3D-printing pen to use as a small PLA spot welder when I laid eyes on my cheap desktop glue gun.
A glue gun had everything I needed: good ergonomics, good tip visibility and tactical tactile feedback, and simple mechanical operation. If it could be made to extrude melted PLA instead of hot glue, it would be the ideal tool for the job. After some initial tests and a discussion with colleagues, it was clear that trying to make this happen was worth possibly wrecking a cheap glue gun.
Will a Glue Gun Melt PLA?
According to the RepRap Wiki entry for PLA, it softens around 60 °C to 65 °C and melts around 180 °C to 220 °C. Will a glue gun do the job? To find the answer to this question, I manually pushed a bundle of scrap PLA filament through a small desktop glue gun that I didn’t mind ruining. The glue gun was a hobby unit made for lower-temperature glue sticks. The small hobby unit eventually melted the PLA but only barely; the PLA came out more like softened putty. Based on this teardown of a cheap hobby glue gun the operating temperature is expected to be around 150 °C, which isn’t enough to really melt PLA properly.
Another thing that became clear during this process was that the glue gun had special needs for extrusion and feeding. To feed properly, the trigger mechanism needed to be able to grip and push on a solid cylinder, not a bundle of filaments. In addition, proper extrusion required a solid shape that filled the opening of the melting chamber completely to prevent backflow. Otherwise, molten plastic prefers to spill out the back instead of being forced through the nozzle. In other words, I needed:
- A higher-temperature glue gun, and
- A “glue stick” of the correct size and shape made from PLA instead of hot glue
After a bit of research, I purchased an economical high-temperature glue gun that claimed 80 W and an operating temperature of up to 208 °C.
Testing PLA “Glue Sticks”
Test with straight-walled plain cylinder of PLA. The back of the stick was printed with black so I could get an idea of where the stick ended when extruding.To feed my new glue gun I needed a cylinder 11 mm in diameter and at least 5 in long. Happily, 3D printers exist for the sole purpose of turning 1. 75 mm filament into other shapes and sizes. It felt a little strange to use a 3D printer simply to turn 1.75 mm diameter plastic into 11 mm diameter plastic, but in about an hour I had printed a high (75%) infill 11 mm x 150 mm cylinder of PLA for testing.
That first stick of PLA was enough to show that the 80 W glue gun was able to melt and extrude PLA acceptably; the only hitch was a ten to fifteen minute warmup in my cool workshop, compared to only five minutes or less for hot glue.
However, a problem was revealed. The feed mechanism for the glue gun has a small levered arm that bites into a glue stick and pushes it forward when the trigger is pulled. However, the PLA “glue stick” was smooth and hard, and the feed system could not properly bite into it. In fact, the ridged surface of the PLA cylinder quickly wore away the teeth in the little arm as it tried in vain to find something to grab onto.
Feeding Problem Solved by Adding Notches to the PLA Sticks
The solution was a small change to the 3D model for the glue stick.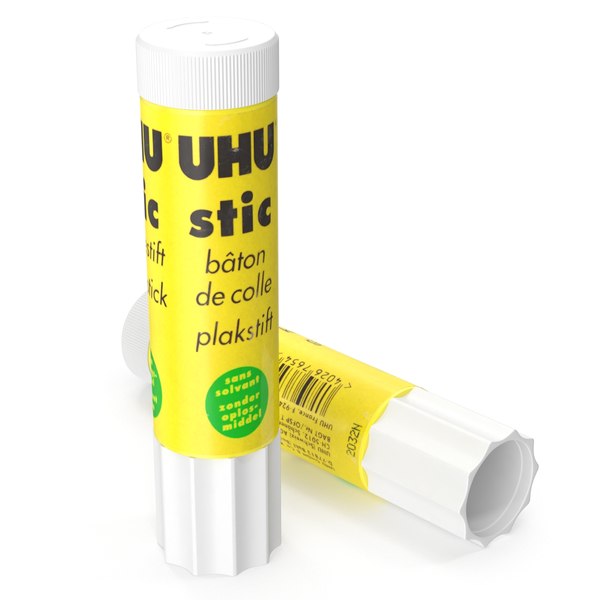 Adding a series of angled notches to the cylinder model allowed the raised arm to latch and push perfectly.
Testing The Bonds
With an 80 W glue gun doing the melting, and the notches in the cylinder of PLA allowing the feed system do its job when the trigger was pulled, molten PLA flowed easily and with excellent control. I performed some simple tests:
- Using PLA like glue by depositing a molten blob, then mashing a part down on top of it. Results were good, but the PLA blob adds some bulk because it doesn’t smear out fully before it starts to cool and harden.
- Joining seams: the molten PLA melts only slightly to the surface being joined, but still ends up surprisingly strong. I was able to pull the seam apart but in the process always broke one or the other of the surfaces, or broke the seam itself in two (leaving the remains stuck to the parts I had joined).

Is There Really Any Welding Happening?
A true weld results when the material of the joint and both pieces meld together to become one. That clearly isn’t the case. There is some melting together happening, but it’s superficial at best. Nevertheless, the result easily passes a “tug test”.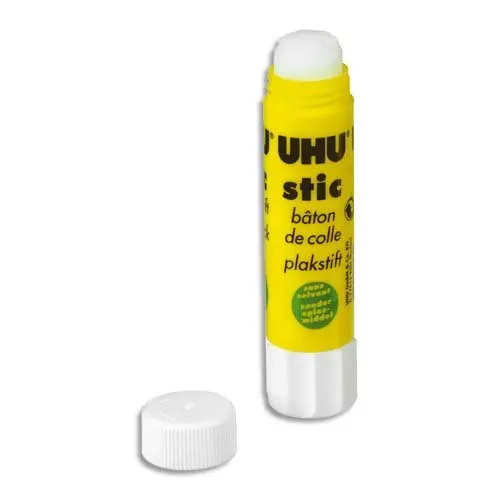 The cut-away test joint shows the red PLA has flowed into and filled every nook and cranny, which probably accounts for most of the strength.
Lessons Learned
- A small hobby glue gun reliably softened but did not melt PLA. A glue gun made for higher-temperature hot glue melted PLA acceptably.
- The test glue gun was an economical dual-heater 80 W unit that did the job, but takes a good ten minutes or more to warm up and melt the plastic filling the chamber (compared to five minutes or less for hot glue.)
- Aside from heat, the biggest issue keeping PLA from being used in a glue gun is that glue gun feed mechanisms are not made to grip and push on smooth, hard PLA. They expect a much softer hot glue stick. The test gun functioned well with PLA sticks that had notches in the side, but this will vary depending on the design of the specific glue gun being used.
- The STL file for my simple notched glue stick is available on GitHub. It may or may not be compatible with other glue gun feed systems.
- It’s not much of a weld since it’s superficial only, but it still takes more than casual effort to pull pieces apart.
- Experimenting is fun.
Does The PLA Glue Gun Do the Job?
My large multi-piece 3D print was a big hollow object with thin pieces fitting together like a jigsaw puzzle, and using the PLA glue gun to quickly and efficiently stick those 3D-printed pieces together with no need for clamping was better than expected.
For situations where a PLA glue gun may not do the job, check out this method to ease printing and assembly of multi-part models with a bit of help from OpenSCAD. But for my big hollow model, manually aligning the surfaces and bonding the inside seams was quick, easy, sturdy, and absolutely worth repurposing a $30 glue gun and giving it a place in the tool drawer.
And again about adhesion... (glue sticks part 2)
3D printing
here: http://3dtoday.ru/blogs/mister-magomedov80-yandex-ru/adhesion-kalyakaexperience123/
This site has written a lot of articles about adhesion agents for 3D printing. I would also like to contribute my little bit, in connection with which I purchased several different samples of glue sticks (more precisely, all the samples that I could find on sale).
I want to clarify that the tests are carried out on a ZAV printer, in a heat chamber, with ABS 'Prostoplast' plastic, at a temperature of 230/95.
The first sample is 'ErichKrause' pencil glue (the most common glue is a pencil in all stationery stores), which, upon arrival at home, was the very first smeared in two layers on a clean, washed 4-mm mirror.
A model of a classic spinner was sent to print, which was already on a flash drive. The first layer went perfectly, the part did not come off, even in the absence of a skirt. Given that the area of adhesion of the print to the mirror was minimal... the glue stick did the job!
I am very satisfied with the initial print using this sample. The second print of the same model, in the same place was successful! The part didn't come off!
Next, for test printing, I chose the model http://www. thingiverse.com/thing:802145 the so-called 'gyroscope'.
'Gyroscope'
Let's move on to the next test participant. Sample #2 is a strange triangular shaped glue called 'De Vente'. Glue of lilac color with an unpleasant smell. Applied to the mirror in two layers, the first print went well. The second print in the same place came out just as well. Fingerprints are removed from the mirror without difficulty. This adhesive is usable.
Sample #2.
Sample #3 'Silwerhof' glue stick This glue sample is based on PVP. Glue is applied easily to the mirror. The plastic adhered perfectly on the first print and also stuck on the second print without any problems. The prints come off the mirror with difficulty.
sample no. 3.
sample no. 4 glue stick 'A+'. This glue is designed for gluing paper, cardboard and fabric. The glue is applied to the mirror with difficulty and sticks strongly. In this connection, it was applied in one layer. The adhesion of this sample is weak, the plastic does not stick well even at the first printing (although for some reason I had hopes for it :)).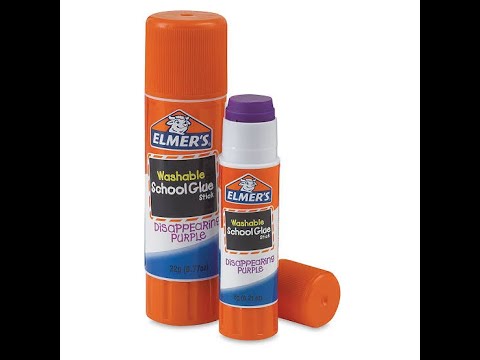 Glue in the trash!
Sample No. 4.
Printing result with sample No. 4.
Sample No. 5 'ErichKrause Joy' glue stick, which was also hoped for, did not fit for printing at all, the plastic did not stick at all. Summary: in the trash!
sample no. 5.
sample no. 6 'Hatber' glue stick applied easily, first print and second print went well.
swatch no. 6.
swatch no. 7 'De Vente' gel adhesive stick, colorless, pleasant smelling, applied with great difficulty and in a thick layer, therefore, it was applied in one layer. However, this did not prevent the plastic from sticking to the surface perfectly, on the first print and the second! This glue remains as a 'helper';)).
Sample no. 7.
left side of mirror smeared with sample no. 6, right side with sample no. 7.
sample no. . The part comes off with difficulty. This glue goes to 'helpers'.
Sample No. 8.
Sample No. 9 PVP-based glue stick 'Alingar', I was not satisfied with this glue, the first print was unsuccessful, I didn't even start the second one.
Sample No. 9.
And the last one....
glue stick 'Tukzar' apparently Turkish) is not suitable for printing, throw it away!
Good luck everyone! Thank you for your attention).
Follow author
Follow
Don't want
38
More interesting articles
DrProg
Loading
11/08/2022
955
eight
Subscribe to the author
Subscribe
Don't want
We continue to reveal the incredible opportunities of enterprises from China, to...
Read more
0
Subscribe to the author
Subscribe
Don't want
Ones Technology is a research and development center under the Ministry of Industry of Turkey. According to G...
Read more
19eight
Subscribe to the author
Subscribe
Don't want
Here I am again :)
With good and joyful news.
But first I want...
Read more
Overview of glue sticks and adhesion varnishes for beginners
Hello, dear readers of the portal 3d today.
For a long time I wanted to write an article about those means for plastic adhesion that I tried myself. The materials I chose were glue sticks and hairsprays, because. they are the easiest and most enjoyable to use. The article was rather published for beginners to look for their own remedy, so there are no revelations here.
1) Gingko glue stick "Work-Home-Office-Creativity" from "Uncle Liao" from China.
The worst I've ever seen on the road to good adhesion. It dries quickly, everything peels off and bends, you need to smear it with enough oil to have at least some effect.
Pluses:
- forms a continuous film after several applications;
- quite common (at least in the Tula region).
Cons:
- poor adhesion, and that says it all.
Subjective rating: 2/10.
2) Erich Krause glue stick, originally from sunny Russia.
Definitely a skill to work with, parts often come off the table.
Pros:
- available almost everywhere.
Cons:
- mediocre adhesion.
Subjective assessment: 4/10.
3) Mega fixation hairspray "Taft three weather" from Schwarzkopf Professional.
Slightly better than the previous sample, but not much.
Pros:
- not pronounced.
Cons:
- very afraid of drafts when printing with ABS plastic.
Subjective rating: 5/10.
4) Extra strong hairspray Delight from Russia. Sold in various wholesale stores and Magnet.
Pros:
- the price is 50 rubles. For a huge balloon that will last forever.
Minuses:
- even with a little effort, it is torn off even from a hot table, but it is suitable for printing with certain reservations.
Subjective rating: 6/10.
5) Oriflame "More" Swedish hairspray.
I got it quite by accident. It glues well, although sometimes the skirt starts to peel off very slowly, but if the print is less than 5 hours, then it's okay.
Pros:
- compact;
- very sticky and slow drying. After finishing in the evening, you can print on the old varnish pass in the morning.
Cons:
- slightly sticky surface of the part after peeling off the table;
- now it is quite difficult to get it.
Subjective rating: 7/10.
6) Nelly Spanish strong hold varnish.
Was very widely known in narrow circles of 3D printers.
Pros:
- strong adhesion;
- compact size unlike other varnishes.
Cons:
- strong adhesion, oddly enough. The students, having gone too far with varnish, tore off the cold part along with pieces of glass.
is the biggest minus. This varnish is no longer produced. Therefore, it can only be bought from old stocks.
Subjective assessment: 8/10.
7) Magic glue stick "Kalyaka-malyaka".
Here's our purple favorite. Many recommend it, and, as it turned out, for good reason. There are no problems at all. It was possible to glue medium-sized parts without a skirt at all with an open ABS plastic table.
Pluses:
- one application is enough for several times;
- strong adhesion, but easy separation from a cold table.
Cons :
- not found.
Subjective rating: 9/10.
To summarize, we can do the following conclusions :
1) Varnishes, whether they are extreme or super extreme fixation, have different adhesion, here you have to rely on experience.