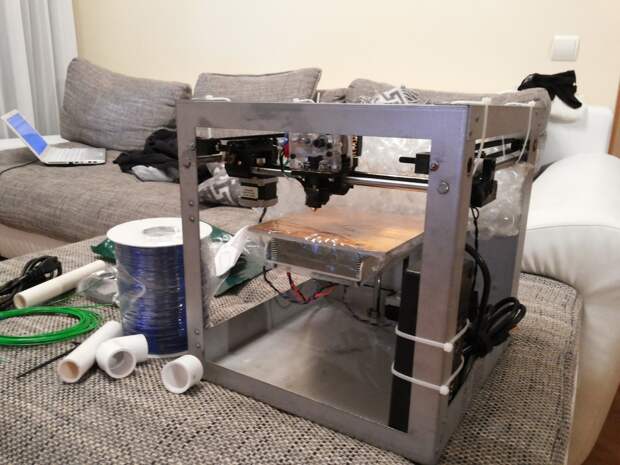
3D printing oregon state
Home - 3D printing - LibGuides at Oregon State University
It looks like you're using Internet Explorer 11 or older. This website works best with modern browsers such as the latest versions of Chrome, Firefox, Safari, and Edge. If you continue with this browser, you may see unexpected results.
Frequently Asked Questions about 3D Printing at The Valley Library
- How much does it cost?
- We charge 16 cents per gram of plastic used. This cost is charged to your ONID account or departmental index.
- We were required to raise the price to a minimum of $0.16 per gram because we were considered by the university to be undercharging for the service. This fee helps pay for all materials and covers some student labor costs. Please email [email protected] with any questions or concerns.
- How long will it take?
- It is best to allow 2 weeks. We usually get things done within a week, but you never know if a machine will break or have other problems printing the file.
If you have extenuating circumstances, you can put that in the comments section of the form explaining why you need the part quickly. You can also email us to check on your place in the queue at [email protected].
- It is best to allow 2 weeks. We usually get things done within a week, but you never know if a machine will break or have other problems printing the file.
- What file types do you accept?
- Files must be STL file type. Most 3d modeling software has Save As or Export As STL option.
- How big can I make it?
- Maximum print bed size is 280mm long x 280mm wide x 250mm tall, so make sure your object fits those parameters.
- What does it mean when it asks for dimensions in the form?
- It is referring to what size the finished product should be. This is in case you designed your object in inches or centimeters instead of millimeters, or if you want the object to be larger or smaller than the size it was designed. We can easily scale models to desired size while keeping everything in original proportion.
 If you want your object printed the size it is when opened, you don’t need to fill this out.
- It is referring to what size the finished product should be. This is in case you designed your object in inches or centimeters instead of millimeters, or if you want the object to be larger or smaller than the size it was designed. We can easily scale models to desired size while keeping everything in original proportion.
- What does Percentage of Infill mean?
- This refers to the amount of empty space vs. filled space inside of the object.
- If your object needs to be extremely strong (for example, a replacement couch leg), choose 100% (solid). This is also a good choice if you are going to be drilling holes through the object.
- See below screen shots for what the other fill percentages look like. Green that shows is the empty space.
10% 15% 33% 66%
- What does Quality Preferred mean?
- This is how thick the layers the machine lays down will be. Standard is great for almost everything. If it is something large that you need quickly, “Fast” would be the best choice. If you have small parts that need to fit together and don’t have much wiggle room, choose “Slow.
 ”
”
- This is how thick the layers the machine lays down will be. Standard is great for almost everything. If it is something large that you need quickly, “Fast” would be the best choice. If you have small parts that need to fit together and don’t have much wiggle room, choose “Slow.
- What if my file is too big to attach to the form?
- You can email the file(s) to us at [email protected]. Just make a note in the comments section of your submission saying the files have been emailed.
- What should I do if I have a bunch of files to print?
- You can put them all in a zip file and attach that to your submission. If that is too large for the form to accept (over 5MB) you can email it to us at [email protected]. Just make a note in the comments section of your submission saying the files have been emailed.
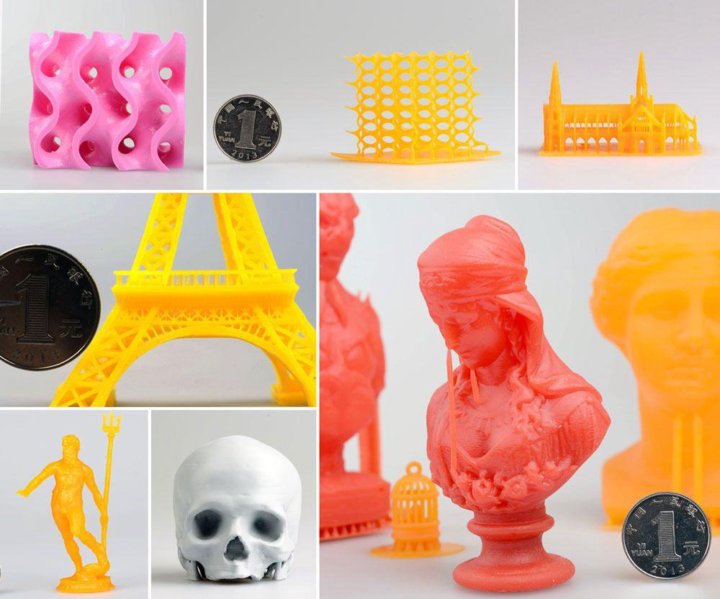
- How do I find files to print?
- If you don’t know how to make your own 3d model, you can find files that have already been created and made available to all online. Here are some of the most popular sites to find them: https://guides.library.oregonstate.edu/c.php?g=286201&p=1905549#s-lg-box-5825795
- How do I create 3d files?
- Information on various 3d printing software available here https://guides.
 library.oregonstate.edu/c.php?g=286201&p=1905230
 - Links to online tutorials and training here https://guides.library.oregonstate.edu/c.php?g=286201&p=1905351
- Library 3d printing staff are not trained on 3d modeling, but can help with making sure your design is printable and possibly help with some troubleshooting. Just email us at [email protected].
- Information on various 3d printing software available here https://guides.
- Why did you get rid of ABS?
- For the health and safety of everyone in the library!
- Printing with PLA using a 3D printer released 20 billion particles per minute (p/min), whereas printing with ABS released 200 billion p/min. The 10-fold increase in the number of particles was attributed to the high melting temperature of ABS and requirement of a heated bed. ABS produces a distinctive smell when heated, causing headaches and respiratory and eye irritation in sensitive people. Some studies showed that ABS fumes are toxic to rats and mice: “There is a good chance that ABS-fed 3D printers may be more harmful than PLA-fed printers due to both higher emissions and likely higher toxicity.
 ” http://pubs.acs.org/doi/full/10.1021/acs.jchemed.6b00745
3D Printing launched at the Valley Library on 3/31/2014. No tuition money was used to purchase the printers. 3D Printers at the Valley Library are open to all OSU student, faculty, and staff.
About PLA Plastic
All other plastics not included in the other categories and mixes of plastics 1 through 6 are labeled with a 7, including compact discs, computer cases, BPA-containing produces, and some baby bottles.
PLA (polymer polylactide) is a plastic made from plants (usually corn or sugarcane) this is also labeled with a 7. PLA plastics don’t contain BPA; no safety concerns have been raised about using PLA plastic with food. Right now, it can be difficult to tell the difference between a PLA no. 7 plastic and a BPA-containing no.7 plastic. Some PLA plastics may also say “PLA” near the recycling symbol. Others may have a leave symbol near the recycling symbol.
To clear up any confusion, the manufacturers of PLA plastic are working with the American Society for Testing and Materials International, a global group that develops standards, to create a new recycling numbering system that would give PLA plastic its own number.
Do NOT cook food in no. 7 plastics that aren’t PLA and avoid using non-PLA no. 7 plastics around any type of food.
Source: http://www.breastcancer.org/risk/factors/plastic, accessed 04/10/2014
Here are some interesting links about PLA and other plastics below:
- Next: Free 3D models >>
3D Printing Guide | College of Business
3D Printing at its simplest is the process of depositing two dimensional layers that stack up to build a three dimensional object.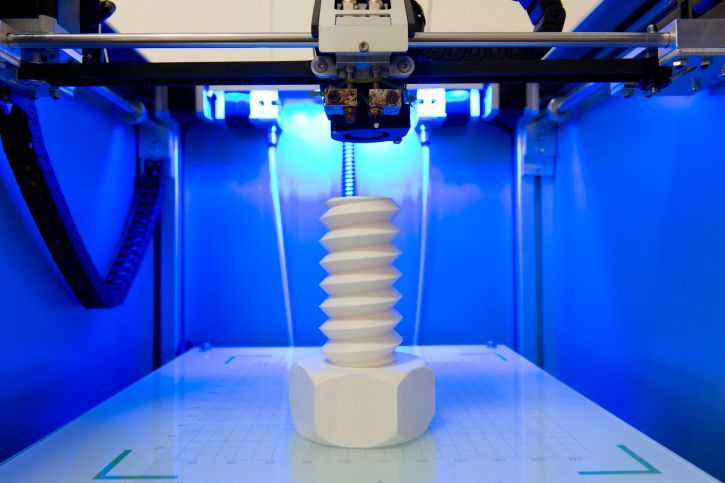 While there are many methods for doing this, the one most commonly used and the method available in our makerspace is called fused deposition modeling or FDM for short. 3D printers use filament to create objects. This filament is fed from a spool into the printers hot end, which reaches temperatures of 200+ celcius. The printer moves the hot end on a 2D plain, slowly building up a 3D model.
Software
Fusion 360
Fusion 360 is created by Autodesk Inc. and is a cloud based CAD (Computer Aided Design) tool that is capable of both geometric and organic shape modeling. There are many tutorials available at autodesk's website, linked below, as well as numerous resources on youtube.
http://www.autodesk.com/products/fusion-360/learn-training-tutorials
Solidworks
Solidworks is the industry leading engineering CAD tool. It is geared toward professionals creating parts and machines for industrial purposes. For geometric forms solidworks is a good fit. Unlike Fusion 360 the software licences available for Solidworks are more restrictive. Do not use a student license for entrepreneurial activities.
Tinkercad
This tool is geared towards beginners and is an in browser CAD tool. If you are looking to model simple shapes then this tool is for you. Tough simple, TinkerCAD's skills can help build an understanding of a 3D environment. TinkerCAD can be found here:
https://www.tinkercad.com/
Pre-made Models
Websites such as Thingiverse and MyMiniFactory contain entire databases of premade models created by individuals specifically for 3D printing. These websites can provide sources of inspiration for your own models, in addition to a variety of ready to print models. However, almost all models are listed under the Creative Commons licence. This means you cannnot sell any objects you find on these websites without explicit permission from the creator.
Material Properties
ABS Plastic (Acrylonitrile butadiene styrene)
- Strong and rigid plastic used in industrial and household products
- 1mm minimum wall thickness
- Stable at up to 150℃
- NOT FOR USE IN THE DAMLAB due to fume emissions when printing
PLA (polylactic acid)
- Biodegradable in industrial compost
- 1mm minimum wall thickness
- Cleaner prints with faster cooling and steeper overhangs
- Flexible and formable when put in boiling water
- This is what we use in the DAMLab
Other Materials
- Metal powder infused filaments for extreme strength
- Wood infused filament allow for exotic looks as well as staining
- PC-ABS blends, for durability and outdoor strength
- HDPE, for extra strength.
 Much harder to print with as it does not like to stick to the bed
 - TPU, a soft and squishy material for moving parts
3d Printer Glossary
If there are any terms you are unfamiliar with, be sure to take a look at this helpful glossary, linked here: 3d Printing Glossary
File Format
Before a file is ready to 3D print you will need to export it to a ".STL" or ".OBJ" format. This format converts the file into a mesh made of different sized triangles that can be read by all 3D printing control programs. It is important at this stage to note the approximate dimensions of your design. This will help to scale the design to the proper size when it is imported into the 3D printer software.
File Upload
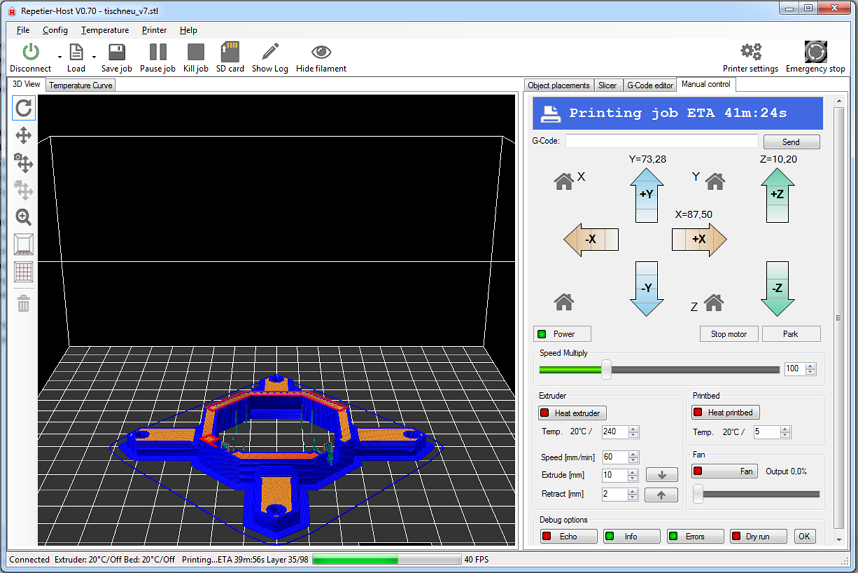
Open the program Repetier and select a printer in the top right corner (where it says connect). Drag and drop your file into Repetier. After a moment of rendering, a 3D render will appear of your object. From the first menu you can change its size, rotation, and position on the printing bed. Make sure to keep the print size within the printing area available.
Orientation
Because of the layer by layer basis by which 3D Prints are made their strength is similar to other layered materials like plywood. When designing your prints it is often a good idea to determine the orientation before beginning the design process so that strength as well as the effects gravity will have on the part as it is printed can be accounted for.
OVERHANGS
As each layer is printed it must be supported. When parts extend out over the air a printer can either print support material that will be broken off once the final part is finished, sometimes the part orientation can be changed to minimize the overhang, or the design itrself can be modified to reduce the overhang. In general, it is a good idea to follow the "45 degree rule." Simply put, don't design or orient models with overhangs steeper than 45 degrees.
Above is an example of a badly oriented model, here is where the rotation tool should be used to reduce the number of overhangs.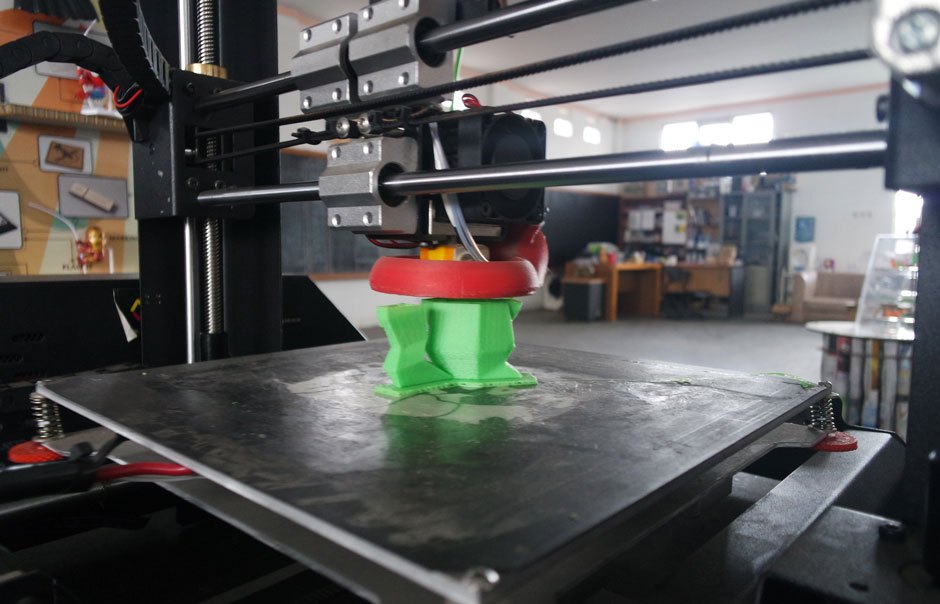
Slicing your model
Next, go to the “Slicer” tab and check the settings available there. In this tab you will have two options for slicing: Cura and Slic3r. Cura is better for faster printing, while Slic3r is for better quality. When using Cura, you can choose between your adhesion type, support type, quality (layer height), speed, and infill density. Click the “Slice with: "_____” option to set your parameters and slice your model.
Using Cura Settings
Quality
The quality option determines the height of each individual layer of the print. The smaller this height, the better the quality. With this however, comes increased printing times. For higher quality and longer prints, use 0.1mm layer height. For general use, use 0.2mm. For quicker prototype prints with minimal detail, use 0.3mm. Do not go above 0.3mm layer height or below 0.08 mm.
Adhesion Types
- None: There will be no additional adhesion between the bed and the model, it will only touch the bed where the model touches the bed.
 Most of the time you will use this option
 - Brim: A one-layer tall outline will be built around the model to help with stability. Use this when worried about the model tipping during the print phase.
- Raft: Like a life raft for your print, this layer of plastic is printed first and sits under your print and keeps it from peeling off the build plate during printing. If can be removed when the print is complete. The raft is useful if your print is long and flat because some warping may occur during printing due to temperature fluctuations.
Support Types
- None: Supports are only needed if there any overhangs that have an angle over 45⁰ above the bed. If your model doesn’t contain any overhangs, it does not need supports.
-
Touching Bed: Supports will only be built in places where the model hangs over the bed, if there are overhangs that are located above more of the model, it will not create supports in those locations.

-
Everywhere: Supports will be placed anywhere the engine determines supports are needed, these can include places that really don’t need supports, so keep this in mind.
Print Speed
To avoid jams the printing speed should never be set above 50 mm/s.
Infill Density
The basic idea of infill is that your print does not need to be solid plastic. For general prints of all kinds 10-20% infill is plenty. For large prints with minimal detail, 5-10% is good. Even for high strength parts, 100% is not necessary and is just wasteful. 60% infill is the highest you should ever print at for high strength pieces.
Using Slic3r Settings
Do not change any of the preset setting in the Slic3r engine except for enabling support, the layer height, infill density and the infill patterns. Unlike the Cura engine, Slic3r does not give options to the types of support, it will determine what needs support and what doesn’t.
Layer Height
As discussed earlier, layer height will directly determine the quality of the print, stick between 0.2 mm and 0.3 mm most of the time.
Infill Density
Follow the same instructions given above in the Cura section.
Infill Patterns
Infill Pattern: Infill pattern is the shapes inside of your piece. Generally you will not need to change this setting, and if you’d like to learn more about talk to a staff member.
Printing
Once your model has finished slicing, Repetier will take you to the “Print Preview” tab. Here, simply click the Print icon, where you will be taken to the Manual Control tab. At this point the printer will begin heating the bed. While this is happening, check the role of filament attached to the printer for its specific temperature needs.
Now check the heating setting for the printer. If the temp setting for the bed and/or the extruder are incorrect, you will need to manually change them to the correct temps.
Note: if you change the temperature setting for the extruder before the extruder starts heating up, the program will automatically change the temperature back to the previous setting, forcing you to change it again.
During the heating up phase, stay near the computer to keep an eye on your temperature values as well as the printer itself.
Ensuring The Print Will Work
Once the printer begins its sequence, you will need to wait by it, watching for errors before you can leave it alone. Allow the printer to build at least 2-3 layers before you can be sure that the print will not fail. This does not mean that the printer will work perfectly from this point on, however 90% of problems become apparent during the first few layers
Common Problems
No extrusion/under extrusion
If the filament coming out is spotty or non-existent, this will be the most likely problem.
Uneven Layers
If one side is pressed into the bed while the other is much higher above the bed, the bed will need to be manually leveled by a staff member.
Filament isn't sticking to the bed
Check that the bed is heated to the correct temperature, if not the bed temp, the bed may need to be leveled.
Removing Print
Carefully use the putty knife to remove the print from the bed, keep in mind that these tools are extremely sharp and can easily cut skin. Typically, it is best to allow the bed to cool before removing the print because the bottom of the print can warp from the heat of the bed with the pressure from the knife.
Cleaning Your Model
If you had supports in your design, remove them with the help of pliers, make sure to be cautious during this step as it can be easy to injure yourself when support becomes difficult to remove.
Changing Filament
1. In the Repetier program, go to the manual control tab and find the extruder option, turn the extruder on and set the temperature to the melting temp for the current filament.
2. Once reaching the melting temp, squeeze the motor with one hand and use the other to pull the current filament out of the printer.
5. Now put the filament you want on the spool next to the printer
6. Make sure the end is cut straight, this keeps the printer from clogging immediately.
7. While holding down the motor lever push the filament straight through until you see the new color start to extrude.
Note: make sure to turn off the extruder before you start a print or walk away from the printer.
Free 3D file Crater Lake, Oregon
Reversed riverbed in Gale Crater, Mars
Free
Ireland
Free
Great Barrier Reef
Free
Marineris Valley, Mars
Free
Staunton Chess Pieces
9.71 €
Latvian chess pieces
9. 71 €
71 €
Ecliptic Chess Pieces
9.71 €
Zagreb chess pieces
9.71 €
Citadel Paint Holder
Free
Rods Cardcaptor Sakura
Free
Vesuvius
Free
Akira Poster Diorama (base only)
Free
Best Files for 3D Printers in the Art Category
Elastic penguin print in place without support
2.64 €
Articulated Crazy Spider
0.99 €
Funko Frida Kahlo
13 €
Targaryen coaster
Free
Animal Silhouette - Dog Cat Rabbit Mouse
Free
Totoro - White Chibi Totoro
1. 21 €
21 €
Residual Evil 7 Biohazard Collector's Edition Baker's Mansion American Edition
2.50 €
batman redesign
Free
Art category bestsellers
Astronaut on flexi printer
2,85 €
Hannya wall masks
3,80 €
Articulated toy "Leopard gecko", body with imprint, head with latch, cute flex
3,28 €
Archaeopteryx nibbler
3 €
GHOST ZU - GHOST WITH FEET
2,78 €
FLEXI XXLPRINT-IN-PLACE SKELETON
9.65 €
Cute flexi print sloth
2. 85 €
85 €
Flexi Print-in-Place Dinosaur Brachiosaurus
2.85 €
Skeleton hand with flexi print
1.92 €
Baby Crystalwing, Cinderwing3D, articulating Flexi Wiggle Pet, print on site, fantasy
3,86 €
Adorable articulated axolotl, imprinted body, snap head, cute flexi
3.28 €
Crystal Dragon Articulating Animal Flexi Wiggle Pet Printing In Place Fantasy
3.86 €
Flexi PRINT-IN-PLACE Hand
1,88 €
Cute frog with flexi print
1.88 €
Flexi print Imperial dragon
3.81 €
CUTE CROCODILE WITH FLEXIBLE PRINT IN PLACE
2,85 €
Do you want to support Cults?
Do you like Cults and want to help us continue our journey on our own ? Please note that we are a small team of 3 people, so it is very easy to support us in maintaining activities and creating future developments. Here are 4 solutions available to everyone:
-
AD: Disable the AdBlock banner blocker and click on our banner ads.
-
AFFILIATION: Shop online with our affiliate links here Amazon.
-
DONATIONS: If you want, you can donate via PayPal here.
-
* INVITE FRIENDS: * Invite your friends, discover the platform and great 3D files shared by the community!
MX3D printed on the 3D printer of the Steel Dragon Steel
News
Subscribe to
Subscribe
I do not want
1,
The Dutch company MX3D, known in the world's first steel 3D printing bridge, completed the next project - a ten-meter bench called "Oregon Dragon", made using a 3D printer using the technology of electric arc deposition of metal wire.
MX3D is one of the leading companies in the field of WAAM, i.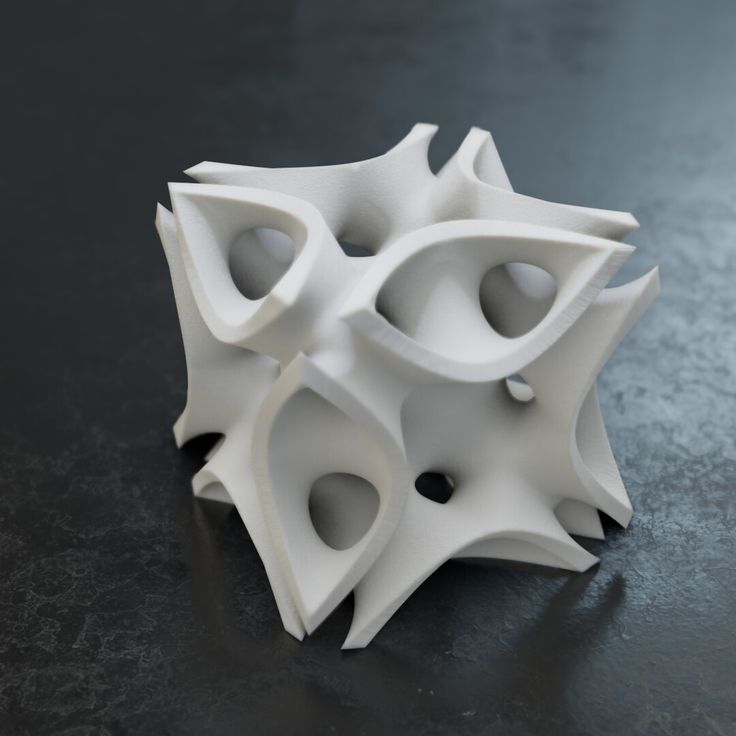 e. electric arc deposition additive manufacturing. There are already several interesting projects in the MX3D piggy bank, the most famous of which is the first of its kind 3D printed bridge made of steel and installed in the center of Amsterdam ( in the illustration below ).
Due to the long development of the technology, the reconstruction of the canal, and then the pandemic, the project dragged on for a long time, but last year the four-ton structure was finally put in place, and the robot-manipulator cut the ribbon under the watchful eye of Queen Maxima of the Netherlands. This is quite symbolic, because MX3D additive systems are also built on the basis of multi-axis robots.
The bridge reaches twelve meters in length, and the new creation is limited to "only" ten, but its shape is even more flourishing. This bench is located in front of the main entrance to the Nike headquarters in Beaverton, Oregon. The consumable material was Duplex 2209 stainless steel welding wire, the topologically optimized design reaches ten meters in length, three in width, and two and a half in height.
The object has been named "Oregon Dragon" as it continues the "dragon" series of 3D printed benches created by designer Joris Laarman since 2014. In fact, the 3D printing technology itself was worked out on the original "dragons" by the method of electric arc deposition.
As for the MX3D, exactly one year ago the company released a more compact and convenient version of its additive system under the M1 index. Large-sized metal structures cannot be printed on it, but such a task is not worth it: M1 3D printers are designed to produce relatively small parts for the automotive industry, the oil and gas sector, and the like. Most importantly, since 2019, the company has been offering dedicated Metal XL control software, built on the basis of experience gained.
More information about MX3D technologies and projects can be found on the official website.
Do you have interesting news? Share your developments with us, and we will tell the whole world about them! We are waiting for your ideas at news@3Dtoday.
Learn more