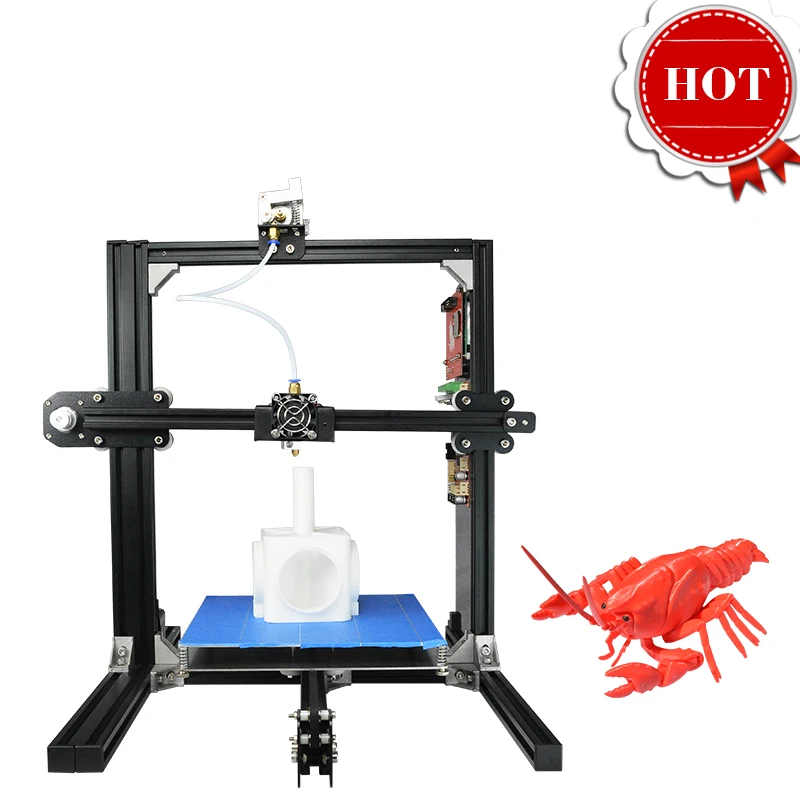
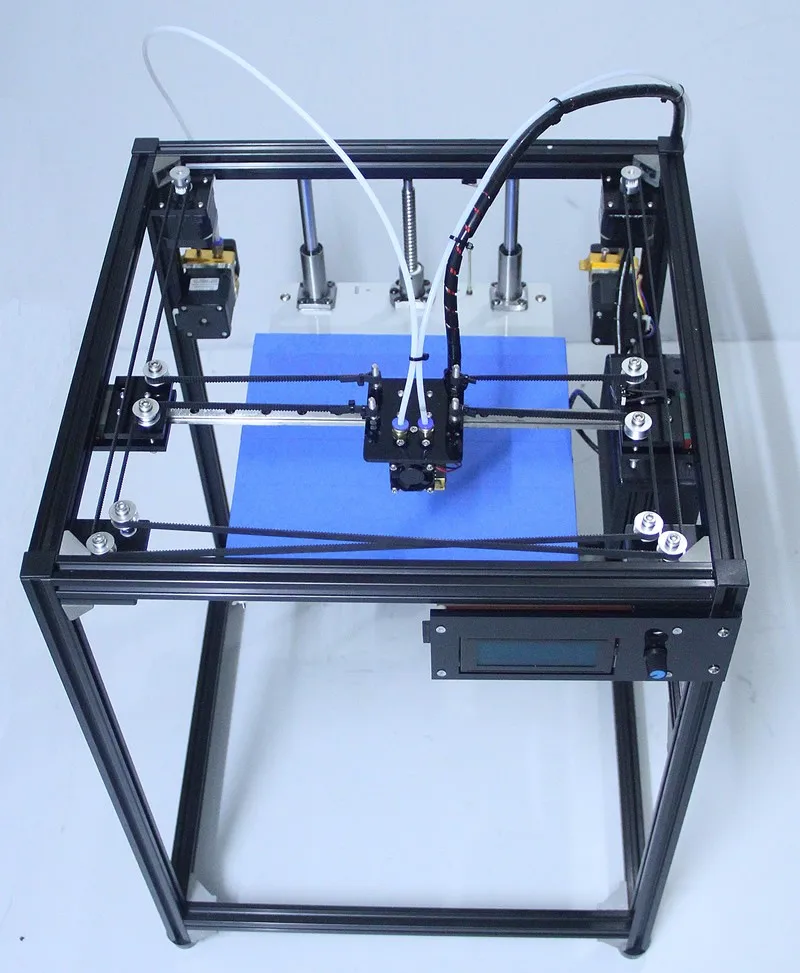
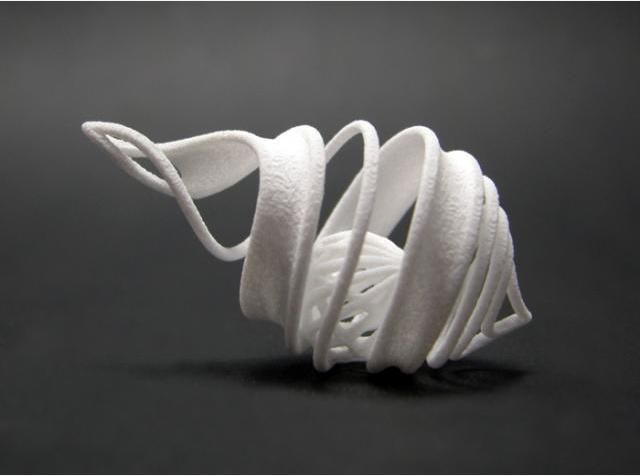
White 3d printing
White MH Build Series PLA Filament - 1.75mm (1kg)
- Home
- Store
- 3D Printer Filament
- Filament by Color
- White Filament
MH Build PLA is an affordable PLA filament intended for producing quality, 3D printed parts. MH Build PLA comes in a wide selection of bold colors to choose from. MH Build PLA is made with price in mind for any maker, from beginner to advanced, in a wide selection of bold colors.
Remove from wishlist Add to wishlist loading...
Available Add-ons (2)
Show More Addons
Product No. M-EED-KTKU
| List Price: | $20.87 |
|---|---|
| Price: | $20.87 |
| Price: | $... |
| Order Now: | Ships calculating. |
Arrives after Christmas. Need something sooner? Shop Gift Cards that are digitally delivered instantly.
Buy 1
$20.87 /ea
Buy 2
$20.81 /ea
Buy 3
$20.81 /ea
Buy 4
$19.82 /ea
Buy 5
$19.82 /ea
Buy 6
$18.36 /ea
Buy 7
$18.36 /ea
Buy 8
$17.94 /ea
Buy 9
$17.94 /ea
Buy 10
$17.35 /ea
Buy 11
$17.35 /ea
Buy 12+
$16.17 /ea
MH Build Series - Affordable PLA 3D Printer Filament for Every Maker
MH Build 3D printing filaments are designed with price in mind; we have taken the best aspects of PLA filament - it is renewable, biodegradable, and adaptable - and created an affordable solution for every 3D maker. MH Build filaments include PLA, ABS, and PETG. So if you’re a pure beginner with a limited budget, or an additive manufacturer looking to save on production costs, MatterHackers MH Build PLA is the filament to get any job done.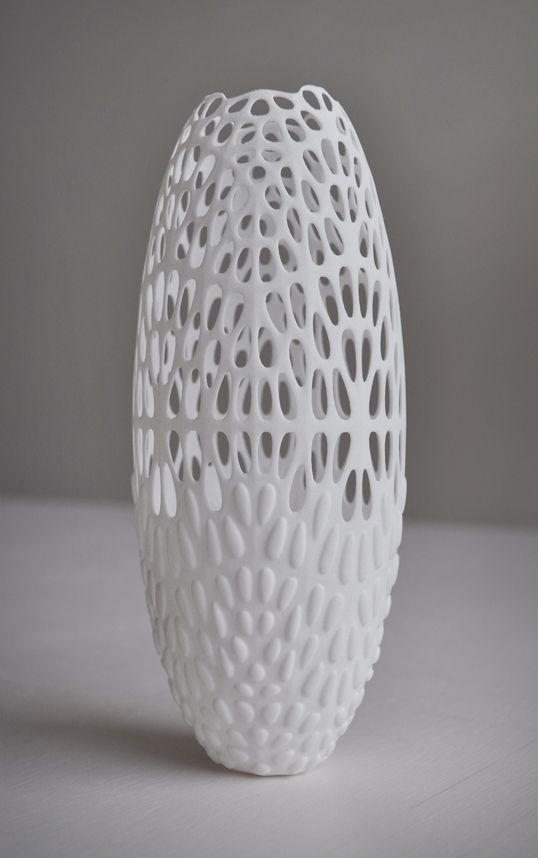
PLA, aka Polylactic Acid, is a multipurpose material commonly used in 3D printing. PLA filament is a bioplastic, which means it is made from renewable natural resources such as corn starch and tapioca products. As a biodegradable material, it is much better for the environment, especially compared to petrochemical-based alternatives. All MH Build filament is sealed with desiccant for storage and freshness.
Specifications- Recommended Extrusion Temperatures: 205±15°C
- Recommended Bed Temperature: Not needed, but if printer has heated bed, 40±15 °C
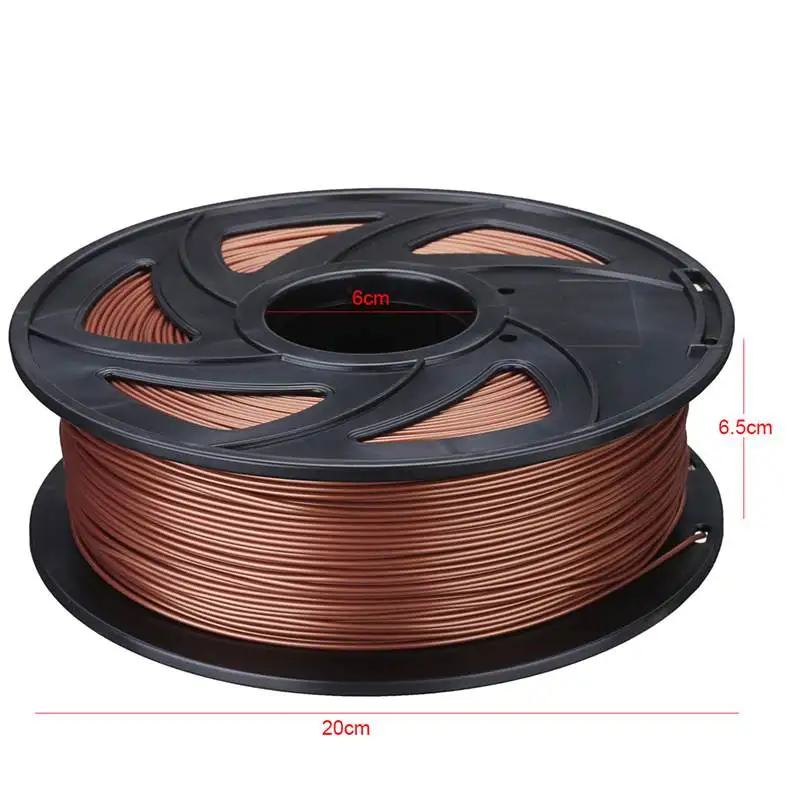
- Spool Dimensions (Approx.): 200mm Total Diameter x 50mm Inner Hole Diameter x 65mm Height
- 1 kg spool
- True Diameter: 1.75mm
- Dimensional Accuracy: ±0.05mm
- Density: 1.25 g/cm³
- Volume: 0.80 L
- Length: 332.60 m
- Download the Technical Data Sheet
- Download the Safety Data Sheet
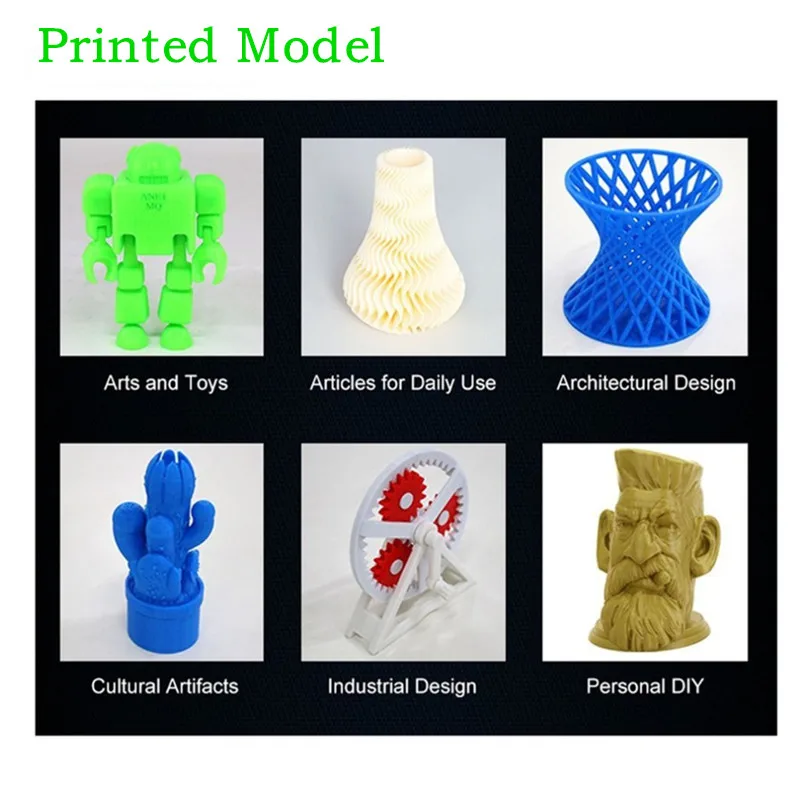
Learn More About 3D Printing With PLA Filament
Your success in 3D printing is our goal, so we have created many guides to help you create the highest quality 3D printed parts possible.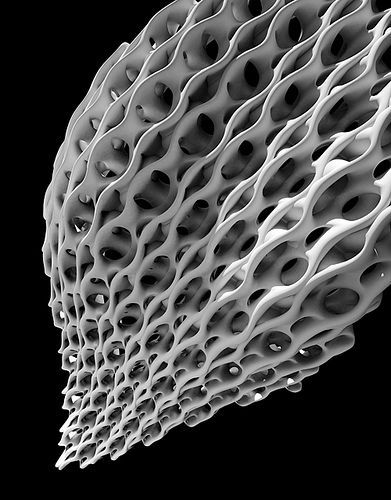
- How to succeed when printing with PLA
- How to smooth and finish your PLA prints - Part 1
- How to smooth and finish your PLA prints - Part 2
Verowhite - Sculpteo
Get your parts 3D printed with our opaque VeroWhite resin. The Polyjet 3D printing technology offers the possibity to create rigid and detailed 3D printed objects. Here are all the information you need to print your 3D model in our VeroWhite resin material.
Colors
- Raw
- Dyed Yellow
- Dyed Black
- Painted Neon Yellow
- Painted Neon Orange
- Painted Pink
- Painted Red
- Painted Orange
- Painted Brown
- Painted Grey
- Painted Blue
- Painted Green
Finishes
Characteristics
Surface Look
Details
Strength
Flexibility
VeroWhite Material Guide
Overview
Design Guide
Technical Specifications
What is VeroWhite Resin?
Our VeroWhite Resin material (opaque PolyJet resin) creates 3D printed objects from a base of photosensitive polymer liquid. That liquid is then solidified by UV light layer by layer to create rigid and highly detailed 3D prints that are comparable to injection molded plastics. This process is called photopolymerization. The final product has a naturally smooth opaque surface.
Our resin 3D prints are originally white. To get more information about the mechanical properties of this material, such as the flexural modulus, youngs modulus, heat deflection, minimum clearance, minimum wall thickness, all technical data, and values, be sure to check the design guidelines section and download the material’s datasheet.
If you want to learn more about how a resin 3D printer works, you can also refer to our Polyjet resin process page.
What to do with VeroWhite material?
Verowhite Resin 3D prints create objects which are particularly smooth and precise. This material is perfect for ornamental objects. VeroWhite (opaque white Polyjet resin) is also often used by large companies when prototyping new designs, this PolyJet material offers the possibility to create really realistic prototypes.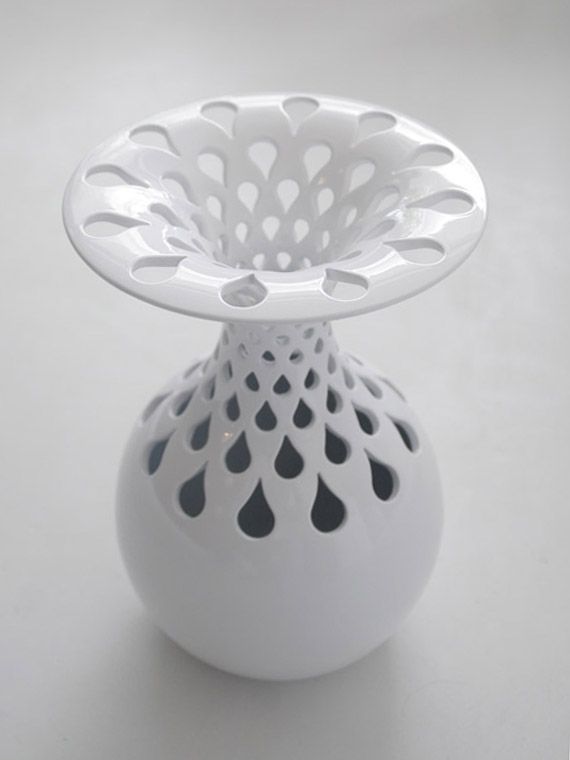 But this resin can also be used for creating end-use products due to its high accuracy and smooth surface. Thanks to additive manufacturing everyone from beginning designers to experienced professionals can also benefit from the great freedom of design offered by this material.
Compared with a standard engineering plastic such as standard ABS thermoplastic, VeroWhite photopolymer is stronger and stiffer regarding the industry’s average for tensile strength, flex strength, and flex modulus. However, VeroWhite (rigid opaque resin) is more similar to acrylic than ABS, PC, polypropylene or polyamide. This is why the VeroWhite material is generally designated for light functional testing, patterns, prototypes, and models.
The VeroWhite Resin (opaque Polyjet resin) is suitable for large volumes with small details on it but it is not suitable for wired shapes. However, this material is perfect to give life to complex designs.
With respect to water qualities, VeroWhite resin is water-resistant but not waterproof. Thus the 3D object must not rest in contact with water for extended periods of time. In terms of temperature, if the Verowhite 3D printed part is subjected to heat above 50°C (122°F), it is possible that the physical form of the object can be significantly altered.
Pricing
The printing price of your design is calculated automatically the moment it is uploaded. As you modify your object (changing material, finishing, size, using batch control or hollowing feature, etc.) you will note that the price changes automatically. The pricing is based on a series of factors, including total volume, object size, and bounding box – to name a few.
Keep in mind that adding finishing will extend the processing time. The estimated shipping time is also calculated automatically as the object is uploaded and each time you make a modification on it. Delivery time should be added to processing time.
For more information, check our pricing page.
What is the 3D printing process of VeroWhite Resin?
This resin material is printed using the PolyJet 3D printing process. The 3D print itself is carried out layer by layer within a batch of photosensitive plastic liquid. A UV light passes over where the object will be, hardening the Verowhite liquid with a high level of accuracy. The process of fine layer polymerization is repeated until the object is finished.
After the photopolymerization is completed, the batch is placed under a pressurized water jet. This allows any excess liquid or supports to be removed without human interaction.
Finishing options available for VeroWhite material
The available finishings for our VeroWhite resin are:
- Opaque
- Dyed
- Painted
The objects are printed directly in Verowhite resin. The pieces exit the 3D printer monochromatic but can undergo post-process coloring.
We also 3D print another translucent Polyjet resin material: the VeroClear resin.
Printing resolution
Size limitations
Minimum thickness and geometry
Etching & embossing
Enclosed & interlocking volumes
Minimum spacing and clearances
Piece assembly restrictions
Hollowing
Files with multiple objects
| Standard layer thickness | 28µm |
| Maximum size | 203 x 254 x 251 mm |
| Minimum wall thickness | 2mm |
The walls of your object must be thick enough to support the weight of the object without breaking under its own weight. We recommend designing your model with the material’s minimum design standards. A minimum wall thickness of 2 mm is recommended for VeroWhite resin (opaque PolyJet resin).
Sculpteo offers an online solidity check tool which highlights parts of the print that may be too thin for a 3D print. From there you are able to tweak your design in order to create an object that is an appropriate thickness. To use it, you just need to upload your 3D file, select your material and click on the “Verification” tab.
Sculpteo offers an online solidity check tool which highlights parts of the print that may be too thin for a print. From there you are able to tweak your design in order to create an object that is an appropriate thickness. To use it, you just need to upload your 3D file, select your material and click on “Verification” tab.
| Minimum size of details | 0.2 mm |
| Minimum size | Embossing: 0.5 mm |
| Minimum height and width for a readable text | 0.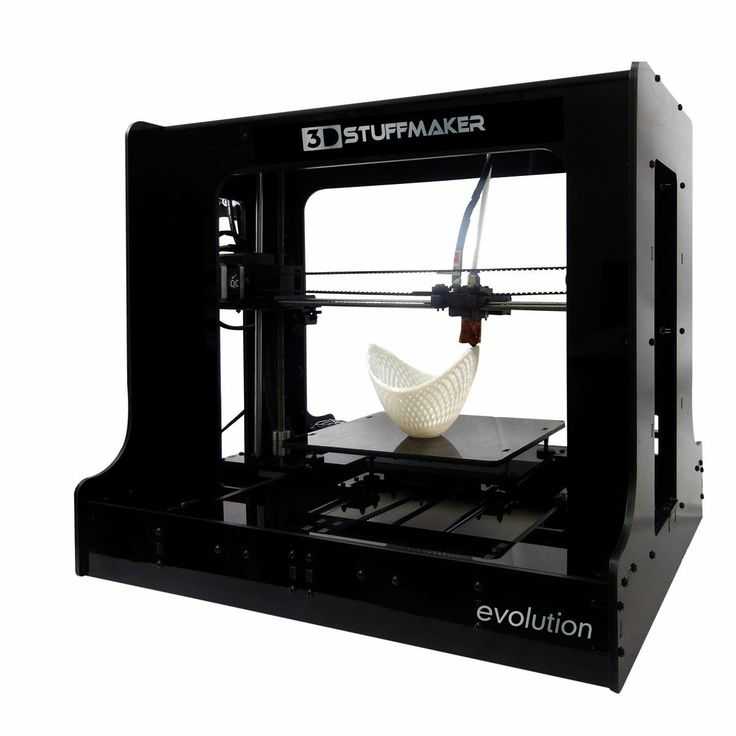 8mm 8mm |
| Enlargement ratio | 1/1 |
A detail’s minimum precision is mainly determined the resolution of our printers. However, during the cleaning process, a fine layer of detail can also be lost. In order for a detail and text to be visible we recommend following our recommended sizes at the very least. To ensure details will be visible, their width should be at least as big as their depth.
| Enclosed parts ? | Yes |
| Interlocking parts ? | Yes |
Our VeroWhite resin material (opaque Polyjet resin) has the ability to print some of the most complex designs of our materials. An example of a complex design is a volume enclosed within another volume or with articulations. Our resin 3D printers have the ability to print in a fully interlocked object out of the printer.
| Minimum spacing between fixed walls | 0.4 mm |
| Minimum clearance between parts | 0.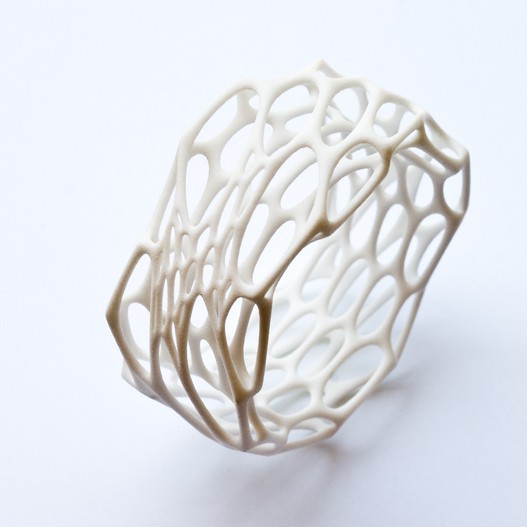 4 mm 4 mm |
For a successful 3D print a minimum clearance between objects is required to allow removing support material after the process of photopolymerization. If this space is not left within the design, the object will be solid. This is particularly important for articulated objects – as the space left between the walls will define the object’s ability to move.
Reaching deep areas is more difficult while removing support material. For this reason, the deeper the object is the bigger empty space should be.
| Assembly ? | Yes |
| Minimum space | 0.4 mm |
Objects printed in polyamide can be printed to be assembled. As long as a width of at least 0.5 mm is left between the different parts of the object.
| Hollowing ? | Yes |
Our online hollowing optimization tool has the ability to greatly reduce the price of a print by reducing the amount of material used.
Using the tool requires adding two holes to your model, which will serve as the drain for the excess powder material within the object. The minimum size of these holes is determined by our website. Otherwise it is possible to hollow your object manually in your 3D modeling software.
| Files with Multiple Objects ? | No |
It is not possible to upload a file to be printed in VeroClear resin (translucent Polyjet resin) with multiple objects.
Mechanical Properties
Documentation
| Mechanical Properties | Unit | Value |
|---|---|---|
| Polymerized density | g/cm3 | 1. 17 – 1.18 17 – 1.18 |
| Tensile Modulus | MPa | 2000 – 3000 |
| Tensile strength | N/mm2 | 50 -65 |
| Elongation at break | % | 10 – 25 |
| Melting point | °C | 45 – 50 |
- Opaque VeroWhite resin’s datasheet
- Opaque VeroWhite resin’s safety datasheet
Related blog posts:
Ready to 3D print with VeroWhite?
With Sculpteo’s online 3D printing service you’re just a few clicks away from professional VeroWhite 3D printing. Your 3D model is printed with the highest quality and delivered straight to your door.
Get started now!
Discover our other materials...
Design
VeroClear
Polyjet Technology
3D printing from scratch | BHV publishing house
- Description
- Details
- Reviews (0)
Description
The principles of operation of modern 3D printers are considered, advice is given on choosing, self-assembling and setting up such a device, an overview of the most popular models is given.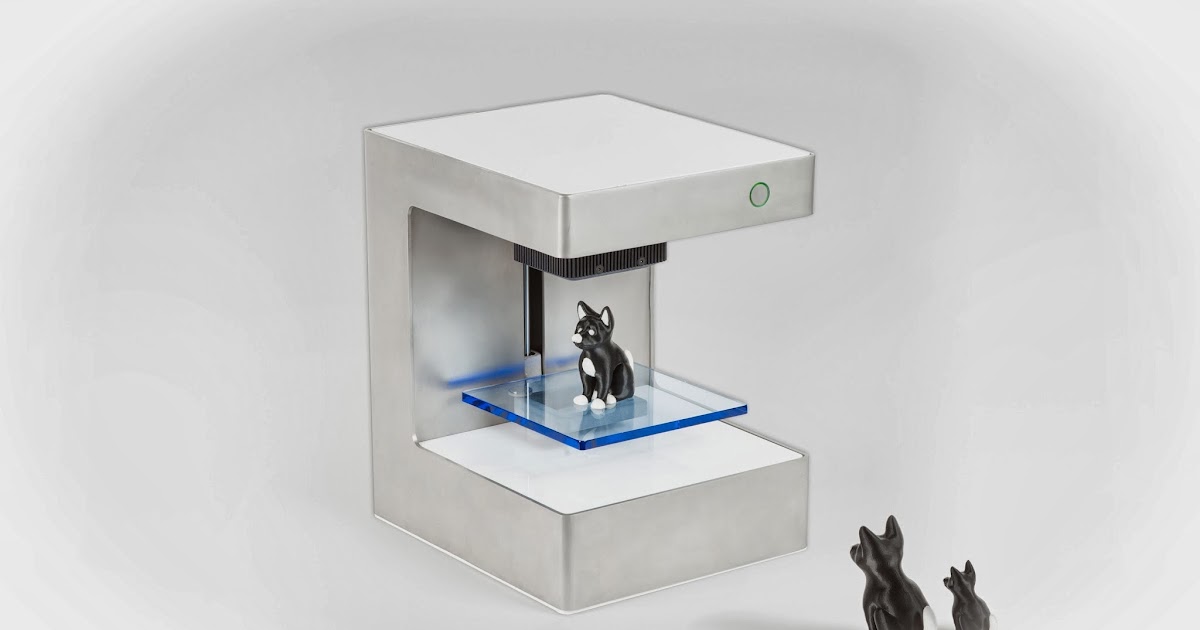 The materials used in 3D printing are described, their comparative characteristics are given. All stages of 3D printing are described in detail: preparing the printer for operation, starting it, eliminating possible printing defects, post-printing processing of products. Attention is paid to working with the free programs Cura, Repetier-Host and the Tinkercad 3D editor, as well as modern 3D scanners that allow obtaining three-dimensional images of real objects…. nine0013
About the Authors
Dmitry Gorkov is an entrepreneur and 3D printing enthusiast with over 20 years of experience in IT. I decided to create a business in the field of 3D printing in August 2013, having accidentally stumbled upon an article on this topic. After purchasing the first 3D printer, he began to implement his ideas by promoting 3D printing, and after a few months he began to fulfill regular orders. His business began to generate a stable income, which allowed him to develop other projects in parallel. Dmitry teaches master classes, speaks at specialized conferences, and also publishes articles on 3D printing on specialized Internet resources and on his own website http://3d-print-nt.ru. nine0013
Valentin Kholmogorov — writer, author of more than 40 books on computer technology, including "Encyclopedia of a personal computer", "Secrets of working in Windows", etc. Valentin's first publication was published in 1993, and since then Since then, in his luggage, there are several hundred articles in online and paper magazines. For many years he has been fond of 3D printing, he independently assembled his first 3D printer in 2014. Valentin's publications can be found in the popular Hacker magazine, as well as on the author's own website: http://holmogorov.ru. nine0013
Parts
| Art. No. | 2692 | |
|---|---|---|
| ISBN | 978-5-9775-6599-8 | |
| Number of pages | 256 | |
| Series | From scratch | |
| Binding | Paperback | |
| Printing | Black & White | |
| Year | 2020031 Dimensions, mm | 215 x 165 x 10 |
| Weight, kg | 0. 338 338 |
- ✓ New 2 weeks ahead of stores
- ✓ Prices from the publisher up to 30% lower
- ✓ Promotions and discounts for subscribers only
- ✓ BHV Important News
USEFUL BOOK NEWSLETTER
By subscribing to the newsletter, you agree to the privacy policy and the processing of your personal data. nine0013
We also recommend
- Gorelik Alexander Girshevich
Tutorial 3ds Max 2020
1169 ₽
877 ₽ -
AutoCAD Tutorial - Paper Book
1 250 RUB937 RUB
3D printing tips and tricks
Blog navigation
Search articles
Categories
Latest articles
Popular articles
-
How to draw with a 3D pen? nine0013
12/16/2015
16748 views
Connect the 3D pen and let it warm up for a few seconds.
 Insert ABS or PLA filament into feed hole...
 Read more
-
10 improvements for your Ender-3
Posted in: Basics of 3D printing, 3D Printing Tips and Tricks
09/22/2021
11915 views
10 inexpensive upgrades to improve the stability, performance and security of Ender 3 - the most popular...
Read more
-
Top 20 interesting toys for children on a 3D printer.
Posted in: 3D printing
02/15/2022
11743 views
What kind of toys can be created on a 3d printer? What are the advantages of 3d printing toys at home? In this article you will find...
Read more
-
3D Printing Delamination - 5 Tips and Tricks to Avoid Delamination
Posted in: 3D printing tips and tricks, 3D printing
05/14/2019
11364 views
If you have owned a 3D printer for a while, then you are probably used to solving many problems.
 Delamination is...
 Read more
-
History of 3D pen
Posted in: Basics of 3D printing, Draw 3D
03/21/2019
9764 views
The advent of the 3D pen has led to some areas of art that were previously impossible. In this article, we...
Read more
Read all articles
Recommended articles
Article archive
3D printing tips and tricks. Articles, surveys. Materials, technologies, 3D equipment, 3D scanning, 3D modeling.
-
12 common 3D printing mistakes to avoid.
As an industry, 3D printing is evolving every day, so it's important to know all aspects of this technology today. In this article, we've rounded up 12 of the most common 3D printing mistakes and how to fix them. nine0013
-
3D printed elephant leg. How to get rid?
Posted in: Basics of 3D printing, 3D Printing Tips and Tricks
When it comes to practical 3D printing applications, the elephant's foot can present serious problems.
 In this post, we will introduce you to ways to eliminate this defect from your prints.
 -
How to calibrate extruder steps (E-steps)?
Posted in: 3D Printing Tips and Tricks
One of the most underestimated tasks is extruder pitch calibration. In this guide, we will go through all these points and tell you step by step what needs to be done at each stage.
-
How to eliminate sticking of PLA, ABS, PETG filament on a 3D printer nozzle.
Posted in: 3D Printing Tips and Tricks
Tips for cleaning 3D printer nozzles and preventing them from clogging. Causes of sticking plastic and methods for their elimination. nine0013
-
How to set up your new 3D printer?
Posted in: Basics of 3D printing, 3D Printing Tips and Tricks
To get the most out of your new 3D printer, you need to set it up properly. Read this guide to find out what you need to do and how.
-
X offset on Ender 3.
 How to fix?
 Posted in: 3D Printing Tips and Tricks
X-Axis Misalignment, Skew, Sag Ender-3. How to solve the problem? Tips for setting the geometric and mechanical parameters of a 3D printer. nine0013
-
10 reasons to buy a 3D printer for home use.
Posted in: 3D Printing Tips and Tricks
There are many uses for 3D printers around the world. In this article, we have listed 10 reasons why you should buy a 3D printer and get to know the world of 3D printing.
-
Is it worth buying a 3D printer? Pros and cons. Advantages and disadvantages.
Like any other hobby, 3D printing is fun, but not for everyone. Before buying a 3D printer, you should consider a few pros and cons and take into account the nuances. nine0013
-
10 improvements for your Ender-3
Posted in: Basics of 3D printing, 3D Printing Tips and Tricks
10 inexpensive upgrades to improve the stability, performance and security of the Ender 3, the world's most popular desktop 3D printer.

-
3D Printing for Beginners: Getting Started with 3D Printing
Posted in: Basics of 3D printing, 3D Printing Tips and Tricks
Getting started with 3D printers doesn't have to be intimidating. We have created this simple 3D printing guide for beginners to help all beginners understand the basic terms. In reality, there are many different 3D printing technologies, but the most common for beginners is the layer-by-layer modeling method (FDM or FFF), which this article focuses on. nine0013
-
Ender 3 belt tensioner (Pro/V2). How tight should they be?
Posted in: 3D Printing Tips and Tricks
In this article, we're going to look at some pretty important and useful information about the straps on Ender 3 (Pro/V2) 3D printers and how tight they should be. Of course, we will also tell you how to properly tension the belts, as well as where to find convenient tensioners for Ender 3 and Ender 3 Pro (Ender 3 V2 already comes with tensioners) to make the whole process easier.
Learn more