Wall 3d printing
Recommended Wall Thickness for 3D Printing
Time to read: 4 min
One of the most important considerations when designing parts for 3D printing in 2022 is the 3D printing wall thickness, sometimes referred to as the wall thickness. While 3D printing makes prototyping easier than ever—not only in terms of cost and speed, but also in regards to DFM (design for manufacturing), you can’t disregard DFM completely.
A design might be (barely) producible by 3D printing, but what happens when you move to the next iteration or the next stage in manufacturing? Ensuring that you have at least the minimum wall thickness for 3D printing is a good first step and a key 3D printing design rule. Finding the best thickness for 3d printing is an excellent skill to have for cost reduction purposes and structural integrity of your 3d printed parts.
Fictiv, your ultimate 3D printing manufacturing ecosystem partner, is here to help all our customers be successful in their 3D printing endeavors. To that end, here are our best 3D printing wall thickness design guidelines to ensure your print is printable and structurally sound, so you can design prototypes that can be produced in quantities of 1 and then ultimately 100, or 10,000+.
GET INSTANT QUOTE
3D Printing Wall Thickness Recommendations
There’s a limit to the minimum 3D print thickness a part feature can be designed for 3D printing.
Below is a table of our recommended minimum 3D print thickness for each material, as well as the absolute minimum thickness, for those of you who like to live dangerously.
NOTE: At Fictiv, we have had success printing parts as thin as our absolute minimum, but we can only guarantee a successful print at or above our recommended minimum. Under our recommended minimum, the thinner the part, the higher the chance something goes wrong in printing. Anything below our absolute minimum is unprintable in practice.
Why There are Limitations
There are a variety of limiting factors to consider, both during and after printing.
Limitations During 3D Printing
3D printers build parts in a single layer at a time. As a result, if a feature is too thin, there’s a risk of the resin deforming or detaching as it is extruded or cools, which means there isn’t sufficient material contact to connect it with the remaining body.
Additionally, you need a strong base to build a stable structure. If a part is being printed and the wall is too thin, that feature would likely bend before the resin can dry or cure. As a result, the thin wall would buckle, causing warping in the part.
Limitations Post Printing
Even if a thin-walled part prints successfully, the fragile part still has to survive cleaning and removal of support material. In addition, a thin-walled part may be damaged during removal
Cleaning methods include water jet, sanding, chemical support material removal, and picking away the residue. These cleaning techniques may cause thin walls to inadvertently break.
Additionally, in order to print such a thin wall, you often need extra support material or support walls. With the support material gone after cleaning, the component is even more fragile.
Minimum Wall Thickness vs Resolution
We often see some confusion around the difference between minimum wall thickness and resolution. Sometimes we’re asked, “If the resolution of a material is so high, why can’t the wall be that thin?”
Resolution comes into play in how detailed and precise a design can be, so long as there is enough thickness to provide structural support. Think of resolution as a factor of how well the details or surface finish of the part turns out to be.
Think of resolution as how accurate the part can be designed for printing, very similar to dimensional tolerance. Take a hollow sphere, for example. Minimum wall thickness determines how thin the shell can be so it’s printable and doesn’t collapse under its own weight.
Resolution determines how smooth the curvature is: low resolution will show visible “stepping” and roughness, while high resolution will hide these aspects.
Exceptions
Of course, there are always exceptions to the rule! Some parts can be printed with features below our recommended minimum wall thickness. Ribbing, cross supports, flat and supported components (as opposed to curved features) sometimes allow parts to be thinner.
While we aim to provide guidelines and recommendations around what we are 100% certain is printable, there are so many variables and design factors that make one thin part printable and the next one not. Because of this, we can only fully guarantee successful prints of designs above our recommended minimum wall thickness.
Main Takeaways
Though you might want to push the limits of your design, we don’t recommend going thinner than our suggested thicknesses. Even if your print is successful, that design choice will likely run you into complications around manufacturability down the road.
How will your thin walled 3D printed part be produced during the next phase, perhaps via RTV or Fictiv’s world class Injection Molding? Those thin walls will likely make your part impossible to manufacture at scale with 3D printing alone.
So, pay attention to the wall thickness of your parts, and if you choose to design a part thinner than our recommendations, be sure to carefully consider whether or not it will be manufacturable later on.
- For a start on determining a good wall thickness for 3D printing, visit our table “MATERIAL 3D PRINTING THICKNESS RECOMMENDATIONS” above.
- A good minimum wall thickness for 3D printing PLA is 1.5 mm.
- At Fictiv, the absolute minimum wall thickness a 3D printer can print is 0.6 mm. We cannot guarantee quality at this thickness though and it is not recommended.
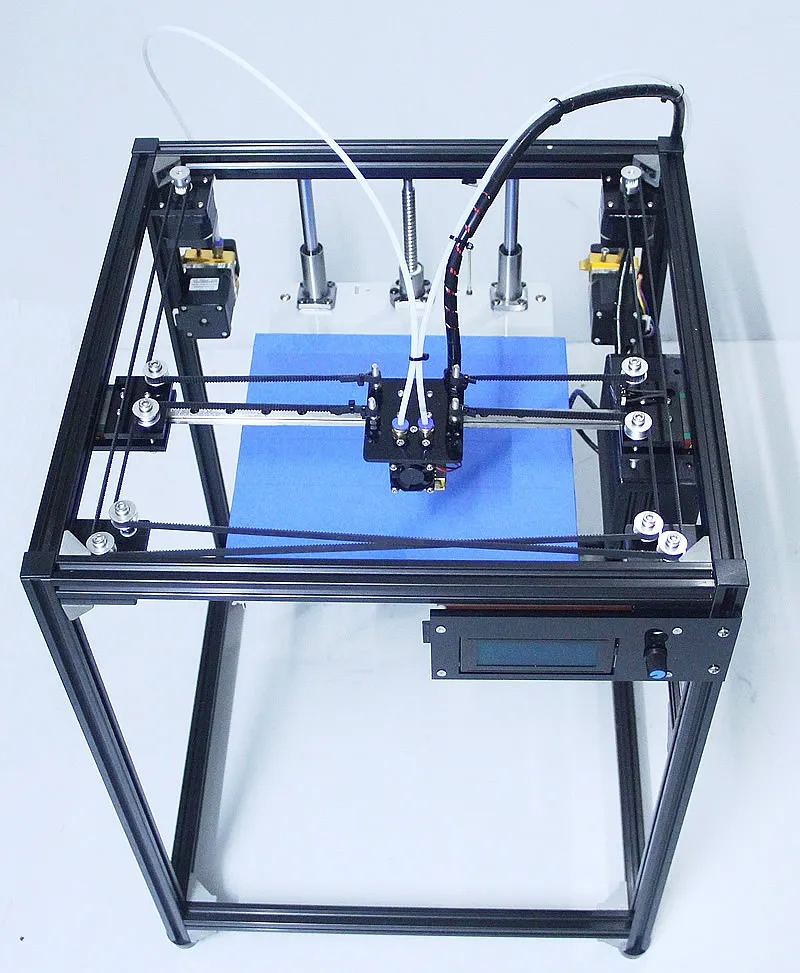
Minimum Wall Thickness for 3D Printing
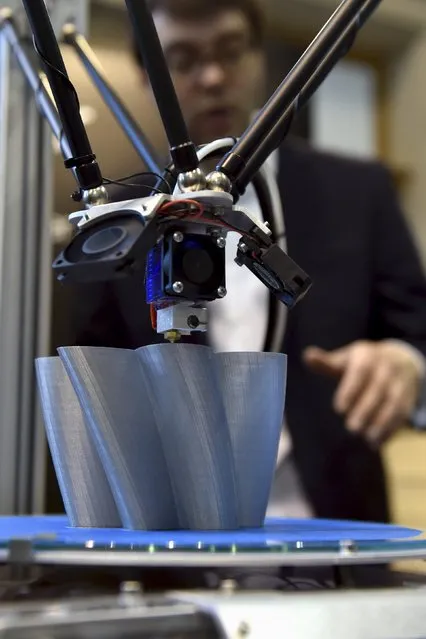
Choosing the right wall thickness is perhaps one of the most important decisions when designing parts for 3D printing. If the walls of your parts are too thick, your part will cost more to produce, take longer to print, and may even wind up cracking. If your walls are too thin, the part may not be functional, may warp during printing, or, once again, cost more to produce because you’ll have to go back and rework the design.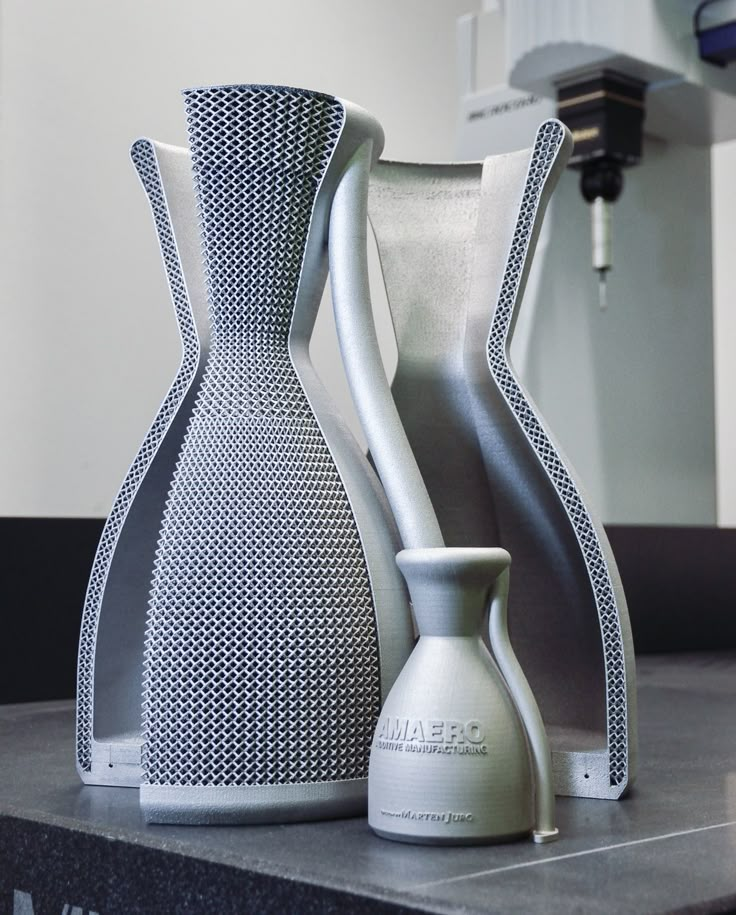
Understanding the minimum wall thickness for 3D printing will set you up for design success and lower your production costs.
Before we dive into the specifics of calculating minimum wall thickness, it’s helpful to clarify some important terminology.
Minimum wall thickness is the smallest possible thickness a structure can have while maintaining functionality. This minimum is impacted by several factors, including the type of 3D printing process you are using to print, constant physical forces (such as gravity), and how much pressure the structure you’re creating will be under during use.
Think of a graphite pencil. The thinner the point and the farther the shaft extends, the less pressure the graphite can withstand. The precise breaking point varies with each user as the precise pressure is unique to the person wielding the pencil. This is also the case for 3D printed structures.
An unsupported wall is one that connects with a second wall on only one side (or edge). A supported wall is one that connects with two or more walls (on two or more sides).
Wires are round as opposed to walls, which are flat surfaces. Due to their different physical shape, their minimum thickness is expressed as a minimum wire diameter. For a pillar or vertical wire, you’ll need to calculate the minimum vertical wire diameter (or thickness at the widest point in your circle).
When it comes to calculating the minimum and maximum thickness for intricate details, it’s important to understand the difference between embossing and engraving. Embossed details are those that protrude outward from a design, and engraved details are those that recede inward, or are concave.
In order to choose the perfect wall thickness for your design, you’ll need to consider three things: the purpose of your design, your aesthetic goals, and the physical 3D printing process.
Minimum wall thickness varies based on the type of 3D printer. You can use these design guidelines below as a starting point for choosing the right wall thickness for your model based on the 3D printing process you’re planning to use:
| Stereolithography (SLA) | Fused Deposition Modeling (FDM) | Selective Laser Sintering (SLS) | ||
|---|---|---|---|---|
| Supported Wall | Minimum Thickness | 0. 2 mm 2 mm | 1 mm | 0.6 mm vertical & 0.3 mm horizontal |
| Unsupported Wall | Minimum Thickness | 0.2 mm | 1 mm | 0.6 mm vertical & 0.3 mm horizontal |
| Vertical Wire Diameter | Minimum Diameter | 0.2 mm | 3 mm | 0.8 mm |
| Engraved Detail | Minimum Recession | 0.15 mm | 0.6 mm wide & 2 mm deep | 0.1 mm - 0.35 mm |
| Embossed Detail | Minimum Protrusion | 0.1 mm | 0.6 mm wide & 2 mm high | 0.1 mm - 0.4 mm |
In many cases, the manufacturer of the 3D printer or the 3D printing service provider offers a design guide with wall thickness recommendations based on testing performed on the specific printer model.
In general, SLA 3D printers can create the thinnest walls of all 3D printing technologies, but there are differences from machine to machine.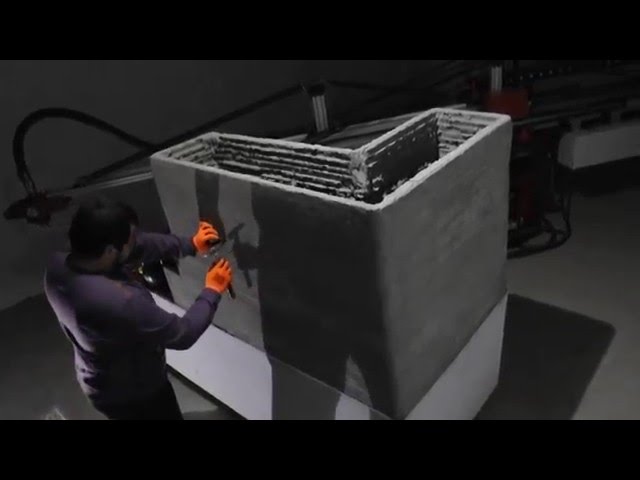 For example, Formlabs’ own Form 3+ SLA printer offers more design freedom than its predecessor, the Form 2, because it uses a flexible resin tank to significantly reduce peel forces during printing.
If you are printing with an FDM 3D printer, recommended wall thickness can also change based on the size of the nozzle you are using. For example, if you are using a 0.4 mm nozzle, your minimum wall thickness should be divisible by 0.4, so instead of the 1 mm recommended minimum thickness in the table, you’ll likely get better results with 1.2 mm thick walls or by switching to a thinner nozzle.
Minimum wall thickness for SLS 3D printers is between the SLA and FDM, but offer some unique benefits, as selective laser sintering does not require support structures because unsintered powder surrounds the parts during printing. SLS printing can produce previously impossible complex geometries, such as interlocking or moving parts, parts with interior components or channels, and other highly complex designs.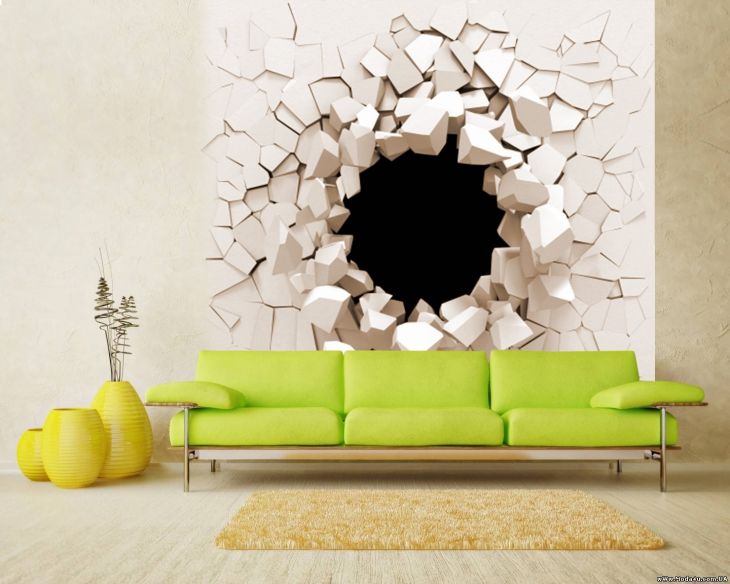
The purpose of your printed part should inform not only the proper wall thickness but also the 3D printing material you choose. If you’re designing a pliable part for printing, for example with Flexible 80A Resin, your walls will need to be thick enough to allow for compression of your piece but thin enough so as not to restrict movement.
The impact resistance and tensile strength of the 3D printing material you are using will impact the ideal wall thickness as well. For example, Rigid 10K Resin for Formlabs SLA 3D printers is reinforced with glass to offer very high stiffness, making it highly resistant to deformation over time and is great for printing thin walls.
If you’re printing manufacturing components, such as thermoforming molds or manufacturing aids that will need to withstand repetitive force or pressure, you’ll want to stick within solid parts or thicker walls. Very thin walls won’t be durable enough to withstand multiple cycles.
Color, finish, and detailing are important, particularly if you’re printing a looks-like prototype, a figurine, or an art installation. The good news is, if you consider recommended thickness early enough, you can design your piece to work within the limitations of 3D printing.
Let’s say you’re designing a figure with a button-up shirt, and those buttons are going to be embossed details. You can use some quick calculations to make the buttons thick enough to show clearly in your printed figure and make sure they are spaced out an appropriate distance.
There are a few common concerns every designer needs to be aware of when preparing a model for 3D printing. Understanding these limitations will help you avoid having to reprint your models.
Wall thickness issues are often the result of a disconnect between the modeling and printing processes. Models may appear to be structurally sound within your CAD design software but simply do not work in the real world. For example, architectural details, such as awnings, are likely to become impossibly thin if you scale a building down to a small tabletop model.
If your walls are too thin, you run the risk of your printed part warping or cracking either during or after printing. During printing, each layer of your printed design needs to have a certain amount of contact with the previously printed layer. If this isn’t the case, you may wind up with sagging, bowing, or completely disconnected parts.
After your design has printed, it needs to be able to stand up to cleaning and long term usage. Even if you are designing a figurine that is simply going to sit on a shelf, thin walls are more likely to creep and crack once they’re detached from the support structures.
In 3D printing processes that melt or sinter raw material, such as FDM or SLS, corners are particularly prone to curling. Depending on the shape, contour, and wall thickness of your design, certain areas will cool faster than others. This can result in areas, such as corners of a wall, curling as they go through the drastic temperature change.
Most 3D modeling software tools offer various features available to help you check and adjust the wall thickness of your design before printing.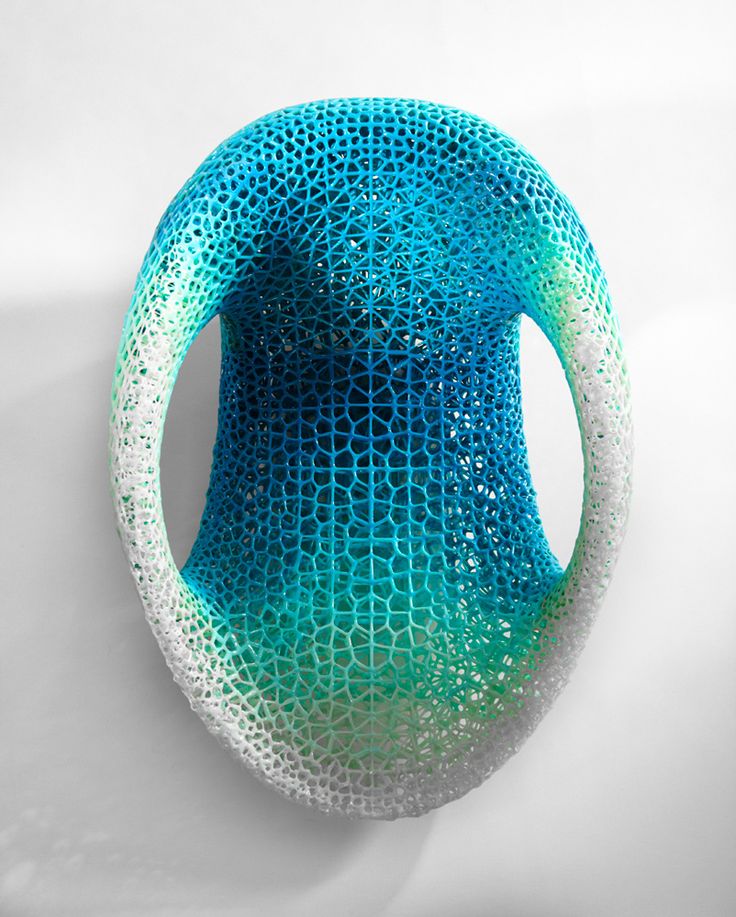 Here as examples with some popular CAD tools:
In MeshMixer, use Analysis → Thickness to verify if the wall thickness of the model is within acceptable limits for the given 3D printing technology. In case you need to add thickness to a mesh, you can use the Extrude command. Select the area that needs thickening using Brush mode, which allows selecting (and deselecting by holding Ctrl) individual triangles. It is possible to smooth the selection by choosing Modify → Smooth Boundary from the popup menu. Increasing the Smoothness and Iterations parameters will result in a more clean selection. Now, choose Edit → Extrude (D) with Normal as the Direction setting.
You can add thickness to a model using the Brush mode in MeshMixer.
Read our MeshMixer tutorial for 15 pro tips to learn how to optimize a triangle mesh, resculpt entire sections, stylize the model, or add useful features to it.
In Fusion 360, you can use the Thicken feature to adjust the thickness of individual walls.
In Rhino, you can use the Extrude Surface feature to create thicker walls or planes.
Direct Wall Printer
Wallpen (Germany) has launched an innovative UV inkjet printing system for indoor and outdoor direct wall printing!!!!
According to the manufacturer, Wallpen's patented technology allows high-quality, long-lasting widescreen images to be applied to a variety of vertical surfaces, including plastic, wallpaper, wood, stone, ceramic tile, glass, metal, and concrete.
The new Wallpen printer has been in development for two years and has 15 patents. It features a four-color Xaar 128 printhead and is imprinted with a durable, lightweight aluminum module. Before starting work, the system scans the surface with a laser to identify its defects and irregularities and automatically adjusts to them.
The system is easy to transport and set up and is able to apply an image on walls up to 4 m high of any width at a speed of up to 4 m² / h with a resolution of 370 × 600 dpi. It can be transported in a small passenger car. The company expects that designers, artists, decorators and outdoor advertising producers will be interested in this novelty!!!
Print-Wall is a flexible and mobile device that prints images and graphics in vibrant, durable, high quality colors directly from USB to plaster, wallpaper, wood, clinker, stone, plastic, glass, concrete, many metals and tiles, and more similar materials.
Create promotional images in foyers, design facades or walls with unique photographs, or bring life to apartments, offices, corridors and decorate kindergartens or schools.
Automated wall painter
Printing allows you to transform any room in a few hours. The client needs to select an image, drawing or photograph, as well as indicate the dimensions of the print (width and height). The printer will do all the work. The result is an exact copy of the image on the wall without errors.
The unique ink is odorless and absolutely safe for humans and animals. The curing time of the ink is a fraction of a second. The high resolution of the print (370x600 dpi) makes the print on the walls extraordinarily lively and realistic. The printer is controlled by a tablet wirelessly, and a special application facilitates the operator's work with print settings. It is easy to assemble and disassemble, easy to transport. Therefore, we can do our work even in remote customer locations.
Wall and wallpaper printing
Printed on plaster
Printing on wood
Printing on plastics
Printing on glass
Direct Wall Printer Models
1. Wallpen printer. Germany is the most expensive option.
Cost of wall printing machine 45.700 euros without delivery and includes:
Three Packs of WallPen UV Ink Cartridges (85ml Black, Cyan, Magenta, Yellow)
WallPen cleaning fluid kit (500 ml for cleaning printheads)
Android tablet 10" for wireless operation
Six corrugations for transporting the machine
Two days of training for two people
One year warranty
Download presentation (in German)
Printer specifications WP100
| Warranty: 2 years | Capacity: 8 square meters per hour |
| Certification: European Conformity, Independent Testing and Certification CE | Colour:Multicolor |
| After-sales service: Online support, video technical support | Dimensions (L * W * H): 1.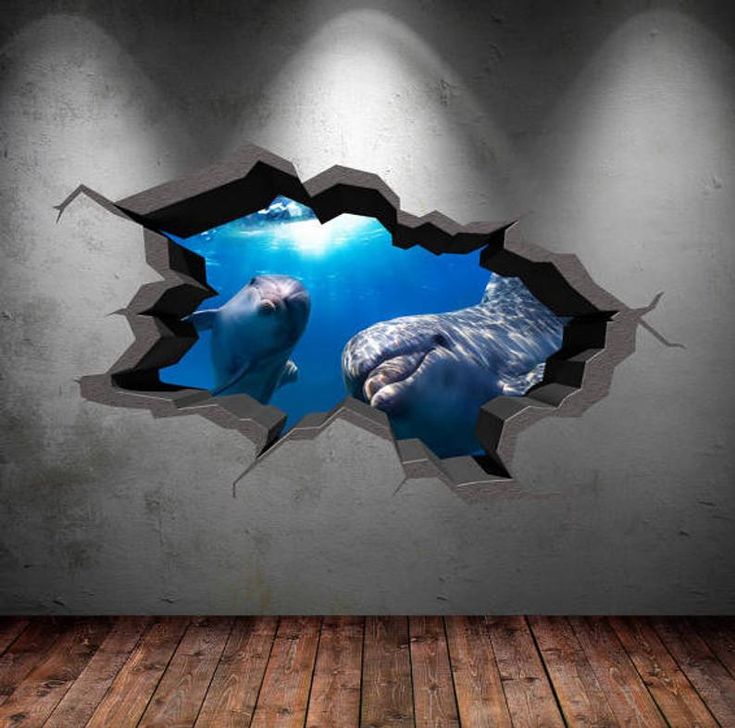 8 * 1 * 0.8 m 8 * 1 * 0.8 m |
| Features: Print length endless | Weight: 65 kg |
| Resolution: 1440 DPI | Ink Type: Water based ink |
| Print head: DX7 | Ink Colour: 4 colors/CMYK |
| Applications: Hotels, clothing stores, building materials stores, manufacturing plant, restaurant, home use, retail, printing stores, construction work, advertising company | Ink volume: 4 print colors 200CBM |
2. Perfect Laser Printer Co., Ltd. (China.)Model
PE-h40Price from $12,000.00-$13,500.00
Shipping: US$22
Guaranteed Money Back
Single Head Wall Printer - CMYK
Industrial grade printhead (Japan) x 1
Color print speed 32 sqm/h
3d wall printer for special wall decoration. Has a computer control system. The device connects to the computer via a USB cable. You edit pictures (photos) in the computer and then send them to the printer. Management is very simple and convenient. The printer prints very quickly.
1. The printer can print photos on the wall directly.
2. Uses an Epson print head.
3.Printer has 1 year warranty period (does not include ink and print head)
Frequently Asked Questions and Answers
3. Chulei laser printer. Model chulei laser
PE-P40US $15 500.00
Dual Head Wall Printer - CMYK+W
Industrial Grade Printhead (Japan) x 2
Download Technical parameters of the printer in Russian:
Printer capabilities. how to organize your business.
work examples Order
Is it necessary to use rails for printing?
Question: Is it necessary to use rails for printing?
Answer: The car can work both on rails, and without them. Rails are required on objects with uneven floor surfaces
What is the set of consumables?
Question: What is the set of consumables?
Answer: The consumable part is ink. One set of ink has 4 bottles with 4 different colors.
One bottle of ink - 500 ml. With one set of inks, 200 m2 can be printed.
h40 supports four CMYK colors.
Price - $100 for one ink set.
h50 supports CMYK+W five colors.
Price - $150 for one set of CMYK and $375 for one bottle of white ink
White ink imported from USA, Dupont brand. Bottle capacity 1000 ml. The white ink ingredient is different from CMYK. It is not recommended to use cheap analogues of white ink, because. they can easily block the print head.
We offer original ink produced by a well-known American brand, the quality of which has been tested by time.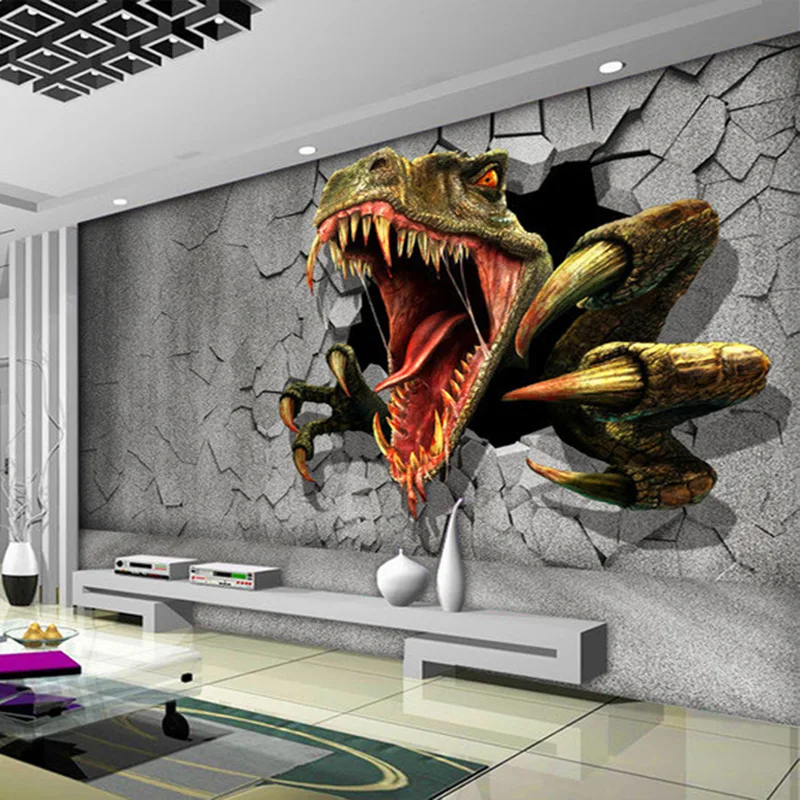
Protective Liquid
Price is $85 per bottle. One bottle - 1000 ml. We suggest you buy 2 bottles for one year use
How is the machine controlled?
Question: How is the machine controlled?
Answer: Management using a built-in computer with a simple and understandable software for an ordinary user
What is the print height?
Question: What is the print height?
Answer: Print Height: 2m
What is the print length?
Question: What is the print length?
Answer: No limit. The standard rail length is 3m. The rail can be extended. One set of rails is 1.5m. The price is $275 for one set. Rails can be disassembled. They can be easily and conveniently put into the car
Which cleaning fluid should I use?
Question: What kind of cleaning fluid should I use?
Answer: It doesn't need cleaning fluid, just uses purified water to clean the print head. The machine has an automatic cleaning system that can automatically clean the print head. Just click the "Clear" button in the program.
How much does a replacement print head cost?
Q: How much does a spare print head cost?
Answer: The price is $1500 for one piece. The scope of delivery includes fasteners for h40 and H40. The resource of the print head is from 60,000 to 80,000 m2. This print head is specially designed by Japanese company Epson only for our company. According to an individual contract, this type of print head is supplied only to our company.
How portable is this printer?
Question: How mobile is this printer?
Answer: The printer can be used with or without rails.
Operated by built-in touch screen. You can move it to any place without additional wires. You also don't need to buy extra. a computer. When folded, the printer is quite compact
What happens if the power goes out during work?
Q: What happens if the power goes out during operation?
Answer: The machine is protected by UPS. While the machine is running, the UPS battery is being charged. The machine can continue to work for 12-15 hours after a sudden power failure. The cost of this UPS is more than $1500. In similar printers on the market, the battery can only last 20-30 minutes
Printing on the walls with a UV printer at an affordable price in Moscow.
Printing images on the walls with a vertical UV printer
Wall painting with a printer is a modern way of decorating a vertical surface. 3D printing on surfaces using a vertical printer is a fast and efficient process. The device can produce an image on various types of surfaces. It can be painted surfaces, brick, plasterboard, wood, glass, plastic walls.
There are times when you want to decorate a room with an image, pick up an interesting pattern, but it is not possible to choose a wallpaper with a similar print. The issue is resolved with a wall printer. This type of interior design is suitable for any type of room. The device can print various images and decorate bedrooms, children's rooms, kitchen spaces according to individual taste. The printer is used for printing and decorating walls in offices, catering establishments, business centers, shopping malls, children's institutions, etc.
How the device works
The printer is located on a metal structure - rails. This allows for smooth movement.
Before applying the drawing to the wall, it must be run in a special program. After that, the image is transferred to the wall.
The vertical guide with laser positioning device has printing elements. In order to perform UV printing in a vertical direction relative to the walls, the design has ultrasonic type devices, they track the existing surface.
The process of drawing a picture on the walls occurs by moving the printing element in the vertical direction. The design of the device moves to the distance of the width of the printed image, and then moves to another area.
Benefits of wall printing
- Drawing on the wall with a printer to retain its original characteristics for a long time. The image will have clarity and brightness for a long time.
- This method allows you to apply various types of images, logos, information on the walls. Thus, you can create any interior design.
- Thanks to modern equipment, drawing is done quickly, without unnecessary effort and cost.
Learn more