3D printed croc balls
STL file Croc Nuts・3D printing idea to download・Cults
Pokeball Croc Strap
€0.65
Great Ball Croc Strap
€0.65
Best 3D printer files of the Fashion category
Ogre / Shrek ear charm - jibbitz for crocs
€3.49
3D Printable Mask
€5.05
Cat Skull Mask
Free
Minimalistic Wallet // 3DWB
Free
Deactivated
Sleepy glasses - assemblable eyes
€1.60
Facial Mask 1.2
Free
Black Widow Bites
Free
Best sellers of the category Fashion
Aizawa Shouta "Eraser Head" Goggles
€5. 04
MUSE MASK - WOTP - WSD - Verona - Ghosts (How Can I Move on)
€7 -30% €4.90
EvoFox - cosplay mask
€25.85 -15% €21.97
LOW POLY ARTICULATED SKULL MASK
€5.04
Croc Nuts
€1.02
Horns
€5.04
Cosplay Paws
€5.04
Cuban chain print in place cuban link chain
€1.58
Dragon claws
€3.80
hello kitty chucky mask halloween
€1. 01
01
Box for Figurines Qatar 2022
€1.90
Steampunk Claws
€2.52
Elven Ears for Halloween or Cosplay - 3 sizes
€2.49
FLORK WORLD CUP ARGENTINA KEY RINGS
€2.47
Yeezy Foam Runner
€5
Gyro Winder / Watch Winder
€2.50
Would you like to support Cults?
You like Cults and you want to help us continue the adventure independently? Please note that we are a small team of 3 people, therefore it is very simple to support us to maintain the activity and create future developments. Here are 4 solutions accessible to all:
ADVERTISING: Disable your AdBlock banner blocker and click on our banner ads.
AFFILIATION: Make your purchases online by clicking on our affiliate links here Amazon.
DONATE: If you want, you can make a donation via PayPal.
WORD OF MOUTH: Invite your friends to come, discover the platform and the magnificent 3D files shared by the community!
▷ free croc 3d models 【 STLFinder 】
$4.00Support-Free Undead Croc, Mummy, and Drown Maiden [Beasts and Baddies]
myminifactory
** From Beasts and Baddies Kickstarter ** Set of support-free minis, designed for super easy and high-detailed resin and FDM printers. Included in based and unbased versions.
... This set: a huge undeda crocodile, a mummy lord and a drown maiden
. ..
..
T-Croc Free 3D model
cgtrader
T-Croc Model in Zbrush , Final render in Keyshot. ...
OpenSCAD Croc Pin Free 3D print model
cgtrader
The pin that fixes the strap to the shoe broke. Luckily I have my printer to the rescue. To make the pin strong enough, I designed it to be printed on its side. This meant that I had to make two parts to be glued together, but it is now strong enough...
Croc
sketchfab
Croc
Croc
pinshape
Croc
Croc Croc Charm
thingiverse
. .. foot when you can load your crocs up with more crocs? ... You will need glue on hand, and you may need to widen the slot on the mini croc for the base to fit. ... also I cannot for the life of me remember where I got the croc model from, I apologise
croc nut
cults3d
croc
Croc_remix
thingiverse
Remix of Croc to hopefully allow support free printing.
croc nut
cults3d
croc nuts
Croc Axolotl
thingiverse
CROC AXOLOTL
Croc Spur
thingiverse
a simple croc spur
Killer Croc
sketchfab
Killer Croc, by DC Comics.
Croc
thingiverse
This thing was made with Tinkercad. ...Edit it online https://www.tinkercad.com/things/jaJxGoEIw7K
Croc
sketchfab
No description provided.
Croc
sketchfab
No description provided.
Croc
sketchfab
No description provided.
Croc
sketchfab
A low poly crocodile created for the online MMO Eldevin.
croc
sketchfab
No description provided.
Croc
sketchfab
Photos Fabio E. ...Amador
Croc
sketchfab
3D sculpt (using Blender 2.81) of a cartoon Crocodile in his natural environment.
Croc
thingiverse
Customized version of http://www.thingiverse.com/thing:140343 Created with Customizer! ...http://www.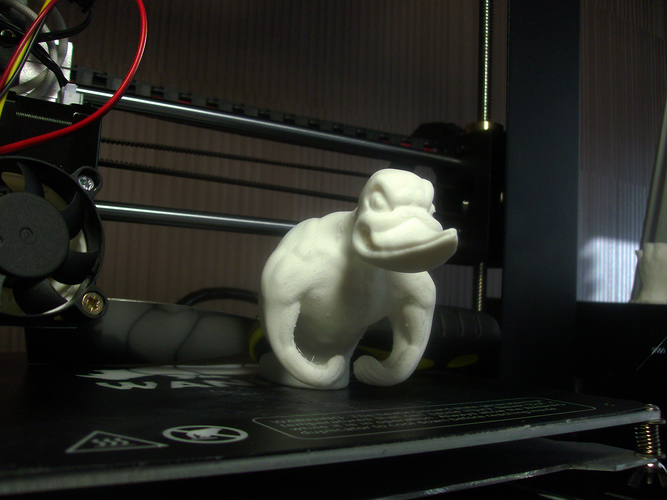 thingiverse.com/apps/customizer/run?thing_id=140343 Instructions Using the following options:...
croc tune
thingiverse
make your croc fast as a mf
T-Croc
grabcad
T-Croc Model in Zbrush , Final render in Keyshot.
croc 3d
thingiverse
A 3D scan of a real Croc head
Croc Fangs
thingiverse
Croc fangs remixed it from https://www.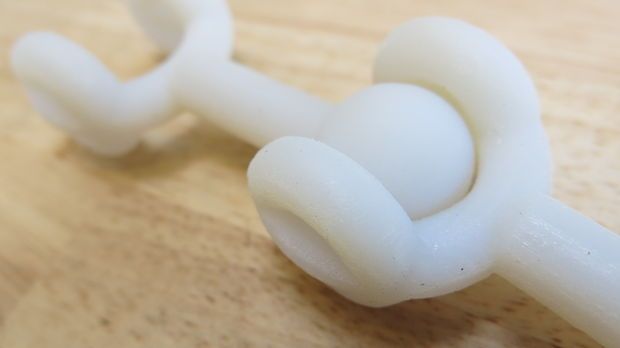 thingiverse.com/thing:4730067 fill the whole croc for spike scale look
Croc Rivet
thingiverse
Broke my Crocs. Made this- fixed my Crocs. Instructions Print Glue Rivet together. ... Be patient with glue Enjoy
Mr Croc
thingiverse
Mr Croc can be printed in TPU or PLA. ... supports are recomended.
Croc Base
thingiverse
Croc Base is for Anyone trying to Make their very Own Specialized Croc "Jibbitz" It's Very Sturdy, But I would Recommend you use a Higher Infill (40-60) to make sure the Croc Base doesn't Break on Accident. ...
I'm not too Sure that they Fit on...
...
I'm not too Sure that they Fit on...
Croc Nuts
cults3d
Croc Nuts you slip on the back strap. perfect for a gag gift. single print linked together.. ...just lay flat on the bed like shown Remix from Balls For RC cars by thather1
Croc Plow
cults3d
Print with big part of plow facing down and with supports. ... https://www.reddit.com/r/3Dprinting/comments/rxkxds/to_fit_the_winter_season_you_must_have_plow_crocs/
My 3D Printed Marble Machine / Habr
I'm trying to master 3D printing - I got a FLSUN-QQ printer, I installed 3D editors for myself: Fusion 360, Blender, I'm trying Compass 3D. Something works, something doesn't work. This Marble Machine on video is one of my first successful projects. The project, although visually not large, but its implementation required considerable effort from me. I also had to master 3D editors and invent mechanics and set up and debug this device.
Next, I will tell you what parts this machine consists of.
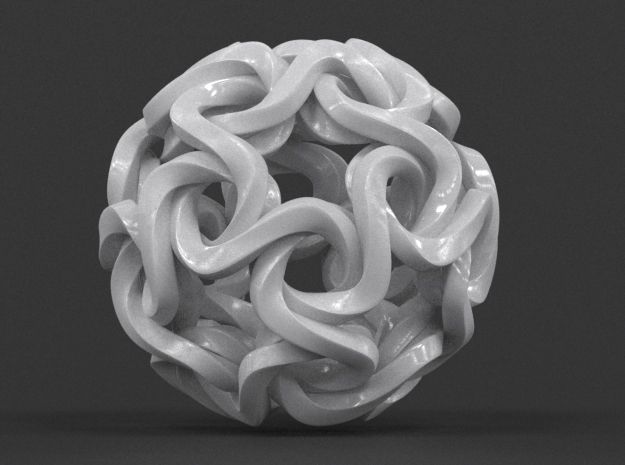
The most important part is, of course, the upward spiral. She had the most problems. I have designed many different types of coils and many versions have been rejected for either aesthetic or technical reasons. Yes, even due to the fact that the promised printing time was too long, I had to give up various ideas ... I wanted to get something airy, beautiful and so that I could print on my printer in a reasonable time.
The final model of the coil looks like this:
The coil installed on the machine:
There were several problems with the coil. First, it was necessary to decide what profile the spiral should have. Several options were considered. The simplest of them can be schematically represented in a section like this:
Here is the thing - in the first version, if the border near the shelf protrudes strongly, then the printer software, and I use Ultimaker Cura, will make me supports that will need to be removed manually, and then if it is poorly cleaned, then they will also prevent the ball from rolling. If we take the second option with a thickening shelf, so that the ball seems to roll down to the plane of the spiral, then there will definitely not be any supports, but it is not known how well the ball will be held. I even printed a fragment of such a spiral to see how it would be in real life. But all the same, the third option won, an intermediate one, with a border / curb in the form of a corner. If it is not made very large, then the printer manages to print this without support.
Another problem with the spiral printing was purely manufacturing. I have never been able to print it in its entirety. I'm not sure what the reason is - it is possible that such a figure has too much cooling surface. While the extruder will pass along the entire trajectory, part of the model has probably already cooled down significantly. But these are just my guesses. Moreover, which is strange, at the very table, which is heated, the printing is normal, but the printing rises higher and plastic delaminations appear. At the same time, the printing of small test models occurred without problems. It’s not very pleasant when I started typing and everything seems to be going well for an hour. You leave to print for the whole day (another 13 hours of printing) until you leave for work. You come home, the printing is finished, but it turned out to be a marriage - the model has stratified on the upper layers. I even thought about printing a spiral in sectors, and then gluing it together. However, later I managed to pick up the print modes, temperature and speed, when the print went completely from start to finish with an acceptable result.
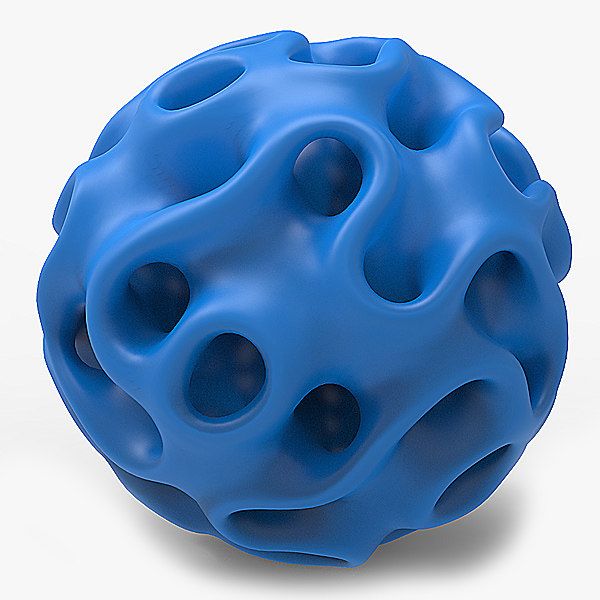 There were a few toffee hairs left, it would be necessary to clean them all, but then I was a little too lazy.
Another question was how to make the spiral spin. As you can see, a gear goes along the edge of the spiral. To be honest, I didn't really expect it. I thought the main thing was to make teeth on the edge of the spiral, and then somehow give rotation from a toy collector engine with another gear. This idea didn't work for me for several reasons. Firstly, the gears still need to be pre-calculated. Secondly, the idea was almost implemented like this:
But then it turned out that it was not easy to regulate the speed of the collector motor, then, the shaft of the toy motor backlashed quite a lot, and it made an unpleasant noise in operation. In general, this idea was abandoned. I took a 28BYj-48 stepper motor with a motor driver:
Step control made on Verilog in the FPGA board Mars rover:
If anyone is interested in how to program stepper motor control on Verilog, then this is the topic of a separate article.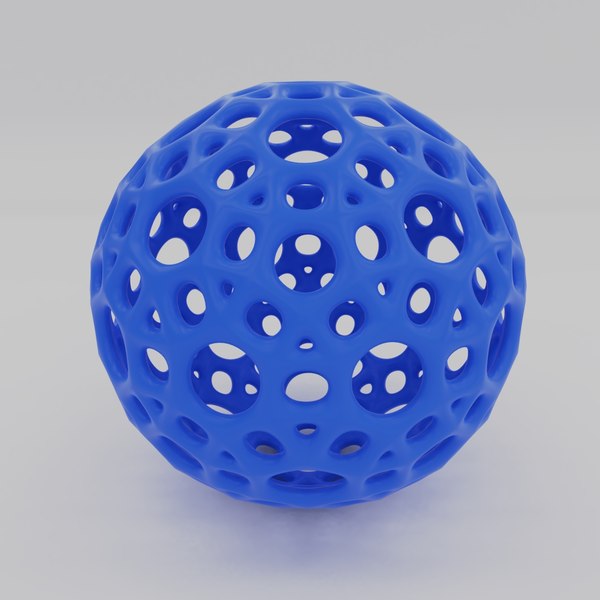 Now the speed can be easily programmed and runs almost silently. Only now it is a pity that when printing a spiral, a significant amount of printing time was spent on printing the gear. I think without it I would have saved 2 hours of printing.
So, the 28BYj-48 stepper motor is installed in a special rack. The rack model I designed looks like this:
In the car, the stand with the engine looks like this:
but at least save a little printing time. Although, what a time saving there is, if you remember that the first version of the rack, which was supposed to be used in the version with a collector motor, was like this:
The problem with this rack is a large play of the spiral shaft. Well, again, as I already wrote, the option with a commutator motor and a gear did not work, so I had to make a new rack for a stepper motor.
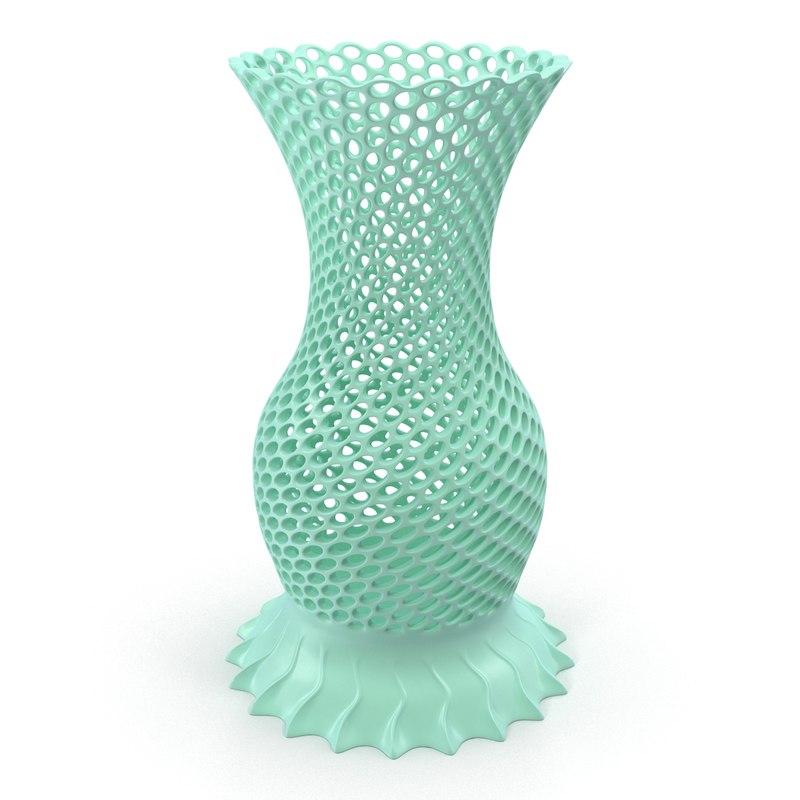
It just so happens that I printed almost every detail at least twice. The first option, even if almost a worker had to be rejected often. Here, for example, is the “snake” part:
It would seem that this might not be the case, but it turned out that when the ball descends in a straight line, it accelerates decently and flies out due to centrifugal force. I had the first turn to increase the height of the side. Well, at the same time, when re-printing, I reduced the height of the print layer. Let it print longer and better. Here is the "snake" installed in the car:
The project also required buns for attaching M4 studs:
These buns are attached to the board with double-sided tape - it turned out pretty strong. It's funny that I printed the quadruple buns twice. At first I printed it with black plastic and with a little infill. The model stuck so tightly to the 3D printer table that while tearing it off, it bent a little. And that's all - it does not stand exactly on the table. But it’s good that I reprinted it, it seems to me that combining white and black was a good idea.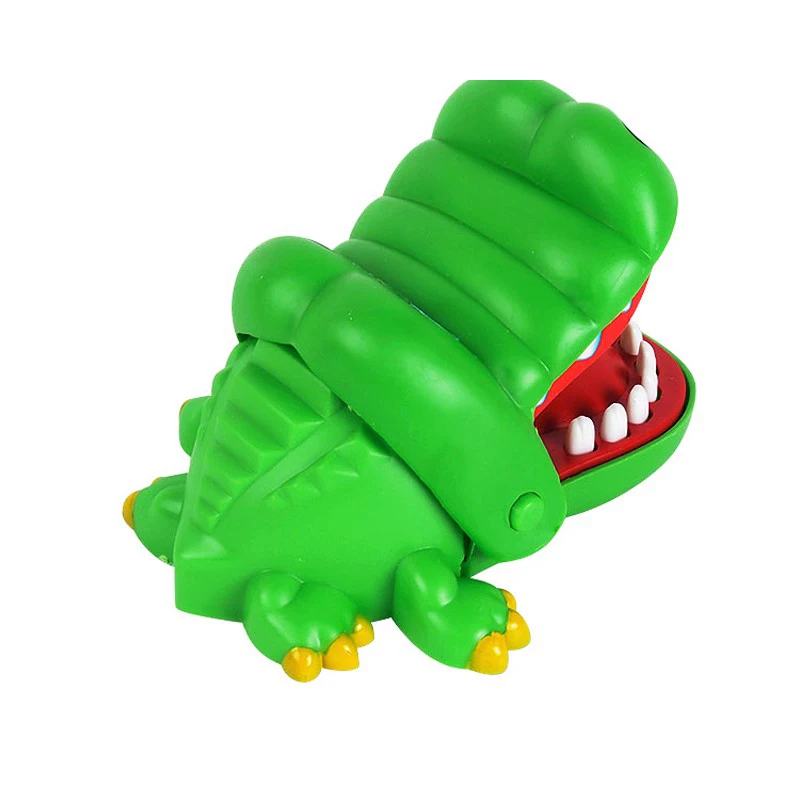
Gutters:
Single turn:
Well, a number of minor details. In general, I had to print and reprint a lot. However, I'm glad I completed this project. Perhaps after some time I will be able to expand this Marble Machine, add new lifts and slopes, because there is still room on the board on the right for the next machine.
I was thinking of posting the sources of my models, but then I decided that there was no point in doing so, because each Marble Machine is, first of all, a fantasy of its creator. It is unlikely that anyone will want to repeat everything exactly as it is here. You can do better or just differently.
Experiments with the ball
Personal diaries
Follow the author
Subscribe
Don't want
1
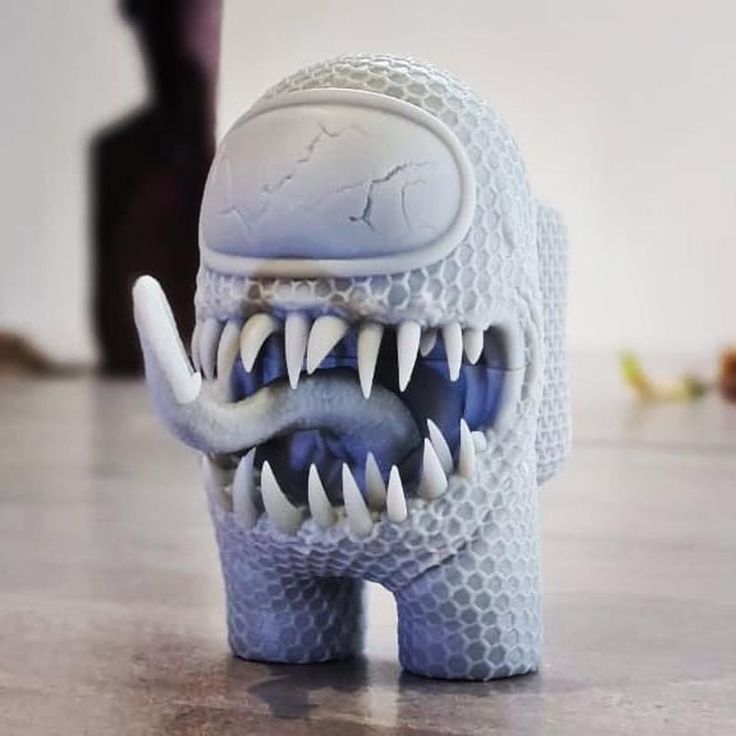
I was given the task of printing a ball. Hollow, not less than 10 cm in diameter. Well, I decided to try. And since it was supposed to be painted on this ball later, I decided to try to print it without supports.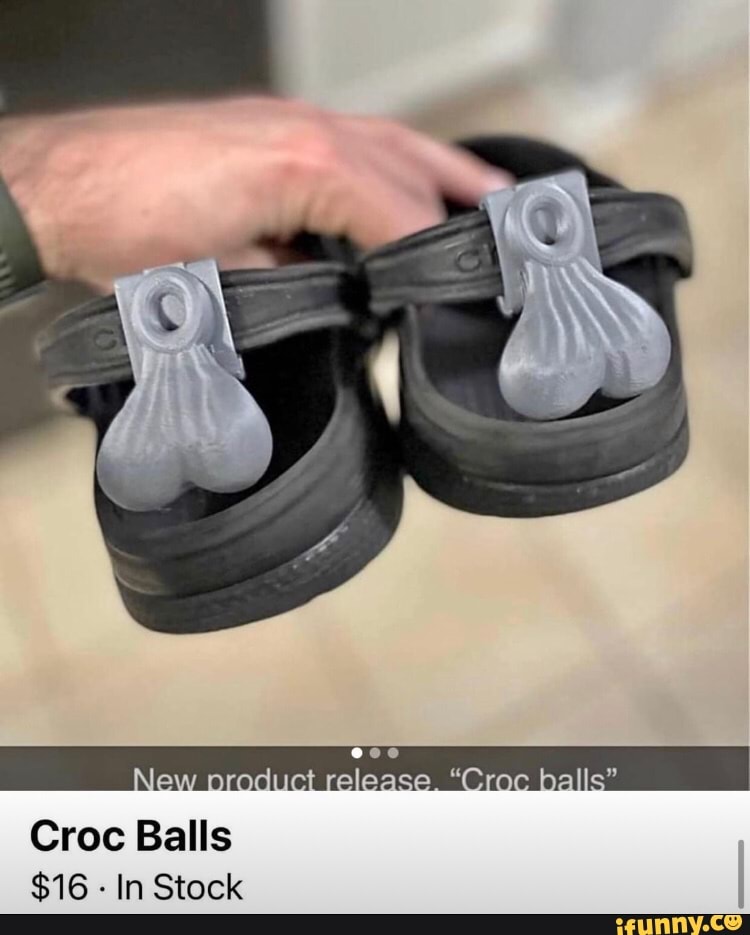
There was nothing interesting in the simulation of the ball. The ball is like a ball, hollow, with an "ear" on top. The wall is 0.8mm so that it would normally fit into the two perimeters of the 0.4 nozzle.
Since this is a "try" I decided to hold the event without interfering with the basic print settings that I have established, which are below.
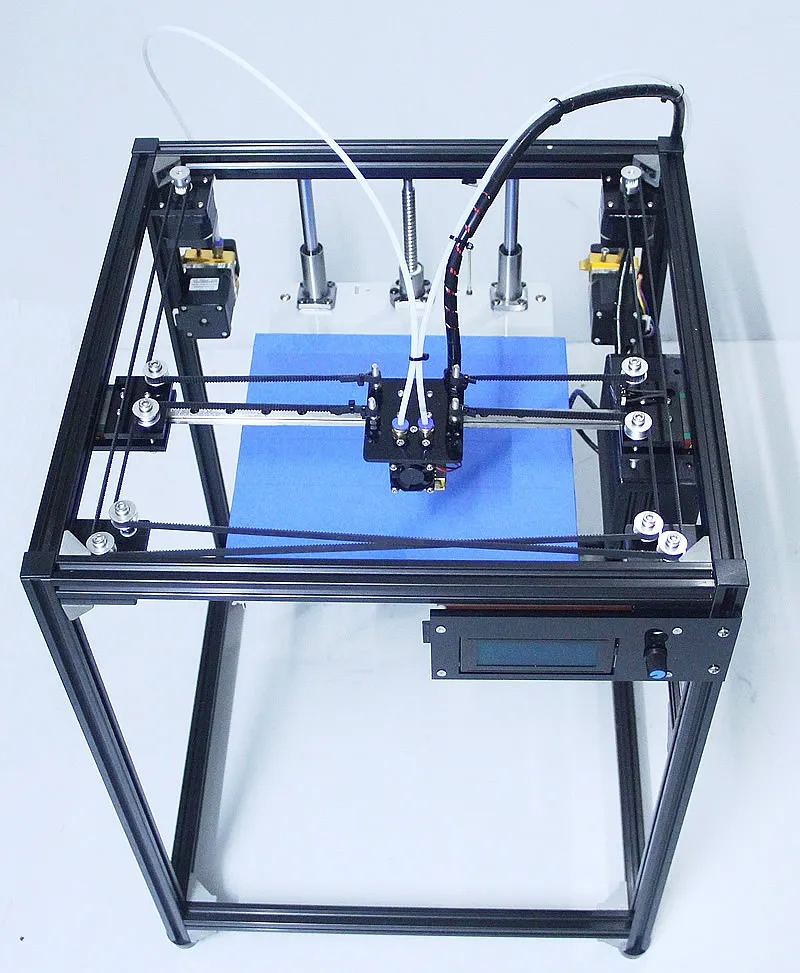
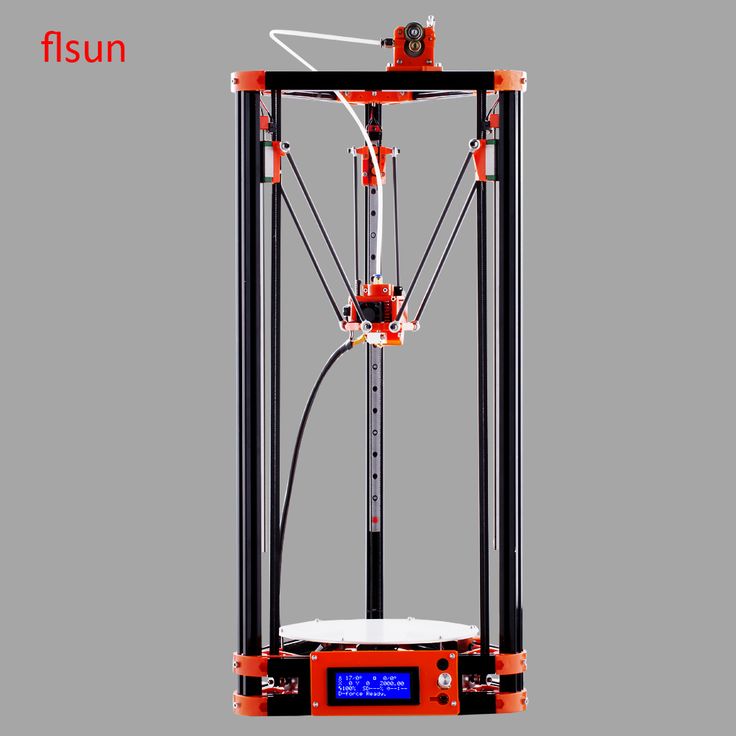
Printer Ender-3 pro which has SKR mini E3 v1.2 board, Teflon blue tube, dust filter on the bar and that's all for now.
PLA plastic, white from ABSmaker.
Nozzle 0.4, first layer 0.2, further 0.3, layer width 0.4.
Print temperature 200, bed temperature 60
Speeds - first layer 30, rest 50
flow -90% (matched), retracts 6/25.
Airflow-first layer 0, to the fourth layer step by step 100%
It seems that the settings are over interesting =)
I peeled it all in Cura, turning off support. Well, in print, for 1 hour 48 minutes.
Here you can see that the ball is really hollow and that there are no supports.
Print result.
Bottom
Top
Side
In general, the bottom and top layers fell off. The side surfaces turned out well, they have a slight slope.
In order to continue the experiment, I sliced the ball again, disabling the "optimization of the wall printing order" in the slicer), this increased the estimated printing time by 7 minutes. I actually wanted to set the printing order starting from the inner walls, but in Kura I did not find something like this parameter
And once again sliced the ball - adding support only from the table (we remember that the ball must be hollow =)), this increased the estimated printing time by another 25 minutes, i.e. up to 2h.20m
Since in between experiments I had to print PET-G, I decided, for the purity of the experiment, to first print the model with supports (because even after running the PLA meter through the extruder, I'm not sure that PET-G did not remain in the extruder).0003
Result
The bottom of the ball turned out to be weaker than the supports.
The "roof" is generally a problem.
I think that this is all just because of the disabled wall order option.
I did not experiment further, everything, in principle, is already clear. Although not all solutions have been tried yet, but there are several of them:
1. Decreased printing speed on the first and last layers, the height can be seen from the first ball.
2. Supports and inside the model. (but what will happen to the bottom is not clear)
3. Modeling inside the ball of a supporting structure in the form of an apple "core" with a thin-thin middle part (but this "kills" the hollowness.
Since I still want to print a normal ball, I will most likely try the 3rd option, possible in combination with 1. If the "decorator" of the balloons agrees to such a trick =) (Where will he go from the submarine?)=)
ender 3 pro Ender 3 pro Sphere Ball
Follow the author
Follow
Don't want
1
More interesting articles
5
Subscribe to the author
Subscribe
Don't want
A little more about the use of hobbies in the household.