Using glue stick for 3d printing
Using a Glue Stick and Why It's a Staple For 3D Printing – DesignMakeShare
If you have been around 3D printing very long you have probably encountered glue stick. Glue sticks work like a magic stick to help curling problems called “Warping” and can help you achieve better Adhesion.
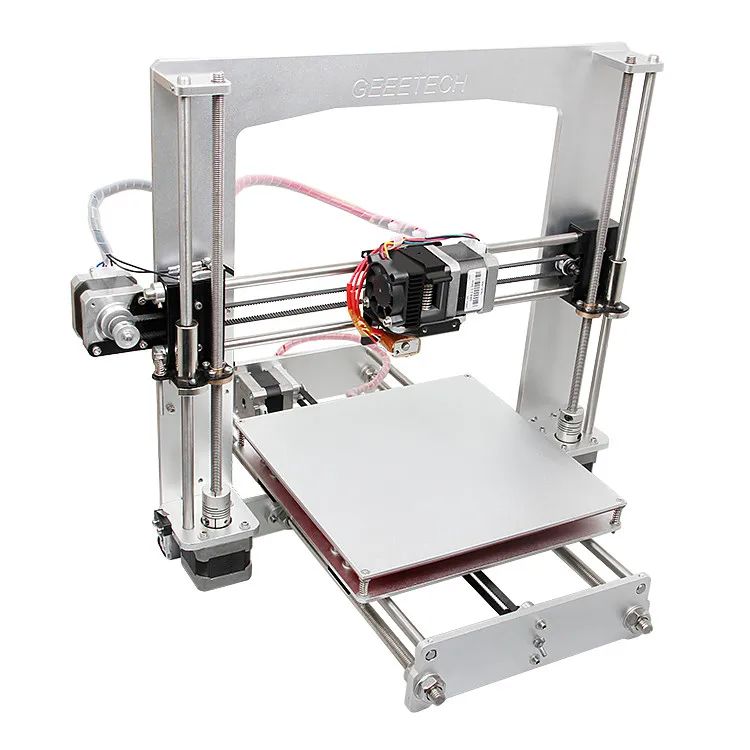
I am sure, you have had a 3D-print go horribly wrong because of the first layer coming loose. The issue that most people face when 3D printing is getting their 3D-prints to stick to the build plate or Bed.
If a print does not stick to the build plate properly, then it could move during the printing process which will cause it to fail.
Warping occurs when molten plastic after being molded into its 3D-print shape cools down resulting in shrinking. This typically causes the curling up problem starting at the corners.
Using a glue stick can help your print adhere stronger to the bed, eliminating warping problems due to the print not sticking to the bed. It also helps the completed pint release preventing material like PETG from bonding so well that there is a risk your build plate will be damaged upon removal.
In the rest of this article, we will take a deeper look at what glue stick has to offer and how to use it. After reading you should have a better understanding of glue stick is so popular and you may want to try it for yourself.
Why is it so popular?
So why is it so popular? Is it because glue stick offers the just right level of adhesion/release or is there something else that makes it stand out of the crowd? Yes, the adhesion/release is the primary metric for the selection of adhesive materials. But there are a number of other factors too.
Some of these factors are:
- Price of the adhesive
- Availability of the adhesive
- Ease of use of the adhesive
- Sustainability of the adhesive
- Compatibility with a number of materials.
Convenience is a major factor and my belief of why the glue stick is so popular. Not only does it work well but it can easily be picked up at a wide variety of stores and at a very reasonable cost.
Using the Good, Fast and Cheap metric, the glue stick is a rare case where you can have all 3.
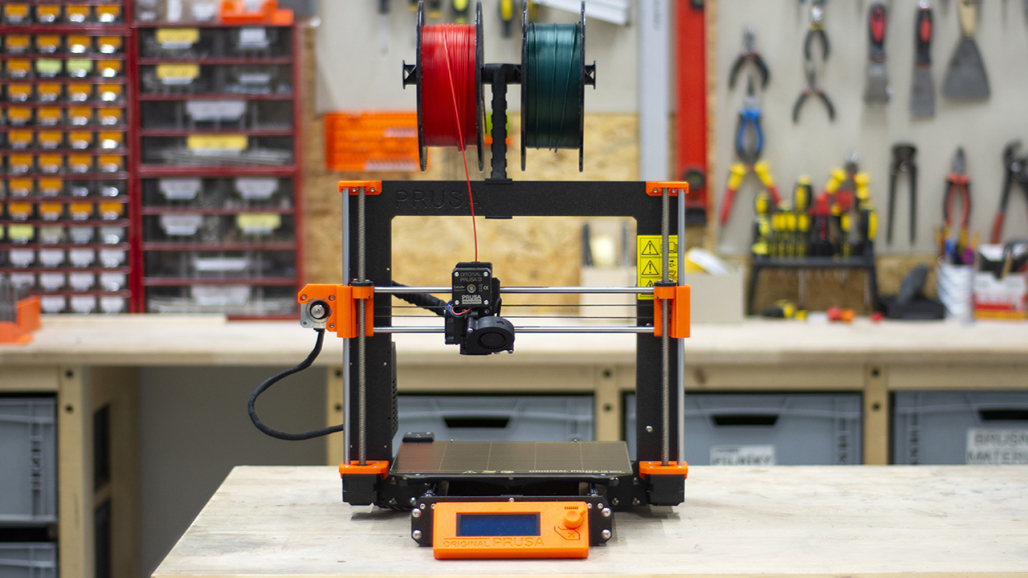
Do you still use a heated bed with a glue stick?
Probably, glue stick helps with adhesion but the heated bed is still important. Many people report having luck with just glue stick on a non-heated bed, but if you are going to take on some more challenging materials or have a big print your best bet is to use a heated bed.
The heat from your heated bed helps with the adhesion of your print to the print surface but it is not always enough.
Some cases require glue on the print surface for even better adhesion. Heating temperature depends upon the material used.
The need to use the glue also depends upon the material along with the shape of your 3D-Print.
For materials like Nylon and Acrylonitrile Butadiene Styrene (ABS), it is recommended to always use glue because to help with adhesion to the build surface.
Do you need to reapply after every print?
No, oftentimes a single application is adequate to work for multiple prints. You should apply a layer of glue every 1-5 prints for the optimum results, but some people have reported upto 10 prints before reapplying the glue.
When you are applying glue, make sure you apply it to the entire area of the bed where the part will be printed.
There are some conditions that may require you to re-apply the layer of glue. For example, if the glue layer becomes uneven, you should completely clean the build platform and re-apply to avoid a print failure.
It is also dependent on the glue and on your tolerance for messy undersides on your prints.
It's fairly common for some of the glue to come off with the print, so if you want a perfectly smooth bottom layer, your best bet may be to clean the build surface and apply glue for every print.
To wash and re-apply the glue stick is pretty easy. You can also freshen up the glue with a gentle spray of water and re-dry, or have more glue added on top. But all that comes down to your preferred workflow, determined through trial and error.
How is the cleanup?
Cleanup is very simple and can be done with just water and a rag/towel. Adhesive such as glue is easy to clean up and won’t require much effort to get off the bed (Much less effort than to get yourself out of the bed, ha ha).
If you can, remove the bed from the printer, and then carefully wet the bed platform with water, then you should easily be able to scrape or wipe the glue off the bed.
The Bed should be completely dry before you put it back in to use.
Is glue stick required?
The simple answer is No, but it does help. The exception would be with Polyethylene Terephthalate Glycol (PETG) where you want to use some sort of release agent to prevent damaging the bed surface.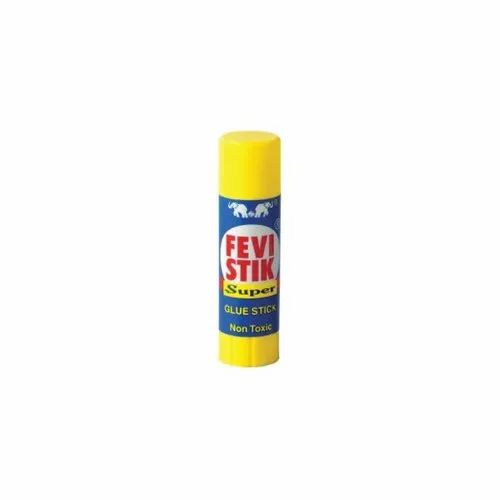
Glue stick is compatible with almost any type of filament you can find. PETG, PLA, ABS, and Nylon are all well suited for use with a glue stick.
Hybrids also work well on glue stick and have similar performance as the pure fimalements.
Is there anything else that hits the sweet spot of bond and release?
Hairspray is another popular option offering easy availability, low cost, and good adhesion/release. The big disadvantage here is that I find it to be very messy to apply.
Aquanet is the brand most often referenced in the 3D printing Community.
Blue Painters Tape is another common solution and is well liked within the 3D printing community. The issue I most often have with blue tape is its durability.
The tape ends up tearing while removing prints and I have to replace it fairly frequently.
The market is quickly beginning to fill with products to address this need. Some popular names you will find include: Magigoo, Dimafix, Build Plate Wizard with more being brought to market all the time.
Which Is Better for 3D Prints? – Printing It 3D
When building 3D prints, getting the 3D objects to stick to the plate is sometimes challenging. You want to avoid shifted, crinkled, and curled edges. However, choosing a suitable bed adhesion material can eliminate these problems.
Glue sticks are usually better for 3D prints than hairspray, but they’re not much better. Sometimes glue sticks stick too well and make removal tricky, especially when the 3D part takes up most of the bed’s surface. However, hairspray is harder to see on the print bed.
This article will explore the drawbacks and benefits of glue sticks and hairspray for 3D printing. So, let’s compare these sticky substances and figure out which one will work best for you.
Why Use Print Bed Adhesives?
You should use print bed adhesives since some 3D models tend to fall over mid-print. When this happens, your printer will keep printing, which will result in a failed print job. So, making the bed sticky will hold down your model, keeping it in place.
In 3D printing, the smooth glass plate sometimes does not allow the print material to cool quickly enough. Bed adhesions form a sticky surface that holds your models in place and protects the glass.
If the print moves at all, the print process fails, so using an adhesive can save you time, filament, and money in the long run.
Using a Glue Stick for Print Bed Adhesion
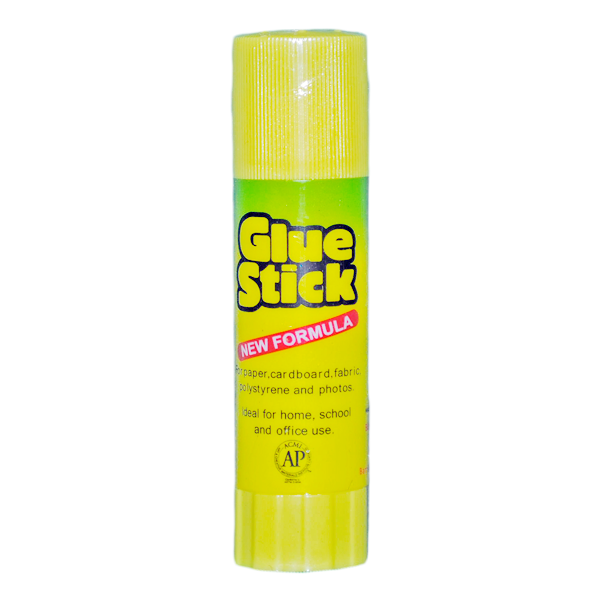
Both hobbyists and professionals use a simple purple glue stick to hold 3D prints in place.
Since the first layer in a 3D model is most important, ensuring its success impacts the rest of printing. So, using a coat of glue from a glue stick can make your print bed sticky and adhesive, helping you anchor the base of your model on the printer.
Benefits of Glue Sticks for 3D Printing
Many 3D printing specialists use glue sticks. The glue prevents warping and failure of the print. This video will help you see how glue sticks work in 3D printing:
Some benefits of using glue sticks are:
- They are cheap.
- They are easy to find at almost any store.
- They allow you to see where the adhesive lies to ensure the print is centered on the glass plate.
- They are water-soluble and easy to clean off.
However, glue sticks can be too sticky, especially when working with thin layers. They are also harder to apply to the entire print bed since you have to work in small streaks.
I recommend using 3D printer PVP solid glue stick available on amazon.com
How To Use Glue Sticks for 3D Printing
Most 3D print professionals and hobbyists agree that using a glue stick to hold a print is not hard. Here is the process:
- Before printing, clean the bed surface very well to ensure no residue.
- Apply a thin layer of glue to the entire print bed or just to the area where the print will lay.
- Wash the glass with gentle soap and water after printing to remove the glue residue.
Using Hairspray for Print Bed Adhesion
Three-dimensional printing professionals and hobbyists also love to use hairspray for adhesion to the print bed. To reduce the potential for a print to curl or warp at the edges, they spray the plate with some sticky hairspray.
Benefits of Hairspray for 3D Printing
The benefits of using hairspray for adhesion to the glass plate are similar to using glue sticks. The goal is to keep the print in place until completion. Here is a video on using hairspray for 3D printing:
Some benefits of using hairspray are:
- It is easy to apply to the print bed.
- The lightweight aerosol quickly binds the plastic to the plate.
- Any conditioning additives can enhance the final 3D item.
- Hairsprays that lock out humidity offer extra benefits to keeping the plastic moisture-free.
- Hairspray works well with high temperatures, ideal for heated print beds.
- You don’t need to clean off the hairspray after printing, but you can clean the glass with rubbing alcohol if necessary.
However, hairspray is not ideal for all prints. Hairspray can be too weak for hefty models, and it can also be hard to see it since it is very clear.
For a hairspray you can check here on amazon.com
How To Use Hairspray for 3D Printing
Everyday hairspray is ideal for holding the 3D print in place to prevent failure. It is inexpensive and sticks well.
Here is the process to apply hairspray:
- Remember that hairspray is flammable, so do not move the printer while spraying.
- Buy maximum hold hairspray.
- Heat the glass bed to around 120 °F (48.88 °C).
- Spray an even layer of hairspray over the heated bed.
- Let the hairspray set for thirty seconds.
- Blot any excess hairspray with a paper towel.
- Touch the bed to gauge stickiness.
- If the surface does not feel tacky, spray again and repeat the process.
- You can repeat the hairspray process every 4-7 prints or as needed.
When to Use Glue Stick vs. Hairspray
You should use a glue stick for print bed adhesion if that is all you have or if your print is heavy or irregular-shaped. However, hairspray works better on heated print beds for models with wide perimeters since it is easy to apply and resists heat.
So, glue sticks are usually best for heavier models since they offer more strength than hairspray. Glue sticks are also a go-to adhesive for many people since you probably already have one lying around in your home.
However, hairspray offers better adhesion on heated print beds, and it’s easy to apply it to the entire plate, making it ideal for hot applications and models with broad perimeters.
Are There Alternatives To Glue Sticks and Hairspray?
There are alternatives to using glue sticks and hairsprays, such as designing rafts and brims. Printing these supports can hold your model upright, but it’s generally more effective to use an adhesive with these supports to keep your prints in place.
Two types of supports can help you keep your print anchored down.
One is a raft. You include this base in your CAD model, and it should be a bit wider and longer than the print. This block of printed filament should sit at the initial printing layer, keeping your model from tipping.
However, rafts can be challenging to separate from the finished print, and they usually leave marks, so they’re not always ideal.
The other is a brim, a thin lip that encircles the print. A brim is the less stable of the two supports since it goes around the model while the raft is beneath the printed object.
You can also use other adhesives such as adhesion spray or blue tape, but glue and hairspray are pretty common materials, and they’re usually the cheapest options out there.
Conclusion
So, which adhesive is better for 3D printing? In terms of cost and ease, most 3D amateurs and professionals prefer glue sticks over hairspray since it is such a common household item.
Glue sticks are affordable and offer a color that makes it easier to see where you have applied it to the print bed. However, if you try glue sticks and they don’t offer enough hold, try some extreme hold hairspray, primarily if you use a heated print bed.
And again about adhesion... (glue sticks part 2)
3D printing
here: http://3dtoday.ru/blogs/mister-magomedov80-yandex-ru/adhesion-kalyakaexperience123/
This site has written a lot of articles about adhesion agents for 3D printing. I would also like to contribute my little bit, in connection with which I purchased several different samples of glue sticks (more precisely, all the samples that I could find on sale).
I want to clarify that the tests are carried out on a ZAV printer, in a heat chamber, with ABS 'Prostoplast' plastic, at a temperature of 230/95.
The first sample is 'ErichKrause' pencil glue (the most common glue is a pencil in all stationery stores), which, upon arrival at home, was the very first smeared in two layers on a clean, washed 4-mm mirror.
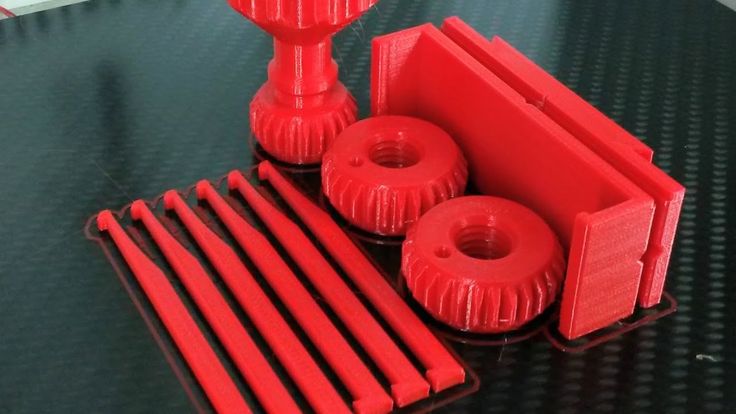
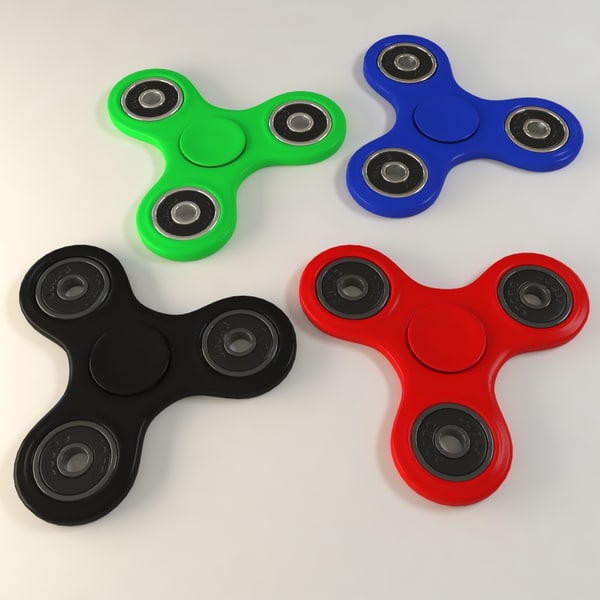
A model of a classic spinner was sent to print, which was already on a flash drive. The first layer went perfectly, the part did not come off, even in the absence of a skirt. Given that the area of adhesion of the print to the mirror was minimal... the glue stick did the job!
I am very satisfied with the initial print using this sample. The second print of the same model, in the same place was successful! The part didn't come off!
Next, for test printing, I chose the model http://www.thingiverse.com/thing:802145 the so-called 'gyroscope'.
'Gyroscope'
Let's move on to the next test participant. Sample #2 is a strange triangular shaped glue called 'De Vente'. Glue of lilac color with an unpleasant smell.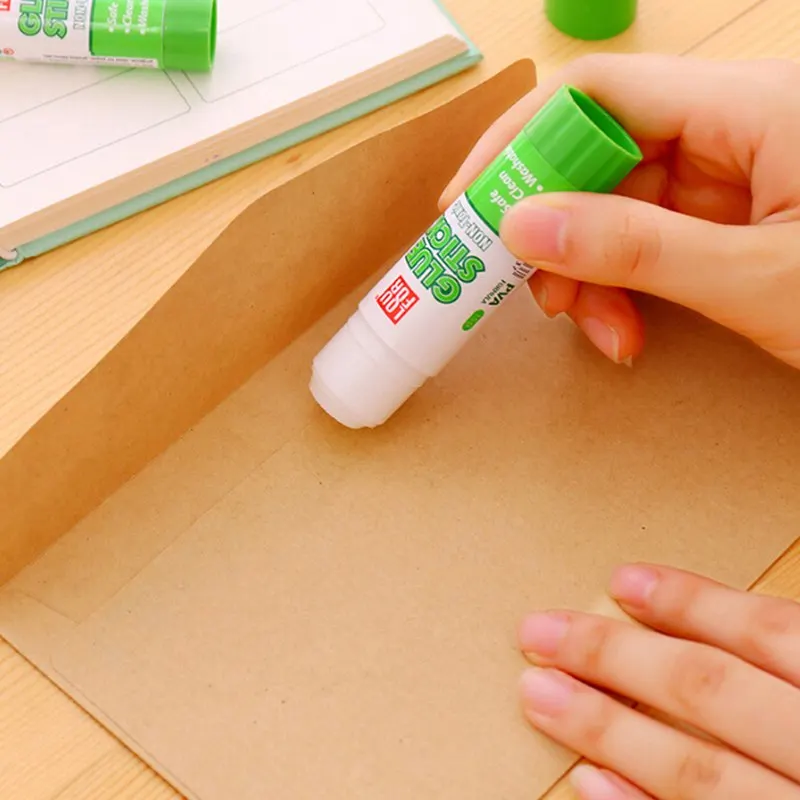 Applied to the mirror in two layers, the first print went well. The second print in the same place came out just as well. Fingerprints are removed from the mirror without difficulty. This adhesive is usable.
Sample #2.
Sample #3 'Silwerhof' glue stick This glue sample is based on PVP. Glue is applied easily to the mirror. The plastic adhered perfectly on the first print and also stuck on the second print without any problems. The prints come off the mirror with difficulty.
sample no. 3.
sample no. 4 glue stick 'A+'. This glue is designed for gluing paper, cardboard and fabric. The glue is applied to the mirror with difficulty and sticks strongly. In this connection, it was applied in one layer. The adhesion of this sample is weak, the plastic does not stick well even at the first printing (although for some reason I had hopes for it :)). Glue in the trash!
Sample No. 4.
Printing result with sample No. 4.
Sample No. 5 'ErichKrause Joy' glue stick, which was also hoped for, did not fit for printing at all, the plastic did not stick at all. Summary: in the trash!
sample no. 5.
sample no. 6 'Hatber' glue stick applied easily, first print and second print went well.
swatch no. 6.
swatch no. 7 'De Vente' gel adhesive stick, colorless, with a pleasant smell, applied with great difficulty and in a thick layer, therefore, it was applied in one layer. However, this did not prevent the plastic from sticking to the surface perfectly, on the first print and the second! This glue remains as a 'helper';)).
Sample no. 7.
Left mirror smeared with sample no. 6, right with sample no. 7.
Sample no. . The part comes off with difficulty. This glue goes to 'helpers'.
Sample No. 8.
Sample No. 9 'Alingar' PVP-based glue-pencil, I was dissatisfied with this glue, the first print was unsuccessful, I didn't even start the second one.
Sample No. 9.
And the last one....
glue stick 'Tukzar' apparently Turkish) is not suitable for printing, throw it away!
Good luck everyone! Thank you for your attention).
Follow author
Follow
Don't want
38
More interesting articles
DrProg
Loading
11/08/2022
1375
9
Subscribe to the author
Subscribe
Don't want
We continue to reveal the incredible opportunities of enterprises from China, to...
Read more
0
Subscribe to the author
Subscribe
Don't want
Ones Technology is a research and development center under the Ministry of Industry of Turkey. According to G...
Read more
Leoluch
Loading
09/07/2015
357871
346
Subscribe to the author
Subscribe
Don't want
Good afternoon, dear visitors of the portal.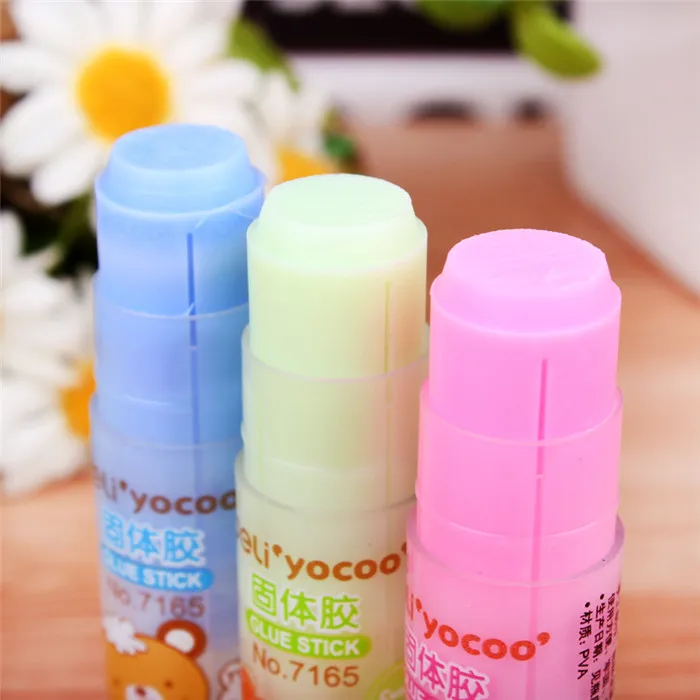
Today I decided not to leave in art...
Read more
Once again about the glue stick. How and how much to smear
3D printing
Subscribe to the author
Subscribe
Don't want
38
Inspired by numerous posts with cries for help in the style of: 'Plastic does not stick', 'No adhesion', 'Model has curled edges', etc. etc. I am writing this short post in the style of 'Captain Obvious'.
In most cases, one and the same problem is immediately visible: the table is not calibrated, and glue, glue is very generous, even the mirror is not visible.
Much has already been written about calibration, and the opinion, in general, is the same for everyone: we calibrate to the thickness of the paper.
And here's about how much glue is needed, and what kind.. Here, muddy conversations about kalyaki, about painters, about bf, about abs-juice, beer and rosin already begin.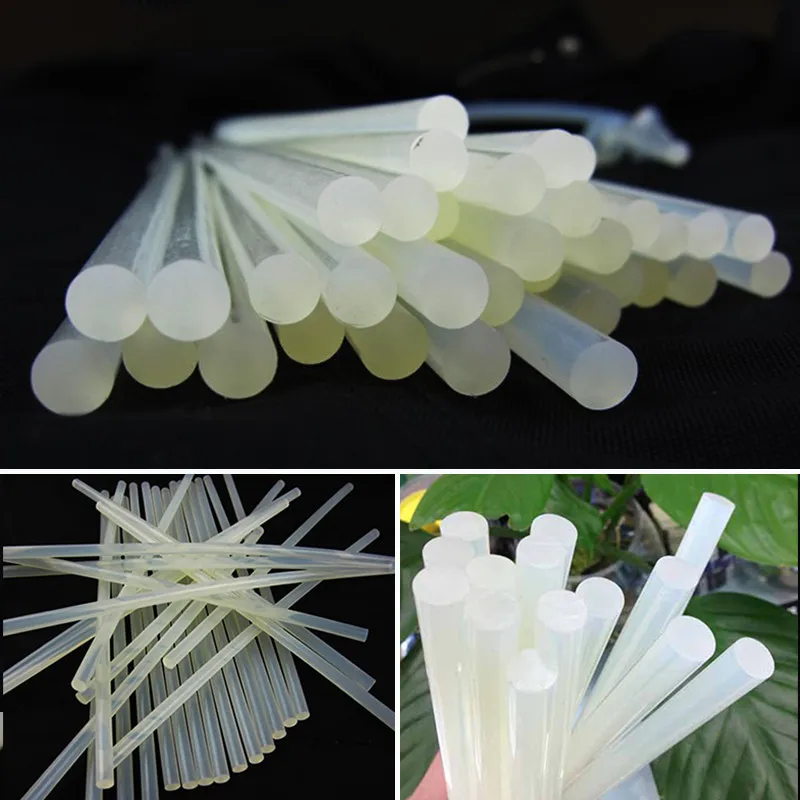 Basically a matter of religion.
I myself still belong to the sect of the holy glue stick. And I bring you the good news of his mighty power.
The most important thing in a glue stick: it should be small, very, very small, and a little less.
Now an example with pictures
My table. Just a wet paper towel. Of course, it’s better to degrease, but everything goes fine anyway.
We smear a wet napkin on an adhesive stick. We get just a napkin stained with glue. Do not touch the glass with a pencil!
Wipe the table with an adhesive cloth. Better already hot 60-70 degrees. See the glue on the table? And he is, like a gopher from DMB.
Everything can be printed.
Pet-G, ABS, PLA, HIPS, FLEX, SBS tack excellent.
A easily torn off after cooling. Well, except for SBS, I put it in the freezer to tear it off.
The model does not tear off, does not bend the corners. Even on high models.
The bottom is even and smooth like a mirror. On the example of Petg HTP nozzle 0.6.
Don't let your nozzles clog.
Suggestions, thanks, criticism and threats can be left in the comments
Follow author
Follow
Don't want
38
More interesting articles
DrProg
Loading
11/08/2022
1375
9
Subscribe to the author
Subscribe
Don't want
We continue to reveal the incredible opportunities of enterprises from the Middle Kingdom, up to...
Read more
0
Subscribe to the author
Subscribe
Don't want
Ones Technology is a research and development center under the Ministry of Industry of Turkey.