3D printing heat creep
What It Is and How to Prevent It – Fargo 3D Printing
As a user of 3D printers, you may have heard of the term “heat creep.” Heat creep is the process of heat spreading irregularly throughout your hot end, disrupting the way filament must melt to extrude. This will often cause clogs, especially inside your thermal barrier tube.
What’s Really Happening with Heat Creep?Your heater cartridge is attached to the heater block. The heater cartridge heats the heater block and disperses out from there. The heat goes up and down the thermal barrier tube, and that’s how you’re able to melt filament.
The filament swells as it goes through the tube. Only once in the area of the heater block, should it start to melt. Then, it becomes molten and gets extruded out the bottom of the nozzle.
But, when you cool down the extruder, the heat rises UP the thermal barrier tube.
If heat successfully creeps up the tube, the filament inside will start to swell too soon inside the tube. PLA especially will stick to these narrow walls much easier and that’s how you get a thermal barrier tube clog.
A Word on Thermal Barrier TubesMany thermal barrier tubes attempt to counteract heat creep. The notch you may see on your tube is intended to halt the spread of heat farther up by having less metal to conduct heat. The threads of the thermal barrier tube also act as somewhat of a heat sink.
The notch also denotes the spot inside the thermal barrier tube where the internal diameter changes. The diameter below the notch is wider than the diameter above it to allow space for the rapidly expanding filament to continue traveling down the tube toward the nozzle.
How to Prevent Heat CreepHeat creep most frequently becomes a problem after you have finished your print and the printer begins cooling. Now the expanded filament that has softened and stuck to the narrow walls of the upper part of the thermal tube will harden and clog your extruder. These types of clogs are particularly difficult to remove because once the plastic in the top of the tube expands and cools, you have created too much mass for enough heat to creep to the top and soften that plastic again.
One way to avoid this consequence of heat creep is to always unload your filament when you are finished printing. For some this may be a reasonable solution, for others it may not.
Our tip for unloading filament once it is apparent to you that heat creep has caused a thermal barrier tube clog, is to “Load to Unload.” This simply means that instead of running the “unload” script on your printer to remove filament, perform “loading” your filament instead.
This is because if you attempt to “unload” filament, the heated and swollen portion of the strand of filament resting in the wider diameter will be forced to go up through the smaller diameter. This will probably be difficult, it may break off inside, or it might not come out at all. This does not work as well as heating the hot end normally, pushing the now softened filament down, and pulling it out. Clip off the uneven end and you’re ready to print again.
But like many things, the best prevention is simple due diligence:
- Always use Ceramic Insulation Tape around your Heater Block
- Don’t use low-end filament with filler and diameter issues
- Avoid leaving your printer heated, but not printing
5 Ways How to Fix Heat Creep in Your 3D Printer – Ender 3 & More – 3D Printerly
Experiencing heat creep in your 3D printer isn’t fun, but there are definitely some fixes that you can try to fix this issue. This article will aim to help those going through this problem, giving the causes and solutions behind 3D printer heat creep.
The best way to fix heat creep in your 3D printer is to reduce the printing temperature, decrease your retraction length so it doesn’t pull the heated filament so far back, check that your cooling fans are working properly, increase your printing speed, and make sure the heatsink is clean.
There are some other important facts to know about heat creep to prevent it from happening in the future, so keep reading to get on top of this issue.
What is Heat Creep in 3D Printing?
Heat creep is the process of an unsteady transfer of heat throughout the hotend which interrupts the right way of the filament to melt and extrude. This may result in many issues such as clogging the extrusion path or thermal barrier tube.
Improper settings or device configurations result in increased temperature in the wrong places, which can cause the filament to soften prematurely and become swollen.
The video below does a great job of explaining clogs & jams within your 3D printer’s hotend. It closely relates to problems of heat creep in your 3D printer, so you can definitely learn a thing or two.
What Are the Causes of 3D Printer Heat Creep?
You may face the heat creep problem anytime while printing, it is important to know the causes behind this problem to get rid of it properly. Major causes of heat creep include:
- Hot Bed Temperature is Too High
- Cooling Fan is Broken or Not Working Properly
- Too High Retraction Length
- Heat sink is Dusty
- Printing Speed is Too Low
How Do I Fix 3D Printer Heat Creep?
To get rid of this problem it is recommended to reduce the heat at the beginning because its results may cause bigger problems.
Where high print temperatures is a huge problem, other factors such as printing speed and retraction length should also be calibrated perfectly to get the best results.
Even if you buy another hotend which is completely new, there are possibilities that heat creep may occur due to wrong adjustments.
All-metal hotends are proved to be more sensitive to heat creep because they lack the thermal barrier PTFE coating in the heat-resistant protection that protects the filament from extreme heat.
Therefore, it is recommended to not use all-metal hotend if you are new to the world of 3D printing.
After you find out the actual reason behind the problem, you need to fix it in the right way. Below are the solutions to each of the above-mentioned causes that may help you out.
- Reduce the Heat Bed or Printing Temperature
- Fix or Calibrate the Extruder Cooling Fan
- Reduce Retraction Length
- Clean the Heatsink
- Increase the Printing Speed
1. Reduce the Hot Bed or Printing Temperature
A lot of heat coming from the printer’s hotbed can increase the temperature to a great extent and it is recommended to decrease the temperature a little to fix the heat creeps especially when you are printing with PLA
You can change the temperature from your slicer or the printer’s filament setting which allows you to increase or decrease the temperature.
The ideal temperature with 3D printing is the coolest temperature that you can still adequately melt and extrude the filament. You don’t usually want to apply too much heat to your nozzle, especially if experiencing heat creep.
2. Fix, Replace or Calibrate the Extruder Cooling Fan
Cooling the heatsink is key to avoiding or fixing heat creep. When you can properly control the way air passes around your heatsink, it does a good job in reducing heat creep.
Sometimes the positioning of the fan and airflow doesn’t allow it to effectively pass through the heatsink. This can happen when the back mounting plate is too close, so you can try fixing a spacer between to give more space.
The cooling fan should work perfectly all the time as it is essential to provide the required air to the heatsink.
If your fan is running but still, you are facing the heat creep, check that whether the fan is tilted backward because you have to assemble the fan in a way that it throws air inside not the outside.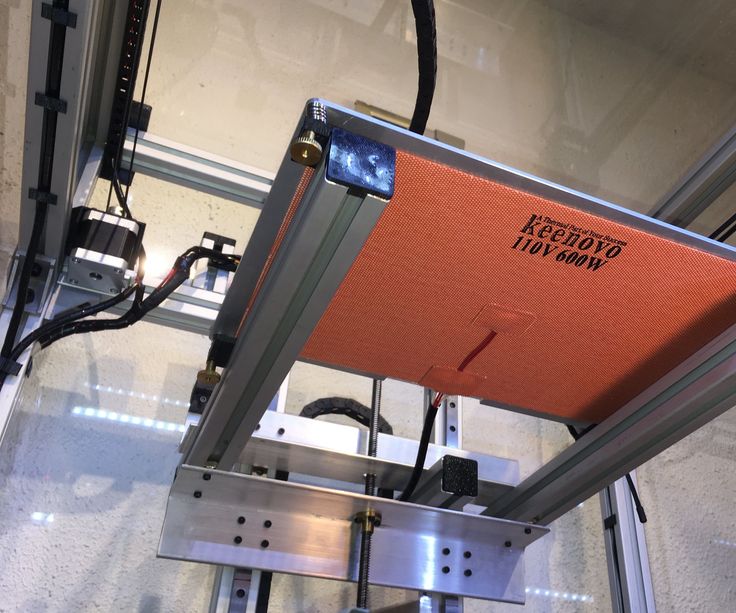
Go to the printer’s fan settings and check that the extruder fan is running at a high speed.
Experts suggest that the RPM (Rotations per Minute) should not be less than 4,000.
Sometimes if your fan isn’t doing its job, it’s a good idea to just replace the stock fan to something more premium. You can’t go wrong with the Noctua NF-A4x20 Fan from Amazon.
It has an award-winning design with flow acceleration channels and advanced acoustic optimization frame for very quiet operation and amazing cooling performance.
3. Reduce Retraction Length
Retraction is the process of pulling the filament back to the hotend to improve print quality. If the retraction length is set too high it is possible that melted filament which has been affected by the heat may stick to the walls of the heatsink.
If this is the actual cause, reduce the retraction length in your slicer settings. Tweak the reaction length by 1mm and see at which spot the issue is resolved.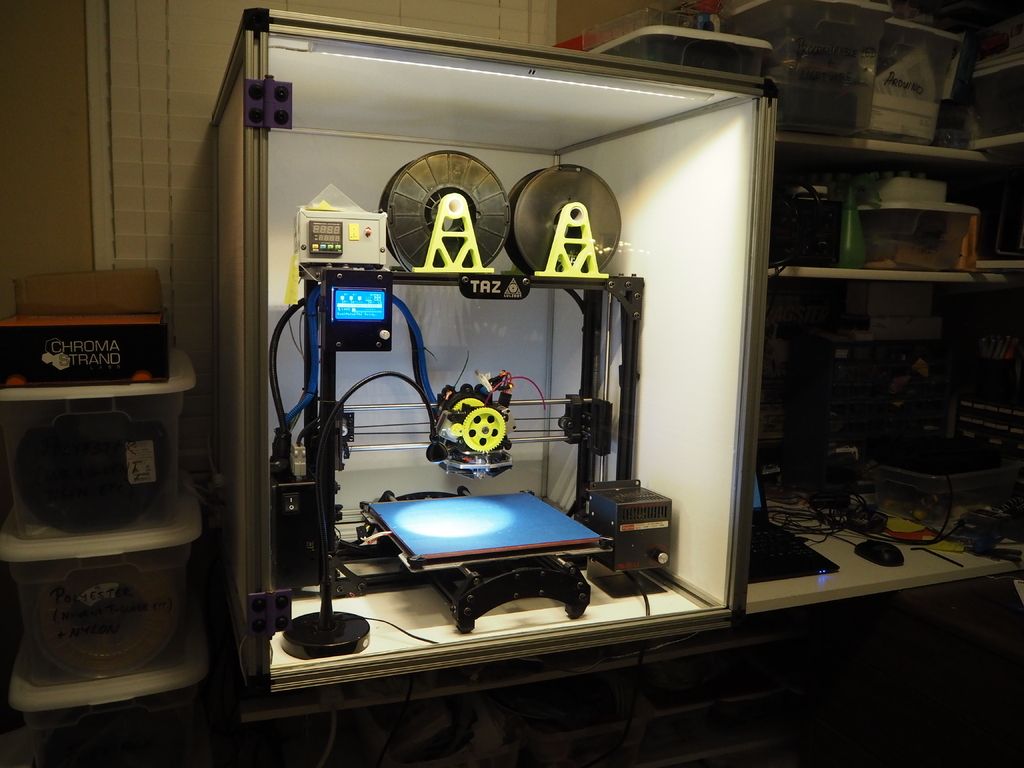 The retraction settings could be different for different types of printing materials.
I wrote a guide detailing How to Get the Best Retraction Length & Speed Settings which you might find useful with this issue. The default retraction length in Cura is 5mm, so gradually reduce that and see whether it solves the problem.
4. Clean the Dust From Heatsink and Fan
The basic function of a heatsink is to make sure that the temperature for the filament should not rise up to an extreme level. After some rounds of the printing process, the heatsink and fan can collect dust which affects its function of maintaining the temperature causing heat creep problem.
The airflow in your 3D printer, especially at the extruder needs to be freely flowing.
To fix this problem and to prevent it from happening in the future, you can remove the hotend cooling fan and clean out the dust by blowing it or using a can of pressured air to blow the dust away.
The Falcon Dust-Off Compressed Gas Duster from Amazon is a great choice to go with. It has several thousand positive ratings and has many uses around the house such as cleaning your laptop, collectibles, window blinds, and general items.
Canned air is an effective solution to remove microscopic contaminants, dust, lint, and other dirt or metal particles that may not only cause heat creep but can damage the sensitive electronic components as well.
5. Increase Printing Speed
Printing at a speed too low can cause heat creep because if the filament is flowing through the nozzle at a higher speed, there is a lack of consistency between the extruded filament from the nozzle and within the extrusion system.
To help with consistency in the flow rates, it’s a good idea to increase your printing speed gradually, then check whether this solves your problem of heat creep.
Make sure that the printing speed is calibrated perfectly because both low and high print speed can cause many printing issues.
A good idea to help calibrate your printing speed is to use a speed tower, where you can adjust different printing speeds within the same print to see the effects on model quality and other things.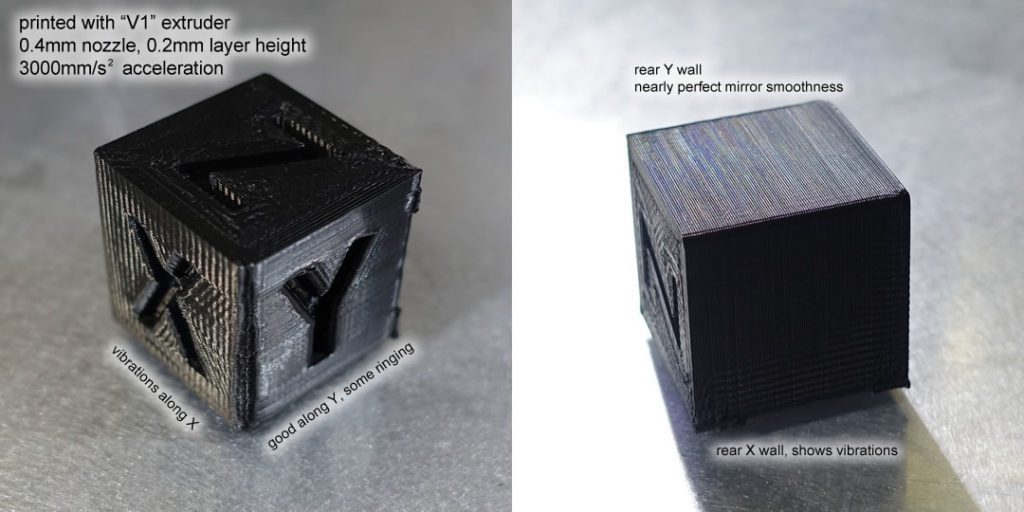
Fixing 3D Printer Clogged Heat Break
Heat break can get clogged due to different reasons but fixing it is not that hard. Most of the time it can be fixed just by a simple step. Below are some of the most effective and easy to implement a solution that will help up out.
Remove the Heat Break to Push Out the Stuck Material
The video above shows an unorthodox method of clearing the clog by securing a drill bit in a vice a pushing the heatbreak’s hole through the vice.
Remove the heat break from the printer and use a drill that fits in its hole but should not be too tight. Now put the drill into the vise grip so that it doesn’t move and allow you to put high pressure on it.
Push the heat break hard on the drill until the drill passes through the hole thoroughly.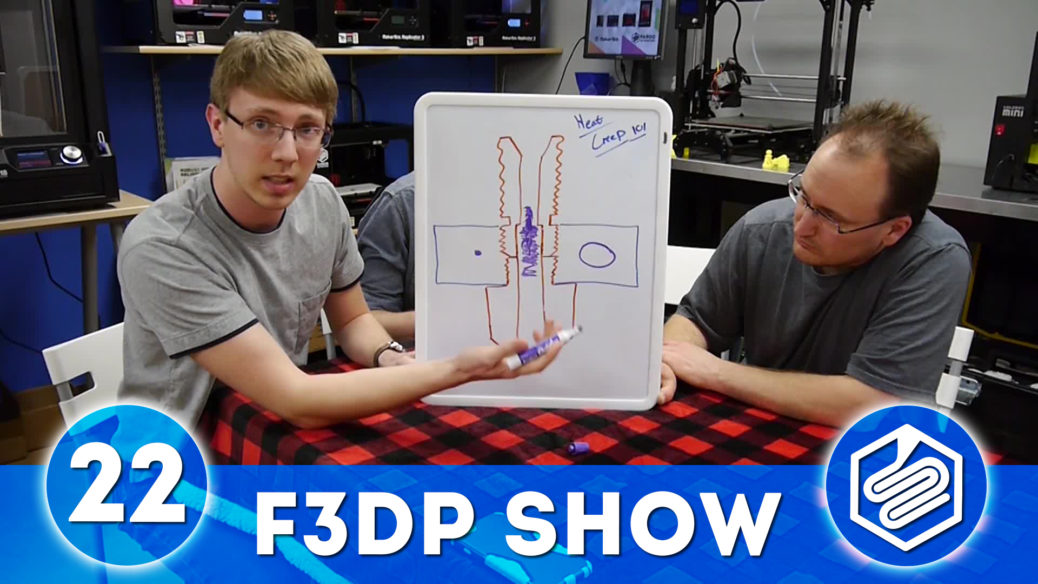 After removing the stuck material use a wire brush to clean the heat break and then assemble it again at the right place.
You could also use something like a plank to secure the drill bit and do the same method.
Make sure that you are keeping safety in mind here since a lot of pressure is being used! There is also a risk of damaging the smooth inside the heatbreak.
Use High Heat to Melt the Plastic
Some people mentioned that using something like butane gas to heat up the plastic and melt it. Another user actually set the extruder temperature and removed the nozzle, then twisted a drill bit into the soft plastic which could then be pulled out in one piece.
Again, you are working with high heats here so be careful.
(There is a solution) Understanding all the ways to avoid heat creep
extrusion heat heat-creep
Printer configuration and many other parameters affect thermal creep. Thermal creep stopping extrusion does not necessarily involve melting the filament too high above the nozzle.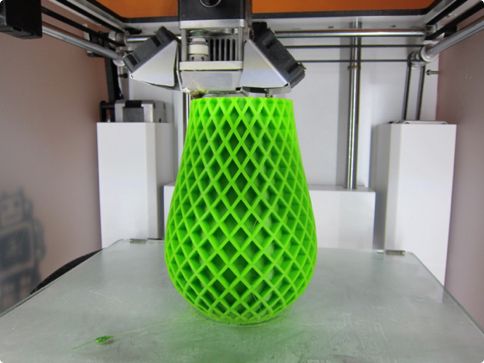 All that is required is to make the thread too soft. The filament can bend and crumple (it's important to avoid gaps in the hotend that allow this). On direct drives (not Bowden tubes) the filament can become soft so that the teeth on the direct drive cut a notch in the filament instead of pushing it through the nozzle. Things to consider:
-
The air volume of the cooling fan on the hot end heatsink affects the temperature gradient across the heatsink. Usually the size/geometry of the fan depends on the design of the printer, so the main parameter of the fan that controls the air volume is the rotational speed. I have noticed that the fans set hot ends from 6000 to 10,000 rpm. The higher the RPM, the better in terms of preventing heat creep. Of course, make sure the fan is spinning properly.
-
Increasing the temperature of the extruder increases the likelihood of heat creep.
- A high resistance connection to the sensor will result in a lower actual temperature reading.
 So the controller will raise the hotspot to a higher temperature than set, which can cause the het to creep.
-
Reducing the temperature of the heated bed, especially when the printer is in the case, increases the chance of heat creep because it raises the temperature of the air that the fan blows through the heatsink.
-
The slower the print speed, the greater the chance of heat creep. This is because a lower print speed gives the filament more time to heat up in the extruder. Many slicers have a setting that slows down the print speed if a layer is finished below a given time. If this time dilation causes thermal creep, the extrusion will stop when the printer reaches these smaller area layers.
-
The heater block may be too close to the heatsink for them to bypass the reduction of thermal breaks in conductive heat.
-
Hotends for 245°C and below can use things like Teflon tubing in a heat break to isolate the filament from the metal.
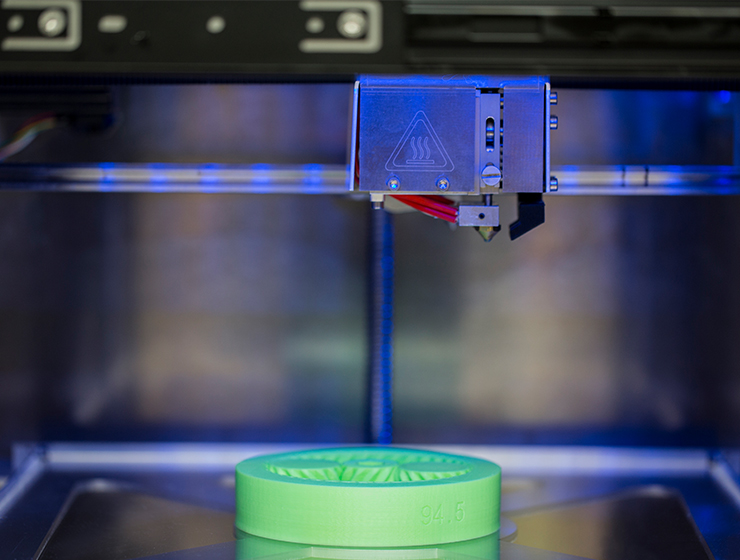 But, a nozzle temperature of +250 °C requires all metal heaters.
 -
The PID settings in the firmware may allow the hotend temperature to be too high.
Fig. 1: Some characteristic features of thermal creep on direct drive filaments. 1) a recess in the filament where the gear rotates in the soft filament. 2) normal teeth marks in the filament. 3) soft bending of the filament. 4) soft bundles of threads in open areas. With the help of a Bowden tube, the thread expands at the end.
Note: Setting the retraction too high can cause the extruder to stall, but this is not thermal creep. Although this symptom could be mistaken for thermal creep.
Also note: Printing materials such as PETG too quickly can clog the nozzle because the filament does not have time to melt. This is the opposite cause of heat creep.
A defective filament can get stuck in the tube before the hot end, or the filament can hang on the spool or on the way to the hot end.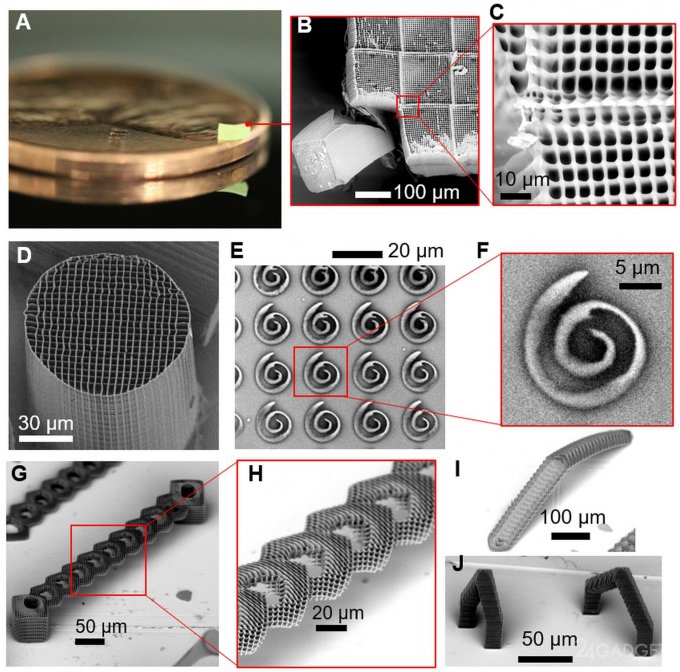 It can also stop the extrusion.
Of course, different materials change the thermal creep characteristics, but what else affects the thermal creep?
This is an extension of how thermal creep is characterized?
@Perry Webb, ♥4
Discussion
1 Answer
Best answer:
▲ 3
things that should be taken into account (this is expanded from how thermal crawling is characterized?):
- 66666666
-
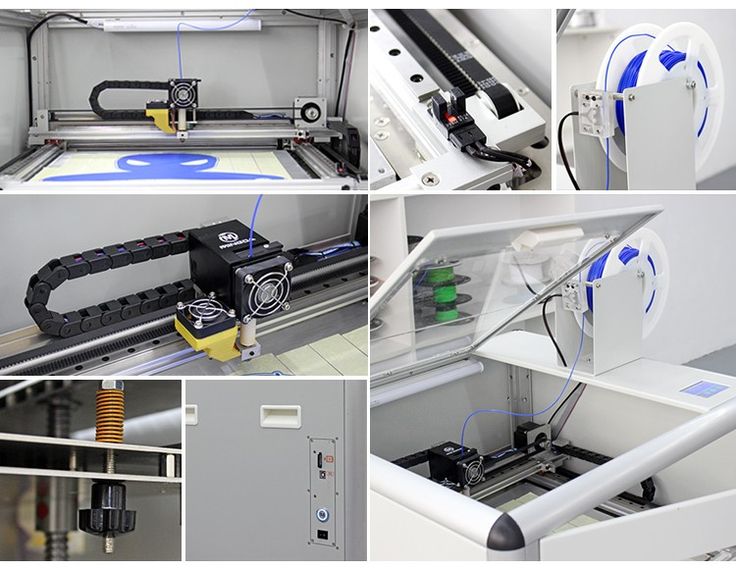
The air volume of the cooling fan on the hotend heatsink affects the temperature gradient across the heatsink. Usually the size/geometry of the fan depends on the design of the printer, so the main parameter of the fan that controls the air volume is the rotational speed. I have noticed that the fans set hot ends from 6000 to 10,000 rpm. The higher the RPM, the better in terms of preventing heat creep. Of course, make sure the fan is spinning properly.
-
Increasing the temperature of the extruder increases the likelihood of heat creep.
- A high resistance connection to the sensor will result in a lower actual temperature reading. So the controller will raise the hotspot to a higher temperature than set, which can cause the het to creep.
- Lowering the temperature of the heated bed, especially when the printer is in the cabinet, increases the chance of heat creep as it raises the temperature of the air that the fan blows through the heatsink.
- What can be helpful is to use higher extrusion and bed temperatures for the first layer and then lower temperatures on subsequent layers to reduce the chance of heat creep.
- The slower the print speed, the greater the chance of heat creep. This is because a lower print speed gives the filament more time to heat up in the extruder. Many slicers have a setting that slows down the print speed if a layer is finished below a given time.
 If this slow time causes thermal creep, the extrusion will stop when the printer reaches these smaller area layers.
- Too much extruder movement without extrusion has a similar effect because the filament is not moving. I have verified that bonding insulated structures to structures with thermal creep can eliminate it. Using a little more material for thin walls is better than scraping off prints.
Example: This is easy to demonstrate with PETG. Design a table printed from top to bottom in a 100 mm square with four legs 5 mm square and 100 mm long. Set the parameters so that you start getting thermal creep when printing the legs. Now place four 1mm thick walls between your legs to let the heat creep away.
- Sometimes if you start the second print without letting the extruder cool down after the first print, thermal creep will cause the extruder to seize.
-
The heater block may be too close to the radiator for them to bypass thermal breaks that reduce heat conduction.
-
Hot ends for temperatures of 245°C and below can use things like Teflon tubing in a thermal break to isolate the filament from the metal. But, a nozzle temperature of +250 °C requires all metal heaters.
-
Firmware PID settings may allow the hotend temperature to jump too high.
, @ Perry Webb
3D printing: all about heat Heatle
The heating of plastic filaments in specialized printers equipped with heated extruders and print beds creates the basis for the formation of products from molten filaments, also known as 3D printing.
Currently, 3D printers are being used to create tools, camera equipment, medical models, phones and tech accessories, home decor items, toys, and fashion, just to name a few. The applications for 3D printing are almost limitless.
Since 2009, when the main patent for portable 3D printers expired, 3D printing has grown into an industry of its own.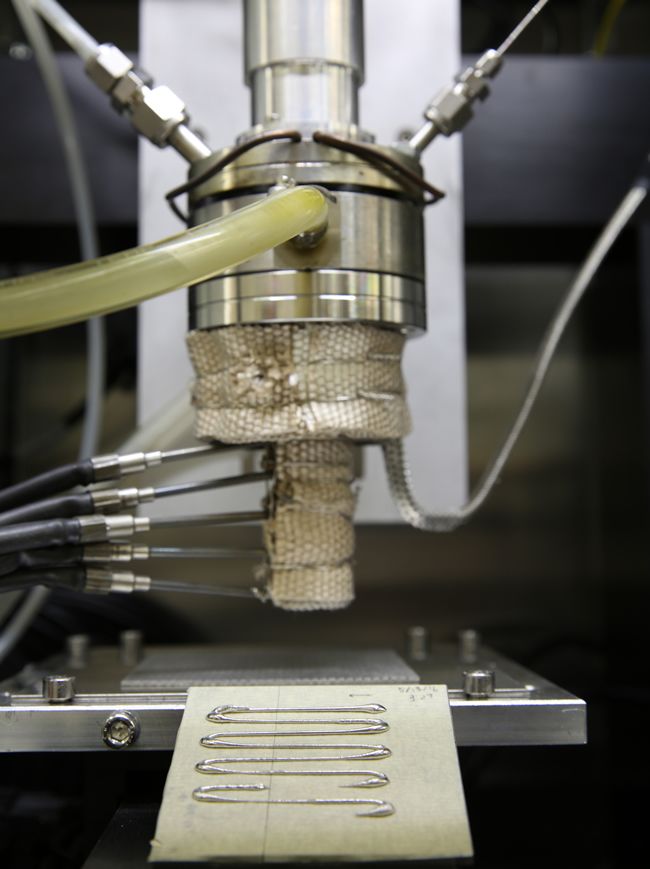 As a result, 3D printers are one of the defining products of our time.
3D printers are now being used to create just about anything you can imagine - tools, camera equipment, medical models, phone and personal technology accessories, home decor, toys, and fashion, just to name a few. Its applications are almost endless. Theoretically, any solid object can be made with 3D printing. Although some limitations in technology prevent printing in certain sizes and materials, research and development is rapidly expanding the possibilities.
The most popular type of 3D printing is Fused Deposition Modeling (FDM). Modeling the product on the printer is done by melting and extruding a spool of plastic filament through the nozzle as it moves up, down and across the specified XYZ coordinates.
Creating a product using the FDM process looks something like this:
- 3D model created using software.
- The model is exported as a stereolithography file (.
 stl format) and then imported into the slicing software.
 - The file is split into product layers and specific tool paths are generated.
- The design is sent to the printer.
Within minutes - or possibly hours or days, depending on the size and complexity of the part - the part is made by additive manufacturing.
3D printing heater
3D objects are made by melting, molding and cooling plastic.
Several key components create and manage heat in an FDM printer:
- Extruder.
- Work table.
- Multi-layer cooling fan.
A closer look at each of them will explain how they affect the print result.
Extruder.
The extruder is where most of the printer technology resides. It consists of a cold end that pulls the filament through the system and a hot end that melts the filament as it is extruded.
Inside the hot end of the extruder is a heating block. As a rule, this is an aluminum element with a hole for a cartridge heating element. The heating element melts the filament as it passes through the heat pipe and reaches the nozzle.
The extruder also has a fan heatsink. This cooling element helps prevent heat from entering parts of the extruder that need to be kept at cooler temperatures.
Another element of the extruder worth mentioning is the thermistor or thermocouple. This temperature sensor detects and helps regulate the temperature of the hot end.
Work table.
The desktop is the surface on which the filament is deposited in a predetermined form during the printing process. Most PCBs are heated to prevent the plastic from cooling too quickly and deforming the product. Printtables typically maintain temperatures somewhere between 50 and 100°C. Specific temperature requirements depend on what type of plastic is being used.
Some printers do not have heated stages. These machines are limited in the materials they can print with. Also, materials may not adhere to these layers and melted parts are more likely to pop out of the middle of the print.
Multilayer cooling fan.
The cover fan cools the plastic after exiting the nozzle. This element helps the created product to keep its shape when printed.
Heat control: solving heating problems
Since 3D printing is so dependent on heating temperature, any temperature issues can easily disrupt the entire process. Common problems encountered in 3D printing include
- Thermal creep
- Deformation and bending.
- Molten or deformed articles.
- Cracks on the sides of the taller item.
- Slope or bend at the bottom (elephant foot).
- Blurry or undefined first layer.
Manufacturers can face such problems due to non-ideal temperatures.
As 3D printing research and development continues, advanced technology offers even more precise control over higher temperatures, producing high-quality printed products from difficult-to-work materials.
Thermal creep
Heat creep occurs when heat is distributed unevenly through the hot end of the extruder. This happens when the filament cools as it is extruded and heat travels up the thermal barrier tube. This will cause the filament to heat up and swell too early and stick to the walls of the thermal barrier tube. Heat creep can cause clogs that stop printing, and such clogs are difficult to remove.
As a result, thermal barrier tubes are often designed to prevent thermal creep. The teeth or filaments in the pipe help prevent heat from entering places where it is not needed. In addition, there are several preventive measures that can be taken to prevent a negative effect.
- First, ceramic insulation tape must be added around the heater block.
- Second, when the printer is not printing, do not leave it hot.
- Third, avoid using low quality filament that may expand unevenly.
- Finally, if possible, always unload the filament when you finish printing.
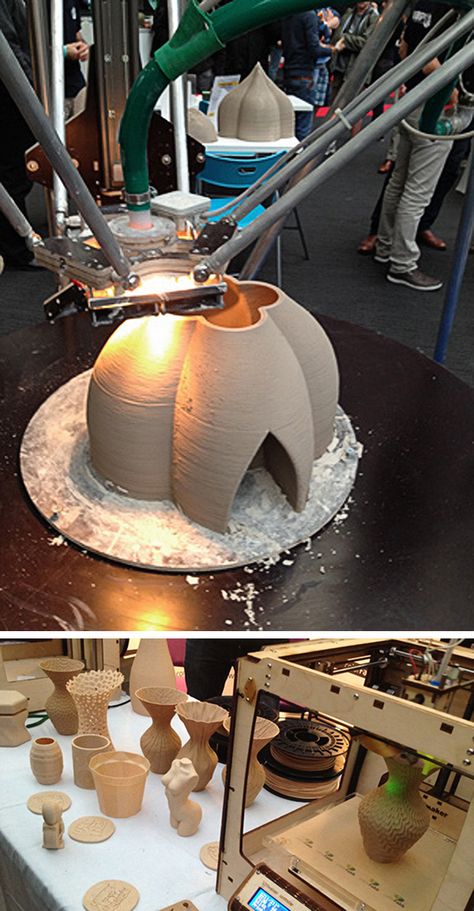
Deformation and bending.
Product warping occurs when the plastic is cooled too quickly after extrusion. Because the plastic shrinks slightly when cooled, rapid cooling can cause the plastic to bend as it solidifies.
Warping can be prevented by keeping the plastic just below its melting point on the print bed. If warping occurs, the temperature of the print engine may need to be increased.
Melted or deformed seal.
When printed pieces look saggy, is to blame for excessive heat . FDM printing requires a precise balance between a temperature that allows good flow and a temperature that ensures fast curing.
To correct melted prints, adjust the temperature settings of . First, make sure the temperature is within the appropriate parameters for the material. Then try decreasing the nozzle temperature by 5°C at a time.
Cracks on sides of higher prints.
Sometimes when the higher pieces are 3D printed, cracks can appear between some of the higher layers.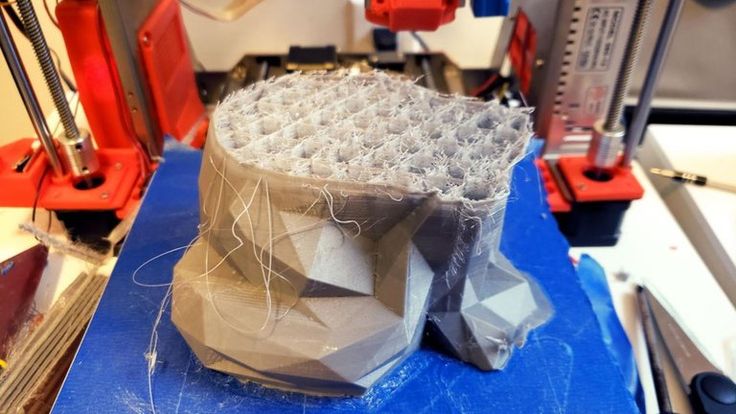 This is because these layers too far away from the heat of the printed layer . After extrusion, the filament cools too quickly and is not as tacky as it should be. This results in small spaces or cracks between the layers.
To prevent the filament from cooling too quickly, try to increase the temperature of the extruder by about 10°C.
Slope or bend at the base.
Bending or warping near the base of printed objects occurs when the weight of the model presses on the lower layers before they cool down properly.
This deformation of the lower layers is eliminated by faster cooling. This can be achieved by lowering the platen temperature by 5°C at a time until the desired results are achieved.
Blurry and undefined first layer.
Sometimes the first layer can be blurry. When this happens, the corners feel vague and the filaments look messy. This usually happens because0103 The print bed is too hot and this causes the plastic to lose its shape.
The solution to this problem is probably pretty obvious. It may be necessary for to reduce the temperature of the platen by 5°C at a time until the desired results are achieved.
The threads come in a variety of colors and textures and offer effects ranging from glow in the dark to the look and smell of wood.
Material Temperature Limits
There are several filament options for . The threads come in a variety of colors, textures and offer effects ranging from glow in the dark to the look and smell of wood. An important part of mastering the use of these different materials is understanding the specific temperature requirements for each material. Failure to comply with these parameters may result in any of the temperature related problems mentioned.
Higher temperatures equals more capability . When 3D printers can maintain higher temperatures during production, more filament options become available. However, working at higher temperatures requires special technology in a 3D printer.
For example, it is not uncommon for extruder hot ends to be made up of both metal and polyetheretherketone (PEEK) or polytetrafluoroethylene (PTFE). While PEEK and PTFE provide excellent insulation, they limit the hot end temperature to no more than 240°C. However, when all-metal hot ends are used, temperatures can be effectively maintained above 300°C. This opens the door to the use of a range of different materials.
New developments in FDM technology are paving the way for even higher temperatures during 3D printing. Last year, a 3D printer manufacturer introduced a line of high-temperature printer components that allow the hot ends of an extruder to reach temperatures in excess of 400°C. Printtables on the same devices can reach temperatures in excess of 200°C.
Ideal temperatures for various materials:
Polylactic acid (PLA)
Acrylonitrile butadiene styrene (ABS)
Polyamide (nylon)
Polyethylene terephthalate (PET / PETG / PETT)
Acrylonitrile styrene acrylate (ASA)
Polypropylene (pp)
Thermoplastic elastomer (TPE)
Thermoplastic polyurethane (TPU)
Wooden Threads
Polycarbonate
Polyvinyl alcohol (PVA)
As 3D printing research and development continues, the improved technology continues to offer even finer control over higher temperatures.