Tree supports 3d printing
Better looking prints with less wasted material
Arun Chapman15 March 2022
Guide
When used properly, supports allow you to print almost anything using an FFF printer. However, they can be a pain to use. You often need to tweak your support settings to get the best results and even then, they can still be difficult to remove and often result in blemishes on the surface of your model. Luckily, Ultimaker Cura has a second type of support structure called tree supports. On certain models, tree supports can use less material, be easier to remove, and they can leave your model with little to no scarring.
What are tree supports?
Tree supports are a type of support structure available in Ultimaker Cura. When
enabled, they are generated around a print to help support areas that would be
unable to print successfully without it. Unlike standard supports that generate
directly below the areas that need to be supported and nowhere else, tree
supports wrap around a print, starting thicker towards the bottom of the print
and getting thinner as it goes up. Tree supports also branch off at an angle with
only a thin tip of each branch touching the areas that needs supporting. The
result can look almost exactly like the branches of a tree.
Before we go into more detail about how tree supports work, we need to talk about regular supports and why they are needed.
What are supports and why are they needed?
Due to a little thing called gravity, when printing with an FFF printer, each layer of filament must be printed on top of a supporting layer below it. If there is nothing below to print on, the filament will be extruded in midair causing a failed print. It is possible to print in midair for a short distance as long as it’s between two supported areas, this is known as bridging. If, however, there is nothing to support it whatsoever, it’s called an overhang.
The red section in the middle is an overhang
The long flat section at the bottom is an example of bridging
Both bridging and overhangs are situations where supports may be required.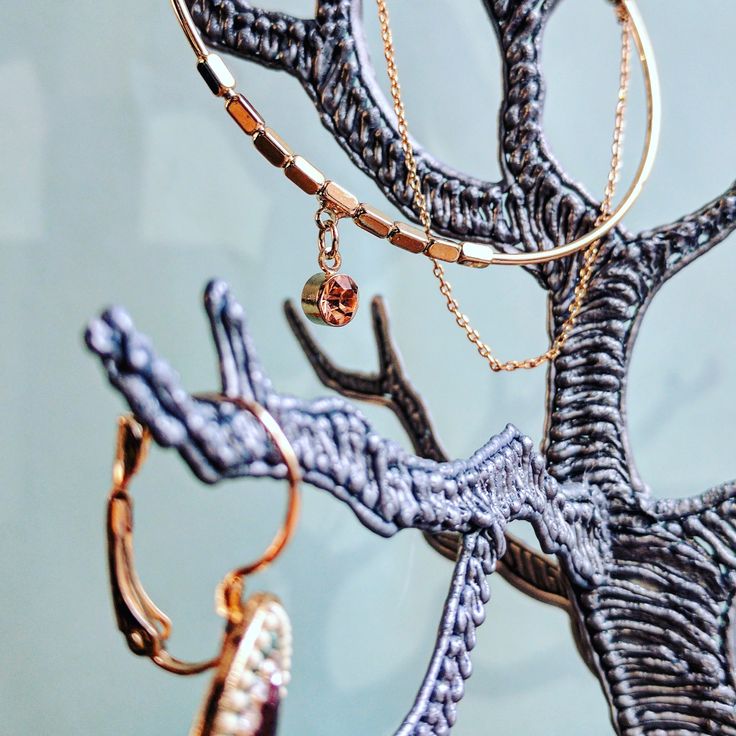 All major slicers can generate supports. When you enable supports in your slicer, sacrificial structures are generated under your object to support the areas that would normally be impossible to print. These supports can then be removed after a print is finished. Supports are normally printed directly beneath the area that needs supporting like so:
The problem with this is that on a geometrically complex print with lots of overhangs, supports may need to be placed on top of some surfaces of the print to reach the overhang. That can lead to blemishes not only where the print needs support, but also on the area directly below.
There are workarounds in some cases and tweaking your support settings can reduce the surface damage. But in cases like this, tree supports are often a better alternative. We will primarily be talking about tree supports and how they can be used in this article. If you want to familiarize yourself with normal supports and their related settings, check out our dedicated article on the topic.
How do tree supports work?
Tree supports have one big trick up their sleeves, and that’s the ability to print at an angle, allowing it to wrap around a print and support hard to reach places. This behavior also means that tree supports touch the print in far fewer places than regular supports which results in a cleaner print with less surface imperfections.
Tree supports were originally created to minimize how much waste material is used when printing supports. As far as that goal goes, they were a success. You can expect to see significantly less material usage on complex prints that require lots of supports. In prints that use material, you can also expect to see lower overall printing times.
The only major downside to tree supports is a large increase in slicing times as the calculations that need to be made to generate tree supports are more complex than those made for normal supports. The smaller parts of tree supports near the top of each branch can also be difficult to print so poorly calibrated printers may have trouble printing these areas successfully and even well-calibrated printers may have difficulty when using hard-to-print materials like PVA and flexible materials. For this reason, it's recommended to use normal supports when printing soluble supports with PVA.
Once you have enabled tree supports in the settings and sliced the model, you can see how they will be printed by using the preview view.
It’s worth noting that SLA printers also use something called tree supports. These are very different to the tree supports used in Ultimaker Cura in both form and function.
Which settings to use?
As with normal supports, you have access to additional settings you can modify to change how tree supports are generated. If you want to learn how all of these settings work, check out the Ultimaker Cura Settings Guide plugin. If you want to access them, they can be revealed or hidden in the configure Cura settings menu. Below are a couple of the more important settings and what they do.
Support Placement: Support placement is a setting also available for normal supports. There are two options. Touching buildplate and everywhere.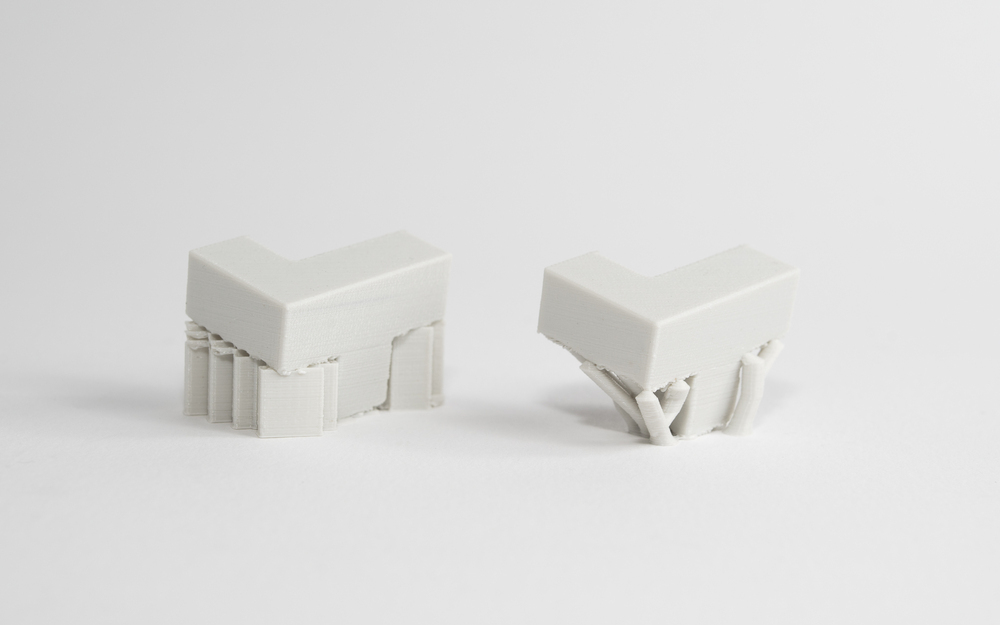 Selecting everywhere means that supports can print on top of the print itself whereas selecting touching buildplate means that tree supports will only start at the build plate and not be attached to the object anywhere but where it is supporting.
When selecting touching buildplate, tree supports are still capable of supporting areas that regular supports would only be able to reach by using the Everywhere option. However, there may still be some situations in which everywhere may be required when using tree supports.
Support Overhang Angle: This determines the minimum angle of overhang that requires support. Reducing this will result in more of the model being supported and increasing it means less of the model will be supported. What angle of overhang your printer can print without sagging or failures depends on your printer settings. As a rule, setting this at 50 degrees is usually a good place to start.
Tree Support Branch Angle: This determines the maximum overhang angle the support branches are allowed to print at.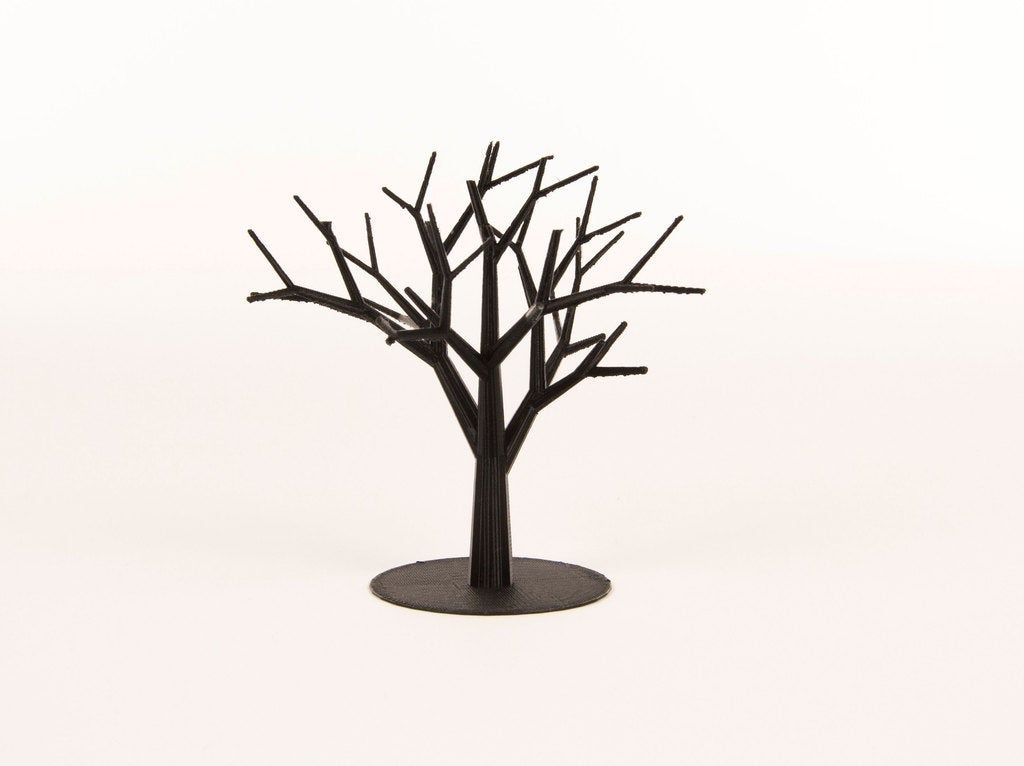 Increasing this will allow the tree supports to branch off at more extreme angles which means they will be able to reach more of the model without needing to rest on the model itself. This means less scarring. However, increasing this value too far will also lead to less reliability and a higher chance of print failure.
Tree supports were originally created as part of an internal research sprint where software
engineers could pitch a project and then spend work time trying to develop that pitch into a usable prototype. These research sprints were eventually opened up to other departments and became the Ultimaker-wide hackathon. The hackathon and its precursor are responsible for not only tree supports, but also another fan-favorite feature in Ultimaker Cura, lightning infill. As well as many other smaller improvements and optimizations.
Tree supports were originally pitched as a way to minimize waste filament use. Supports make up a huge portion of the waste material that is created with FFF printing and any reduction in how much support material is needed would also reduce this waste.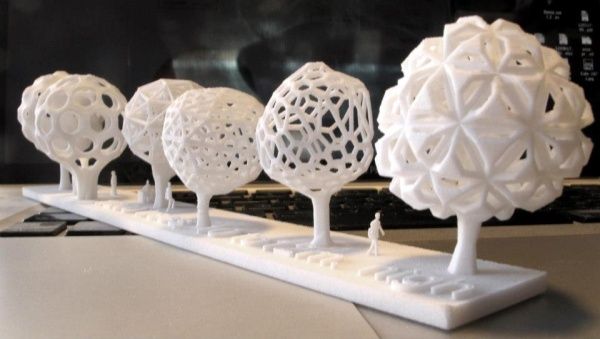 While also having the beneficial side-effect of reducing printing time and costs.
When should you use tree supports?
Tree supports have a number of use cases to which they are particularly suited:
Ornamental prints
Tree supports leave less scarring and other blemishes on your final print so any print that needs to look good can potentially benefit from tree supports. In particular, complex geometric shapes such as busts or statues are well suited to the use of tree supports.
Budget prints
Certain prints can use less material when printing with tree supports as opposed to regular supports. That means less wasted filament and less overall cost. When printing the same model many times, this can add up.
Prints where normal supports are hard to remove
There are certain prints where normal supports can be incredibly difficult to remove. An example of this is where supports generate inside of a partially enclosed part of the print. Tweaking your support settings can often solve this but if you’re having difficulty removing supports, tree supports can often be a solution.
Parts with tight tolerances
Supports can leave behind excess material which may need to be cut or sanded away after the supports are removed. This can be a problem for any part that requires tight tolerances. Tree supports leave behind less excess material which means less post-processing is required for parts where that material may be an issue.
We hope this info helps you to get better prints. If you haven't used tree supports yet, download the latest version of Ultimaker Cura and try them out!
Download Now
Your Guide to Cura Tree Supports
Why do you need support structures?
3D printing is unique among manufacturing processes for its ability to produce incredibly complex shapes. Some 3D printing processes, like Fused Deposition Modeling (FDM), however, need a bit of help sometimes to achieve these intricate geometries. Some support, if you will.
3D printers struggle to print certain features, like overhangs and bridges, because the filament is not adequately reinforced and will succumb to gravity if they are printed in mid-air.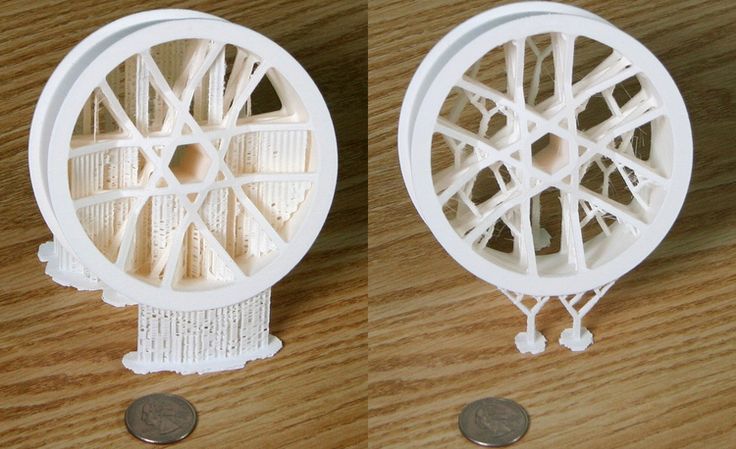 That’s where support structures come in. Supports are automatically generated in slicer software programs such as Ultimaker Cura and enable 3D printers to produce parts with overhangs and bridges.
Overhangs are shapes on a 3D model that jut out at angles of over 45°. Bridges, for their part, are horizontal structures that typically connect two vertical structures. Supports are required to print both these elements so that the filament layers are supported as they are extruded.
There are two main types of support structure: normal supports—also known as linear supports—and tree supports. Regular supports are vertical structures that grow straight up to support overhangs and bridges. This type of support structure reinforces the entire overhang area and typically consists of a solid shell and infill.
Tree supports, the subject of this article, are more organic in shape, growing like tree branches around the 3D model to support overhangs and bridges.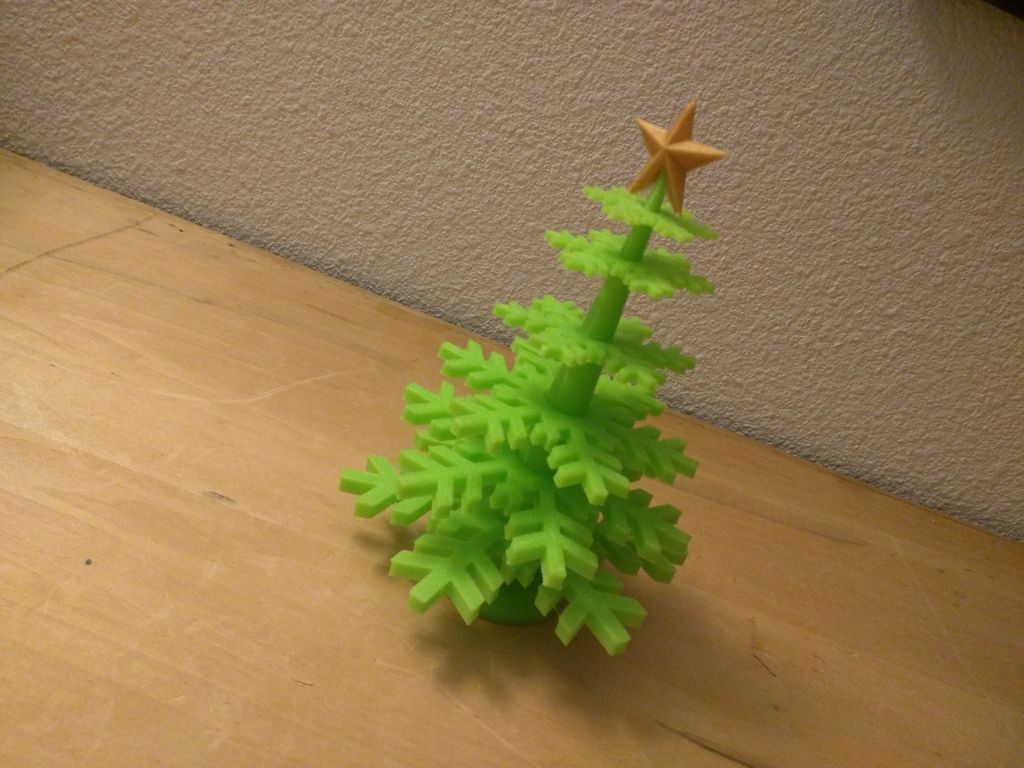 One of the defining characteristics of tree supports is that they are printed wider at the base of the model and gradually taper off, providing adequate support while minimizing contact points with the 3D printed part. Tree supports are also hollow, consisting primarily of a shell, which is easy to remove post-printing.
Recommended reading: Cura Support Settings Explained
Unlike linear supports, tree supports wrap around the 3D model, providing support directly where needed.
How Cura Tree Supports Work
In the FDM 3D printing process, a print head extrudes melted thermoplastic filament onto a build platform. As the material is deposited, it begins to solidify. This is repeated layer by layer until an object is built up. In general, supports are needed when the layers of the print do not have enough support from the layers underneath them.
Cura tree supports differ from regular supports in that they can be printed at different angles, rather than straight up.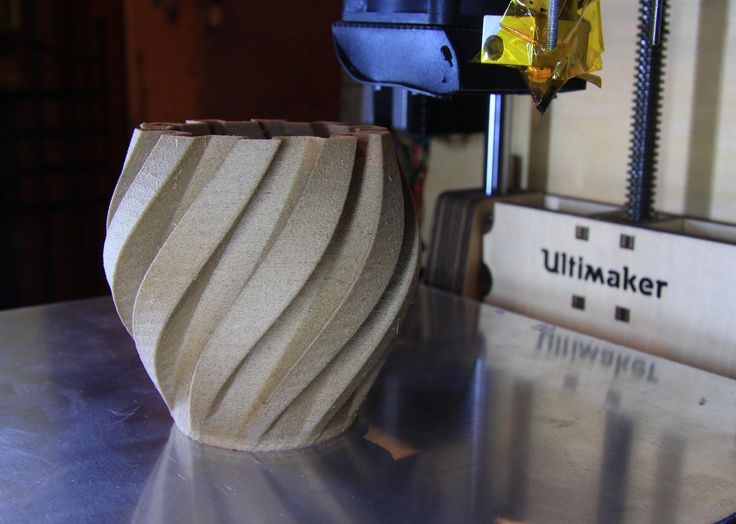 This enables them to adapt to the printed model’s geometry easily. In other words, they are printed around the model. Cura tree supports ultimately provide direct reinforcement to overhangs using the tips of their branches. This unique approach not only provides adequate support, it also results in fewer contact points between the support structure and the printed model. In the end, this makes the tree supports easier to remove.
In Cura slicer software, tree supports can be activated under “Support” settings. There are also several parameters related to tree supports that you can adjust. Below are some of the key Cura tree support settings you should know about:
Support placement: With this setting, makers can choose between two options: “touching build plate” and “everywhere”. Touching build plate will generate supports only using the build platform as a base. Everywhere, on the other hand, will generate supports from both the build plate and the 3D model, if needed.
Support overhang angle: Setting your support overhang angle will determine at what degree overhangs will require a support structure. All FDM 3D printers can print overhangs of up to 45° without supports, and many can handle angles of up to 50-55°.
Support branch angle: This setting is unique to tree supports. The support branch angle controls the maximum angle that tree supports will be printed at. A higher value for the support branch angle will result in more freedom for branches to be printed around the model (this means fewer contact points). That said, increasing the support branch angle too much can lead to less supportive branches. A lower support branch angle will result in more vertical branches that are more stable.
Support branch distance: This parameter determines how far the top of the support branches will be to the edge of the overhang. A lower value for branch distance will result in more contact points, which will provide greater reinforcement and increase the quality of the overhang.
 However, a smaller branch distance can also make the tree support branches harder to remove.
Support branch diameter: This setting controls the minimum width of the branch. In other words, how small the branch diameter will be at its thinnest point. A smaller branch diameter will reduce the amount of material usage, but a wider branch diameter will provide greater stability.
Collision resolution: This slicer setting for tree supports ensures that the supports don’t intersect with the 3D model when they are generated. 0.2 mm is the default collision resolution setting in Cura. Increasing the value can lead to faster printing times, but lower quality tree supports.
The Pros of Cura Tree Supports
Cura tree supports have several benefits, which have made them increasingly popular within the maker community. Let’s take a look at some of the main benefits tree supports offer.
Less Material & Printing Time
Open source Cura software developers first came up with tree supports as a way to reduce the amount of material waste generated by supports.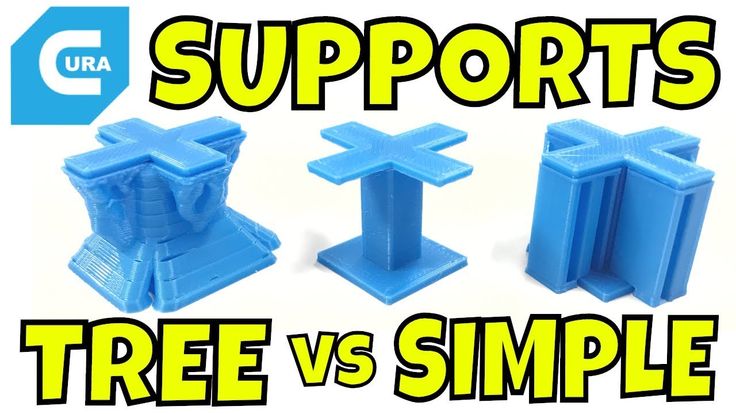 They were successful in this effort: tree supports use significantly less material than standard supports because they are almost entirely hollow and because they taper in width. This helps to reduce material waste and material costs. As an added bonus of using less material, tree supports are also faster to print than conventional support structures. Cura software will tell you how much material supports will use and how long a print will take, so you can directly compare standard and tree supports for a given print job.
Smoother Surface Finish
Another reason to use tree supports is that they can improve the surface finish quality of 3D prints compared to traditional supports. This benefit is owed to the simple fact that tree supports are designed to minimize contact points with the 3D model. In some cases, the only touch points between the tree supports and the 3D printed object will be the tips of the branches that support the overhangs. Tree supports therefore require minimal post-processing and shouldn’t affect the quality of intricate or finely detailed 3D prints.
Easy Support Removal
Easy support removal is another consequence of having minimal contact points between the tree supports and the 3D printed model. Normal supports can sometimes bond to the 3D printed model making removal challenging, even requiring tools like pliers to take them off. Tree supports on the other hand consist of a shell around the print with minimal contact points. In most cases, this means they can be peeled off the final print by hand without significant risk of damage.
Recommended reading: Improving your 3D printing success rate with Ultimaker Cura
Tree supports are generally easier to remove than linear supports because they have fewer contact points. Image Credits: Ultimaker
The Cons of Cura Tree Supports
Now that we’ve seen the benefits of using tree supports, let’s take a look at the potential downsides.
Longer slicing times
The main disadvantage of using tree supports is that the support structures require more processing power than traditional linear supports.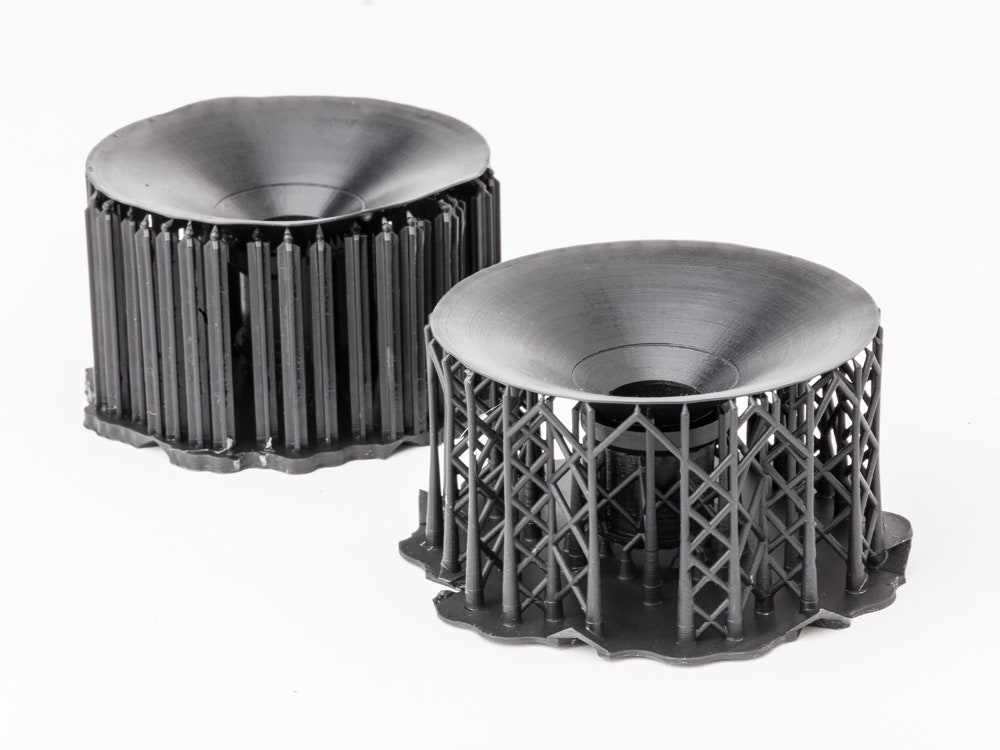 Because tree supports have a more complex geometry than linear supports, they take longer to generate in slicing software. This can minimize the benefit of faster support printing times (though rarely negate it).
Less suitable for soluble PVA supports
Due to their complexity in shape and geometry, tree supports can also present a challenge if you are using a soluble support material such as PVA. PVA is a harder material to print compared to PLA or ABS and some 3D printers can therefore struggle to achieve the finer shapes that characterize the tops of tree supports. Cura therefore recommends using its tree support function primarily for non-soluble support materials.
When to use Cura Tree supports?
While the disadvantages of Cura tree supports are minimal compared to the advantages, there is still a time and a place to use them. In some cases, standard 3D printing supports may be more beneficial. In others, tree supports are the clear way to go. There are three main scenarios where tree supports make the most sense.
First, if you are printing an object where the visual quality is of the utmost importance, tree supports are highly beneficial. Because tree supports are designed to have fewer connection points to the 3D printed part, removal is easy and results in fewer marks or imperfections on the part’s surface.
Second, if you are trying to consume less filament, tree supports will generally use less material because they are hollow shells. If you need greater stability, you can also choose to print tree supports with a low infill density. Using less material for supports will help you minimize material waste and cut back on material costs in the long run.
Third, tree supports are highly beneficial if you are printing a component that requires tight tolerances. Because regular supports sometimes need to be cut off, makers need to sand down the support remnants from the part surface.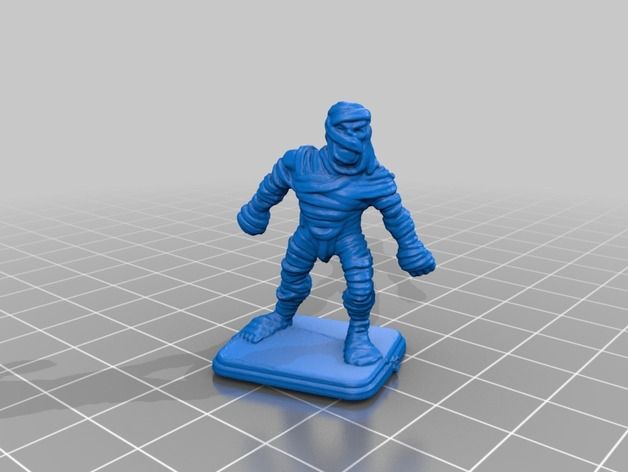 Sanding and other post-processing steps can influence the part’s dimensional accuracy. Tree supports on the other hand require minimal post-processing (often no post-processing) and can be removed without affecting the part’s tolerances.
Recommended reading: How to Remove Supports from 3D Prints
Conclusion/Key Takeaways
Whether you are a beginner or experienced maker, it is important to know what features are at your disposal when it comes to 3D printing. Still a relatively new option in Cura slicer, tree supports provide many advantages that makers may not yet be familiar with. With the knowledge in this article, however, you should be prepared to make the most out of automated tree supports and their print settings.
References
Ultimaker, 2022. "Tree supports: What are they and how do they work?" [Internet]
https://ultimaker.com/learn/how-to-use-tree-supports [Accessed June 2, 2022]
Massivit - the pioneer of large format 3D printing
Massivit specializes in 3D printing of large objects without restrictions on geometry complexity. Uses a unique gel that hardens under UV light.
The advent of 3D printing has created a steady boom in many industries, including healthcare, entertainment, fashion, and mass production. The technology has ushered in a new era in the design and prototyping, mockup or tooling processes, thanks in large part to the ability of any small or large 3D printer to produce complex geometries from digital models. nine0003
Massivit 3D Printing Technologies Ltd. is a leader in the development of large format 3D printing solutions in the scientific sector, in the fields of visual communications, entertainment, interior design, architecture.
Headquartered in Israel, founded in 2013 by a team of renowned industry experts, the company offers the global community a comprehensive service supported through an extensive dealer network. Using the patented Gel Dispense Printing (GDP) method, MASSIVIT enables fast and cost-effective production of models or parts.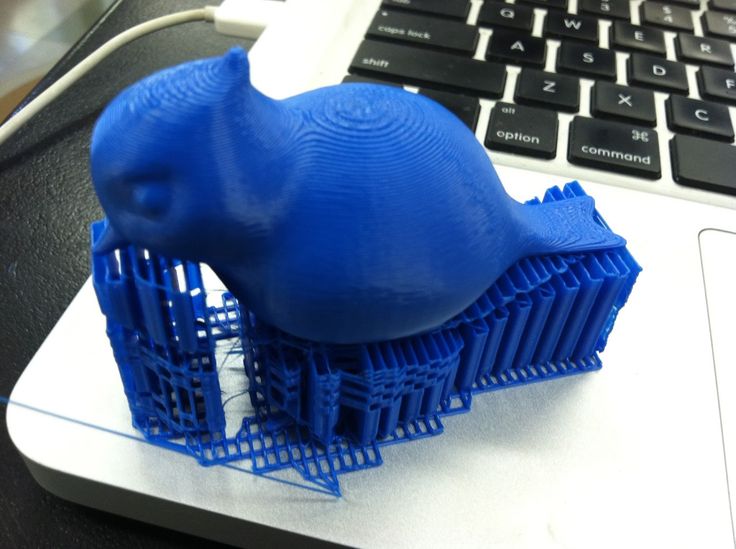 The innovation combines a high-speed additive manufacturing system, Dimengel's proprietary materials, and state-of-the-art preprint software. Dimengel is a photopolymer acrylic gel with several exclusive features that allow you to quickly create giant, hollow, durable objects. The company produces a unique polymer at its own factory in Israel. The main advantage of the material is its high viscosity, and its fluidity changes under ultraviolet exposure. nine0003
These combined capabilities ultimately result in significant reductions in manufacturing time, labor and overall costs, while allowing for extensive geometry freedom. In addition, the technology allows the production of models of any size without restrictions, as large 3D printed parts can be easily joined together.
Achievements
Massivit was originally created to develop a completely new technology that allows you to work at a very high speed and produce objects of incredibly large dimensions.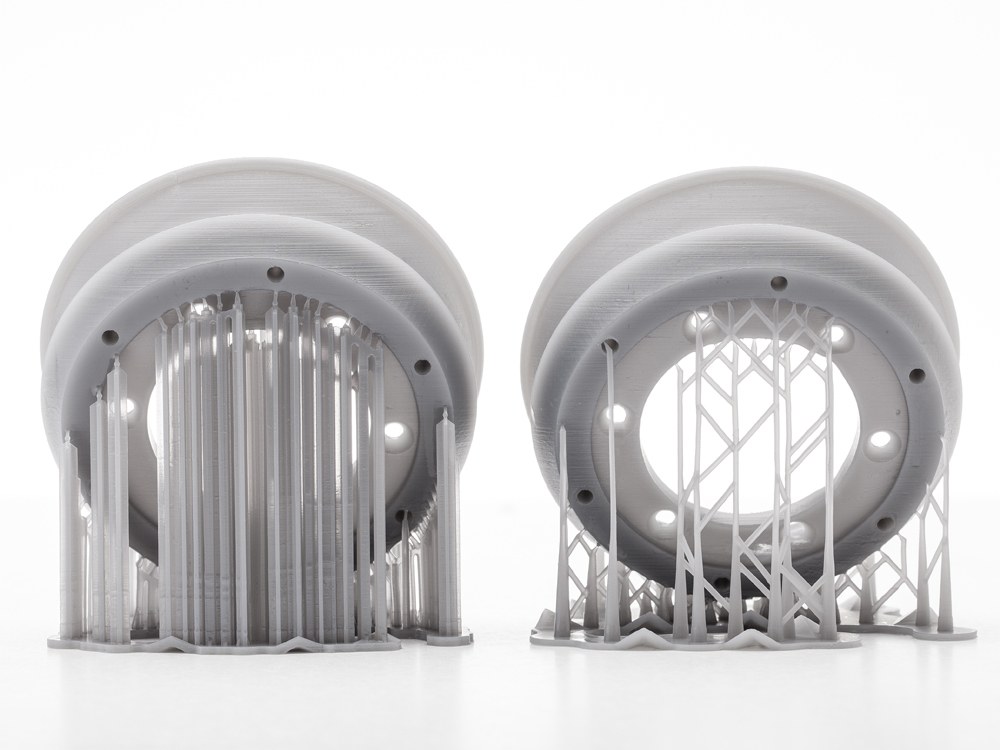 Both tasks were successfully solved. nine0003
Another significant achievement of the company is the ability to print hollow objects without supporting structures. Now Massivit does not waste time and material on printing supports, which has a positive impact on the productivity of the equipment.
Today the company uses two technologies. The first is Gel Dispensing Printing, which involves printing final objects that are immediately ready for use. There are already 160-170 Massivit acrylic printers in operation around the world.
The second technology is Cast In Motion Technology. The CIM hybrid machine also prints with Massivit's signature gel. The first print head builds a plastic frame, and the second head following it pours another mixture (based on metal, wood, stone) into it. A fully printed object is placed in water, the plastic shell is destroyed, leaving the desired design.
Examples of manufactured products
Massivite does not limit its activities to any particular sector and cooperates with representatives of various industries.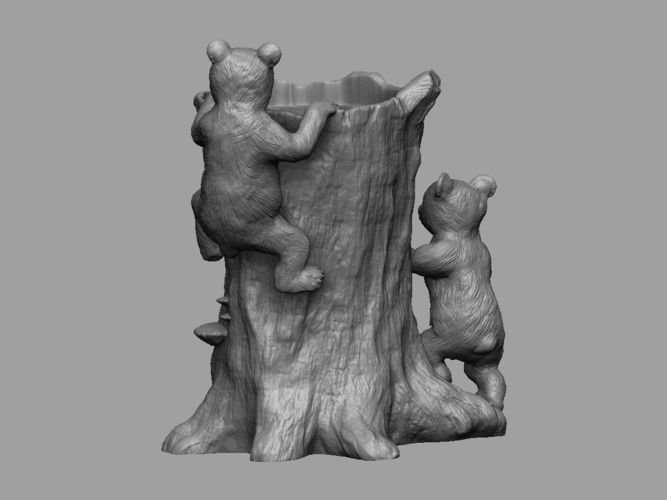 nine0003
The printing of forms for the production of products of complex configuration is most in demand. Making such instruments in the usual way is a very expensive and time-consuming undertaking. Printing stamps or forms allows you to significantly save time and money, and also does not have strict restrictions on geometry. The technology is used to produce parts or components for bicycles, cars, yachts and even trains.
Another interesting direction is wood printing. Previously, two methods were used to create wooden objects - processing of natural wood or production from boards pressed from sawdust mixed with glue or resin. On a 3D printer, the same principle is used as for creating chipboard. The hybrid printer uses a specially prepared mixture of chips as the base material, and the output is a product that is identical to wood in terms of tactile sensations, sound and strength. An additional plus is that such a “wood” does not burn, does not swell from moisture, since refractory and waterproof additives based on chromium or aluminum are added to the mixture.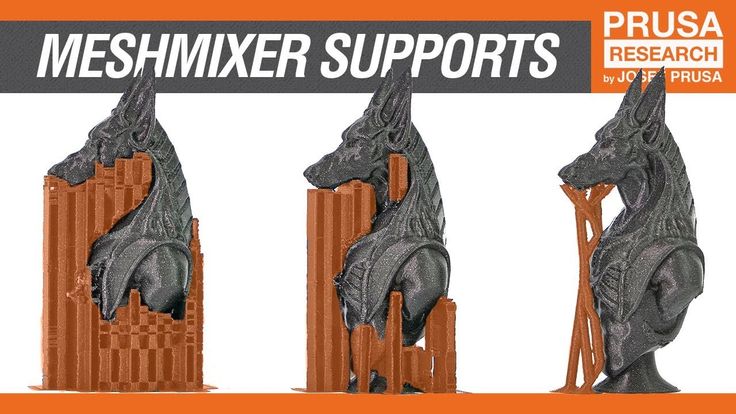 Impurities prevent the spread of the flame, preventing it from flaring up. The existing fire safety standard does not require that the printed object does not burn out completely. For example, if a wooden element is used in the decoration of a room, it is necessary that it “hold out” for some time while people are evacuated. Also, such materials are safe for health and do not harm the environment. nine0003
The following examples of Massivit products are a granite sink and a concrete vase. The hybrid technology makes it possible to obtain any shape and pour material into it, creating impact-resistant objects of large sizes and interesting colors.
Development prospects
Massivite is a company built on a rich heritage of industry innovation. The firm is rapidly expanding its large-format 3D printing capabilities across various industrial sectors.
The company is not going to rest on its laurels and continues to conduct research and test developments. The main areas in which Massivit plans to develop:
- automotive industry;
- production of sea vessels;
- railway industry;
- aerospace sector;
- architecture;
- energy.
A team of visionary co-founders and print innovators break new ground with revolutionary products and applications. As customers take the exciting leap into digital large format 3D printing, Massivite supports them every step of the way. The company is constantly developing innovative, large-scale additive manufacturing systems as well as brand new applications that expand partners' business in impressive ways. nine0003
Massivit is committed to bringing improved, cost-effective manufacturing and application methods to market with a solid track record of 57 patent assets. Large format 3D printing is an intuitive and easy-to-learn technology. Accessible user interface, easy operation and truly excellent customer service are of great importance to the company.
A source
Massivit, 3D printing of large objects without restrictions on the complexity of geometry, 3D printer, Massivit proprietary gels
Attention!
We accept news, articles or press releases
with links and images. [email protected]
How to optimize support settings in Cura
3DPrintStory 3D printing process How to optimize support (caliper) settings in Cura
All Fused Deposition Modeling (FDM) 3D printers create objects by extruding thermoplastic material layer by layer. Therefore, each layer must be supported by the layer below it. When there is no layer under a part of the 3D model (as in the case of overhangs and bridges), support structures may be needed.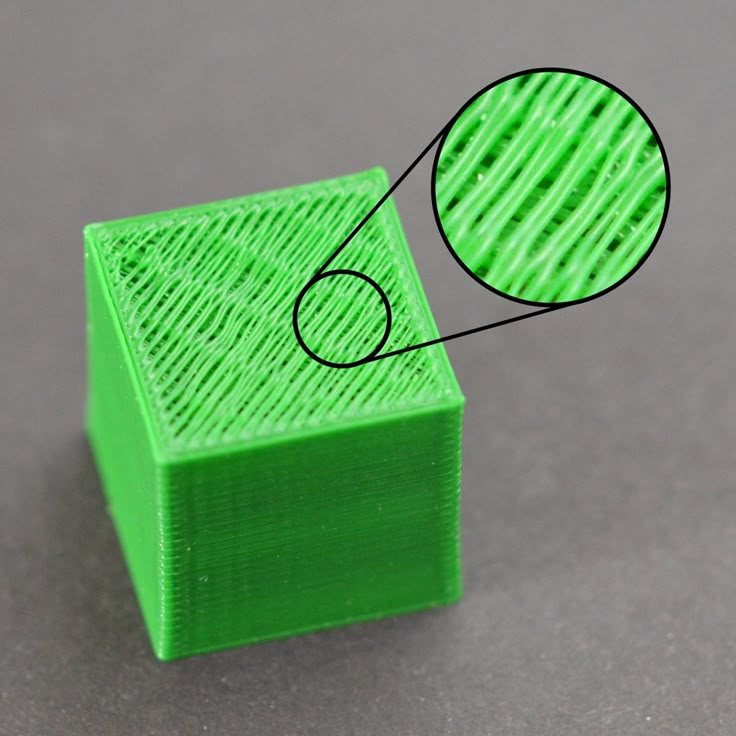 They are printed with the main model and removed during post-processing. nine0003
You might be thinking, "That doesn't sound too scary." However, the word "support" horrifies many 3D printer users. Some even consider it almost profanity. After all, support structures not only require more material, but they are also known to negatively affect surface quality and are difficult to remove.
Unfortunately, some models simply need supports. But this does not mean that we cannot optimize them by changing the appropriate settings. nine0003
In this article, we will first talk about when you need support and when you don't. Then we'll look at some of the important caliper settings in Cura to tweak them for the best results.
Note . This article is written specifically for Ultimaker Cura users, but the basic principles behind the settings can be applied to various other slicers.
Do you need calipers?
To determine if you need support structures, there are a few things to consider:
- 45 Degree Rule (Overhangs): If overhangs are greater than 45 degrees (from vertical), they will need support.
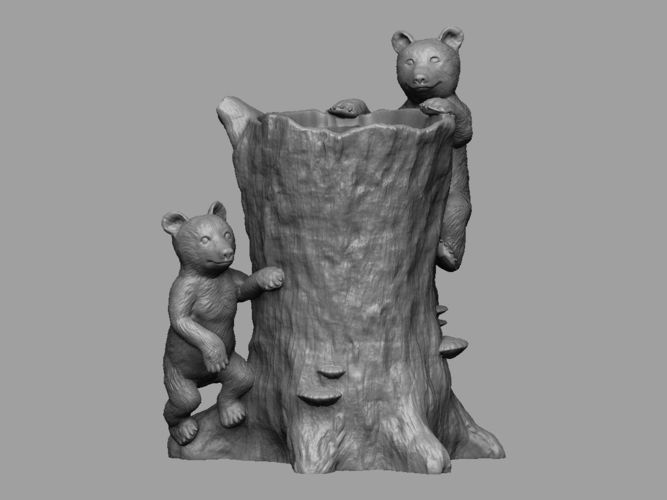 To test your 3D printer's capabilities in terms of maximum overhang angles, try printing this test 3D model. When your 3D printer stops printing adequately at a certain stick-out angle, that's the angle you need to use additional supports to reach.
 - 5mm Rule (Bridges): If bridges are wider than 5mm, they may need support. Of course, not all 3D printers are the same. Some can print over long distances. Others can hardly print thinner ones. Try printing this test model to see if your 3D printer needs calipers. You'll know the maximum bridge length you need after which calipers are needed when you see that the bridges in the test model start to sag. nine0056
Once you've decided you need calipers, let's take a look at the Cura settings to get the most out of them.
Support Settings
Cura has several settings to help you optimize the support of your 3D models. Here's where to start:
When you first open Cura, click "Custom" in "Print Settings".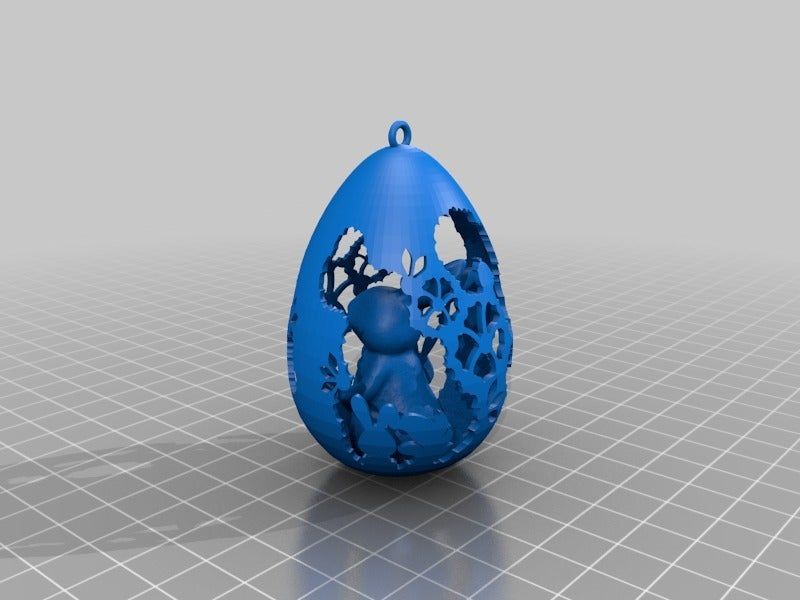 Here you can adjust settings that are otherwise hidden in the "Recommended Settings" section. nine0003
Right click and select "Configure Setting Visibility"
Select "Check All".
You can now see all the settings that Ultimaker provides in Cura. Scroll down to support settings, click "Generate Support", and now we can start tweaking the support settings for your 3D model!
Support Placement
After you click "Generate Support", the first setting will be "Support Placement". Here you can select "Everywhere" or "Touching Buildplate". You probably guessed that this determines whether supports are printed everywhere (where necessary) or based only on the desktop. nine0003
In most cases, it's better to choose "Touching Buildplate" because supports all over the surface of your 3D model can cause nasty imperfections on the surface of the finished product.
However, sometimes supports are needed everywhere. This is the case with really complex models that cannot be printed without additional calipers.
Support Overhang Angle
With the "Support Overhang Angle" setting you can specify the maximum overhang angle above which you want to use the supports. As mentioned earlier, the default angle is usually 45 degrees. However, this angle may be different for your particular 3D printer. So you should first check this parameter using a test 3D model. nine0003
By the way, this angle may also differ depending on the features of a particular 3D model. 0 degrees is the generation of calipers for each minimum angle of overhang, 89 is the minimum of supports, respectively.
Support Patterns
Ultimaker Cura supports various "Support Pattern" patterns. Each of the templates balances strength and ease of removal.
Quick and easy
- Zig-zag (zigzag) - the fastest in execution and the easiest to remove.
- Lines is an evolution of the previous template. They are still great, easy-to-remove supports, but are slightly stronger than zig-zags and usually don't come off in one piece.
- Concentric - best suited for models that are close to spheres or cylinders. As a rule, it is slightly stronger than zigzags and lines.
Note that due to the unidirectional nature of the above three patterns, they tend to be more vulnerable. For example, vibrations and thin support structures can cause the nozzle to not align perfectly with previous layers, which can cause problems in the long run.
What's more, if these patterns are even slightly caught by the moving nozzle, they can break away from the surface below and collapse like an accordion!
Robust
and grid (grid) and triangle (triangle) are excellent templates for getting strong supports. They are resistant to vibration, but increase 3D printing time and generally have better contact with supporting surfaces. This can make post-processing difficult.
Support Density
"Support density" is very similar to fill density in the sense that you choose a compromise between strength, speed and ease of removal. nine0003
High density support structures are generally more rigid and can withstand vibration. In addition, the increased contact with the lugs makes the high density supports ideal for intricate or detailed supports. With high densities, expect stronger support, but more material usage, longer print times, and more complex post-processing.
Low density bearings are ideal for general bearing surfaces that do not require many contact points. Low density calipers are more likely to react to vibration during 3D printing, but they reduce material cost, 3D printing time, and ease of removal. nine0003
Caliper density of 20% is a great value to start with, but feel free to change this value to suit the needs of your 3D model.
Z Distance
This important parameter determines the distance from the top and bottom of the supports to the 3D model. This parameter consists of two sections: upper distance and lower distance.
High value of these distances allows to increase the gap between the model and the support, which simplifies the subsequent processing, and creates a smoother surface of the 3D model due to fewer points of contact. A low value is useful when you are trying to support complex protrusions that require high detail. However, with a low support value, it is more difficult to remove. nine0003
As with many settings, experiment with these distances to find the perfect fit for your 3D printer.
X/Y Distance
X/Y Distance is very similar to Z Distance. This setting adjusts the horizontal distance between the model and its support.
Again, the further the distance, the easier it is to remove the support. The shorter the distance, the stronger the support structure.
As a general rule, a larger X/Y distance means better surface quality in vertical sections. If the vertical parts on your models are uneven due to adjacent supports, try increasing the X/Y distance. nine0003
A smaller X/Y distance will result in better support for overhangs, namely those located near vertical surfaces. However, they can cause defects in vertical surfaces and complicate post-processing.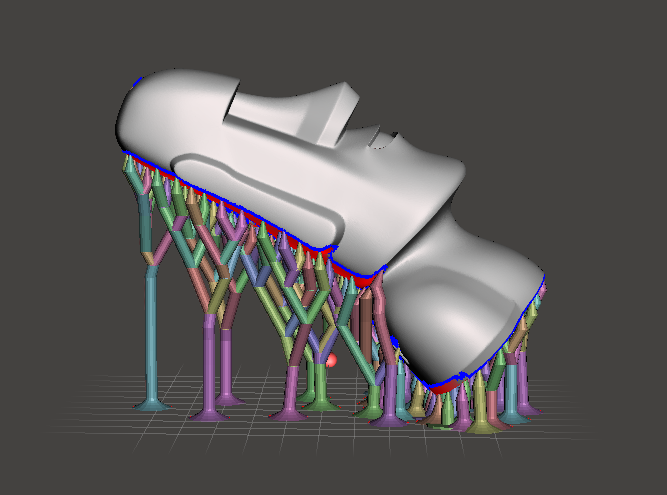
Support Distance Priority
Depending on the type of plumb line you are trying to print, the Z distance may conflict with the X/Y distance. In Cura, however, you can set the priority in these distances so that in the event of a conflict, the most important is preserved. nine0003
It's generally better to have Z override X/Y because the Z distance is what the model actually supports. However, you can always change this override setting if the specific 3D model requires it.
You can also set the minimum X/Y distance. Then, even when the Z distance takes precedence, the minimum X/Y distance is still kept.
Join Distance
The Join Distance allows you to set the maximum horizontal distance between support structures. When two support structures are closer together than this value, they will be printed as one structure. The higher the value of this distance, the faster the supports will connect. If the support structures are particularly thin, this can help provide more support for the 3D model. nine0003
However, if you set the value too high, the support structures can become tight and difficult to remove.
Horizontal Expansion
When the support surfaces are very thin, it is difficult for your 3D printer to create solid structures in a small area. The "Horizontal Expansion" option allows you to set the horizontal expansion so that even small anchor areas are adequately supported.
Entering a large value for this parameter will always result in stronger supports, but this parameter requires your 3D printer to use more material. nine0003
Towers
For very small overhangs, Cura allows you to print towers that taper at the top to support areas smaller than the minimum diameter you set. (Other areas will use regular support structures.)
the towers were not too weak, they had a larger diameter than the area they supported. You can always change this diameter in Cura. You can also adjust the angle at which your towers rise to a certain point to make the towers flatter or sharper.