Touch screen 3d printer
BIGTREETECH launches its new Raspberry Pad 5 3D printer LCD screen
0Shares
BIGTREETECH, a Shenzhen-based developer of 3D printer electronics, has launched its new Raspberry Pad 5 LCD screen.
Designed for use with FDM 3D printers, the 5” capacitive touchscreen display features a resolution of 800 x 480 and comes complete with IPS technology, providing a wider and more comfortable viewing angle. Beyond just 3D printers, however, the full-color Raspberry Pad 5 is also suitable for a variety of other tech applications like smart mirrors, digital photo frames, wall calendars, robotics, and even mini computers.
Eric Zhang, Founder of BIGTREETECH, said, “The Raspberry Pad 5 is an affordable mainboard solution for your 3D printer and other devices. Compatible with all series of the Raspberry Pi CM4 board, the device makes for a perfect main control board system. As well as 3D printing applications, it’s also intended for makers to use in a variety of DIY projects. ”
BIGTREETECH’s electronics ecosystem
Founded back in 2015, BIGTREETECH has become a big player in the game of 3D printer electronics, specializing in control boards, display screens, and driver boards. Over the past seven years, the company has shipped its products to over 100 countries across the world.
Under its BIQU brand, the firm also develops its own consumer-grade desktop FFF 3D printers. The first of these, the BIQU B1, was launched in June 2020 and shortly after in August 2020, the company launched its flagship BIQU BX on Kickstarter. The final printer in the portfolio is the user-friendly BIQU B1 SE PLUS.
Additionally, BIQU is also home to a wide variety of 3D printing peripherals and add-ons such as extruders, hotends, heat sinks, linear guides, fans, PTFE tubing, timing belts, and even filaments. Just recently, the firm announced the launch of two new high-performance FFF extruder kits – the h3O and h3 500℃.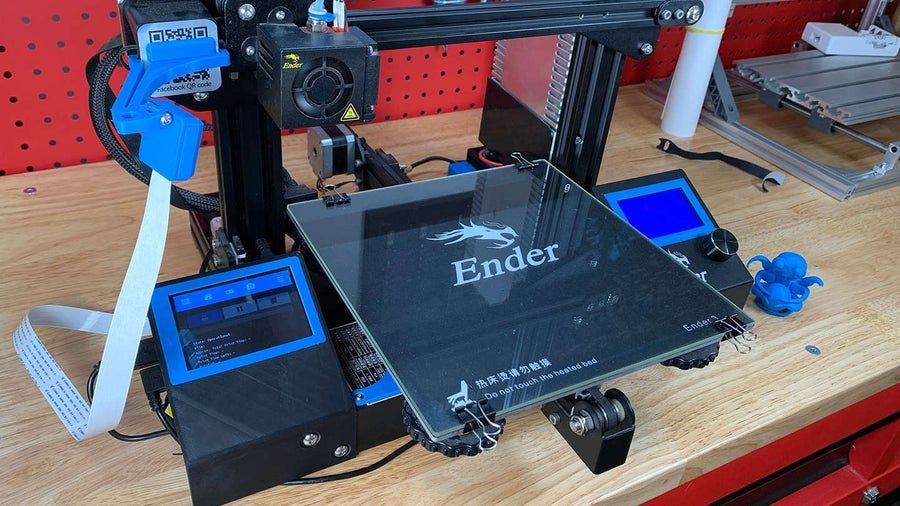
The Raspberry Pad 5
BIGTREETECH’s Raspberry Pad 5 measures 121 x 75.9mm, while the actual screen size clocks in at 108 x 64.8mm. This is larger than the default touchscreens of most 3D printing systems, so you can expect it to grant users with a more premium-feeling control experience.
The LCD screen comes complete with two buttons on the side for adjusting the display brightness, and another button to flip the screen. It also sports a wide variety of interfaces to provide flexible connectivity options, including HDMI, 40 pin GPIO, RJ45 Ethernet, USB Type-C, three USB 2.0 slots, and a CSI Port.
The HDMI port allows users to connect to an external display of up to 2K resolution, while the USB Type-C port serves several functions. As well as acting as the power supply (5V), it’s also a controller area network (CAN) bus and can be used to flash the eMMC.
The onboard real-time clock module is powered by a separate CR1220 lithium coin battery, safeguarding timekeeping in the case of a power outage.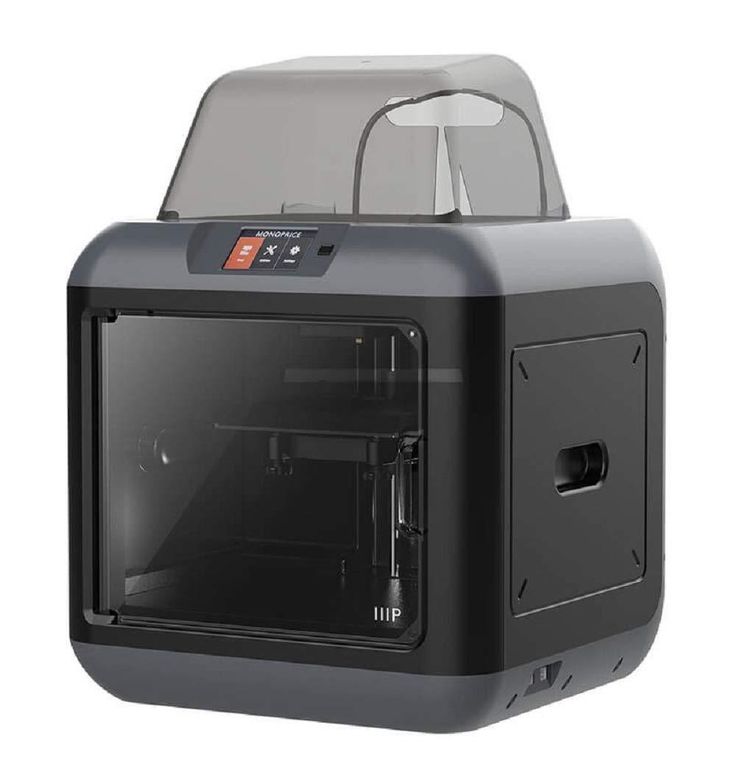 The display also offers electrostatic discharge (ESD) protection to protect devices connected to the USB and network ports from electrostatic hazards.
When integrated with an FDM 3D printer, the Raspberry Pad 5 will need to be combined with a Raspberry Pi CM4 board and allows users to run Klipper firmware.
The backside of the display. Image via BIGTREETECH.Technical specifications and pricing
Below are the technical specifications for the Raspberry Pad 5 LCD screen. BIGTREETECH customers can order now for $99.
| Display size | 108 x 64.8mm (5″) |
| Power input | Type-C 5V |
| Screen resolution | 800 x 480p |
| Product size | 121 x 75.9mm |
| Installation size | 113 x 67.9mm |
| IPS | Yes |
Subscribe to the 3D Printing Industry newsletter for the latest news in additive manufacturing. You can also stay connected by following us on Twitter, liking us on Facebook, and tuning into the 3D Printing Industry YouTube Channel.
Looking for a career in additive manufacturing? Visit 3D Printing Jobs for a selection of roles in the industry.
Featured image shows the Raspberry Pad 5 LCD screen. Photo via BIGTREETECH.
Tags BIGTREETECH BIQU Eric Zhang Raspberry Pad 5
Kubi Sertoglu
Kubi Sertoglu holds a degree in Mechanical Engineering, combining an affinity for writing with a technical background to deliver the latest news and reviews in additive manufacturing.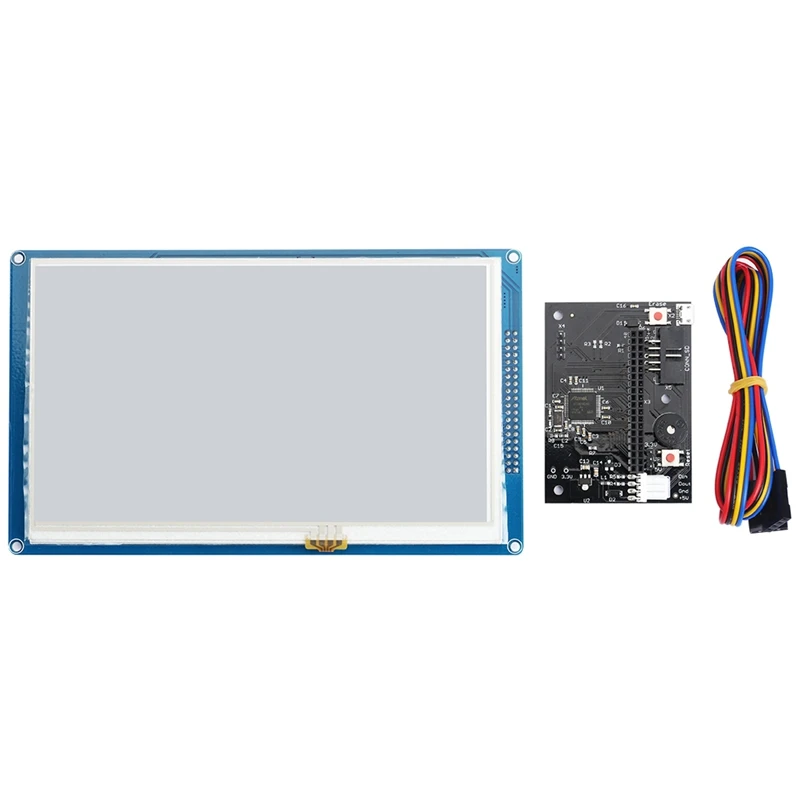
Buy Upgraded Touch Screen | Creality 3D Pad 5inches HD Touch Screen
Home Collections Upgraded Touch Screen, [Creality 3D PAD] 5 Inches HD Panel Screen$ USD
$ USD
4 Reviews Pricing Not Include Tax
Ship From
United StatesCzech RepublicAustralia
Ship to
It is expected to arrive within and will cost $ USD to ship
This item can't be shipped to this Country/Region
Bundles
Quantity
28 Available
Add To Cart Buy It Now
Continue To Shopping View Cart
People who bought this item also bought
Creality Ender-3 Series 5inches HD Touch Screen, Easy Plug and Print, Animal Texture Effect, Power Resume Filament Detection, Support 11+ Languages
Apply to:
CR-10 Series: CR-10, CR-10V2, CR-10V3
Ender-3 Series: Ender-3, Ender-3V2, Ender-3Max, Ender-5Pro, Ender-7
CR-6 Series: CR-6SE, CR-6MAX
More Printers: CR-30, CR-200B, CP-01
Note:
- 3D Pad It supports the 8/32 Bits mainboard.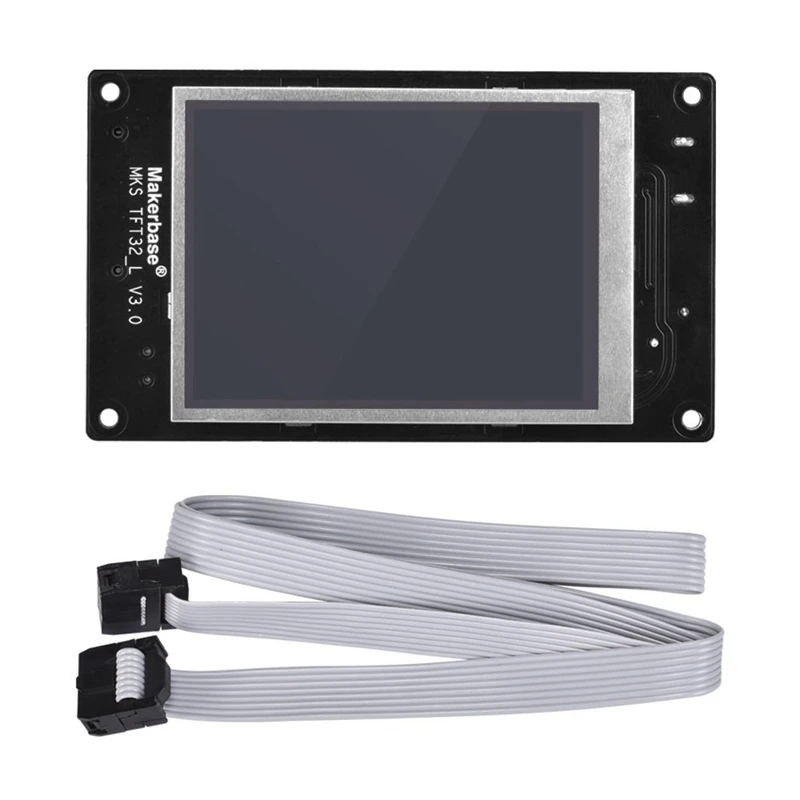 And it makes it so much easier to level with or with out the bl touch.
- It won't connect with the wireless box (Wifibox )
Widely Compatible Plug and Print: Plug and Print, Integrated with TF driver, U disk driver, and Gcode parsing, work for all FDM 3D printers with Marlin firmware
5 Inch HD 854*480ppi Screen: Large screen brings you a better visual experience, plus the button sounds, for impeccable user experiences
Easy Install and Use: A magnetic connection between console and base, easy to install and uninstall, a variety of animals models are available to print from Creality Cloud, and you can also download the holder model for display screen
Premium Touch Control: control 11 languages at your will,high-sensitivity capacitive multi-touch, smoothness on your fingertips, Si-Fi graphics UI, allows you to dive into the Si-Fi world
Model Preview on Pad: Gcode file preview on 3D Pad is available with custom slicing software for you to see the printing models easily, preventing errors in selecting print files and showing a more intuitive printing progress
Come with Resume/Filament Run-out Detection: Creality 3D Pad has both of them integrated, No fear of power cut or blank printing anymore
Makes Models Look "Alive": Comes with an animal texture effect, one-click to print 3D cute pets
Download
Download
Download
Download
Customer Reviews
Based on 4 reviews
25%
(1)
25%
(1)
50%
(2)
Write A Review
Ask A Question
Reviews (4) Questions (2)$ USD
$ USD
ADD TO CART BUY IT NOW
Write a review
Ask a Question
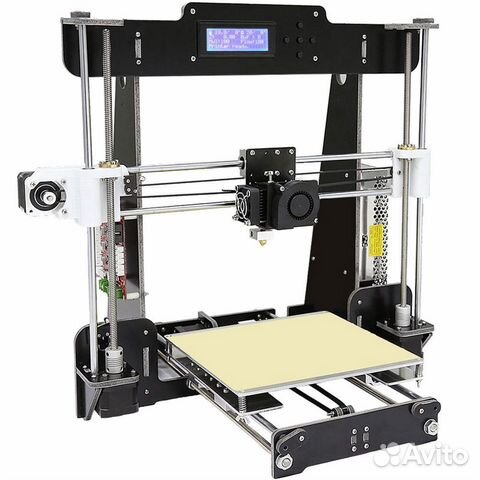
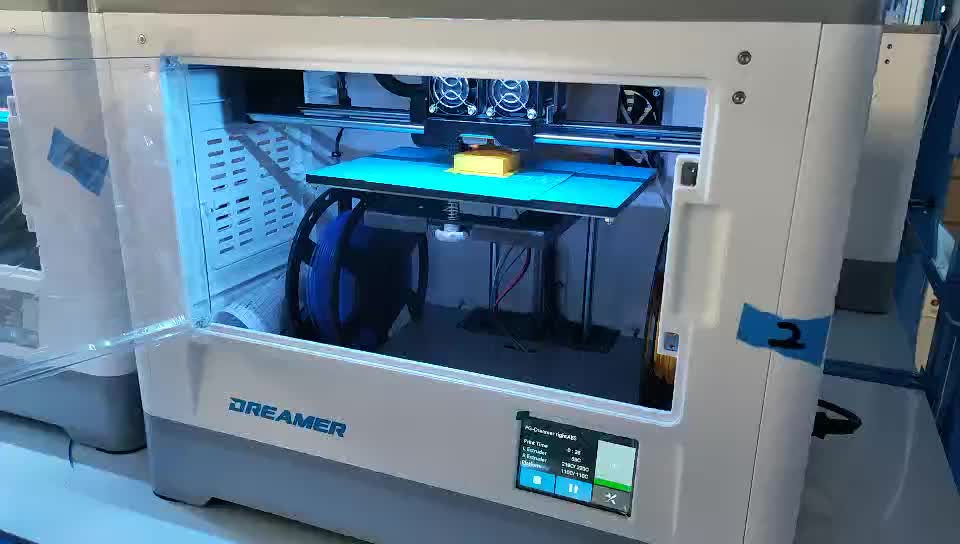
New touch screen desktop 3D printer from Mono Industries.
3D printing
Subscribe author
Subscribe
Don't want
1
Berlin-based 3D printing company Mono Industries recently launched a project on Kickstarter to fund the production of its new touchscreen 3D printer screen.
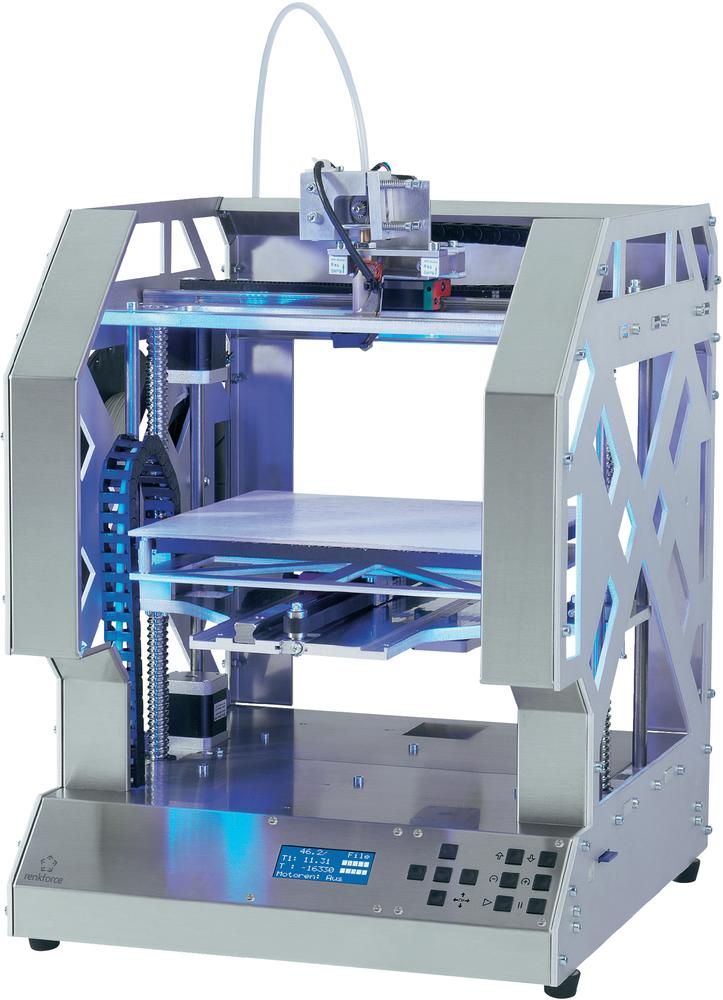
The Mono desktop 3D printer, which took 8 months to develop by the company's engineering team, is ideal for home use. It weighs only 8 kilograms, measures 32 cm x 32 cm x 32 cm and has a build volume of 16 cm x 16 cm x 16 cm.
An important feature of the Mono 3D printer is its autonomy. You don't need to be connected to a computer to print 3D objects. Users can use internal storage, SD cards, as well as DropBox, Google Drive and other cloud platforms to download and upload 3D model files. However, if necessary, the user will be able to send a GCode file to the 3D printer from a computer via a Wi-Fi wireless network.
Users can define their own macros for leveling the work platform, changing the thread type, etc.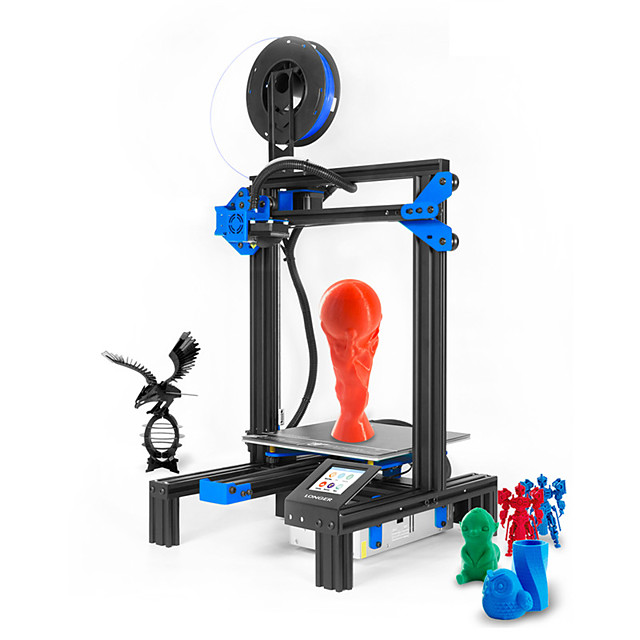 In this case, the macros are stored in the memory of the 3D printer for later use. Print management can be done remotely through any web browser configured for a web server. The user can even control the printing process visually, thanks to the webcam built into the 3D printer. Additional technical features include the ability to adjust the print speed with one touch.
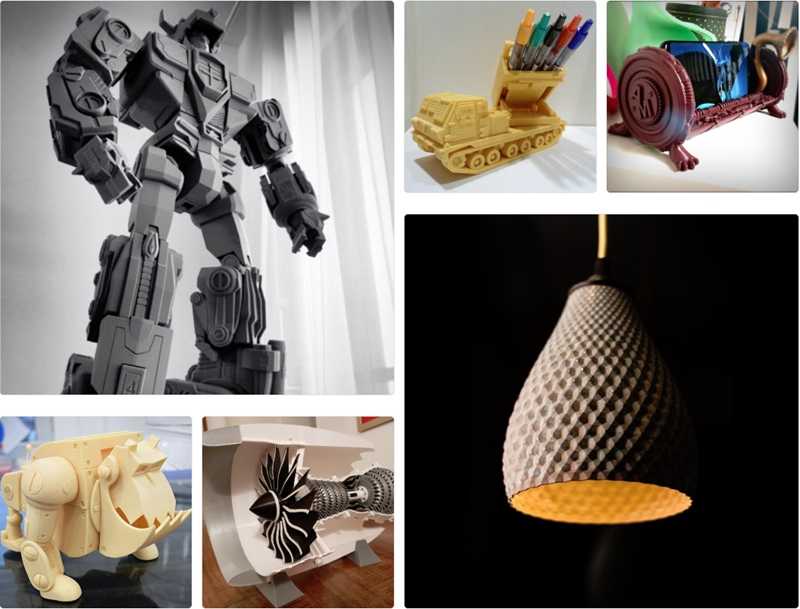
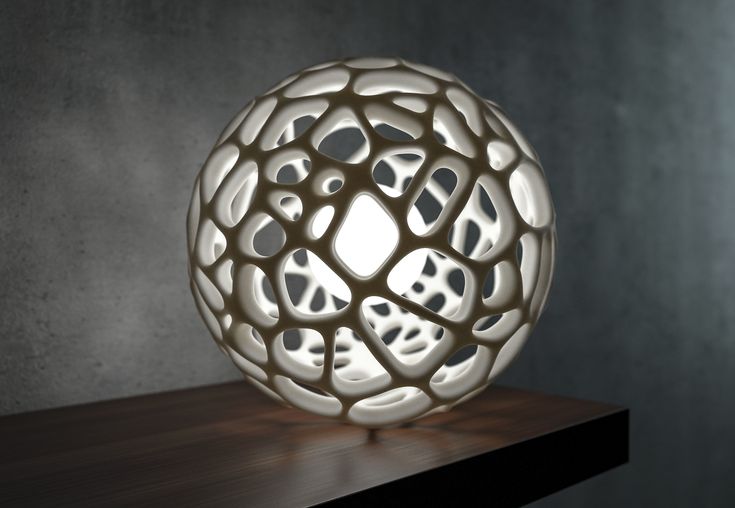
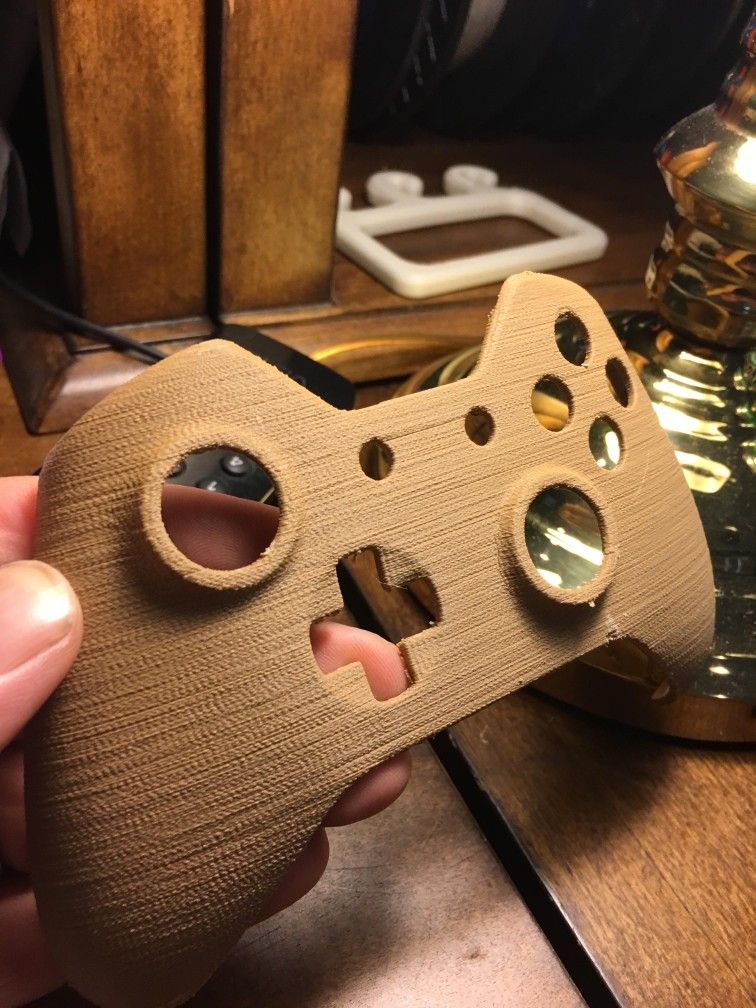
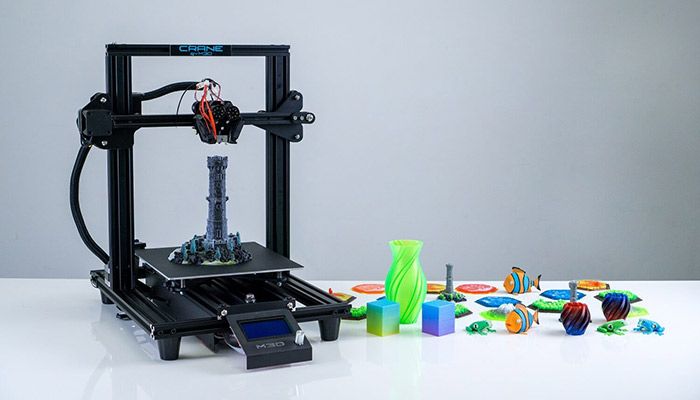
Models printed on Mono:
In addition to excellent user-friendliness, the 3D printer features an integrated 7-inch touch screen with a user-friendly interface. With it, you can control all the functions of the device, including the function of visualizing the 3D model and simulating the 3D printing process. The latter feature will be useful for identifying errors in a scheduled print before the 3D printer starts, thus preventing wasted filament.
Mono Industries emphasizes the possibility of using high quality materials in the 3D printer, including Teflon, aluminum and carbon fiber.
Interested parties will be able to take part in the project on Kickstarter. For a fee of 325 euros, they will be among the first to receive a fully assembled Mono 3D printer. Delivery is expected in December 2015.
Sources: 3ders.org, n3d.biz.
Follow author
Follow
Don't want
1
More interesting articles
brtv
Loading
10/16/2022
2290
9
Subscribe to the author
Subscribe
Don't want
Hello my friend! Today I decided to assemble a simple pneumohydraulic generator or Generator...
Read more
302
Subscribe to the author
Subscribe
Don't want
Hello dear community!
If the experiment was successful, then something is wrong here. ..
..
Read more
dagov
Loading
11/08/2017
89249
195
Subscribe to the author
Subscribe
Don't want
In this article we will understand what is 3D printing and what is the kinematics of 3D printers...
Read more
10 reasons to use Octo Print0 902 3DPrintStory
Reviews 10 Reasons to Use OctoPrint for 3D Printing Surely everyone had problems with 3D printing, which was left overnight in the hope of getting a finished 3D model in the morning.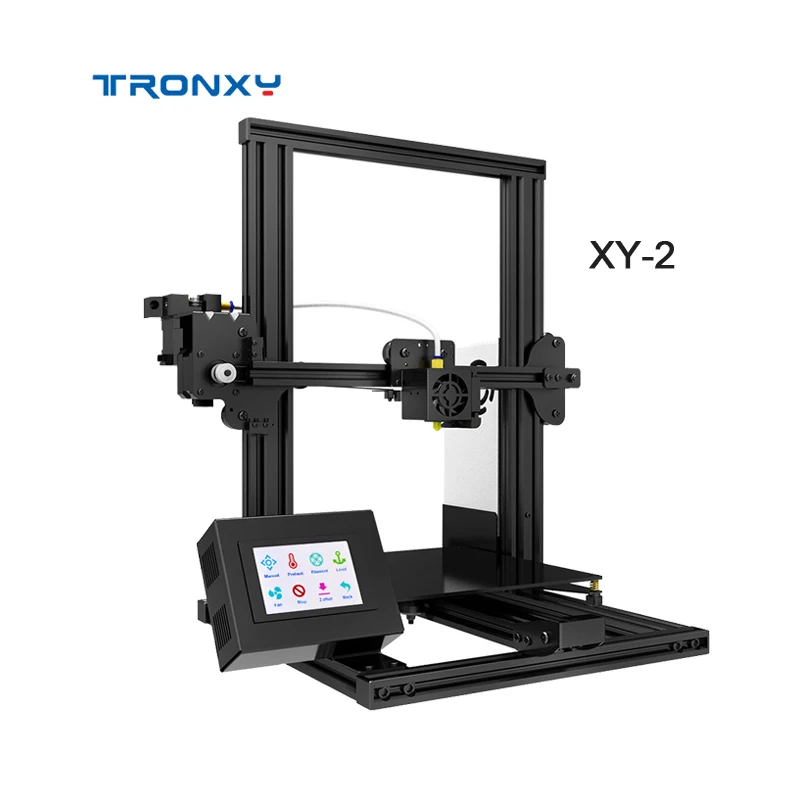 Or it was simply not possible to constantly monitor the 3D printing process in order to stop it in time. e in case of an error. It is this problem - the problem of monitoring 3D printing - that is solved with the help of the wonderful free and open source software OctoPrint.
OctoPrint is a Raspberry Pi-based 3D printer application that allows you to remotely control your 3D printer. Created by Gina Heusge in 2012, the software is constantly being improved with new versions and new features (via plugins) coming out regularly.
In this article, we highlight the top 10 reasons to use OctoPrint. Some of the problems in this list are solved with the help of additional plugins. By the end of this list, you'll probably want to try OctoPrint if you haven't already.
Wireless 3D printing
Many budget 3D printers do not provide the ability to control or monitor the 3D printer wirelessly. Models must either be downloaded to an SD card or transferred directly via cable. These connection options have their limitations. OctoPrint offers an excellent solution to this problem.
As we briefly mentioned earlier, OctoPrint provides software that is installed on the Raspberry Pi and then connected to the 3D printer. Thanks to the wireless capabilities provided by Raspberry Pi, you can control your 3D printer wirelessly via LAN.
OctoPrint allows you to remotely send G codes, control the temperature of the extruder and hot end, monitor the 3D printing process, and much more. Thanks to OctoPrint's wireless 3D printing capabilities, you can always control your 3D printer, even if you are not physically present.
3D printing from anywhere in the world
As you know, wireless 3D printing is convenient if you are at home and on the same network. But what if you left home and wanted to start printing and was finished when you got home? Or what if you want to keep an eye on the 3D printing process when you're not at home?
Plug-in OctoPrint Anywhere allows you to manage (start and stop) and control 3D printing from literally anywhere.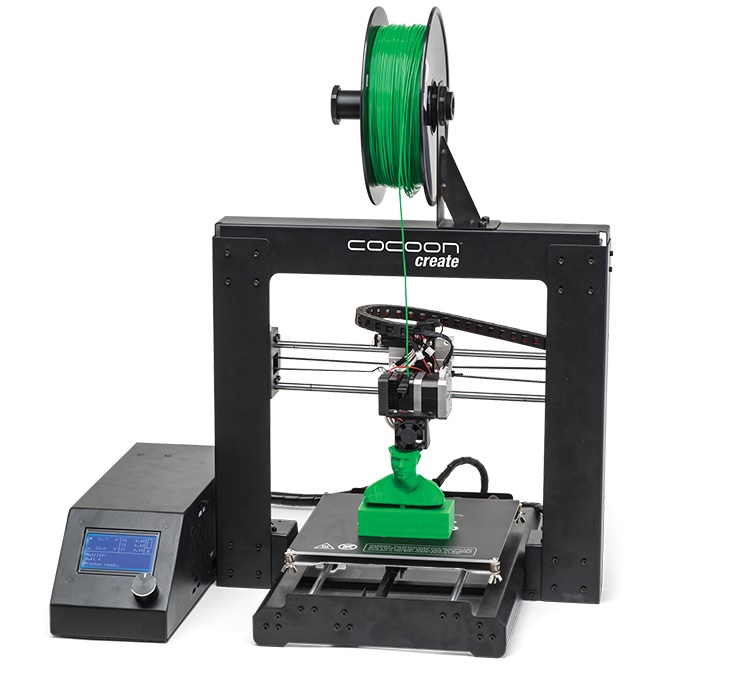 This is a website that can be accessed from your computer or mobile device.
This plugin has a lot of fans, but keep in mind that the OctoPrint developers recently announced that it will eventually be replaced by a more elaborate and updated plugin called Spaghetti Detective.
View G-code
Typically, OctoPrint users monitor the 3D printing process via a webcam connected to their Raspberry Pi. However, if you don't have a webcam or just want to check your 3D print in a different way, the G-code viewer is a great tool.
This underrated OctoPrint feature shows nozzle position and layer number in real time. You can also find the status of your 3D print in the window just below the renderer, which shows the current G-code commands being sent to the 3D printer.
Commands from the terminal
The ability to send commands from the terminal is a great feature for more advanced users. You can view the codes sent to the 3D printer in real time.
One of the most useful features is sending custom G-code commands to your 3D printer. Instead of relying on another program to communicate with your printer, such as Pronterface, you can directly send commands to the OctoPrint terminal.
This feature can be useful in a number of scenarios. If you need to calibrate your 3D printer, you can view the existing system presets in a terminal command. Some commands also allow you to enter and save new calibrated values. This is a very handy feature for those who like to tinker with their 3D printer at a deeper level.
Slow motion
You know that 3D printing is a long process, it can take hours to print one model. Setting up a time-lapse video allows you to view the entire 3D printing process, which lasts several hours, in a matter of seconds.
With OctoPrint and with a camera connected to your Raspberry Pi, you can capture excellent 3D printing time-lapse video by setting the frame rate and interval between shots.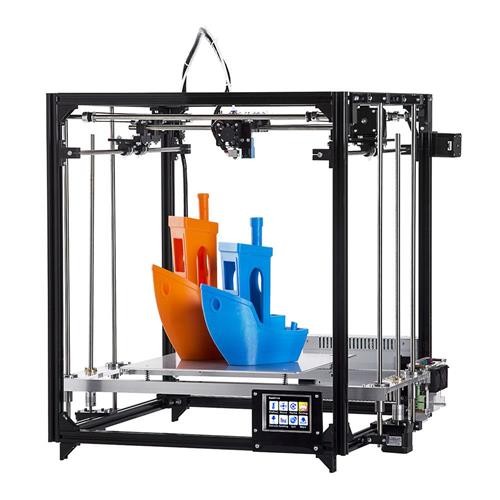 For true enthusiasts, there are also more advanced customization options.
OctoPrint stores the timelapse locally on the Raspberry Pi and you can download it to your computer. Another useful feature of time-lapse video is the ability to determine the exact cause of a 3D print failure, or at least the point at which the failure occurred.
Octolapse is a plug-in that builds on the functionality of OctoPrint's Timelapse section to produce cleaner, crisper videos.
Slicing 3D Models in the Cloud
Cloud Slicing, as the name suggests, is a remote slicing feature that allows you to slice your 3D models without actually installing the slicing software on your computer. Model slicing is performed using a plugin installed on the Raspberry Pi.
Consider the scenario where your laptop is full of applications and you can't/don't want to install a new slicer. Or imagine not wanting a slicer for every computer you use. This is where the Cloud Slicing plugin fits in perfectly. This feature uses the Cura or Slic3r engine plugin.
Touch screen for user interface
Touch screen user interface has become the norm for many everyday devices. However, many 3D printers still lack this useful feature.
With the OctoPrint TouchUI plugin, you can add this feature and display the OctoPrint interface on the touch screen. This plugin will allow you to use OctoPrint without connecting a computer. The user interface on the touch screen is very similar to that in the browser, so the transition in terms of learning a new interface will not be difficult.
Installing a touch screen can seem like a tedious task, but there are plenty of tutorials and videos to help you through the process.
Open-source community
Individual developers have spent hours of their time improving 3D printing, including free and open source software such as Marlin, Cura, and OctoPrint itself.
OctoPrint's popularity is largely due to open source and free access. All source code is available on the GitHub page. Thanks to this, many users and developers have shared their ideas and brought them to life. User-developed plugins greatly extend the functionality of OctoPrint.
Manage multiple 3D printers
As you can imagine, this function is useful when you are working with more than one 3D printer. You can connect multiple webcams to one Raspberry Pi.
The video below shows instructions (in English) on how to install three printers on a Raspberry Pi:
Another option is to use OctoFarm, a free and open source service that allows you to control and monitor multiple 3D printers on a single Raspberry Pi. With it, you can monitor multiple 3D printers on the same screen, send files for 3D printing, and monitor the printing process.
List of useful plugins for OctoPrint
In general, it is quite difficult to make the top 10 useful OctoPrint features, since the list is really huge.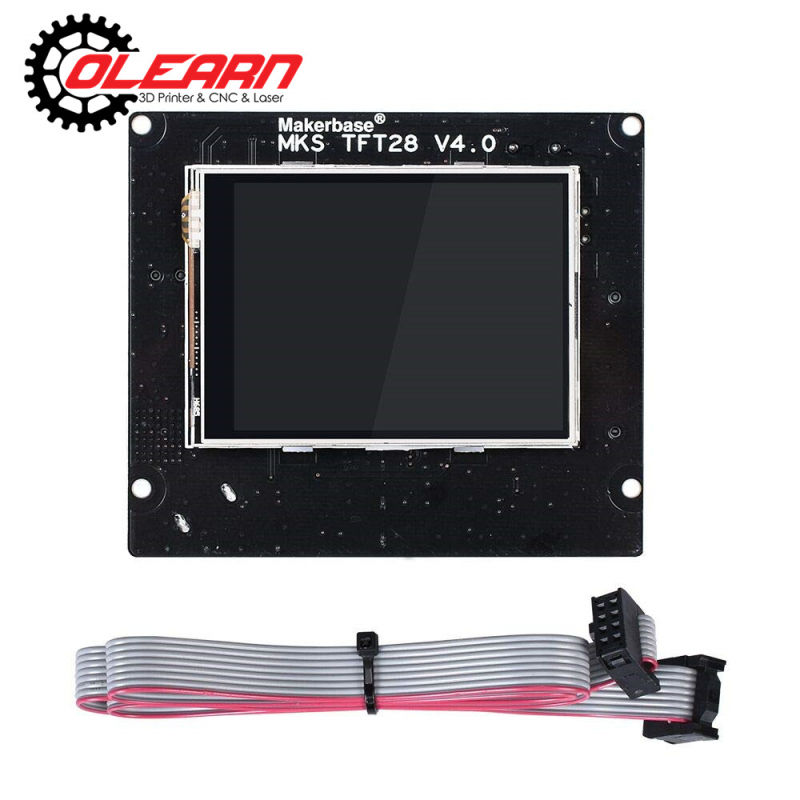 So below is a small selection of additional plugins that will help you simplify and secure the 3D printing process.
- Pushover: This plugin sends you push notifications when a print is completed or 3D print fails for some reason. A simple and very practical plugin.
- Heater timeout: It often happens that the 3D printer stays on and the extruder is still hot, which can cause a fire. This heater timeout plug-in disables hot end heating after a set amount of time. This will help you avoid potential fires and excessive electricity bills.
- Emergency stop: There is always the possibility that something might go wrong during 3D printing. This plugin adds a large red bar at the top of the OctoPrint user interface which, when clicked, will stop the 3D printer from working.
- Bed level visualizer: This plugin is great for those who have installed a bed level visualizer on their 3D printer. This plugin allows you to view the table level measured by the sensor.


