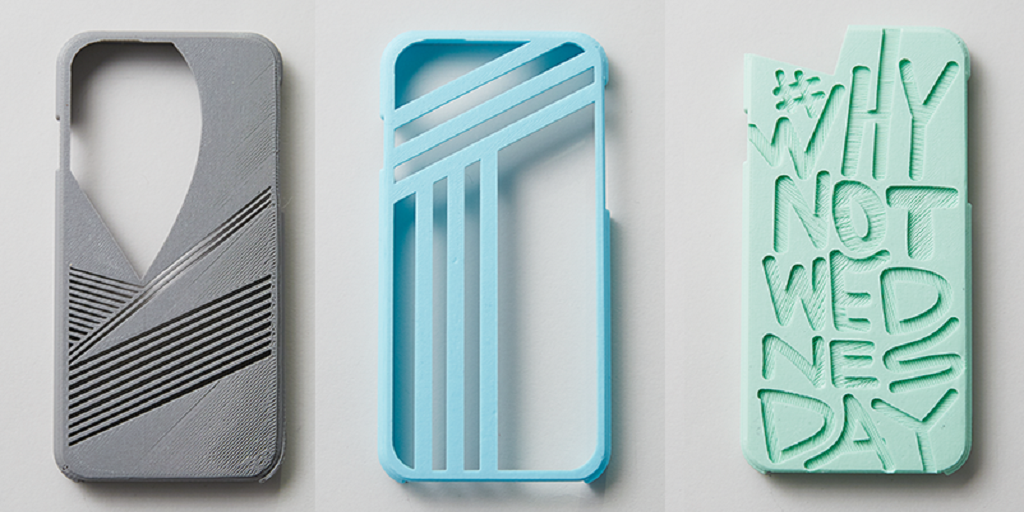
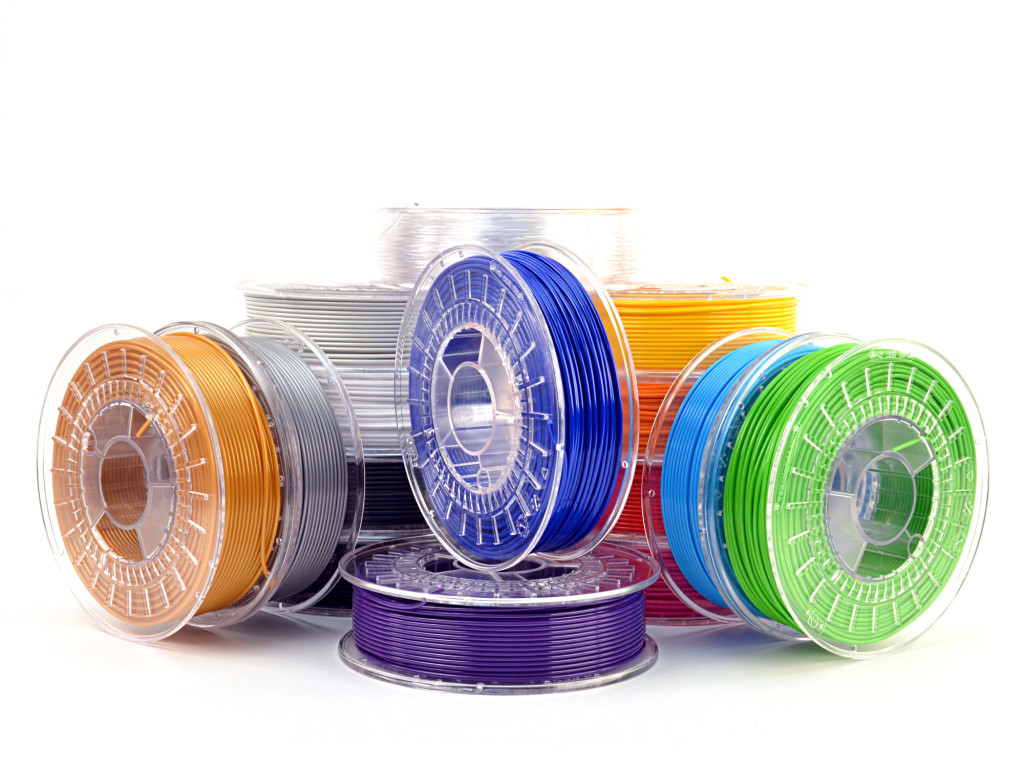
Tiko 3d printer filament
The Tiko Printer: What Happens When You Innovate Too Much
Sometime in the very distant future, the Universe will become the domain of black holes. Energy and entropy will be compressed into minuscule quantum fluctuations. Even in this domain of nothingness, there will still be one unassailable truth: you should not buy a 3D printer on Kickstarter.
We’re no strangers to failed 3D printer crowdfunding campaigns. Around this time last year, backers for the Peachy Printer, an inordinately innovative resin printer, found out they were getting a timeshare in Canada instead of a printer. This was unusual not because a crowdfunding campaign failed, but because we know what actually happened. It’s rare to get the inside story, and the Peachy Printer did not disappoint.
For the last few months, we’ve been watching another crowdfunding campaign on its long walk to the gallows. The Tiko 3D printer is another 3D printer that looks innovative, and at the time of the crowdfunding campaign, the price couldn’t be beat. For just $179 USD, the backers of the Tiko printer would receive a 3D printer. Keep in mind the Tiko launched nearly two years ago, when a bargain-basement printer still cost about $400. Fools and money, or something like that, and the Tiko 3D printer campaign garnered almost three million dollars in pledges.
Now, after almost two years of development, Tiko is closing up shop. In an update posted to the Tiko Kickstarter this week, Tiko announced they are laying off their team and winding down operations. It’s a sad but almost predictable end to a project that could have been cool. Unlike so many other failed crowdfunding campaigns, Tiko has given us a post-mortum on their campaign. This is how the Tiko became a standout success on Kickstarter, how it failed, and is an excellent example of the difference between building one of something and building ten thousand.
Why the Tiko Was a Hit
The Tiko printer was an easy sell. All you had to do was look at your favorite tech blog and see someone was selling a 3D printer for less than one hundred dollars. Yes, that was the super early bird price, but that’s cheap for a 3D printer. In 2015, unimaginably so. The regular price, and what non-early bird Kickstarter backers paid, was only $179 USD. Even today, with the machinations of dozens of factories in China, this is a very inexpensive price point. In fact, only with the upcoming release of Monoprice’s $150 delta printer will we see a printer that is as capable while still being this inexpensive.
The astonishing economy of the Tiko leads to an obvious question. How did the Tiko team plan to build a 3D printer and send it out the door for less than $200? Even today, sourcing and building the most bare bones i3 clone will cost more than that. In 2015, the costs were even higher.
Tiko’s unibody construction. By building a linear motion system into the enclosure, Tiko significantly reduced the cost of their bill of materials.The answer comes from something that sounds like it’s glomming onto Apple ad copy: unibody construction.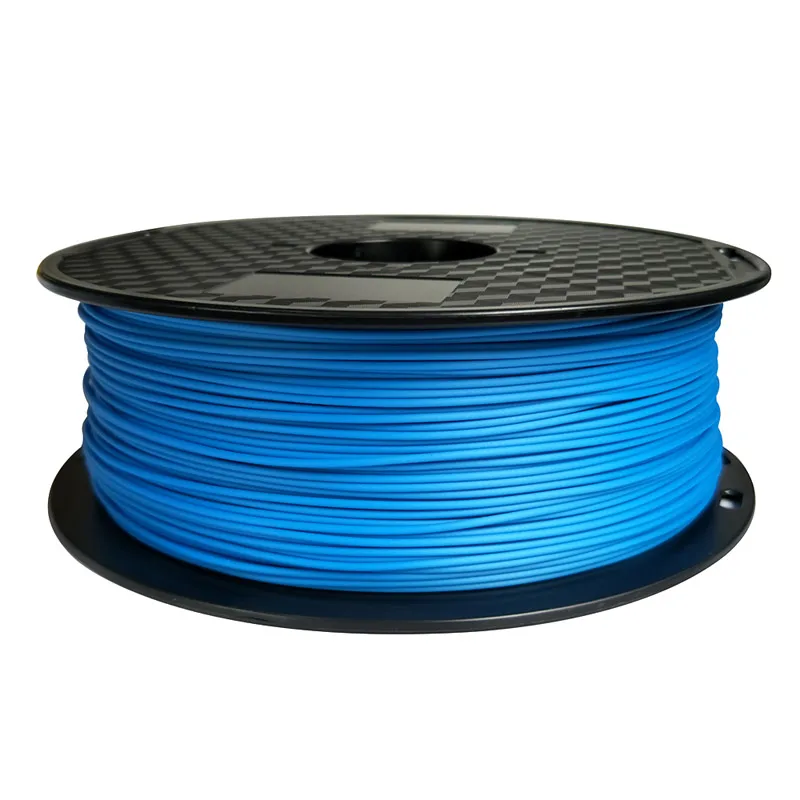 The body of the Tiko is a single part with an integrated c-channel used as the linear rails of this delta bot. This unibody construction is, quite simply, ingenious. If you’ve ever assembled a RepRap Mendel, or any of the other threaded rod printer monstrosities from back in the day, you know the frame of a 3D printer is what makes or breaks the build. By using an extrusion with integrated rails, the Tiko team brought the cost of a frame down while making their assembly easier. From a manufacturing standpoint, Tiko’s unibody construction is brilliant, and we won’t be surprised when we see another delta bot with the same sort of enclosure.
At its very core, Tiko was innovative. This is a 3D printer that was built around standardized manufacturing processes. Yes, building a ‘unibody’ 3D printer will require a significant capital investment to get the first printer off the assembly line. Once that’s done, though, the creators of the Tiko printer would have a viable product that could be manufactured for far less than their competitors.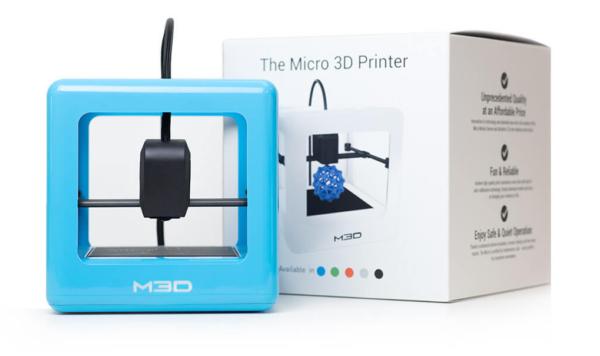
Why the Tiko Failed
Tiko put a lot of innovation into their unibody frame. Unfortunately, they decided to extend that innovation to the rest of the printer. Even before the Tiko Kickstarter was a week old, the 3D printer forumheads had questions about the Tiko printer.
The usual method for linear motion in a 3D printer is a stepper motor. NEMA 17 stepper motors are par for the course. The historical pricing of NEMA 17 motors is itself interesting: back in 2008, before the RepRap project came to fruition, it wasn’t unrealistic to spend $40 on a single NEMA 17 motor with a driver. Now, you can pick up the same parts for less than half that cost.
Instead of relying on the ecosystem that has enabled very inexpensive printers, Tiko chose to go their own way. They used cheaper but much lower torque stepper motors on their printer. This would cause severe issues with the printer. Of the over four thousand units Tiko shipped, there were far too many reports of layer shifting and missed steps than you would expect. In the most severe cases, the Tiko printer could not print a simple cube.
Even in the electronics, Tiko strove for innovation.
Right now, the state of electronics for 3D printers is heavily derived from the original RepRap projects. Derivatives of the Arduino Mega, using the ATmega2560 and ATmega32u2 microcontrollers, are the norm. The new LulzBot Brain Box uses a RAMBo board with this microcontroller. The electronics for the vast majority of 3D printers is derived from those initial 3D printer experiments, and that means a decade of technical debt.
Tiko advertised WiFi printing during their Kickstarter campaign. Right now, the easy way to do a WiFi printer would be a standard ATmega-based controller board with an ESP8266 WiFi module. This would be easy, but it wouldn’t be cheap. Instead of the easy solution, Tiko turned to a neat WiFi-enabled microcontroller released by Texas Instruments. The CC3200 gave the Tiko a powerful ARM Cortex-M4 microcontroller and WiFi. Given the smooth acceleration found in even the cheapest ARM controller boards, this is a win.
But there’s a reason everyone keeps using older Arduino-based controller boards. Nearly all the firmware for 3D printers is built around the Arduino Mega. Building a printer controller board around a relatively new part means building everything from scratch. This is development time Tiko didn’t have, and engineering time Tiko couldn’t afford.
Despite this, Tiko actually managed to build and ship over four thousand printers. Given Tiko took in nearly three million dollars from 16,000 Kickstarter backers, this doesn’t sound like much. Consider the decisions Tiko made, and it’s remarkable. They had ordered their complete BOM before a prototype was finalized. The decision to use cheap stepper motors led directly to the very poor performance of the finalized design. The efforts to fix hardware problems in software were not effective. Eventually, Tiko had too much technical debt to pay off. It certainly didn’t help that this was a 3D printer selling for a bargain-basement price, either. There’s only so much margin on a $200 printer, and from the start there wasn’t much left over for the engineering needed to make a good, cheap 3D printer.
The Future of Tiko
By the end of 2016, Tiko was effectively dead. Last week, they gave up, shutting down production, and refusing to refund backers. Tiko has even refused refunds on shipping costs, a move that led to an online petition and — get this — a Kickstarter campaign to start a class action lawsuit against Tiko. Tiko is dead, although they are actively pursuing additional investors.
Far too often we look at Kickstarters from an engineering perspective. What’s missing in these discussions is a look at Kickstarters from a business perspective. What Tiko has done is out-innovated themselves. They came up with a rather remarkable system for the frame of a 3D printer, but one that isn’t quite right for a hardware startup. They developed brand new hardware for the 3D printer community but backed themselves into a corner when their engineering team couldn’t keep up. They spent all their money buying components before their design was finalized. These aren’t poor engineering decisions, they’re poor business decisions.
Twelve thousand people have spent $200 (plus about $60 in shipping) on a printer they won’t receive. Four thousand people have a printer that doesn’t live up to their expectations. The Tiko team has a three million dollar failure hanging over their heads. No one is happy with this situation. Yet it can all be traced back to a single problem. This is what you get when you innovate too much.
5 Best Tiko 3D Printer Review – Alternatives 2022
On March 30, 2015, a Kickstarter project was opened to create a revolutionary new 3D printer. One month later, in April 2015, the Kickstarter had raised $2,950,874 from 16,538 backers who put up at least $179 each. Shipping was estimated to start in November 2015, approximately seven months later. The printer was going to be known as the Tiko Unibody 3D Printer.
The designers of this printer were visionaries in every sense of the word. The Tiko 3D printer what the creators of the term "state-of-the-art" had in mind when they coined the phrase. Here are some of the planned specifications.
- The maximum print volume was supposed to be 138.3 cubic inches.
- The shape of the print area wouldn't have been the usual rectangle or circle. Instead, it would have been triangular but with rounded corners. The height would have been 4.9 inches. If you were printing something with a cylindrical shape, the diameter of that cylinder could have been as large as 4.9 inches.
- The layer resolution was supposed to be 50 to 250 microns.
- The printing zone would have been enclosed.
- The print bed would have been made of a flexible plastic. That would have made it easy to pop off the printed item without damaging it.
- Tiko would have been able to connect to Wi-Fi so that you could print from virtually anywhere, including a smartphone.
 If Wi-Fi was not available, you could have used the printer to create a wireless access point. This would have let you print directly from your computer to the printer.
 - If the unit was ever jarred or moved while printing, a built-in accelerometer would have sensed this and shut the Tiko down automatically.
- The accelerometer would have also had a role in the automatic calibration process.
This was your big chance to participate in the development of cutting-edge technology. For a mere $179, you could have contributed to a Kickstarter project and gotten a new type of 3D printer, one that would have made IT history.
The first shipment (from Hong Kong) went out in December 2016. That was 13 months after the initial expected ship date. Those units, once they were set up by the new owners, had problems. By February 22, 2017, the project was over. The Tiko 3D printer became someone’s broken dream. There were subsequent efforts to revive the brand, but nothing came of them. In the end, the biggest problem was probably not the design or planning. It was probably that the project was underfunded and couldn’t survive the bad times.
Even though their $179 investment was gone, those who contributed to the Tiko Kickstarter project were offered an inexpensive way to acquire a 3D printer. The CEO of M3D offered anyone who lost money on the Tiko Kickstarter the opportunity to purchase a Micro 3D Printer for a discounted price of $199. It was a good deal for anyone who accepted the offer and a smart way for M3D to expand its customer base.
There are plenty of other options available for those who were hoping to purchase a Tiko 3D printer. We will list some of those alternatives for you. But first, here is some background information on 3D printers.
| Preview | Product | Price | |
|---|---|---|---|
Monoprice Mini Delta v2 3D Printer (110 x 120mm) Heated Build Plate,. .. .. | $244.56 | Buy on Amazon | |
| M3D Micro+ Desktop 3D Printer for Home, Work, and School Use, Includes... | Buy on Amazon | ||
| Promotion! Print-Rite CoLiDo Delta 3D Printer Kossel Kit D1315 Plus... | Buy on Amazon |
Image by Karolina Grabowska from Pixabay
The printers we reviewed were chosen based on price. We were looking for printers at a price close to the $179 that would have been spent on the Tiko. Quite a bit of time has passed since the beginning of the Tiko project. In that time, technology has marched on. It is reasonable to expect that since then, prices have dropped, and functionality has increased. It is interesting to see how some of the ideas in the Tiko design have made it into currently available printers.
All the printers reviewed here are delivered completely assembled. There are many more available in this price range that require assembly. Some even come in the form of a kit, which sounds like an extreme form of assembly. If you are good with your hands, have a sense of adventure and have the patience of a saint, you might do well to find a kit. This will give you lot more printer for the money.
Overall Price Range of This ProductImage by Lutz Peter from Pixabay
In general, the cost of filament-based 3D printers ranges from the low hundreds to many thousands of dollars.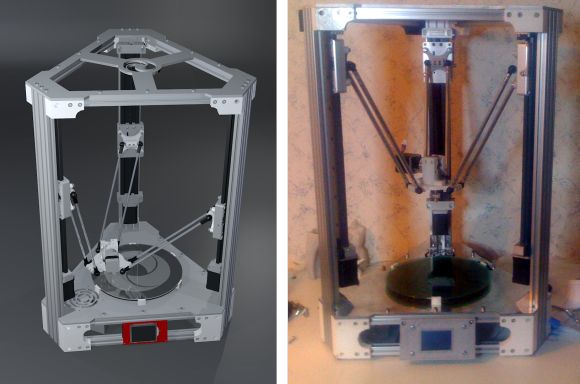 Because we are looking to replace a $179 Tiko printer, we have decided to limit our price range to between $150 and $350.
Monoprice Mini Delta 3D Printer
Monoprice Mini Delta v2 3D Printer (110 x 120mm) Heated Build Plate,...
- Touchscreen Control, Updated Firmware and UI: You spoke and we listened. Larger icons, clear and concise instructions,...
- Fully assembled: the mp mini delta 3D printer comes fully assembled, ready to print out of the box
- PoloPrint Pro Wi-Fi Connection: Connect to the printer over Wi Fi using the updated PoloPrint Pro app for iOS or...
Price | $159 |
Setup | Assembled |
Interface | Wi-Fi, USB, microSD |
Display | LCD |
Technology | FFF |
Print Area | 4. |
Enclosed | No |
Heated Bed | Yes |
Bed Leveling | Auto |
Nozzle Size | .04 mm |
Extruders | 1 |
Software Inc. | Cura, supports Windows XP or later, Mac OS X (10. |
Resolution | 50 micron |
Dimensions | 14.2” x 10.4” x 16.9” |
Weight | 30.6 lbs |
Includes | USB cable, microSD card, power adapter, cord |
Where To Buy | Monoprice, Amazon |
Warranty | 30-day money back guarantee, one year for repair of manufacturer’s defects |
 3” x 4.3” x 4.7”
 6 64-bit)
This low-end printer has it all. It works right out of the box and, except for its lack of enclosure, it has all the great features of higher-end systems. Wi-Fi connectivity allows you to cut the leash to your computer. It only addresses smaller print projects, but if you can work with that limitation, this printer is for you. This model is also worth considering if you are looking to buy your first 3D printer.
- Wi-Fi interface
- SD card
- Excellent features at a low cost
- Heated bed
M3D Micro+ Desktop 3D Printer for Home, Work, and School Use, Includes...
Price | $349 |
Setup | Assembled |
Interface | USB |
Display | No |
Technology | FFF |
Print Area | 4. |
Enclosed | No |
Heated Bed | No |
Bed Leveling | Auto |
Nozzle Size | 0.35 mm |
Extruders | 1 |
Software Inc. | M3D |
Resolution | 50 to 350 microns |
Dimensions | 7. |
Weight | 4.4 lbs |
Includes | M3D software, USB cable, power adapter |
Where To Buy | Amazon, M3D website |
Warranty | Three months for manufacturer’s defects |
 3” x 4.5” x 4.6”
 3” x 7.3” x 7.3”
- Lightweight
- No Display
da Vinci Mini Wireless 3D Printer
No products found.
Price | $200 |
Setup | Assembled |
Interface | USB, Wi-Fi |
Display | No |
Technology | FFF |
Print Area | 5. |
Enclosed | No |
Heated Bed | No |
Bed Leveling | Auto |
Nozzle Size | .04 mm |
Extruders | 1 |
Software Inc. | XYZware, supports Windows 7 and above, Mac OSX 10. above |
Resolution | 100 microns |
Dimensions | 15.4” x 13.2” x 14.2” |
Weight | 18 lbs |
Includes | Starter filament |
Where To Buy | XYZ Printing, Amazon |
Warranty | Undetermined |
 8 and
8 andThis is another excellent entry-level printer that works right out of the box. Wi-Fi connectivity is a big plus, as is that automatic bed-leveling feature. The resolution of 100 microns is good, but not great. It only runs filaments available from XYZ Printers. The proprietary XYZware software is provided.
- Wi-Fi interface
- Uses only XYZ Printing filaments
- Resolution
HopeWant Desktop 3D Printer
No products found.
This seems to be a good entry-level printer. Remove it from the shipping carton, and it’s ready to go. It prints either from the computer or the SD card (TF card).
- SD Card
- Price
- No Display
- Resolution
Print-Rite CoLiDo Delta 3D Printer
Promotion! Print-Rite CoLiDo Delta 3D Printer Kossel Kit D1315 Plus...
- Fast print: Delta design, 3 axles moving at the same time, 30% faster than XYZ printing technology
- 0.
 05 mm layer resolution printing quality, two times more precise than other low cost 3d printers, which usually print...
 - Ready to print, fully assembled and calibrated. Compact design with premium quality parts, portable machine with...
Price | $269 |
Setup | Assembled |
Interface | USB |
Display | No |
Technology | FDM |
Print Area | 5” diameter x 5. |
Enclosed | No |
Heated Bed | No |
Bed Leveling | No |
Nozzle Size | .04 mm |
Extruders | 1 |
Software Inc. | Repetier-Host, supports Windows 7 and above, Mac |
Resolution | 50 microns |
Dimensions | 9. |
Weight | 12 lbs |
Includes | Flash drive, USB cable, adapter, filament |
Where To Buy | Amazon, CoLiDo |
Warranty | 30-day return policy, one-year international warranty |
 9” high
 9” diameter x 17.5 high
The price of this unit is at the high end of our range but, as always, you get what you pay for. This printer is different from the others in that it is configured for a circular print area. It is easy to set up, and it prints quickly due to its three-axis parallel movement system. This is an excellent printer for a beginner, but the quality and consistency are good enough for professional applications. At 30 watts, it is economical to operate.
- Fast printing
- Low power
- No Display
- Resolution
The Monoprice Mini Delta 3D printer was the clear winner here. For a printer with its features, the price is almost unbelievable. Wi-Fi connectivity and use of SD cards to store print files make it very user friendly. The heated bed also makes this the only printer on the list that could be comfortably used in a professional setting.
Featured Image: Image by ZMorph4D from Pixabay
Last update on 2021-12-12 at 04:27 / Affiliate links / Images from Amazon Product Advertising API
How to remove a 3D print from the platform without destroying anything or injuring yourself
the printout is firmly stuck to the platform on which it is printed. The materials for covering the surface of the platform are different. Blue masking tape, Kapton (polyamide film) and borosilicate sheets (which break easily) are the most common options. Some tricksters when printing with ABS plastic lubricate the surface with a glue stick, which helps to avoid distortion of the printout (when the outer edges begin to protrude after cooling).
But it seems that no one has paid attention to the best ways in which even the most stubborn objects can be separated from the base. We drew, we bring to your attention 6 such best methods.
Do you have more? Feel free to write.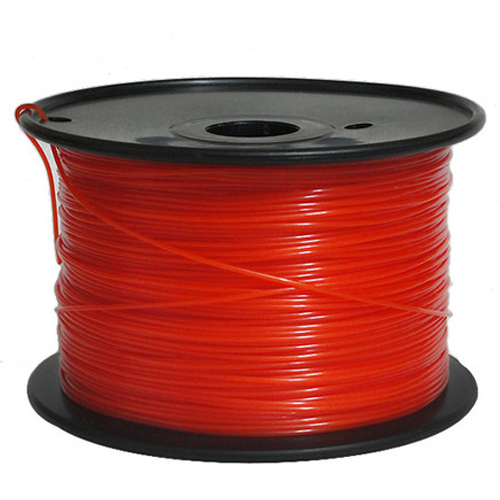
Method #1. Shoot 3D prints with reasonable effort
Be careful with fragile objects and your brute force . Grab it carefully and try to separate it from the platform. Stretching, twisting and rotating usually help.
If not, you need to put in a little more effort. If the object is not too fragile, the process turns into a kind of game. If you have a rubber mallet, you can pull out the build platform and try (carefully!) tapping the sides of the object. Aim for solid surfaces, otherwise you always run the risk of radically solving the problem by hitting a weak spot.
If there is a small gap where you can slip a screwdriver, a light tap on the handle of the screwdriver will give a good amount of force and the printout may come off.
Method #2. Use a sharp, flat object
A palette knife is a painting tool that visually resembles a spatula or spatula.
A razor blade will always slip through It can be anything from a spatula to something more subtle, like a palette knife, the stuff that is sold in art stores.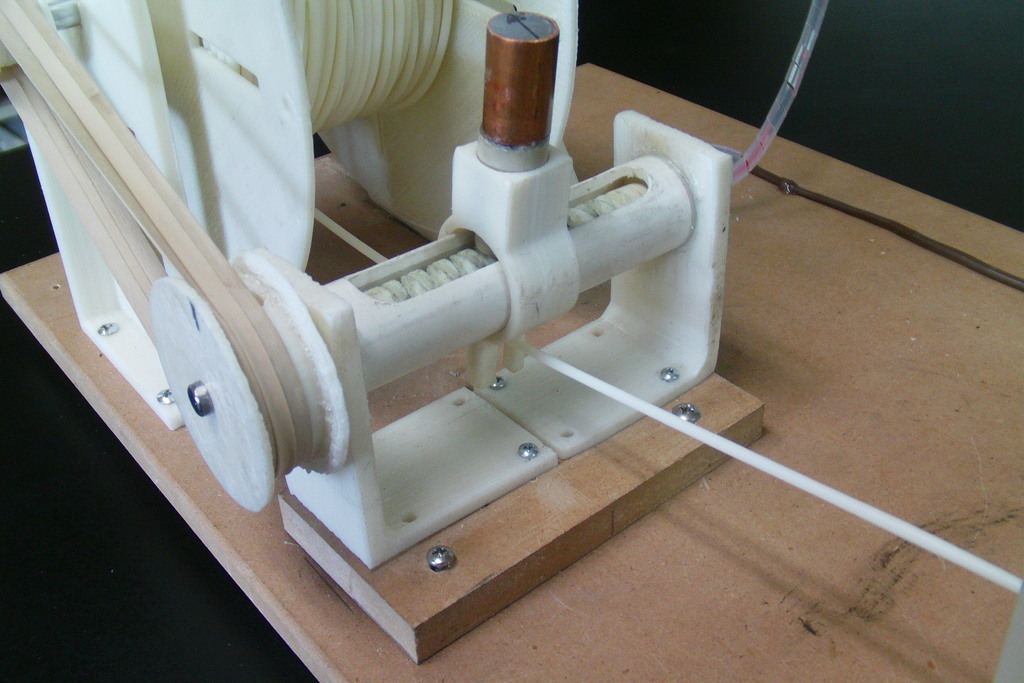 This is a special knife.
The thinnest blade available is usually a razor blade, but you have to be very, very careful not to injure yourself. In such a case, it is useful to have a blade holder. This one, for example. It has been designed specifically for taking 3D prints from the platform.
The disadvantage of this method is that you will most likely damage the surface. You can cut off the top layer of the desktop, wrinkles may form, which will negatively affect subsequent printouts. If you leave everything as it is, i.e. scratched, next time you will definitely need to replace the film.
Method #3. Take advantage of the temperature difference
There is always room in the refrigerator for 3D printing
This method is more subtle than the previous ones. When it comes to heated tables, sometimes the printout can stick completely, it would seem, tightly.
Therefore, the first thing to do when printing is finished is to allow both the printer and the table to cool completely.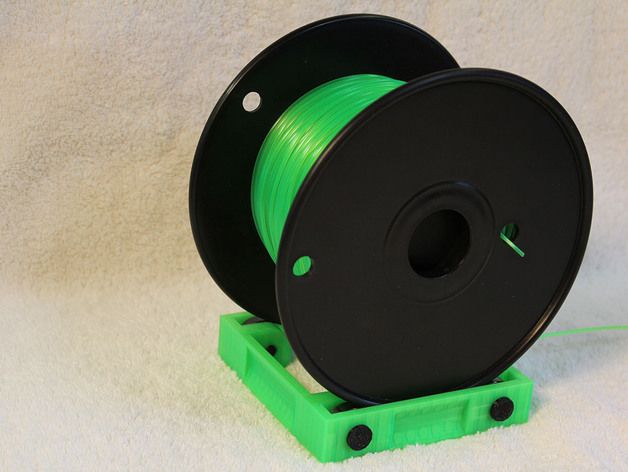 If you're lucky, the printout will then pop off by itself. If you're not lucky, you can take advantage of the fact that the physical properties of the plastic and the platform (glass, aluminum or other plastic) are different. When bodies are cooled, they contract, and because they contract differently, the bonds are broken.
You can take advantage of this effect, even at lower temperatures than in a conventional refrigerator. You can take a special cooling bag (try to cool either the platform or the object). Containers containing CO 2 are also suitable and can be purchased from hardware stores. If such a vessel with carbon dioxide is turned upside down, liquid will begin to flow out. It will change its state of aggregation from liquid to gaseous, absorbing energy and quickly cooling the surrounding space. It will also help if you put the platform with the object in the refrigerator or freezer for half an hour or an hour.
Method No. 4. Thinner to the rescue
Thinners can be ordered from any decent online 3D printing shop
In the most extreme case, thinners can help, but then the next time you print, you will need a new tape to cover the desktop.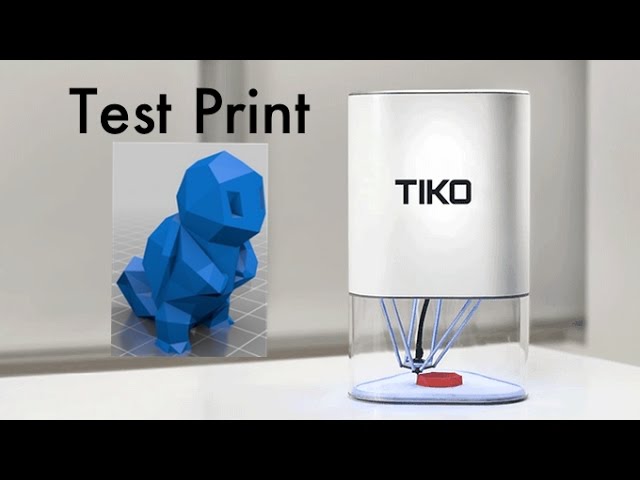 You can try pouring a little isopropyl alcohol around the edges of the printout and let it soak into the tape. Then it will be easier to separate the object. But if in doubt, you can simply remove the entire tape.
On platforms where glue stick has been used, warm water works great as a solvent.
Method No. 5. Dental floss
It would seem, what does dental floss have to do with it? (Photo: Instructables)
You probably don't know, but flossing isn't just good for your teeth, it's also good for taking printouts. It is necessary to fit the thread under the edge of the printout and begin to move it, the thread, back and forth, like a saw.
Depending on how much material is stuck, it may be necessary to “saw off” the whole bottom. The good thing is that the tape remains intact and the method works for all platforms.
Method No. 6. Buy a flexible printing platform
Screenshot from the video about the features of Tiko (Kickstarter)
Do you think that all the described methods are complete bullshit? Then you need to move to a flexible platform. Just shake it and the printout will come off.
Flexible Print Plates are available online from Zebra Printer Plates, which offers them in all custom and standard sizes. Fleks3D has launched a successful Kickstarter campaign to create flexible platforms for virtually any printer.
Tiko's popular crowdfunded 3D printer comes with a flexible silicone platform cover for easy 3D printing.
A similar homemade version was invented by the craftsman MikeTheMaker. He glued masking tape into a kind of removable rug. This method seems to work well for him, so it is useful to pay attention to this option and decide whether it is suitable for your case.
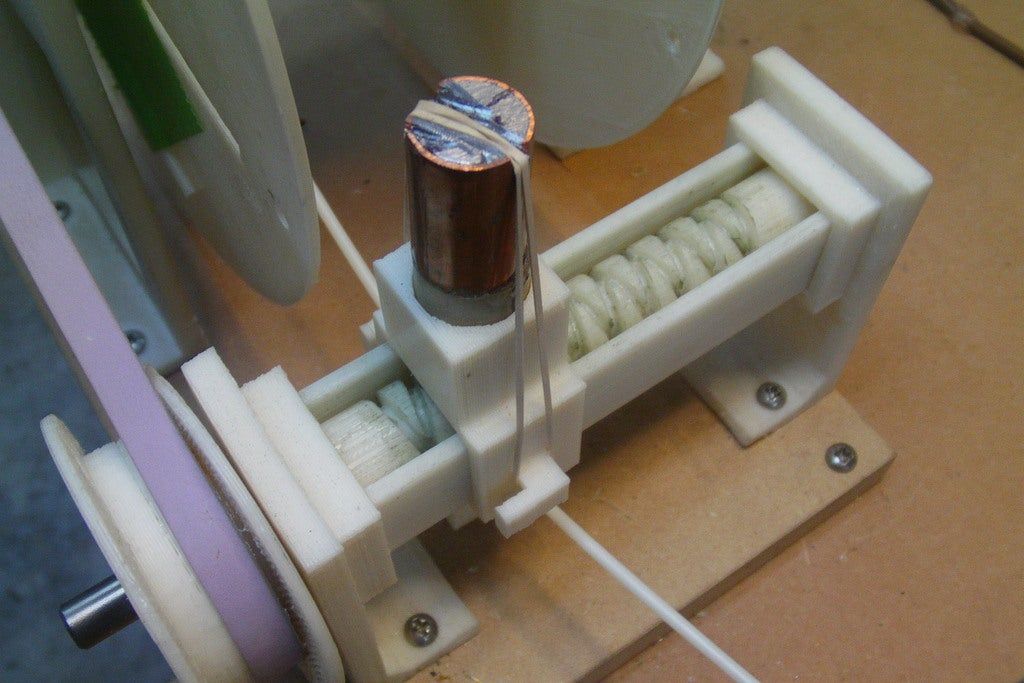
Free STL file Molds for Tiko Anti-Backlash Weights・3D printing design for download・Cults
Fidget Cube Remix
Free
Carabiner
Free
Clip Phone Stand
Free
1010 Cable Chain End
Free
Razor Scraper Handle
Free
Spiral Bed Level Test (Customizable)
Free
Folding Raspberry Pi Case
Free
Assorted Tilt Cases
Free
The best files for 3D printers in the Tools category
Bridge test mod
Free
telephone ring holder
0. 90 €
90 €
hinge dental articulator
6.37 €
Compliant Clip
Free
Another Cap for COVID-19 MASK
Free
Chameleon Bookmark
Free
SD Card End Cap
Free
Covid-19 hand guard and card holder
Free
Bestsellers in the Tools category
PRECISION CALIPER 3D PRINT DIY
3.11 €
Ender 3, 3 V2, 3 pro, 3 max, dual 40mm axial fan hot end duct / fang. CR-10, Micro Swiss direct drive and bowden compatible. Printing does not require support
1.62 €
ARTEMIS -> Shop for Alligator 2 || 6.
 5" arrows || Repeating crossbow
 6.25 €
Ender 3 Briss fang Gen2, red lizard, spider, nf crazy, dragonfly, etc.
€1.80
ENDER 3 S1/PRO SPRITE, HOTEND 4020 OR 5015 FAN PROBE NO Y OFFSET
€2.29 -twenty% 1.83 €
Fast print ink bottle rack (6 sizes)
€2.91 -twenty% 2.33 €
Ender 3 S1 Air duct for drain fan
1,20 €
Printer boxes for Ikea Lack Table
1,99 €
Grinder | Grinder
€1.50
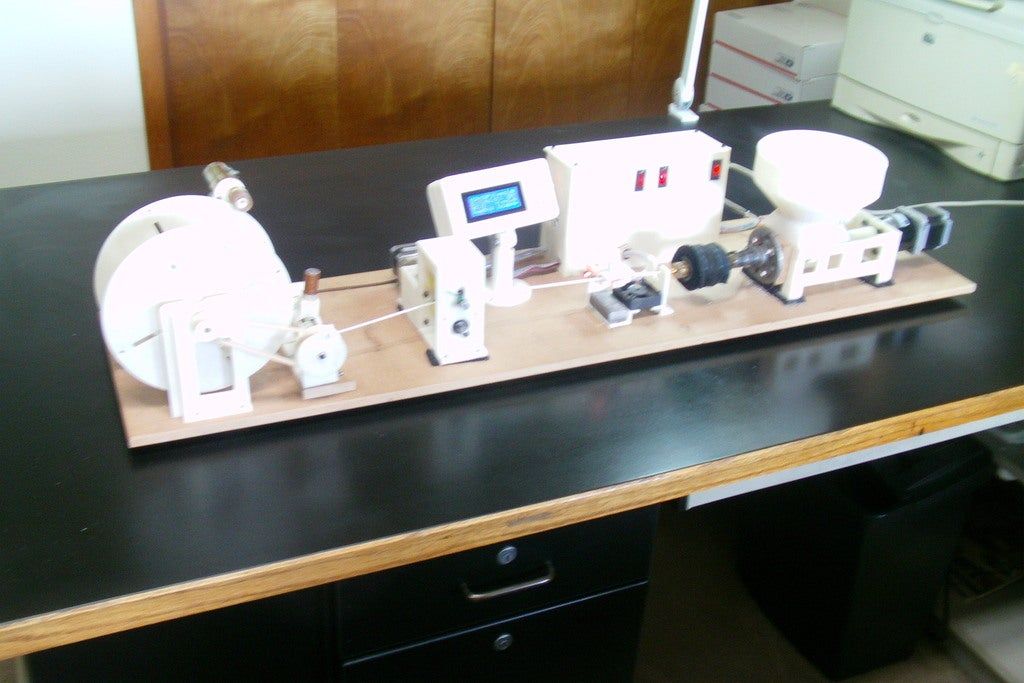
PET-Machine, make your own plastic bottle filament at home!
15 €
Armadillo - flexible wire conduit
€1. -thirty% 1.20€ 72
72
Cut-Man - PET bottle cutter with handle!
€3.49
SUPERBOX
1,50 €
Spartan pen holder
1,80 €
3D printed wave transmission (harmonic drive)
4.99 €
Display holder FLSUN v400
€4.99
Do you want to support Cults?
Do you like Cults and want to help us continue our journey on our own ? Please note that we are a small team of 3 people, so supporting us in maintaining activities and creating future developments is very easy. Here are 4 solutions available to everyone:
-
AD: Disable your AdBlock banner blocker and click on our banner ads.
Learn more