How to create a 3d printer design
New 3D printer? Here's how to create your own printables
Recently I got the chance to spend some time with a Micro 3D Printer, my first foray into the world of turning a spool of plastic filament into, well, just about anything.
I had lots of fun downloading existing designs from sites like Pinshape and Thingiverse, but eventually I wanted to create objects of my own. Unfortunately, I don't have a degree in CAD or access to any kind of 3D-design software.
Good news: Turns out you don't need either one. Autodesk's Tinkercad is a free Web-based design tool that enables you to create 3D objects, then download those creations in a printer-friendly format. Here's how to get started.
Step 1: Head to Tinkercad and sign up for a free account using Facebook, Twitter or your e-mail address.
Step 2: The service will immediately walk you through a lesson to help you learn basic navigation, followed by another lesson that teaches camera controls, and so on. It's a good idea to go through all of these, just to familiarize yourself with the environment.
Step 3: When you're ready to create your own object, return to the Tinkercad dashboard, then click Create New Design. The tool will immediately send you to the design page, complete with a randomly assigned (and often amusing, like Tremendous Snaget-Fulffy) name for your project. You can change the name by clicking Design > Properties, though this can happen at any point along the way.
Step 4: Now it's time to start assembling your object. The toolbar on the right side is home to a wide assortment of prefab shapes you can drag to the workplane and modify as needed. (You can also import existing SVG (2D) or STL (3D) shapes if you have any.) For purposes of our tutorial, click Geometric, then drag the Hexagonal Prism to your workplane.
Step 5: Notice that the shape has five white "handles": one at each corner and one in the center at the top. When you mouse over any of them, you'll see corresponding measurements appear. Click and drag any of the corners to resize the prism in that direction; click and drag and center one to adjust the height. (The thing that looks like a black teardrop above the center handle is used to raise and lower the object relative to the workplane.)
Enlarge Image Screenshot by Rick Broida/CNETStep 6: As you add and modify more objects, remember the size of your 3D printer's print bed and build accordingly. When you're done, click Design > Download for 3D Printing and you'll immediately get an STL file you can load into your printer.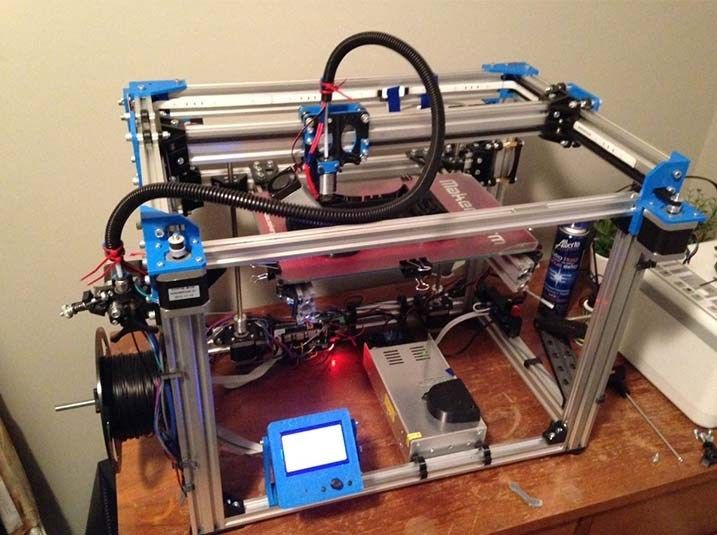 (As you'll see, Tinkercad also has options for Minecraft versions, ordering 3D prints and uploading to Thingiverse.)
And that's all there is to it. This is a great place to start creating 3D objects to print.
Before you get back to it, here are some quick tips for the Tinkercad beginner:
- Use your mouse wheel to quickly zoom in and out.
- Click and hold the right mouse button, then move your mouse to change the viewing angle.
- After selecting an option, you'll see an Inspector window. Click the Hole option to make that shape "pass through" any solid shape. That's how you would, for example, create a cylindrical hole down the center of your prism.
- To make finer adjustments to object placement, click the Snap grid pull-down and choose a number smaller than the 1.0 default.
Have you found another good tool for creating 3D printer-ready designs? Name it in the comments!
What software to use for 3D printing: The complete guide
David Roberson13 May 2021
Guide
Before starting to 3D print, you will need to make sure you have gathered all the necessary software “ingredients” that will guide you through the printing process, from preparing your 3D model to managing printers themselves.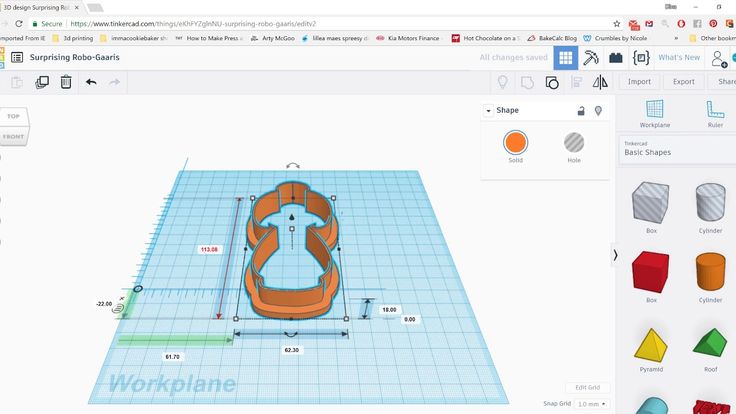
These include:
CAD software to create a 3D model (you can also use an existing 3D model, if you do not wish or need to design one)
Slicing software
Software to operate your printer remotely (this is optional, but can be convenient)
This article will go through each of these ingredients, and will also touch on how the Ultimaker platform creates a seamless end-to-end flow between hardware, software, and materials, empowering you to unlock the magic of 3D printing and make innovation happen.
What is a “slicer”?
A 3D printing slicer – also known as slicing or print preparation software – is a program that converts a 3D model into a language your 3D printer understands.
Slicing software, such as Ultimaker Cura, digitally cuts a model into flat layers, which your printer can then print one by one. With the Ultimaker platform, however, slicing software is not always needed, thanks to integrations that allow you to print directly from CAD or the Ultimaker Digital Library.
Preparing a 3D print using Ultimaker Cura software
What is the best CAD software to design 3D prints?CAD, or computer-aided design, software enables you to design a 3D model from the ground, up. There are many types of CAD software, each with its own benefits. AutoCAD, created by Autodesk, is perhaps the best-known among them since it was one of the first CAD software programs available for personal computers when released in 1982. Other CAD platforms include:
Fusion360 – great for designing and creating efficient mechanical parts
3ds Max – used in all types of 3D model creation, including video game design, architecture, and 3D printing
TinkerCAD – A free, browser-based CAD tool that allows users to build 3D models out of various shapes. Popular with CAD novices and for STEAM education
Blender – free, open-source 3D model creation software
Siemens NX – for designing and creating advanced 3D models
Solidworks – for designing and creating professional parts for industrial use
Catia – Advanced design software used for creating surfaces and engineering systems
Before you begin 3D printing, be sure to do your research and pick the CAD software that’s right for your use case. This way, you’ll get the most out of the model you choose to design and print.
Also check which file types your slicing software is compatible with, so you can make your 3D designs into 3D prints.
A design in CAD software (left screen), slicing software (right), and the finished print
How to design parts for 3D printing?
When designing for 3D printing, there are best practices to help you get the best results from your 3D printer and the parts it creates. Design parts optimized for 3D printing will improve print success rates, reduce costs through lower wastage, and boost the speed of your product development cycle.
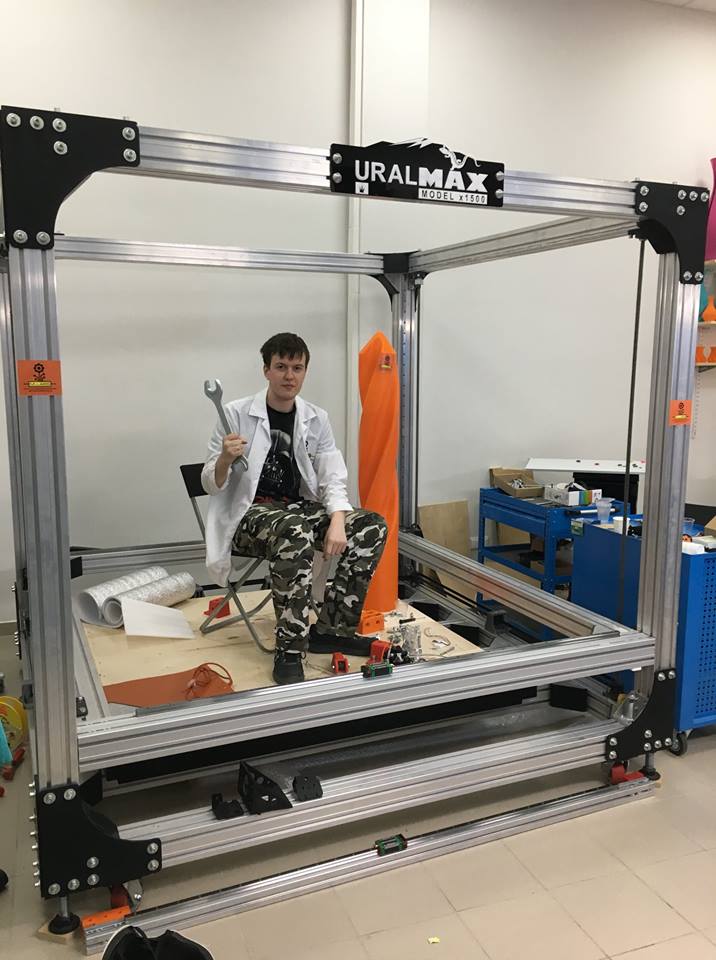
Consider build volume. Your 3D prints can only be as large as your printer’s build volume. Be sure to know its dimensions, then create a part that can either be printed within those dimensions in one go, or plan to use modularity (printing then combining separate parts).
Decide orientation early. Because FFF prints layer by layer, determining the print orientation early in the process helps drive design choices, text alignment, and snap features.
Evaluate overhang support requirements. FFF printed parts are self-supporting up to 45 degrees. Overhangs below 45 degrees must be supported from below with support material.
Follow bridging support guidelines. For most basic filaments, FFF printing does not need support when bridging materials within a 10 mm gap.
Pay attention to nozzle size. When designing small features, you should consider height, wall thickness, and nozzle size. Larger nozzles will print faster than smaller nozzles, but at a cost of increased minimum thickness and height for your models.
Design with hole diameters in mind. Generally, 3D printed hole features should not be smaller than 2 mm. If accurate holes are required, it is recommended to design the holes smaller than intended and post-process with a drilling operation.
Avoid sharp corners. Sharp corners can be modelled in CAD, but the print may warp. Increasing the area of the surface in contact with the bed will decrease the likelihood of the warpage.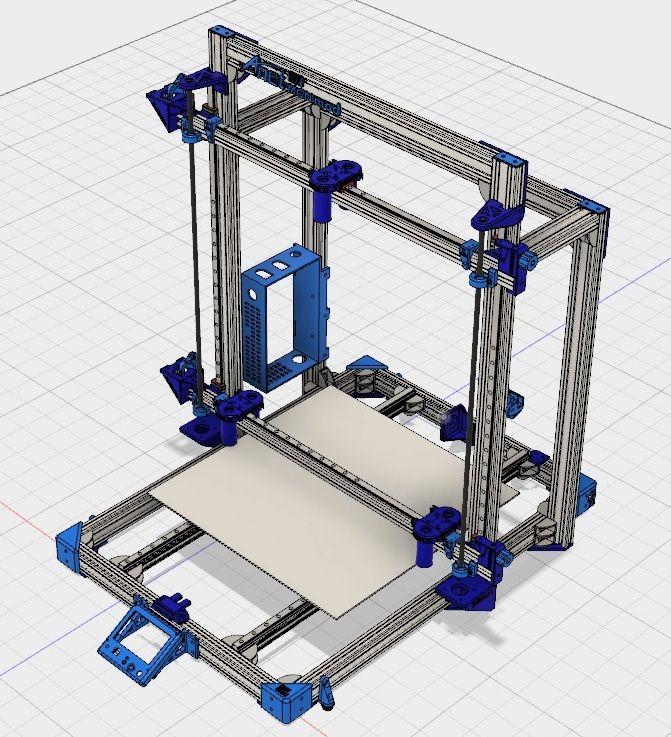
For a deep dive into these factors and more, check out our blog on design for 3D printing.
What software do I need to start a 3D print?
This depends on how much of the 3D printing workflow you need to perform.
As long as you already have access to a 3D model, you will typically need software that can slice that model, so your printer can get to work. Once you have started to print, you can also use software to manager your 3D printer (or printers) remotely.
But as we saw earlier, the slicing step can be avoided if you have a 3D printer integration installed in your CAD tool. If you already have access to a 3D printable file (such as a G-code on a USB stick) you can also go ahead and print without the need for any slicing software, as your digital file is already ready to print.
Controlling 3D printers remotely with Ultimaker Digital Factory software
Managing 3D printers remotely
Ultimaker S-line printers, the Ultimaker 2+ Connect, and the Ultimaker 3 can make use of a network connection to access cloud-based services on Ultimaker Digital Factory.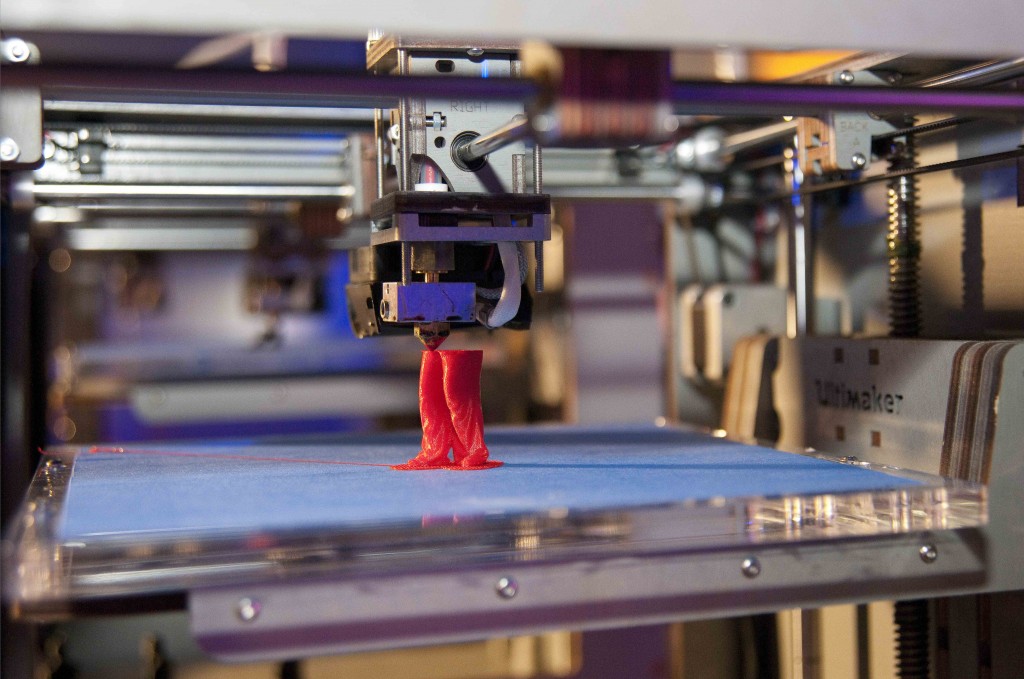 By linking a printer to your Ultimaker account, your printer can then be controlled remotely, from outside of its local area network.
Want to learn more about 3D printing software?
Download our free white paper, “Important 3D printing software features,” which will help you determine the best 3D printing software for your business needs, as well as examine settings, print profiles, and other features that can help you get the most out of your printing experience.
Get the white paper
3D printed architectural models • How can 3D printing help your business?
Article applies to printers:
QIDI Tech i-Box ANYCUBIC Photon Mono X Anycubic Vyper
No blueprint or even 3D digital model can reproduce the real perspective that can be seen on a printed 3D architectural model. 3D printing helps to make architectural models many times faster and more visually than traditional visualization methods.
The advances of the past 20 years in 3D printing have created new ways of working across industries, and architecture is no exception. 3D printing has found its way into a wide range of real estate developments, so it's safe to say that 3D printing brings the most benefits in terms of speed, detail, cost, and efficiency.
Follow us on social networks: VKontakte, Telegram, Instagram, YouTube, Ya.Zen, Twitter, Facebook to be the first to receive the most interesting materials!
There are many companies that make layouts using 3D equipment. For example, the British company Hobs 3D has been exclusively manufacturing architectural models for many years and has succeeded in this business.
In this article, we will look at the different components of making your own architectural models yourself:
- Software for creating 3D models.
- Preparation of 3D models for printing.
- Slicing a model in a slicer.
- Print.
- Additional processing and assembly of layout parts.
Benefits of 3D printing for the architect
Before you decide to 3D print an architectural model, it's worth looking into why it's important to visualize a design at this level.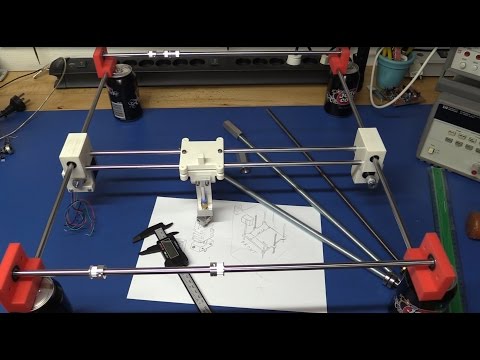
The importance of an architect in the design and construction of buildings is second only to the owner of a new property. The specialist is involved in the creation of the project from the development of the concept to the construction itself. Thus, the success of the architect's work depends entirely on the ability to find contact with the client, understand all his desires, but still find original solutions.
Design
Any designer will tell you that the creation of a new project is constant editing in search of successful solutions. Each detail is thought through several times, drawn physically or digitally, and then goes through several stages of editing.
Video source: YouTube channel BigRep GmbH
3D printing helps the architect quickly and relatively inexpensively make a physical representation of an object, being able to improve the concept with minimal time and cost.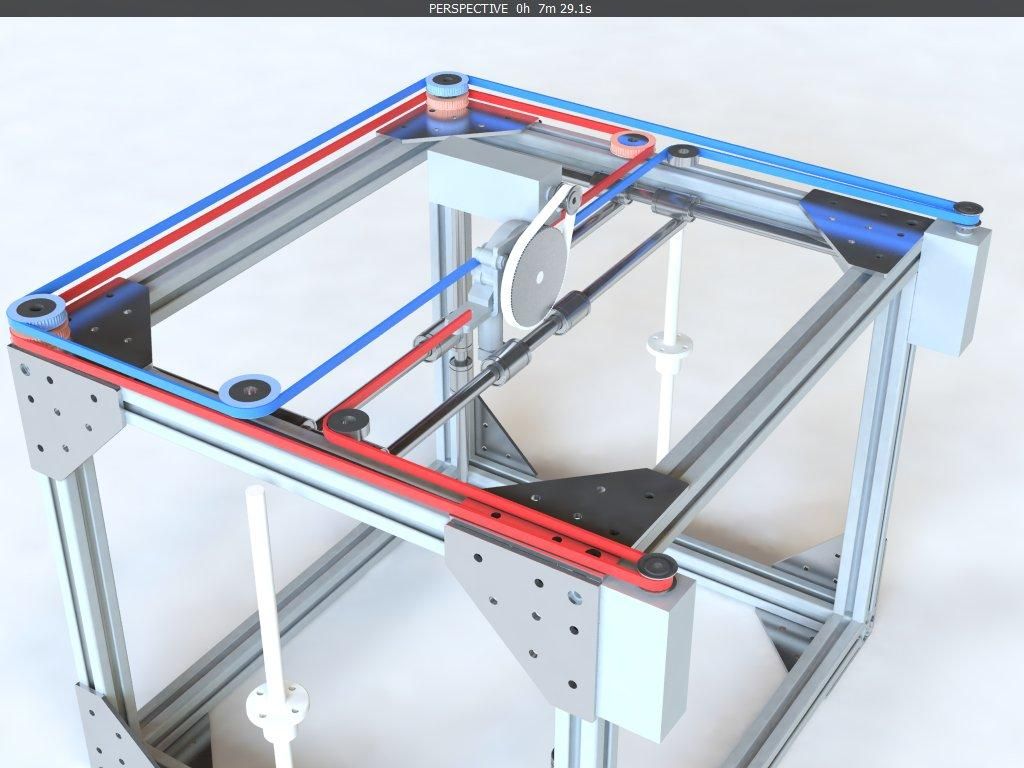
Video source: YouTube channel ProtoFab
Competition
Most architectural and construction companies find themselves in competition for the right to implement the project. A 3D printed layout will be able to surprise the customer and help win the contract.
Customer presentation
Project presentation to the client may be more successful. A ready-made 3D layout helps the customer quickly and confidently make a decision on the approval of the project or the purchase of real estate.
Video Source: RJ Models YouTube Channel
Project Approval
Some projects require approval from the local government or urban planning organizations. Presenting the project to these departments, as well as to public representatives, will help to fit the future building into the existing city plan and show the significance of the project.
Sales and Marketing
When building is completed, developers often build scale models from existing architectural drawings. This helps to interest the client in the sale of commercial and residential premises. The object itself, made using traditional modeling methods, can become a real decorative object.
Which type of 3D printing to choose for an architectural layout
If you decide to print an architectural model, the first question that will bother you is: which printer should you choose?
Video source: YouTube channel Zmorph
The choice of equipment depends on the budget, the level of proficiency in 3D printing technologies, as well as many other features of a particular business. We will look at three types of printers (printing technologies) that are most commonly used to create architectural layouts.
FDM printers
The most affordable category of printers that print with plastic filament. In addition to the low price of the printer itself and consumables, you have the opportunity to print multi-colored layouts, as well as use decorative wood or metal plastics.
Almost all products printed on FDM printers (regardless of cost) require additional processing. Sanding, removal of supports and priming are mandatory steps before painting and assembling the layout.
These printers use a liquid polymer that cures when exposed to ultraviolet light. A high degree of detail, as well as a perfectly smooth surface of the models, reduces the time for post-processing. Despite the availability of desktop printers, large-format professional 3D printers must be purchased to print architectural models. A large build area will allow you to immediately produce bulk products and parts, reducing printing time.
The disadvantage of photopolymer printers is that printing is only possible in one color, and the range of materials themselves is not as wide as that of plastics.
Video source: YouTube channel Materialize Manufacturing
Video source: YouTube channel Luke Towan
Printing with plastic powder with color binders produces support-free, full-color layouts that require minimal rework. After removing excess powder, the layout is immersed in a special adhesive that seals the outer layer and gives the product strength.
This printing technology is suitable for final designs that can be presented at a presentation.
While there are FDM printers that can print multiple colors at the same time, printers that use Color Binder Jetting or MultiJet Fusion technology are commonly used to create architectural layouts. Monochrome printing on such printers allows you to achieve sculptural quality.
Video source: YouTube channel Espacio 3D
Equipment of this type can cost tens of thousands of dollars, which is an unbearable sum for small and medium-sized organizations. Fortunately, such equipment is used by specialized companies to create architectural models.
A selection of articles from the "Knowledge Base" section from the LIDER-3D website: 1) Robotic airship on a 3D printer • 2) How to choose a good portable 3D scanner • 3) SLS 3D printing: what it is and how it works • 4) Characteristics and settings of 3D printing filament from LIDER-3D
Post-printing
Despite all the advantages of 3D printing for architectural modeling, this method of creating layouts is labor intensive (to a lesser extent than traditional methods of creating layouts). Almost all printed models need additional processing, which helps to give the layout a neat and presentable look.
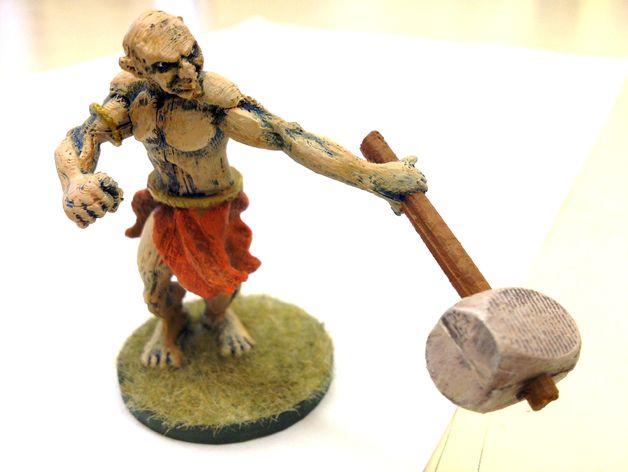
Most models are made from clear or neutral plastics and hand painted if required.
3D printing can create accurate and detailed layouts, but printing technologies have their own characteristics. Models can be brittle due to material properties. The installation of internal support structures made of wood or metal will help to solve this problem.
The skillful combination of traditional modeling and 3D printing will help you achieve stunning results.
How to print 3D model
Before purchasing equipment and materials for printing, you need to decide whether it is worth creating 3D printed layouts on your own or you can entrust this work to professionals. Many 3D printing services specialize specifically in creating architectural models.
Essentially, you need to consider how much you are willing to invest in equipment, materials, people, and workspace to achieve your desired print quality.
Some companies have their own equipment, but turn to professionals to create a correct 3D model.
Own production of layouts
3D printing of architectural models on your own 3D printer makes it possible to visualize any project. This helps to find new design solutions and facilitates communication with the client.
Video source: YouTube channel BigRep GmbH
3D modeling software
Before considering printing with a 3D printer, it is necessary to convert the 2D images into a 3D model. Every architect is familiar with at least one of these programs: AutoCAD, Rhino or SketchUp Pro, as well as BIM building modeling software Revit or MicroStation.
Preparing a 3D model for printing
No matter which software you choose, the creation of an architectural layout is done by printing individual elements and then assembling them. A model can consist of tens, hundreds or even thousands of parts.
Each detail of the future layout must be represented by a separate 3D model, which is launched for printing.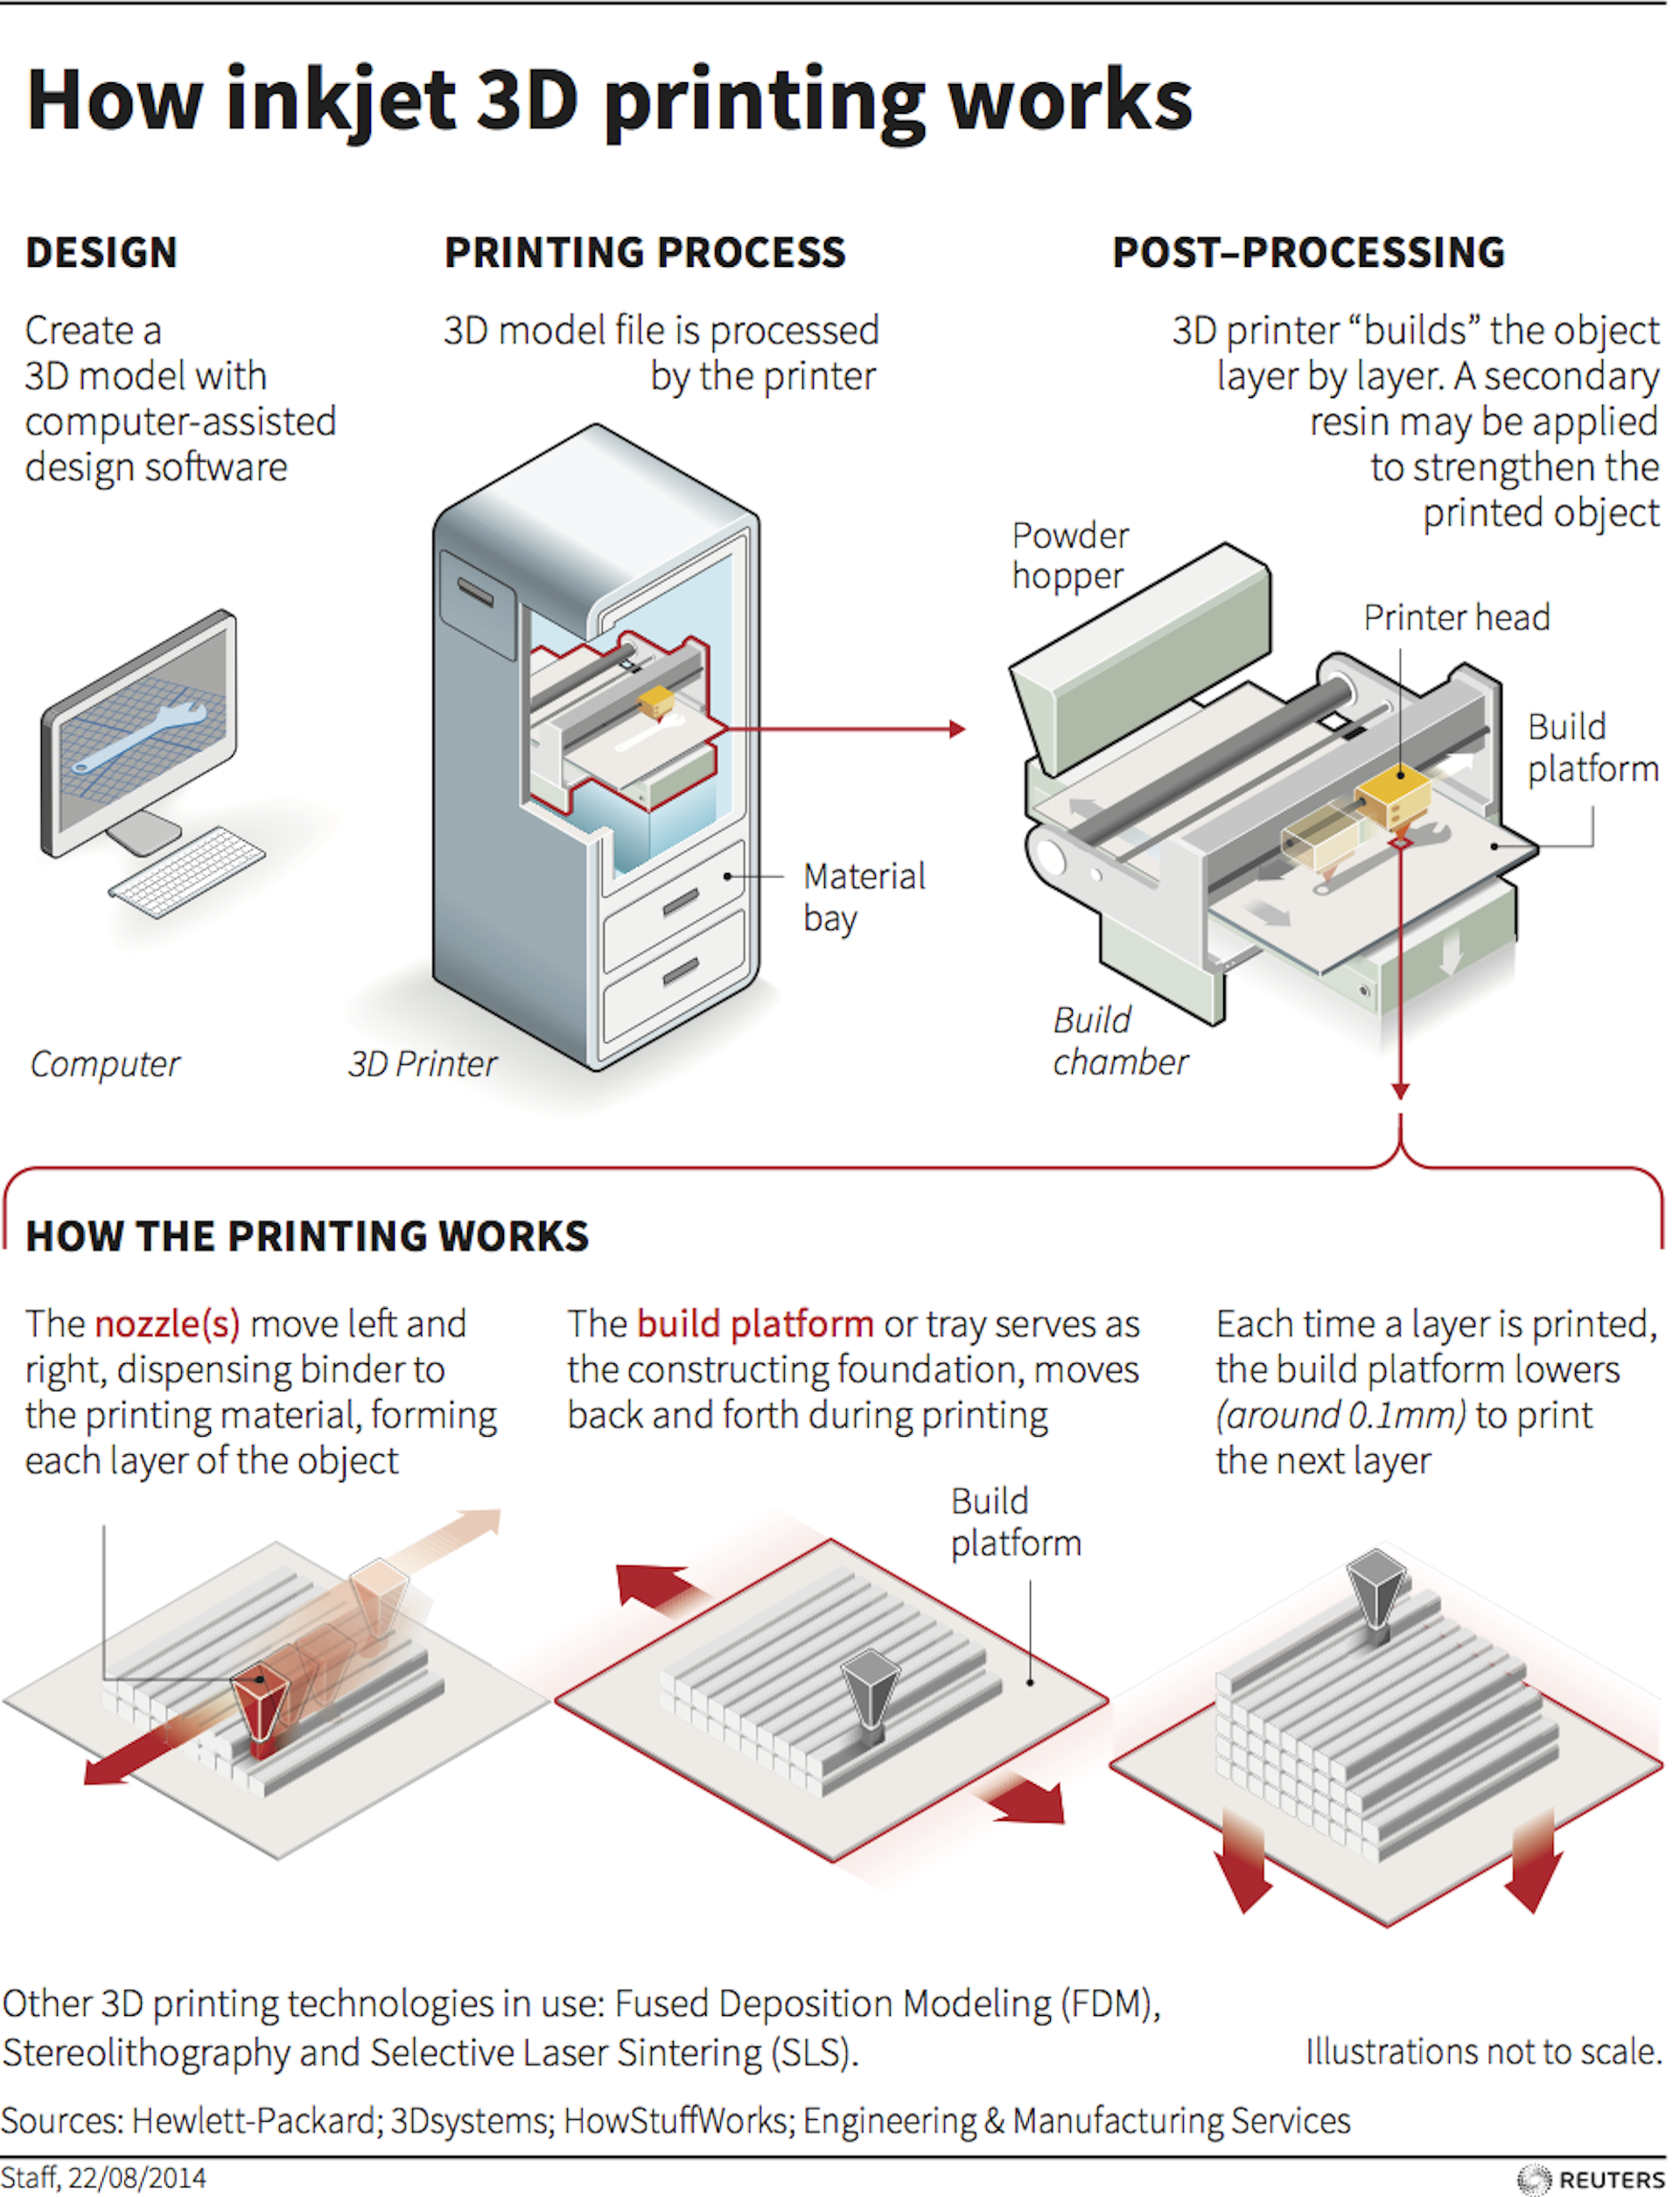 Precise geometry, uniform wall thicknesses and no holes in the mesh allow you to achieve the best results. If the 3D model does not meet the printing requirements, it must be prepared using a special assistant program.
Most 3D printers come with software to prepare files for printing (slicers). But if you need full control over all parameters, then there are special programs for correcting errors in STL files.
Many of them, such as the free Blender, have special algorithms for preparing architectural models and small miniatures.
For serious projects, you can use Netfabb or Magics professional software with many automatic functions. To move the model from CAD to the slicer, you need to convert the document to STL format.
Cutting and placing supports
Once the 3D model is ready to be printed, you need to consider how it will be positioned on the printer. For efficient use of resources, you can place several parts on the printing platform at once. The slicer program automatically orients the object on the platform, divides it into sectors convenient for printing and, if there are protruding parts, indicates the need to install supports. With a minimum number of supports, the post-print processing time is reduced, but if they are not enough, the geometry of the model may be violated.
If you are using an SLA and FDM printer, then you need to consider the resolution of the future model. High resolution takes longer to print and is good for creating visible layout details. Printing at low resolution will allow you to make a test print or make hidden parts of the layout.
3D printing services
If you're not satisfied with the print quality you can achieve yourself, it's worth finding a partner to print architectural layout details.
Many companies offer 3D printing services, but not all specialize in printing for architecture. We offer you a list of questions that will help you find a suitable partner:
Does the company have equipment that works on the required technology?
Not all printing technologies are suitable for making architectural models.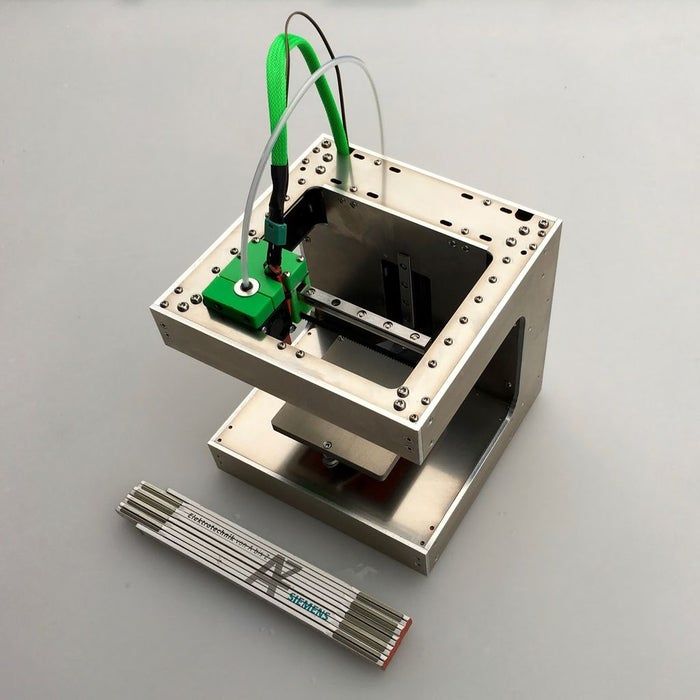 Large format 3D SLA printers can achieve high quality prints, as well as Color Binder Jetting equipment. SLS and SLM printers are generally not suitable for printing layout details.
Is there a service for preparing 3D models for printing?
If you or your employees are new to creating 3D models, then most likely the files presented will need to be finalized. It is important to know that the chosen company has specialists who are ready to quickly solve any problem.
Does the company offer layout services?
Sometimes simply printing and assembling a layout is not enough. Some details need to be realistic, textured, or painted. Companies that specialize in creating architectural layouts, in addition to 3D printing services, offer complete assembly and finalization of the layout in accordance with your wishes.
3D printed eternity
The goal of any architectural project is to develop and deliver a unique product that will satisfy the client's needs, strengthen the company's reputation and help sell its services.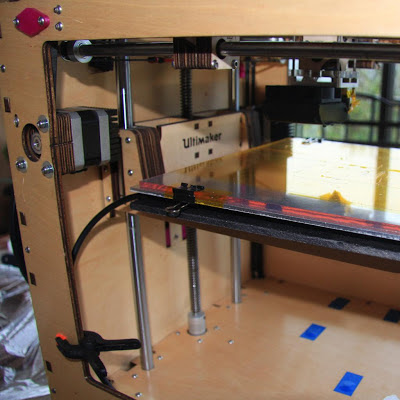 3D printing contributes to the realization of all these ambitions and gives a competitive advantage over those who do not use modern opportunities.
If you are not already using 3D printing in your design and sales process, please contact your 3D printing service providers. Understanding the benefits of 3D printing for your business will help you implement modern technologies in the creation of architectural models.
LIDER-3D offers services for printing architectural models, as well as related services - finalization and creation of 3D models. Choose a reliable partner to implement the most daring ideas!
Follow us on social networks: VKontakte, Telegram, Instagram, YouTube, Ya.Zen, Twitter, Facebook to be the first to receive the most interesting materials!
You can buy a 3D printer for printing layouts and other tasks from LIDER-3D.
Write to us in messengers for advice on products: Telegram - WhatsApp
In the field of prototyping, we can recommend these models of 3D printers.
For high detail items:
- QIDI Tech i-Box Mono - Check current price ◄
- Anycubic Photon Mono X - Check current price ◄
- Anycubic Photon Mono 4K - ◄ Anycu09 9 Mono SE - Check current price ◄
- Creality HALOT-SKY - Current Price ◄
- Creality HALOT-MAX - Current Price ◄
- Creality HALOT-ONE - Current Price ◄
:
- QIDI Tech i-Mate S - Check current price ◄
- QIDI Tech X-Max - Check current price ◄
- QIDI Tech X-Plus - Check current price ◄
- QIDI Tech i-Fast - Check current price price ◄
- FlashForge Adventurer 3 / Adventurer 3 Lite - Check current price / price ◄
- Creality Ender 7 - Check current price ◄
- Creality Sermoon D1 - Check current price ◄
- Creality CR-200B - Check current price ◄ 901 FlyingBear2 Ghost 5 - Current Price ◄
- FlyingBear Reborn - Current Price ◄
- Anycubic Vyper - Current Price ◄
- Anycubic 4Max Pro 2.
 0 - Current Price ◄
All models are in stock and available for purchase with a guarantee, free shipping throughout Russia or pickup.
How to create a template for a 3D printer for free
02/12/2020
Author: Olga Dmitrieva
1 star 2 stars 3 stars 4 stars 5 stars
How to create a template for a 3D printer for free
1
5
1
1
You can easily create templates for a 3D printer: all you need is a CAD program and the Slic3r application.
First of all, you will need a 3D modeling program in which you can create a model of the desired object for printing.
Free options include Solid Edge from Siemens or Solid Work. Both can be downloaded from the official websites of the developers without paying for a trial period. In addition, it is also convenient to use Microsoft's 3D Builder .
When creating a 3D model, you can either create a 2D drawing and then extrude it, or draw directly in 3D. It is important to note that you must not have over defined or under defined edges. This means that not only must the shape be complete in your drawing, i.e. not have "gaps", but also that the shape must not have lines drawn multiple times.
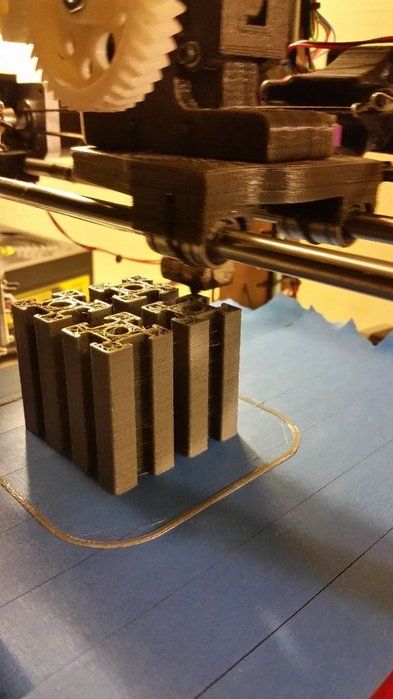
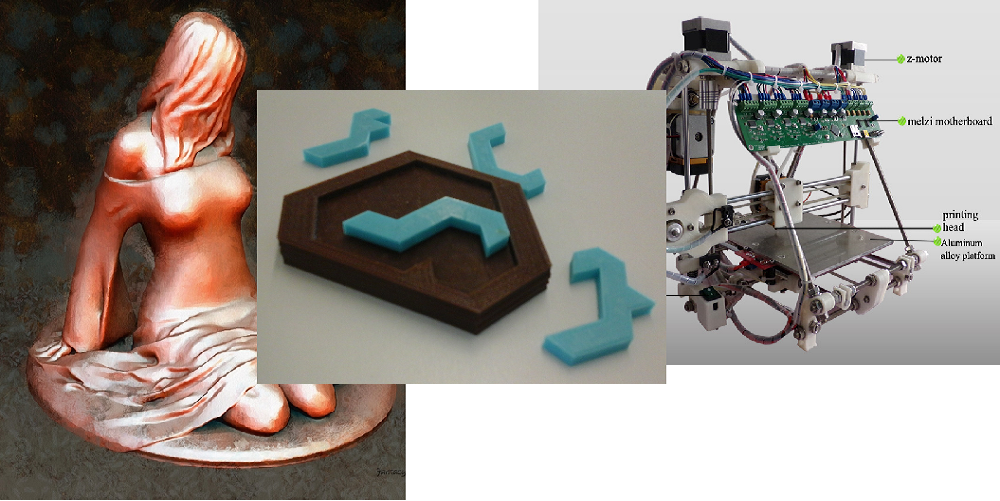
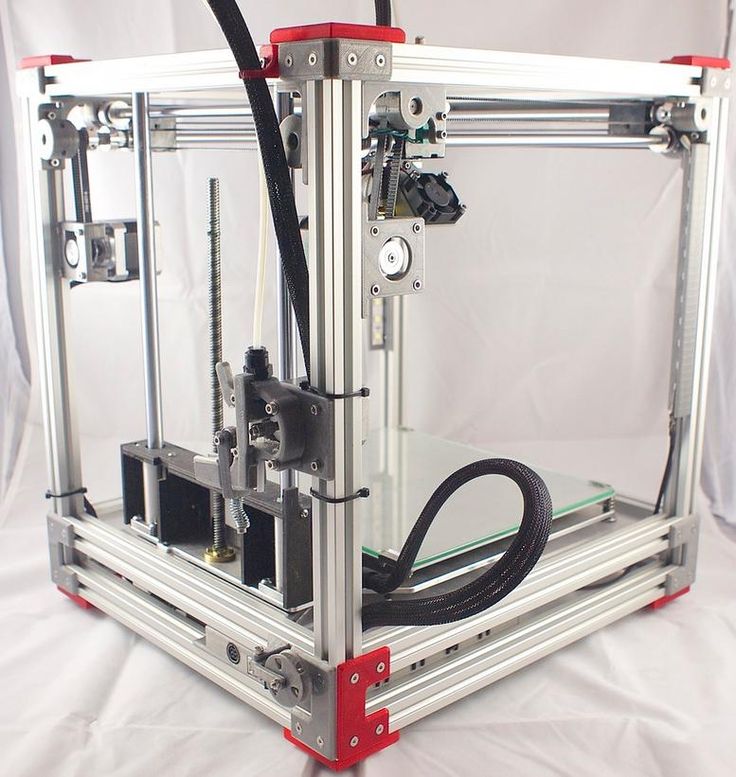
Typical 3D printer
After drawing, export the 3D model as an STL file. You can then use the Slic3r software to convert the model to a G-code that the printer can read. It is open source software that anyone can download for free.
Using Slic3r, import the 3D model and click "Slice with Slic3r". Some 3D printers already come with software that has Slic3r built into it. For example, you can also convert a 3D printable model directly to Repetier Host.