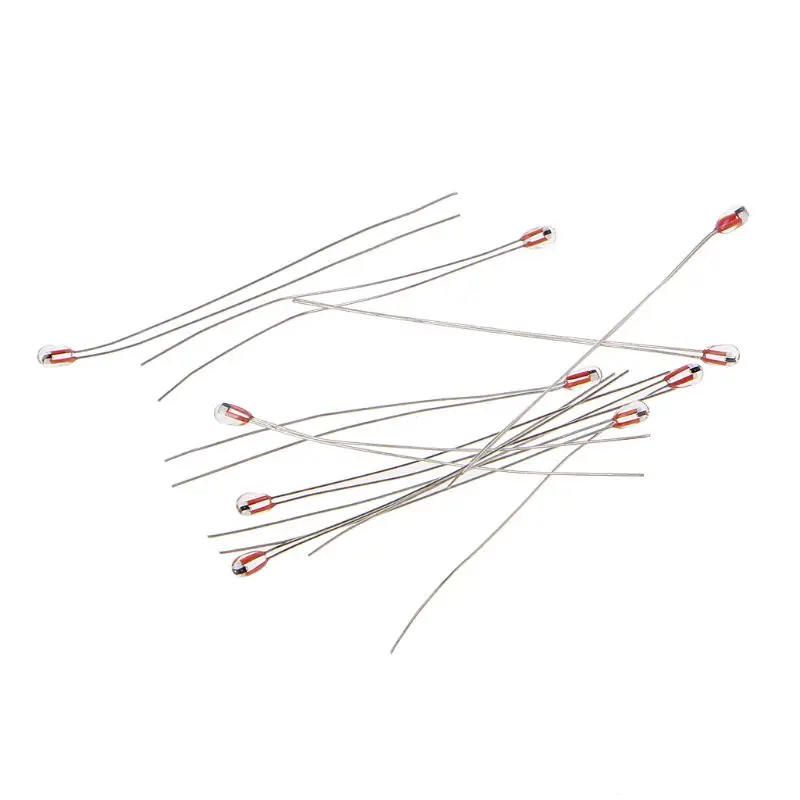
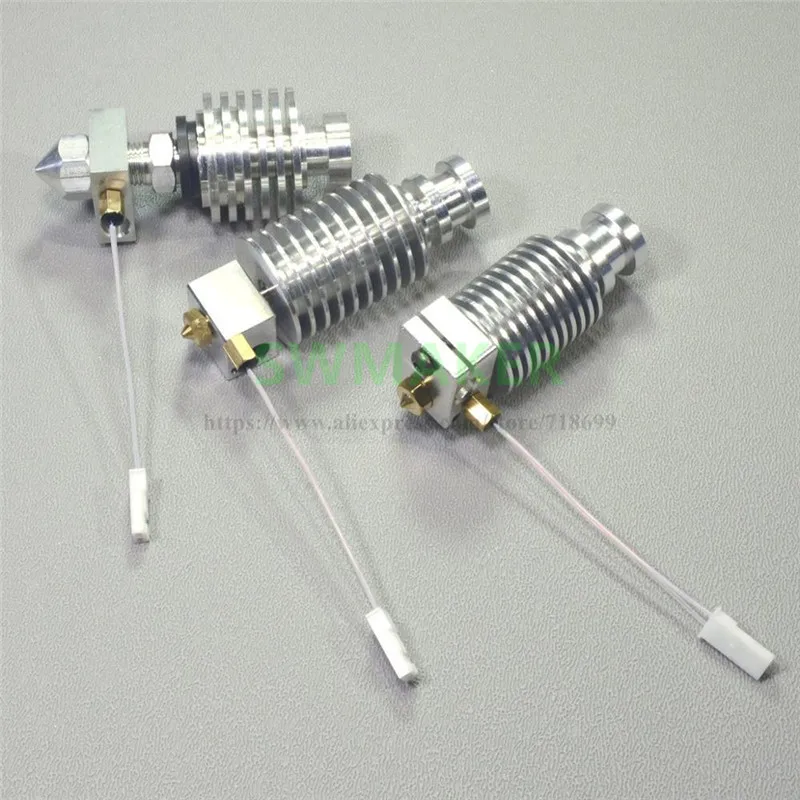
Thermistor for 3d printer
3D Printer Thermistors - 3DJake International
Sort byRelevanceBestsellersCustomer ReviewsPrice, Low to HighPrice, High to LowNew arrivalsHighest Discount
-
E3D Thermistor- Easy connection
- Cartridge style
- With extension cord
-
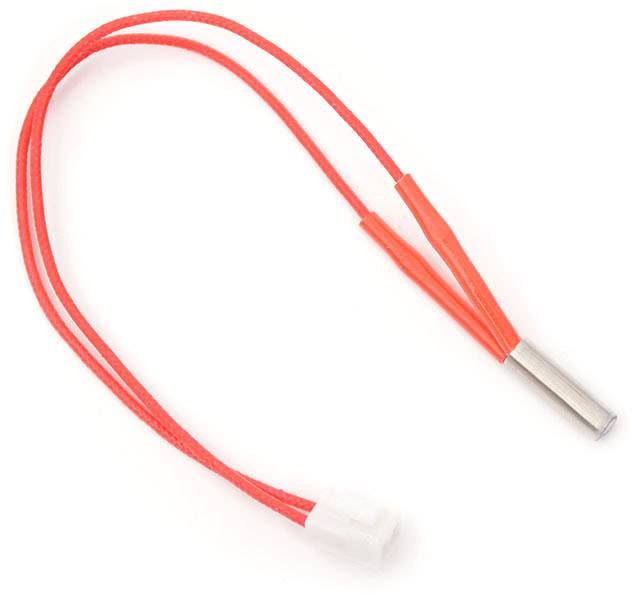
E3D Prusa Thermistor- Spare thermistor
- Especially for Prusa
-
Creality Hotend Thermistor 3 Model types- Original spare part
- Available for various 3D printers
-
Artillery Thermistor 5 Model types- Original spare part
-
Qidi Tech Hotend Thermistor 6 Model types- Original spare part
- By Qidi Tech
-
E3D PT1000 Temperature Sensor- For high temperatures
- Accurate measurement
- Easy installation
-
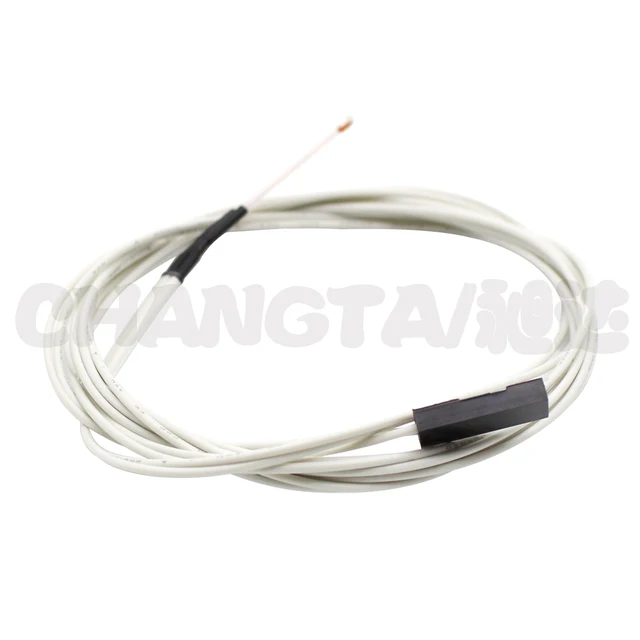
Creality Thermistor Kit- Easy installation
- High precision
- For hotend & heated bed
-
BondTech PT1000 RTD Temperature Sensor- Platinum-based resistor
- Robust sensor in thin-film construction
- -50 ° C - 500 ° C
-
Slice engineering 300°C Thermistor- From room temperature to 300 ° C
- 3 mm connection
- High compatibility
-
E3D PT100 Temperature Sensor- Highest precision
- Suitable for high temperatures
- Up to 500 ° C
-
BondTech DDX Thermistor Adapter- For Copperhead and Mosquito heating block
-
BondTech HeatLink Cable JST XH-2- For numerous 3D printers
- Easy to use
-
BondTech HeatLink 300C Thermistor- Easy to use
- For numerous 3D printers
- Plug & Play
-
3D Solex Temperature Sensor PT100 UM2 / +- Tested & Approved
- High-quality
- Length: 134 cm
-
E3D V6 PT100 Upgrade Kit- High precision
- Temperatures up to 500 ° C
- Easy to use
-
E3D 100k Ohm NTC Thermistor - Semitec- Spare part for V5 hot ends
-
E3D PT100 Amplifier Board- Upgrade for PT100 sensor
- More accurate temperature measurement at high temperatures
-
E3D Thermistor Replacement Kit- Package for changing the thermistor
-
BondTech HeatLink Cable JST XHP-2- For numerous 3D printers
- Easy to use
-
BondTech HeatLink cable JST SMP-02V-BC- Easy to use
- For numerous 3D printers
- Plug & Play
-
BondTech Molex MX-50-57-9002 HeatLink Cable- Easy to use
- For numerous 3D printers
- Plug & Play
-
Qidi Tech High Temp Hotend Thermistor- Original spare part
- From Qidi Tech
-
MINGDA Thermistor- Original spare part
- For MINGDA 3D printers
-
Zortrax Thermocouple + Heater- Original spare part
All prices incl. VAT.
3D Printer Thermistor Guide – Replacements, Problems & More – 3D Printerly
The thermistor on your 3D printer serves an important function, though some people can get confused on what exactly it does, and how it helps out. I wrote this article to set people on the right path on thermistors so they can understand it better.
In this article, we are going to explain all about thermistors to you. We’ll show you everything you need to know, from how to calibrate your thermistor to how to change.
So, let’s get started with a simple question, “What do thermistors do?”.
What Does a Thermistor Do in a 3D Printer?
A thermistor is an important component in FDM printers. Before we talk about its job, let’s define what a thermistor is.
Thermistors – short for “Thermal Resistors”- are electrical devices whose resistance varies with temperature. There are two types of thermistors:
- Negative Temperature Coefficient (NTC) Thermistors: Thermistors whose resistance decreases with increasing temperature.
- Positive Temperature Coefficient (PTC) Thermistors: Thermistors whose resistance increases with an increase in temperature.
The sensitivity of thermistors to changes in temperatures makes them suitable for temperature-sensitive applications. These applications include circuit components and digital thermometers.
How Is A Thermistor Used In 3D Printers?
Thermistors in 3D printers serve as temperature sensing devices. They are found in temperature-sensitive areas like the hot end and the heated bed. In these areas, they monitor the temperature and relay the data back to the micro-controller.
The thermistor also serves as a control device. The printer’s micro-controller uses the thermistor’s feedback to control the print temperature and keep it within the desired range.
3D printers mostly use NTC thermometers.
How Do You Replace & Attach a Thermistor to a 3D Printer?
Thermistors in 3D printers are very fragile instruments. They can break or lose their sensitivity easily. Thermistors control important parts of the printers, so it’s necessary to make sure they are in tiptop shape all the time.
Thermistors in 3D printers are often in hard to reach areas, so removing them can be a bit tricky. But don’t worry, as long as you exhibit caution and follow the steps carefully, you will be fine.
Two main 3D printer components contain thermistors- The hot end and the heated print bed. We’ll be taking you through the steps for replacing thermistors in both.
What You’ll Need
- Set of screwdrivers
- Tweezers
- A set of Allen keys
- Pliers
- Kapton tape
Replacing the Thermistor on Your Hot End
When replacing a thermistor in the hot end, unique procedures exist for different printers.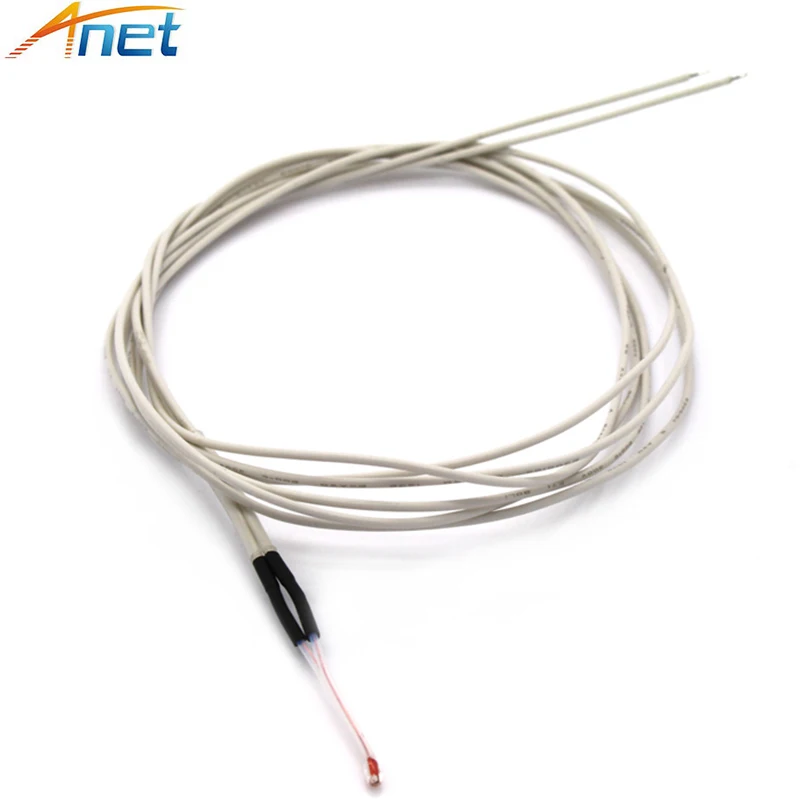 But for most models, these procedures are the same with a little variation. Let’s go through them:
Step 1: Consult the datasheet for your printer and get the appropriate thermistor for it. You can find more information about this in the article.
Step 2: Before you start, make sure you follow the appropriate safety tips.
- Make sure the 3D printer is powered down and disconnected from all power sources.
- Ground yourself if necessary.
- Make sure the hot end is cooled to room temperature before you attempt to disassemble it.
Step 3: Remove the hot end from the printer’s frame.
- This might not be necessary if the thermistor’s position is accessible from the outside.
- Remove all the screws holding the hot end and its wires in place.
Step 4: Remove the old thermistor from the hot end.
- Loosen the screw holding it in place on the bloc and remove it.
- Sometimes, there can be caked plastic on the block preventing this. You can use a heat gun to melt this away.
Step 6: Disconnect the thermistor from the micro-controller.
- Open the processing unit of the printer.
- Access the micro-controller and remove the thermistor connection with a tweezer.
- Be careful to make sure you remove the right wire. Consult your manufacturer’s specifications to make sure you know the wire to remove.
Step 7: Install the new thermistor
- Plug the end of the new sensor into the micro-controller.
- Carefully place the head of the new thermistor in its hole in the hot end.
- Screw it in place lightly. Be careful not over-tighten the screw so as not to damage the thermistor.
Step 8: Finish up
- Cover up the printer’s processing unit.
- You can use the Kapton tape to hold the wires firmly together to avoid movement.
- Re-attach the hot end to the printer’s frame.
Replacing the Thermistor on Your Print Bed
If your 3D printer comes with a heated print bed, there’s a good chance that it also has a thermistor there. The steps for replacing the thermistor on a print bed varies from model to model, but it’s mostly similar. Let’s how you how to:
Step 1: Follow the appropriate safety tips before starting.
Step 2: Remove the print bed
- Disconnect the print bed from the PSU (Power Supply Unit).
- Remove all the screws holding it to the frame of the printer.
- Lift it up and away from the frame
Step 3: Remove the insulation covering the thermistor.
Step 4: Remove the thermistor
- The thermistor can be arranged in many ways. It can be secured to the bed with Kapton tape or secured with a screw.
- Remove the screws or the tape to free the thermistor.

Step 5: Replace the thermistor
- Cut off the legs of the old thermistor from the sensor’s wire.
- Attach the new thermistor to the wire by joining them together.
- Cover the connection with electrical tape
Step 6: Finish up
- Attach the thermistor back to the bed
- Replace the insulation
- Screw the print bed back onto the frame of the printer.
How Do You Check the Resistance of a Temperature Sensor?
Resistance is not a value that can be measured directly. To find the thermistor’s resistance, you’ll have to induce current flow in the thermistor and measure the resulting resistance to it. You can do that with a multimeter.
Note: It’s a thermistor, so the reading will vary across temperature. It’s best to take your reading at room temperature (25℃).
Let’s go through the steps on how to check the resistance.
What You’ll Need:
- A multimeter
- Multimeter probes
Step 1: Expose the legs of the thermistor (strip away the fiberglass insulation).
Step 2: Set the Multimeter range to the rated resistance of the thermistor.
Step 3: Apply the multimeter probes to both legs, and the multimeter should display the resistance.
Most 3D printing thermistors have a resistance of 100k at room temperature.
How to Calibrate Your 3D Printer Thermistor
An uncalibrated thermistor is very bad for 3D printing. Without accurate temperature measurement and control, the hot end, and the heated bed cannot function properly. So, as part of routine maintenance, you should make sure your hot end is always calibrated properly.
Let’s show you how to do it:
What You’ll Need:
- A thermocouple equipped multimeter
Step 1: Test the multimeter’s thermocouple.
- Boil a small amount of water.
- Dip the thermocouple into the water.
- It should read 100℃ if it’s accurate.
Step 2: Open the printer’s firmware.
- In the printer’s program file, there’s going to be an Arduino file controlling the hot end.
- You can check with your manufacturer or on online forums to find the file’s location for your printer.
Step 3: Attach the multimeter’s thermocouple to the hot end.
- Find a space between the hot end and the nozzle and stick it in.
Step 4: Open the temperature table in the firmware.
- This is a table containing the values of thermistor resistance versus temperature.
- The printer uses this file to determine the temperature from the resistance measured.
- Copy this table and delete the temperature column in the new table.
Step 5: Fill out the table.
- Set the hot end to the temperature value in the old table.
- Measure the correct temperature reading on the multimeter.
- Input this reading to the resistance value on the new table corresponding to the value on the old table.
- Repeat these steps for all resistance values.
Step 6: Replace the table.
- After finding the accurate temperature for all the resistance values, delete the old table and replace it with the new one.
How Do You Know If a Thermistor is Bad on a 3D Printer?
The signs of a malfunctioning thermistor vary from printer to printer. It can be as clear as a diagnostic message flashing on the printer’s interface, or it can be as bad as a thermal runaway.
We’ve compiled a list of some of the most common signs that indicate a problem with your 3D printer’s thermistor. Let’s go through them:
Thermal Runaway
Thermal Runaway is the worst-case scenario for a bad thermistor. It occurs when a faulty sensor supplies the wrong temperature to the printer.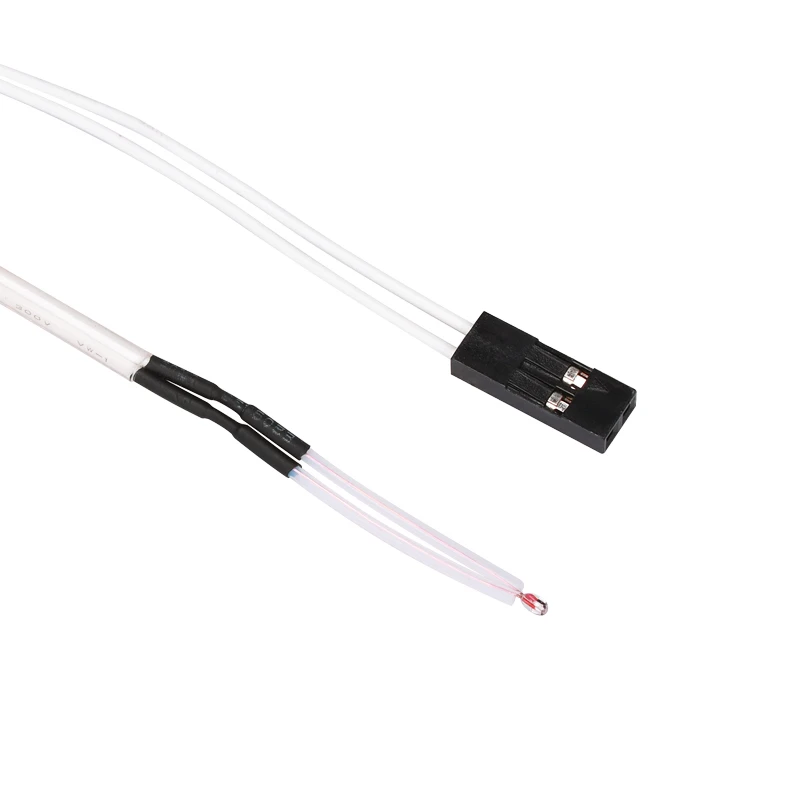 The printer then keeps transmitting power to the heater cartridge infinitely until it melts the hot end down.
Thermal runaway can be very dangerous. It can result in fires that can destroy not just your printer but the surrounding areas. Luckily, most manufacturers have included firmware safeguards in place to prevent this from occurring.
Higher Than Usual Print Temperatures
Materials usually come with recommended print temperatures. If the printer requires a higher temperature than the rated temperature to extrude the materials, the thermistor can be faulty.
You can run a diagnostic test on the thermistor to find out.
Symptoms of a faulty thermistor can also include:
- A large number of print errors due to temperature issues.
- Wild variations in temperature readouts.
If your thermistor cracks, it is going to fail so you want to prevent that from happening. Most times, a thermistor would break due to the screw that holds them being too tight, which shorts them out.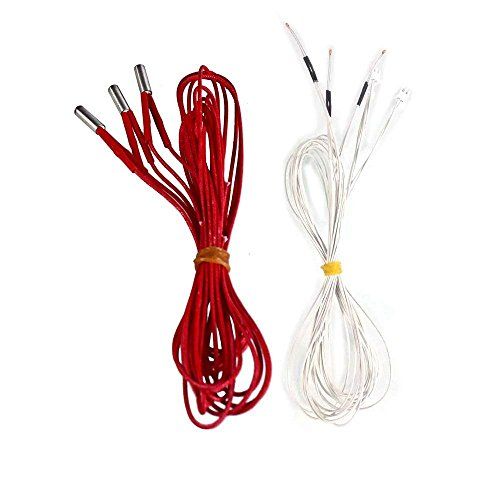
The screw should be slightly loose, at around half a turn back from being tight on there, since the thermistor just needs to be held in place rather than securely pressed against the hotend.
The good thing is that thermistors are fairly cheap.
Best Thermistor Replacement for Your 3D Printer
When selecting a thermistor for your 3D printer, there are some key factors to consider to get the right one. Let’s go through them.
The most important of these factors is resistance, the resistance of the thermistor matters. It determines the range of temperature the thermistor will be able to measure. 3The resistance of 3D printer thermistors is mostly 100kΩ.
The temperature range is another important factor. It determines the magnitude of temperature your thermistor will be able to measure. An acceptable temperature range for an FDM printer should be between -55℃ and 250℃.
Finally, the last factor you should look at is the build quality. The thermistor is only as good as the materials used in building it. The materials can have a high effect on sensitivity and durability.
To get the best quality, it’s advisable to go for aluminum thermistors with suitable insulation like fiberglass for the legs. This is because aluminum is very conductive to heat while fiberglass is not.
Using all the factors listed above as a yardstick, we’ve compiled a list of some of the best thermistors on the market for your 3D printer. Let’s have a look at it.
HICTOP 100K ohm NTC 3950 Thermistors
Many people mention just how useful the HICTOP 100K Ohm NTC 3950 Thermistors are after using it on their 3D printers. There is more than enough length for it to suit your needs and is a perfect job for your 3D printer.
You should make sure that your firmware is set correctly beforehand.
If you’ve had the thermistors on your Ender 3, Anet 3D printer or many others out there, then this should work very nicely for you.
These thermistors can fit on a Prusa i3 Mk2s bed without issues.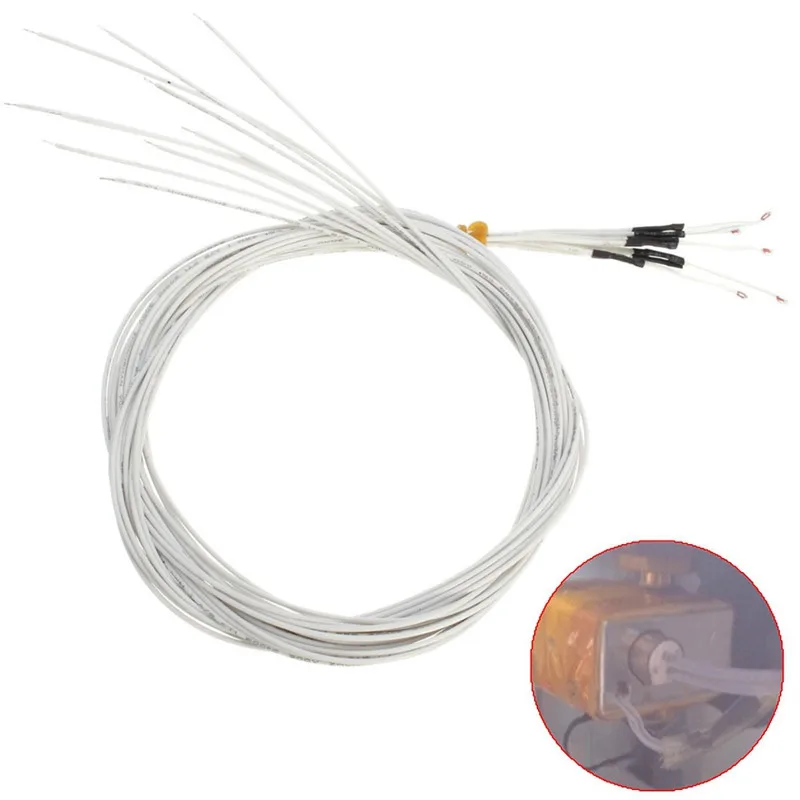 The temperature range is okay to go up to 300°C, then after that kind of temperature, you’ll need a thermocoupler.
Creality 3D Printer NTC Thermistor Temp Sensor
Another set of thermistors that you can go for are the Creality NTC Thermistors, which list down the Ender 3, Ender 5, CR-10, CR-10S and more. Basically any 3D printer that takes a thermistor is good to go with these.
It’s used perfectly with your heated bed or extruder as you desire.
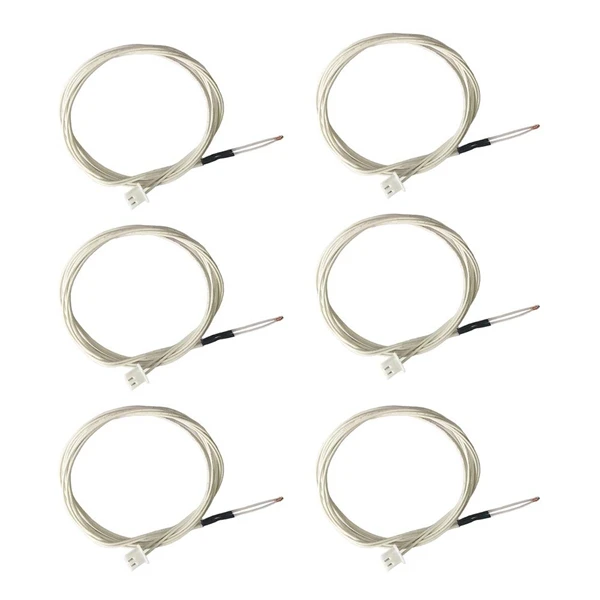
It has the standard 2-pin female connector with a wire length of 1m or 39.4 inches. The package comes with 5 thermistors with a temperature accuracy ±1%.
You should set the temp sensor number to “1” in Marlin for the best results.
If you’ve had some type of minimum temperature error on your 3D printer, these can definitely come to the rescue.
Most people had a positive experience with these, where they fit and work fine, as well as having spares just in case.
One user who purchased an Ender 5 Plus had temperature readings of -15°C or 355°C max.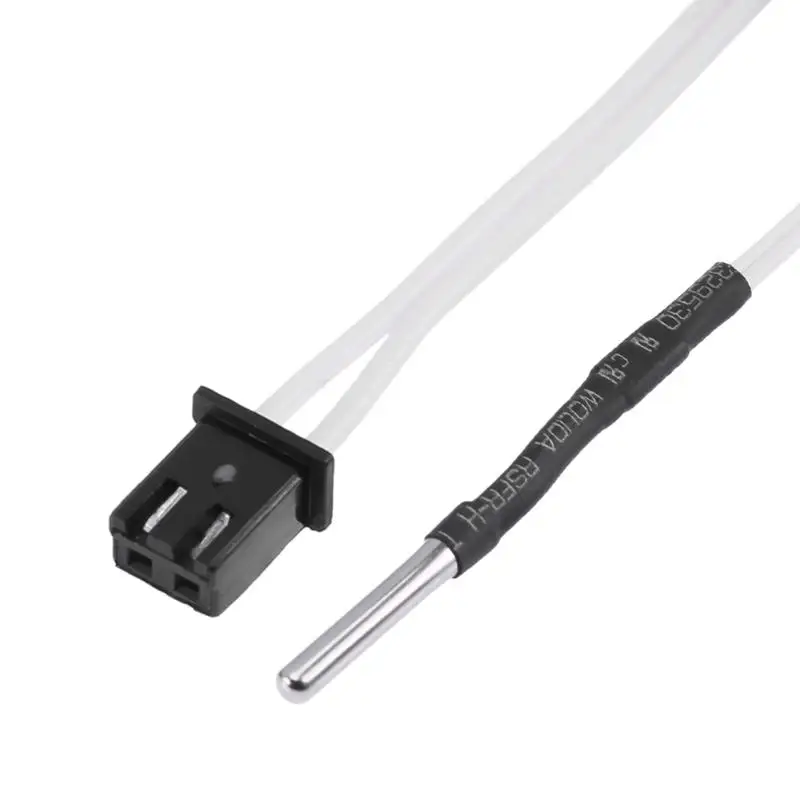 temperature change their thermistor to these and solved the issue.
Some people have complained that they can come up a little short on the Ender 3, and required the wiring for the fans and heater cartridge to be looped above the assembly to use the sleeve and keep it together.
You can splice the thermistor, then solder it in if needed.
Others have used it as a direct plug replacement on the Ender 3 though.
"Watchman" of a 3D printer and a thermistor tester / Sudo Null IT News Most of them have protection against uncontrolled overheating of the table, and if the temperature exceeds the set value, the heater is turned off. Never disable this feature.
But MOSFETs and solid state relays that control the heater sometimes “fly out”, after which the table warms up to the maximum achievable temperature, and it becomes impossible to turn it off programmatically. Mains-powered heaters are especially dangerous.
The proposed device measures the temperature of the table with a thermistor, after completion it can additionally monitor the heating of other points, for example, nozzles and stepper motor drivers.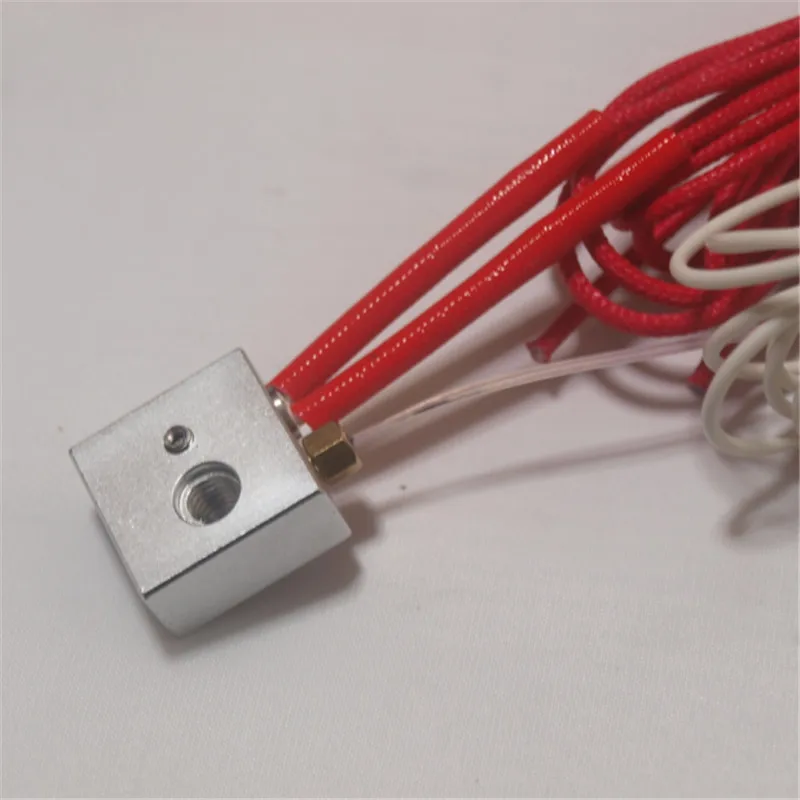 If it overheats, it turns off the mains power to the printer.
With all the variety of sensors for measuring temperature, the author's choice fell on a 100 kΩ thermistor type 3950 with a negative temperature coefficient. It is also used in the 3D printers themselves, so such thermistors can be tested with the device.
You will need:
- Arduino Uno or Nano (I used Nano with expansion module)
- LCD 2 lines x 16 characters with serial interface and bus adapter I 2 C
- Encoder KY040
- Relay module for Arduino with optocoupler and five-volt control (the translator would add a contactor with bridge contacts after it)
- 5 volt sounder with built-in generator
- Type 3950 100 kΩ NTC thermistor. Additional thermistors of the same type if you are going to make a device with multipoint measurement
- Inlet 3-pin connector for standard computer power cord
- Socket with earth contact for connecting your 3D printer
- 12-volt power supply, for example, from a router.
- Conductors, hardware, soldering iron, 3D printer for printing the device case, etc.
The author printed PLA body parts with 25% infill. STL files are included.
Body
Front panel
Cover
Handle
Follow the diagram and comments in the sketch for assembly. You can use DuPont jumpers or solder wires to pins on the board. Use wires long enough to fit everything into the case and nothing is pulled when you remove the front panel. The Vref line is connected to a 3.3V source to improve accuracy.
Schematic link
The input connector and socket can be placed on the case, or you can make the design fixed by including it in the break of the printer power cord. Be careful when working with mains voltage .
The use of normally open contacts ensures that voltage is supplied to the printer only if two conditions are met simultaneously: the watchdog is powered, and there is no overheating.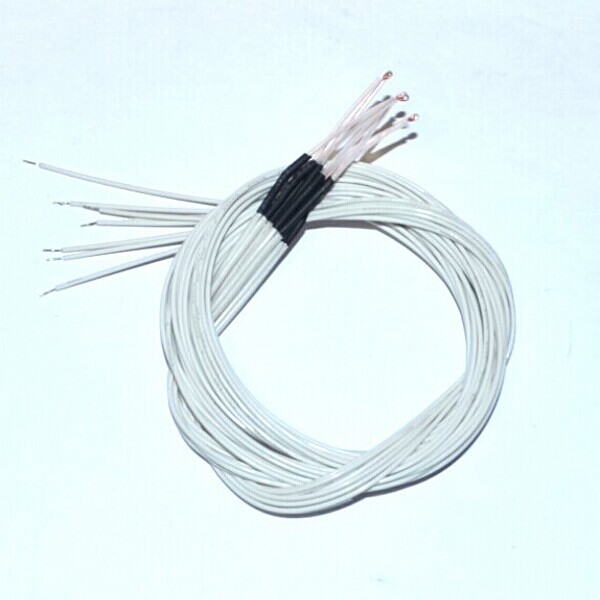 Once overheating is detected, the printer remains offline even if mains power is lost and restored until the device is manually reset.
Before uploading the sketch, add the LiquidCrystal_I2C and EEPROM libraries to the Arduino IDE.
Sketch
After turning on the LCD will show the current temperature and the maximum temperature for the entire observation period.
The LCD will then show the target temperature.
Press the encoder knob to reset the maximum temperature.
Set the target temperature by turning the knob, then press to save the change.
If overheating is detected, the watchdog will turn off the printer and beep for one minute. The device will not resume power until manually reset.
Press the encoder knob to reset and restore power to the printer.
The maximum and target temperatures, as well as the state of overheating, are stored in non-volatile memory to prevent the printer from turning on spontaneously when power is lost and restored.
Page not found - Plastic for 3D printing in Yekaterinburg
Nothing found at this address. Use the search or see the links below.
Search:
Discounts
-
ABS plastic SEM 1.75mm White 900g
1299 RUB Add to cart1 pc. in stock
ABS plastic SEM 1.75mm White 900g
ABS plastic for 3D printers with a diameter of 1.75 mm from the domestic manufacturer SEM. Designed for the manufacture of parts for housings, various designs, kitchen products, as well as medical supplies. The printed products can be used in water, for example in the manufacture of parts for sanitary ware or aquariums. The material is suitable for various FDM 3D printers.
1299 RUB
-
Sale!
ABS plastic SEM 1.75mm Bronze metallic 900gr
1399 RUB Add to cart1 pc.
 in stock
 ABS plastic SEM 1.75mm Bronze metallic 900gr
ABS plastic for 3D printers with a diameter of 1.75 mm from the domestic manufacturer SEM. Designed for the manufacture of parts for housings, various designs, kitchen products, as well as medical supplies. The printed products can be used in water, for example in the manufacture of parts for sanitary ware or aquariums. The material is suitable for various FDM 3D printers.
1399 RUB
Featured Items
-
Discount for quantity!
3D printer adhesive 250 ml The 3D “Click” New
499 RUB Add to cart24 pcs. in stock
3D printer adhesive 250 ml The 3D “Click” New
Adhesive for FDM printing. Perfectly solves the problems of poor adhesion of plastic to the table.
 How to use: before printing, apply the glue solution to the fabric and wipe the surface of the table of the heated platform with it. For easy removal of the product from the table, after printing, wait for the work surface to cool down to 30°C. Ingredients: isopropyl alcohol, P-complex, water, fragrance. Ingredients: isopropyl alcohol, P-complex, water, fragrance.
 499 RUB
-
Nozzle brass 0.4mm MK8 for plastic 1.75mm 5APlus
40 ₽ Add to cart5 pcs. in stock
Nozzle brass 0.4mm MK8 for plastic 1.75mm 5APlus
Brass, size: 13 mm x 6 mm. Thread diameter: 1.75 mm. Thread diameter: 6 mm. Nozzle outlet diameter: 0.4mm
Suitable for 3D printers with MK8 type hot end: Anet A6, Anet A8, Creality CR-10, Ender-3, Ender 5, Ender 5 plus, etc.
40 ₽
-
PETG plastic FDplast 1.75 “Black Raven” 1000g
1650 ₽ Read morePETG plastic FDplast 1.
Learn more