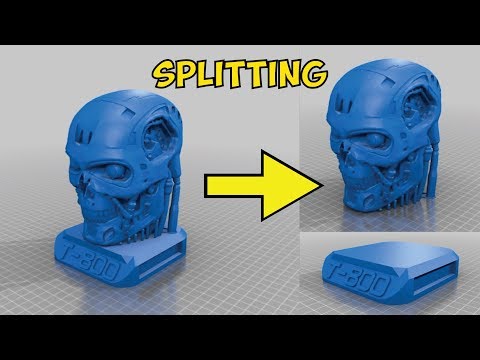
Split model for 3d printing
How to Split & Cut STL Models For 3D Printing – 3D Printerly
Splitting and cutting your models or STL files for 3D printing is important if you want to create prints that are larger than your build plate. Instead of scaling down your project, you can separate your model into different parts which can later be joined together.
In order to split and cut your STL models for 3D printing, you can do this in many CAD software such as Fusion 360, Blender, Meshmixer, or even directly in slicers like Cura or Lychee Slicer. You simply select the split or cut function within the software and split the model where you choose.
This is the basic answer for splitting and cutting your model, so keep on reading to get the details on how to do this successfully, along with more useful information that you can use.
How Do You Break Up Models & STL Files for 3D Printing?
When it comes to 3D printing, breaking up large models is an important skill to learn since we are limited by the size of our build plates for each print.
Rather than stopping at this limitation, people figured out they could break models into smaller sections, which can then be glued back together afterwards. This can be done by using design software or even directly within our slicers, though it takes some knowledge to get it right.
It’s similar to having a model which is split with the main model and the base or stand of the model, but doing this for multiple parts of the model.
After you split and print the model, people tend to sand the prints down, then super glue them together to provide a strong bond that shouldn’t come apart.
Popular software that can split your STL files or models up are Fusion 360, Meshmixer, Blender, and many more. Some of these are easier than others, mainly due to the user interface or how many features the application has.
It’s best to pick a software and follow a good video tutorial that takes you through the steps to split up your models with ease. You can actually use the popular Cura slicer to split your models down and separate them into different STL files which can be printed separately.
Similarly, you have resin slicers such as ChiTuBox or Lychee Slicer that have inbuilt split functions where you can cut a model and organize it on the build plate as you wish.
The process of splitting a model and changing the orientation can allow you to easily fit a large model on your build plate, by utilizing the whole area.
In some instances with more advanced model, designers actually provide STL files where the model is already split up, especially when it comes to figurines, complex characters, and miniatures.
Not only are these models split up nicely, but sometimes they have joints which fit together nicely like a socket, allowing you to easily glue them together. With experience and practice, you can even take STL files, edit them and make your own joints.
Let’s look into how to actually split models using different software.
How to Split a Model in Fusion 360
A simple way to split a model in Fusion 360 is to sketch where you want to split the model, Extrude the sketch towards the inside of your model, then change the Operation to “New Body”.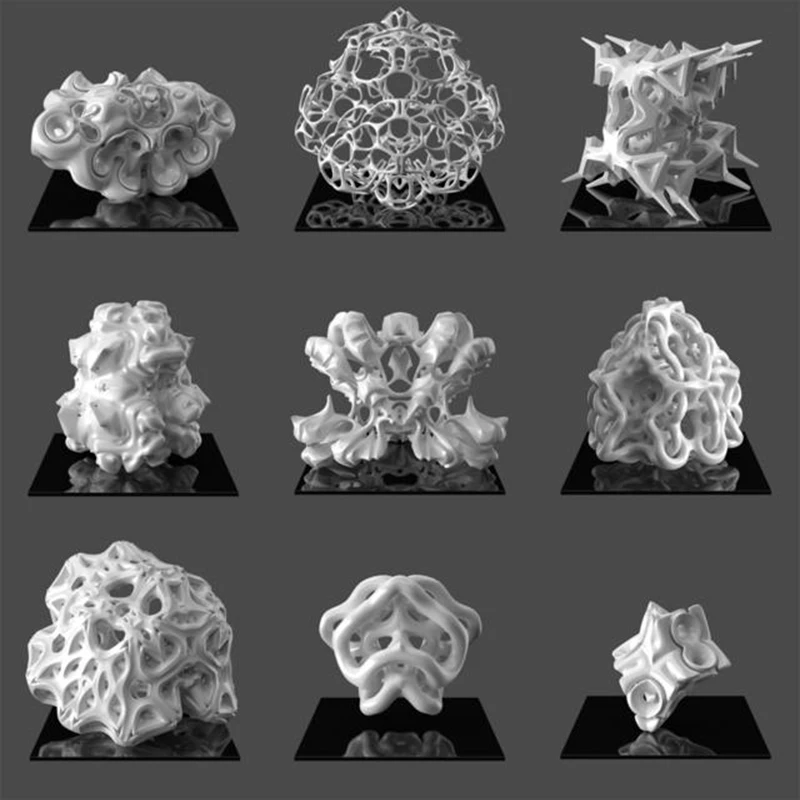 Now you can hit the “Split Body” button with the Splitting Tool highlighted and select the model to split up the two separate parts.
Another way to split a model in Fusion 360 is to create an Offset Plane on your model under the “Construct” section in your toolbar, then move the Plane to where you want to split the model. You then click the “Split Body” button in the toolbar and select the Plane to cut. Each face of your model can have a Plane.
Check out the video below for a great illustration and tutorial on how to get this done for your models.
The video above shows how to split really simple models, though for more complex ones, you may want to use a more advanced technique to get the splits perfect.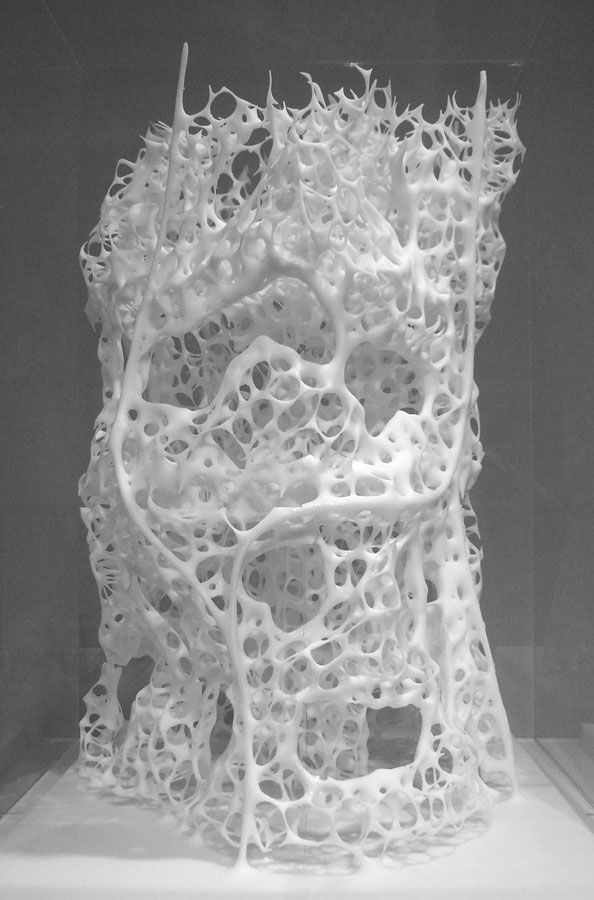
The video below by Product Design Online takes you through two main methods on how to split large STL files so you can successfully 3D print them. It works for STL files or even STEP files that are large meshes.
Many people describe it as one of the best videos on how to split 3D printer files for printing.
The first method consists of:
- Measuring the Model
- Turning on the Mesh Preview
- Using the Plane Cut Feature
- Selecting the Cut Type
- Selecting the Fill Type
The second method consists of:
- Using the Split Body Tool
- Moving the Newly Cut Parts
- Creating a Dovetail
- Copying the Joint Type: Making Duplicates
How to Split a Model in Cura
To split a model in Cura, you first have to download a plug-in called “Mesh Tools” from the Cura Marketplace. After getting it, you simply choose your model, click on the Extensions tab and find Mesh Tools there. Finally, click on “Split model into parts” and enjoy your model cut into two.
Cura’s method for splitting up a model is quite uncomplicated. The older versions of this slicer software didn’t even require downloading the Mesh Tools plug-in.
You simply had to right-click on the model and the option to split your model would appear. Painless360 has explained how to break your model into parts in the following video.
Unfortunately, Cura does not involve advanced techniques to cut your model. You’ll have to use Meshmixer or Fusion 360 for more complex part splitting.
How to Cut a Model in Half in Blender
To cut a model in half in Blender, go to “Edit Mode” by pressing the “Tab” key, then find the “Bisect Tool” in the “Knife” section on the left column. Ensure the mesh is selected by pressing “A” then click the first and second point to create a line where your model will be cut. Now press “P” to separate the model.
- Go into Edit Mode by pressing the Tab key
- On the left column, find the “Knife” tool, hold the left click and select the “Bisect Tool”
- Make sure the mesh is selected by pressing the “A” key
- Create the line by clicking the first and last point across your model to start the split
- Press the “V” key then right-click to make the actual split in the model
- While the split is still highlighted, press “CTRL+L” to select the active mesh it’s connected to.
- You can also hold “SHIFT” and click any meshes if there are loose parts then hit “CTRL+L” to select it
- Hit the “P” key and separate parts by “Selection” to separate the parts in the model
- Now you can hit “TAB” to go back to Object Mode and move around the two separate pieces.
There are some options that you can play with while splitting up your models, though it’s very simple to do for the most part.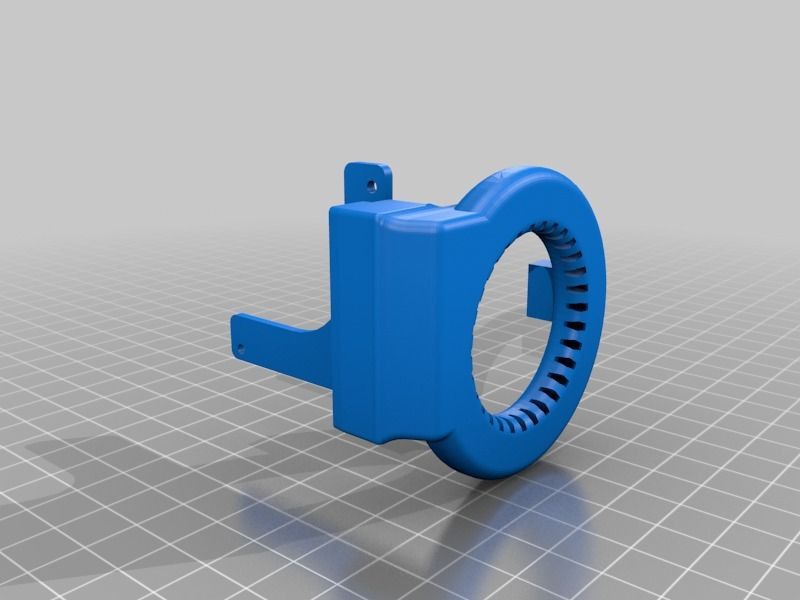
You can choose whether you want to keep the part of the model you are splitting by checking the “Clear Inner” or “Clear Outer” part of the model, as well as choose whether to “Fill” the mesh, so the split doesn’t just have a gap in there.
If you forgot to fill in your models during the splitting process, you can hold “SHIFT + ALT” then Left-Click the outer mesh or edge of the model to select the whole exterior or “loop select” the model. Now press the “F” key to fill in the mesh.
There are more tips that you can do to smooth your model and even make the edges match up better. Check out the video below by PIXXO 3D for a great tutorial on how to split models on Blender.
How to Separate Objects in Meshmixer
When it comes to creating complex cuts, doing it in a slicer or very basic CAD software can be difficult or just not possible.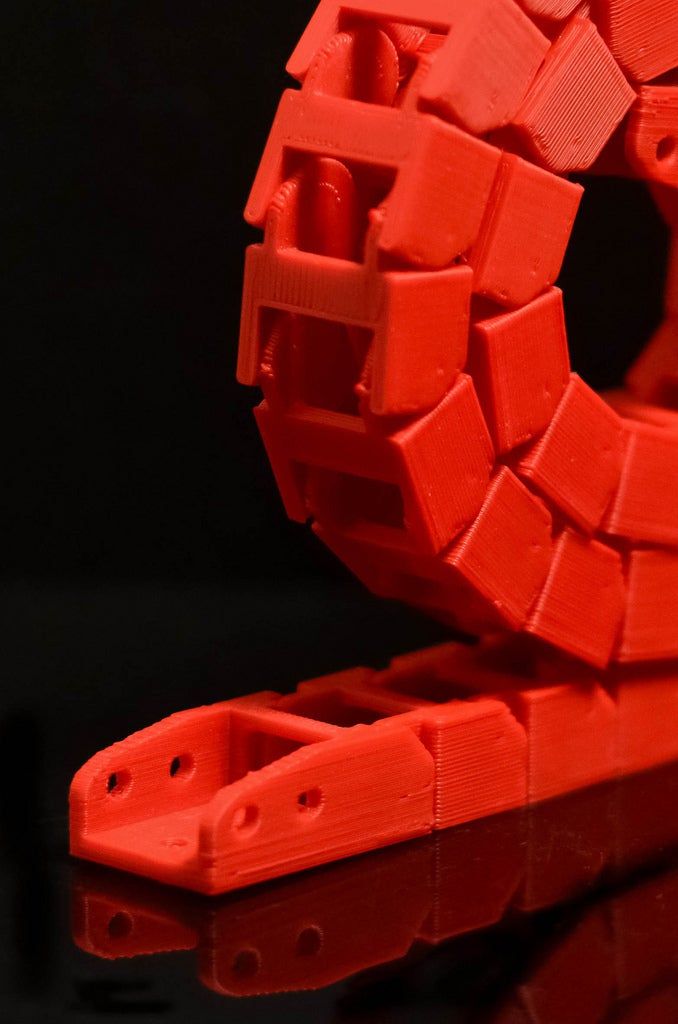 Meshmixer is a popular CAD software that allows you to have a lot more control over how you separate and split your 3D printing files.
To separate objects in Meshmixer, you have to click on the “Edit” section and choose “Plane Cut” from the options there. Then, select “Slice” as the “Cut Type” and separate the object using a plane cut. Go back to “Edit” and click on “Separate Shells.” You will now be able to easily “Export” the individually split models from the menu on the left.
You also have a second option to split models by using the “Select Tool” and specifying a smaller area of the model to be cut.
Josef Prusa has a great video showing you exactly how you can cut STL models successfully in Meshmixer.
Here is a summary step-by-step guide to separating objects in Meshmixer.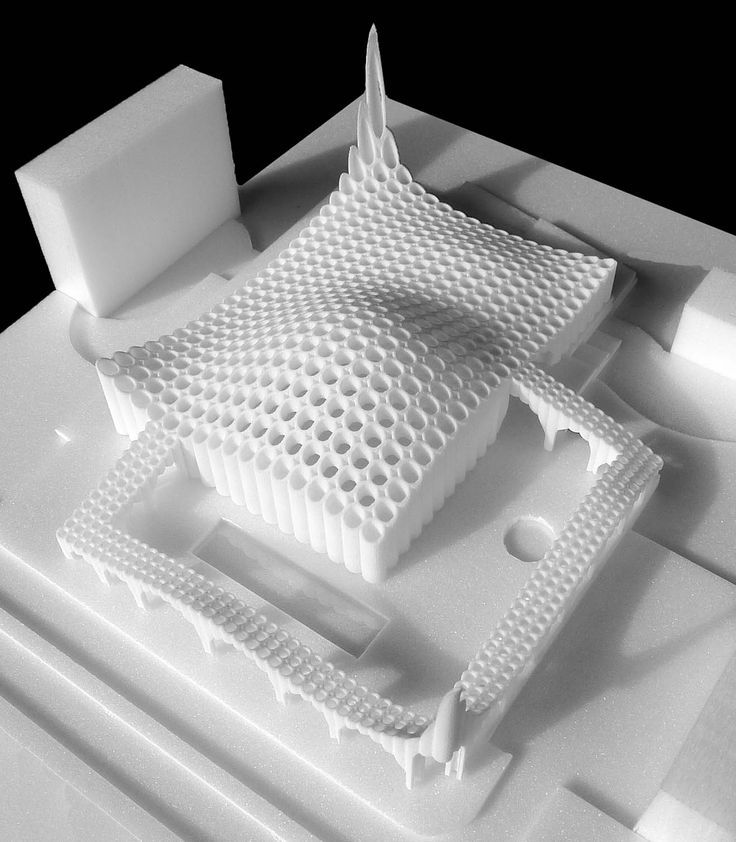
- First, import your model into the Meshmixer platform
- Select “Edit” & hit “Plane Cut”
- Rotate the view to identify the Plane you want to cut
- Click and drag to cut the model in the desired area
- Change the “Cut Type” to slice so you don’t discard any of the model and hit “Accept”
- Your model is now separated
- You can go back to “Edit” and select “Separate Shells” to split the model up
Another cool thing you can do in Meshmixer is to actually create aligning pins to your split models which fit like a plug between two pieces. This is also shown in the video above, so definitely check that out to learn how to do it like the pros.
Bonus Method: Use 3D Builder to Split 3D Models Easily
3D Builder is one of the easiest ways of splitting up an STL file and cutting it into different parts. It comes pre-loaded on most Windows computers, and can also be downloaded for free through the Microsoft Store.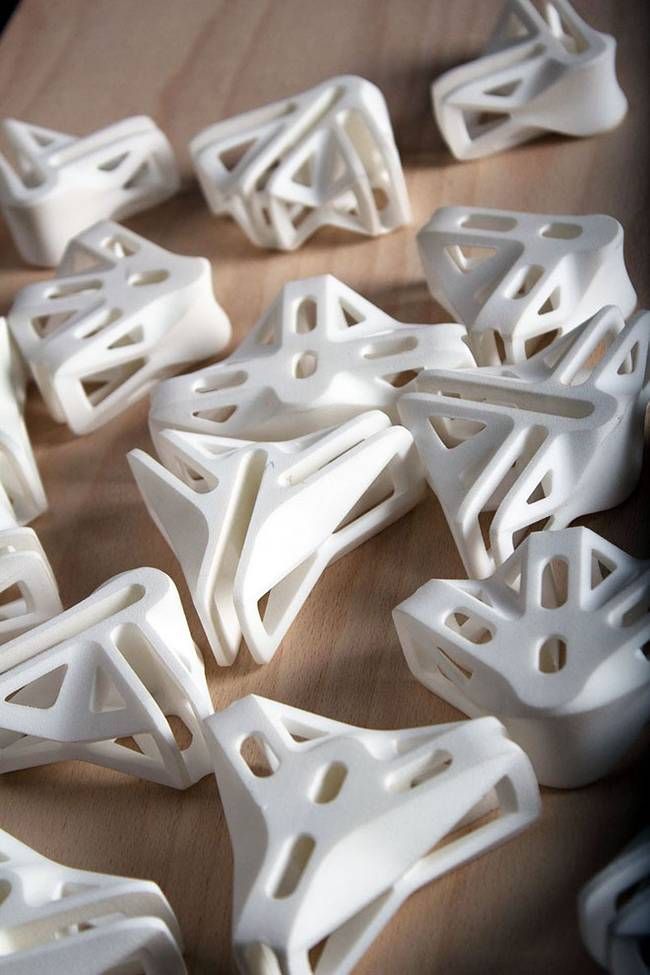
The application enjoys a fluid, responsive interface with easy-to-understand controls that even beginners won’t have a difficult time getting used to.
To split a model in 3D Builder, simply select your model, click on “Edit” in the Taskbar above, and then click on “Split.” You would then use the rotation gyroscopes to position the cutting plane however you want. When done, click on “Keep Both” and select “Split” to cut the model in half and save it as an STL file.
3D Builder makes the splitting process quite effortless for 3D printing enthusiasts and experts alike. The cutting plane is easy to handle, and you can easily use it as your go-to model slicer, as thousands of other people do.
The following video can help illustrate the process even further.
New Method of Splitting 3D Models To Fit on Smaller 3D Printers « Fabbaloo
By Kerry Stevenson on January 18th, 2022 in news, research
Tags: large, luban, models, segmentation, software
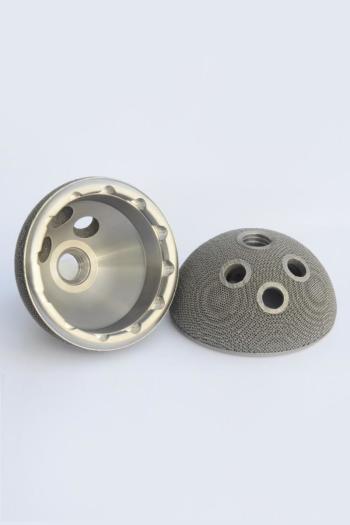
Segmenting a large structure for 3D printing [Source: Research Gate]A paper released last month describes an efficient method for splitting 3D models, enabling 3D printing of large objects on smaller machines.
Researchers at Technische Universität München considered the problem of small build volumes in most contemporary 3D printers, and that many parts cannot fit within them.
I always say the build volume doesn’t matter so much because 3D models can always be segmented into different parts that do fit within the build volume. Print and assemble, that’s how you get large objects made.
But how, exactly, do you segment a 3D model into different parts? You could simply do a series of manual plane cuts, but then you have the issue of part alignment during assembly: how do you make certain the parts are in precisely the correct location? You would then have to create holes and pins, but then the whole process becomes massive if there are more than a few segments involved.
The only software I’ve seen that’s able to do something like this is LuBan, a little-known 3D print utility program that, among many other features, can assist in the segmentation process. However, very few people use it due to a US$400 license fee. That’s more cash than the cost of some very good 3D printers these days!
There’s more trouble when segmenting: you want the assembled structure to have sufficient strength for its intended purpose. For example, you wouldn’t want your spindly 3 meter sculpture to collapse because the segments were not engineered to be in the optimal locations, would you?
What if you happened to segment a 3D model in such a way that you could not actually assemble it after printing because the pin directions conflict?
The more you think about it, the more complex this problem becomes. Now imagine trying to automate it with a software algorithm.
That’s the problem space of this research. The paper describes their approach:
“This paper presents a universal design method to overcome this limitation while preserving the economic advantages of rapid prototyping over conventional processes. It segments large, thin-walled parts and joins the segments. The method aims to produce an assembly with minimal loss to the performance and characteristics of a solid part.
Based on a set of requirements, a universal segmentation approach and a novel hybrid joint design combining adhesive bonding and press fitting are developed. This design allows for the force transmission, positioning, and assembly of the segments adaptive to their individual geometry.”
In other words, INTELLIGENT segmentation, something that doesn’t exist on the market today.
The new 3D model segmentation process [Source: Research Gate]You can immediately see their approach is different because it recognizes six different methods of joining parts together, including: compounding, pressing, forming, shaping, welding, and gluing. The overall problem is related to puzzle theory, as they explain:
Two large parts successfully segmented with joiners [Source: Research Gate]“The challenges of segmentation are related to those of a puzzle game, except that it poses a three-dimensional instead of a two-dimensional problem. This increases the complexity and relativizes questions regarding the uniform design and assembly of three-dimensional segments.
”
Their approach is quite complex and you’ll have to read the paper to see the details, but the implications of it are profound.
Segmenting large structures for 3D printing [Source: Research Gate]This system allows a large object to be segmented in a way that allows for practical and effective assembly after printing. No other system known does this.
Properly segmented large structure, 3D printed into parts with joiners [Source: Research Gate]Imagine if one of the 3D printer manufacturers put this algorithm into their slicing software. That would change how desktop 3D printers are used in a very direct way. This could be a typical workflow:
- Design very large object, ignoring build volume constraints
- Segment the 3D model in the slicing software to fit piece within the build model
- Slice all the pieces and generate separate GCODE files for each
- Successively print each GCODE file
- Assemble the prints
The first point is the most important: Ignore The Build Volume. This is something that has never, ever been heard in the 3D Printing Universe.
Software developers of Ultimaker Cura, PrusaSlicer, Simplify3D, IdeaMaker and others: are you ready to take this on?
Via Research Gate
Kerry Stevenson, aka "General Fabb" has written over 8,000 stories on 3D printing at Fabbaloo since he launched the venture in 2007, with an intention to promote and grow the incredible technology of 3D printing across the world. So far, it seems to be working!
View all of Kerry Stevenson's posts.
Free 3D file AIRSOFT GEARBOX SPLIT V2・3D printing template to download・Cults
AR15/M4/M16 Receiver STL
Free
AR15/M4/M16 Receiver
Free
AR15/M16A2 RECEIVER STL
Free
AR10/AR RECEIVER
Free
M1911/A1 KITS
Free
AR10/AR RECEIVER STL
Free
AR15/M16A2 RECEIVER
Free
Beretta 92 PISTOL FRAME
Free
The best files for 3D printers in the Tools category
OpenRC F1 GoPro Mount
Free
Motor Gearbox Reduction 1:6.
 5
5 Free
Parametric drill stop
Free
ANYCUBIC VYPER REEL HOLDER
Free
Spool Holder (RigidBot)
Free
Bit holder (pegboard or wall mounted)
Free
PyBadge Case with Flip Out Mic (TensorFlow Lite Kit)
Free
Universal Wall Holder for 1/2 inch sockets 044 I for screws or peg board
Free
Bestsellers in the Tools category
Ender 3, 3 V2, 3 pro, 3 max, dual 40mm axial fan hot end duct / fang. CR-10, Micro Swiss direct drive and bowden compatible. No support required for printing
1.68 €
PRECISE DIAL INDICATOR 3D PRINT DIY
1.85 €
Printer boxes for Ikea Lack Table
1,99 €
Rapid loader for magazine SIG Sauer P365/XL and P226 9 mm
2. 04 €
04 €
AIR DUCT 5015 ENDER 3 S1/PRO V3
2.46 €
Quick print stackable parts containers / storage boxes
2.88 €
GEAR AND DRIVE
3.56 €
Grinder | Grinder
€1.50
Filamentmeter
2,80 €
PRECISION CALIPER 3D PRINT DIY
3,03 €
FAST PRINT STACKING STORAGE BOXES STACKING CONTAINERS
€1.50 -fifty% 0.75€
NEW GENERATION CAR PHONE HOLDER
2,50 €
Business card embossing system
3 €
INDICATOR FOR BETTER BED LEVELING FOR ENDER 3 PRO
3.19 €
Fire hydrant storage container
2. 04 €
04 €
NASA BOX
2.05 €
Do you want to support Cults?
Do you like Cults and want to help us continue our journey on our own ? Please note that we are a small team of 3 people, so it is very easy to support us in maintaining activities and creating future developments. Here are 4 solutions available to everyone:
-
ADVERTISING: Disable the AdBlock banner blocker and click on our banner ads.
-
AFFILIATION: Shop online with our affiliate links here Amazon.
-
DONATIONS: If you want, you can donate via PayPal here.
-
* INVITE FRIENDS: * Invite your friends, discover the platform and great 3D files shared by the community!
How to split a 3D model in 3D Builder - Help & How To
Tiffany Garrett
Help And How To
There is a big difference between a 3D model and a 3D model designed for 3D printing. 3D printing of a model requires that there are many specific parameters on the model in order for the print to be accurate. For example, too much overhang on the print will cause the printer to try to print in the air, making it fibrous, or it may simply roll up the model if you don't use supports. However, by using supports, you can leave scratches on the surface of the print, which then need to be sanded down before the print looks good.
So what's the answer?
Ideally, you want to be able to minimize overhangs and supports on your model before you print it, and this is where separation comes into play. Using the split feature in 3D Builder, you can cut the model into several smaller pieces along certain planes. or axles to reduce the need for support or eliminate overhangs. In this how-to guide, we will be using this rocket ship model made by hayling99 on Thingiverse to show where and how to cut. As you can see, if you were trying to print it the way it is now, you will either need a lot of support at the bottom or you will see the whole model fall apart during printing.
Step by step
- Open 3D Builder and select Open to select your model.
- Select Edit tab in the top menu.
- Select the split action from the edit menu.
- Select Keep both option from the split menu.
- Position the cutting plane using the rotation gyroscope.
- Select Cut to select your choice.
- Select Made to complete your selection.
- Select the Object tab from the top menu.
- Select the floating model, then click Solve .
- Rotate the bottom model 180 degrees.

- Repeat steps 8 and 9 to Solve the bottom object.
- Select Save as and save as .STL file.
Details
Slicing a 3D model with 3D Builder is incredibly easy, much easier than most applications, even Tinkercad - in Tinkercad you need to create two square holes and then two copies of the model and group them to make slices - a few simple mouse clicks and the 3D builder will do it. The hardest part is deciding where to cut and how many cuts you will need. Working through our demo of the rocket, you can see that the cut is high enough that the thrusters can be placed upside down on a flat print bed. It also makes it much easier to align the prints to stick them together.
When you select "Split" on the "Edit" tab, you need to make sure you select the "Keep Both" option, otherwise the 3D Designer will assume that you don't want to keep some models and delete them, which can be difficult. Now you have a cutting plane, you can choose the position where you want to cut it. I went just above the engines and then decided to make a second cut above the fuselage so that all printed parts were about the same height. By keeping the prints the same height, you increase the layer cooling time, giving small layers, like the nose point, enough time to cool down so they don't look ugly and melt.
Read more: Tinkercad vs. 3D Builder
Once you've finished your slices, it's important to make sure all models are properly oriented so that no overhangs are left or that any of them require minimal support. As you can see in the model, now that it's sliced, no support is needed anywhere. It would be great if we could do this with all models, but unfortunately you will have to use a support from time to time, although if your overhang is less than 35 degrees your printer should handle it just fine.
After you have rotated them all in the correct direction, you can choose how to place the models. This will drop onto the print platform and make it easy to print them.