Sm4K 3d printer
Phrozen Sonic Mini 4K 3D Printer Phrozen Technology|Desktop LCD 3D Printer|8K High Resolution
- Regular Price
- Sale Price
- Regular Price
- Unit Price
- /per
Sale Sold Out
US (Free Shipping)
Rest of the world
Adapter: Adapter-North AmericaAdapter-North America
Adapter-Europe
Quantity- +
Lead time: 1 week.
Please note that the Sonic Mini 4K available for purchase on our website is already equipped with the new T-plate. Customers do not need to purchase the upgrade kit along with the printer.
The Sonic Mini 4K is the most beginner-friendly 4K 3D printer on the market, offering ultra-high resolution with 722 PPI, the highest PPI ever! The printer offers 4K resolution printing at 35μm with a large printing area of 6.1", producing highly detailed 3D printed parts that match your exact 3D printing designs, regardless of the size of your model.
Using Monochrome LCD technology, the Sonic Mini 4K is one of the fastest 3D printers on the market, being able to print one layer in ONLY two seconds! Our LCD screens work for over 2000 hours and we provide a free 3-month warranty as our guarantee.
Model Credit @nikita.lebedev.art
Note: To create 3D models in 4K quality, we highly recommend Phrozen Sonic Mini 4K as it performs best with our Aqua-Gray 4K resin, and allows users to create highly-detailed, intricate designs with 4K resolution.
Benefits
- 4K with 6.1" Printing Area: 3840 x 2160 Ultra-high-definition. Prints at 35μm with 722 PPI, the highest PPI ever, with a large printing area of 6.1"
- Monochrome LCD Screen: Prints up to 4 times faster than traditional 3D printers, taking only two seconds to print one layer. 2000 working hours guaranteed for all LCD screens, free 3-month warranty offered
- Super Easy to Use: Just use a USB flash drive to send over your data to the printer and with a few taps, you're good to go
- Mini but Mighty: Compact & lightweight, easy to store and fits in different settings for both personal or professional uses
- Multi-Resin Compatibility: Works best with Phrozen Aqua-Gray 4K, also compatible with 3rd party resins
Specs
- System: Phrozen OS
- Operation: 2.
 8in Touch Panel
 - Slicer Software: ChiTu Box V1.6.5
- Connectivity: USB
- Technology: Resin 3D Printer - LCD Type
- Light Source: 405nm ParaLED Matrix 2.0
- XY Resolution: 35μm
- Layer Thickness: 0.01-0.30mm
- Maximum Printing Speed: 80mm/ hour
- Power Requirement: DC 24V;2A
- System Power: 40W
- Printer Size: 23 x 23 x 34 cm
- Print Volume: 13.4 x 7.5 x 13 cm
- Printer Weight: 5 kg
*All specifications have been tested in a laboratory. Please note that certain specifications may be subject to change without prior notice.
Shipping & Tariff
The purchase price does not include any taxes, tariffs, and/or shipping costs. Please note that we WILL NOT be providing a refund if a customer refuses to collect (or returns) their product(s) due to customs fees/duties and/or other related costs.
Customers will be responsible for customs clearance in all countries except Thailand and Brazil, and we will charge you in advance and pay on your behalf for any duties and taxes that are due on products purchased.
Please note that the shipping cost will vary from country to country; for the exact cost, please view our check-out page.
For more information, please refer to our Shipping Policy page.
Return & Warranty
Products can be returned within 14 calendar days from the date received. Product(s) can be exchanged within 30 calendar days from the date you received it if there is a manufacturing defect. To be eligible for an exchange, your item(s) must be unused and in the same condition as received with the original packaging. For more details, please refer to our Refund Policy page.
All products purchased from the official website of Phrozen are warranted under different terms. Phrozen offers a one-year warranty for all our products except consumables and components; this includes the LCD screen and the FEP film. All LCD screens for the Sonic Mini, Sonic Mini 4K, and Sonic 4K are covered under a 3-month warranty. For more details, please refer to our Warranty page.
Phrozen Sonic Mini 4K Review: High Resolution 3D Printing, Low Cost
Tom's Hardware Verdict
The Phrozen Sonic Mini 4K resin 3D printer offers high resolution ideally suited for making finely detailed models but utilizes a tedious calibration process that has a few quirks.
Why you can trust Tom's Hardware Our expert reviewers spend hours testing and comparing products and services so you can choose the best for you. Find out more about how we test.
Today's best Phrozen Sonic Mini 4K deals
$369
View
$499.99
View
The Phrozen Sonic Mini 4K is an affordable entry in the increasingly-competitive resin 3D printer market which offers high resolution at a low cost. If you’re interested in printing small models or objects and capturing as much fine detail as possible, the Phrozen Sonic Mini 4K is a machine that may work for your application. The build volume of the Sonic Mini 4K is typical for resin machines in this price range, but the high Pixels-Per-Inch density makes this one of the best 3D printers you can buy.
Specifications
Swipe to scroll horizontally
| Machine Footprint | 9.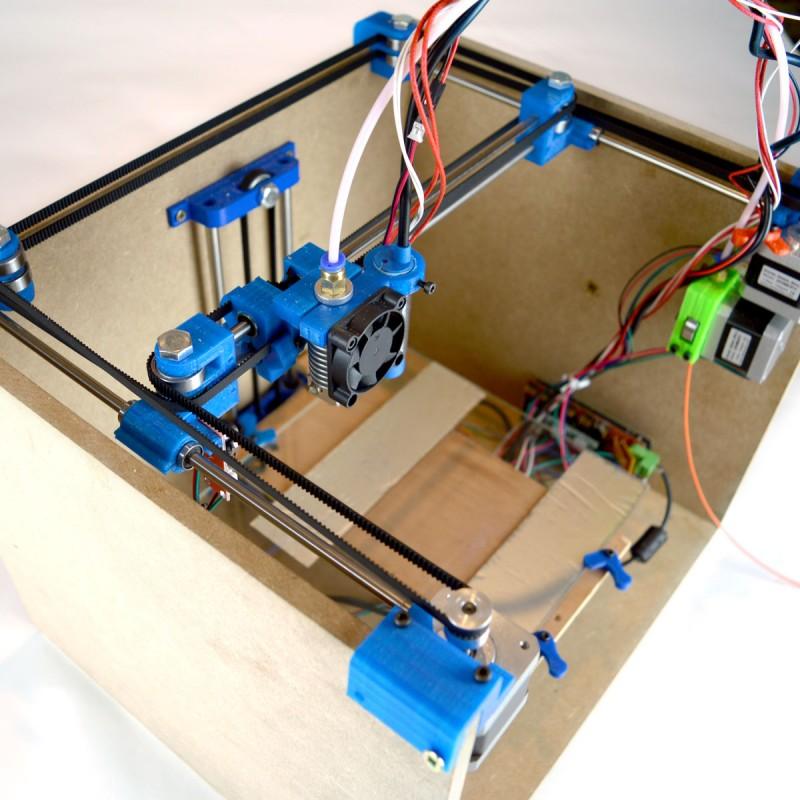 8" x 9.8" x 12.9" (24.9cm x 24.9cm x 32.8cm) 8" x 9.8" x 12.9" (24.9cm x 24.9cm x 32.8cm) |
| Build Volume | 5.2" x 2.9" x 5.1" (13.2cm x 7.4cm x 13.0cm) |
| Resin | DLP Photopolymer Resin |
| UV Light | 405nm ParaLED Matrix 2.0 |
| Masking LCD Resolution | 3840 x 2160 |
| Masking LCD Size | 6.1" |
| Screen | 2.8" LCD Touchscreen |
| XY Axis Resolution | .035 mm |
Phrozen Sonic Mini 4K: Included in the Box
(Image credit: Tom's Hardware)The SM4K includes all of the accessories required to get the printer up and running, as well as a few of the consumables that you’ll need to process and clean printed parts. You get a USB thumb drive preloaded with ChituBox 1.7.1, an Allen key for adjusting the build plate, a plastic scraper for the FEP film, disposable gloves for handling uncured resin, a metal scraper for the build plate, and some sandpaper for roughing up the build surface. The included user manual covers the entire calibration and setup process as well as the default settings for common resin types.
- Phrozen Sonic Mini 4K (Black LED) at Amazon for $499.99
Printing Safety with Phrozen Sonic Mini 4K
(Image credit: Tom's Hardware)As with all resin 3D printers, you need to be careful when using the Sonic Mini 4K. Uncured resin can be dangerous , so you must wear gloves and eye protection when pouring it or handling parts that have uncured resin on them.
Make sure you use the printer in a well-ventilated room to minimize the danger from inhaling fumes. Any spills or uncured resin stuck to a surface should be cleaned using 99% Isopropyl Alcohol and the container for the resin should be kept closed and secured when not actively pouring material.
Assembling the Phrozen Sonic Mini 4K
(Image credit: Tom's Hardware)It took me less than an hour to get the printer assembled and printing, which is typical for a resin printer like this one.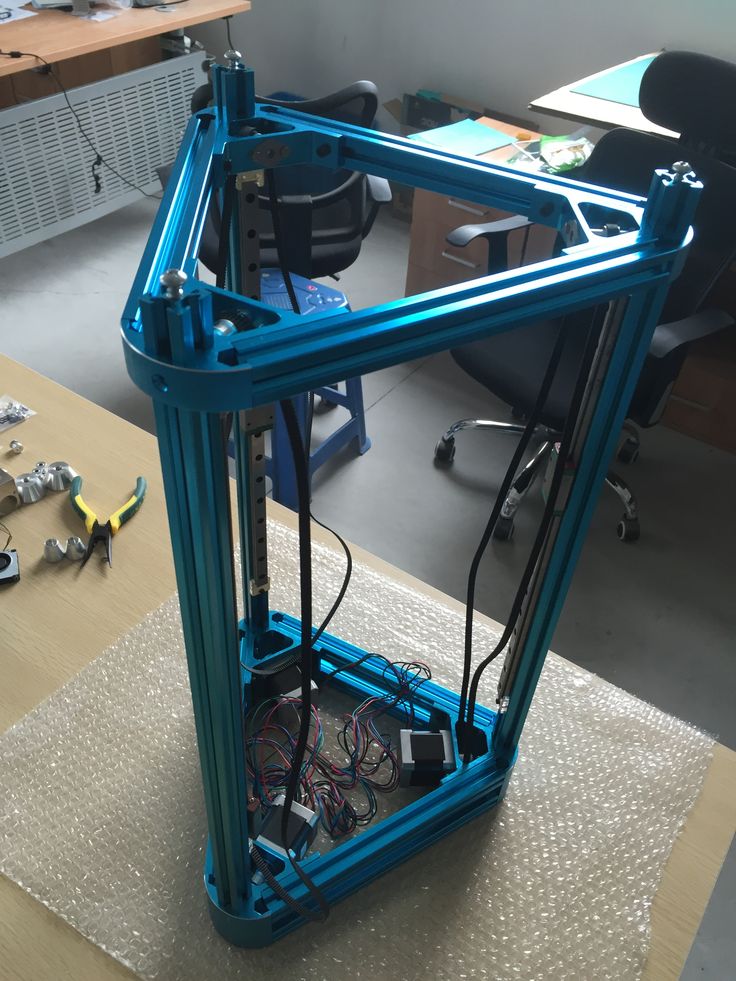 The external power supply plugs into the back of the printer, and the cover simply sits on top of the base of the unit. The build platform slides into place on the Z axis gantry and is calibrated as a separate step.
Calibrating the Build Plate on the Phrozen Sonic Mini 4K
(Image credit: Tom's Hardware)Similar to FDM 3D printers, the build platform on a resin 3D printer requires calibration to create an even surface. The Sonic Mini 4K uses an adjustable build platform with four screws to offset the surface and compensate for any uneven surfaces.
The calibration process is more involved than on a printer like the Elegoo Mars 2, because there’s no ball and socket design on the platform. A ball and socket design allows the platform to be leveled using only two screws and offers a high level of accuracy, as opposed to a four screw system which is easier to manufacture but harder to adjust. Adjusting the corners of the platform is difficult due to the tension put on the platform from the mounting bracket and the configuration of the bolts makes it difficult to make any adjustments while leveling.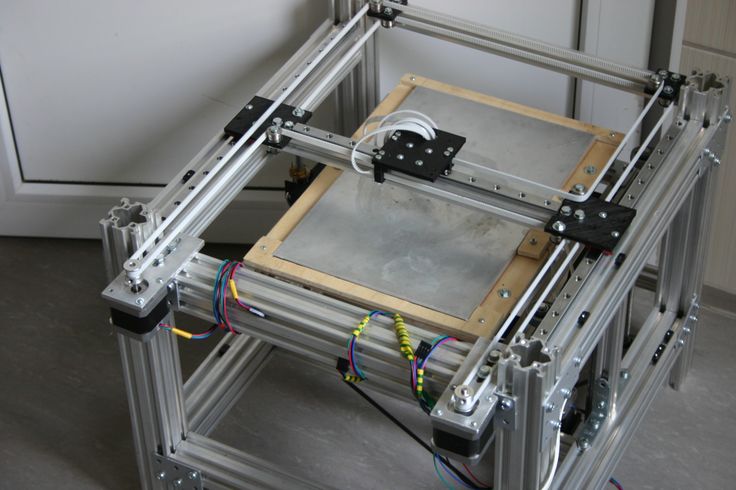
The interface of the printer indicates that the vat should be removed during leveling, but the user manual says that the vat should be left in during leveling. Leveling with the vat installed can potentially damage the delicate FEP screen, so this may cause confusion and frustration for users inexperienced with leveling the build platform on a resin 3D printer. A piece of coarse 80-grit sandpaper is included for roughing up the build surface, but this can also lead to problems with the FEP being punctured if the platform is unevenly sanded or scuffed.
Printing Workflow on the Phrozen Sonic Mini 4K
(Image credit: Tom's Hardware)The typical workflow for printing a part on a resin printer is generally a bit more involved than doing the same on a filament printer. Phrozen has added a profile for the Sonic Mini 4K to the popular software ChituBox, which allows for out-of-the-box compatibility. The ChituBox software can hollow a model, add drain holes, add support structures, and output a file compatible with the printer using the .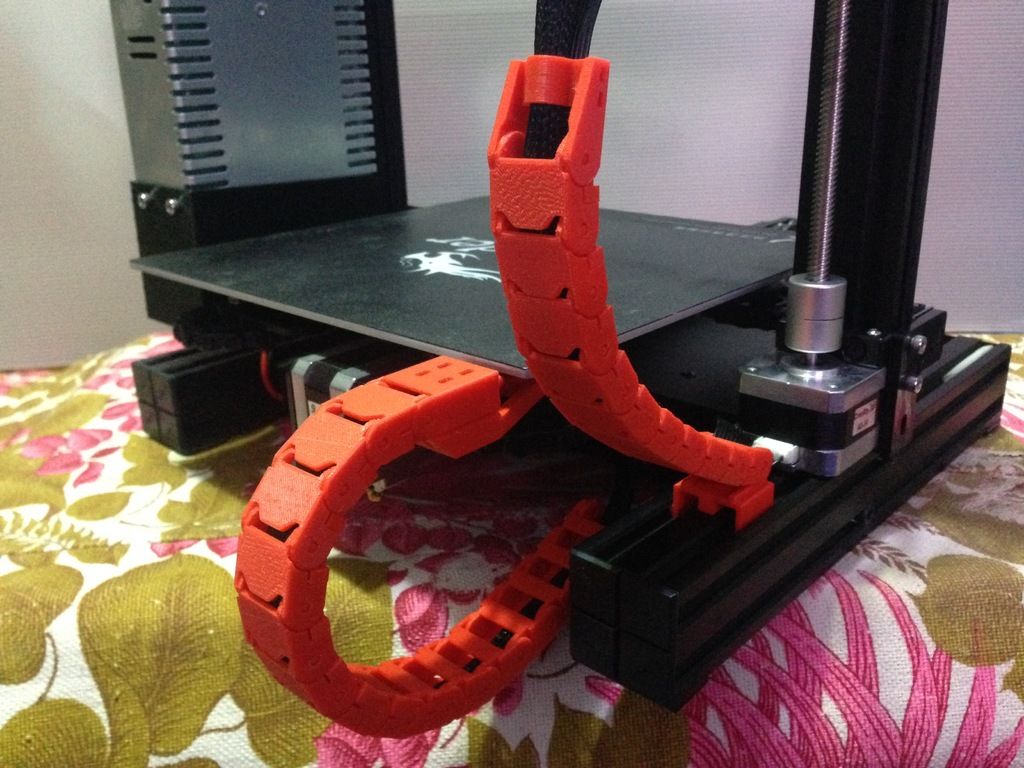 CTB file format. The Sonic Mini 4K uses a USB thumb drive for file storage, and the touchscreen UI allows you to select a file, see a thumbnail preview, and start the print.
Printing the AmeraLabs Calibration Test on the Phrozen Sonic Mini 4K
(Image credit: Tom's Hardware)For testing the fine features that are printable on resin printers, resin manufacturer Ameralabs has created a test part called Ameralabs Town that has very fine posts, holes, text, and other details. I made this calibration print using the default settings from Chitubox and Elegoo Beige Standard Resin. Unfortunately, the initial output was disappointing, because the difficulty I had getting the build platform level led to the first few layers being compressed and a loss of some of the small detail.
Settings
Swipe to scroll horizontally
| Layer Height | 0.05 mm |
| Bottom Exposure Time | 25 seconds |
| Exposure Time | 2. 2 seconds 2 seconds |
| Bottom Layer Count | 6 |
Machining issues on the Phrozen Sonic Mini 4K
(Image credit: Tom's Hardware)After fully disassembling the build platform, it became apparent what the issues were. The bracket that holds the platform had not been bent properly, and the holes for the screws had not been machined properly and had metal shavings that were falling out. Given that this component sits directly above the thin and delicate FEP vat, this is a serious oversight that could potentially lead to a piece of metal piercing the film.
After I manually bent the bracket, cleared the threaded holes, and releveled the platform, the second print showed substantial improvement. Phrozen should have detected and resolved these non-trivial build issues at the factory. While experienced users could diagnose and rectify these problems, they would prove frustrating to a new user who could inadvertently damage the machine.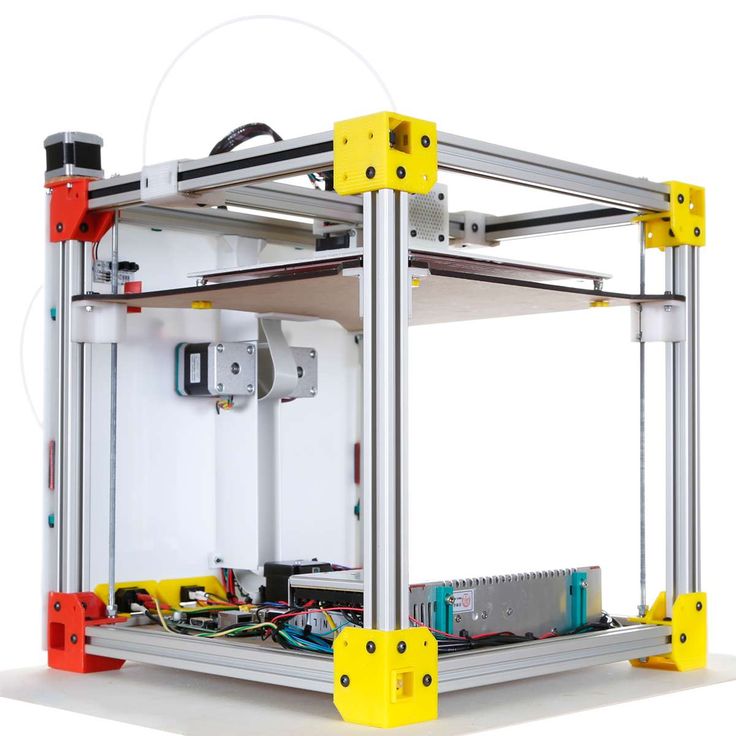
Printing busts on the Phrozen Sonic Mini 4K
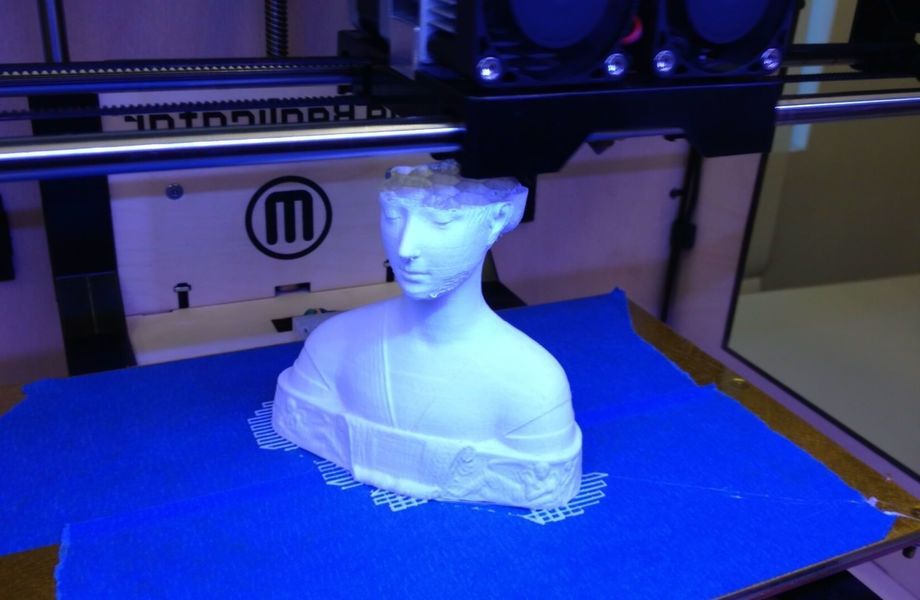
(Image credit: Tom's Hardware)To test out the detail on larger parts, after recalibrating, I printed this bust of Julius Caesar from The Metropolitan Museum of Art. The detail on the model is crisp and sharp, with the layer lines only barely visible under harsh directional light.
(Image credit: Tom's Hardware)The support structure detached without much effort, and left only small marks where it had attached to the model. The uncured resin inside the model drained through the holes in the bottom of the base and the sharp detail of the model (especially around the eyes, which have visible pupils) came into focus after I dried and cured the model. Considering this level of detail was possible using the default settings, it’s certainly worth considering the level of detail one could achieve after dialing the machine in to a specific resin.
(Image credit: Tom's Hardware)(Image credit: Tom's Hardware)For the price, the Phrozen Sonic Mini 4K offers very high resolution, a modest build volume, and plug-and-play software compatibility. For an experienced user who isn’t afraid of troubleshooting the calibration process of the Z axis, this 3D printer is a great choice for making highly detailed miniatures and other small models. However, beginners looking to get into resin printing would benefit from a machine with a simpler calibration process, such as the Elegoo Mars Pro.
Andrew Sink first used a 3D printer in 2012, and has been enthusiastically involved in the 3D printing industry ever since. Having printed everything from a scan of his own brain to a peanut butter and jelly sandwich, he continues to dive ever more deeply into the endless applications of additive technology. He is always working on new experiments, designs, and reviews and sharing his results on Tom's Hardware, YouTube, and more.
Printing with 4 interchangeable nozzles to the masses! Part 1.
Hello, dear lovers of additive technologies!
Work on the implementation of printing with 4 interchangeable heads brought the first results that inspired me and there was a strong confidence that after some improvements, the result would be close to ideal.
Many of us are interested in multi-extruder printing. Therefore, I decided to write several articles about this, in parallel with the above-mentioned improvements. I hope, in this way, experienced 3D printer builders will be able to add their comments and suggestions to the project, and those who are interested can learn something new / useful for themselves. nine0003
In the last article on this topic, I will traditionally publish links to drawings / models / parts for everyone to repeat and record a video on assembling and setting up the structure.
I am developing this whole thing on a Z-Bolt printer of my own design (for those who are interested, see the profile, there is all the comprehensive information on it, this is an open project of a modular 3D printer, fully available for repetition).
If desired, using the principles outlined in this series of articles, anyone can equip their printer with a similar design (making changes based on its design features), thereby not only being able to print multi-color models, but also significantly speed up the printing of single-color models for due to the use of nozzles of different diameters (for example, 0. 2 for walls and 0.8 for filling). Personally, I'm more interested in the latter. nine0003
Already now the change of 4 heads is quite adequate:
It remains to experiment with the settings of the print itself. I started with printing with 2 nozzles, as I understand the process, I will add more.
First things first:
In the process of working on the Z-Bolt project, I faced a lot of tasks and multi-extruder was far from being the top priority. Therefore, work on it was carried out from time to time and dragged on for a very long time. The first experiments began at the beginning of last year. nine0003
I made several versions of the rocker, one of them is in the photo below. But all of them, for one reason or another, did not suit me (backlash, positioning accuracy, bulkiness, manufacturing complexity, repetition complexity, etc. , etc.).
Therefore, at some point, I returned to the thought that visited me at the very beginning of the multi-headed experiments and undeservedly left for later - “there must be PARKING in the printer!”
The idea is not exactly new, and there are enough examples of its implementation on the Internet (the same E3D), but in general, for some reason, it is deprived of attention, in comparison with other options for “multiple nozzles”, despite the fact that it combines advantages of other designs and is devoid of most of their shortcomings, namely:
- It takes a couple of seconds to change the steam generator, no need to spend time warming up an idle nozzle or changing the material (as in Y radiators).
- The non-working nozzle does not leak, it is in the parking lot with a nozzle.
- The weight of the working carriage is approximately equal to the weight of a conventional PG with a bowden extruder, nothing extra goes along the rail.

- The printing temperature of different PGs can vary significantly
- No need for media change turrets, which sometimes use more material than the main part. nine0032
- During one print, you can use 3-4 different PGs at the same time (in fact, more, it all depends on how many extruders your board / firmware supports and how many PGs fit in the parking lot).
- In addition to PG, anything can be used as a working tool (a laser, for example).
In the first test sample, designed to test the very viability of the concept, it was decided not to be tricky with mechanical hooks, sophisticated separate parking "lodgements" for each print head (hereinafter PG), but to simplify the design as much as possible. Therefore, a high-tech steel plate with a thickness of 4 mm acts as a “parking lot”:
The printheads are held on it with neodymium magnets, and from below they are supported by 0.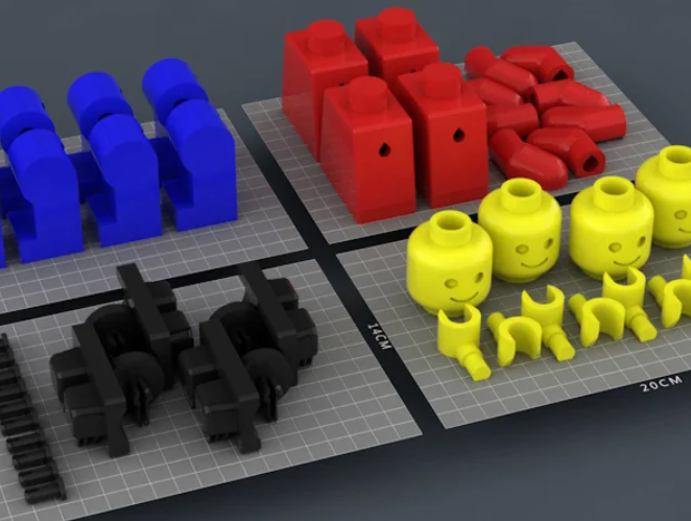 5mm stainless steel corners, which at the same time act as, as it is fashionable to say, “valves” for idle hot nozzles, and, in a popular way, nozzles.
On the reverse side of the PG there is a small metal plate for fixing the PG with an electromagnet of the carriage and two 8mm bushings from the ultimaker, which include the centering shafts of the carriage (cut off everything from the same ultimaker). nine0003
In general, I assembled from what was in the bins, I had to buy only an electromagnet. The electromagnet is controlled by a relay module, hooked to some leg of the control board, with the M42 command. Well, here is what came out of all this:
Naturally, the nozzles of different steam generators do not hit exactly the same point, so it is necessary to set X Y Z offsets in the firmware. There are a lot of calibration files for this procedure on the Internet, there is nothing complicated about it.
I used Cura 3.2.1 as a slicer. It is very easy to set up a change in PG, just add a start and end code for each extruder. The main thing is to precisely set the coordinates in which the installation / removal of each PG in the parking lot takes place, because the electromagnet keeps the PG on the carriages very well, but it has problems with retraction.
Spring-loaded parking spaces will solve this issue, but we will deal with this a bit later. You also need to delve deeper into the settings of retracts when changing PG, there are a lot of different ones, but this is already a matter of experimentation. nine0003
The first print results showed good repeatability of the layers and the absence of their displacement, for which I was most afraid, but a few nuances emerged that initially did not seem very important. Actually, with experiments it is always like this, there is nothing to be surprised about))).
First of all, the time of changing the PG is still somewhat longer than when turning some rocker, and while the PG is driving from the parking lot to the place of printing, a certain amount of plastic sometimes manages to leak out of it. But I hope to solve this problem by more precise adjustment of the retracts when changing the extruder in the slicer. nine0003
Secondly, the print area in my case decreased from 200mm to 160mm in Y, but this can also be dealt with (at least to change the carriage to a standard Z-Volt PG, it is enough to unscrew 4 screws and the print area will again be the same, and shrink the parking itself is still possible anyway).
In general, the idea of using parking as a variant of the implementation of multi-extrusion proved to be quite well-founded and I intend to develop this business into a beautiful, easily repeatable design, devoid of the shortcomings of the prototype. nine0003
Well, the results of the first seals:
The ears of the Pokemon are slightly displaced.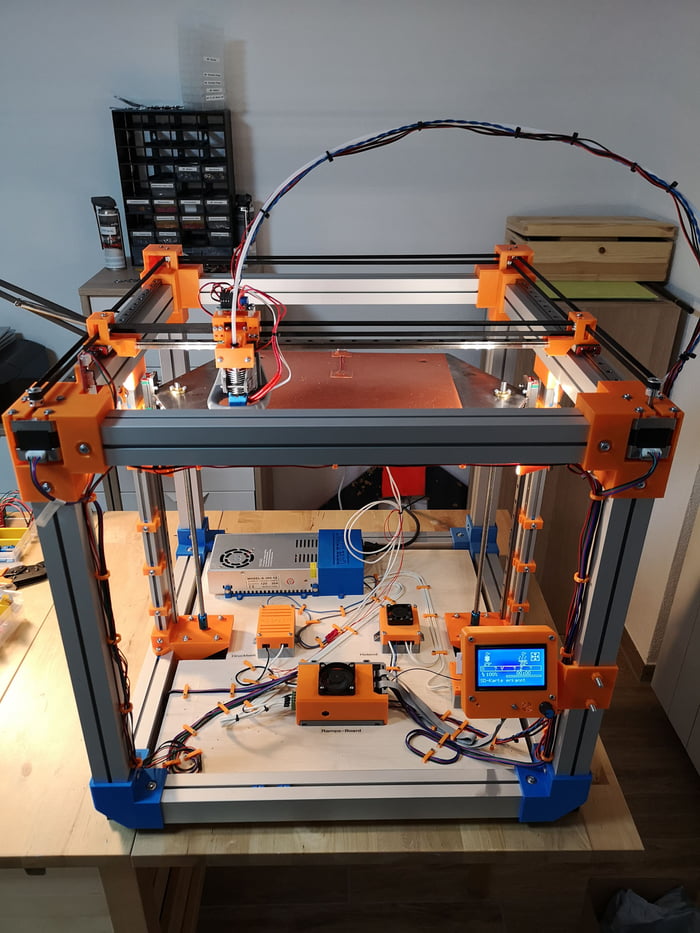 The reason is the insufficiently high-quality calibration of the position of the nozzles in X Y, I was very eager to start printing. Artifacts are also visible in the form of inclusions of black material on red ... well, nothing, we will cure it))).
Now it's time to fine-tune the position of the nozzles, endless experiments with retracts, adding a 3rd and 4th SG, modifying parking spaces, etc. In general, the list of improvements is constantly changing and updated as new experiments are carried out))). When a beautiful implementation is ready (in combination with the settings of the slicer and firmware, there is nowhere without it), I will definitely share it. nine0003
All the best, kindness and well-tuned retracts!
Which LCD 3D printer to choose for jewelry making
In this fast-paced world, even jewelry can now be created using 3D printing. Everything from rings to necklaces can be easily printed with the touch of a finger. Resin 3D printing allows the creation of high-quality jewelry with intricate detailing that would be extremely difficult to achieve with traditional manufacturing. nine0083
In the traditional process, jewelers create intricate and fine patterns in wax or by hand. Although they put a lot of love and diligence into their work, this method remains very time consuming and the risk of human error is high. One mistake and you have to start the whole process from scratch.
Thanks to the advent of photopolymer 3D printing, a piece of jewelry can now be created digitally and then printed. If necessary, the design can be modified using a CAD program. Phrozen's Wax-Like Castable Violet imitates wax commonly used in jewelry. A sample of this resin is placed in a mould, filled with plaster, hardened and cast.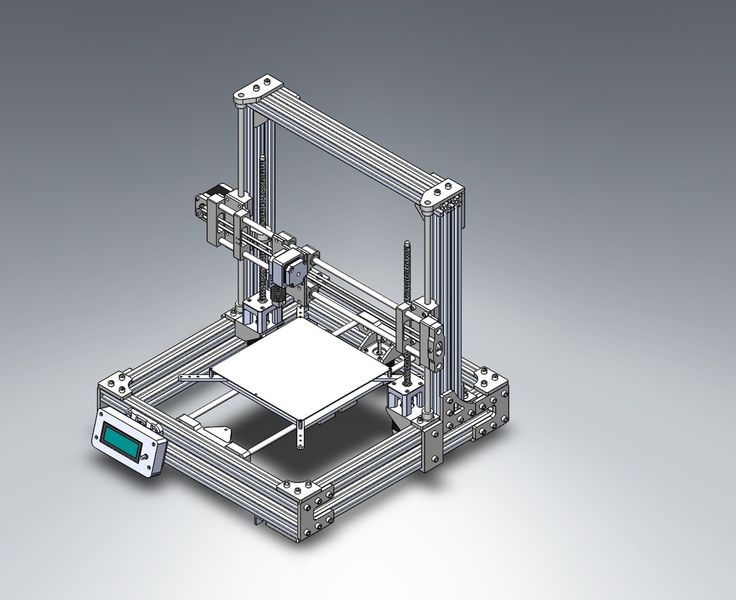 It burns out, and the final product of gold or silver remains. nine0003
What types of jewelry can 3D printers create?
Photopolymer 3D printing allows you to think outside the box and create all kinds of jewelry in the most unique shapes and designs. Also, LCD 3D printers allow you to make custom jewelry at a much more affordable price.
3D printers can be used for prototyping, rubber molding, and jewelry casting.
Let's see which Phrozen LCD 3D printer is suitable for creating jewelry: nine0003
Phrozen Sonic Mini 4K 3D printer - for highly detailed jewelry models
The 6.1" LCD resolution of the Phrozen Sonic Mini 4K is best suited for jewelry model making. It prints delicate pieces in 4K resolution.
The Sonic Mini 4K is capable of printing a full platform of intricate details such as rings, brooches and pendants in a single print session. For example, it can be 10-20 rings on one platform. With fast printing capabilities, this 3D printer prints out a platform full of decorations in the minimum amount of time. nine0003
With extremely precise printing, Sonic Mini 4K ensures that all the fine details on jewelry are executed without error.
The Sonic Mini 4K Desktop Resin 3D Printer can be easily stored at home, in the workplace or in a jewelry studio.
Specifications of the Phrozen Sonic Mini 4K 3D printer:
- LCD resolution 6.1" 4K Mono LCD
- Display 2.8" Touch Panel
- Construction area size 134x75x130 mm
- 35 µm XY resolution
- print speed 80 mm/h
Sonic Mini 8K - for extremely detailed jewelry models
With a 7.1" LCD display resolution, the Phrozen Sonic Mini 8K is the best choice for those who want to create extremely complex jewelry in 8K resolution.
The Sonic Mini 8K is able to print a full platform of the most intricate jewelry such as rings, brooches and pendants in a single print session. One plate may contain, for example, 10-20 rings. nine0003
Sonic Mini 8K comes with a matte laser cut platform, while allowing your jewelry to attach to the build plate more firmly.