Slic3R 3d printer
Open source 3D printing toolbox
What is Slic3r?
Features
Compatible with your printer too. RepRap (Prusa Mendel, MendelMax, Huxley, Tantillus...), Ultimaker, Makerbot, Lulzbot AO-100, TAZ, MakerGear M2, Rostock, Mach4, Bukobot and lots more. And even DLP printers.
Fast G-code generation is fast. Don't wait hours for slicing that detailed model. Slic3r is about 100x faster than Skeinforge. It also uses multithreading for parallel computation.
Lots of input/output formats. Slic3r reads STL, AMF and OBJ files while it can output G-code and SVG files.
Do you like the graphical interface or command line? All the features of the user-friendly interface are also available from command line. This allows to integrate Slic3r in your custom toolchain and batch operations as you like.
Open source, open development. Slic3r is open source software, licenced under the AGPLv3 license. The development is centered on GitHub and the #slic3r IRC channel on FreeNode, where the community is highly involved in testing and providing ideas and feedback.
Dependencies? Nah. Slic3r is super-easy to run: download, double click and enjoy. No dependencies needed. Hassle-free. For MacOS X, Windows, Linux.
Print with dual multiple extruders. Print beautiful colored objects, or use your secondary extruder to build support material. Or put a larger nozzle on it and print a faster infill.
Use brim for the best adhesion. This unique feature improves built plate adhesion by generating a base flange around your objects that you can easily remove after printing.
Microlayering: save time, increase accuracy. You can choose to print a thicker infill to benefit from low layer heights on perimeters and still keep your print time within a reasonable amount.
Compose a plate but print one object at time. Use the built-in plating interface that allows to place objects with drag-and-drop, rotate and scale them, arrange everything as you like. The sequential printing feature allows to print one complete object at time in a single print job.
Cool cooling strategies. A very smart cooling logic will regulate your fan speed and print speed to ensure each layer has enough time to cool down before next one is laid on it.
Manage multiple printers, filaments and build styles. The configuration handling system was designed for people working with multiple machines and filaments: you can save configurations as presets for each category avoiding to multiply your saved configurations.
Enjoy support material. Automatic generation of support material for overhangs.
Gallery
Links
The RepRap Project
Slic3r - 1.
 3.0
3.0A new version, finally! Despite the long time since the last versioned release, work on Slic3r has never stopped. Daily automated builds are available on this website, so this release is not entirely new for all people who have been following development.
This release was curated by Joseph Lenox (Lordofhyphens).
Please join the discussion on GitHub and report issues and ideas.
New features:
- Controller: print via USB directly from Slic3r! Spool your prints in a queue and print to multiple printers at the same time.
- 3MF format read/write (#4046)
- Experimental support for SLA/DLP machines (USB/video output)
- Bonjour detection of Octoprint instances
- Custom G-code now can have some logic and math, see the manual (#3390)
- Solarized color scheme now available. (#4322)
- Support for long retracts (Marlin/Repetier)
- New infill patterns: gyroid, cubic, stars Infill pattern (#3666)
- Adaptive Slicing (let Slic3r vary the layer thickness according to the slopes in the model) (#1386)
- You can now nudge/move models with the keyboard arrows in the 2D plater.
 (#4102)
 - Generic modifier meshes – the powerful and well-known modifier meshes, already available in Slic3r, can be now created and positioned directly from the visual interface of Slic3r without the need for an external CAD program! (#3590)
- Option to force M190/M109 for extruder and bed heater
- You can turn off automatic centering and alignment in Z.
- Optimistic time estimation for prints. (#3747)
- Slic3r will now tell you cost of material used after exporting Gcode (°3669)
- Linux AppImage and tarball builds.
- Undo/Redo for rotate, mirror, split, cut (#3265)
- Custom G-code can now be entered for between objects in sequential object mode.
- Reprapfirmware/Duet print server support (#4028)
- Custom G-code can be set for filament profiles. Its start G-code is placed after printer start G-code and its end G-code is placed before printer end G-code.
 3/s is now output in gcode.
 - “Move to bed center” option in object menu.
- Experimental option z_steps_per_mm to have slic3r auto-align layer height to integer Z steps. (#1827)
- Top and bottom fill pattern can now be specified separately.
- Brim can now be specified for inside holes.
- Seams can now be specified in “rear” position.
- Detect thin walls can produce variable-thickness perimeters now in some situations.
- Brim connections
- Bed temperature can now be specified at 0.
- New option to tell Slic3r if your printer has a heatbed (and whether or not to bother putting bed heat gcode in).
- Smoothieware G-code flavor (primarily affects retraction) (#3373)
- You can now specify some overrides for Printer settings from Filament. (#3770)
- The pattern angle for rafts is now configurable.
- Doxygen-generated documentation for libslic3r.
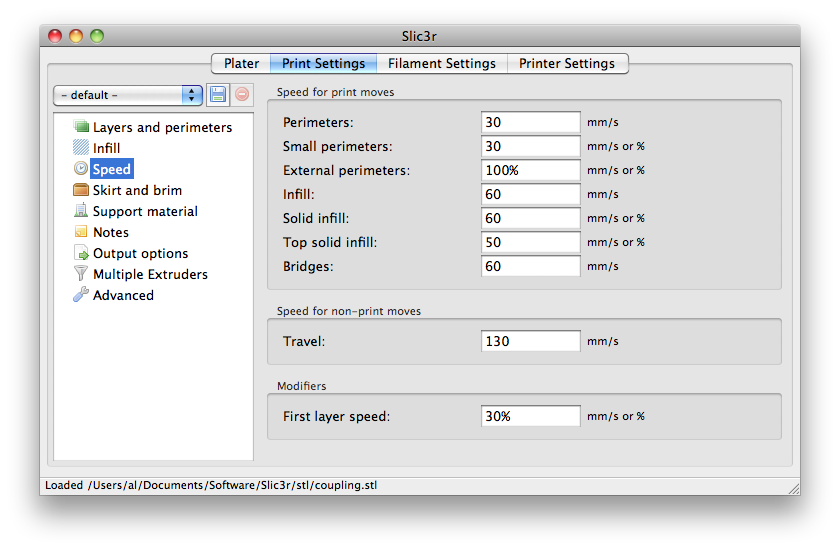
- Print and filament profiles can be marked as compatible with specific printer profiles. (#3770)
Improvements
- New build/packaging system for Windows
- New build/packaging system for OSX
- Configuration options shortcuts are available in the main plater (#3912)
- More code was ported to C++, including infill, bridge detection, cooling, GCodeReader and SpiralVase
- Antialiasing for the plater. (#3343)
- Switching to the 3D Preview now starts a slice if background processing is off.
- Gap fill is much, much smarter now.
- Rectilinear fill has been improved.
- External perimeters are not slowed down even more if possible.
- Lots of things are done in parallel in libslic3r.
- Speed improvements in some cases.
- If auto-arrange fails, ignore bed shape.
- Speed settings now default to “auto” instead of “0” (same behavior, but more clear)
- small_perimeter_speed is now ignored for overhangs.

- Slic3r warns you when objects are outside of the print bed area.
- UI: You can zoom without the mousewheel now. (#3233)
- MotionPlanner should be much smarter now.
- Mac Retina displays are now supported. (#2888)
- Numerous C++11 related code cleanup.
- Bridge detection is improved
Changes
- Simple/Expert Mode is no more, we are all experts now.
Bugfix
- External perimeters are now chosen to be 1.1*(nozzle width) when using auto.
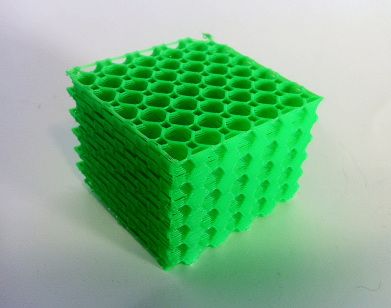
- 3D Honeycomb Infill switches
- Brims are now nudged slightly closer to models.
- DLP SVG export works now. (#4311)
- Setting acceleration for reprapfirmware works now.
- STL imports in big-endian architectures works now. (#4143)
- Several crash bugs have been fixed, especially around custom gcode handling.
- Bridging should be improved when there are narrow gaps under bridge anchors.
- Scaling objects with multiple copies in the plater should now be consistent.

- Fixes to background processing.
- flowrate.pl now handles negative coordinates.
- Windows build shouldn’t hang forever on a C++ Exception
- Fewer copies are made when multi-object AMF files are converted to a multi-part onject
- solid_infill_below_area is ignored when fill_density is 100%
- Title labels for the layer height editor aren’t cut off.
- Correct extruder order should be used now if more than 10 extruders are used. (#3235)
- If there is a raft, print brims using the support material extruder.
- Auto width now does not assume your hotend can produce infinitely wide traces.
- Mousewheel zoom is now consistent.
- Diagonal gaps (due to slopes) should now properly place extra perimeters.
- Trimmed down the axis lengths on the plater.
- Temperature standby works now on Makerbot/Sailfish firmware
- Nonexistant config options should not cause Slic3r to crash (instead it just ignores them)
- Variable-width perimeters can’t cause negative extrusion.
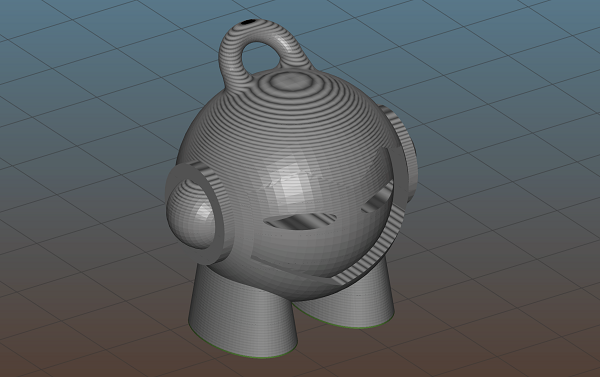
- Combined infill (infill-every-n-layers) now correctly draws thicker infill than perimeters.
Sea Slicer Free STL File・3D Printer Model Download・Cults
MICROBOT - Print in Place / No supports / No asemble
0,50 €
ANTIBOT - printing in place / NO SUPPORTS - easy printing!
€1.60
MINIBOT - Print in Place / NO SUPPORTS
0,95 €
MURAI-BOT --> Print in Place / NO Supports
0,90 €
DESTROBOT - Print in Place / NO SUPPORTS / NO Assemble!
€0.95
TINNYBOT - Print in Place / NO SUPPORTS / No asemble
0.62 €
D.D.D. Dagger
0,50 €
FLIX - Boat with lots of accessories! - NO CALIPER / Print in place / Easy print!
0. 96 €
96 €
Best 3D Printer Files in the Miscellaneous Category
Biological Facial Protector III
Free
STAR WARS CITIZEN HELMET , FALLOUT , STEAMPUNK , HALLOWEEN
14,86 €
Wild Card Adapter Extended Release Lever
Free
Surfboard Fin Organizer - Futures
Free
Cell Cup Holder For Nicot Queen Rearing System
Free
Bike FlashLight Quick Release Mount
Free
YJ Jeep dash mount for Galaxy S7
Free
LIPLESS CRANKBAIT FISHING LURE (EASY PRINT AND BUILD)
Free
Bestsellers in Miscellaneous category
Eeveelution articulated mega pack
10 €
Ghost Boom x10
1. 99 €
99 €
Targaryen Crown - Viserys - Dragon House
9.95 €
Ciberpunk 2077 Rebecca Guts Pistol
4 €
Christmas house
6.86 €
hinged shenron
3 €
Articulated Raykuaza Flexible Dragon Pokémon
1 €
Adderini - 3D Printed Repeating Slingbow / Crossbow Pistol
6.25€
Key holder for middle finger
1 €
Gengar - pokemon with flexible articulation (seal in place, without supports)
2 €
ItsLitho "Drop" personalized lithophane Christmas ball
1,90 €
Black Phone Movie Invader 2 Piece Mask 3 Style Frowning Smile Without Mouth STL
10. 25€
25€
Halloween haunted house lamp with 3d moon - NO PREPARATION AND PAINTING NEEDED
5.71 €
4th planet Fighting pre-Olympic god
12 €
Articulated pretty spider
2.49 €
Halloween pumpkin lantern ItsLitho
1,90 €
Do you want to support Cults?
Do you like Cults and want to help us continue our journey on our own ? Please note that we are a small team of 3 people, so supporting us in maintaining activities and creating future developments is very easy. Here are 4 solutions available to everyone:
-
AD: Disable your AdBlock banner blocker and click on our banner ads.
-
affiliation: Shop online by following our affiliate links here Amazon.
-
DONATIONS: If you want, you can donate via PayPal here.
-
* INVITE FRIENDS: * Invite your friends, discover the platform and great 3D files shared by the community!
Comparison of Cura and PrusaSlicer (Slic3r)
3DPrintStory 3D printing process Comparison of Cura and PrusaSlicer (Slic3r)
One of the key programs you will need for 3D printing is a slicer. Although 3D printing was invented three decades ago, desktop 3D printers only became popular by 2010. One of the reasons for the availability of this technology is open source software such as Cura and Slic3r.
The development of open source slicers was based on the work of Dr. Adrian Boyer in 2005, who is considered the father of desktop 3D printing. In fact, many of his designs are used today in software (such as slicers) and firmware.
Slicers have come a long way with updates and features that improve 3D print quality and make 3D printers more reliable. Undoubtedly, two of the best slicers available are Cura and PrusaSlicer, which we will compare in detail in this article.
A bit of history
The Cura slicer started as an open source project back in 2011 led by David Bram, who later joined the Ultimaker team. The earliest versions of PrusaSlicer released in 2014 were modifications of Slic3r. They were eventually renamed Slic3r PE (Prusa Edition), which became PrusaSlicer this year.
Both Ultimaker and Prusa Research are among the leading companies in desktop 3D printing, which makes it quite important that they support and develop dedicated slicers.
Well, let's take a closer look at what these slicer software options have to offer!
System Requirements and Cost
Since viewing and rendering 3D models requires a lot of processing power and there is not much of it, it's best to find out what your system is capable of before you get started.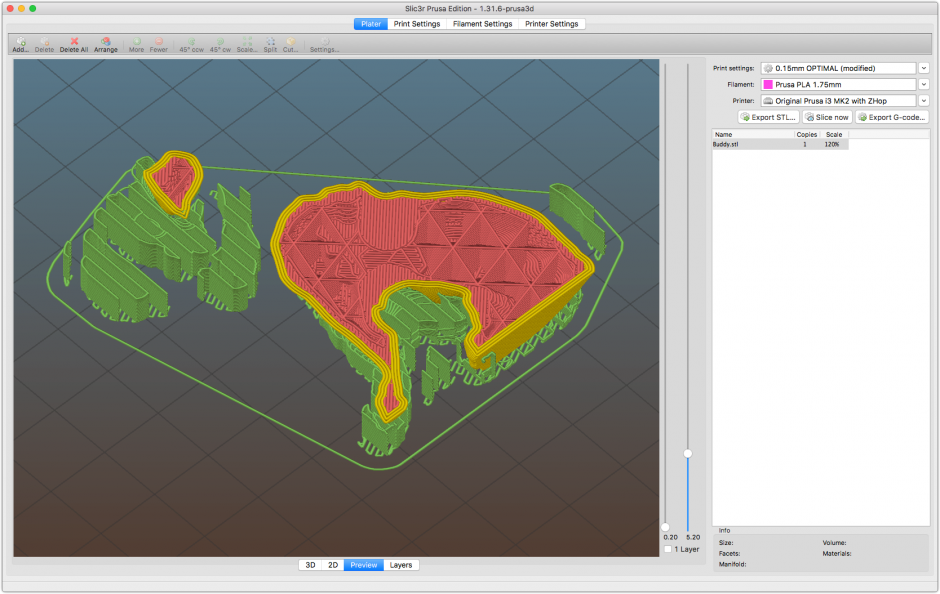
Recommended system requirements for Cura:
- OpenGL 4.1 compatible graphics card for viewing 3D layer
- Display resolution 1920 x 1080
- Intel Core i3 or AMD Athlon 64
- 600 MB on hard drive
- 8 GB RAM
Consistent for PRUSASCLICER:
Detention requirements for PRUSASASASASAR that they will be similar to the requirements of Cura.
Nothing much to add here: both slicers are free and open source, which means that the source code is available for modification. Talking about the slicer scene in general - this has resulted in many improvements coming from external developers. The integration of the most popular of them into official releases has significantly accelerated development.
Features and functions
Cura and PrusaSlicer have accumulated a huge amount of features over the years. We took a look at the latest versions of Cura 4.6 and PrusaSlicer 2.2 to show you what they have to offer. Although both slicers have a lot of features, below we will only look at some of them that have not been seen in other programs for slicing 3D models.
Cura
- Compatibility: A unique and incredibly useful feature of Cura is the sheer number of third-party 3D printers that it works great with. While these machines are in direct competition with Ultimaker, hundreds of manufacturers use Cura to sell their products to customers. Chances are, if you have a 3D printer, Cura will support it.
- Cura Marketplace: The Cura Marketplace essentially acts as an app store with many user-created and added add-ons. With enhanced functionality, Cura continues to improve and the market continues to grow. If you are interested to know what additional features are available.
- Custom Scripts: This community-favorite feature gives you the added ability to pause 3D printing midway to insert components such as magnets, fasteners, or even circuit boards into your 3D models.

- Connectivity: Cura can connect to wireless boards such as Duet Wi-Fi and Raspberry Pi. This handy feature makes it easy to download files directly to your browser instead of having to do it manually every time.
- Special modes and experimental settings: Another unique aspect of Cura is the experimental settings, which are fun to play with. A few examples are windscreen, fuzzy skin, and adaptive layers. Each of these settings can be very useful in your particular case.
PrusaSlicer
- Modifier Meshes: Probably one of the most special and unique techniques we've seen with a slicer is the ability to add unique settings to different parts of the same STL! Thinner sections can be made denser without affecting the overall infill, saving time and improving part strength.
- Variable layer height: instead of a fixed layer height, users can adjust it. For example, you can have thinner layers where there are more complex elements, and thicker layers on straight sections.
 This reduces 3D printing time without sacrificing quality. Our article on the topic goes into more detail about the unique Variable Layer Height feature.
 - G-code with conditions: the ability to add conditional "if" statements to control and insert additional functions such as pause or change color can be very useful.
- SLA and MSLA supported: PrusaSlicer can cut models for FDM or MSLA printing in one program. However, for now, the plastic cutting feature is only intended for use with the Prusa SL1.
- Connectivity: While Cura can connect to multiple SBCs, Prusa has settings to connect to FlashAir (an SD card with Wi-Fi capability) as well as AstroBox.
- 3D Printer Download Queue: With this function, sliced files can be sent to the OctoPrint setting and then printed one by one. Essentially, you can cut all the files at once and then keep them in a queue until you're ready to 3D print.
User interface
The user interface is a key part of any software, as it can enhance or detract from the user experience. Both Cura and PrusaSlicer have different levels of customization, from beginner to expert. This helps beginners get the hang of it faster and start typing earlier, greatly reducing the barrier to entry into these complex software products.
Cura
In general, Cura's user interface and user experience are excellent. It's easy to learn, and users can start printing almost immediately, only to progress to advanced settings and customization of individual 3D models over time.
- Intuitive interface: in Cura, most of the space is devoted to viewing the assembly area and the model. The settings are hidden in drop-down menus with additional subheadings that logically separate them.
- Dark theme: Another interesting feature is the dark theme, which is definitely good on the eyes.
- 3D Print Estimation: Very useful to see the estimated print time icon that can be found above the slice button after slicing is complete. This allows the user to adjust and optimize their settings based on which part of the print takes the longest time.
- Animation Preview: Animation under the preview option helps you check if you forgot anything before you start 3D printing - for example - activating helper structures.
- Workflow Extensions: Many extensions can be added, including help with systematically saving filenames and adding an SBC or OctoPi to directly upload 3D models for printing.
PrusaSlicer
PrusaSlicer's interface is simple yet effective. Its organization, using modes, categories, and views, is based on intuitive understanding and customization of settings and profiles.
- Customization levels: PrusaSlicer's settings are well organized and allow you to focus on the important settings, no matter what your level.
- Setting groups: Prusa's strategy of placing settings in three separate segments and then splitting them into parts is well implemented and provides a user-friendly, intuitive interface.
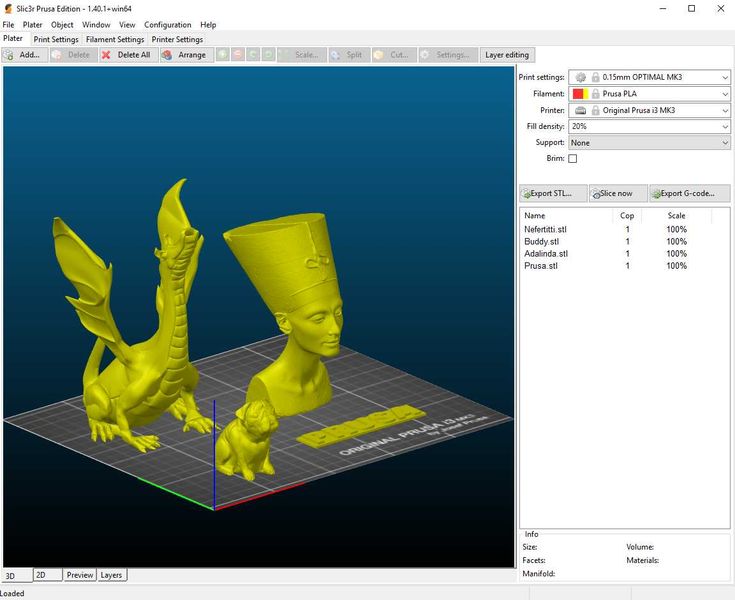
- Smart positioning: PrusaSlicer has an ordering function that automatically arranges 3D models on the desktop in the best position.
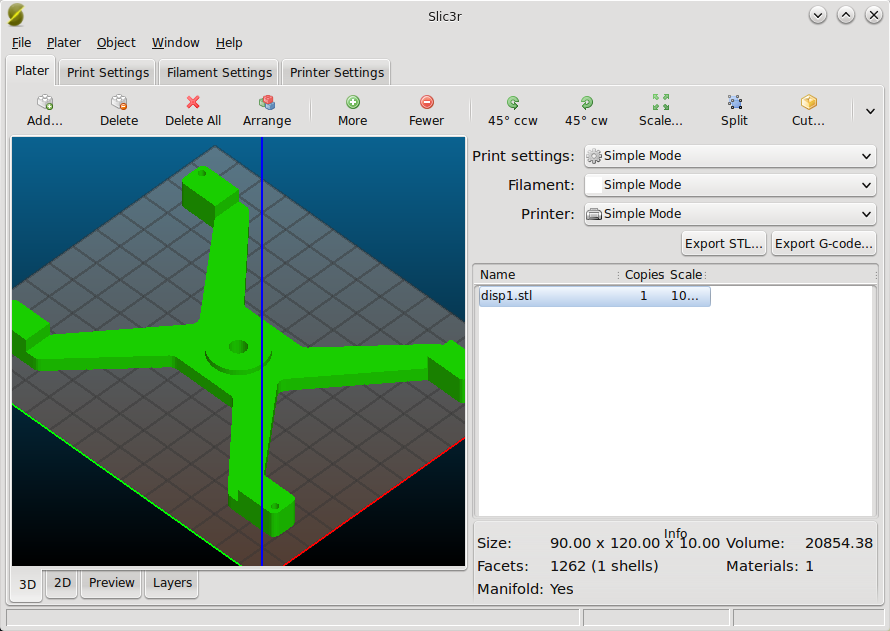 This is very useful when you are printing multiple parts at the same time.
 - Easy G-Code Insertion: The sliders on the side of the preview window are an intuitive way to add a pause or other custom G-code commands.
- Easy Layer Adjustment: The variable layer height feature also has a well organized slider that makes it easy to set the layer height.
Despite the fact that both slicers have tried to make their user interface as intuitive as possible, you still have to spend time and understand it. But rest assured that the best 3D printing experiences and emotions will surely come after a few failed 3D prints!
Company development vector
The origin stories of Ultimaker and Prusa Research are similar: both companies started out as low cost, open source desktop 3D printer manufacturers. Over the years, both have recognized the need to develop their own slicers. Ultimaker bought Cura and Prusa borrowed a lot from Slic3r. While there are many similarities in their growth stories, the two companies have moved in different directions since then.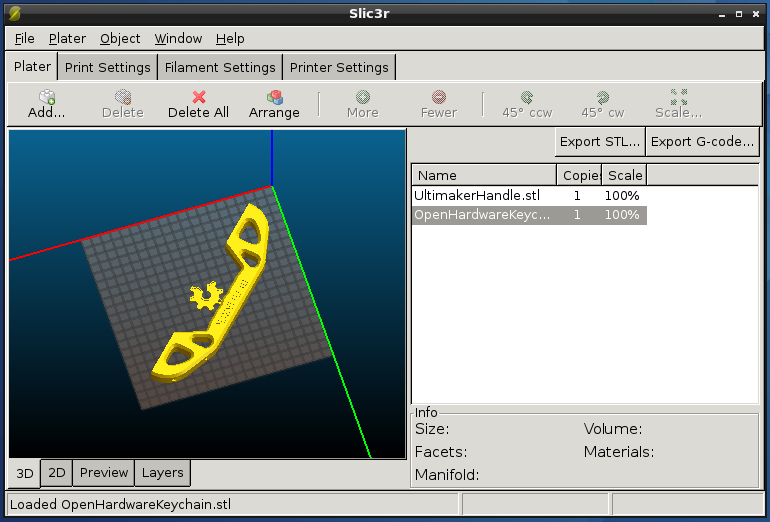
Cura
Cura has worked more on specialized materials for industrial applications, collaborating with major polymer manufacturers such as DuPont, BASF, Solvay and so on, integrating materials into their marketplaces. In addition, plugins that help Cura work with proprietary CAD software such as SolidWorks, Inventor and NX make the professional workflow more efficient.
Cura's general trend and direction is to place their desktop systems on production sites to help companies build custom fixtures, parts and prototypes.
PrusaSlicer
Prusa, on the other hand, is working on making reliable models for hobbyists and small professionals who don't need a wide range of materials.
A great example is Out of Darts, which makes partially 3D printed foam blasters. However, major visual effects agencies are also known to use this slicer.
Like Prusa printers, the slicer is aimed at the community and hobbyists. The company has also begun building a repository of pre-cut parts using PrusaPrinters (25,000+ free 3D models), making it easy for manufacturers to share files and designs.
Community and company support
Cura and PrusaSlicer have amassed a huge following because they are two of the best open source slicers that can run on any 3D printer. The primary forum for discussion is the community forums where people discuss issues, tips and tricks. For both slicers, most of the support from the company is provided in the form of manuals, FAQs, and the like. There is more than enough information on the official forums in the form of guides and videos.
Cura
Cura has never had a dedicated support team to help users with problems using the slicer. However, they have provided a platform for users to discuss the issues and concerns they face. Moderators from the Cura team return to the issues raised. Often these bugs are fixed in new updates and thus the software continues to improve over time. In addition, forum participants try to help each other. Cura also has a dedicated page where users can learn more about each setting.
PrusaSlicer
PrusaSicer also doesn't have a dedicated support team, but its large user base and community post many videos of fixes and updates. However, the Prusa team also publishes videos from time to time about various updates and applications.
Conclusions
We're seeing desktop 3D printer use evolve from a hobby in garages to a full-fledged sector in industrial production, and much of this development has been driven by free and open source 3D slicing software.
Both Cura and PrusaSlicer have grown into some of the most powerful and commonly used slicing programs. It's great that each team continues to come up with new features that push the boundaries and possibilities of 3D printing. Both companies pay great attention to the user interface and its improvement.
So in the end - who is better - Cura or PrusaSlicer? The answer, you guessed it, depends on the circumstances.
Cura's main advantage lies in its longer history.


