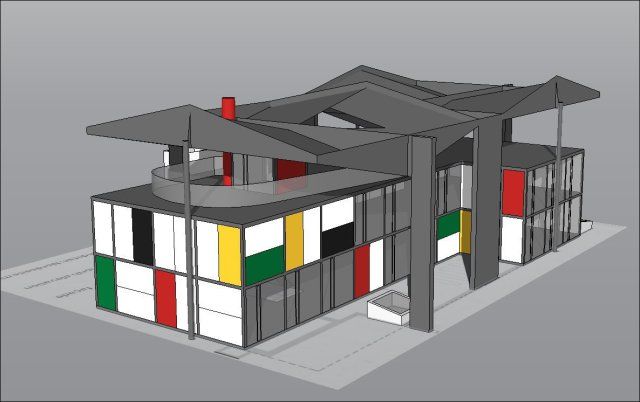
Sketchup 3d printer models
3D Printing with SketchUp: 10 Tricks | 3D Printing Blog
3D Printing with SketchUp: 10 Tips and Tricks
by Fabian | March 30, 2017
SketchUp is one of the most popular 3D modeling & design programs for 3D printing, as we found out from our analysis. However, preparing a SketchUp model for 3D printing can be a little tricky. That’s why we put together a list of 10 simple yet effective tips and tricks to make your SketchUp design 3D printable.
1: Set your Template to Millimeters or InchesSome simple clicks before getting started will make your life easier: you may want to set your SketchUp template to metric or imperial units. This way, you won’t need to re-scale the printing size of your model later.
You can change the template by clicking on Window > Preferences > Template and selecting ‘3D Printing – Millimeters’ or ‘3D Printing – Inches’.
2: Install the SketchUp STL ExtensionTypically you can save your 3D model as a SketchUp file (SKP). Even though our online 3D printing service accepts these files, you might want to get SketchUp’s free STL Extension. The STL file format is the most commonly used in the 3D printing community and will make it easier to share, print, and edit your design in other software.
With the SketchUp STL extension installed you can export your model as an STL file. Make sure to select the same unit type that you chose in your template (millimeters or inches) when exporting, and choose the binary file format to reduce the size of your file.
3: Avoid Paper-Thin Surfaces & Set Wall ThicknessesIn order to make your SketchUp model printable, you need to ensure that each and every surface has a wall thickness. Without setting a wall thickness, a 3D printer has no information about how thick or how thin it is supposed to print your part.
The picture below shows a model with paper-thin surfaces (not printable, left) and a solid object with thick walls (printable, right). If you want to learn more about how thick your walls need to be exactly, make sure to read this blog post.
A printable model must not feature any holes in its surface. Ask yourself the question: if I were to put water inside my model, would it flow out? If that’s the case you need to find these holes and close them. This is one of the trickiest parts of creating 3D printable models in SketchUp.
The design below is an example of a model that is not watertight. You can clearly see that there is one big hole on its surface.
Once this hole is closed (for example by drawing new lines), SketchUp recognizes that the object is solid on the inside and ready for the printer! You can see such a watertight (also referred to as manifold) object below.
5: Avoid Internal OverlappingIntersections and walls within your design can make your life difficult since your model needs to have one continuous ‘outer shell’. That’s why it makes sense to think about your model in a 2-dimensional space first.
In the case below, the left shape will not be printable once it is pulled into a 3-dimensional object since it will feature paper-thin walls within the object. The shape on the right, however, won’t be a problem to print once it is pulled into a 3D object because it will only have one ‘shell’. It doesn’t feature paper-thin walls on the inside. We’ll look at an automatic way to create one outer shell later.
6: Check if Your Model Is SolidCreating watertight models with one continuous outside can be tough sometimes. Luckily SketchUp lets you check if you made any mistakes.
Here’s how it works:
- Triple-click on your model with the select tool (this will select everything).
- Right-click on your object and select ‘Make Group’.
- Right-click on your object again and select ‘Entity Info’.
If you designed an object with holes (not watertight) and internal intersection (not in one shell) the Entity Info window will say ‘Group’.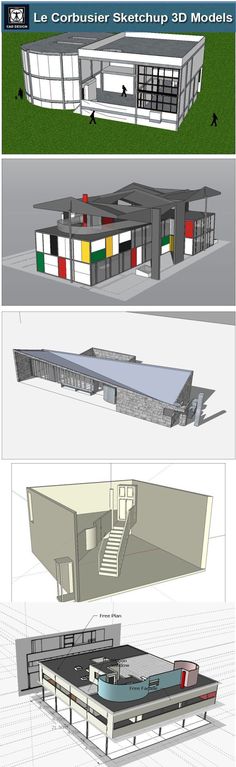 This means that your model is not printable and you’ll have to check it again. Right-click on it and select ‘Explode’ to re-edit the components.
If you designed a watertight model in one shell, the Entity Info window will say ‘Solid Group’ and then you know that your model is ready to be 3D printed (in the next steps we’ll tell you how to fix this).
7: Look inside Your Model with the ‘Hide Tool’ and ‘X-Ray-Mode’Looking at your model from the outside means that the inside is a ‘black box’ for you. However, even the inside of your model could feature many modeling mistakes that would make your object unprintable. In the example below, the ‘Entity Info’ window indicates that the object is not solid.
Since it looks solid from the outside, it makes sense to take a look at what’s going on inside. Select a surface (face) you want to hide and select ‘Edit’ > ‘Hide’. And voila: you can find the trouble-making mistake. Alternatively, you can switch into x-ray-mode by clicking on ‘View’ > ‘Face Style’ > ‘X-ray’.
We already pointed out that designs with overlapping objects create problems for 3D printers. The good news: there’s an automated solution for creating one ‘outer shell’ around the overlapping objects, deleting all internal overlapping parts.
To start with, we have these two solid blocks. Each of these blocks was ‘grouped’ separately (Select > Right click > Make Group). We also selected the x-ray view to make things easier.
We then move one block into the other. We now have overlapping areas in the interior of this object.
To get rid of these, we select one block, click on ‘Tools’ and choose ‘Outer Shell’.
The last thing to do is to click on the second block. SketchUp automatically created one solid group out of these blocks. As you can see, the internal overlapping parts are gone. The result is a new solid object that is ready to be 3D printed!
9: Fix Reversed Faces (Inverted Normals)Another problem that can occur is so-called inward-facing or reversed faces.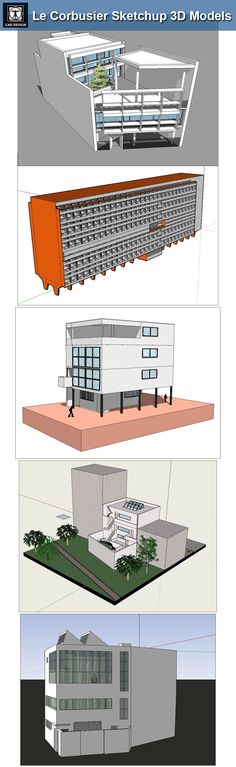 This means that a surface of your model is facing in the wrong direction (typically this means that it is facing the inside of the object instead of the outside). These surfaces are automatically colored in light blue.
To fix this, right-click on the inward-facing surface (face) and select ‘Reverse Faces’. You can see an example of this in the image below (left). On the right, you can see the object how it is supposed to be: all faces point to the outside again.
10: Increase Circle/Arc Segments to Getting Smooth CurvesSketchUp ‘smoothens’ arcs and circles in its visual presentation. Even though circles might look perfectly spherical in SketchUp, they are actually only made of 24 sides. Click on ‘View’ > ‘Hidden Geometry’ to see theses sides. When being printed, this circle might come out quite edged.
When you select the arc or curve tool, SketchUp will show you their default sides in the bottom right corner. You can then enter a higher number to increase the number of sides. Validate your entry by hitting the ‘Enter’ key and then draw your arc or circle.
The image below shows a comparison between the default 24 sides (left) and 150 sides (right).
Extra: Automatic File Fixing and PreparationSometimes problems are tiny and hard to see with the naked eye. There are SketchUp extensions like the Solid Inspector 2 that find problems automatically and point them out to you. Simply select a group or component and activate the Solid Inspector tool for an analysis of what would prevent it from being a solid manifold.
Another handy extension is CleanUp 3. It allows you to cleans up and optimize your SketchUp model with handy tools like “Erase hidden geometry” and “Erase duplicate faces”.
Also, SketchUp added a cool feature to their 3D Warehouse that was developed by Materialise. When uploading a model to the 3D Warehouse, you can check the “I want this to be 3D printable” button (see video below) to get modeling errors fixed instantly. This tool will make your 3D model watertight and allow you to download it as an STL file. While it might lead to somewhat less accurate results, it’s a very fast way to get a printable file. So if you’re searching for an easy-to-use tool that will save you a lot of time and effort (no more searching for file issues, no more exhausting fixing sessions), this is the tool for you.
Did you manage to follow our tips and tricks and create a printable SketchUp file? In order to send it to our printers, download the SketchUp 3D print service plugin. Alternatively, you can upload your models here and choose from hundreds of material options.
Get high-quality 3D prints like these with i.materialise’s online 3D printing service.
Is SketchUp good for 3D printing? – 3D Solved
Have you ever come across a model you would like to modify so it can meet a specific requirement of yours? If you ever felt the need to modify an existing model or to create your very own designs, then you surely saw there are a lot of programs to help you achieve that.
There are quite a few CAD software options to choose from and all of them have their own strengths and weaknesses, so I made this article to help you decide if SketchUp is the right one for you.
SketchUp is a great tool for beginners with little to no experience in the 3D modeling world. With SketchUp, you will be modeling your designs right away for free without the need to download anything. Although the learning curve is friendly for newcomers, professional modelers will be limited by the lack of advanced functionalities.
Is SketchUp easy to learn?
SketchUp is considered by most users to be one of the easiest 3D CAD modeling programs to get started in the 3D designing world. It is possible to achieve a fairly decent skillset with the software in no time and with little difficulty. This is because of its user-friendly interface, which is very intuitive to pick up, even for someone without a 3D modeling background.
With SketchUp, 3D modeling is made simple but its narrow focus makes it more difficult when it comes to complex designs. For that reason, SketchUp is better suited for beginners or intermediate users. If all you want is to 3D model simple objects, just watch a SketchUp tutorial and you can start designing right away.
Is SketchUp popular in 3D printing?
SketchUp is a popular 3D modeling program amongst makers. The fact that it provides a free version, combined with its user-friendly interface makes it a solid choice for beginners and intermediate users. You don’t even have to download the software as it is browser-based. Just sign in on SketchUp’s website and start designing!
With SketchUp, you can transform your ideas into 3D models easily thus making it an excellent tool for both visualizing and planning. The SketchUp Viewer mobile app is also available for free and allows users to see their designs in the place it would be built using augmented reality (AR).
Sketchup’s mobile app allows for augmented reality object visualizationsCan you design anything using SketchUp?
SketchUp can be used in a variety of projects, from buildings to 3D printable product mockups. It is a great tool for 3D modeling projects across architectural and interior design.
Since SketchUp uses straight-line segments to build forms it is not advised to use it on organic designs such as plants and animals. You will have a hard time modeling any curved or irregular lines. If you are interested in organic modeling you should consider another CAD program, like Blender or ZBrush.
Many hobbyists choose SketchUp as it is free and easy to use, but take into consideration that complex modeling and drafting customization can be troublesome because of SketchUp’s narrow focus.
Online resources for learning SketchUp
As it happens with all the popular 3D CAD programs, there are a lot of good sources providing educational content to help you learn everything you need to know to start modeling with SketchUp.
Besides the community-driven content, the SketchUp developers provide amazing official resources to learn the program. Just access SketchUp’s website for free courses covering most features of the software.
You can also find great tips and tutorials on SketchUp’s official YoutTube channel. Also, I found this channel to have good updated videos teaching SketchUp, you might want to check this video series to get started.
Popular alternatives to SketchUp
SketchUp vs Tinkercad
Tinkercad is a totally free browser-based 3D design software. There is no offline version, so you need an internet connection to be able to use it. Both Tinkercad and SketchUp provide people without any experience in 3D modeling the opportunity to design real objects that come out of the 3D printer.
Tinkercad limits your options with their preset catalog of shapes and is more oriented towards introducing kids to the 3D modeling world. With SketchUp, you have more freedom to create new designs as it has more advanced features, allowing you to further express your creativity.
I would recommend SketchUp to anyone who finds Tinkercad as too basic and wants to explore more advanced options, but still has very little experience with 3D modeling. If you want to learn more about Tinkercad, you can check out the review I made!
SketchUp vs FreeCAD
FreeCAD is a completely free open-source parametric 3D modeling software. Being that FreeCAD is fully parametric means that it is not very practical to use it to model organic figures such as plants and animals.
FreeCAD is best used when it comes to mechanical purposes, precise replacement parts, and elaborated technical objects, whereas SketchUp is primarily used in construction and interior design.
When it comes to ease of use, SketchUp’s interface is way more user-friendly and intuitive than FreeCAD’s. So it would be easier for someone taking their first steps in 3D modeling to start with SketchUp.
I also wrote a review of FreeCad, so make sure to check it out if you are still on the fence.
SketchUp vs Fusion 360
Fusion 360 is a desktop-installed and cloud-based professional 3D CAD software. For professional use, you need to pay a monthly subscription but It also offers free licenses for personal use, students, educators, and startups.
Fusion 360 uses parametric modeling but u can change it to direct modeling when it is convenient for your project. SketchUp is better suited for beginners or intermediate users focused on construction and interior design while Fusion 360 features and tools make it more appealing to a wider audience.
With SketchUp, 3D modeling is made simple as it has a narrower focus making it easier to use than Fusion 360, In addition, Sketchup’s paid versions are cheaper than Fusion360’s subscriptions. SketchUp may demonstrate to be a faster option to get started with small projects, but if you are looking to create complex technical designs down the road, give Fusion 360 a try.
Fusion360 is my favorite designing program available, so I might be a little biased in the review I wrote about it.
SketchUp vs AutoCAD
AutoCAD is a precise 2D and 3D drafting software and was one of the first CAD programs introduced in 1982. There is no free version so you need to pay a monthly/annual subscription in order to use it.
Even though AutoCAD is ideal for 2D drafting it isn’t very user-friendly to use in complex 3D modeling as it has a steeper learning curve than most CAD software. Because of that, it is not a very popular option in the 3D printing community.
Because AutoCAD subscriptions are expensive, SketchUp is a better option for most hobbyists to design their models. AutoCAD is rather used by professionals working on industry-level designs.
Frequently asked questions
Do I have to download SketchUp?
SketchUp has both a desktop and a web-based version. The Free and Shop plans only allow for web-based use of the software, whereas the Pro and Studio subscriptions offer web and desktop usage, meaning that you can download the software and use it offline.
How much does SketchUp cost?
SketchUp offers a free version, and for those who want to check the features from the paid versions, there is a 30-day trial, after which you would have to pay for a subscription or go back to the free version. You can expect to pay around $10 to $30 per month for the Shop and Pro versions, whereas the Studio subscription will set you back around $100 per month.
Can you render objects with SketchUp?
There aren’t any native rendering tools in SketchUp that allow you to create photorealistic images of your models. However, there is rendering software that you can use in conjunction with SketchUp to get the results that you want. You can use rendering extensions that run inside SketchUp or rendering apps that work outside SketchUp as standalone apps.
What operating systems does SketchUp support?
For the web-only version, you just need an internet connection to use SketchUp, and the desktop versions are being developed and maintained for Mac and Windows operating systems.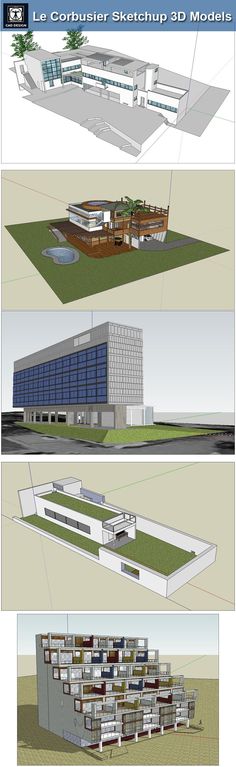 Although it is possible to install Sketchup on Linux, it is not supported by the developers.
Can you export STL files in SketchUp?
SketchUp supports imports and exports in STL format, which is the most common file type in 3D printing. In order for your model to become a successful print, you need it to meet some requirements before exporting the file like having a base, a volume, and being a solid group.
Can I activate my SketchUp Pro license on more than one computer?
If you possess a classic license you can activate your SketchUp license on up to 2 computers and for subscription users, you are allowed to sign in with 3 computers.
Conclusion
Having gone through most of the key features that make Sketchup a popular choice among designers, we can definitely conclude that it is a viable option for getting started in the 3d modeling world.
Having said that, there are other intuitive and friendly programs out there that are also better suited for professional uses if you choose to do so in the future. Such is the case of Fusion360, which is also free in most cases, and I definitely urge you to consider it.
We created a recommended products section that will allow you to remove the guesswork and reduce the time spent researching what printer, filament, or upgrades to get, since we know that this can be a very daunting task and which generally leads to a lot of confusion.
We have selected just a handful of 3D printers that we consider to be good for beginners as well as intermediates, and even experts, making the decision easier, and the filaments, as well as the upgrades listed, were all tested by us and carefully selected, so you know that whichever one you choose will work as intended.
SketchUp STL Export Guide
Share on Facebook Share on Twitter Share on Vkontakte
This walkthrough is for Sketchup 7.1 or higher. It also applies to both free versions of SketchUp as well as SketchUp Pro 7.
Step 1: open your model in SketchUp and export to the correct format
to convert . stl files without help Sketchup , but after several attempts, you come to the conclusion that most, if not all, are not good enough at this task.
Since the last update of Sketchup to version 7.1, it has become very easy to create almost perfect files for 3D printing .stl, in addition, there are a couple of very useful and free programs like Sketchup - MeshLab and Accutrans3D . Meshlab
Step 3: Opening the file in Acceptrans
Open the ACCUTRANS3D program and take the test for waterproof, take advantage of the TORS -> CHECK contributions -> Check
If there are errors in the model, you will see the following picture:
blue.
Pro tip: remove a large surface or area
Sometimes these errors are obvious, but sometimes they are REALLY hard to see. With one trick, this can be avoided. It is enough to go back to your file in SketchUp and intentionally remove a large surface (in this case, the flat base of the model).
So much better - even though we now have a HUGE hole in the model, we know exactly where it is, because we just made it ourselves!
Pro Tip 2: Go back to Accutrans and fix it in SketchUp
Now we export the file again, converting it to .stl 190 format and reloading it again check for water tightness, this will allow you to easily "look inside" your model to spot those pesky bugs (you'll most likely see the hole in the base that we just made is highlighted in red - ignore it and look for others! ).
Go back to the model in Sketchup - find and fix the errors.
Look! Lots of holes!
And we fixed them with ease!
Step 4: Correcting model edge errors
There are many such errors: when you deepen these areas SketchUp leaves panels in front of them - you need to remove them!
Now everything is fine.
Step 5: Last water test
So, everything is in order and you can save your file. To export it again, open File -> Export -> 3D model -> COLLADA file tabs.
Open in Meshlabs .
Save as .stl.
Open Accutrans3D in and run the waterproof test again.
Step 6: Upload the file
So now you are ready to upload your file, for example, to can-touch.ru, it should have a .stl extension.
3d modelingSketchUp
3D printer models
Looking for 3D printer models? The Internet is filled with sites that offer them for free. We have collected the TOP 10 catalogs that you can use to search and download free models in STL format. We hope you can find what you are looking for.
- Yeggi
- Yobi 3D
- STLfinder
→ myminifactory.com
My Mini Factory is a 3D model depository operated by iMakr, an online store that sells 3D printers and accessories.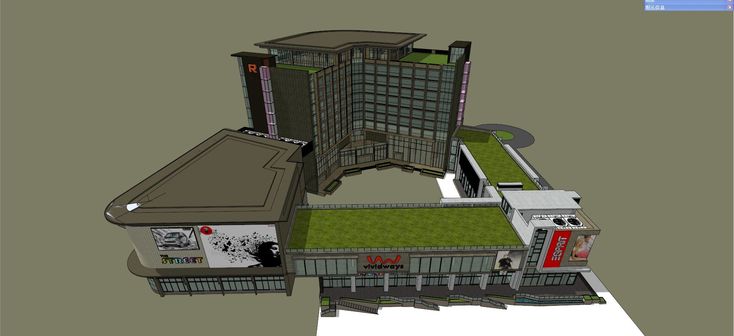 It also has one of the biggest 3D printer shops in Central London. The site contains 3D models designed by professionals, and all models stored on it are checked for quality. You can also make a request for the desired model, which their designers will create and put in the public domain. Billing itself as a 3D printing social network, MyMiniFactory is a thriving community of makers who love to showcase their creations. Users vote for the best models, which allows popular creations to rise to the top of the list and gain popularity. The site presents models that are stored on its social network, as well as outside it, for example, on the Thingiverse and YouMagine sites.
→ thingiverse.com
The most popular and famous site among 3D printer users, Thingiverse is owned by MakerBot Industries, the creator of the popular Replicator 3D printer series. The site allows users to store and share 3D model files that are used with 3D printers. It's a very popular site and has a large community of people hosting various categories of files on it.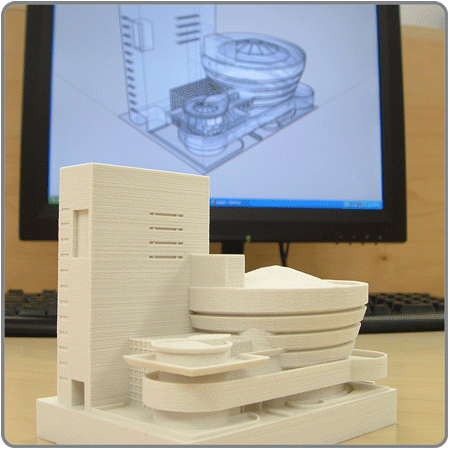 So if you're looking for "cool" printable stuff, Thingiverse is worth a visit. It is a portal designed to provide its users with ways to share their designs and to help print 3D creations. The site has a system that tries to find out what you like. The more you interact with the site, downloading and evaluating various developments, the better its recommendations will be.
→ 3dshook.com
Another online community for 3D printing hobbyists showcasing interesting 3D printer accessories, electronics and most importantly 3D models. The site contains many very interesting models of cars and buildings, as well as various add-ons and spare parts for your 3D printer. A huge catalog of paid and free models for a 3D printer. There are original unique products. Convenient search, navigation, rubricator. 3DShook has over 40 categories and adds over 100 new models to its collection every month. On 3DShook you can always find something for your home, animals, kids or something special for yourself.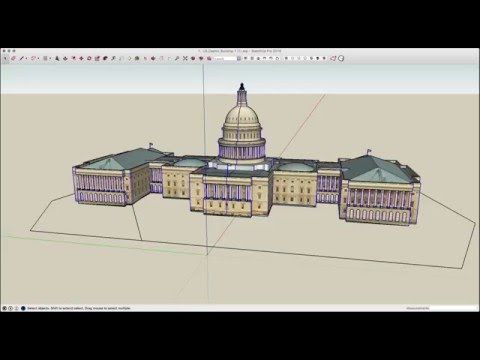
→ youmagine.com
YouMagine catalog for 3D Systems Cube series consumer 3D printers. The site mainly offers various ways to buy 3D printer supplies and files, but it also has a number of cool free items available, mostly in the Kids section. Some of these elements can be customized by children using an online application. The company offers 3D modeling and publishing tools on its website for both hobbyists and professionals. The site offers a content warehouse where the community hosts and shares models. Registration is required to download files.
→ 123dapp.com
Autodesk 123D is a suite of computer-aided design (CAD) and 3D modeling tools aimed specifically at hobbyists. Along with the toolkit, Autodesk also has a website where users can record their designs and share them with other users. Many of these models can be downloaded and printed using Autodesk as a utility to interface with the MakerBot 3D printer.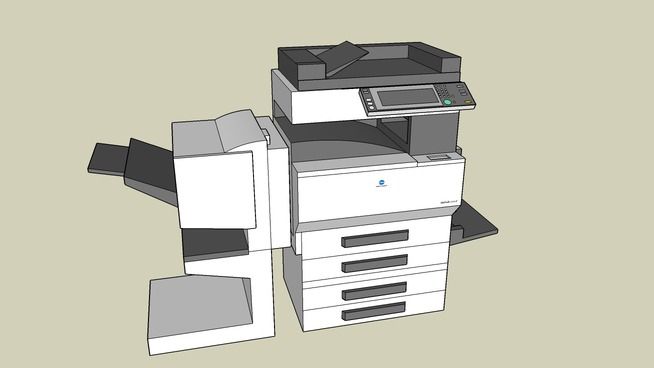 The goal of the Autodesk website is to "help engineers build products faster." The site offers tools to help them collaborate on their files. For the casual 3D printing enthusiast, the best part of the site is the large library of free files created by a community of over a million engineers. Registration on the site is required, but the number of files that are then available is worth it.
→ cgtrader.com
Being primarily a place to buy and sell a variety of 3D models (not necessarily just those designed for 3D printers), CGTrader does offer a selection of free models that can be used on 3D printers. The site has a system that tries to find out what you like. The more you interact with the site, downloading and evaluating various developments, the body will have better recommendations.
→ cults3d.com
A French community and marketplace where developers can share or sell their creations. The site has a collection of high quality models that you can download. Users can follow the work of the designers they like and get instant updates when a new creation is posted on the site. The site's name, Cults, is a backwards spelling of St. Luc, the patron saint of artists. The site also supports English. This is a relatively new community, so the number of its users is not very large yet.
→ instructables.com
The Instructables website is a community where users can share their DIY projects. This also includes products obtained using 3D printers. The site also provides explanations and instructions describing how to build 3D elements, and some designers take the time to answer questions from site members. Instructables allows users to store and organize their 3D printing projects. This is done to help them work together in the future. You can think of this site as a GitHub 3D printing site where users can share their files, discuss projects, and participate in them. The site also offers the ability to make a request, so if you can't find what you're looking for, you can ask the site's community about it.
→ pinshape.com
Pinshape, a marketplace for 3D models, is similar in style (layout, look, and ability to capture likes) to the well-known site Pinterest. You can buy models from designers, or download them for printing yourself if they are offered for free. Pinshape allows users to host and share 3D model files on it. Basically, this site acts as an online store where you can buy 3D printed parts, or order your own 3D model to be printed. But if you look closely enough, you can find people who sell their products and also offer the files you need so you can print them yourself.
→ 3dfilemarket.com
A new and growing repository of 3D File Market models. All models are tested for suitability for 3D printing. You can download as many models as you like without registration, although you must provide your email address to access the 3D model files. This is a very simple site aimed at being a repository of model files for 3D printers, and nothing more.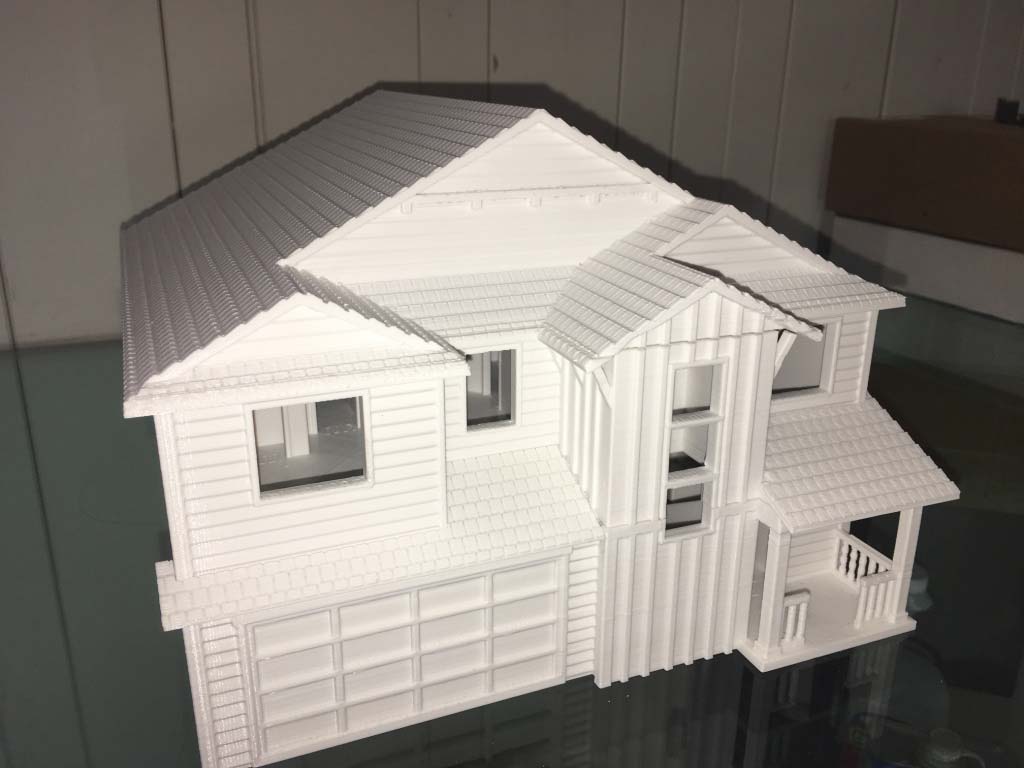 The basic design of the site allows users to put files on it for public access, and download files that they would like to use. The site contains many small, simple 3D models ready to be printed, as well as a good selection of everyday items and even spare parts for 3D printers.
Search engines for 3D models in various formats, including STL for a 3D printer. Use queries in English, these search services collect information about models from all over the Internet.
→ yeggi.com
Yeggi is a search engine that will browse major 3D printing websites to find files compatible with 3D printers. You can also browse some popular searches to get an idea of what the community is currently interested in.
→ yobi3d.com
When in doubt, use yobi3D to search for files that match the desired 3D printer. This tool is useful if you want to search for one thing across all sites at once. A very convenient format filter, fast search, high-quality previews and stl models prepared for 3D printing for printing.