Rhino for 3d printing
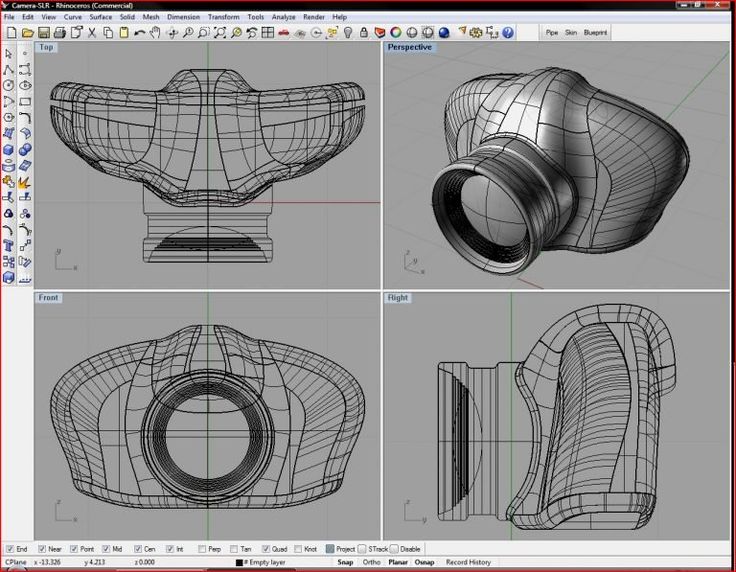
Rhino - Buy - Rhinoceros
- Commercial
- Students or faculty
- Schools
| Rhino 7 for Windows and Mac | € 995 | € 995 |
| Bongo 2 | 495 | |
| Rhino 7 for Windows and Mac | € 595 | € 595 |
| Bongo 2 | 295 | |
| *Use The LAN Zoo or the Cloud Zoo to share licenses. It is free. **Evaluation versions are NOT upgradable. | ||
| Rhino 7 for Windows and Mac | € 195 | € 195 |
| Bongo 2 | 195 | |
| Rhino 7 for Windows and Mac | € 95 | € 95 |
| Bongo 2 | 95 | |
| *Evaluation versions are NOT upgradable. The educational versions are the same as the commercial versions, except that they are not transferable to another user. Details... Order Form (Note: Proof of status required.) | ||
| Rhino 7 for Windows and Mac | € 975 | € 975 |
| Bongo 2 | 675 | |
| To Rhino 7 for Windows and Mac | € 295 | € 295 |
| Bongo 2 | 195 | |
| Rhino 7 for Windows and Mac | € 195 | € 195 |
| Bongo 2 | 195 | |
| Rhino 7 for Windows and Mac | € 95 | € 95 |
| Bongo 2 | 95 | |
| The educational versions are the same as the commercial versions, except that they are not transferable to another user. Order Form (Note: Proof of status required.) *Use The Zoo or the Cloud Zoo to manage the lab licenses. It is free. | ||
 Details...
International prices may vary.
Prices do not include taxes.
All products are shipped electronically.
Note: All licenses are permanent and do not expire. Prices include support and service releases for the current version. There are no maintenance fees.
Purchase Options
▶ Locate a dealer near you:
Select CountryAustriaAzerbaijanBelgiumBulgariaCroatiaCyprusCzech RepublicDenmarkEstoniaFinlandFranceGermanyGreeceHungaryIrelandItalyLatviaLithuaniaNetherlandsNorwayPolandPortugalRomaniaSerbiaSlovakiaSloveniaSpainSwedenSwitzerlandTurkeyUkraineUnited Kingdom
(Select Region)(All)Baden-WuerttembergBayernBerlinHamburgHessenNordrhein-WestfalenRheinland-Pfalz
▶ Buy online
McNeel Europe SL
Roger de Flor 32-34
Barcelona 08018 SpainPh: +34 93 319 9002
Fx: +34 93 319 5833Email: Delia Robalo
System Requirements
- Rhino 7 for Windows and Mac
Rhino - Rhino for Education
on a commercial* Rhino license.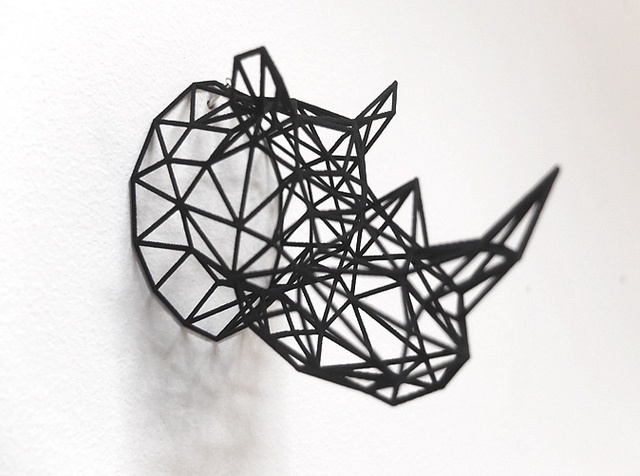 Shop now…
- Full-featured commercial software at a discount.
- For students, faculty (teachers, instructors, and professors), staff, and schools only (proof of status required).
- One per student or faculty member. Schools can buy as many as they need.
- Not transferable (cannot be sold, shared, used by, or transferred to another user).
- A 30-user license to use Rhino on the computers in a single classroom or lab (one room). A network is not needed.
- Or, a 30-user floating network license. A network server and the Zoo or internet access to the Cloud Zoo is required.
- For educational institutions only (proof of status required).
Schools may purchase educational single-user licenses in high-volume at a very special price. Details…
*Commercial software for education
Unlike other software companies, we provide commercial versions of our products to students, faculty, and schools at a substantial discount. Details include:
- The same features as the commercial version.
- No watermark or other limitation.
- Does not expire.
- No additional maintenance or support fees.
- Can be used for commercial activities.
- Upgradeable at educational prices if the owner still qualifies for educational prices.
- Upgradeable at commercial prices if the owner no longer qualifies for educational prices.
Our goal is to provide students and educators commercial-grade 3D tools for exploring, developing, and communicating ideas and designs. The software is only part of the solution. To support your efforts we have assembled the following additional resources.
- Teacher resources such as communities and curriculum guides.
- Learning aids… for students and teachers.
- If you or your students have a problem, don’t hesitate to contact us.
- The RhinoFabStudio community supports those educational sites that provide digital design, design analysis and optimization, and digital fabrication.
- The Rhino in Education community.
Teacher Training
These classes and workshops will help you become more comfortable with Rhino and provide the tools to include 3D modeling in your curriculum:
- One‑ two‑ and three‑day regional teacher training workshops are scheduled worldwide.
- If you would like to host teacher training at your school, please email Jody Mills or call her at (206) 634‑4571.
Becoming…
- An Authorized Rhino Trainer
- An Authorized Rhino Training Center
- An Authorized RhinoFabStudio
Frequently Asked Questions
Q: I own an educational license that I no longer need. Can I sell it to my friend, who is also a student?
A: No, educational licenses cannot be transferred (or sold) to anyone else. That is the only difference (besides the cost) between educational and commercial licenses.
Q: I have a single‑user educational license and have upgraded it by paying commercial upgrade.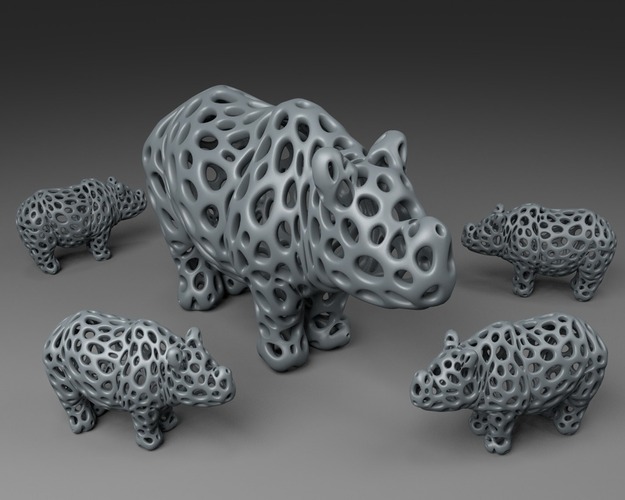 Has my license become a commercial one (that is, can I resell it)?
A: Yes, it is now a normal commercial license and you can resell it.
Q: Can I upgrade my educational single‑user license to a commercial one? How much will it cost me?
A: Yes, but only when you upgrade to a new version, and you pay the commercial upgrade price. Your educational license then changes into a commercial license. Meanwhile, there is no need to upgrade to a commercial license, since the educational software is the same as the commercial software.
Rhino rested on his horn
Summer 2020, a group for the design of exoskeletons was organized at the enterprise.
In order not to strain the toolmakers with the manufacture of squiggles, which will then have to be redone, we decided to keep up with the times and print models on a 3D printer so that, having tested them "on cats", we can already embody masterpieces in metal.
None of the designers and technologists had experience with 3D printers, so they sat down to google what to get within the budget (50 thousand domestic rupees).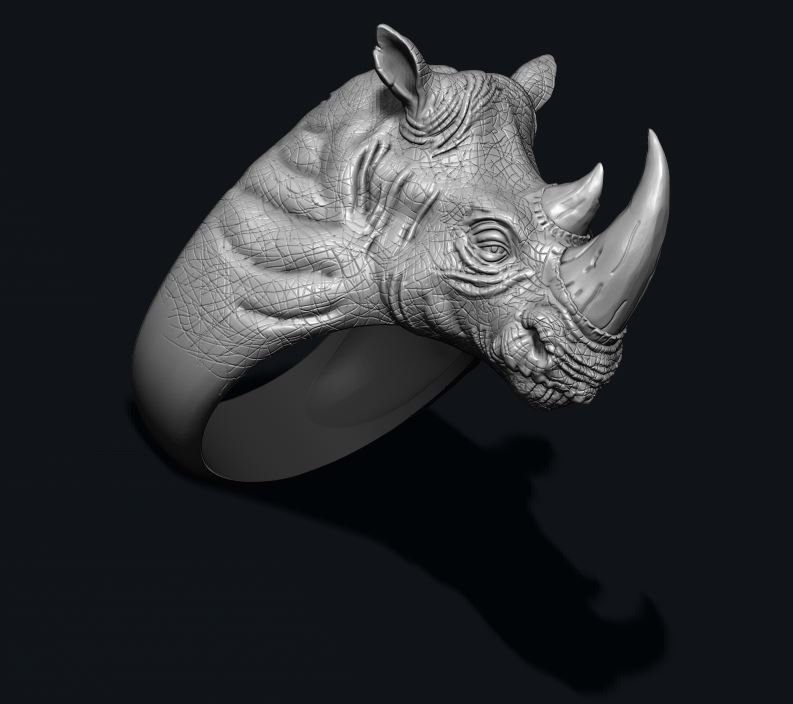
Decided we needed an FDM printer with a nozzle temperature that could melt nylon and polycarbonate.
It was not possible for others to go and see how it works because of the quarantine that blocked all business trips.
Found Wanhao Duplicator 9, on the official website of the manufacturer of which they claimed ease of operation, the function of resuming printing and a melting temperature of up to 300 °:
Bought, brought this "Rhino" (I guess that's how Wanhao should be understood in Mandarin).
In addition to the printer hardware itself, the kit included two cool hex screwdrivers and three hex drivers for assembly and alignment, an 8 gigabyte memory card, a logo sticker, a spare nozzle, a USB cable, a mysterious hook and a regular acupuncture needle for cleaning the nozzle (not such a "special" as in the picture in the checklist).
From the documentation - a leaflet on assembly and configuration in English.
I collected (in the past an IT specialist and in general a person with hands) and our current IT specialist. I must say right away that the comic with small photos did not help at all, I had to peep on Youtube how it is done correctly.
We set the tire horizontally along the Z guides. Using a caliper, we brought the table to the horizon (how to do it right is not really written anywhere, they guessed to turn the screw gears of the drives with the handles)
Next we proceeded to the adjustment.
The menu says, read the instructions and click Next.
Reading: put in the calibration card and voila! But there are no cards included. Good people advised to take a business card and drive the head vertically so that the business card moves with some friction.
After that, we watched in amazement as the table and the head began to dance a minuet mutually, while the sensor curtsied, lighting up in pink at the lowest point :)
Using the adjusting screws, the table was leveled at the corners, as it is written in the leaflet.
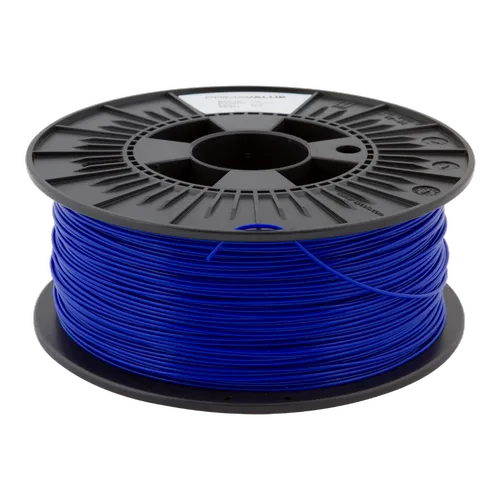
After that, we loaded the filament (a half-kilogram reel of PLA was included) and tried to sculpt something.
We downloaded "Kura" and, having chosen the default values for PLA, printed the first bullshit.
The first impression can be expressed by the words "uuu, Shaitan!": the head now strokes, then writes pirouettes with songs, then begins, as if to put it delicately, to crawl back and forth, as if getting perverted pleasure from this ...
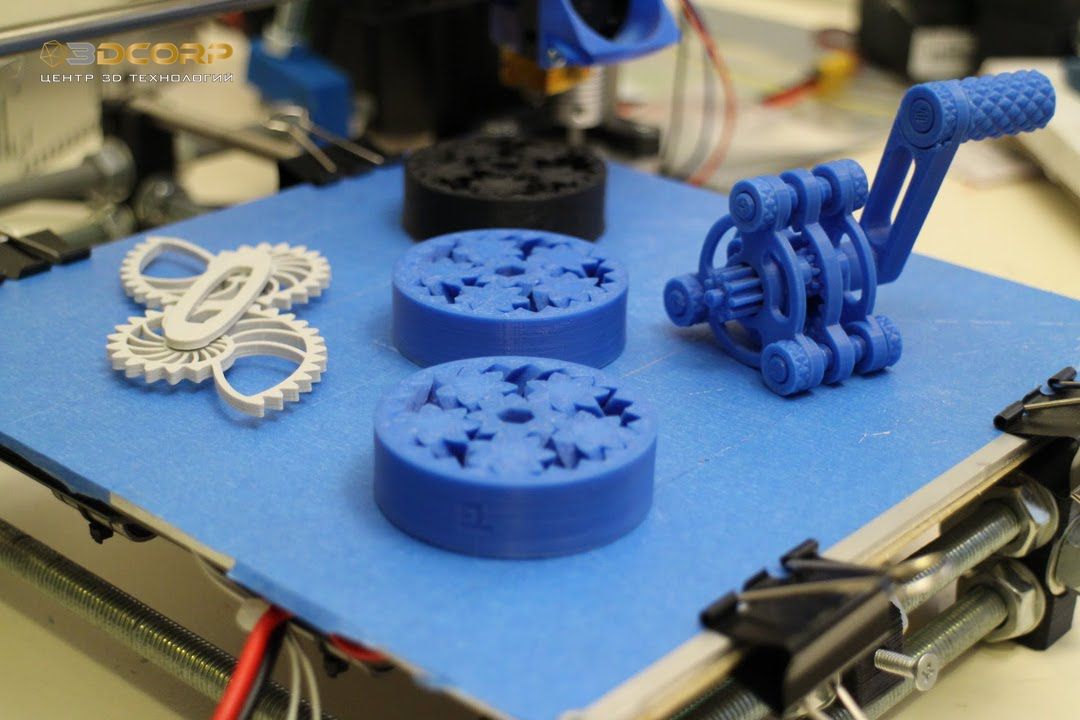
Then we were asked to print something for production: we converted a student-intern's drawing of the body and cover of the sensor, and by the end of the day we had the first pancake lumpy. The cover on the first thread was bitten tightly!
I will not torment, it turned out not to shrink the plastic and not in the printer at all. The student drew a thread on the glass and the lid with different steps) We figured it out, redid it and everyone was satisfied with the result!
Printed PLA, PETG for a while. The result is worthy.
Poor adhesion to the table was cured with PVA glue.
It's time to take a swing at nylon and polycarbonate.
We read on the Internet about the instability of the characteristics of filaments, wrote a letter to the representative office with a request to recommend the brand (manufacturer) of the types of threads we need.
The answer from Wanhao made us doubt that we contacted a quality Chinese brand and not a sharaga from Israel, because instead of good advice, we were answered with a question to the question, I quote literally: "... who recommended you to use nylon on this printer ?".
We answered that it was like 300° on the nozzle and reminded us of the "large range of plastics", why not print with nylon and polycarbonate?
But this requires a closed housing!
So we put the printer in a separate closet with ventilation to have all the pleasures ...
Result: "Unfortunately, we cannot recommend plastics that are not designed for use with this printer without additional custom upgrades."
No, there is no trial, we will work with PLA and PETG.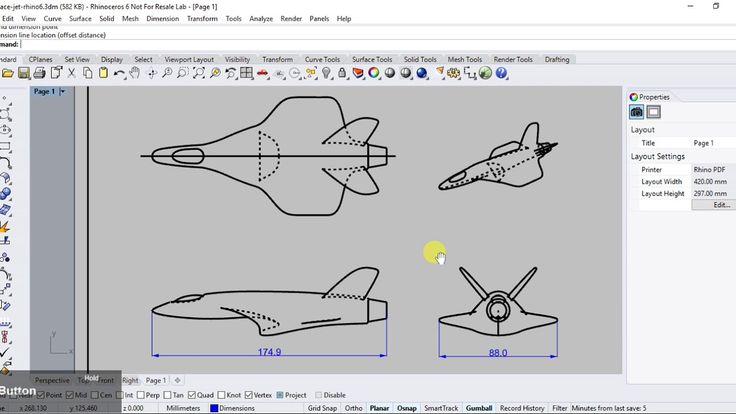 The PVA did not go well, because of the vibration of the table, the substrate fell off the surface and the nozzle began to shit at one point, forming a charred poop ... We also failed to defeat this material.
Speaking of the promised power back feature. We decided to print a massive part and, in order not to leave an electrical appliance that works with high temperatures for the weekend, we paused the work and turned off the printer. On Monday they turned it on and could not continue sculpting with any persuasion. In general, the Chinese comrades lied to us about this.
And now the second part of the Marlezon ballet!
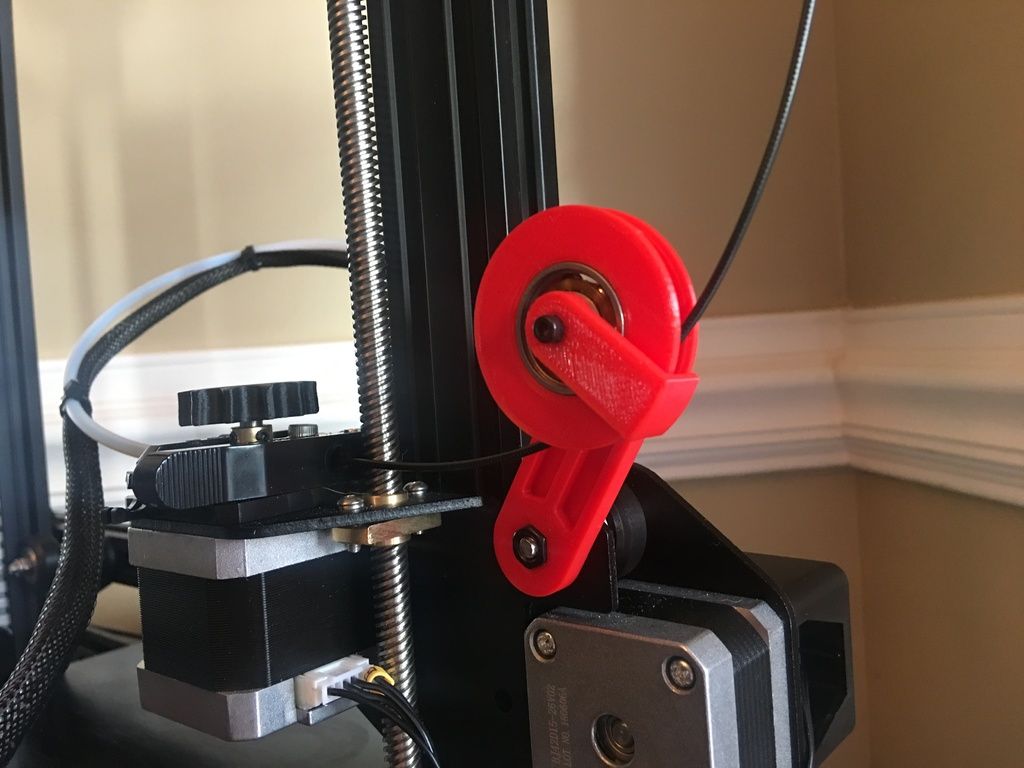
One unbeautiful day I start printing and I hear a rattle - my head scratches on the table! I stop, I look, I check. Everything is fine, nothing has changed (the printer is in my office, there is no access for strangers).
Maybe the control program was written crookedly? I print another part and again "hrrr" on the table!
What the ****!
It is clear that the table or head alignment needs to be checked.
I'm doing a little trick: first I align the X axis horizontally according to the risks (the photo is after dancing with a tambourine):
Then I started the calibration through the menu (again, a card under the head to the desired 0.1 mm and then in automatic mode).
I start printing - "hrrr"!!!
Downloaded the full manual from the site:
By the way, I find nylon in the technical specifications (which the support categorically denied!).
Reading how to use the manual calibration menu (on all four corners of the table):
And everything would be fine, but my on-screen menu looks different:
That is, you can manually adjust the position of the head in the center, and then only in automatic mode, which soars!
I am writing again to Uncle Liao in his Russian representative office, telling in detail about the bad behavior of their offspring and asking in Russian how to treat a damned sick head?
In pure British language, this fellow from Wanhao writes to me that I need to change the prob height (calibration head) and sends a link to a video on how to do it myself. But where can I get this prob height? And why should I look for it somewhere myself, if the printer is under warranty?! In addition, the print and calibration heads in the manual and mine look significantly different. Which article in Chinese should I look for?
It's clear that I've been thrown like a laova and I have to deal with it myself.
How did I solve this headache of mine? Shit and sticks in Russia enough.
With the help of a caliper and a Chinese mother, I set the tire levels above the table, then through the menu I raised my head to a "safe" height and by poking, lowering one tenth, I found the position when this rhinoceros somehow earned.
Imagine that you are pressing the toothpaste on the glass, holding the tube tightly. So I have the first layer of plastic smeared into the table, leaving a rut, but not scratching the surface. The subsequent layers of the substrate somehow level this shitty creativity and the part is printed normally. Hope I can live with it.
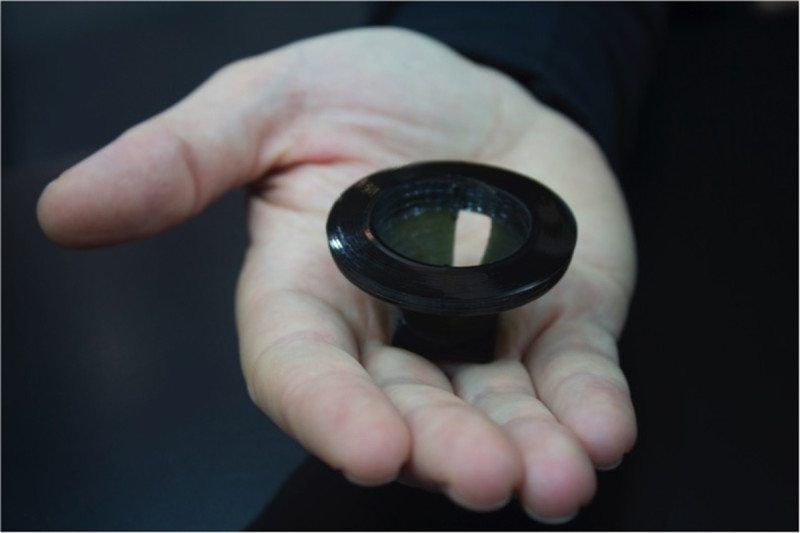
Here is a short, sad and instructive story of my first 3D printing experience on a Rhino, which, however, did not end so badly. As an example, a printout of a product that is already embodied in metal:
Hornbill rescued using 3D printed biocompatible material - FacFox 3D Printing Service - News
Crescent, Tampa Zoo Indian Hornbill in Florida, USA, became the first bird to undergo reconstructive surgery after it developed a life-threatening tumor. The tumor was located under Crecenta's helmet, without which her sinuses would have remained open. During surgery, her helmet was replaced with a biocompatible 3D printing technology.
According to ZooTampa, Crescent contracted skin cancer, which is usually fatal in hornbills. After that, medical specialists at the University of Florida (USF) used 3D printing technology from Formlabs, both to print a preoperative surgical template and to make a prosthesis.
3D scan of the Crescent's head.
In preparation for hornbill surgery, the USF radiology team used CT to 3D print a surgical template for the procedure. 3D-printed surgical guides allow precise and personalized modeling of human and now avian anatomy much faster than traditional methods and are increasingly being used in hospitals and now avian veterinary clinics around the world. Without preoperative planning and 3D printed templates, the operation would have been "much more challenging," said surgeon Dr. Alexander Fox-Alvarez, who was assisted by Dr. Caitlin McNamara, DVM and Senior Resident Surgeon at UF.
Production on demand
Online production service to meet your most exacting requirements. Get competitive offers and get your parts into production.
Get Quote
Crescent, 24 hours after surgery
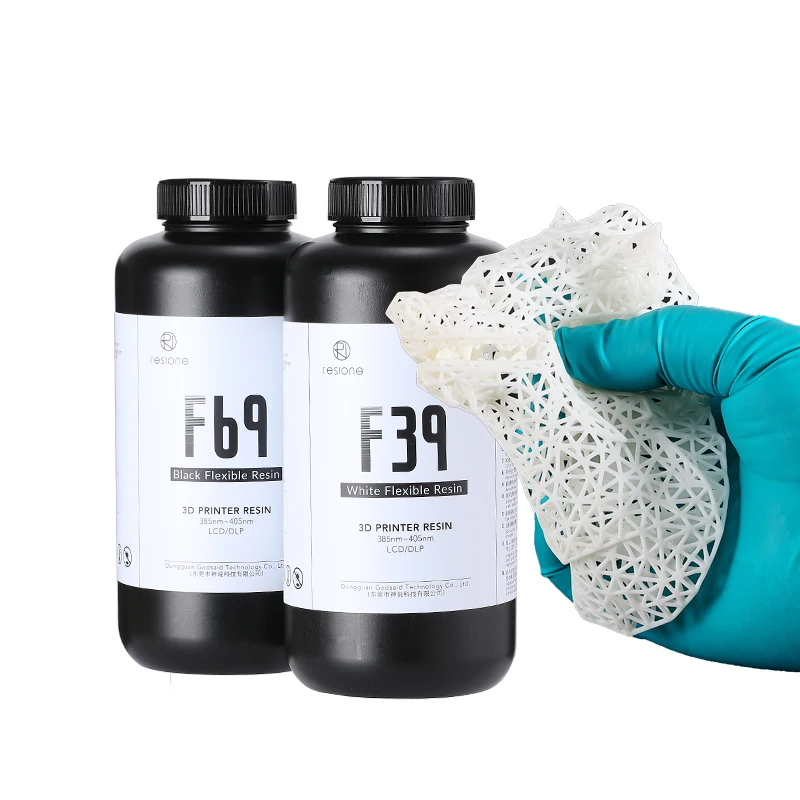
To print the prosthesis, the team needed a biocompatible material that was light, hard and strong. When USF Health approached Formlabs for advice, Formlabs donated its new in-development BioMed White polymer material that meets the criteria.
BioMed White was first shown alongside BioMed Black at the 2021 Radiological Society of North America conference. Formlabs said at the time that the addition of polymers to its material library would provide more flexibility in design and function, and could be used in a variety of applications ranging from medical devices to consumer products and, presumably, birds.
After removing the tumor, surgeons attached the 3D printed helmet to the beak of the hornbill using dental acrylic and titanium screws. The caregivers reported that she was doing well and that there had been no change in her behaviour, appetite or vocalization since the reconstructive surgery.
"An unexpected benefit came when Crescent began to preen just hours after surgery," ZooTampa said. "The Formlabs resin was found to be compatible with the yellow cleaning oils secreted by the glands above her tail, giving the new helmet the same bright sheen as her original."
* This article is reprinted from 3D Printing Media Network.