3D printer magnetic filament
Magnetic Iron PLA – ProtoPlant, makers of Proto-pasta
FAQ:
What is it made out of?
Magnetic vs. Ferromagnetic
Could I magnetize my finished prints?
Is it stronger?
Is it conductive?
Rusting Magnetic Iron Prints
Spool Amount: Density vs. Length
Printer Settings
Protopasta Magnetic Iron PLA - as its name implies - responds to magnets and behaves similarly to pure iron, even to the point of rusting! Magnetism opens up a new world of practical applications and fun creations, and is an especially great choice for costume pieces and props!
What is it made out of?
Protopasta Magnetic Iron PLA is a compound of Natureworks 4043D PLA and finely ground iron powder. In filament form, it is rather brittle, and should be handled with care to avoid breakage.
Back to Top
Magnetic vs. Ferromagnetic
Iron is defined as “magnetic” but it is, more accurately speaking, ferromagnetic. That means it is attracted to magnetic fields. In short, magnets stick to it. So, you should note that magnets stick to prints made from Magnetic Iron PLA, but printed objects will not function as magnets. We call our material “Magnetic Iron PLA” to communicate that this material allows users to include the added benefits of magnetism when designing and printing 3D objects.
Back to Top
Could I magnetize my finished prints?
We haven't tested this ourselves, but it makes sense that thin prints could be magnetized by rubbing them 10-100 times across the positive side of a large magnet. Ferromagnets will tend to stay magnetized to some extent after being subjected to an external magnetic field due to a fascinating process called hysteresis. We will test this theory in a future blog post.
Permanent magnetism requires the use a strong electromagnetic coil (around 2 Tesla), but that process would melt your print, so as awesome as it sounds, don't try it.
Back to Top
Is It Stronger?
No. The strength of Protopasta Magnetic Iron PLA is similar, and likely somewhat less, than the strength of standard PLA. The iron in the filament is too finely ground to provide an increase in overall strength.
Back to Top
Is it conductive?
No. The iron is too small and separated by the PLA to offer any noticeable amount of conductivity. You should try our Conductive PLA!
Back to Top
Rusting Magnetic Iron Prints
To rust a print made with Magnetic PLA, lightly abrade the surface of your print with a wire brush to expose more iron particles to the air, then submerge the print in a salty solution for 2-3 days (or longer, if you're going for a very rusty look!).
Back to Top
Spool Amount: Density vs. Length
3D printer filament is sold in grams /kg, even in the case of exotic materials with greater density. Our Magnetic Iron PLA is quite dense compared to standard PLA.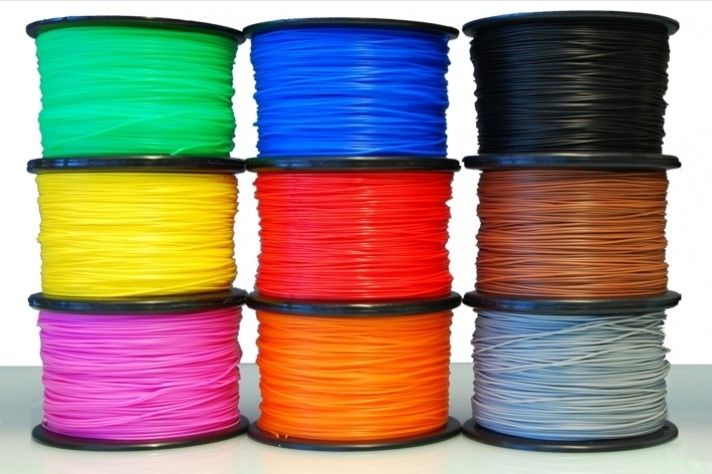 As a result, a 500 g spool of Magnetic Iron PLA contains about 100 meters of filament, vs. nearly 200 meters on a 500 g spool of standard PLA.
Back to Top
Printer Settings
Protopasta Magnetic Iron PLA prints at similar temperatures as standard PLA, though we have found it seems to like it about 10 degrees cooler than what we usually print PLA at. Quick cooling seems to increase the tendency to warp, so you might try turning your fan off and slowing your printer down a bit. Experiment and see what work best with your machine.
Density:
1.8 g/cm3 (1800 kg/m3)
Parameters:
Bed Temp (if available, is not required): 50° C
Hot End Temp: 185– 195° C
Back to Top
Magnetic Filaments: Properties, How to Use It, and Best Brands
3D Insider is ad supported and earns money from clicks, commissions from sales, and other ways.
Perhaps one of the longest lasting beliefs that we have held since we were children can be summarized in three words: magnets are awesome.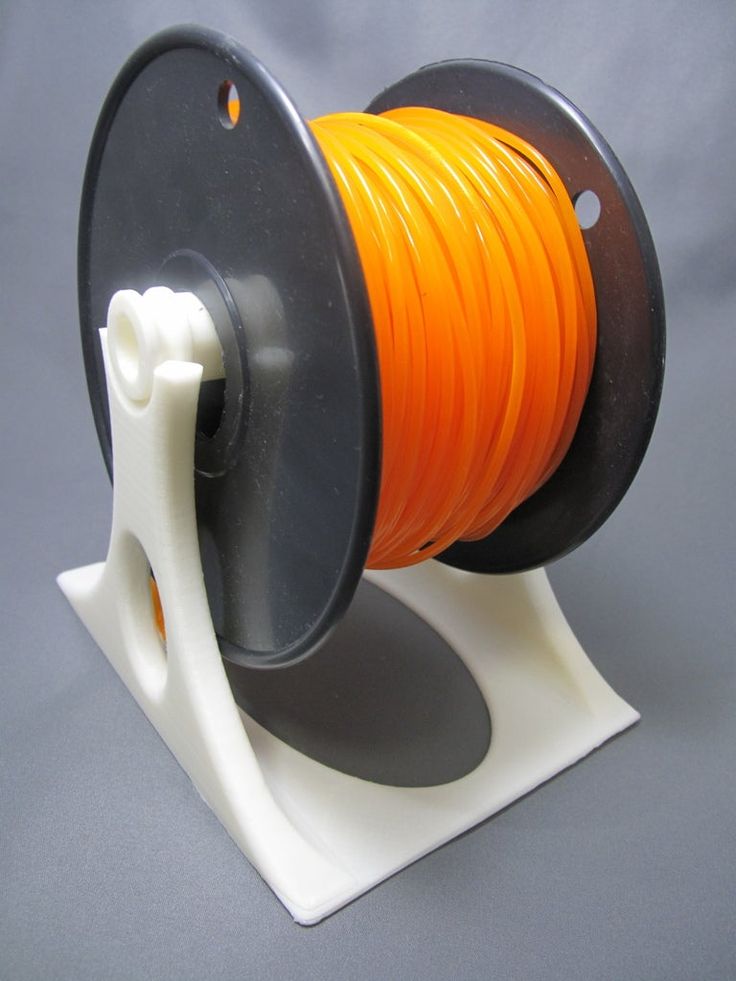 They make nifty toys and trinkets but are also the force behind many technological advancements in the modern world. All many of us want to do is to make our very own custom-designed magnetic prints. With just a spool or two of magnetic filaments, and a few tweaks on your 3D printer, you can also make your own magnetic toys (plus other more useful stuff).
What are magnetic filaments?
Magnetic filaments are made by infusing finely ground iron powder to a base material. Although other base materials can be theoretically used, the magnetic filament products available in the market today use PLA. This allows us to make 3D prints that act much like metals in terms of their response to a magnetic field. Prints using magnetic filaments are described as ‘ferromagnetic’ – that is, they are attracted to magnetic fields.
Do take note that there is a difference between magnets and ferromagnetic materials. Prints made from magnetic filaments will be attracted to magnets, but do not by default act as magnets on their own.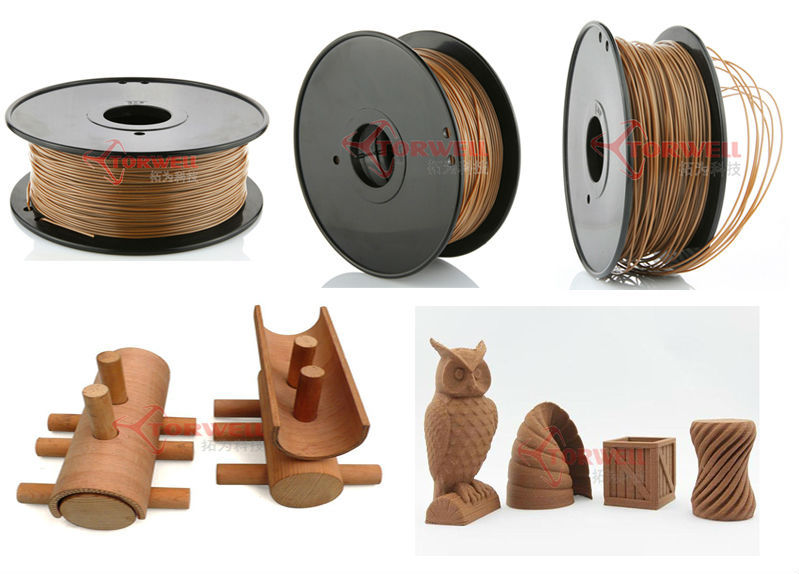
What are the benefits of using magnetic filaments?
Using magnetic filaments opens up a whole new world of 3D printing. Aside from making your own magnetic trinkets and other nifty items such as magnetic stirrers, magnetic filaments can also be used to make various mechanical and engineering parts. Replacement parts of magnetic sensors and actuators for automated systems can be easily printed, instead of having to order new parts. Some enterprising individuals have even started testing the use of magnetic filaments to make custom-made stators for brushless motors, or various forms of magnetic storage media.
If you are creative, then the possibilities are practically endless for prints made from magnetic filaments. Magnetic prints have made their way to home fixtures, fashion accessories, and costumes.
In terms of the printing experience, magnetic filaments are actually very forgiving of different printing conditions. The prints have good rigidity and can handle minor overhang features with no problems.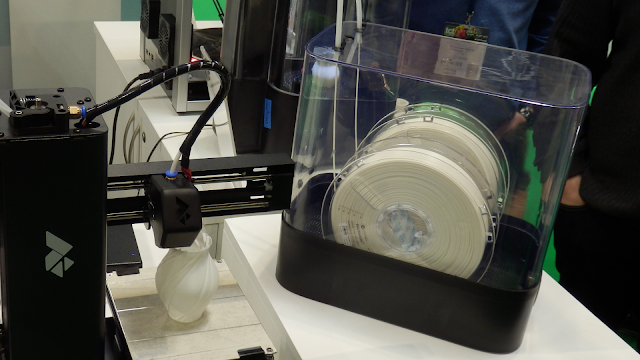 Prints made from magnetic filaments can have either matte or glossy finishes depending on the printing temperature. Either way, magnetic prints end up with a striking and unique finish.
A finishing method that can only be uniquely done with magnetic filament prints is a process called ‘rusting’. In this method, the iron particles in the print are literally allowed to rust, giving a weathered and very interesting finish. To do this, you only need to rub the outer layers of the print with an abrasive material, such as sandpaper, to expose the iron particles. Although rusting can proceed spontaneously, you can accelerate the process by submerging the print in a saline solution for 2 to 3 days.
How do you use magnetic filaments?
The recommended printer settings when printing with magnetic filaments are similar to those of the base material, PLA. This means that a printing temperature within the range of 215 to 225 °C should suffice. Depending on the ratio of PLA to iron in the filament you are using, you may have to play around with the printing temperature settings to get the best results.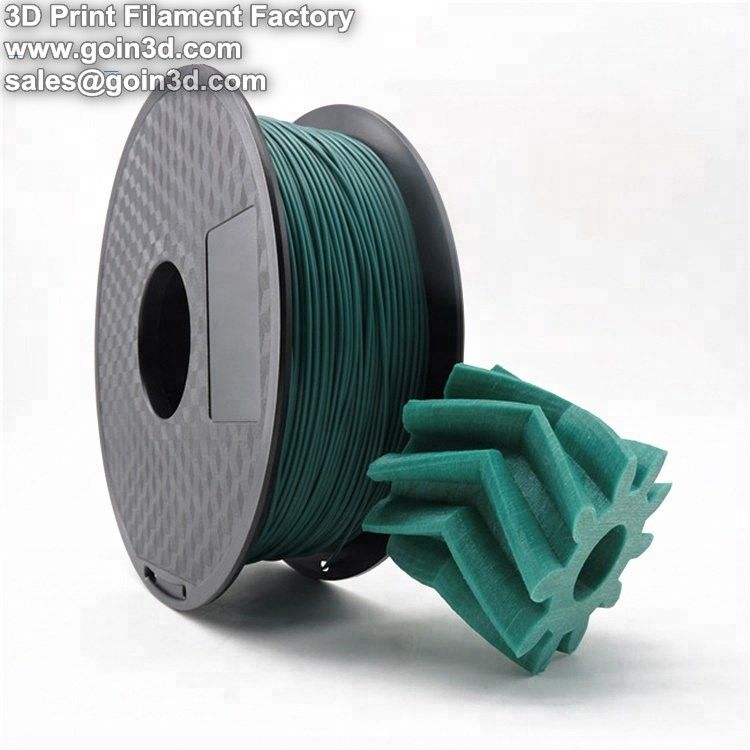 If in doubt, it is best to ask for the recommendations from your filament manufacturer.
A heated bed is not necessary when printing with magnetic filaments, but you can use on if you desire to do so. A bed temperature of around 60 °C should do well enough when printing with magnetic filaments.
Rapid cooling tends to result in warping when printing with magnetic filaments. We recommend starting your prints with no cooling fan, at least for the first two layers. You can then start inching up your fan settings, perhaps to around 10% to 20%. You can also play around with the printing speed to avoid warping of your print. Some users have reported getting good results with high printing speeds of 60 to 80 mm/s, but we recommend starting at a very low speed (10 to 20 mm/s) and working your way up. Again, this will vary with the filament brand you are using, so you can always ask your filament manufacturer for their recommended settings.
As with other infused filaments, the powdered iron in magnetic filaments is hard and can be very abrasive. Thus, stock extruder nozzles that are made of brass will likely be worn down very quickly when used with magnetic filaments. We recommend using a 100% heat-treated steel nozzle which is durable enough to withstand the abrasive properties of powdered iron. A larger nozzle diameter (at least 0.4 mm) is also recommended to reduce the effects of abrasion.
Should you decide to use a steel nozzle, you will have to take into account the lower thermal conductivity of steel compared to brass. This tends to cool down the molten filament upon contact, resulting in under-extrusion or clogging. To avoid this, you may use a printer temperature that is about 20 to 40 °C higher than the temperature recommended for the base material.
What are the drawbacks of using magnetic filaments?
There are not many magnetic filament products out there, and the few that are available may vary in terms of the optimal printer settings that they work in. This means that working with magnetic filaments may take a lot of tweaking and experimentation. That being said, it is quite a forgiving material which can still produce good prints even in less than ideal conditions.
As already mentioned, magnetic filaments are quite abrasive which means that you will likely have to replace the stock extruder nozzle of your printer with one that is more durable. It’s not a very expensive replacement, but it is an added expense nonetheless.
Magnetic filaments are also quite rigid because of the powdered iron infused with the PLA. This also makes it too brittle to negotiate very tight corners along the filament path of some printers. To avoid having your filament break during printing, it would help to ensure that the filament path only consists of smooth and gentle curves from spool to the nozzle.
The presence of powdered iron in the filament does not necessarily results in prints that are stronger. If anything, prints made from magnetic filaments are probably a little weaker than those made from standard PLA. Magnetic filaments also cannot act as suitable replacements for truly conductive materials since the iron powders are too small and isolated from each other in a matrix made from non-conductive PLA. For applications that require conductivity, a special conductive filament should be used.
Many users have explored the possibility of turning prints made from magnetic filament to actual magnets. Although it is theoretically possible to turn ferromagnets to permanent magnets, the high electric current needed to achieve this will end up melting your print. You may instead try to magnetize your print by rubbing it against a magnet. This process, called hysteresis, exposes your ferromagnetic print to a varying magnetic field and allows it to hold a magnetic field of its own. However, this magnetic field will dissipate over time. At best, hysteresis can give you a very cool, but temporary, magnet.
What are the best brands of magnetic filaments?
Magnetic filaments are what you would “specialty” filaments. Not many people buy or use them, as they only serve very special needs. Hence, there are really only two reputable brand names of magnetic filaments in the market today.
Proto-pasta has a varied selection of their Rustable Magnetic Filament line. Their magnetic filaments come in two colors, black and gray. Their variety of sizes should serve any and all types of users: the filaments are available in both 1.755mm and 2.85mm sizes and are sold in spools of 125g and 500g. If you are only just starting to print using magnetic filaments, we recommend getting the 125g spool just so you can take it out for a spin.
The Ferromagnetic PLA filament from Black Magic 3D has been the material of many studies and experiments using magnetic filaments. It is a “one size fits all” product – there are no special variations or alternative sizes. Feedback on this product has been great all around, with most users stating that it was quite easy to work with. The magnetic filament from Black Magic 3D is available only at 1.75mm size and sold in 350g spools. Take note that magnetic filaments are naturally heavy, so a 350g spool contain more filament than you are probably expecting.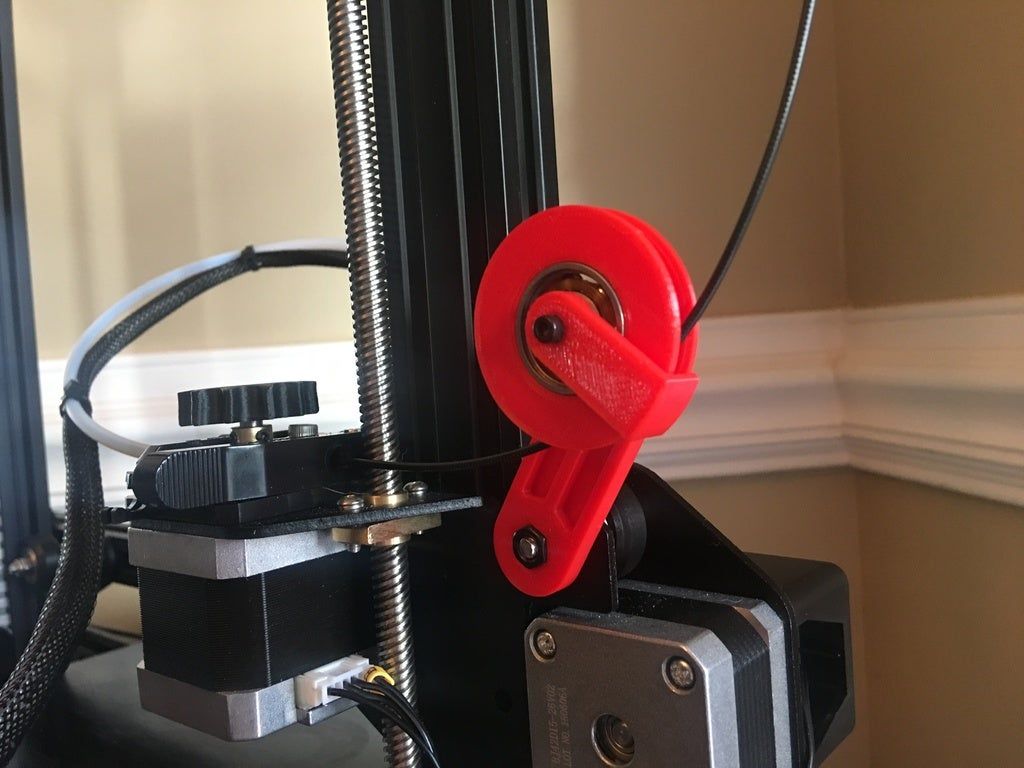
The Roundup
| Material | Magnetic filament |
| Properties | – Attracted to magnets (ferromagnetic) – Good rigidity – Can be finished with either a matte or glossy look – Can undergo rust finishing |
| Applications | – Magnetic toys and trinkets – Magnetic sensors and actuators – Magnetic stirrers – Magnetic storage devices – Stators for small motors |
| Recommended printing temperature | 215 to 225 °C; may be higher if a steel extruder nozzle is used |
| Recommended bed temperature | No heated bed necessary, but 60 °C is optimal |
| Printing speed | 60mms to 80 mm/s; starting low (10mm/s to 20mm/s) is recommended for the first two layers |
| Cooling | No cooling fan is recommended; a setting of 10% to 20% may be used at later parts of the print |
| Nozzle material and diameter | Nozzle has to be made of durable material – we recommend 100% steel. A wide nozzle is recommended, about 0.4mm. A wide nozzle is recommended, about 0.4mm. |
We have to admit that magnetic filaments are ‘niche’ products – not many people will have a need for them, and even less will buy them regularly. However, it is nice to have the possibility of creating magnetic prints, should that be a necessity. These products also open up a world of possibilities for people in creative or engineering domains.
In any case, magnetic filaments represent a step forward for the 3D printing industry. It makes us excited for what else the technology can be capable of in the future. If you’re an experienced user of a 3D printer who has gotten tired of printing using the standard PLA or ABS, then maybe it’s time to expand your horizons and use a filament that is less conventional.
Warning; 3D printers should never be left unattended. They can pose a firesafety hazard.
3D printed magnets of a given shape This limits their shape. Engineers and designers have to choose between available shapes of magnets when developing products.
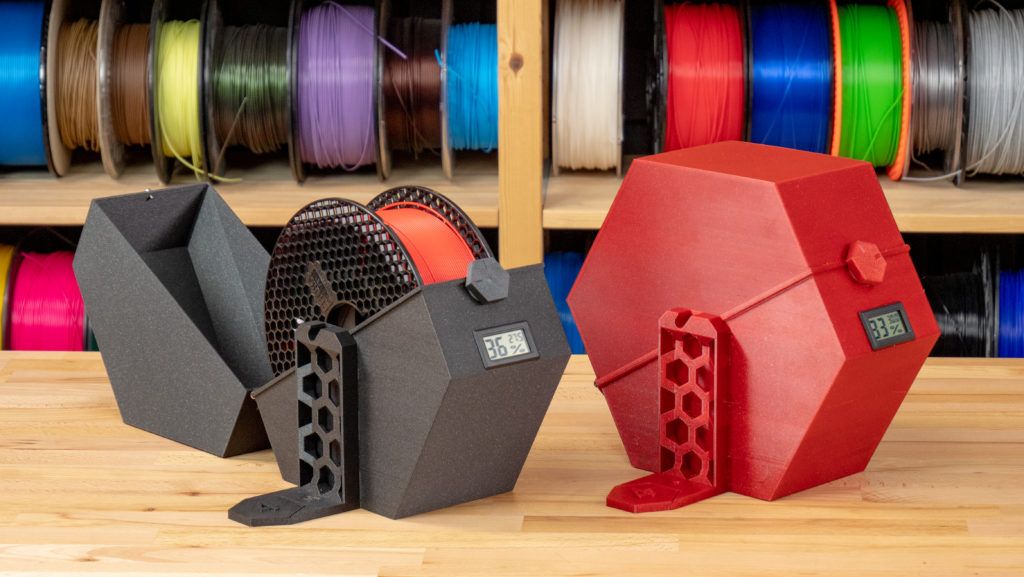
On the other hand, polymer magnets (polymagnets) have recently appeared. They use a mixture of NdFeB magnetic powder (granule diameter of about 45 microns) and plastic or rubber, and are made by injection molding. These magnets have almost arbitrary shape. In fact, you can pre-program the shape of the magnetic field - and make a permanent magnet of the required shape specifically for your design. This technology is already used in industry, and magnets are used, among other things, for various tricks.
Polymer magnets have a disadvantage. For technological and economic reasons, they are made from an isotropic powder, so the strength - the value of (BH) max - of such magnets is two or more times inferior to the strength of conventional magnets. It would be possible to use a magnetic powder with better properties, but in this case the economic sense of producing such magnets is lost, because their cost increases greatly, and the increased (BH) max , that is, a strong magnet, is not needed by everyone. However, this is not about that.
Until now, there has been no technology for the piece production of polymer magnets with a complex structure. Thanks to engineers from the Technical University of Vienna, the first work in this area appeared. For the manufacture of magnets, engineers used 3D printing (and for quality comparison, they also used conventional injection molding).
Technical University of Vienna engineers next to a printer, a magnetic field computer, a 3D printer and a filament for printing a polymer magnet
Materials for 3D printing and injection molding are made by processing a commercial mixture of Neofer 25/60p. In this powder, NdFeB particles are mixed into polyamide 11, which is clearly visible in the photograph from the microscope.
Neofer 25/60p powder in SEM
Polyamide 11 is a highly elastic engineering plastic, just what you need. In the powder, NdFeB granules are mixed randomly, which leads to isotropic properties of the magnet.
Material properties are shown in the table: starting powder, 3D printing mix and casting mix.
Scanning electron microscope study showed that the NdFeB particles in the Neofer 25/60p powder granules are spherical in shape with a size of approximately 50±20 µm. For 3D printing, the material was subjected to pre-atomization and heat treatment. That is, sifted and heated. 5 mm Neofer 25/60p pellets were then spun into filaments of the desired diameter of 1.75±0.1 mm.
The engineers chose the Builder 3D printer from the Dutch company Code P. This is a commercially available model that is sold online at prices ranging from €1,675 for the smallest model to €3,750 for the largest. The scientists liked the model with a working area of 220 × 210 × 164 mm and a layer thickness of 0.05–0.3 mm. Nozzle diameter - 0.4 mm. It was loaded with threads with a diameter of 1.75 mm. Empirically, we set the optimal print parameters indicated in the table.
Using this method, engineers printed a magnet of a given shape with a pre-calculated magnetic field.
The design of the magnet is calculated by solving Maxwell's equations, as described in the scientific work of Brückner and colleagues on macroscopic simulation of isotropic permanent magnets (1, 2).
Initially, the product did not have a magnetic field, but it was magnetized - placed inside the coil in a magnetic field with an induction of 4 T.
To check the results of the experiment, the strength and direction of the magnetic field, we made and calibrated a device with a Hall sensor with a measurement range of ±130 mT. It made it possible to measure the 3D shape of the magnetic field outside the magnet. The shape almost coincided with the calculated shape of the field of an ideal magnet from a computer simulation.
Comparison of real and calculated magnetic fields along all axes
A complex-shaped product measuring 7 × 5 × 5.5 mm is printed in layers 0.1 mm high with a thickness of elements 0.8 mm. The strength of the resulting magnet indicates that 3D printing is quite suitable for making permanent magnets with complex shapes. Such magnets are not inferior in their properties to polymer magnets made of the same material by injection molding. In addition, they have less mass.
Researchers note that some devices require specially shaped permanent magnets. For example, a magnet that produces a strong field in one direction, but as weak a field as possible in an orthogonal direction.
The great thing is that using the described method, we can make magnets not only of arbitrary shape, but also use a wide variety of materials: from soft magnetic alloys to hard magnetic NdFeB or ferrite alloys.
The ability to locally print magnets of any shape in your workshop from materials with specially selected magnetic properties allows you to make magnets that are not commercially available. And which is generally impossible to produce by traditional production methods.
The scientific work of the Austrian specialists was published on October 17, 2016 in the journal Applied Physics Letters (doi: 10.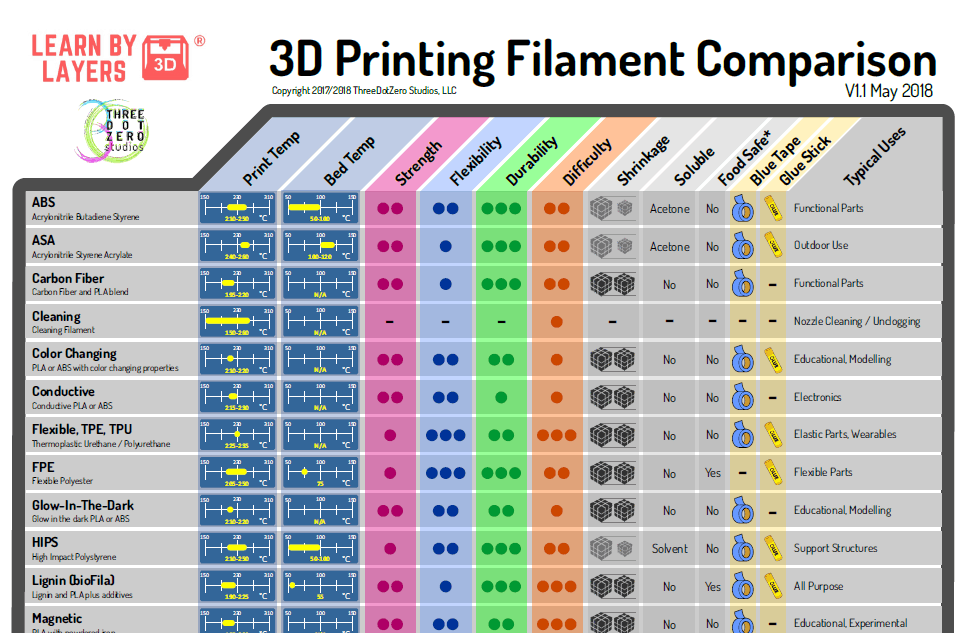 1063/1.4964856).
Trying a flexible magnetic table for 3d printer
3DPrintStory 3D printing process Trying a flexible magnetic table for a 3d printer - advantages and disadvantages
Hello everyone. Some time ago I became the owner of a magnetic table. I have long wanted to try it, but upon arrival of the package, there was not enough time to install it, and why, when the native glass did an excellent job with its functions. But I really wanted to get away from the regular one for the simple reason that in the design of my table a heating plate was tightly glued to the glass. And in order to remove the printed product from the table, one had to wait for it to cool completely, after which, working abundantly with a spatula, scrape it off.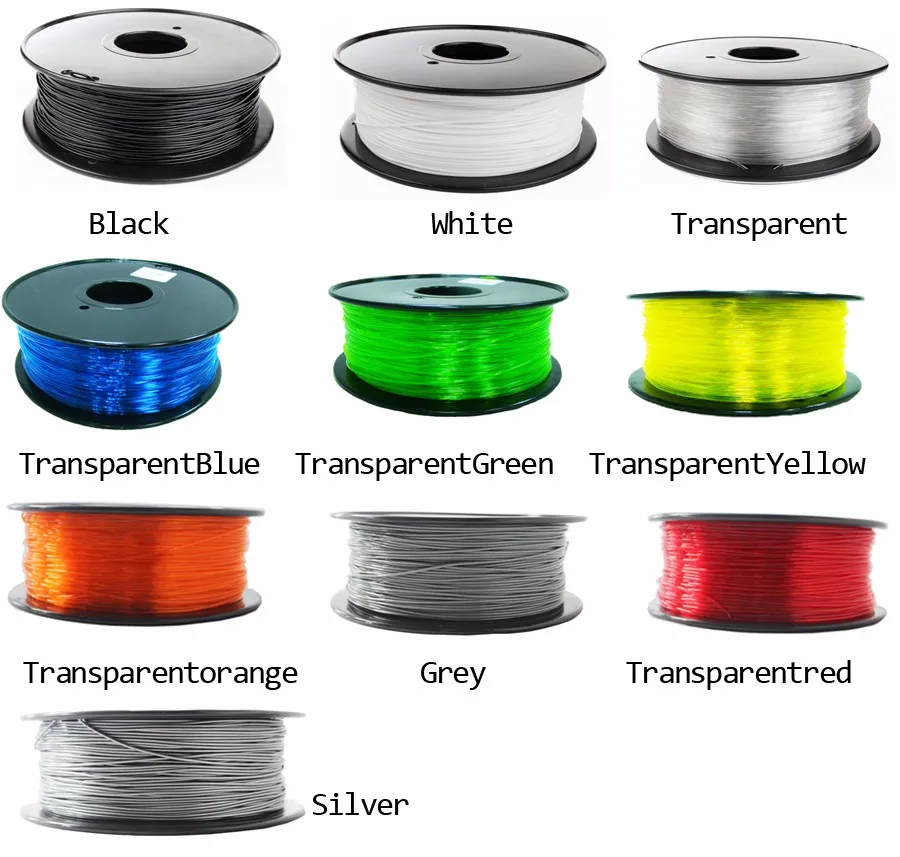 This is not very convenient, especially if 3d printing is on stream. Not only is it inconvenient, it takes a lot of time.
In general, in this article I will share my experience and testing of the magnetic table. Let's discuss which plastics he is friends with and which he is not. And does its presence make life easier for us, as owners of 3d printers.
What is a flexible table? In my case, this is a heating plate to which glass is glued, on which, in turn, a magnetic coating is already glued. The end of this sandwich is the mat on which we will print. Please note that the Internet offers sets of a magnetic base and a mat without glass and a plate heater. In this case, all you need to do is stick the base to the glass and start using.
Let's start by setting up the table. But the first thing we will do is dismantle the old one. For this operation, we do not need any tool. Just unscrew the nuts from the legs of the table and lift it up, pulling it out of the mounting holes. We turn the table, turn off the plug. We take a new table and place it on the supporting structure. Plug the plug back in. After that, we install the springs on the legs, tighten them with nuts to make it easier for ourselves to level the table. I recommend tightening the nuts about the same distance.
Done. Now you can start calibrating. Let's first unscrew the adjustment screw as far as possible so that the nozzle does not rest against the soft surface of the table, as I assume that it can be very easily damaged. First you need to set the approximately 0 home position of the extruder, and then go directly to the alignment, when set to 0, the nozzle should be slightly pressed against the table.
Turn off the stepper motors and use a sheet of paper to level the table. The procedure is very simple - we move the extruder from one corner to another and see that in all corners the piece of paper between the nozzle and the table moves with little effort. Once the table is relatively level, finer calibration can be started during 3d printing. For the first run, it is best to choose a model with a large area of the first layer, during the printing of which we will have time to set everything up. The setting principle is as follows. The extruded thread should lay down slightly flattened and the width of the line in all corners of the table should be the same. If so, then your table is calibrated correctly.
We finish with the calibration and proceed directly to testing. We will print from PLA, ABS and PETG. Of course, you can’t count on ABS, since the maximum recommended heating temperature for such magnetic tables for 3d printing is 80 degrees. Above this temperature, the table begins to lose its magnetic properties and the mat no longer adheres so well to the substrate.
First test. PLA on a cold table.
As you can see, the cube moved away from the table quite easily. I will even say more - he moved away from the table too easily. It was like he didn't hold up at all. Upon closer inspection, it can be seen that some corners are slightly bent.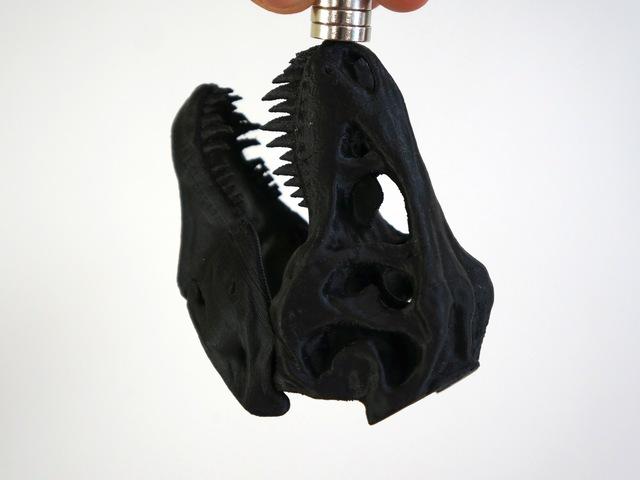 Not critical, but true.
Now let's set the table temperature to 70 degrees and see what happens. With these 3d print settings, the part is already much more difficult to remove from the table. And the corners are no longer bent.
Let's take a larger part to confirm the possibility of 3d printing PLA on a magnetic table.
No problem found again. The bottom of the part turned out to be flat, with minor deformations. The corners are not bent.
Conclusion - printing PLA plastic on this magnetic table is definitely worth it.
Moving on to the next article.
ABS printing on a magnetic flexible table
ABS plastic I won't even try to print on a cold table. Let's set a maximum of 80 degrees and start the 3d printing process. The cube was printed without coming off during printing. This is good, but I am sure that if you take the part a little bit larger, the table will no longer cope with it.
Let's take something bigger for the experiment.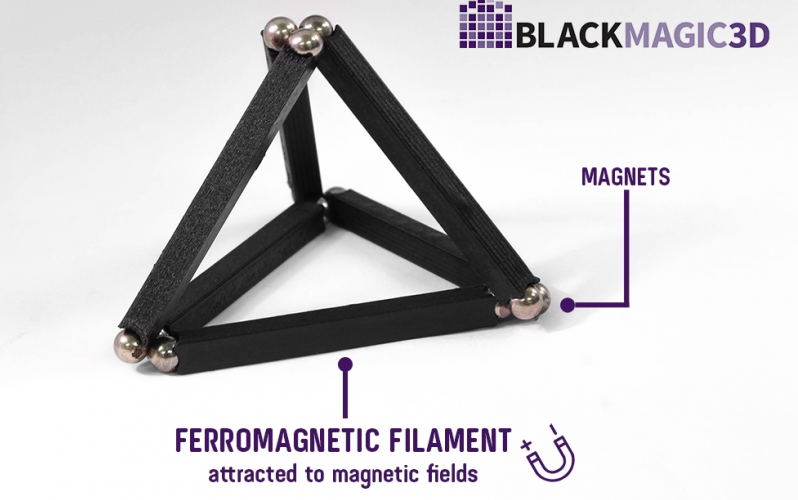 For example, our test block. As expected, during printing, the bar began to bend towards the center. Moreover, it was not the bar that began to come off, but the magnetic mat, which began to rise at the corners of the bar.
After finishing printing, I was very surprised when I realized that it was not the mat that was raised during 3d printing, but it seemed that the magnetic substrate had peeled off the table.
Conclusion - I strongly do not recommend printing with ABS plastic on this magnetic table. I think that with similar materials with a high degree of shrinkage.
Let's move on to the last material on our list.
Printing with PETG plastic on a magnetic flexible table
Let's try printing with PETG plastic and see what happens. We run our test cube for 3d printing at a table temperature of 70 degrees and get a decent result.
The cube stuck well enough to the table, the corners are not bent. Basically, as expected, PETG would work great for this magnetic mat as it is a low shrinkage material.


