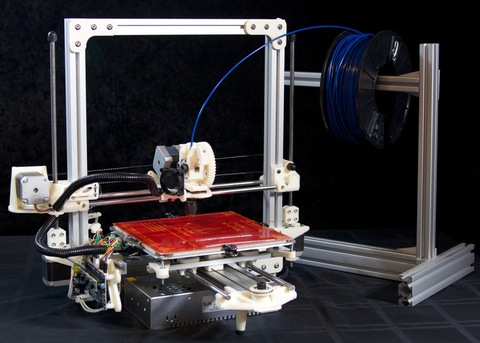
Pei 3d print
PEI Sheet (1mm) 3D Printing Build Surface
Gizmo Dorks
$10.95
Current stock: 0
3D Printing Platform (Made in the USA)
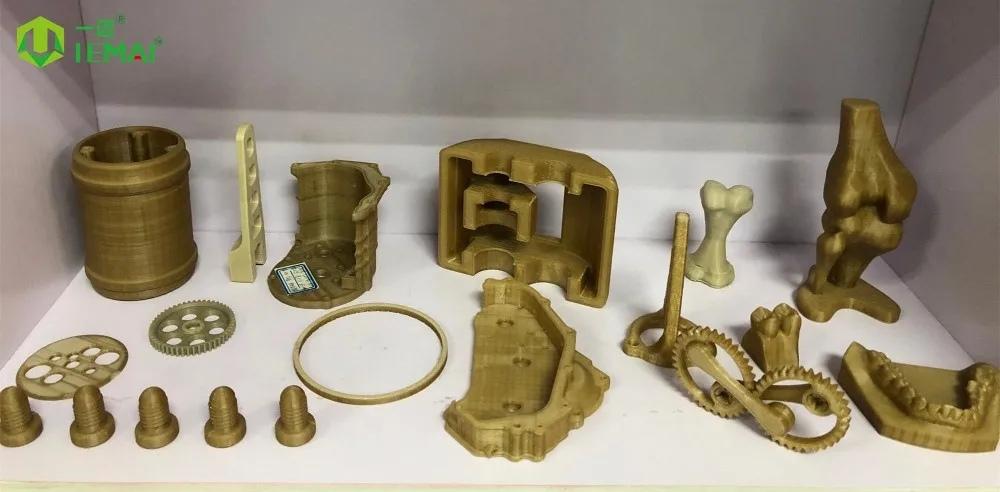
PEI (Polyetherimide) is a great building surface for any 3D printer. The amber / yellow colored surface is commonly used to print a whole range of different filament types such as the two most commonly used ones, ABS and PLA. Depending on the filament type a heated build surface might still be required. PEI sheet as a build plate requires little to no surface preparation. Printed parts adhere extremely well to the build surface making the use of kapton tape, blue tape, hairspray, or glue sticks unnecessary. Typically, even printing brims or rafts is unnecessary. PEI is widely becoming the gold standard build surface because it is so convenient to use. Our PEI is Ultem 1000 grade.
Size Options
- 4.7x4.7 inches
- 5x5.5 inches (fits Monoprice Mini)
- 8x8 inches
- 10x10 inches
- 12x12 inches
- 16x16 inches
- 20x20 inches
- 4.
3 inch diameter (round circle - fits Monoprice Mini Delta)
- 8 inch diameter (round circle)
- 12 inch diameter (round circle)
All sizes have a thickness of 1 mm.
If the size you are looking for does not perfectly match your build plate, you may purchase a bigger size and score / cut the PEI sheet down to the needed dimensions. PEI can be easily snapped off if you first score the surface. If there is a size that you need which isn't available, drop us a line, and we'll try our best to assist you.
Application
PEI can be applied a number of ways, but generally there are two easy methods. The first method is to simply put the PEI sheet on top of your existing bed platform and clamp it down with binder clips (alligator clips) or similar. The second method is applying the 3M 468MP adhesive in conjunction with the PEI sheet. First apply the 3M 468MP adhesive directly to the PEI sheet, and then affix the other side of the 3M 468MP adhesive to your build surface.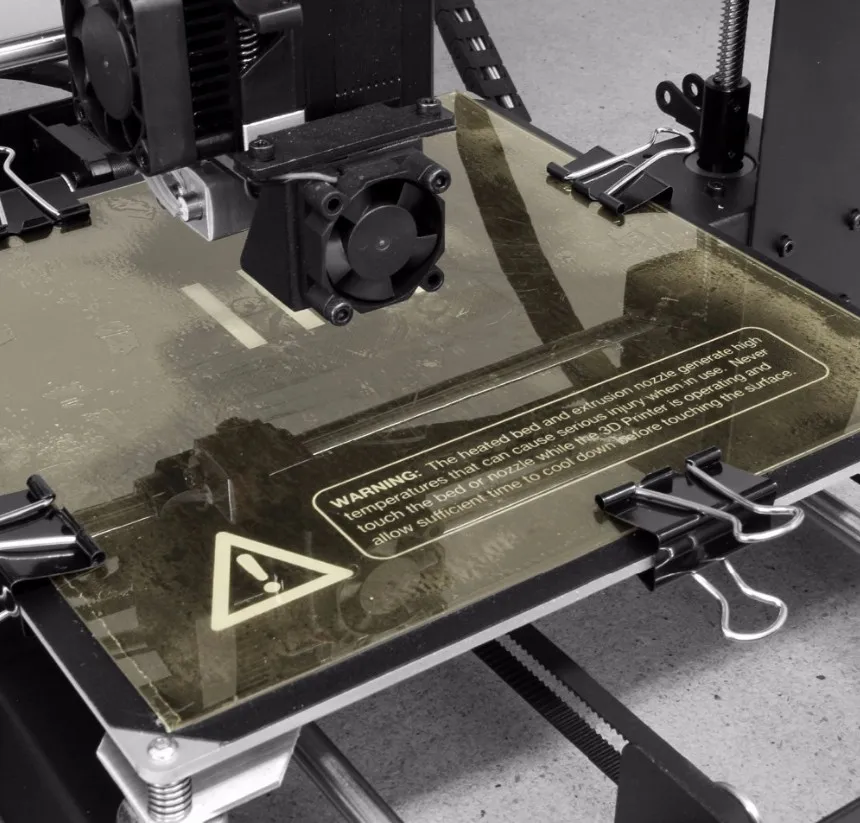 Please note that depending on how many layers your build surface is the bed temperature that is set may not match the surface temperature of the PEI sheet. Additionally, it should be noted that 3M 468MP is a very sticky adhesive. The 3M adhesive will clump up after you touch it, so re-positioning the adhesive is not feasible. If you do not have the 3M 468MP adhesive, you may purchase it here or purchase one of the combo packs that come with a PEI sheet and 3M 468MP adhesive.
The application of adhesive to the 16 x 16 inch PEI sheet can be done by applying four separate 8 x 8 adhesive squares. Please do not overlap the adhesives to maintain a flat surface.
Additionally, the PEI sheet comes with blue protective film on each side that must be removed prior to use. It is very important to remove the blue protective film.
Care and Use
Before each print it helps to clean the surface of the PEI sheet with isopropyl alcohol (70-91%). Fingerprints or residue will build up on the surface and inhibit surface adhesion which the isopropyl alcohol will clean.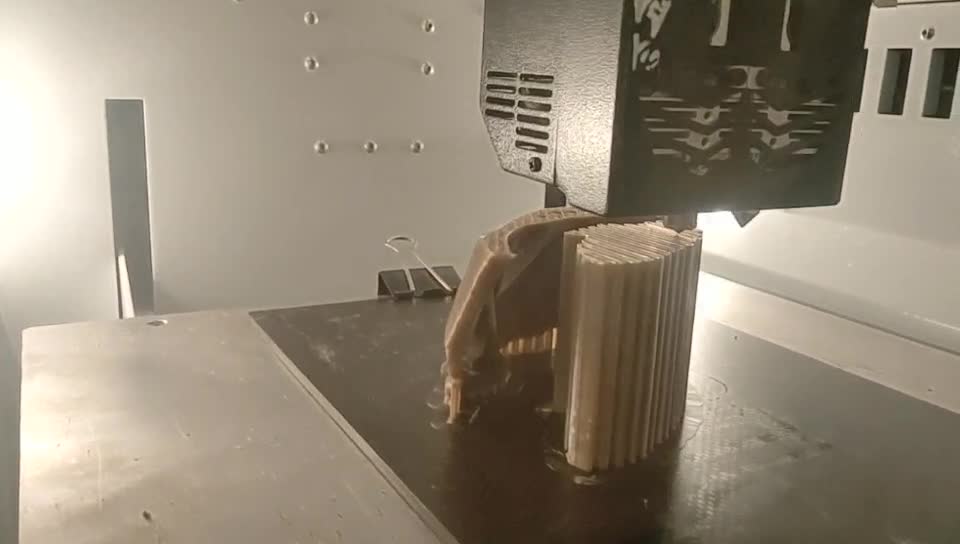 After a good number of prints, PEI may lose it's surface adhesion. Please simply sand the PEI sheet down with 2000 grit sandpaper.
Your shopping cart
Account
Log in
Email Address *
Password *
Forgot password?
New Customer
Create an account with us and you'll be able to:
- Check out faster
- Save multiple shipping addresses
- Access your order history
- Track new orders
- Save items to your wish list
Create Account
Forgot Password
Fill in your email below to request a new password. An email will be sent to the address below containing a link to verify your email address.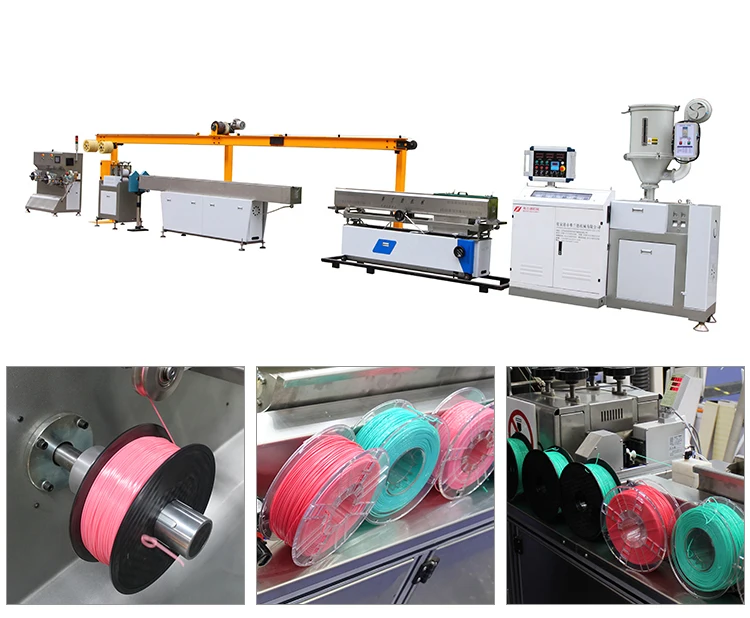
Email Address *
All you need to know about PEI/ ULTEM ® for 3D printing
Published on August 3, 2020 by Aysha M.
In recent years, the use of high-performance thermoplastics has become increasingly important in the 3D printing industry, as the technology moves away from rapid prototyping to the production of finished parts. As a result, the requirements for 3D printing materials have increased and high performance thermoplastics are becoming more and more common. Their properties make them an economical alternative to certain metals and are valued by many sectors such as aerospace and medical. Within this family are Polyaryletherketone (PAEK) which can withstand high temperatures and which you may be familiar with from PEEK and PEKK. There is a much cheaper alternative, Polyetherimide (PEI), an amorphous material better known by its trade name ULTEM®. Available as a filament for FDM 3D printers, it is compatible with certain machines, including those of Stratasys.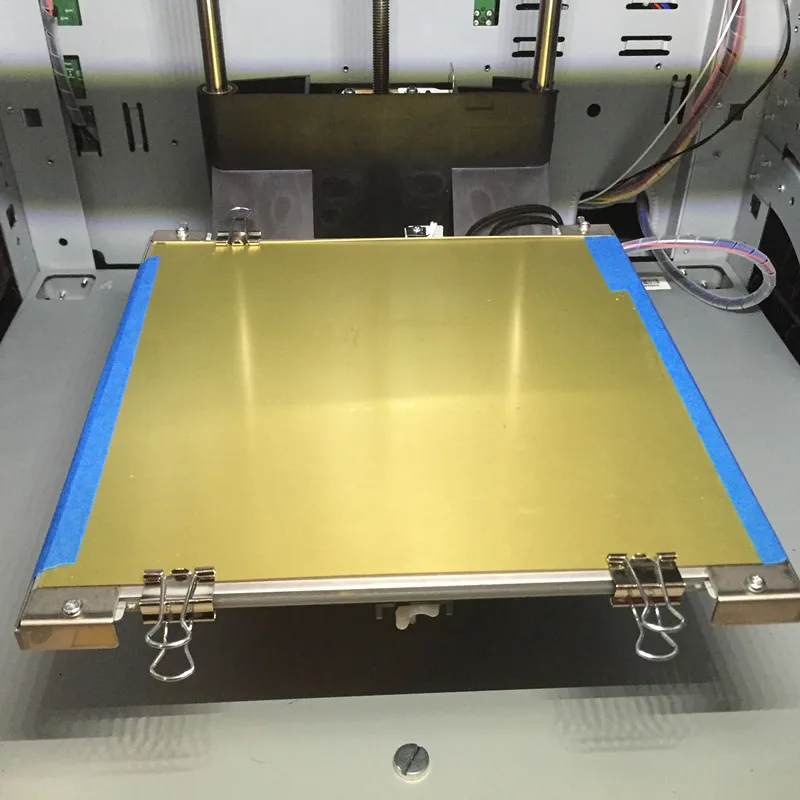 Let’s go back over the main characteristics of ULTEM.
The PEI was developed in the 1980s by Joseph G. Wirth and was marketed by General Electric’s Plastics Division under the name ULTEM. In 2007, the company sold its plastics business to Saudi Basic Industries Corporation (SABIC), which thus recovered the associated patent. Although ULTEM® was embraced by many industrialists thanks to its mechanical properties, it only became suitable for mass production with the development of high-performance FDM/FFF printers; the extruder of the machine must be heated up to 350°C in order to melt the thermoplastic.
Image credits : GEWO3D
The main characteristics of ULTEM
Temperature management is therefore essential when it comes to printing ULTEM®. The temperature in the chamber must be maintained at all times, otherwise irregularities may occur and the adhesion of the different layers may suffer. As the temperature of the PEI is between 345 and 400°C, you will need an extruder capable of rising to these levels.
PEI is known for its dimensional stability and creep resistance. SABIC now offers two different resins, ULTEM® 9085 and ULTEM® 1010. As for the first one, it is intrinsically flame retardant and has very good results in FST (Flame, Smoke, Toxicity) tests: it has a high flame resistance, low smoke emission and low toxicity. The material also has a high strength-to-weight ratio and can even replace certain metals thanks to its mechanical properties. Finally, it has good resistance to automotive fluids, hydrocarbons, alcohols and aqueous solutions. ULTEM® 1010 resin has a high tensile strength, showing great solidity and durability. It is biocompatible and NSF 51 certified for food contact. It can also withstand steam sterilization.
Image credits: Stratasys
Compared to PEEK, PEI is cheaper – it costs €150 per kilo compared to at least €300 for the same amount of PEEK. It is a material that has the advantage of being certified for a number of aerospace applications, meeting highly standardized requirements. However, PEI will have lower impact and temperature resistance.
IAP Applications
PEI is widely used in the aerospace industry, particularly ULTEM® 9085 because of the characteristics mentioned above. It is also a material of choice in the automotive, medical and food industries, especially in the design of kitchen utensils. This thermoplastic is also widely used in tooling, whether to design moulds, jigs or various fasteners. Bombardier, for example, uses this material to manufacture its custom tools, customize components on its production lines and also to produce finished parts for its trains.
Finally, on the manufacturers’ side, SABIC is today the only one to supply the raw material, in the form of resin or foam. The company manufactures its own filaments for additive manufacturing: historically, they were only compatible with the Stratasys range of machines but in recent years, SABIC has formed other partnerships such as with Roboze which can print the filament ULTEM™ AM9085F.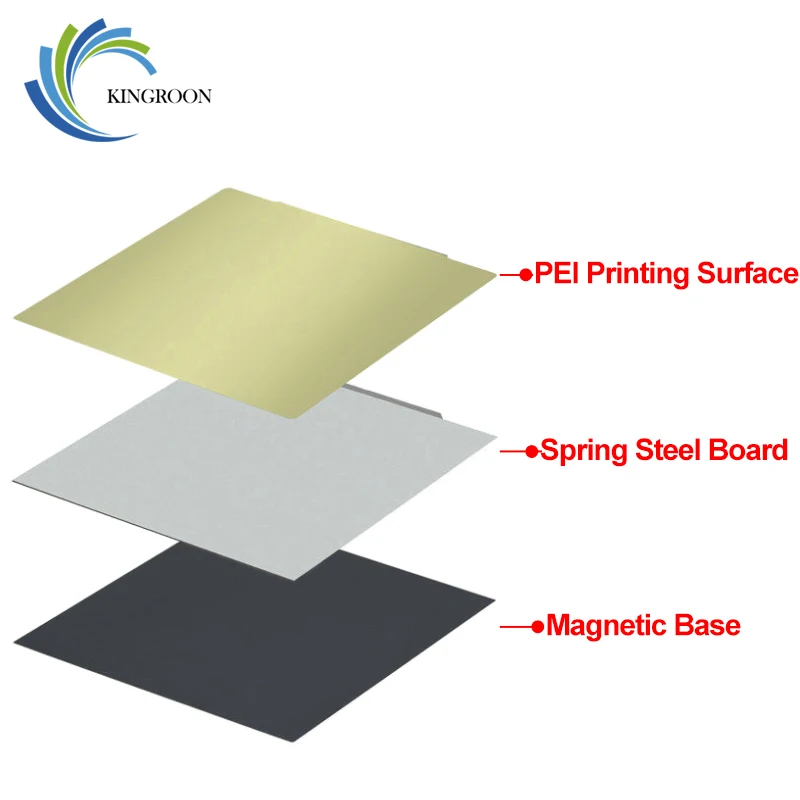 Some manufacturers offer their own filaments such as KIMYA, 3DXTech or 3D4Makers.
SABIC has developed a 3D printing support for the ULTEM
Finally, you should know that if you are considering printing with ULTEM®, the manufacturer SABIC has launched a detachable support filament, the AMS31F, which is easier to remove than other support materials that often need to be warmed up. Thus, the part can keep all its mechanical properties and the user saves precious time.
What do you think about ULTEM? Let us know in a comment below or on our Facebook and Twitter pages! Sign up for our free weekly Newsletter, all the latest news in 3D printing straight to your inbox!
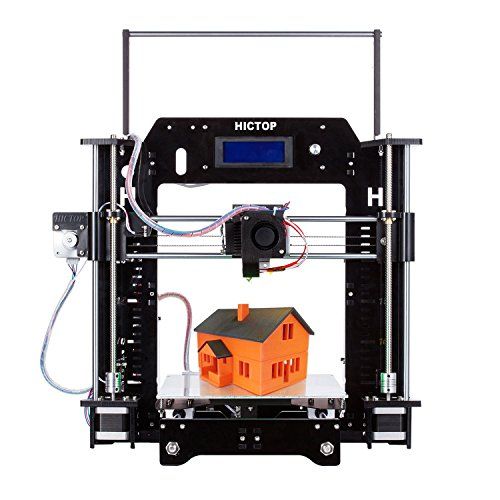
As a beginner I bought a 3D printer. Choosing, setting up, problems and solving practical problems / Sudo Null IT News
A few months ago, I was thinking about purchasing such a device because I wanted to print a broken part of my robot vacuum cleaner. About a month ago I bought a device I liked on eBay.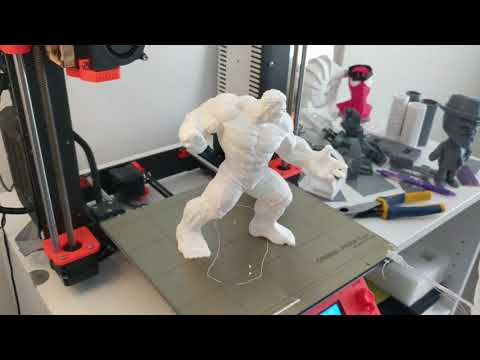 That's what was important to me when choosing a 3D printer.
Which printer was needed?
Considering that I knew almost nothing about 3D printers (except for a few articles read here, on Habré), the important points were:
- Printer performance out of the box. I have seen several articles describing how long it takes to set up a "simple Chinese printer". It needs to be assembled from a large number of parts, and it is not a fact that there will not be defective ones among them. Once assembled, you can mess around with the device for a couple of days, and then it turns out that for some reason it does not work. In short, I needed a printer that didn't need to be assembled and that could work right out of the box.
- It shouldn't be too expensive. Seriously, I'm new, I was not sure that after a couple of days I would not abandon the device. And a printer for 500-600 euros would be too expensive a toy. So I was willing to spend a couple of hundred, no more.
- It must not be too large. Before buying, I allocated a little space for installing the printer, somewhere around 50 * 50 cm. Therefore, the printer had to stand on the allocated area without any problems.
- It shouldn't be too difficult to maintain. This point is closely related to the first. I didn’t want to spend a lot of time on operation and maintenance work - there is sorely not enough time, so constantly eliminating emerging glitches is not an option.
- I wanted to get a printer with WiFi, it was not critical, but important.
What did I end up buying?
Model Geeetech E180. It was shown by Google after the query “3D printer for beginners”. There were other models in the search results, but this one was liked by the design and the presence of WiFi.
The developers of this printer raised money for it with the help of Kickstarter and a couple of years ago it appeared on the free market. Its price is from 200 to 350 euros, depending on the company that sells it and the store.
Bought on eBay, starting price was 200 euros, but the seller agreed to drop 50 euros, so the total price is 150.
Printer specifications:
- Print technology: FDM
- Working space dimensions: 130 x 130 x 130 mm
- Printing accuracy: 0.05 mm
- Positioning accuracy: X / Y 0.11 mm, Z 0.0025 mm
- Print speed: 80-110 mm/s
- Thread diameter: 1.75 mm
- Nozzle diameter: 0.4 mm
- Supported material: PLA declared by the manufacturer, but can work with other materials
- Operating system: Windows
- Management software: EasyPrint 3D
- File format: .STL, G-code
- Maximum extruder temperature: 230 °C
- Power supply: DC 12V 6A
- Connectivity: WiFi, USB, TF card (offline printing support)
- Display: 3.2" full color touchscreen
- Chassis: metal plate + injection molding (portable console 3D printer)
- Work table: aluminum alloy plate
- XYZ Rods: wear resistant, stainless steel screw and lead (Z axis)
- Stepper motors: 1.
 8 degree stepped angle with 1/16 micro stepping
Unpacking and setup
Before setting up, I looked at several reviews and tests of the printer. If not for them, I would not have done it myself, the explanation in the instructions is slurred. The setup is simple, but not for a beginner.
The printer "wound up" as soon as I connected it to power and a laptop. I calibrated the position of the table - it turned out to be simple - inserted a microSD card into the slot, found the contents through the menu on the printer screen, inserted the fiber into the channel and started printing. The printer made a noise and started printing. Or rather, I thought that he started typing, in fact it was not so.
Problems
The printhead moved, the temperature reached 205 degrees Celsius, but there was almost no plastic - in the first few seconds, a few plastic “hairs” came out and that was it.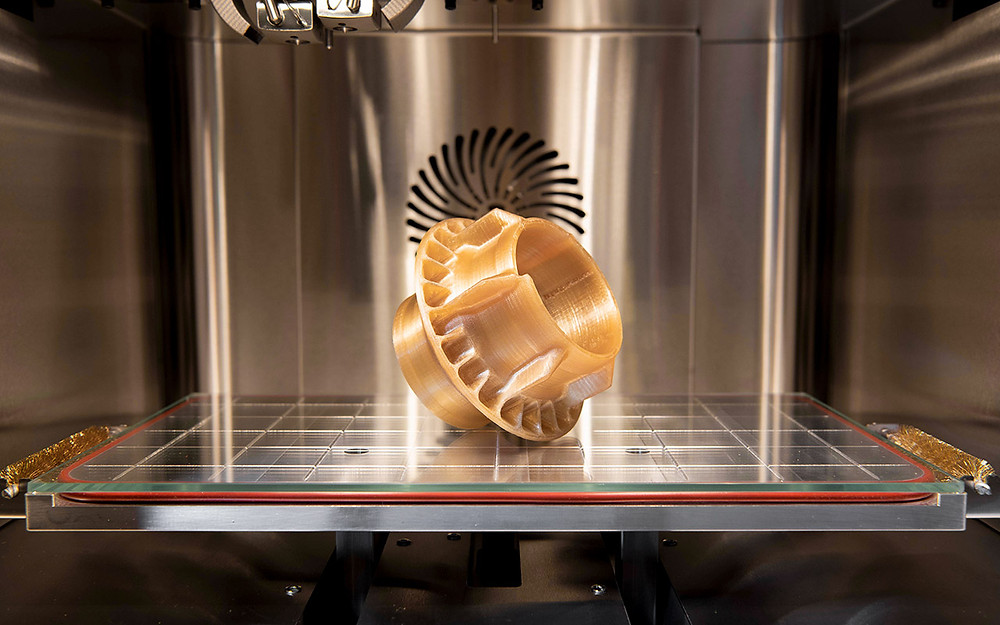 The printer continued to work, but the plastic was not squeezed out of the head.
I wasted several Saturday hours trying to figure out why. I tried to look for an explanation on the net, but solutions to similar problems did not suit me.
The joy of buying disappeared in the first couple of hours of fuss. I wanted a printer that “just works”, but it didn’t work out. As a result, I realized that the fiber was not being fed - the feed mechanism hidden under the plastic cover simply did not work. It did not work because the constituent elements did not rotate. There was no movement at all.
I have decided that the printer has a defective electric motor that is responsible for feeding, and I cannot repair it. The next step is to click the Return to Seller button on eBay. After clicking the button and describing the problem, I decided to pack the printer for shipping. Before sealing it in a foam box, just in case, I decided to carefully examine those “insides” that are visible through the holes in the case.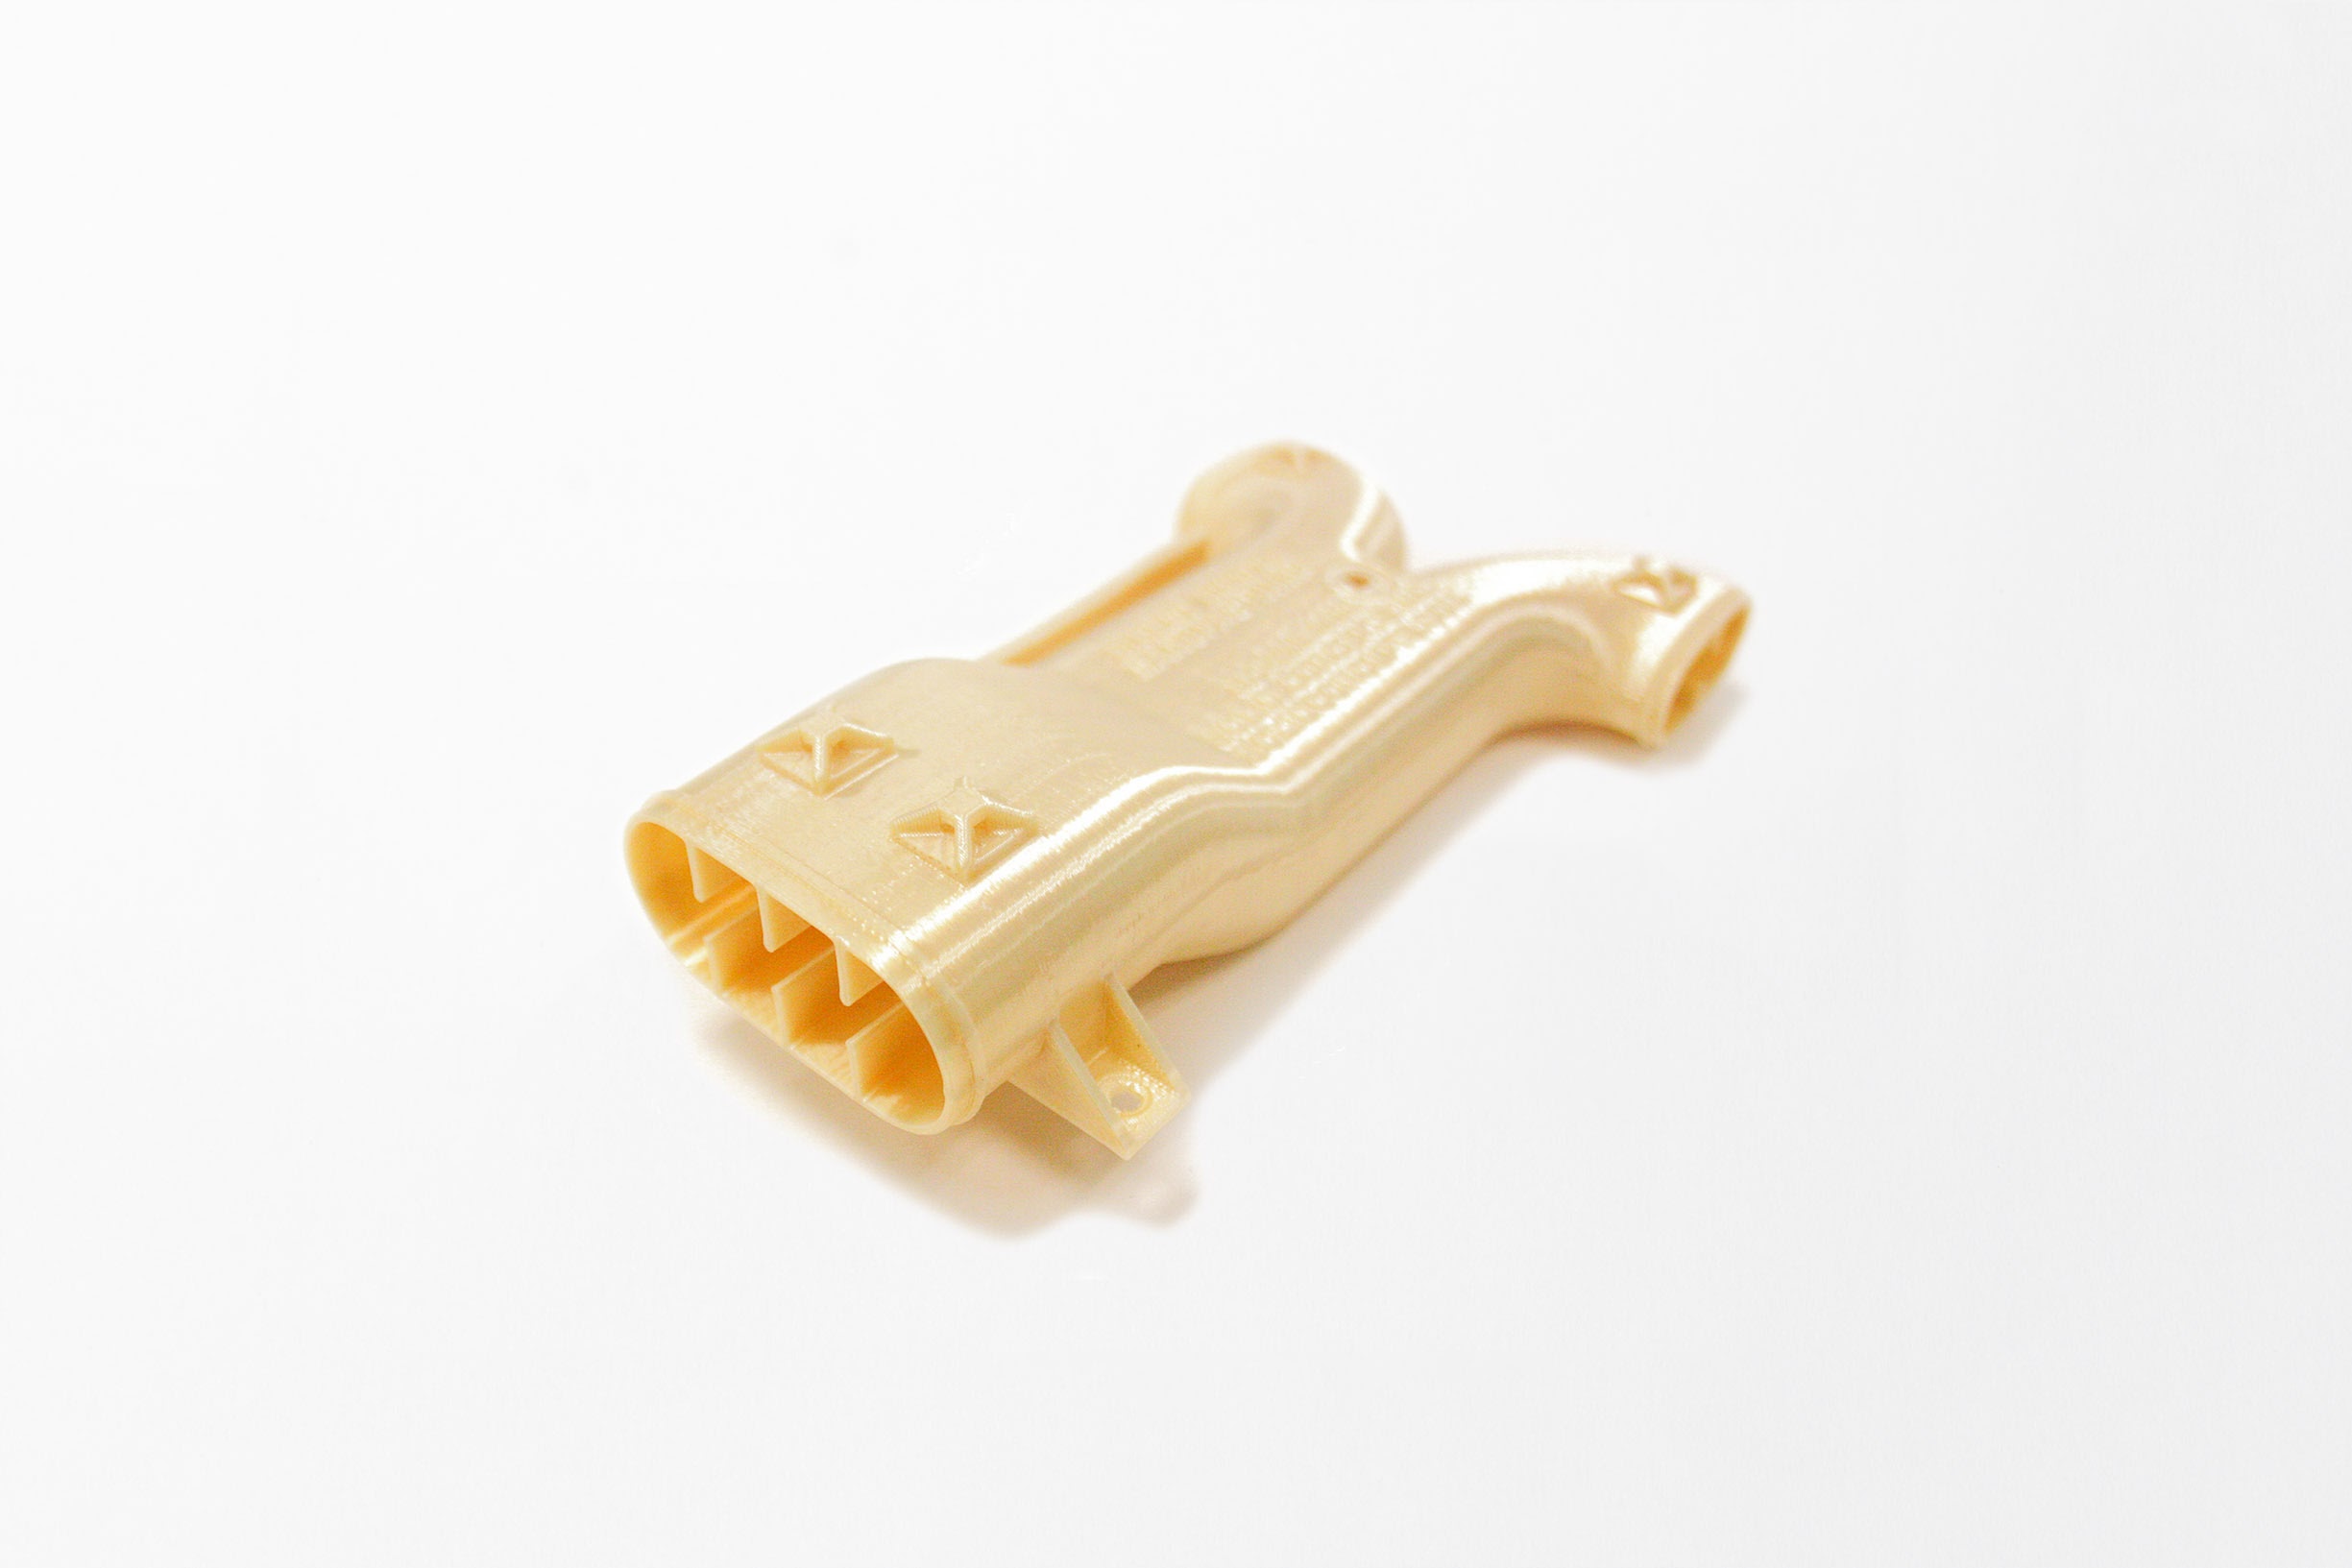
And the reason was immediately found - the assembler at the factory simply forgot to connect the power supply to the engine. Seriously, the cable just dangled inside the case. I connected it to the right connector with tweezers without disassembling the printer. Then I turned on the device again and this time everything was fine, the plastic feed worked as it should.
Then a few more minor problems arose:
- Misaligned table. This caused the table to skew and the print head was pressed against the surface in one place. As a result, the plastic could not be squeezed out of the head, which led to solid print defects;
- Unable to directly print models downloaded from the Internet. Being a beginner, I thought that everything works like with a regular printer - I downloaded a document, sent it to print. It turns out that slicing is also needed. I will not repeat what it is and why it needs to be perfectly described in this article on Habré;
- Slicers are not compatible with the printer model.
 The slicer needs to set the printer desktop size. Some slicers for some reason did not want to work with the dimensions of my printer (13*13*13 cm). Some even crashed (including the printer's native application), some did not "understand" the dimensions. As a result, I settled on ideaMaker;
 - No WiFi. As it turned out, there are two varieties of E180 - one with an integrated WiFi module, the second - without a module, you need to buy it in addition. At the seller, the inscription "need a separate module" was applied to one of the photos of the printer, small and in French (everything else was in English). Not a scam, but close to it. The module decided not to buy more, it is not really needed;
- Long printing time. I thought it would take several tens of minutes to print. I was not ready for the fact that large models can be printed for 6-8 hours. This is my own fault - I did not carefully look at the reviews.
Practical use
I didn’t buy a printer for a game, I wanted to get a device that would allow me to create things I need in everyday life, and not run to the store. Before buying, I outlined what I wanted to create:
The lever for separating the water tank in the iRobot Scooba robot vacuum cleaner, the repair review of which I published on Habré. His native pen broke, he did not want to spend money on buying a new one (they are relatively rare, since Scooba is no longer produced and expensive).
Finally found a suitable model on Thingiverse and printed it. To my surprise, everything fell into place the first time, the pen still works quite normally (it's been about a month since this part was printed).
Chinese electron microscope stand. I needed it for soldering small parts. I do not want to buy a professional microscope for 400 euros, since I myself do not do repairs very often. A Chinese microscope connected to a laptop is quite an option. But his native tripod is just terrible. Therefore, I wanted to make a new, normal one with my own hands.
Soldering iron stand. I just need a comfortable stand that won't let the soldering iron fall off, like from a Chinese stand that I once bought.
Paste tube squeezer. Yes, the thing is not the most necessary, but practical.
iPhone stand. Convenient, there is a hole for the cable, sound amplification.
Toys for children. Why buy another small doll or dollhouse piece when some things can just be printed out?
Stylus for Nintendo DS Lite. I had a game console bought at a flea market for a long time. The stylus was lost and I (and my daughter) played using the PDA stylus. Recently I found a stylus model for the console, printed it out - it turned out perfectly. It fits into the connector like a factory one.
Extractor for printed parts stuck to the table. Nearly all parts stick to the printer's desktop backing. You can’t do without a special device - an ordinary knife will scratch and cut a special sticker. I found a model that is compatible with the blades of a standard utility knife - works great.
The printer lived up to my expectations. It was possible to print almost everything that is indicated above. All these things fulfill their purpose, and most importantly, I am not afraid that any of them may fail. You can always print a new one.
There are a lot of ready-made models on the net. If you need some detail or thing, in 90% of cases you can find everything you need.
Troublesome little things
Printed parts are far from perfect. In some cases, deformation of some elements occurs and it is necessary to “finish” manually, using a knife and, in fact, a file. It doesn't happen that often, but I wish the printed part didn't need to be reworked (yes, I know you can get it by buying a professional 3D printer).
Sometimes details are printed, but for some reason the real and declared size do not match. So, I tried several times to print different dispensers for AA and AAA batteries, but for some reason the ready-made dispensers did not fit. The diameter of the holes into which the batteries are inserted was always somewhat smaller than the diameter of the batteries themselves. I still do not understand whether the problem is on my part, or the model is problematic. As a solution, you can simply increase the scale of the part in the slicer, by 10 percent. But it’s a pity for the spent plastic - after all, you can find out whether a quality part will turn out or not only after a solid part of it is ready.
It takes a long time to print a part. Some printouts take hours to complete, so making a simple car phone stand can take half a day.
In order to develop something of your own, you need knowledge of CAD , at least at an elementary level. Otherwise, you will have to look for ready-made objects on sites that host models created by someone. In the end, I never found a battery cover for one of the remotes. I am not able to develop it myself - there is almost no time to master CAD.
My printer desktop is small .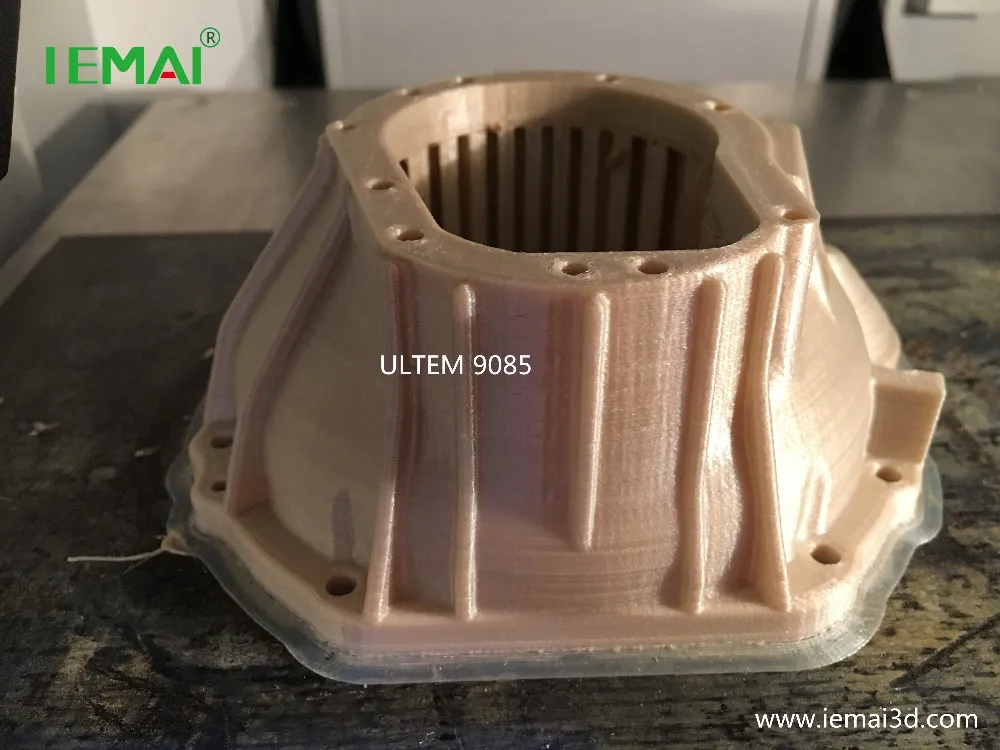 Not all objects that I would like to print can be implemented. In particular, I wanted to get a different microscope stand model. But it did not work out, because it is larger than the printer table. The same problem with the handle of a robot vacuum cleaner (not the one in the photo, another one).
Fin
Am I satisfied, as a beginner, with the printer? Yes very. It met my expectations almost completely. True, it must be borne in mind that I got the printer relatively inexpensively. If I had bought it for, say, 300-400 euros, I would have been less satisfied with the purchase. The main thing is that with the help of a 3D printer you can solve practical problems, this is far from just a toy. The opinion about the “toy” had to be heard from many.
Well, now the question is - what useful for everyday life or work do you print on your printers?
STL file Eat, drink and be scared cookie cutter・3D printer model download・Cults
dinosaur cookie cutter
3,50 €
skull cookie cutter
1,50 €
Christmas gnome Cookie cutter set
€3. 50
50
Biscuit cutter RIP
1,50 €
cookie cutter
2,50 €
moth Cookie cutter
2,50 €
ghost cookie cutter set
3,50 €
Christmas cats Cookie cutter
€3.50
Best 3D Printer Files in Home Category
WALL HOOK
1 €
Powdered Sugar / Flour Sifter Dispenser
1,20 €
Pokemon Togepi Egg Cu
Free
Adjustable Beehive entrance
Free
Key holder VW Bay
5. 15 €
15 €
Christmas Lettering Blocks
Free
KITCHEN SHELF FOR SPICES
1,80 €
Staircase Planter
Free
Bestsellers in the Home category
Articulated Christmas tree in lingerie
1.93 €
Cat in pencil holder
1.05 €
Ladle for boiler
3.64 €
Spider in a pumpkin
1.58 €
Another quick-change paper towel roll holder (fold-out)
1 €
Wall shelf "Oyster mushroom"
2,40 €
Kawaii dim sums in a cute basket
1. 46 €
46 €
Ghost of the Nazgul from The Lord of the Rings
€2.54 -23% 1.95 €
Clothes hanger "Wolf"
2.18 €
Pumpkin girl
2.90 €
Bordeaux, Octopus
2.41 €
1/14 Excavator - Vulpa 505
65.11 €
HANGER WITH PARROT BEAK
2.02 €
Yet Another Quick Change Toilet roll holder (fold-out)
1 €
Bag stopper
1 €
Modular storage box system with quick print
5.