Orange peeler 3d print
▷ orange peeler 3d models 【 STLFinder 】
Orange Peeler
cults3d
Orange Peeler
Orange Peeler
thingiverse
Orange peeler !
Orange Peeler
thingiverse
A handy little orange peeler.
orange peeler
thingiverse
orange peeler Patrik Enerstrandhttp://arduinoprojekt. blogspot.se/
Orange Peeler
thingiverse
Orangenschäler gedruckt mit PETG Orange peeler printed with PETG
Orange peeler
thingiverse
The orange peeler is a great little gift and printed quickly.
Orange Peeler
thingiverse
Modeled an orange peeler off a bought one. ...Works well and prints easily
Orange Peeler
thingiverse
Basic orange peeler design.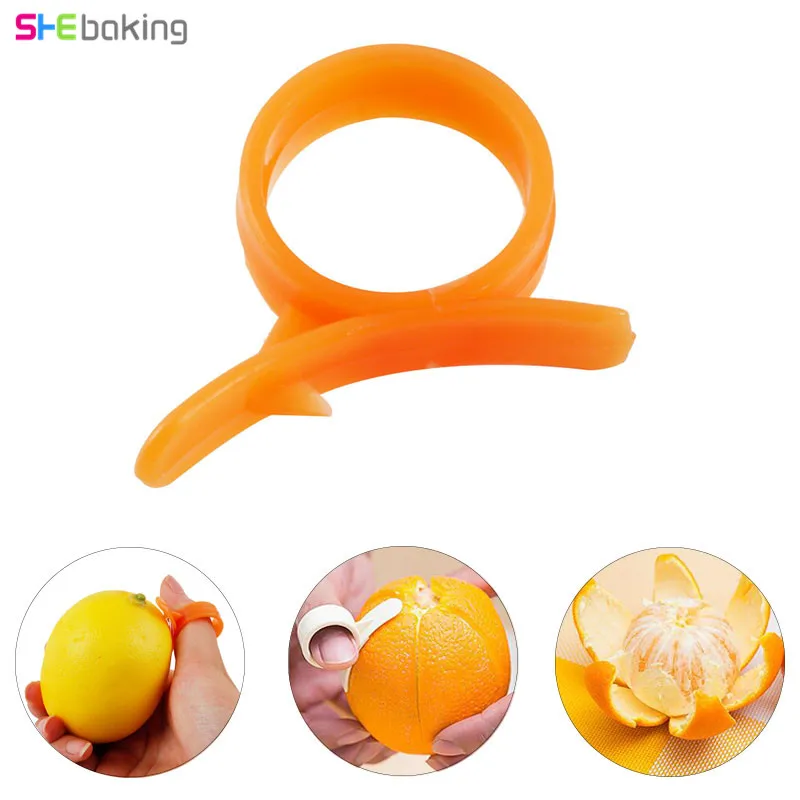 ... Made it fairly short, because I tend to misplace them.
Orange peeler
cults3d
For replaced my orange tupperware peeler lost Modeled with Cinema 4D slicer Simplify3D
Orange peeler
thingiverse
For replaced my orange tupperware peeler lost Modeled with Cinema 4D slicer Simplify3D
Orange Peeler
prusaprinters
Inspired by an orange peeler that we used to have years ago.
Orange Peeler
thingiverse
This is for peeling oranges or other citrus fruit.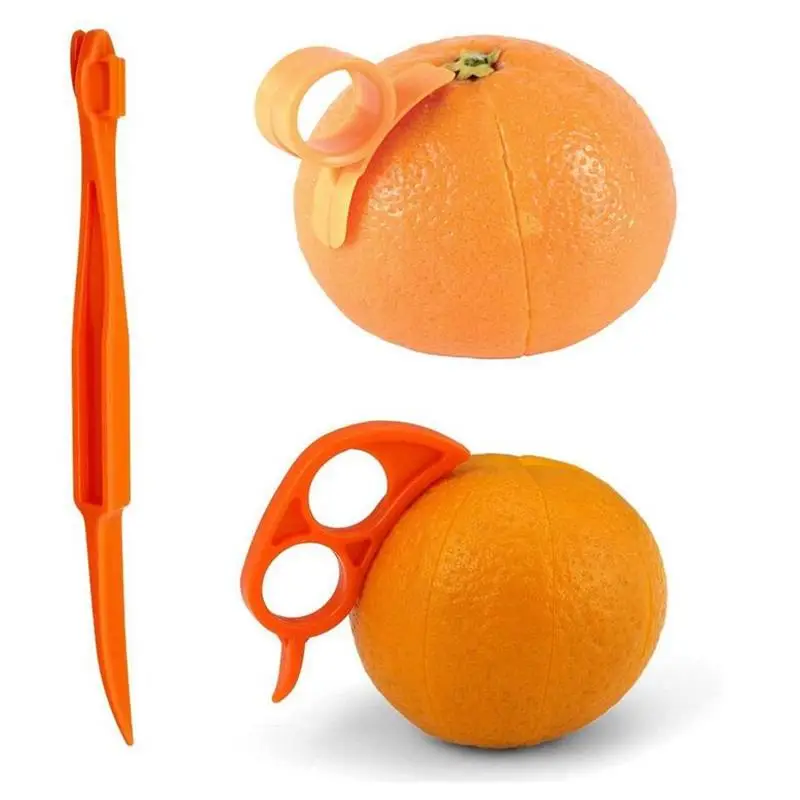 ...It works great! There are two peelers for thin and thick peels. ... Instructions 20% infill gives plenty of strength.
orange peeler
thingiverse
orange peeler. This is version 4. I updated the model to use less support and also cleaned out the interior of the model for a better print. ... Instructions Print on side with Support.
Orange Peeler
thingiverse
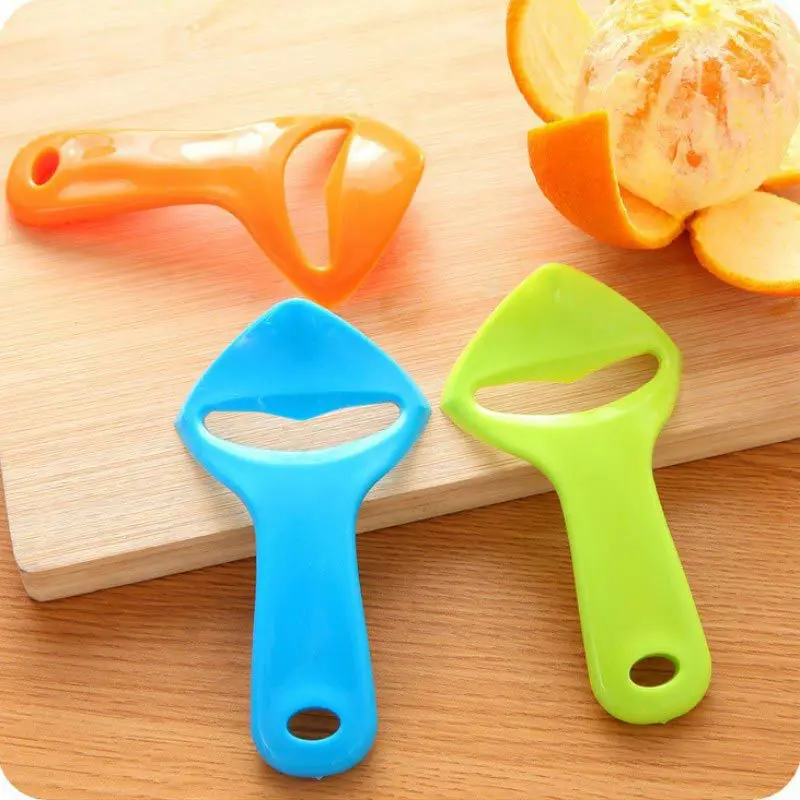
Just slip your thumb or a finger into the ring and with a firm grip of the orange in one hand slide the orange peeler over the surface of the orange allowing the small wedge blade to cut the skin.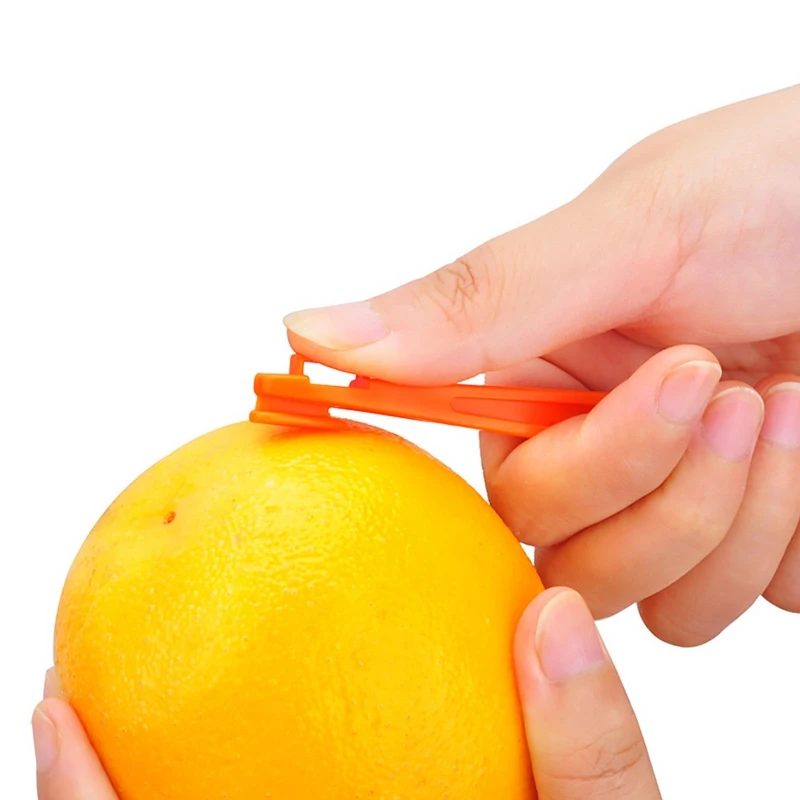 Minimal support material is required. ... ...
Orange Peeler
prusaprinters
Very easy to peel Oranges with this orange peeler. Print with layer height of less or equal to 0.15 mm for sharpest peeling edge.Video:https://youtube.com/shorts/n5TloG01Yb8
Orange Peeler
thingiverse
An orange peeler I created for a co-worker who uses such things. I personally prefer my fingers for the job but if you like these tools, enjoy! Update: Uploading V2 with thicker base to the cutting blade. It was a little flimsy and my coworker...
Orange Peeler II
thingiverse
An Orange peeler.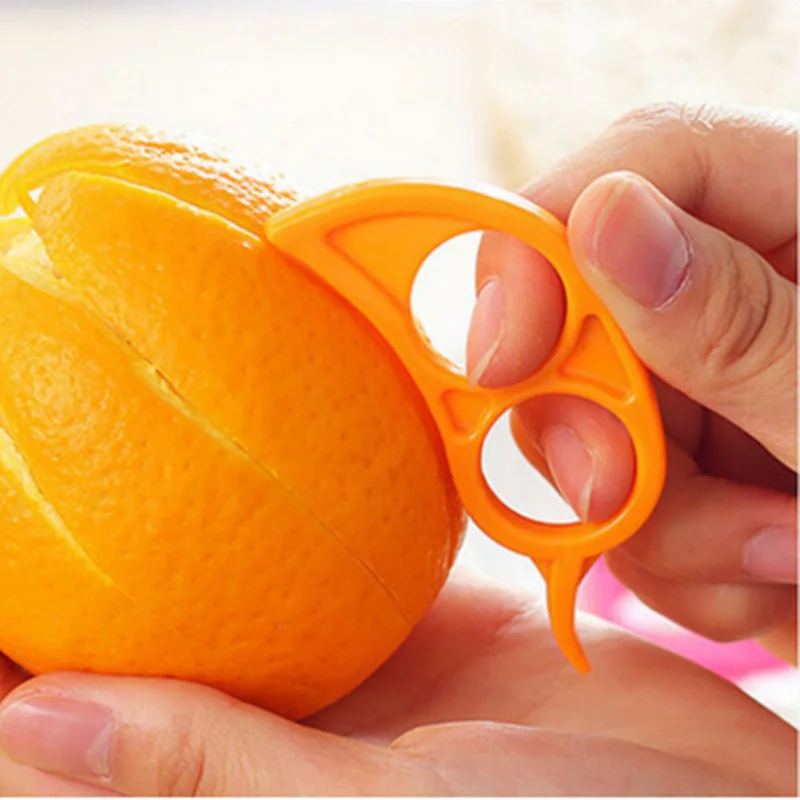
Mini Orange Peeler
myminifactory
Mini Orange peeler
Orange peeler remix
thingiverse
This is a orange peeler with enlarged blade for for large oranges.
Orange peeler / Orangenschäler
prusaprinters
Object Description:Orange peeler.Using the front side, cut the peel into several pieces. ...Lift it with the flat end of the peeler and remove the pieces.If you need a version with a lower cutting depth or any other modification, don't hesitate to.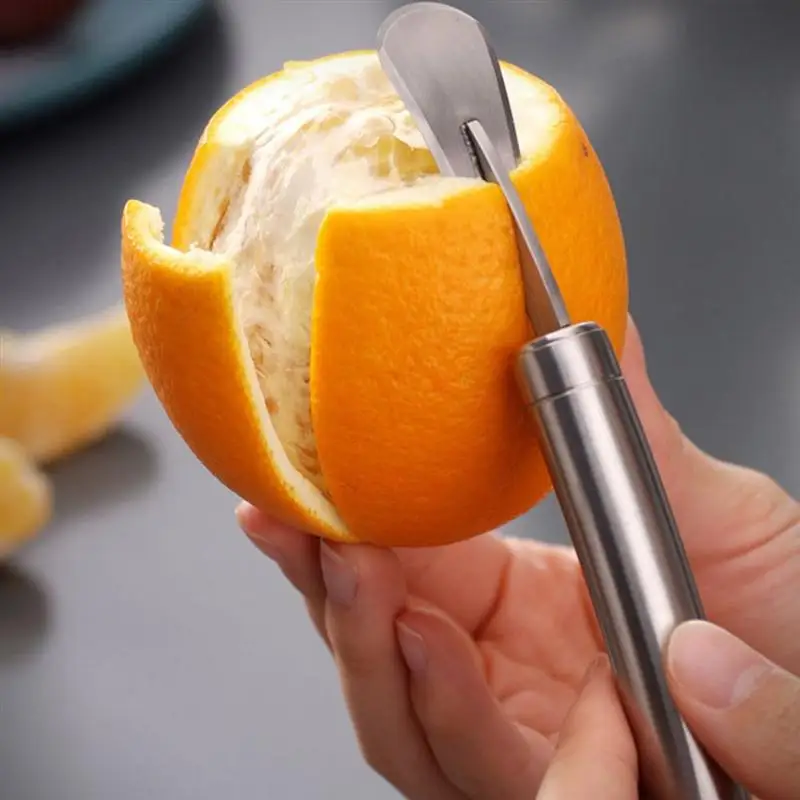 ..
..
High Speed Orange Peeler
thingiverse
And this modern engineering miracle is my "High Speed Orange Peeler". It is physically impossible to peel an orange faster than demonstrated here. You can try, but you will fail. It is impossible. Please do not try it, it ... look I just don't...
Orange Peeler
thingiverse
One way of getting those vitamin C in your body...
Orange Peeler
thingiverse
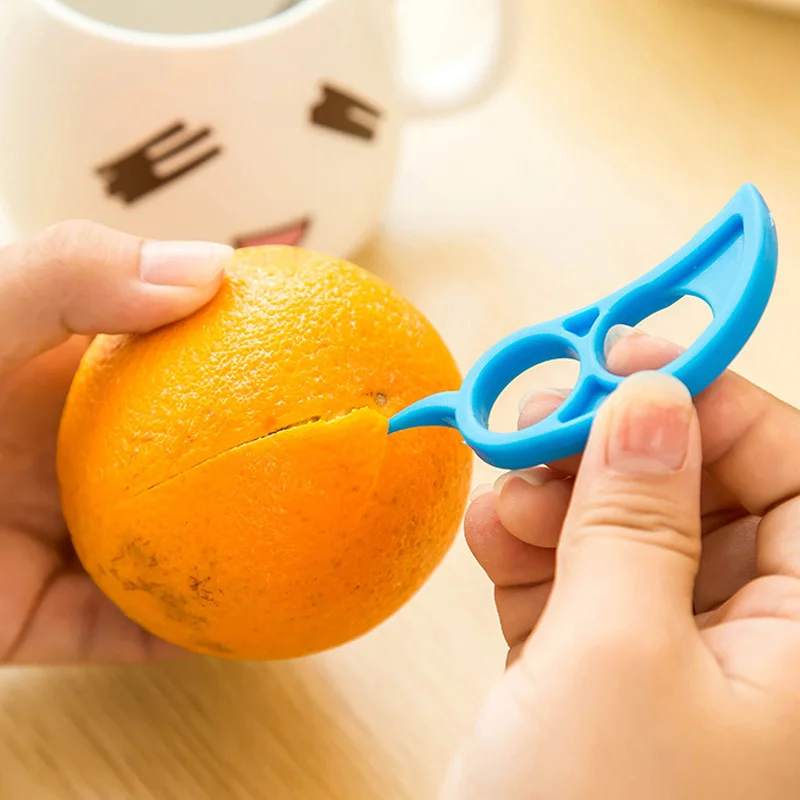
Slide your finger through the hole and cut the peels off of your orange in quarters or eighths.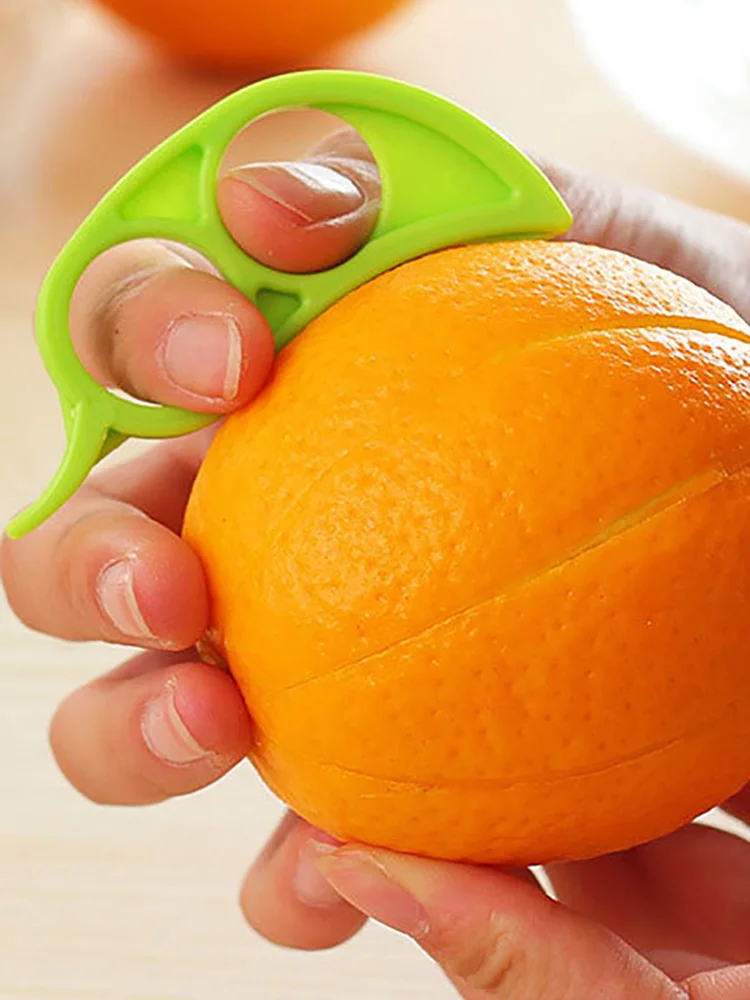 This tool makes the task a lot easier and quicker. The orange has a better presentation when you're done as well. Eat some fruit, friends! ... Check out...
Orange Peeler
prusaprinters
Orange peeler
thingiverse
Have a proper sword to fight those pesky citrus peels.
Orange Peeler
pinshape
Slide your finger through the hole and cut the peels off of your orange in quarters or eighths. This tool makes the task a lot easier and quicker. The orange has a better presentation when you're done as well.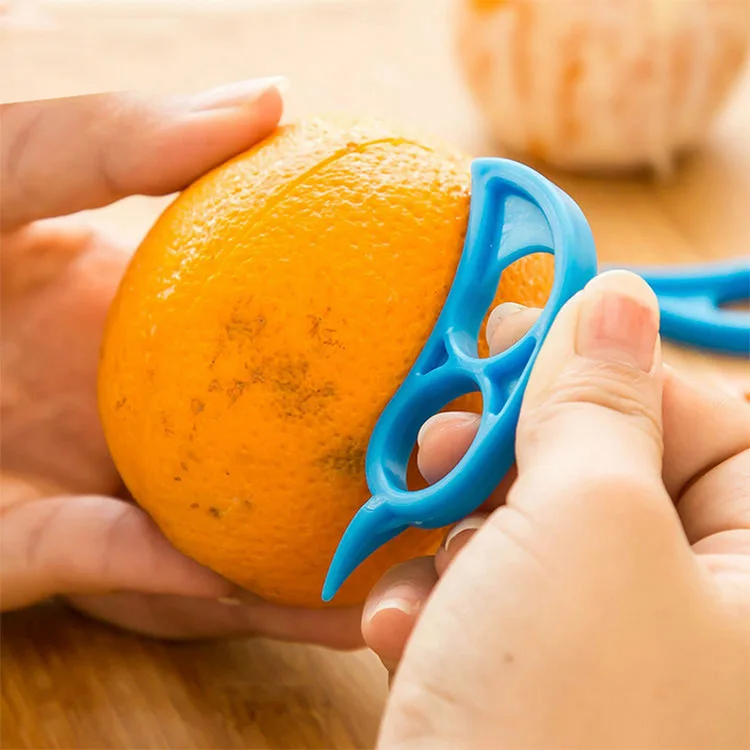 Eat some fruit, friends! ...Check out this...
Orange Peeler
thingiverse
Slide your finger through the hole and cut the peels off of your orange in quarters or eighths. This tool makes the task a lot easier and quicker. The orange has a better presentation when you're done as well. Eat some fruit, friends! ...(Design found...
Orange Peeler
thingiverse
It peels off the thick skin of oranges. Particularly to peel off the skin, use a cutter knife blade to split. First cut the blade of your cutter knife. ...Push in from the back of the thing printed.
safe orange peeler for kids
thingiverse
safe orange peeler for kids now your kids can enjoy peeling oranges by their own safely you need to rotate it 90 degrees before print
Orange skin peeler
thingiverse
An orange skin peeler, to help make life just a little bit easier.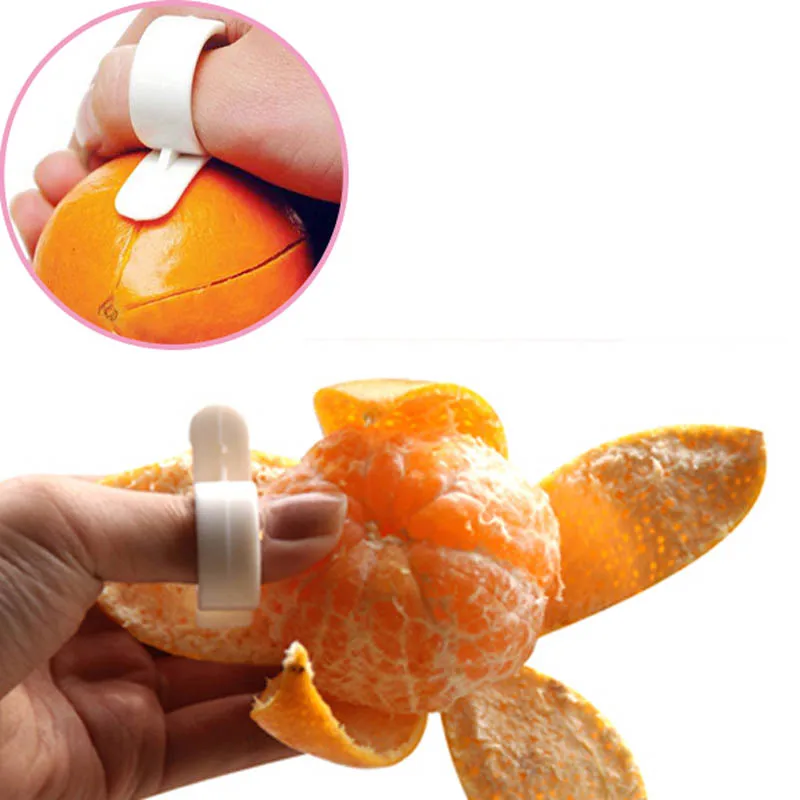
STL file Ergonomic orange peeler・3D printer design to download・Cults
Book/Tablet stand
€0.50
Resin pouring cone
€1
Flower pot fortress
€2
Hammerhead shark ring
€2
Dragon guided hexa-box
€1
Pipe ashtray v3
€5
Pipe ashtray v2
€4
Pipe holder ashtray
€6
Best 3D printer files of the Tools category
Ikea Skadis Powercube fix
Free
Creality CR-6 SE Tool Accessories Drawer Insert Organiser CR6SE
€1.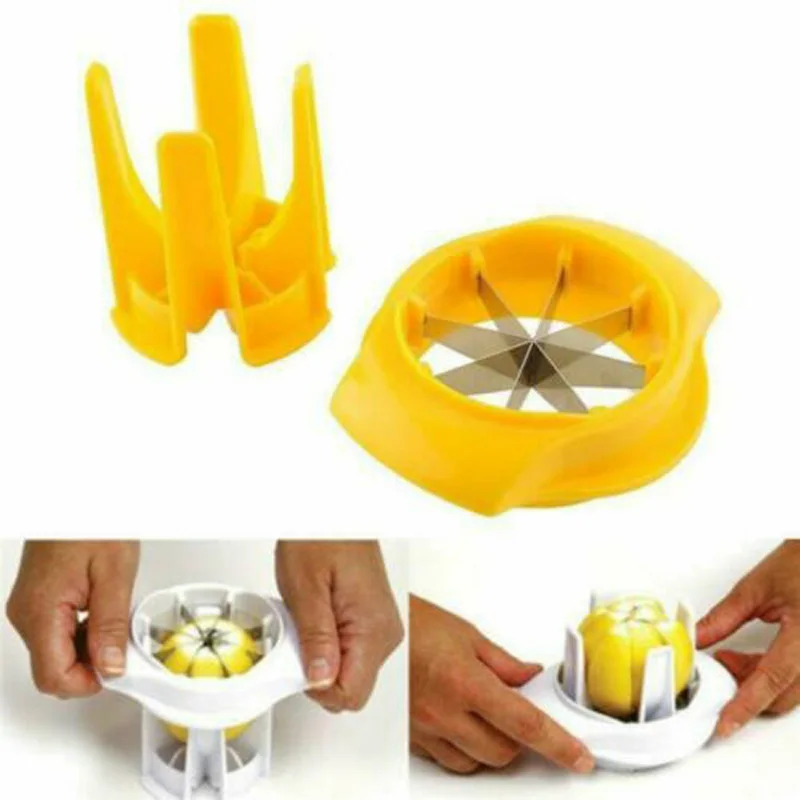 40
40
Laptop Stand V1
Free
Cut-Man - PET bottle cutter with handle!
€3.49
Co2 Valve Coffee Bean Canister
€0.95
Anycubic i3 Mega Enclosure (IKEA LACK Table)
Free
WATERING CAN FOR PLASTIC BOTTLE
Free
Happy Birthday Cookies (cookie cutter)
Free
Best sellers of the category Tools
Armadillo - Flex Wire Conduit
€1.69
PRECISION DIAL INDICATOR 3D PRINTING DIY
€1.90
Fire Hydrant Stash Container
€1.90
Fast-Print Stackable Parts Bins / Storage Boxes
€2.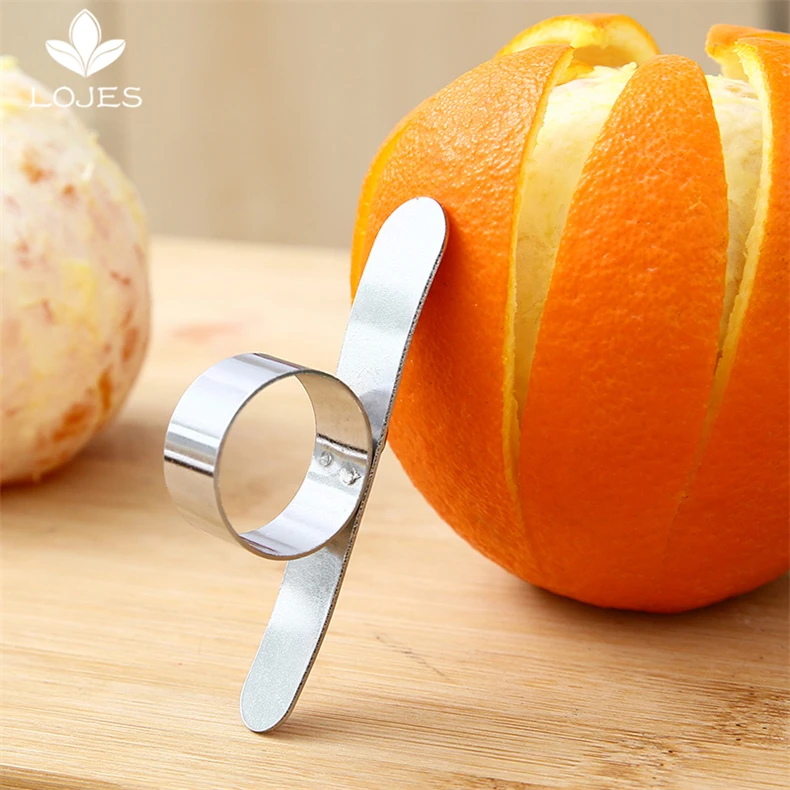 91
91
Cut-Man - PET bottle cutter with handle!
€3.49
Scissor Paint Rack
€5.24
ENDER 3 S1/S1 PRO SPOOL HOLDER AND DEPORTED SPOOL
€2.13 -20% €1.71
phone ring holder
€0.90
3D Printed Strain Wave Gear (Harmonic Drive)
€4.99
Chill Buddy Lighter Case
€0.94
Ender 3 Briss fang Gen2, Red lizard, spider, nf crazy, dragonfly, etc.
€1.74
PRECISION CALIPER 3D PRINTING DIY
€3.11
INDICATOR FOR BEST BED LEVELING FOR ENDER 3 V2
€2.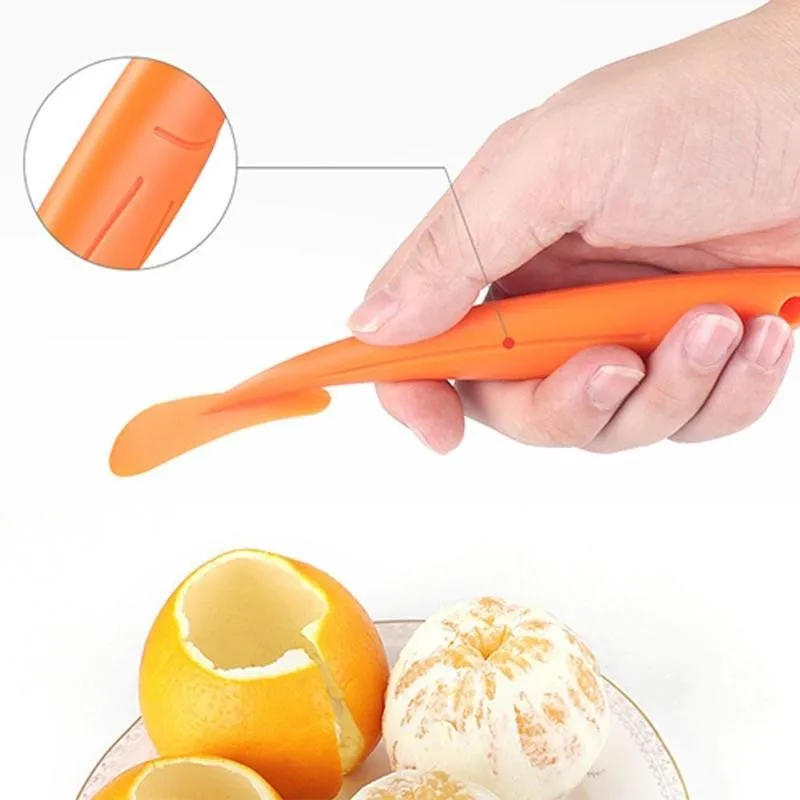 84
84
ENDER 3 S1/PRO SPRITE, HOTEND 4020 OR 5015 FAN PROBE NO Y OFFSET
€2.29 -20% €1.83
ENDER 3 S1/PRO SPRITE, V3 AIR DUCT 5015 OR 4020, LED Strip
€2.69 -20% €2.15
Ender 3 S1 Fan Duct for stock Fan
€1.20
Would you like to support Cults?
You like Cults and you want to help us continue the adventure independently? Please note that we are a small team of 3 people, therefore it is very simple to support us to maintain the activity and create future developments. Here are 4 solutions accessible to all:
ADVERTISING: Disable your AdBlock banner blocker and click on our banner ads.
AFFILIATION: Make your purchases online by clicking on our affiliate links here Amazon.
DONATE: If you want, you can make a donation via PayPal.
WORD OF MOUTH: Invite your friends to come, discover the platform and the magnificent 3D files shared by the community!
Cleaning the 3D printer table. Tips and Tricks.
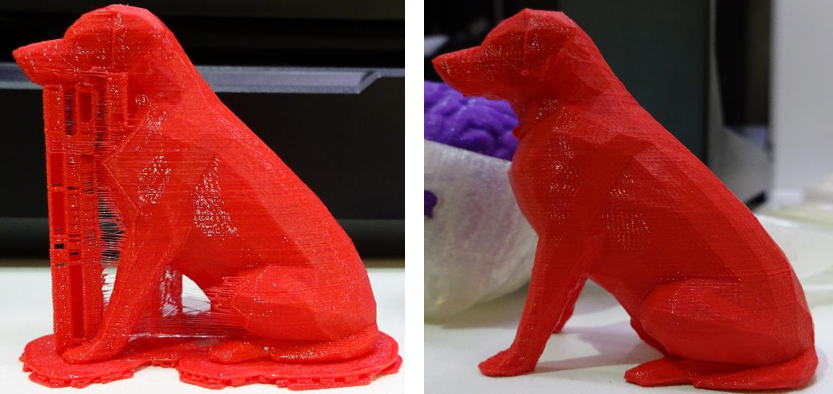
3D printing is a very unstable process, I think everyone who is at least slightly familiar with plastic filament printing technology will agree with this. Unpleasant crashes in the 3D printer can occur for various reasons, and one of the most common reasons is the detachment of the model being grown from the desktop surface. And as a rule, this happens in the middle of printing, when you are already convinced of the stability of the press and are distracted by another activity. It is precisely for this reason that ensuring good adhesion of the first layer to the platform is very important for the successful completion of 3D printing.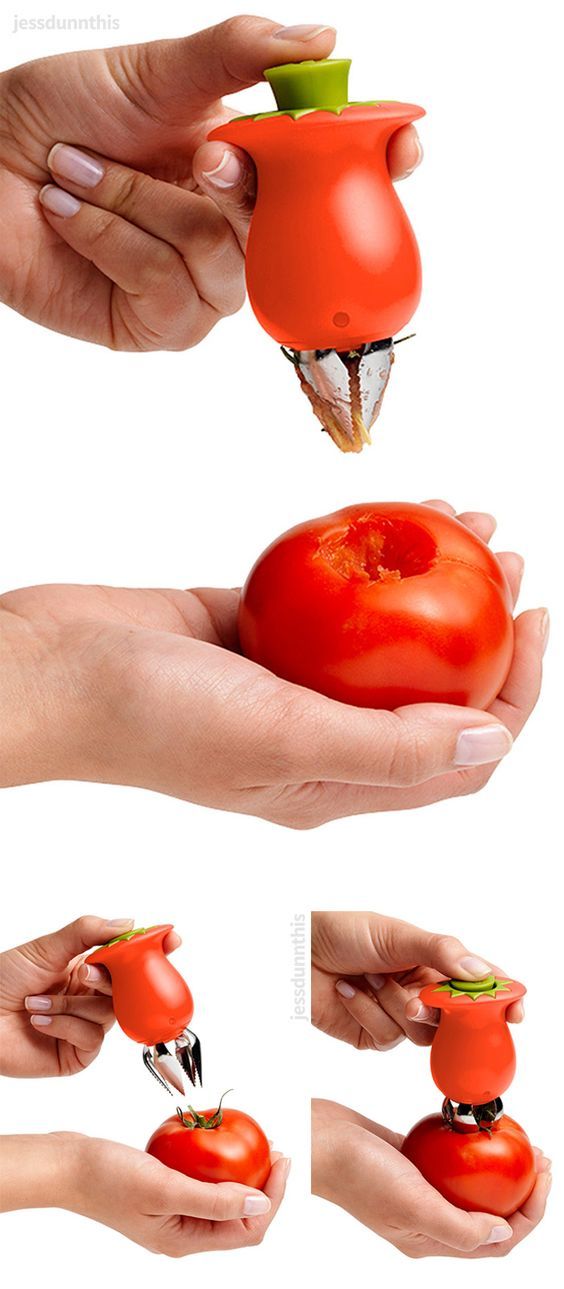
Today there are many ways to improve the adhesion of the first layer to the bed. A lot of articles and recommendations have been written about this, so we will not talk about them. It is worth noting one of the simplest methods - is keeping the desktop of a 3D printer clean . Regular and thorough cleaning of the platform will not only improve adhesion, but will make printed models more beautiful and smooth.
In this article we will look at the best way to clean the 3D printer table, using the example of popular coatings:
Remember to be careful when using the methods below, as spilled liquid may damage the 3D printer. We recommend removing the bed from the printer before cleaning (if possible).
PEI sheet surface cleaning
Recently, PEI sheet has become a very popular material for improving adhesion in 3D printers.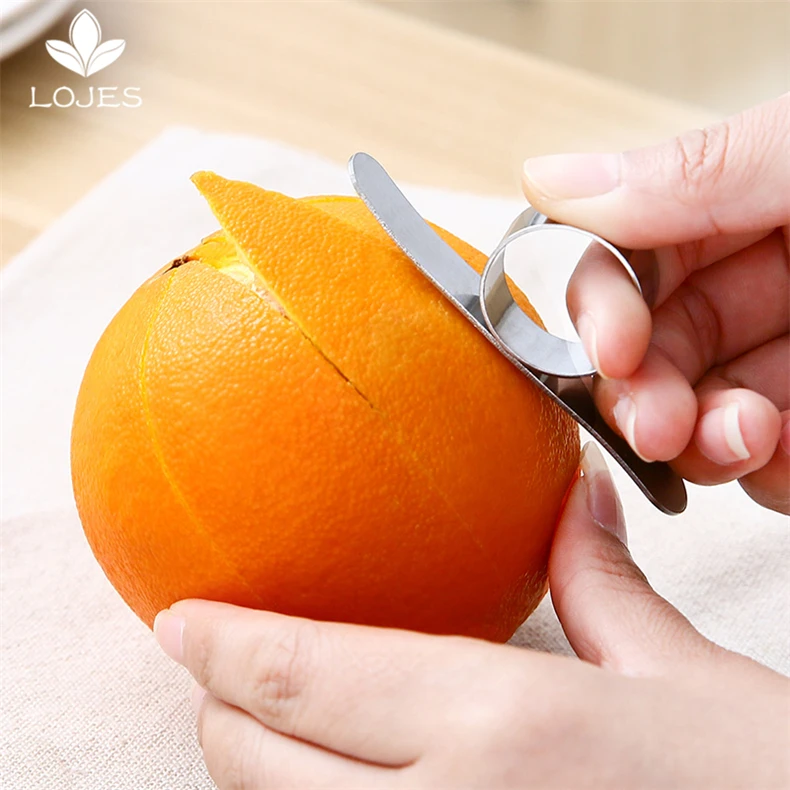 It provides excellent adhesion to various materials, and when it cools down, the printed model lags behind it very easily. The sheets are very simple and not fussy to use, and most often it does not require additional application of glue or adhesive tape.
Unfortunately, in order to achieve maximum efficiency, the PEI surface also requires regular and high-quality cleaning. If PEI is touched frequently, it can develop greasy spots that reduce adhesion to the material. Rough cleaning can also damage the surface and reduce sticking. Regular cleaning and maintenance of PEI will ensure that your models do not come off.
How to clean the surface of PEI
To clean this surface, we recommend using isopropyl alcohol (Chemical pure, odorless) with a concentration of more than 70%. You can use it with a smell, but it is very caustic and unpleasant, the room will need to be ventilated.
Wait for the platform to cool, then liberally soak a dry cloth or paper towel with alcohol and wipe the surface.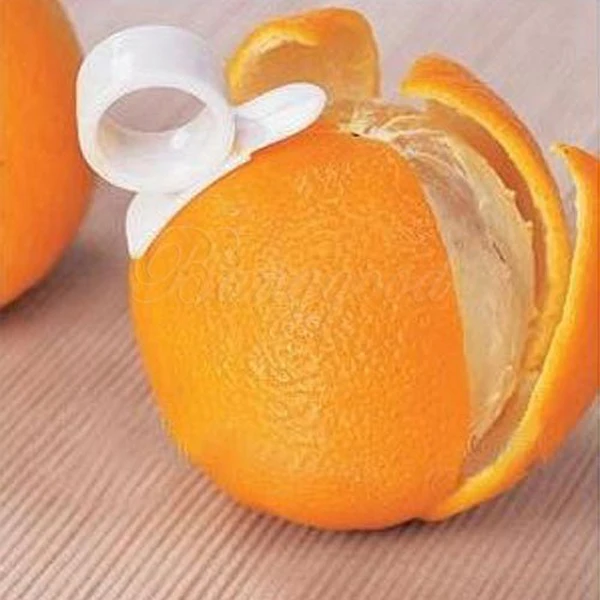 This will remove a significant portion of the fats and oils from the bed.
Acetone is also good at dissolving plastic residues on the surface. In the same way, liberally moisten the cloth with liquid, then gently wipe the surface of the 3D printer desktop. We strongly recommend doing this work in a well-ventilated area, as acetone is highly flammable and its vapors can penetrate the electronics of the device
If you have been using PEI sheet for quite a long time, and visually its resource has been significantly used up, then we recommend using fine grit sandpaper (1500+). With gentle, circular motions, sand the surface until light scratches and depressions are removed.
When should I clean?
Most manufacturers recommend cleaning the surface with isopropyl alcohol every 2 to 3 prints. After a few months of use, sand the surface and wipe thoroughly with acetone. If it is no longer possible to restore the surface by the listed methods, then replace it with a new sheet from PEI. The lifespan of such material varies depending on the brand and frequency of use of the 3D printer.
Glass Surface Cleaning
Glass is another very common 3D printer desktop material. Much more durable than PEI and similar surfaces. The glass plates provide a smooth and level surface at the bottom of the model.
This surface is usually used in combination with other aids (eg glue stick or hairspray) to improve the adhesion of the first coat. Such products are especially popular on tables that are not equipped with heating. Therefore, regular cleaning of the glass is necessary to prevent adhesive or varnish from sticking.
How to clean the glass platform
The easiest way to clean a glass plate is to use a scraper or a non-metal spatula. If the table is heated, then heat it until the material remains soft, after which they should be easily removed with a scraper.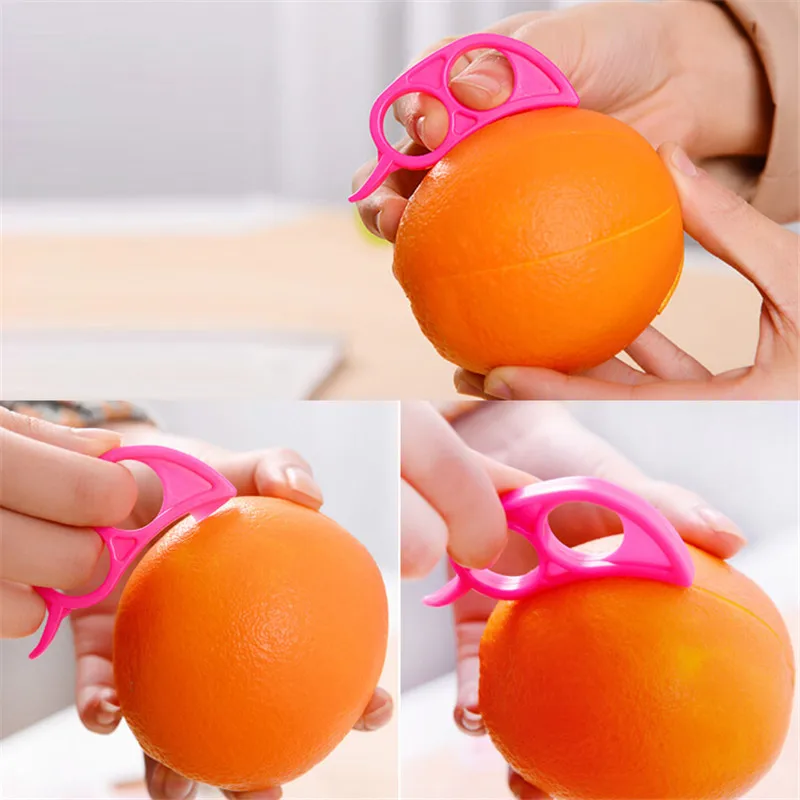
Be careful when scraping. Depending on the scraper, the blade can be very sharp, so be careful not to scratch the surface. We recommend that you put your hand on the handle of the scraper, and with the other hand press down on its middle, so that the greatest force is directed downwards.
If this does not work, try wiping the glass with warm soapy water. Although simple, this method is very effective for removing hairspray, glue, and other adhesives. Keep in mind that this method is only recommended if the 3D printer allows you to remove the platform. Spilled water can seriously damage the heating element, power supply or other electronics of the device.
Dirt can also be removed with specialized cleaning products. For example, wet alcohol wipes, window cleaner, isopropyl alcohol will also effectively wash away adhesive residue and restore the glass surface. However, do not take too strong cleaners. Such substances can severely damage the surface or even the 3D printer.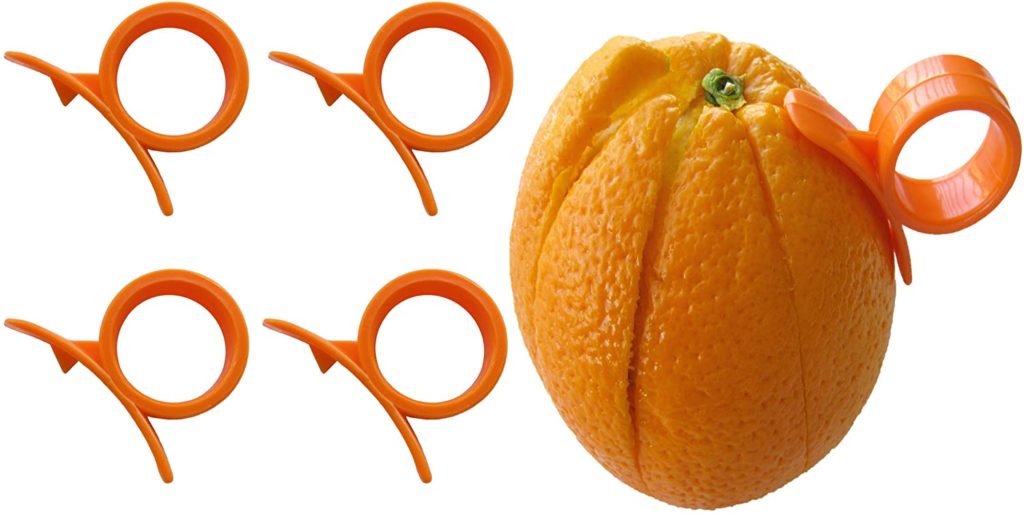 In order to be sure to select a cleaning agent for your particular 3D printer, it is best to contact its manufacturer. Most often, they willingly make contact with users and willingly give advice.
When to clean the glass surface
Again, this will depend on how often you use the printer. We recommend cleaning the surface after each print to prevent buildup of glue or varnish. Such a procedure will not take much time, but the print will be more stable, and the resulting prints will have a beautiful and even surface. Once the models stop sticking (usually after a month), try washing the surface with soap and water. After about two to four months, you will have to resort to isopropyl alcohol or other specialty drugs. substances.
Cleaning adhesive tapes
Adhesive tape is another proven way to increase adhesion to the print platform. Today, this method is more common on 3D printers without the function of heating the desktop. Masking tape is the most common remedy, but so are Kapton and others.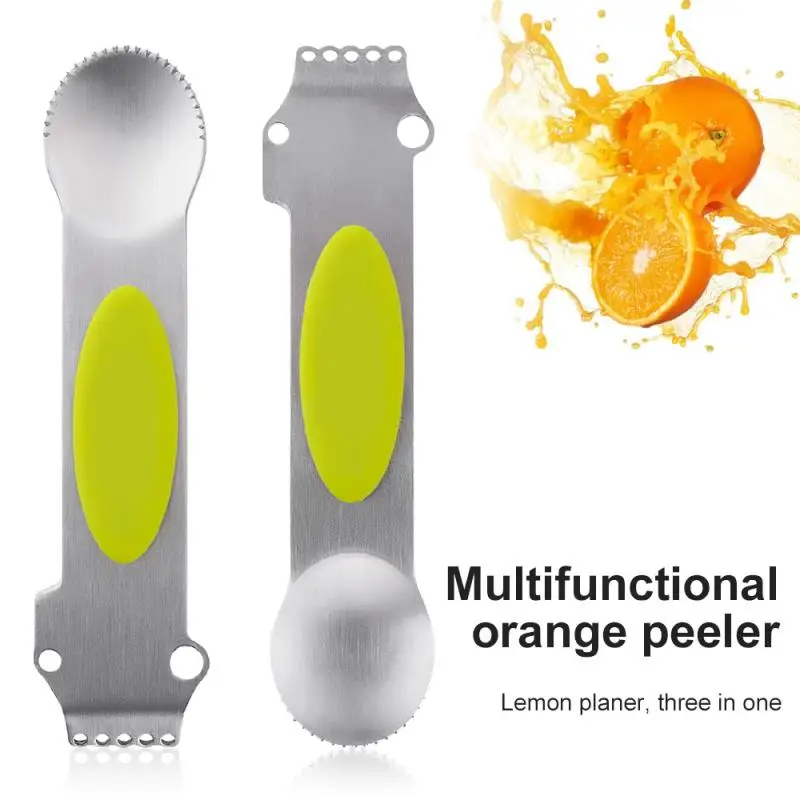
One of the reasons for the popularity of such linens is their ease of use and relatively inexpensive cost. They are easy to stick to the surface and are available at almost any hardware store. However, there are also disadvantages: the tape quite often peels off when the printed model is removed, so it must be reapplied regularly.
How to clean?
Unfortunately masking tape is one of the most difficult to clean due to its fragility. however, we have found that gentle scraping is one of the most effective ways to clean it. With light pressure, evenly scrape off the remaining plastic thread from the surface, being careful not to tear it.
If the tape does break during cleaning, replace this area with a new strip. The main thing is not to overdo it and do not apply a thick layer, this can adversely affect the quality of the print. If the tape is full of holes and looks like Swiss cheese, then it needs to be completely replaced. Strip and scrape the old tape from the surface. Then wash the platform with warm soapy water to remove adhesive residue.
Once the old tape has been removed and the surface has been thoroughly washed, apply a new layer of masking tape or Kapton. Squeeze out any air bubbles if necessary.
When should I clean?
Masking tape wears out quickly and needs to be replaced much more frequently than PEi for example. We recommend lightly scraping off any plastic that has stuck to it after each print. Depending on the frequency of printing, you will need to change such a surface daily, weekly or once a month.
3D printing technologies for water treatment
St. Petersburg, Grazhdansky pr. 111 office. 408
+ 7 (812) 507-89-05
[email protected]
+ 7 (812) 507-89-05
Home / Articles Instructions Video / Technologies and methods of water treatment / 3D printing technologies in water treatment
3D printing is an additive technology for layer-by-layer manufacturing of an object from a 3D model. In this case, the technology of layer-by-layer application of molten thermoplastic (ABS plastic) was used.
The reason was the situation when the water purification system was launched, which included filters with control valves Magnum IT, 764 L, SN, NHWB, which allow organizing the operation of several filters with simultaneous regeneration prohibited. It was necessary to configure the operation of filters in the twin alternating mode. The standard configuration of the Magnum valve ("Logix Single Tank Magnum Camshaft, L-types" shaft) does not imply its use in twin alternating mode. The difference in configuration is the configuration of the camshaft (required the shaft "Logix Multi Tank Camshaft, A, P or L-types"), namely one of its sectors (see photo 1).
Photo 1
1 - Shaft "Logix Single Tank Magnum Camshaft, L-types"
2 - Shaft "Logix Multi Tank Camshaft, A, P or L-types"
For this task, we used a 3D printer, which appeared in the arsenal of equipment of START PLUS LLC.
Shaft cam printed (see photo 2) within an hour. Thus, there was no need to supply the shaft with the required configuration, and thus the start-up period of the water purification system was reduced.
Photo 2
1 - Shaft cam 2
2 - Mg control valve shaft cam 3D printed
3 6 - Shaft cam This example is not unique. The use of 3D printing technology, combined with engineering, provides ample opportunities at any stage from design to operation of water treatment systems.
LLC "Company" START PLUS "offers its services in this area and invites you to cooperate.
Special offers
Water treatment of administrative buildings
To solve functional and fashion problems, we offer the use of efficient and reliable industrial filters.
Restoration and repair
We will help to restore and repair the existing water treatment system, including those in hard-to-reach regions
Custom project for your facility
Our company offers services for designing water treatment systems, which guarantees an individual project and approach to each client.