Lithophane 3d print cura
Tutorial Tuesday 38: Lightning-Fast Lithophanes With Cura
The 3D printing slicer Cura has a cool hidden feature: It turns out that you can upload an image and it will turn dark/light contrast into high/low elevation. You can use this feature to make a quick 3D-printable lithophane. Black and white images work the best, but you can get amazingly detailed photographic quality from lithophanes, so they don’t necessarily have to be simple.
Lithophanes don’t look like much sitting on your desk, but when you a shine light through them you can get a really realistic image. For example, check out this Han Solo lithophane we printed a few years ago using the Thingiverse Lithophane Customizer; the first photo shows the print lying on a table, and the second photo shows the same object with light coming through the back from the window.
The method used to get the lithophane above works, but it isn’t always easy to use. The new method using Cura that we’ll describe in this post is much easier, and seems to work better on detailed images without the need for any pre-processing.
Hey, ho, let’s go!
For our new lithophane example we’ll use the iconic Ramones debut album cover from 1976:
Download the latest version of Cura and click on the folder icon to open any image file. Our image was in JPG format. A dialog box will pop up that allows you to set the minimum and maximum heights, and whether darker parts of the image will be considered high points or low points. For a lithophane to work you’ll want to use the “Darker is higher” selection, so that less light will pass through the darker parts of your image. The minimum unsupported wall thickness for Shapeways Strong and Flexible Nylon is 0.7mm, so we set the minimum to 0.8mm in this example.
Make sure that the Smoothing slider is all the way down; even a little bit of smoothing can deform your image significantly. On the other hand, if you have a “thin walls” problem later on in the process that can’t be fixed, then you might try moving that slider the smallest possible amount.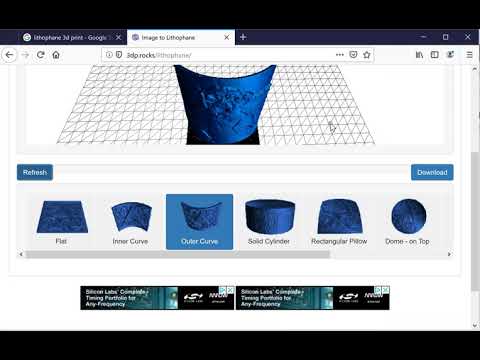 The Height setting will depend on how dark you want the dark parts of your image to be. We’re trying 2.0mm here, but we also made a Thickness Tester that you can order if you want to see how opaque the Strong and Flexible nylon is at different thicknesses from 0.8mm to 3.0mm.
Here’s how the image looks after importing into Cura:
At this point you can test-print the lithophane at home on an FDM printer, if you have one. When you’re ready to send a print to Shapeways, use the menu File / Save All / Save to File, and choose “Binary STL” as the file format.
Unify Duplicated Vertices in MeshLab
You could upload your lithophane STL file to Shapways right now, but the following step will make your life a lot easier. Open up MeshLab, and choose Import Mesh from the file menu. As your file is importing, a dialogue window will pop up asking if you want to Unify Duplicated Vertices. You definitely do, so press “OK”.
Before pressing OK our model had a million and a half vertices:
Some of those vertices were right on top of each other, or so close as to be indistinguishable. After “unifying”, the number of vertices is reduced to about a fifth of the original amount, and our file now has just 300,000 vertices.
That was in fact the only thing we needed to do in MeshLab. Our file looks the same, but it now has a much simpler mesh:
Now select “Export Mesh As” from the file menu, and save your reduced-vertex file again in STL format. This new file will upload and process at Shapeways faster, and it will be simple enough for Shapeways to repair if there are printability problems.
Upload and Print
Okay, now you’re ready to upload to Shapeways! However, depending on the complexity of the photo you chose, there may be some problems with the printability of your model. This happened to us; note the yellow triangles in the material list for our uploaded model:
Usually, the printability issues are very small at this stage, and you should be able to fix them from within Shapeways. To do this, click on View Issues, and then select the Wall Thickness option from the left menu. The iffy parts of your model will be shown in a different color. In the image below, the thin walls are marked in red, and were mostly on the lips and knees of the Ramones):
These problems are small enough that clicking the “Fix Thin Walls” button should do the trick. Fingers crossed that the Ramones won’t have puffy lips after this fix! We’ll post an photo of our printed Ramones Lithophane once we get it back from Shapeways.
For now, check out this smaller FDM version we prototyped at home. Again, the printed version is not much to look at unless you hold it up to the light, but then, WOW! I can’t this stress enough: these are photographs of the SAME OBJECT:
Have you used the image-to-elevation feature in Cura? Let us know what you’re up to and you could be featured in a future Tutorial Tuesday post. In the meantime, enjoy some Ramones.
3D design 3d modeling 3D modeling software 3D printed home decor 3D printed lighting design tutorials Education Home Decor how do I 3D design how do I get started in 3D design how do I learn 3D modeling how to 3D design how to 3D model tutorial Tutorial Tuesday Tutorials
Slicer Settings for Lithophanes • Tweaking to Perfection • ItsLitho
- By Itslitho
- Last Updated: November 8, 2022
Home » Blog » Slicer Settings for Lithophanes – Tweaking to Perfection (2022 Update)
What are the best slicer settings for lithophanes? How can you improve the quality of lithophanes? Learn which slicer & print settings you need to know to create the best lithophane!
Contents
Best Slicer Settings for Lithophanes
Best settings for lithophanes
Creating the perfect 3D-printed lithophane can be quite challenging.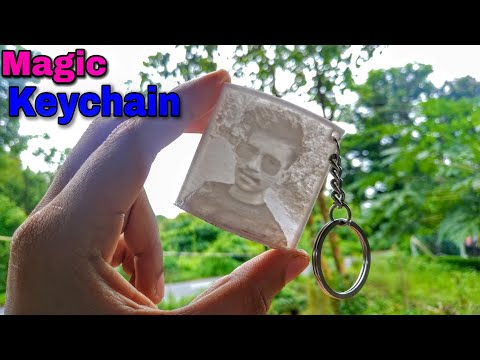 A lot of factors have an influence on the quality of your lithophane. So where to begin?
With this post, we’ll try to help you in your journey of creating your best lithophane! As the title of the post already suggests, it’s a trial & error process. But we have good news, a lot of lithophane makers preceded you in this journey.
So with all the experience from the community, this post will provide you with some good starting points & highlight the most important settings to tweak them.
Best Slicer Settings for Lithophanes
Slicer Profiles
Thanks to the highly experienced lithophane makers from the Litho3D Facebook Group there are slicer profiles available that make things a lot easier for you. These profiles can be used for the specified slicers and are a great starting point, to begin your tweaking process. You can download your profile for free below. If you have any questions regarding the profiles, the lithophane makers from Litho3D are happy to help you further in their group: Litho3D.
Cura
4.8.0 Litho3D Cura Profile
Size: 2KB
Version: 4.8.0
Published: March 7, 2022
Download Slicer Profile
4.7.1 Litho3D Cura Profile
Size: 2KB
Version: 4.7.1
Published: March 7, 2022
Download Slicer Profile
4.7.0 Litho3D Cura Profile
Size: 1KB
Version: 4.7.0
Published: March 7, 2022
Download Slicer Profile
PrusaSlicer
Litho3D PrusaSlicer Profile – Ender 3
Size: 3KB
Version: 1.0
Published: March 7, 2022
Download Slicer Profile
Litho3D PrusaSlicer Profile – MK3S
Size: 3KB
Version: 1.0
Published: March 7, 2022
Download Slicer Profile
Litho3D PrusaSlicer Profile – Delta QQ S Pro
Size: 4KB
Version: 1.0
Published: March 7, 2022
Download Slicer Profile
Simplify3D
Litho3D Simplify3D Profile
Size: 4KB
Version: 1. 0
0
Published: March 7, 2022
Download Slicer Profile
Best Slicer Settings for Lithophanes
Understanding 3D models
Your 3D-model is made up of many points (vertexes) and triangles (faces) connecting these points together. An STL file will contain only this information and is the pefered format to save models in because of the relatively small file sizes you can get. Lithophanes often have many many of these points and triangles to make sure that your image comes out nicely to account for every pixel in your image. Lithophanes can even have many millions of points and triangles making up the 3D-model, which is what makes the file size of lithophanes so large.
In the image below you can see a 3D-model of a sphere consisting of many triangles (lines).
Best Slicer Settings for Lithophanes
Understanding Slicers
Now we know what a 3D model is, and what it’s made of, we can continue on to what slicers are and why we even need slicers.
There are multiple slicers out there but they essentially, down to their core, all do the same. Slicers “slice” your 3D model into many layers and lines. This must be done because your 3D printer does not understand what it should do with a 3D model. The 3D printer must specifically be told to move from one position to another position while extruding (pushing out) a certain amount of plastic.
This is just the basics of what a slicer does. It converts your 3D model (STL file) into a file format the 3D-printer understands (code file) where instructions for the 3D-printer are stored. There are many factors that are very important in creating a successful print. So much so that we cannot cover them all. Every 3D printer is different and will therefore require different slicer settings. To make matter worse, even every plastic from different companies are different as well and require some tweaking in the slicer to get a satisfying result.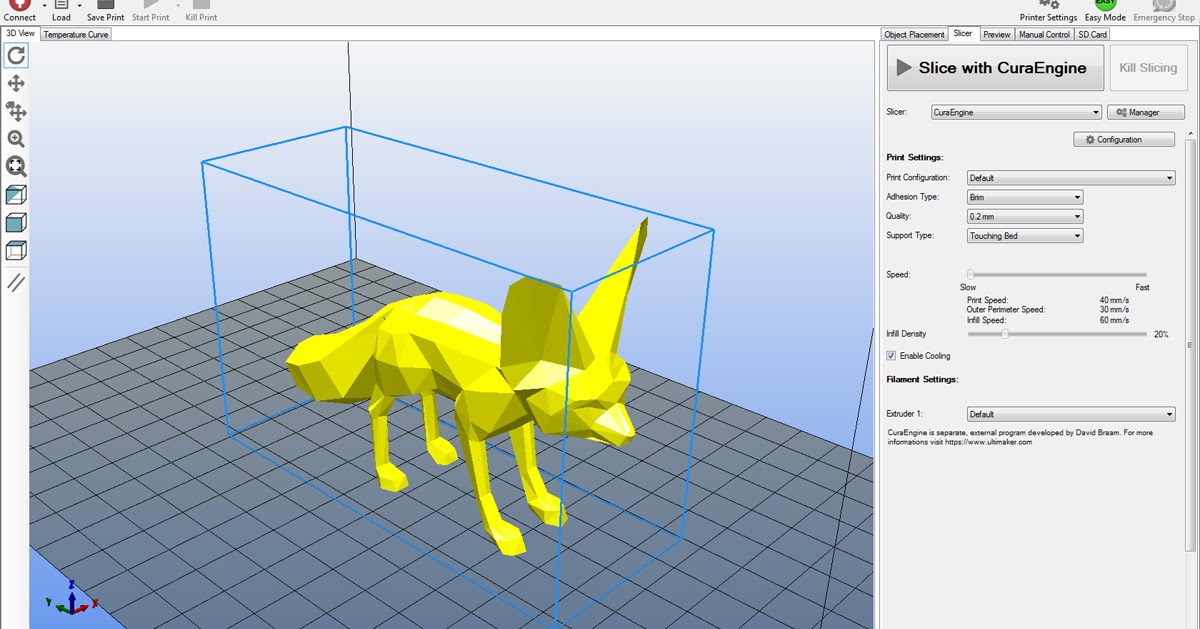
Fear not! We’ll go over the most important slicer settings for the most used slicers to help you get great lithophane prints!
Best Slicer Settings for Lithophanes
Popular Slicers
We now know that we need additional software to convert our lithophanes into a gcode file which the printer will understand. We will highlight the most important settings to tweak to get an amazing lithophane print. But before we do we’d like to mention the most widely used slicers to this day, which are:
- Cura
- Prusa Slicer
- Simplify 3D
- Selfcad
There is a large number of slicing software out there, besides these. To help you find the perfect fit, here’s a list of the top 3D printing slicer software tools.
Best Slicer Settings for Lithophanes
Most important lithophane slicer settings
Let’s head over to the most important slicer settings for lithophanes.
Infill or shell(wall) perimeters
A lithophane works by varying the thickness of the 3D model, such that an image will appear when light is shining through it.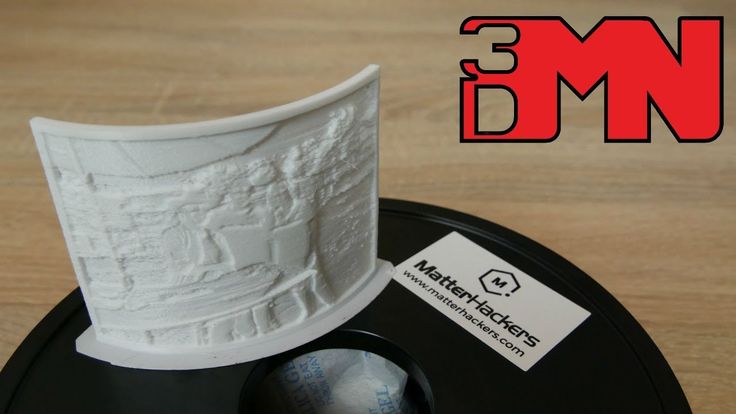 If the 3D print is hollow from the inside, then you’ll not meet this requirement. The 3D print should be 100% solid from the inside. There’s an endless debate in the 3D lithophane community about the best way is to make sure the 3D print is solid, either 100% infill or many shell(wall) perimeters.
Infill (100% or even better 99%)
The first method is to increase the infill percentage to 99%. This will make sure that the inside of the model is solid. We do not use 100% because this can increase the printing time significantly, try setting your infill percentage 100% and then 99% to see the significant time reduction you’ll get by setting the infill percentage to 99% instead of 100%, without the inside of the print not being solid anymore.
Shell/wall perimeters
The next possibility is to increase the number of shells/walls to let’s say 99 and reduce the infill percentage to 0%. If you do so you can make sure that your entire lithophane is a wall.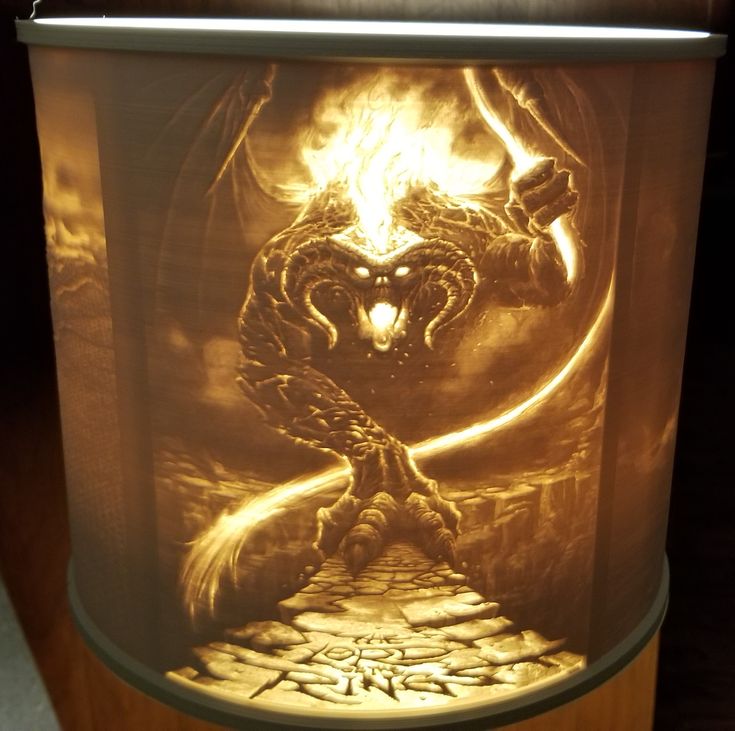 The advantage of using this method is that all lines will roughly follow the contours of the lithophane. Moreover, if you enable a frame you can reduce the filament usage by using a certain number of shells and 0% infill. If you have a max thickness of 3.2 mm, a frame depth of 5 mm, and a wall thickness per shell of 0.4 mm, then you can set the number of shells to max thickness/wall thickness / 2. The division of 2 is there because we have walls on both sides of the lithophane. By doing so the frame will not become entirely solid, which will save time, filament, and hence money.
Lithophane Filament
What Filament you use for your lithophane is also important. In general white & silver/grey filaments will work the best. But every filament has their own sweet spot when i comes to the minimum & maximum thickness.
To know what are the best parameters to use for your filament you can use a lithophane calibration test print. Before printing a whole lithophane we suggest to print this, to see for yourself what your preferred parameters would be.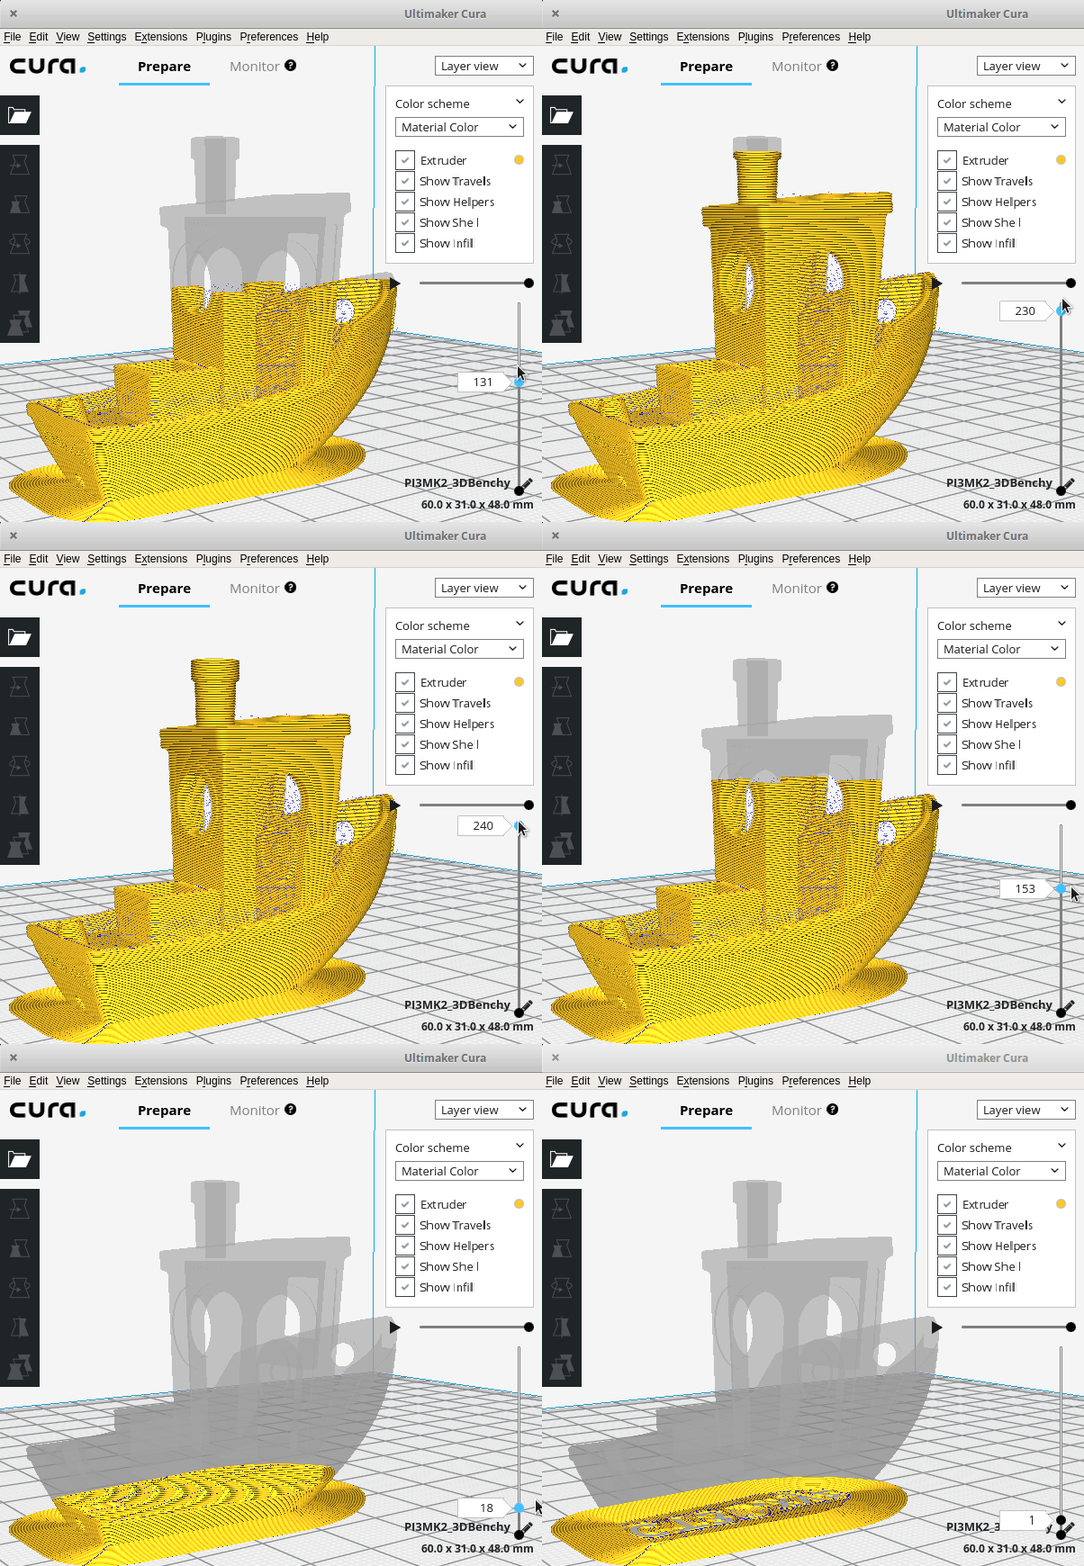 This will spare you a lot of filament before testing the same lithophane over & over again.
In our filament store we also provide the sweet spot per filament in the additional information section. All the filaments in our store are known the work great with lithophanes.
Filament recommendations
Print speed
The best lithophanes are made by printing them slowly. In general the slower the better the result will be. Therefore it is a CONSIDERATION between time and quality. We like to print at 45 mm/s but this is already pretty fast for lithophanes, however, we get good results without losing too much detail. We would advise printing at 30 mm/s to get the best results.
Layer height
One of the most important parameters in determining the quality of your final lithophane is the layer height. The coarsest you can go without the lithophane looking too bad will be roughly 0.2 mm layer height, but for more detailed lithophanes, as with the print speed, the lower you go the better it will be for the quality of the lithophane.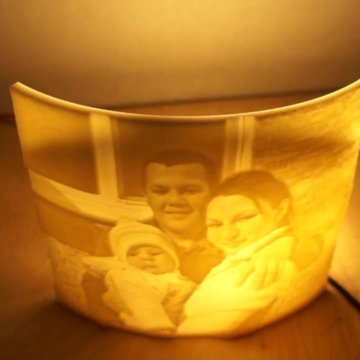 We use a layer height of 0.12 mm, which is a sweet spot for us between the quality and the time it takes to print a lithophane. You might think that 0.12 mm is an odd number, why not pick 0.1? That is because our machine (Creality Ender 3, see our store) has increments of 0.04 mm for the z-axis (up/down), which could be different for every 3D printer. As you may already have noticed 0.04 mm fits perfectly in 0.12 without having to round, therefore layer heights being intervals of 0.04 work better than layer heights not being intervals.
If you print a flat plane or an arc lithophane, then the area of adhesion will be small. Especially while looking at the dimensions in the other directions. Therefore, it is generally good practise to help the lithophane adhere better to the print bed by using a brim. A brim will also help in making the lithophane more stable! A raft is generally a worse option because it can be really really hard to peel of a raft from the underside of a lithophane.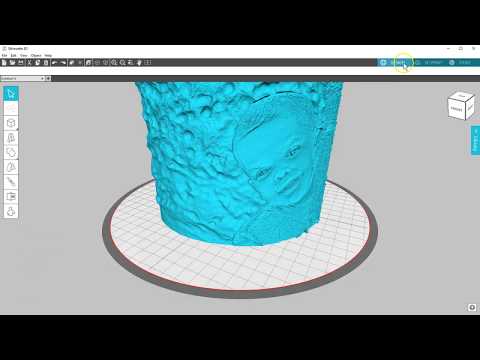
Supports
Normally you don’t want to use supports with a lithophane as it can automatically place supports in the lithophane which will screw up the lithophane. But for some lithophane shapes supports are needed, such as for the circular, Christmas star, and heart shapes. So how to make sure it only places support at the right places?
We will explain the settings for Cura as we do not use PrucaSlicer or Simply3D. However, these slicers should have similar settings. It often is just trying to find what works for you.
In Cura, you should first enable the supports. Make sure the support placement is on the “touching build plate”. This will, in part, make sure that no supports are being generated inside the lithophane. One of the most important settings to get right next is the “support overhang angle”. This setting determines what angle supports should be placed. Usually, 3D printers can print overhang angles of over 60 degrees. We use this set of 60 degrees to make sure the lithophane is supported and the overhangs can be properly printed.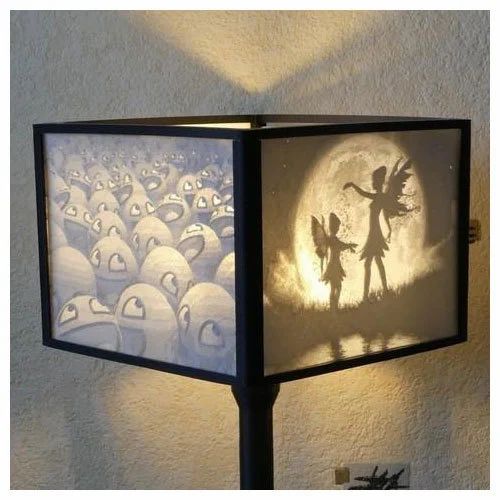 The next setting is the support pattern. Generally, all patterns work except for the line and cross pattern. We would advise going for “concentric” as this places a single perimeter that is easy to remove and provides the structural strength to make sure the lithophane is stable.
The last important setting is to disable “use towers”, this will make sure that Cura will not try to print support towers somewhere inside the lithophane.
Best Slicer Settings for Lithophanes
Printing tips
ItsLitho automatically rotates your print to be along the y-axis of your print bed. Furthermore, ItsLitho automatically makes sure that your lithophane is standing up (vertical). This is no coincidence! These rotations and positioning will yield the best quality of your lithophane. But why you may ask.
Print Standing up
You should always print your lithophanes standing up (vertical). The reason is that your printer has a much higher resolution in the x,y-plane (so the horizontal) compared to the z-axis, which will have increments of your specified layer height.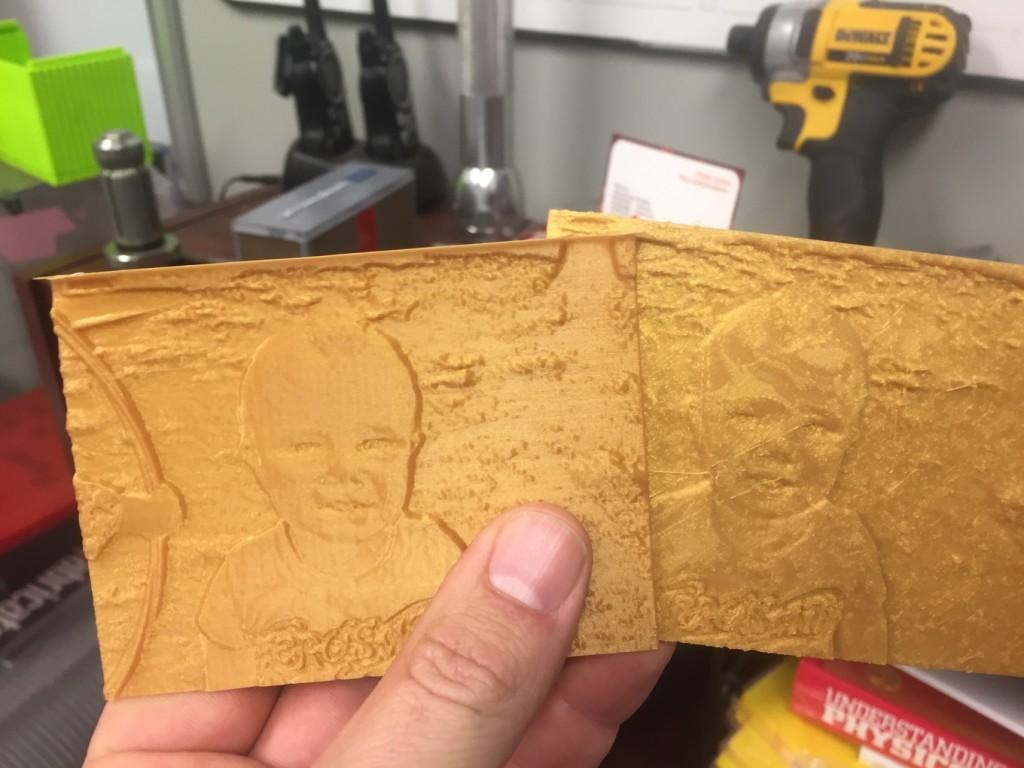 Therefore, you’ll be able to see contours if you print the lithophane flat on the bed. These will appear as a loss of detail.
Print along the y-axis
Secondly you should print your lithophanes along the y-axis, as you can see in the images. The reason for this is not to impove the quality of your lithophane, instead it is used for stability reasons! On most printers the bed will move over the y-axis. Printing the lithophane orientated over the x-axis will make the lithophane wobble a bit. For small lithophanes this is usually not a problem. However, if you print a large lithophane, it might make your lithophane unstable and fall over, which would be a waste. The lithophane has much more stability in movements over the y direction if the lithophane is printed along the y-axis!
Circulair Lithophane Tips
Printing tips for circular lithophane. You might be tempted to print the circular lithophane flat because standing up vertically will be more challenging to print it without the lithophane falling over or fail in another way.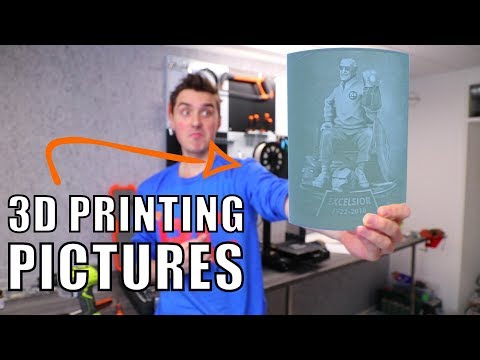 However, you will lose a lot of detail if you print it flat! There is a way to print it vertical without failing by using supports, please read the section about supports below!
With these settings, you should be ready to print a circular lithophane vertically and prevent it from falling over.
Heart Lithophane Tips
The valentine heart lithophane shapes also requires some additional settings in the slicers to print it well. The first and most important printing tip is to print the heart upside down! If no hook attribute is selected, then it will not need any supports if printed upside down!
However, if you did enable the hook attribute then the heart does need supports. The support settings which can be used are described below in the section supports.
Create your Lithophane now with ItsLitho
Create your Lithophane
You might also like
Litofan - Problems and Solutions
Of all the flying bears, the best aerodynamics is . .. aircraft TU-95, "Bear" according to NATO classification.
And who, if not a graduate of the Aviation University, could embody it in plastic?
Over the past year I have created and printed many different models, but the last lithophane failed 6 months ago.
And that is why its creation became a certain challenge for me.
Under the cut there will be a struggle with iron (plywood), the laws of physics and God's providence.
What is lithophane?
Classical lithophane is a three-dimensional image on thin translucent porcelain,
which can only be seen if illuminated from behind by a bright light source (for example, the sun or an ordinary light bulb).
This will display the image in gray tones.
The same can be done with a 3-D printer in plastic.
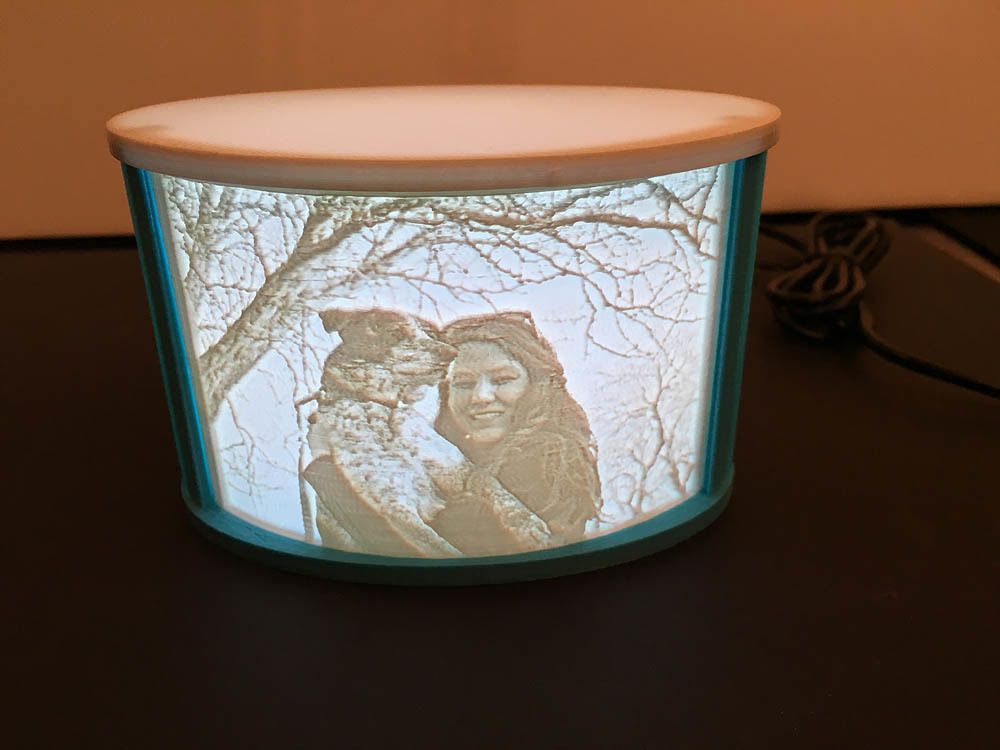
Beautiful lampshades for night lamps.
My first approach to the "projectile" was 2 months after the assembly of the "Pinocchio" (Pryusha's plywood clone).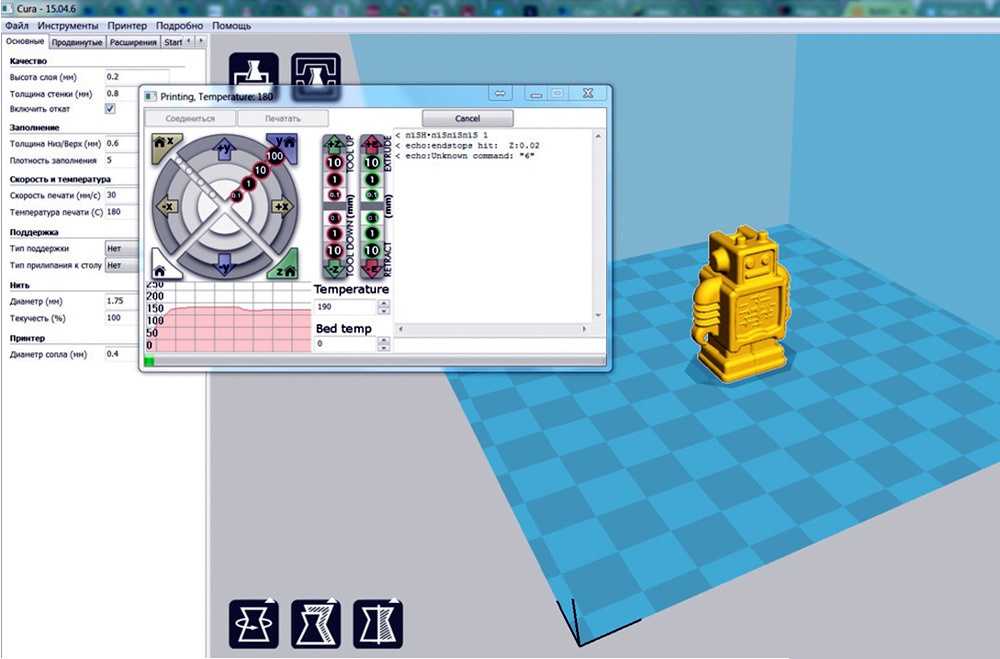
I've already stopped considering myself a noob in 3D printing, and then March 8 is just around the corner.
Having unsuccessfully spent a good hundred meters of filament (white coPET), I gave up this idea and printed shoes-stand for a smartphone ;-)
I must say that I then printed with a 0.4mm nozzle and a 0.3mm layer (printing with a 0.2mm layer was a pain in the ass).
So drawn Lithophane printing main problems:
1. A contrast image should be taken as a basis.
2. Plastic opacity.
3. Limited resolution of FDM printers.
The idea could have sunk into oblivion if it weren't for the "Teach Bears to Fly" contest.
And given that by this time I had already printed with a 0.3mm nozzle and a 0.2mm layer without any problems, I ventured to try again.
Now the 0.15mm layer has become an insurmountable barrier, and I decided to overcome the above printing problems and take a new thickness bar.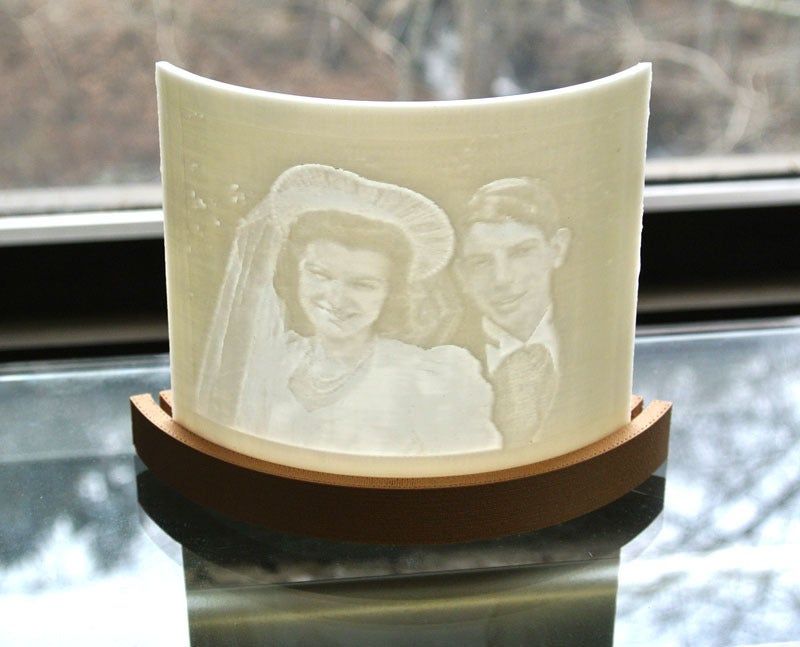
As you can see from the title photo, everything worked out!
First of all, I will note that the reason for the previous failures was largely the following of Internet recommendations, so remember - you can not trust anyone.
I can do it ;-)
So, the first problem is that we need a contrasting picture.
Why is finding such an image such a task?
And you try to google "photo TU-95" - all silver planes against the background of clouds.
This is what caused my first fail with the following photo:
I almost despaired when I found a drawing of TU-95 - it was exactly what I needed:
An online resource was used to create models Settings move the slider to position Poisitive Image:
On the Settings - Model Settings tab, set the image size, print layer thickness and image thickness:
In fact, the image thickness divided by the layer thickness gives the number of grayscales in our black and white picture.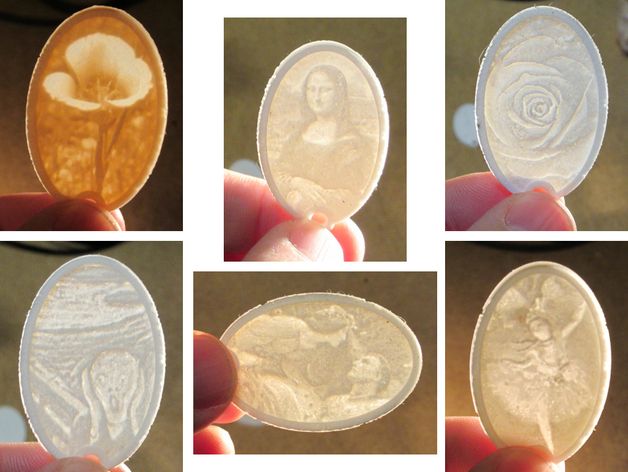
But don't go for too many shades of gray - white plastic doesn't mean transparent!
This caused failure number two, and also that I turned off retract when printing, according to Internet recommendations.
In the screenshot above, the parameters are already correct!
Next, on the Model tab, you can select the shape of the printed model and download the finished STL file:
Now about the limitations of the hardware (the third problem) - it costs to print with a minimum nozzle diameter at a minimum layer thickness.
Previously, I could not print with a 0.3mm nozzle with a layer thinner than 0.2mm.
The problem was in the table level setting.
It's not enough to do it on a heated table - the extruder must be hot too!
And voila - the 0.15mm layer is taken!
And taking into account that God loves the Trinity, everything worked out just on the third attempt!
Don't listen to anyone about the extremely low print speed either - print at your usual speed for small objects.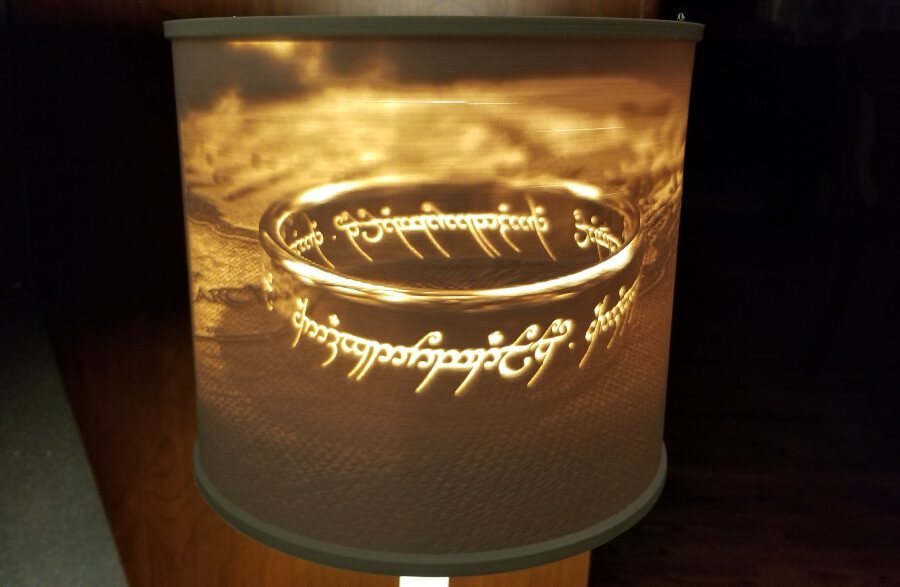
I deliberately did not touch on other options for creating a model and forms except for a flat one - half a year ago, according to the recommendations, a lot of them were tried - everything is not right, so we leave the default modes and print a flat model!
Now all that's left is to place the picture on a lacquered wooden stand and make LED lighting, but that's another story...
print your photos in 3D! - qbed
| Detailed instructions for 3D printing of lithophanes |
|---|
3D printed lithophane from kraftly.com
Modern 3D printers allow you to create many original and unique things, and one of them is 3D photo-lithophanes, which are gaining more and more popularity as a customized gift for loved ones or just an original product for sale. Let's take a look at what linophane is and how to print it.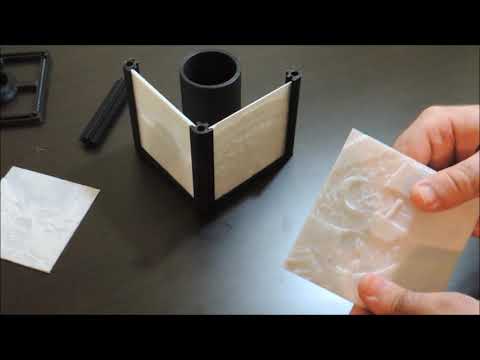
Article content:
What is lithophane?
Design Lithophan
Select photo
Convert photo to 3D model
Create and print 3D model of Lithophan in Photoshop
How to slice Lithophan?
Seal of lithophane
What is lithophane?
Classic lithophane is a three-dimensional image on thin translucent porcelain that can only be seen when illuminated from behind by a bright light source (such as the sun or a light bulb). The image will appear in gray tones. Traditionally, lithophanes were created in several stages: first, the image was cut out of wax, then, based on the wax model, a mold was created from plaster, into which porcelain was cast, after which the image was fired.
German lithophane of the 19th century, on the left - without illumination, on the right - with illumination. Photo — Diego Verger
The first lithophanes appeared almost simultaneously in several cities of Europe - France, Germany, Prussia and England - at the end of 1820s and their three-dimensionality was strikingly different from the two-dimensional engravings popular at that time and daguerreotypes .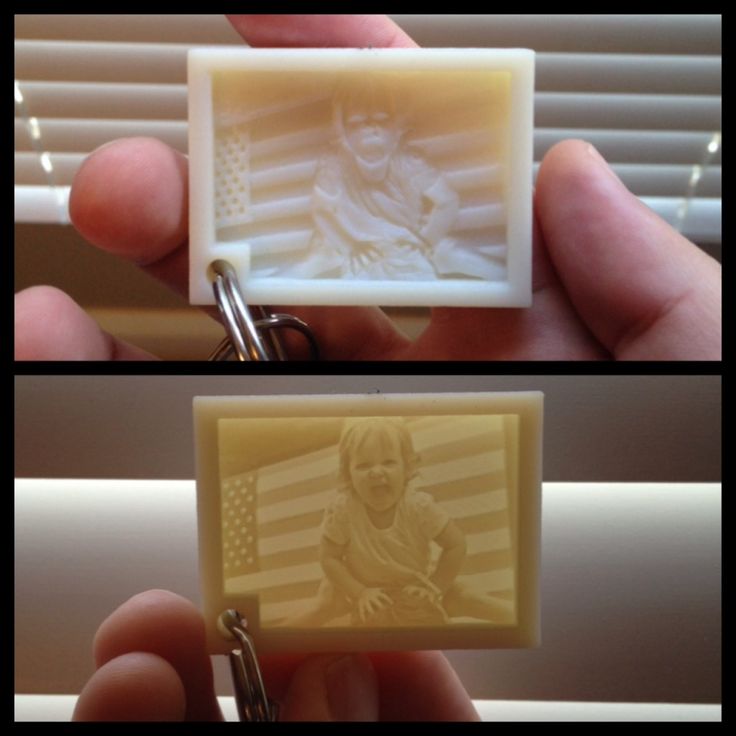 The fact is that the quality and quantity of light interacting with lithophane significantly changes the characteristics of the image itself - such dynamism arouses great interest in the viewer. For example, lithophane inserts in windows change their appearance throughout the day depending on the quality and intensity of the sun's rays.
Modern 3D printers allow you to print lithophane from any high contrast photo. How? Varying the thickness of different sections of the 3D model to render different shades of gray when the lithophane is backlit: thin sections let in more light and look brighter, while dense parts of the print let in little light and create dark details in the image. Don't panic, you don't have to manually calculate the thickness of various sections of the digital model - there are many programs that create 3D models for lithophanes automatically and for free! Let's get down to business!
Back to Contents
Designing the Litophane
First we need to create a digital model of the lithophane.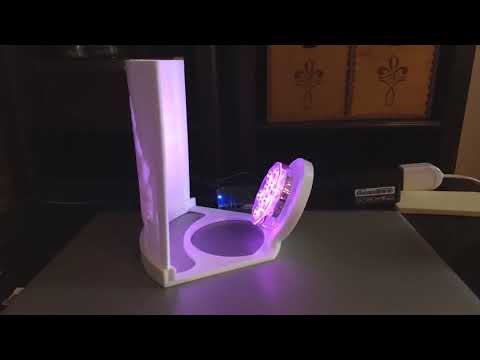
Choosing a photo
The first step to a great printout is choosing a suitable photo , because not all images will look good in the form of a lithophane.
-
Firstly, the finished lithophane will be displayed in grayscale, so images where color plays an important role or where there is a lot of color detail will not work. You can try to convert the photo to b / w in Photoshop or any other program to make sure that you like the picture even if there are no colors.
-
Secondly, it is better to give preference to contrasting photos - so the printed linofan will look more interesting (unlike the image, where adjacent details will merge due to lack of contrast). Again, you can add contrast to the selected photo in Photoshop or any other program.
An example of a low-contrast image, not quite suitable for lithophane printing.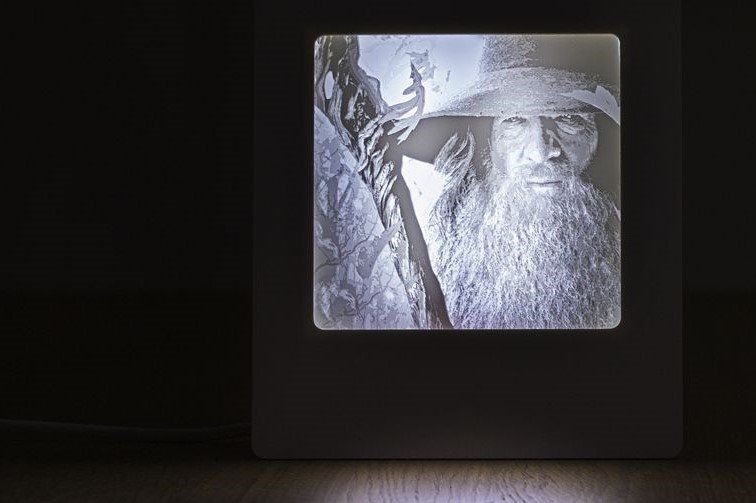 Photo — Christina Ryumina
-
Thirdly, avoid photos consisting only of small details , it can be difficult for the printer to print them. For lithophanes, images with large contrasting details, such as portraits, are more suitable. Images with a single-color background without details are also good, for example, portraits against a backdrop or against a clear sky. You can clean up the background or create a color fill instead of an existing background in Photoshop or any other program.
Contrast photo on a plain background is ideal for printing lithophane. You can further clean up the background and add photo contrast in any post-processing program. Photo — Christina Ryumina
An example photo with lots of detail is not the best choice for creating a lithophane.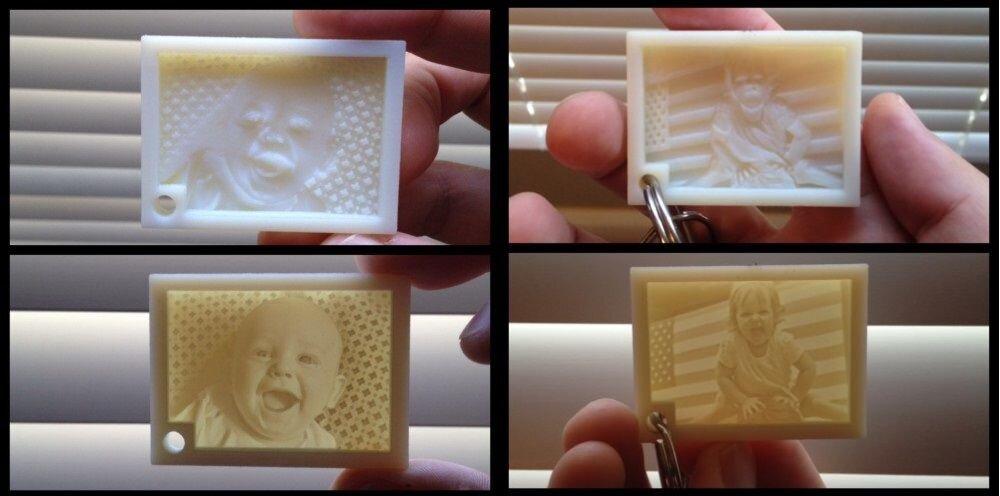 Photo — Christina Ryumina
Of course, you don't have to follow these tips. If you print on a high-quality printer with high resolution, then you can handle any details! For example, SLA printers allow you to print smaller details than their FDM counterparts (read more about 3D printing methods here), so a photo for printing on an SLA printer may contain small elements.
Convert photo to 3D model
0003
-
You can convert photo with free online Image to Litophane converter.
-
Models for lithophanes can be created in Photoshop CC by downloading a special Operation (Action) from the official website (detailed instructions read below), or in Blender: these programs have more options to edit the model. It is worth considering that a subscription to Photoshop CC is paid.
-
Cura software (version 13.11 and higher) from Ultimaker will also work.
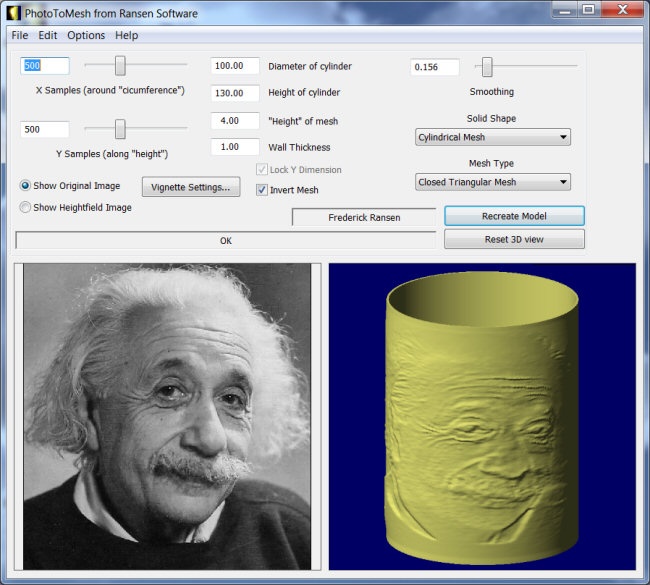 The program is easy to use and allows you to smooth the model, but it does not have the ability to edit the image and create a frame around it.
-
Customizable Lithopane from printer manufacturer MakerBot on Thingeverse can be used. Here you can add a hole in the frame of the lithophane so you can hang your masterpiece, but in this application your photo resolution will be compressed to 100x100 pixels. Another disadvantage: the application can be quite slow, because the Thingeverse website Customizer creates a model and STL file instead of your computer.
-
There is also a free 2D to STL converter for Windows. There are options for smoothing the model, but no way to edit the image.
-
You can create a model for lithophane in a paid Photo to Stereolithographic file converter. This program allows you to create lithophanes on spheres, cubes and other shapes, but the interface here is not the most understandable.
-
There is a nice free Portuguese converter where the language can be changed to English after installation by going to the Iniciar menu, then Idioma and finally selecting English.
 Here is a link to download the program. In this converter, you can create a frame for the image, edit it before creating a 3D model, and also enlarge / reduce the image. The converter generates models quite quickly, so you can experiment with 3D model settings until you are completely satisfied with the result.
The list of programs, of course, is not exhaustive. You can use any converters of 2D files to 3D models that support export to STL. In this article, we will be using Photoshop CC to create a 3D model from a photo.
Create and print a 3D model of Lithophane in Photoshop
Attention! The operation only works if the interface language in your Photoshop CC is English. You can change the language by going to menu Photoshop CC → Preferences → Interface.
To add an action in Photoshop, go to the program, go to the top menu in Window → Actions or click the Play icon in the side menu (see screenshot below).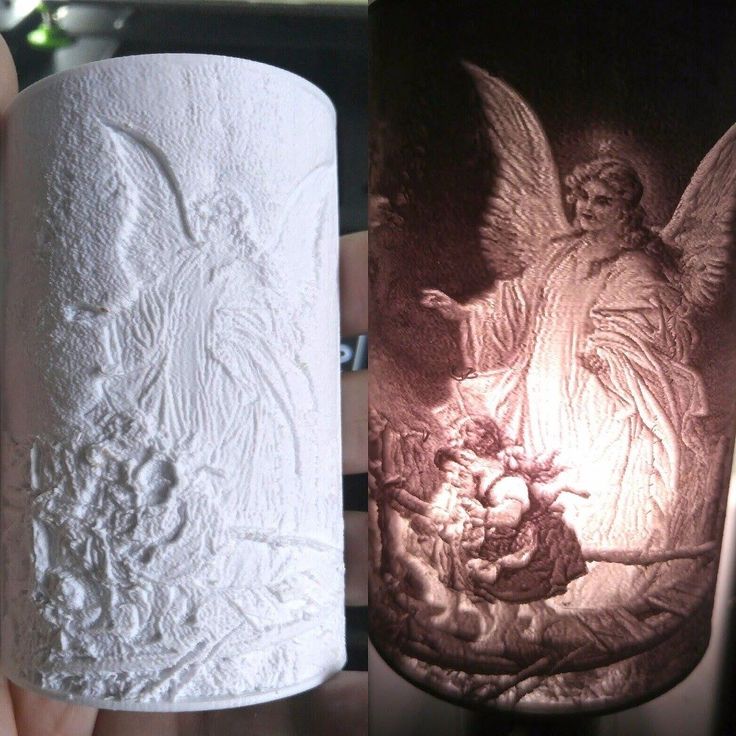
Going into the Actions panel in Photoshop
Opening the operations panel, click on the menu icon (see screenshot below) and select the command "Load Actions..." . We go to the location where your downloaded Lithophane folder and the operation "Make Lithophane.atn" are located and select it. The operation is now available in your Photoshop.
Loading the operation "Make Lithophane.atn"
Operation "Make Lithophane.atn" is ready to go
Open the image you are about to print. You can convert it to black and white, add contrast and make any changes, then print the visible layers into one by pressing Ctrl + Shift + Alt + E (English), or simply merge the layers through the menu Layers (in any case , you will be prompted to merge layers when starting the operation).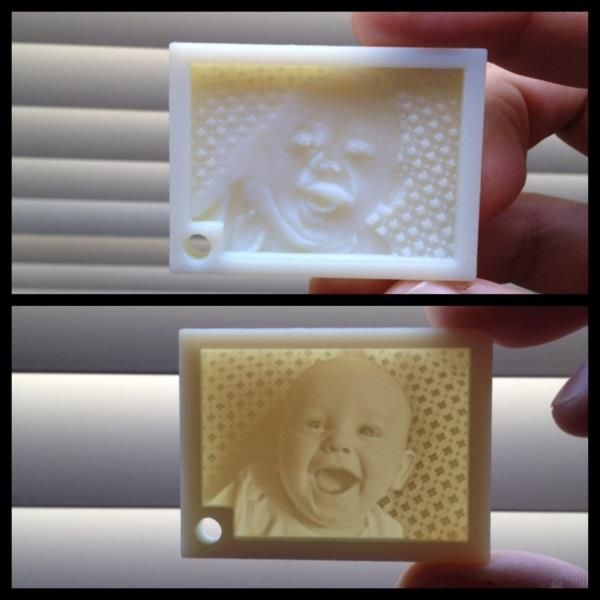 In the layers panel (marked in blue in the screenshot below), select the layer with the final version of your image and name it Background (or select the Background itself directly if you haven't changed anything). Then open the "Make Lithophane" operation folder, select "Make 100mm x 6.25mm Lithophane" (marked in red in the screenshot), press Play (marked in green in the screenshot). The operation automatically converts the 2D image into a 3D printable object: Photoshop converts the image to Grayscale, inverts the tones, creates a 3D depth map, as well as a frame and a flat surface on the back of the image.
Starting the operation of creating a digital model of lithophane
Litophane in Photoshop CC
To print a 3D object, click on the top menu 3D → 3D Print (marked in red in the screenshot below) or click on the print icon (marked in pink). Next, you will see the 3D printing settings panel (see screenshot below). Select a printer (or specify Printer: STL File if you want to export the model as STL), set Printer Units , Detail Level . Determine the size of the model by setting the X / Y / Z values. Option Scale to Print Volume will create the largest printout that will fit in your printer's camera.
Click on the icon marked in green in the screenshot below to have Photoshop prepare your model for printing. Photoshop will analyze the object and show you a print preview with supports in a new window (supports are turned on and off by ticking Scaffolding ). From the same window, we can print or export the model.
Preparing the model for printing/export
Print/Export Model
Do not forget that the size and thickness of the lithophane, as well as the amount of detail in the photo and model, affect the printing time.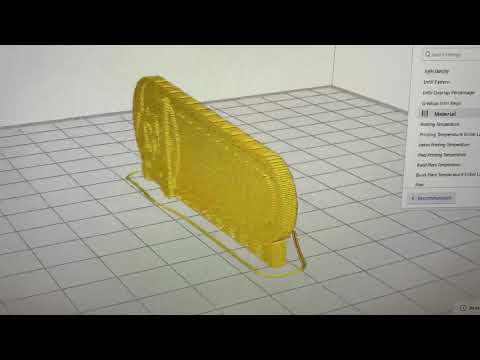 Depending on these settings, it may take 30 minutes or 5 hours to print.
How to slice lithophane?
The slicer will help convert our model into a printer-friendly G-code (read the details here). To open a 3D model in a slicer, you need to export it as a STL file. To do this, in the Photoshop 3D printing settings panel, select Printer: STL File , export the model as described above, and open it in your slicer to set up the location of the model on the platform and set other parameters. You can also export photos to STL from any of the other converters mentioned above and then open the file in a slicer.
To achieve optimal printing results, it is recommended to slice lithophanes as follows:
-
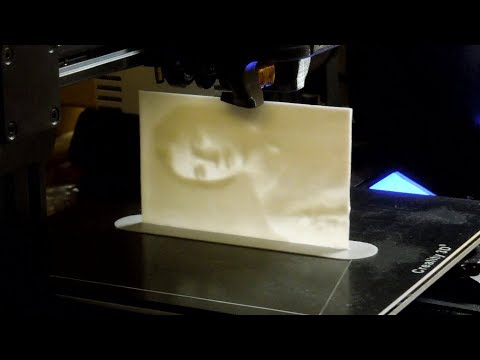
Set straight infill to 100% at an angle of 30-35°. 100% infill will provide the best quality lithophane, as there will be no honeycomb inside the layers, which will spoil the tones in the printout.
-
Set the minimum layer height that your printer supports. This way you will ensure high resolution details and the maximum number of shades of gray in your lithophane.
-
Print as slowly as possible. Speaking of FDM, slow printing will help you avoid retraction problems, because most of the print is created with little extrusion, which can provoke a huge amount of retraction. To prevent your printer from smearing your printouts with unwanted material smudges and your extruder from clogging due to fast retractions, it is best to print as slowly as possible.
-
Select the optimal lithophane slicing parameters available in your slicer. Different slicers provide different options. Choose the slicer you like, however, be aware that some slicers take longer to layer the model than others, for example, Cura usually slices faster than Slic3r. Experiment!
-
Do not scale the model in the slicer.
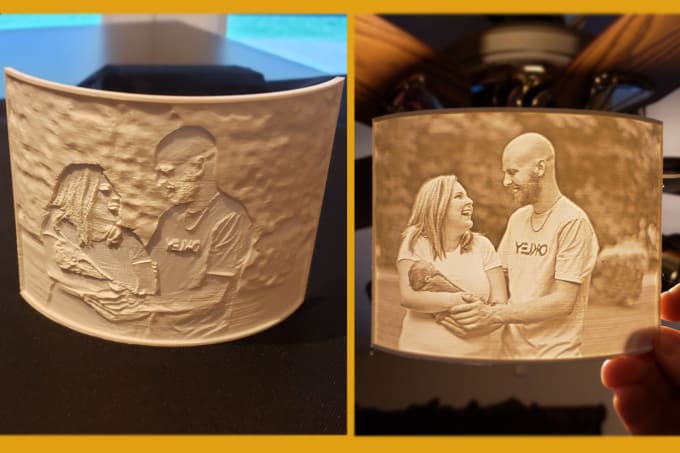 The model should be scaled in Photoshop or other converters mentioned so as not to lose resolution when printing.
Litophane Printing
Now it's to load our STL file into the printer via USB or SD card (or whatever methods are available on your printer). The faster the connection, the better, since lithophanes can contain a lot of detail, and some types of connection may not be fast enough to send the entire G-code to the printer, and the printer will begin to slow down and smear material on the printout.
Make sure your printer platform is in good condition to avoid warping your printout. Be sure to check the printer calibration and set the correct print temperature to match the melting temperature of the selected material.
It is best to use white material for printing, as colored materials will not give the same strong lithophane effect. Printing lithophane is best with ABS or HIPS, avoiding PLA : If you are going to put lithophane on a window, then PLA can melt in the sun.