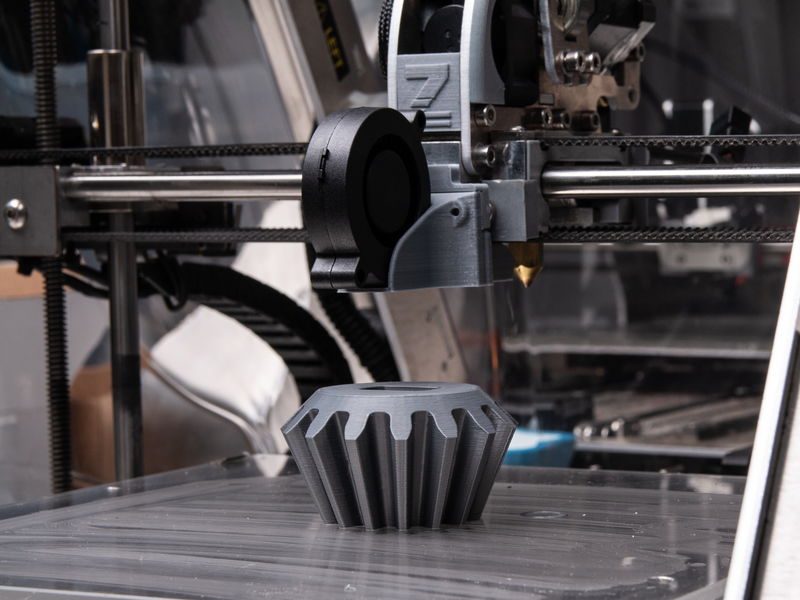
High temperature 3d printing filament
High temperature filament | Ensinger
-
TECAFIL PEEK VX natural 1,75 mm - 500g
TECAFIL PEEK VX natural 1,75 mm - 500g
- Normaler Preis
- €275,00
- Sonderpreis
- €275,00
- Normaler Preis
-
- Einzelpreis
- /pro
Angebot Ausverkauft
-
TECAFIL PEEK EV natural 1,75 mm - 500g
TECAFIL PEEK EV natural 1,75 mm - 500g
- Normaler Preis
- €275,00
- Sonderpreis
- €275,00
- Normaler Preis
-
- Einzelpreis
- /pro
Angebot Ausverkauft
-
TECAFIL PEEK VX CF30 black 1,75 mm - 500g
TECAFIL PEEK VX CF30 black 1,75 mm - 500g
- Normaler Preis
- €293,00
- Sonderpreis
- €293,00
- Normaler Preis
-
- Einzelpreis
- /pro
Angebot Ausverkauft
-
TECAFIL PEEK EV CF30 black 1,75 mm - 500g
TECAFIL PEEK EV CF30 black 1,75 mm - 500g
- Normaler Preis
- €293,00
- Sonderpreis
- €293,00
- Normaler Preis
-
- Einzelpreis
- /pro
Angebot Ausverkauft
-
TECAFIL PEEK LDS black 1,75 mm - 500g
TECAFIL PEEK LDS black 1,75 mm - 500g
- Normaler Preis
- €293,00
- Sonderpreis
- €293,00
- Normaler Preis
-
- Einzelpreis
- /pro
Angebot Ausverkauft
-
TECAFIL PEEK VX blue 1,75 mm - 500g
TECAFIL PEEK VX blue 1,75 mm - 500g
- Normaler Preis
- €288,00
- Sonderpreis
- €288,00
- Normaler Preis
-
- Einzelpreis
- /pro
Angebot Ausverkauft
-
TECAFIL PEEK VX black 1,75 mm - 500g
TECAFIL PEEK VX black 1,75 mm - 500g
- Normaler Preis
- €293,00
- Sonderpreis
- €293,00
- Normaler Preis
-
- Einzelpreis
- /pro
Angebot Ausverkauft
-
TECAFIL PEKK natural 1,75 mm - 500g
TECAFIL PEKK natural 1,75 mm - 500g
- Normaler Preis
- €283,00
- Sonderpreis
- €283,00
- Normaler Preis
-
- Einzelpreis
- /pro
Angebot Ausverkauft
-
TECAFIL PEI 9085 natural 1,75 mm - 500g
TECAFIL PEI 9085 natural 1,75 mm - 500g
- Normaler Preis
- €150,00
- Sonderpreis
- €150,00
- Normaler Preis
-
- Einzelpreis
- /pro
Angebot Ausverkauft
-
TECAFIL PPSU natural 1,75 mm - 500g
TECAFIL PPSU natural 1,75 mm - 500g
- Normaler Preis
- €188,00
- Sonderpreis
- €188,00
- Normaler Preis
-
- Einzelpreis
- /pro
Angebot Ausverkauft
-
TECAFIL PSU natural 1,75 mm - 500g
TECAFIL PSU natural 1,75 mm - 500g
- Normaler Preis
- €120,00
- Sonderpreis
- €120,00
- Normaler Preis
-
- Einzelpreis
- /pro
Angebot Ausverkauft
-
TECAFIL PES natural 1,75 mm - 500g
TECAFIL PES natural 1,75 mm - 500g
- Normaler Preis
- €150,00
- Sonderpreis
- €150,00
- Normaler Preis
-
- Einzelpreis
- /pro
Angebot Ausverkauft
-
TECAFIL PVDF natural 1,75 mm - 500g
TECAFIL PVDF natural 1,75 mm - 500g
- Normaler Preis
- €145,00
- Sonderpreis
- €145,00
- Normaler Preis
-
- Einzelpreis
- /pro
Angebot Ausverkauft
-
TECAFIL PPSU MT blue 1,75 mm - 500g
TECAFIL PPSU MT blue 1,75 mm - 500g
- Normaler Preis
- €225,00
- Sonderpreis
- €225,00
- Normaler Preis
-
- Einzelpreis
- /pro
Angebot Ausverkauft
-
TECAFIL PPSU MT XRO blue 1,75 mm - 500g
TECAFIL PPSU MT XRO blue 1,75 mm - 500g
- Normaler Preis
- €293,00
- Sonderpreis
- €293,00
- Normaler Preis
-
- Einzelpreis
- /pro
Angebot Ausverkauft
Nutzen Sie die linken/rechten Pfeile, um durch die Slideshow zu navigieren, oder wischen Sie nach links bzw. rechts, wenn Sie ein mobiles Gerät verwenden
3D Printing with High-Temperature Filaments
3D Insider is ad supported and earns money from clicks, commissions from sales, and other ways.
One of the reasons why 3D printing with Fused Deposition Modeling (FDM) technology has become so popular so quickly is the fact that printing with filaments is easy. They are accessible, easy to handle, and generally lend themselves to a simple 3D printing process, even for beginners.
However, not all 3D printing filaments are equally easy to work with. Filaments that print at high temperatures are a bit more complex and are usually reserved for projects that require high-performance characteristics. In this article, we give you some examples of high-temperature filaments, the benefits and drawbacks of printing at high temperatures, and several tips for success.
What are high-temperature filaments?
To put it briefly, high-temperature filaments are 3D printing filaments that require high printing temperatures. While there isn’t a universally agreed threshold for a printing temperature to be considered “high,” we can include any filament that prints satisfactorily above 220 °C under this category.
High-temperature filaments are valued because they typically result in prints with better chemical and mechanical properties. These prints are stronger, have better impact resistance, and are stable when in contact with chemicals. They also do not deform as easily when exposed to high temperatures – a natural advantage of being made of high-temperature material.
However, high-temperature filaments are also known to be some of the toughest to work with. To start, some desktop 3D printers may not be able to reach the printing temperatures needed by these filaments. A heated bed will also be necessary, as will a bed enclosure. Bed adhesion is a persistently difficult matter with high-temperature filaments. All things considered, you’ll need to have considerable experience before you can get good results when printing at high temperatures.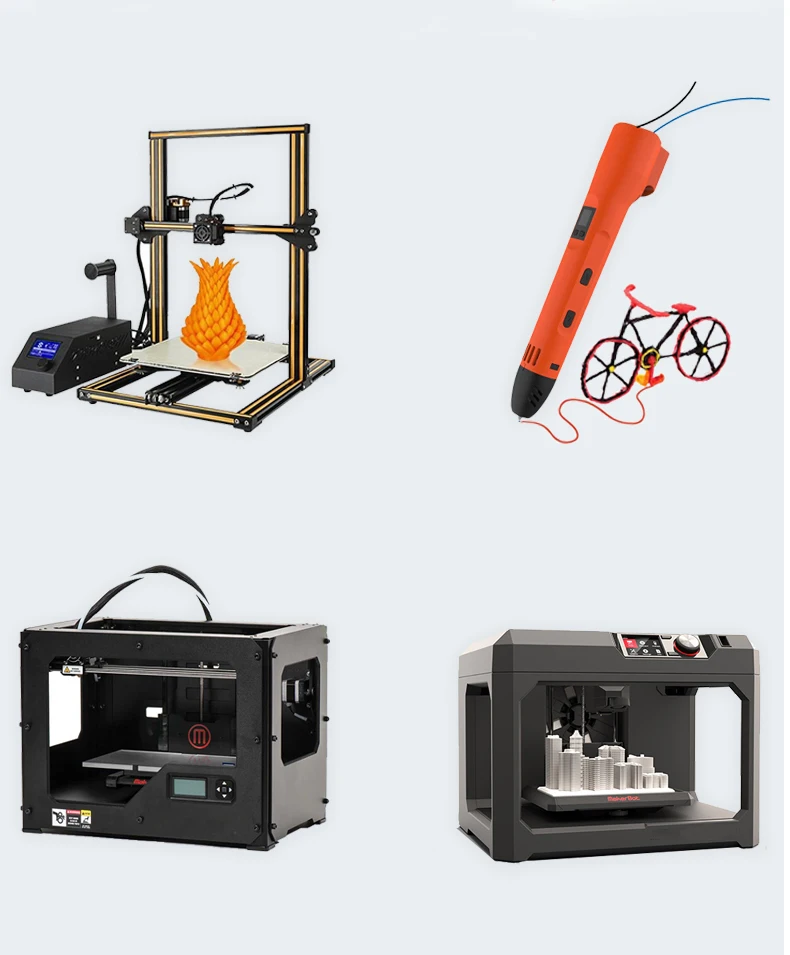
Examples of high-temperature filaments
ABS
Acetonitrile Butadiene Styrene (ABS) is the most common example of a high-temperature filament and also one of the most infamous. The printing temperature of ABS lies somewhere in the range of 210 to 240 °C, the most optimal value of which depends on the specific brand.
ABS, along with PLA, is one of the two most popular filament materials used in 3D printing. It’s cheap and available practically anywhere. Prints made with ABS are very strong, chemically stable, and have excellent heat stability.
Post-processing is a unique strength of ABS because of its solubility with acetone. The acetone vapor bath technique is one of the best-known methods for achieving a consistently smooth finish with ABS prints.
However, ABS is also known to be a material that’s highly prone to warping and has poor bed adhesion. It also releases toxic fumes when heated, making printing with ABS a hazardous activity if done in a room with poor ventilation.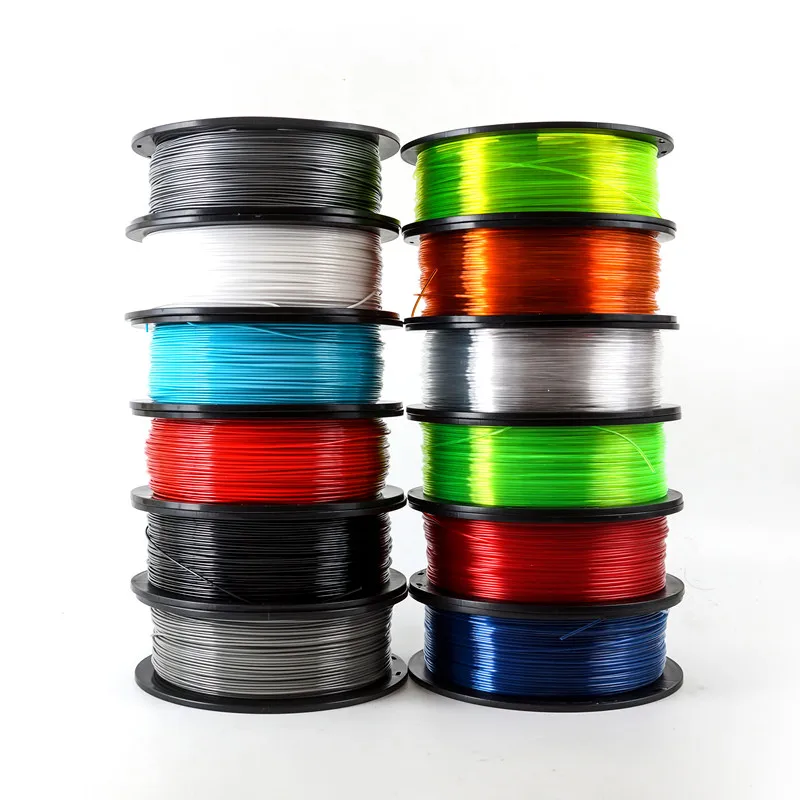
Nylon
Nylon is deemed to be one of the most commercially valuable synthetic polymers because of its unique combination of strength and lightness. It can also be fashioned into various shapes because of its thermoplastic characteristic and can be customized through the addition of copolymers. Nylon is so strong that it has been used for parachutes and military equipment but can also be found in the fabric of common clothes.
Nylon prints at very high temperatures – somewhere in the range of 260 to 280 °C. As such, not all desktop-scale 3D printers are equipped to work with nylon. At this temperature, the usual PTFE idler used in standard extruder assemblies will quickly degrade. Thus, upgrading to an all-metal nozzle would be necessary.
As with other high-temperature filaments, nylon is highly prone to warping. It’s also an extremely hygroscopic material, even compared to other filaments used in 3D printing. This means that it absorbs moisture from the environment very quickly, which can be problematic during the printing process.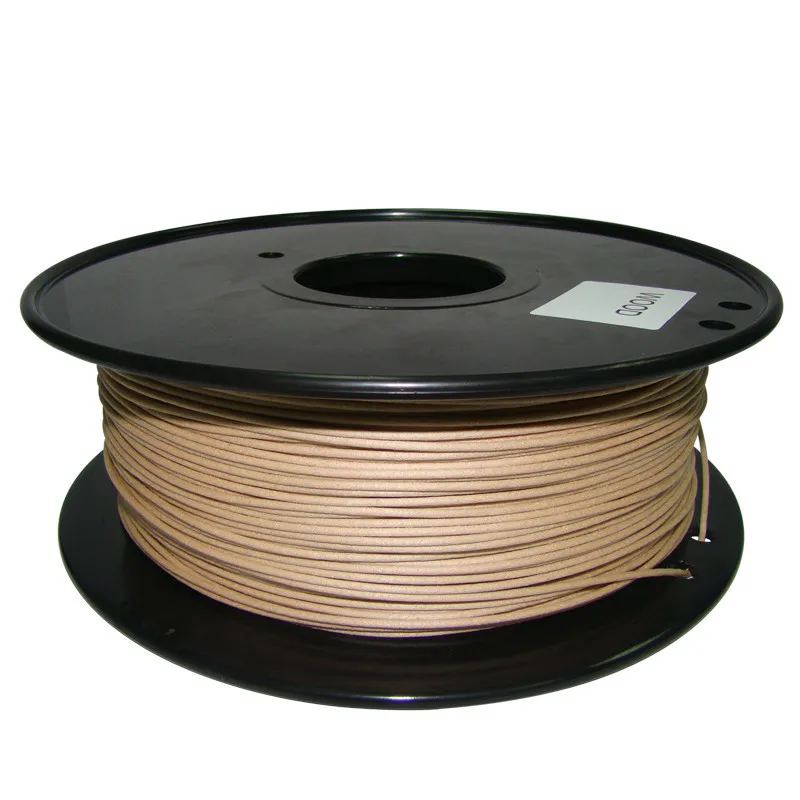 If you’re planning on printing with nylon, you may have to invest in a dedicated filament dryer.
The same tendency to warping also means that nylon prints have poor dimensional accuracy. This doesn’t lend well to designs with highly intricate details. Distortion can be controlled through the use of a bed enclosure, but this cannot ensure that the issue will be entirely avoided.
Despite the challenges, nylon remains a fairly popular 3D printing filament material because of its unparalleled toughness. With an extremely high printing temperature, nylon emphasizes many of the usual issues encountered when printing at similar temperatures.
Amphora
Amphora is probably the only custom polymer that has gained mainstream use in the casual 3D printing market. Developed by the Eastman Chemical Company in 2013, the goal of Amphora is to provide a 3D printing material that combines flexibility, impact resistance, and heat stability.
To put it succinctly, Amphora boasts of having the flexibility of TPU while having the heat stability and impact resistance of ABS. However, it does not pose the challenges of fume production and warping. This means that Amphora has better dimensional stability and is safe for food contact.
The optimal printing temperature of Amphora is somewhere in the range of 240 to 260 °C. This puts it a higher temperature range than ABS and may require upgrading of some 3D printer components. As usual, you will need a heated glass print bed.
The advantage of Amphora is that it’s a lot more resistant to warping compared to other high-temperature filaments. Based on the experience of several 3D printing professionals, it’s possible to print with Amphora even with no bed enclosure and with some cooling. This would not have been conceivable with ABS or nylon.
A 1-kilogram spool of Amphora filament costs about $60 – not exceptionally expensive, but easily twice the cost of a similar weight of ABS filament. Given the benefits, however, Amphora offers incredible value for money.
HIPS
High-Impact Polystyrene (HIPS) isn’t commonly used for creating 3D prints.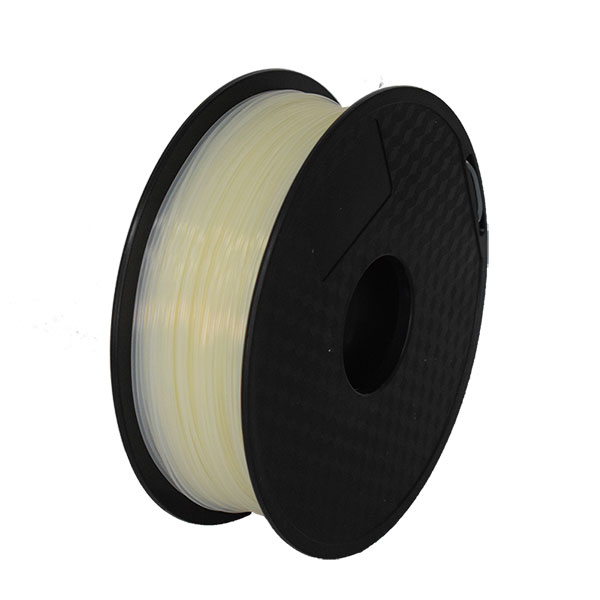 Instead, its common use case is a support material, typically for ABS. With an optimal printing temperature between 230 to 240 °C, ABS can be printed with ABS without needing to make temperature changes in the middle of the process.
Support materials are needed for designs that have exceptionally large or heavy overhanging features. The support structures prevent these features from collapsing before they can cool down enough to develop sufficient strength. At the end of the printing process, the support structures can then be removed.
What makes HIPS such an excellent support material is the fact that it can be dissolved in limonene, a fairly common solvent. To remove support structures made from HIPS, a finished print only needs to be soaked in limonene for up to 24 hours.
Since HIPS prints at high temperatures, it’s still vulnerable to the usual warping issues. This means that it will still require a heated bed with an adhesion treatment and has to be printed with no cooling.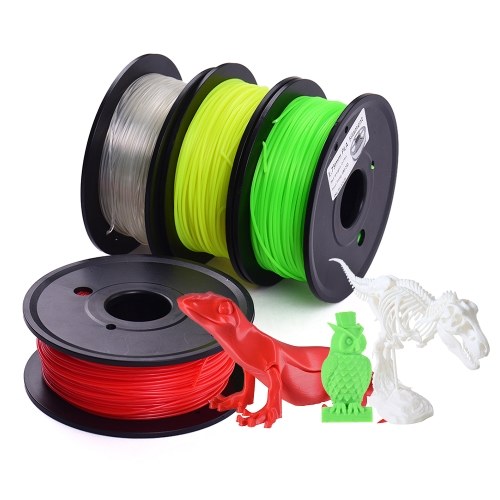 HIPS also releases styrene gas when heated, so it’s best to print with HIPS in a well-ventilated room. If you’re using HIPS as support for ABS, ventilation will be an absolute necessity.
On its own, HIPS is strong, flexible, and has good impact resistance. Although it’s still chiefly used as a support material, the use of HIPS as a standalone 3D printing filament is slowly gaining acceptance.
Polypropylene filament
Despite polypropylene (PP) being one of the most popular plastics, it is not widely used in 3D printing. For reasons we shall see later, PP is one of the most difficult filament materials to work with.
PP prints at 210 to 230 °C – a range similar to ABS and not an exceptionally high-temperature range. As you would expect, PP requires the usual measures to address warping and poor bed adhesion. These include the use of a heated bed, adhesion aids, and a bed enclosure.
However, PP has an unusual warping behavior on account of its semi-crystalline structure.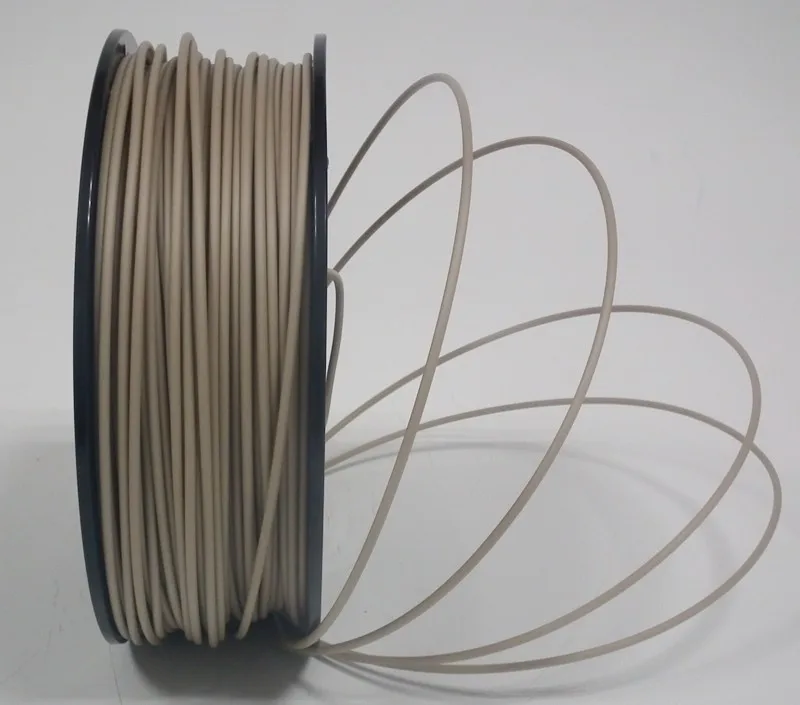 In contrast, other 3D printing materials like ABS are considered amorphous plastics. This means that PP tends to create semi-rigid crystals as it heats up instead of filling in the empty spaces. As a result, the warping of PP is a lot more difficult to control.
Another hurdle of PP is its low surface energy. This means that getting it to stick to the print bed is going to be very hard. When printing with PP, the selection of an appropriate and heat-stable adhesive is critical.
Despite the challenging nature of PP as a 3D printing material, many will agree that it’s also one of the most rewarding. PP is strong enough to withstand heavy and regular impact and has been regularly used for functional parts. It’s heat-stable enough to withstand sterilization by autoclaving and is chemically stable enough to be considered safe for food contact.
High-temperature PLA
Regular PLA is not known for its heat stability. In fact, it’s downright unsuitable for applications that require exposure to temperatures above 80 °C.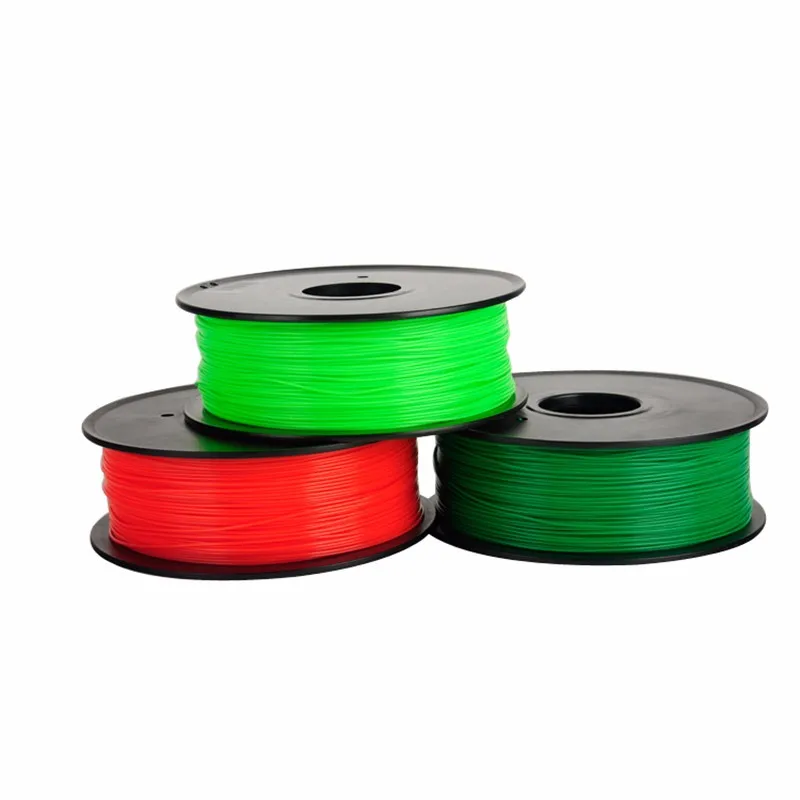 This is the most glaring performance gap of PLA, offsetting its many benefits.
To eliminate this drawback of PLA, some filament manufacturers have come up with a version of PLA that is more heat-stable. This is done through the addition of a nucleating agent which will act as the “starting point” for crystallization. This crystallization action provides thermal stability to this modified version of PLA.
The biggest advantage of high-temperature PLA is that it offers thermal stability without most of the other issues encountered with high-temperature PLA. It does not warp easily and does not present problems with bed adhesion. It’s even possible to print with high-temperature PLA without a heated bed or an enclosure.
The downside of printing with high-temperature PLA is that it requires an additional step – annealing. This step completes the crystallization process to allow the PLA to achieve its optimal physical properties. It only involves exposing the finished print to temperatures between 95 to 115 °C in an oven or a hot water bath, but it does add a significant length of time to the whole process.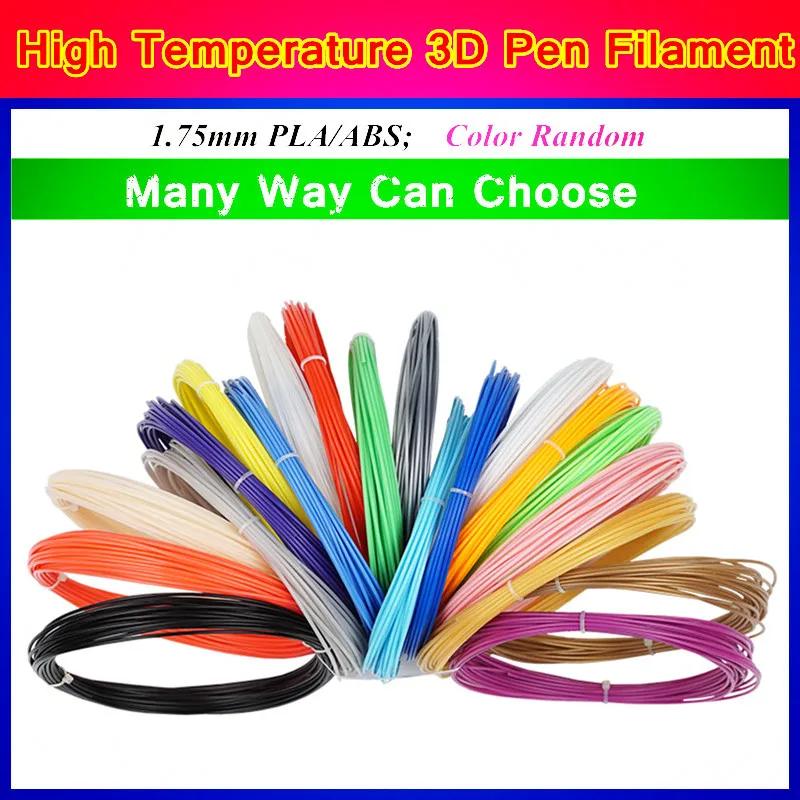
High-temperature PLA is very rare and there are only a handful of brands that offer it. It’s also quite expensive – around two to three times the cost of regular PLA.
Pros and cons of 3D printing at high temperatures
PROS:
Better heat stability
The very essence of printing with high-temperature filaments is to come up with prints that can withstand extreme temperatures without deteriorating or deforming. This is suitable for projects that are designed for food contact or for outdoor use. Functional parts that will be used for applications where they will withstand constant friction are also well-suited for high-temperature 3D printing.
Mechanically superior properties
In most cases, plastics that have higher melting temperatures are also mechanically superior. This is expressed either in terms of higher strength, hardness, or impact resistance. For this reason, ABS or Nylon are some of the most preferred materials for 3D printing of functional parts and prototypes.
Generally safe for food contact
Just to be clear, this trait does NOT hold true for all the plastics in the list above. As a general rule, filaments with good thermal stability are also chemically stable. This means that they do not easily deteriorate when exposed to acids, bases, alcohols, and oils. This also means that they do not result in chemical compounds leaching into other substances.
Just about everyone has a food container made of PP in their homes or offices. Amphora filament, in particular, is a custom filament material that has been certified by the FDA as safe for food contact.
It bears mentioning that prints made via FDM technology inherently have uneven surfaces, and small indentations on their surfaces can promote bacterial growth. If you plan on using 3D printed objects for long-term food storage, make sure that they have been finished by sanding and polishing.
CONS:
Prone to warping
As soon as a molten filament exits the hot end nozzle, its exposure to the external environment results in rapid cooling.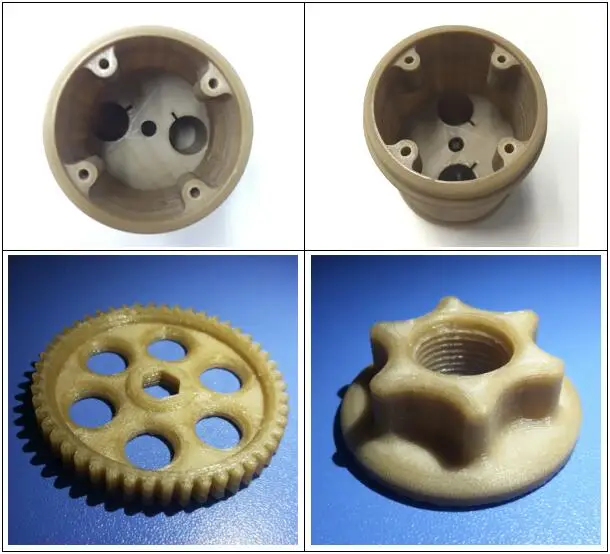 This rapid cooling naturally causes the plastic to contract. Over time, the thermal stress generated by this contraction overcomes the strength of the material, leading to warping.
The large temperate gradient caused by the high printing temperatures of these filaments makes them particularly prone to warping. Warping happens when the thermal stress accumulates, particularly at the corners, causing the base layer of the print to lift off the print bed. This greatly diminished the quality of the finished print.
The use of the heated bed is meant to reduce the effects of warping by reducing the distortion caused by thermal stress. Applying some adhesion to the bed also helps the print maintains its original dimensions. By using a bed enclosure, the whole build platform maintains a slightly elevated temperature to alleviate thermal stress.
There are a couple of ways to prevent warping, but the point remains – it’s going to take a combination of creative measures to get the best results out of high-temperature filaments.
Energy-intensive
By far, heating is the component that drives how much energy a 3D printing process consumes. When printing with high-temperature filaments, the temperature needed for the hot end nozzle and the bed has to be set at much higher values than usual. This greatly increases the energy costs for a 3D printing project.
This might not be a big deal if you only work on one or two projects per month and if you only do it for fun. However, for businesses that produce a high volume of 3D printed projects, the difference might be quite palpable.
May require high-end equipment
Not all desktop-scale 3D printers are equipped for high-temperature printing. You will need both a hot end and a bed that can reach the temperatures required by the filaments. Even the extruder assembly may need to be upgraded. The PEEK or PTFE idler element used in most conveyors can start deforming when exposed to temperatures above 240 °C.
Another crucial element in high-temperature printing is a bed enclosure. This helps reduce warping by maintaining an elevated temperature for the build platform. While some desktop FDM printers have built-in enclosures, others may have to be upgraded to make them appropriate for high-temperature 3D printing.
3D printing tips for high-temperature filaments
As you can tell by now, high-temperature filaments present a host of challenges even for those who are experienced with 3D printing. These tips will by no means eliminate all these challenges, but they are good starting points for the troubleshooting process.
Start at low temperatures and gradually increase
The most crucial parts of a 3D printing project are the first two or three layers. How well these layers stick to the print bed determine how the material will hold up to the thermal stresses that will inevitably be caused by cooling.
With this reasoning, it would help if you print the first few layers at the lower values of the recommended printing temperature range. This reduces the thermal stress that the material undergoes due to the effects of cooling and allows the filament material to develop strength faster. As the print proceeds, you can increase the temperature settings to enhance layer to layer adhesion.
Print slow for the first few layers
Along with a low printing temperature for the first few layers is the requirement to print slow. Not only does this give enough time for the filament to be exposed to the heating element, but it also slows down the accumulation of thermal stress in the material as it is laid down on the print bed.
It does not have to be extremely slow – a speed of 30mm/s is usually a good place to start. Again, this setting can be gradually increased to the maximum acceptable values after the third layer has been printed.
Print with a raft or brim
As a “last resort” strategy, you can simply add a raft or brim to your design if you still encounter warping problems despite your best efforts to apply adhesion aids. A brim extends the base layer of your design while a raft prints an entire “sacrificial” layer beneath your project.
In either case, the objective is to enhance bed adhesion by increasing the surface of the plastic that is bonded with the print bed. Keep in mind that you’ll need to remove all of this sacrificial material later on, which means added work for you and more chances of messing up a finished print. It’s also inherently a very wasteful strategy as you end up using much more filament than necessary.
Final thoughts
Printing with high-temperature filaments isn’t something that people usually do casually. It takes quite a bit of work, and you’ll probably mess up a few prints before you get one that you’re satisfied with.
In most cases, though, the reward is well worth the effort. High-temperature filaments create prints that are exceptionally strong, stable, and able to stand up to extreme conditions. Some of them are easier than others – if you’re having trouble with Nylon, then try and hone your skills with ABS first. By going back to the scientific fundamentals of 3D printing, mastering how to use any of these filaments is not impossible.
Warning; 3D printers should never be left unattended. They can pose a firesafety hazard.
High Temperature 3D Printing to the Masses / Sudo Null IT News
There is an impressive variety of thermoplastics that can be printed on consumer grade desktop 3D printers. But, despite this, most often users turn to polylactide (PLA) threads. This is not only the cheapest of materials, but also the easiest to work with. Its extrusion can already be carried out at a temperature of 180 °C, and good results can be obtained even without preheating the table. The disadvantage of PLA-printed objects is that they are relatively brittle and do not tolerate high temperatures well. For prototyping or printing low-stress components, PLA is great. However, many users quickly go beyond its capabilities.
Polyethylene terephthalate (PETG) is usually the next step. It is not much harder to work with compared to PLA, while it is more reliable and can withstand higher temperatures. In general, it is better suited for creating mechanically loaded parts. But if you need to make even stronger and more heat resistant parts, you can switch to acrylonitrile butadiene styrene (ABS), polycarbonate (PC) or nylon. And this is where the problems begin. These materials are extruded at temperatures over 250°C and closed chambers are recommended for best results. These printers are at the top of the budget range that hobbyists are willing to work with.
Industrial 3D printers like this one, the Apium P220, start at around $30,000. (PAEK, PEEK, PEKK). Components made from these plastics are suitable for aerospace applications as they can replace metal while remaining much lighter.
Such plastics need to be extruded at temperatures of around 400°C, and a sealed chamber is required for operation, the temperature in which constantly exceeds 100°C. The cheapest printers of this kind cost tens of thousands of dollars, and some models even cost six figures.
Naturally, not so long ago, the same could be said about all 3D printers. Once used only by well-equipped research labs, these machines now sit on the workbenches of hackers and hobbyists the world over. It is difficult to predict whether the same price-cutting race will start for high-temperature 3D printers, but the first steps to democratize the technology have already been made.
Engineering difficulties
Simply put, a machine that supports these so-called. "engineering plastics", you need to be a hybrid of a 3D printer and a stove. This, of course, is the main problem. The printer itself - of the type and quality we are accustomed to seeing on our desks - will not survive in such conditions. In order for a consumer printer to produce PEI and PEEK plastic parts, it needs to be seriously redesigned. This is exactly what NASA did with the LulzBot TAZ 4 in 2016.
LulzBot TAZ 4 redesigned to support high temperature printing
The first step was to design an insulated housing to fit the TAZ 4 and install a set of 35W infrared lamps for heating. Under such conditions, the printer's electronics, of course, would overheat - so it had to be taken outside.
Stepper motors would also overheat. But instead of taking them out, the team at the Langley Research Center decided to build cooling shrouds on each of the motors through which the compressed air must circulate.
Like many desktop 3D printers, the TAZ 4 uses several printed components. Since they are ABS, they would quickly break down in a chamber designed to support PEEK. They were printed from PC, but even this material was not resistant enough for permanent use. In classic RepRap tradition, the team printed the last, third set of components on their most modified printer, in PEI plastic, commercially named Ultem.
Surprisingly, the team had no trouble changing the printer's nozzle to one that could extrude plastic at 400°C. The popular E3D-v6 extruder costs less than $100 and has been shown to be able to maintain this temperature. True, the team had to replace the thermistor with a better one, as well as edit the Marlin firmware so that it allowed it to reach high temperatures.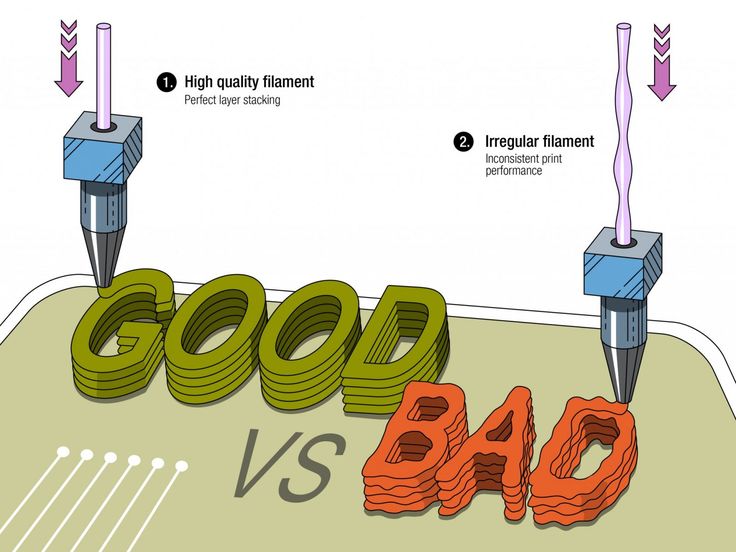 For conventional printers, too high a temperature should cause an emergency shutdown.
Printing results from Ultem 1010 plastic on a redesigned LulzBot TAZ 4.
In the end, the NASA report indicated that the redesign of the LulzBot TAZ 4 was a complete success. They noted that an attempt to print PEI with infrared lamps turned off ended in failure - delamination and distortion of the model, which was to be expected. They did not specify the cost of the conversion, but given that at that time the TAZ 4 cost $2200, the entire project could cost 10 times cheaper than similar commercial proposals.
Starting from zero
A NASA experiment has shown that an existing desktop 3D printer can be converted to print with high-temperature engineering plastics, and quite inexpensively. But hardly anyone believes that this approach is the ideal solution. There are too many repetitive operations involved here, and NASA engineers had to abandon some of the decisions made by the LulzBot developers. Still, the experiment provided a valuable baseline for other projects built from scratch.
In September 2020, a team from Michigan Technological University demonstrated the Cerberus, an open-source, high-temperature 3D printer capable of creating items from PEI and PEKK, that costs as little as $1,000 to build. Without trying to adapt existing designs, the team started development from scratch, aiming for high temperature printing. All electronics are housed separately from the sealed chamber, which uses a kilowatt heating element to quickly raise the temperature in the chamber to operating temperature.
All stepper motors are also outside the chamber. Because of this, the kinematics become more complex than in desktop 3D printers, but Cerberus no longer requires a special motor cooling system.
Building a Cerberus is quite affordable for the aspiring hobbyist. It has a simplified circuit, ready-made control electronics based on the Arduino Mega 2560 and RAMPS 1.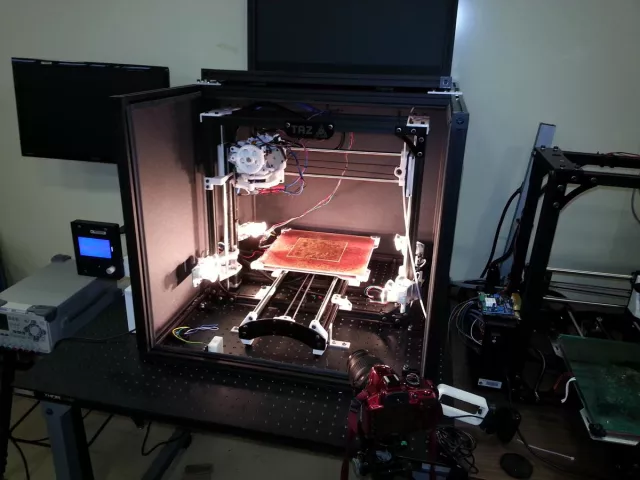 4, and the same E3D-v6 extruder as the TAZ 4. In addition, the team posted clear and detailed instructions for assembling the printer - this is not in the NASA report. meet.
Expanding possibilities
Whether it's NASA's redesign of the TAZ 4, or the new Cerberus-type circuits, it's clear that the technical capabilities of PEI and PEEK printing in the home workshop are already available for those who really need them. So far, it's not as easy as buying a $200 3D printer on Amazon, but if there is demand, cheaper machines based on the same principles will appear on the market. The situation is not much different from the current wave of affordable laser cutters hitting the markets in the past few years.
Fans all over the world print PPE
Is there a demand for such machines? A year ago, the answer might have been different from today. But in the fight against the coronavirus pandemic, there is a new demand for the rapid production of personal protective equipment (PPE) that no one could have foreseen.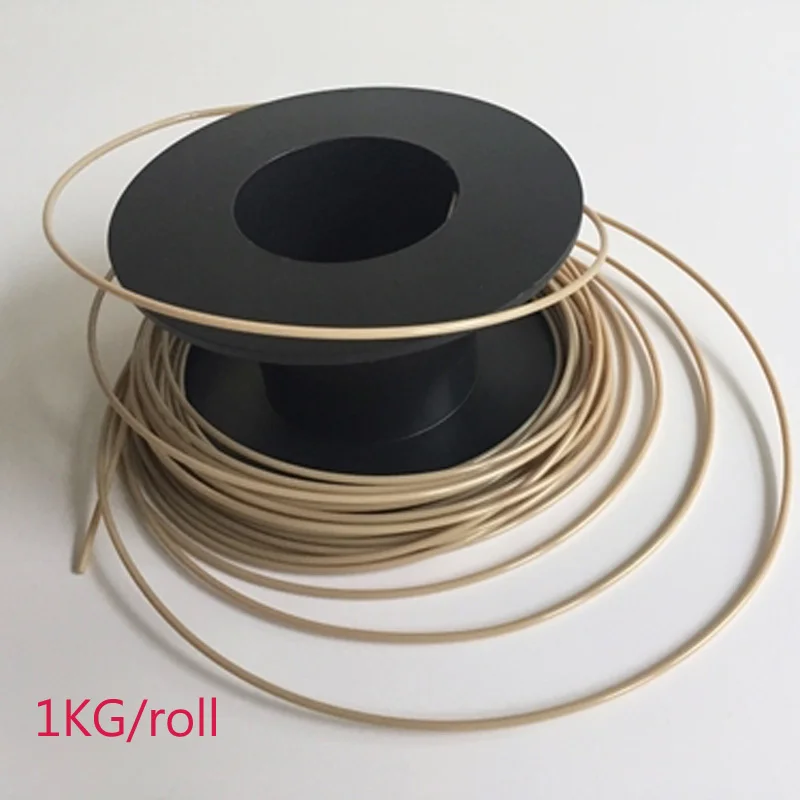
print PPE that can be sterilized at high temperatures. The team believes that masks printed from PEKK can be reused rather than thrown away.
Components that can be printed and re-sterilized will obviously have other potential medical applications. A portable, low-cost machine capable of producing such components has the potential to save lives in places on the planet where supplies and equipment cannot be quickly accessed.
Critics of 3D printing have often said that the main disadvantage of these machines is that the reliability of the items they make rarely allows them to be used for anything other than rough prototyping. But when a $1,000 printer starts making aerospace-grade components, we seem to be moving toward a manufacturing revolution at an unprecedented pace.
The first layer does not stick when printing on a 3D printer?
Home » Articles » Problems with 3D Printing » First layer not sticking when printing on a 3D printer?
First coat not sticking?
This problem needs to be urgently solved, since the quality of the model construction depends on the first layer serving as the basis, or rather on the reliability of its fastening to the desktop.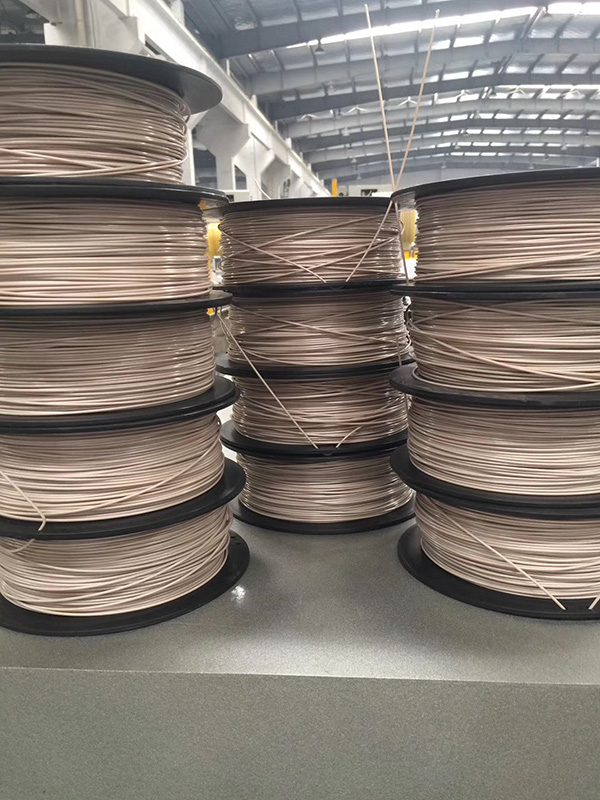 There are several reasons for its appearance, consider the most common of them.
1. Skewed print platform.
The print platform must be in an absolutely flat horizontal position before starting the 3D printer, otherwise the distance between the nozzle and it will be uneven. To align it with the design of the printer, screws and handles are provided, as well as a special function - the "Bed leveling wizard". It can be found in the "Tools" menu and can be used to step-by-step configure the platform by setting the required parameters.
2. Wrong working distance calibration.
Leveling the worktable is only half the battle, it is important to place the extruder nozzle over it correctly so that there is enough free space for the filament to exit, but at the same time the filament seems to be pressed into it. To do this, you need to use the calibration function of the working platform, which most modern models have. If your 3D printer does not have this feature, then you will have to manually calibrate the desktop - fix the print head in a static position and stop the motors, and then adjust the distance by moving the print unit.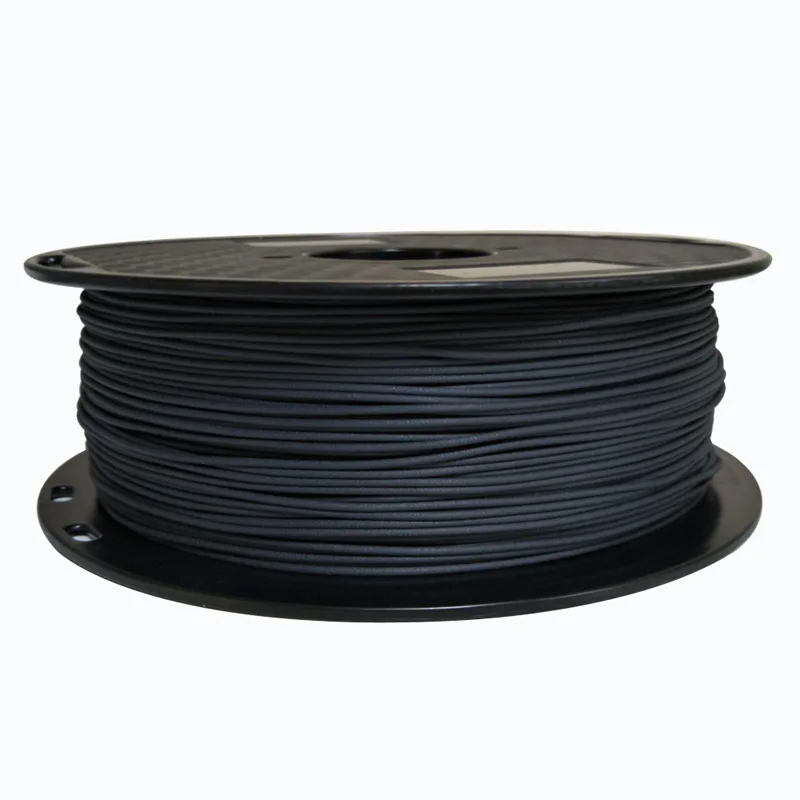
Another way to calibrate the 3D printer desktop is software adjustment, which is highly accurate and easy to use. You will find all the necessary parameters for it in the menu. All you need to do is to correct the indicators in the slicer G-Code. Initially, it is better to set small distance values, and then control them by test printing and, if necessary, make changes to them.
When calibrating the 3D printer desktop, please note the following:
- If the nozzle is at a considerable distance from the build platform, there will always be a risk of the filament coming off during printing due to insufficient pressure on it.
- Insufficient clearance between the build bed and the nozzle can cause damage to them and poor print quality due to lack of space for the filament to exit and form a 3D model.
- A normal distance between the nozzle and the work table will ensure that the layers are formed correctly over the entire surface area and that they adhere well to each other.
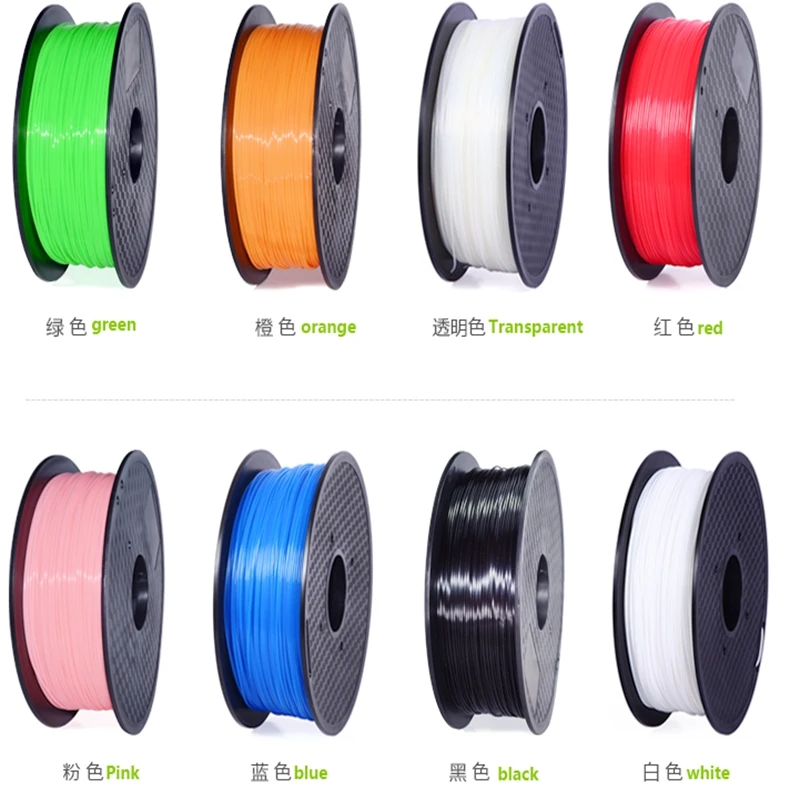
Consider the above recommendations and do not ignore the need for calibration.
3. Print speed selected incorrectly.
An incorrectly selected print speed can break the adhesion between the layers of the model being grown. This is especially true for the output of the first layer. Its insufficient adhesion to the working surface indicates too high a print speed. The output of the filament thread can and should be slowed down using the corresponding First Layer Speed function from the Edit Process Settings menu. When printing the first layer, reduce the speed settings set by the program by half.
4. Incorrect operating temperature setting.
A 3D model may warp if it cools quickly. High-temperature ABS plastics “sin” with this, which need to be given more time to cool than other materials. Cooling models provide special fans. They have their own operating parameters, which users can change on their own.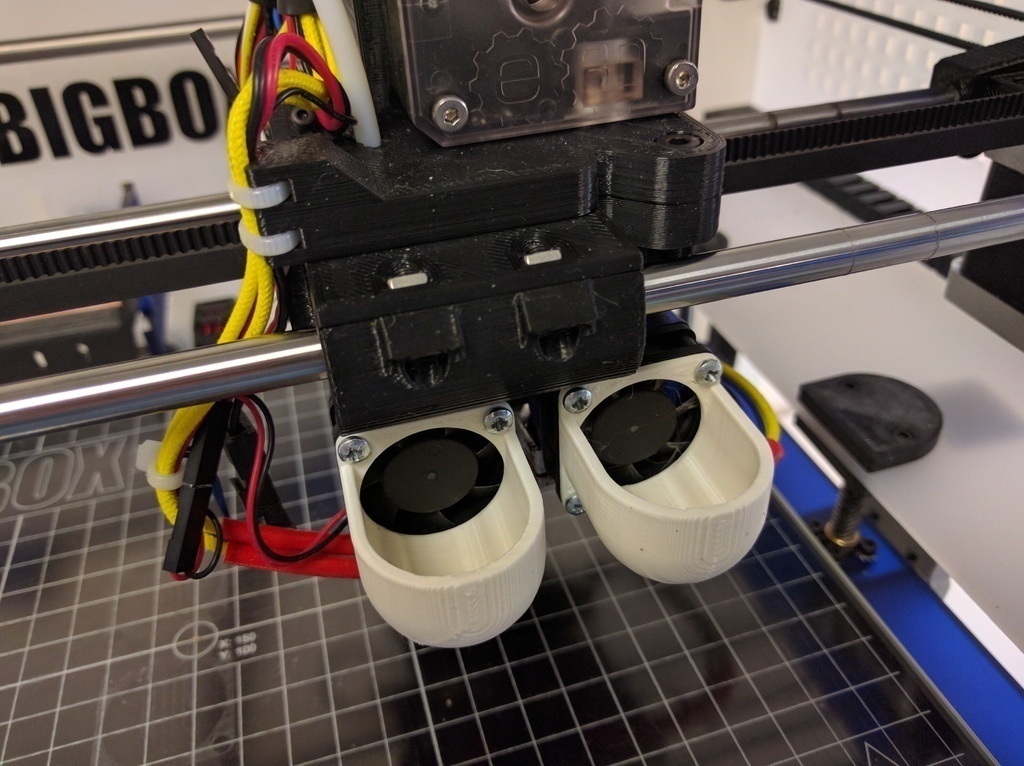 With rapid cooling, there is a risk of plastic peeling off the desktop, which provokes deformation of the 3D model. Switching off the fan is usually enough to prevent this. This will allow the first layers of the model to cool slowly and reduce the risk of deformation to zero. To turn off the fans, the Cooling function is provided from the Edit Process Settings menu. Some models even allow users to specify a different fan speed for the first layer and each subsequent layer. When printing a 3D model with high-temperature ABS plastics, the fan can be completely turned off and the platform heating turned on, which eliminates the risk of deformation of the first layer. This feature is found in the Edit Process SettingsTemperature menu. To turn on the platform heating, you need to specify the temperature parameters of the first layer of the future model. In order not to make a mistake with them, we recommend using the established material heating standards that are used for 3D printing. In the presence of drafts, additional protection of the working platform from cooling is required.
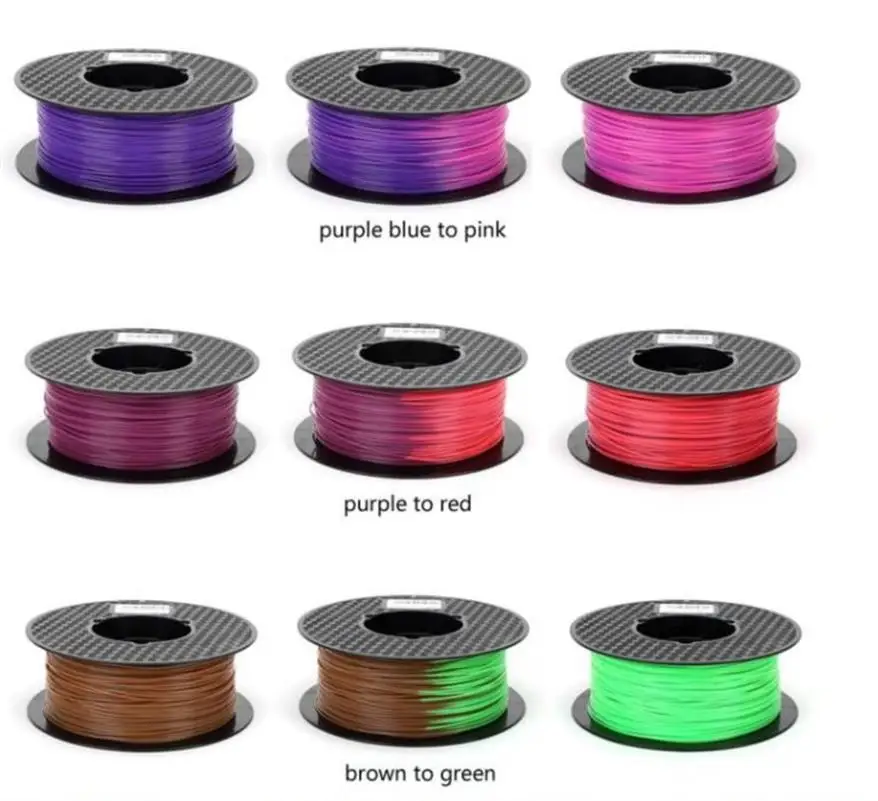
5. Incorrect material selection for platform protection.
For both professional and amateur 3D printing, different filaments are used, so their reaction to the consumables used - tape, glue, etc. difficult to predict. To avoid poor quality printing, you should use a material that is ideal for covering the work surface, which can be purchased at a specialized store. It is allowed to perform 3D printing directly on the desktop without auxiliary materials, provided that it is perfectly clean. To enhance the adhesion of 3D plastic to the desktop, it is allowed to use pieces of tape, glues, sprays, hair sprays and other similar materials.
6. Printing a model with a small bottom surface.
If you want to grow a 3D model with a small bottom surface, use the brim function from the Additions ---> Use skirt/brim menu, which will allow you to artificially enlarge it by printing a "hat" around it. An alternative would be to use a previously printed substrate, which will serve as the basis for a future 3D model.