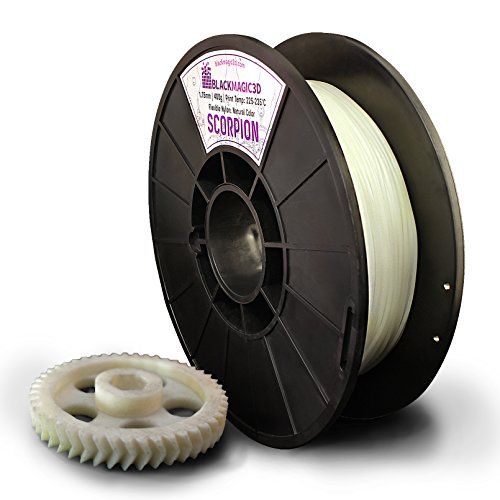
3D printing with flexible filament
Ultimate Materials Guide - 3D Printing Flexible Filament
Overview
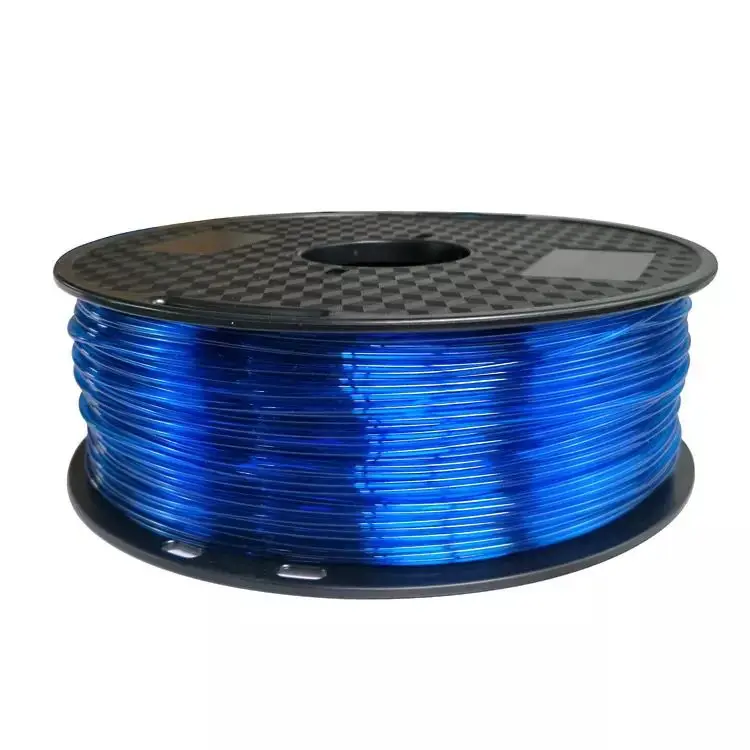
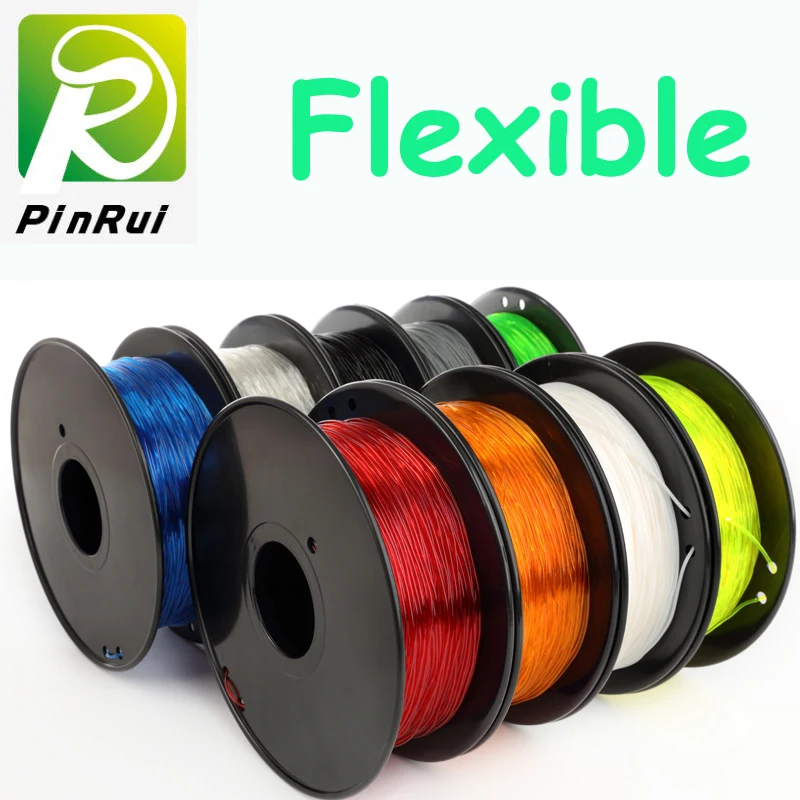
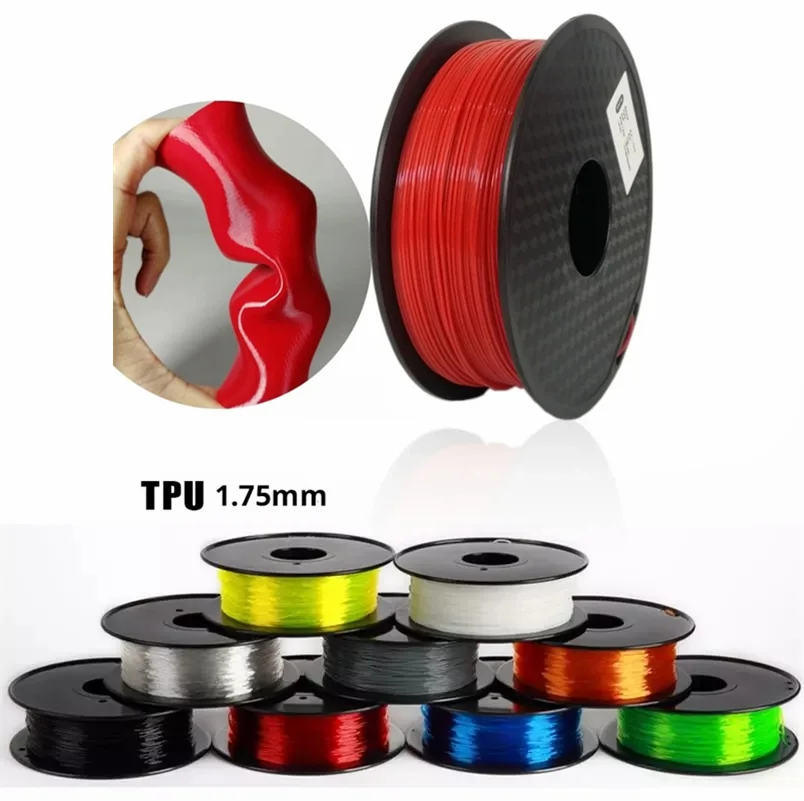
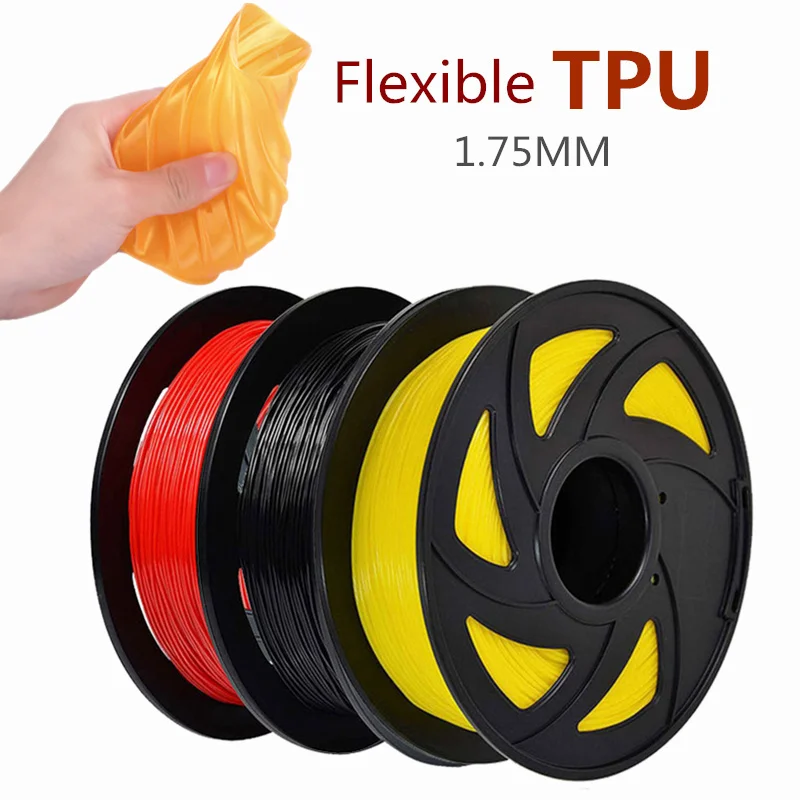
Flexible filaments are made of Thermoplastic Elastomers (TPE) which are a blend of hard plastic and rubber. As the name suggests, this material is elastic in nature allowing the plastic to be stretched and flexed easily. There are several types of TPE, with Thermoplastic polyurethane (TPU) being the most commonly used among 3D printing filaments. In many cases, these terms are used interchangeably, along with popular brand names such as Ninjaflex. The degree of elasticity in the plastic depends on the type of TPE and the chemical formulation used by the manufacturer. For example, some filaments can be partially flexible like a car tire but others can be elastic and fully flexible like a rubber band. This guide will cover tips to help you with both of these variations of flexible filaments.
- Flexible and soft
- Excellent vibration dampening
- Long shelf life
- Good impact resistance
- Difficult to print
- Poor bridging characteristics
- Possibility of blobs and stringing
- May not work well on Bowden extruders
Hardware Requirements
Before 3D printing with flexible filaments, make sure your 3D printer meets the hardware requirements listed below to ensure the best print quality.
Bed
Temperature: 45-60 °C
Heated Bed Optional
Enclosure Not Required
Build Surface
PEI
Painter’s Tape
Extruder
Temperature: 225-245 °C
Direct Drive Extruder Recommended
Cooling
Part Cooling Fan Required
Best Practices
Flexible filaments come with many unique challenges that you want to be aware of. These tips will help you reduce the chances of common 3D printing issues such as clogging, kinking, and stringing.
Use Direct Drive Extruders
While some partially flexible filaments work fine with Bowden Extruders, most fully flexible filaments require a Direct Drive extruder for best results. The distance between the drive gear and the melt zone of the hot-end needs to be as short as possible to efficiently feed the filament into the nozzle. Additionally, the pathway through which the filament travels into the melt zone should have tight tolerances to prevent the filament from kinking or coiling inside. For these reasons, it is typically much easier to print flexible filaments with a Direct Drive extruder versus a Bowden extruder. If you are unsure about your 3D printer’s capabilities, you may want to check with the manufacturer to see if the extruder has been approved for use with flexible filaments.
Use Slow and Consistent Feed Rates
Flexible filaments typically print best using a slow and consistent feed rate. Because the material is elastic, it can be very difficult to control sudden changes in the print speed. Higher print speeds can cause the filament to compress and will most likely result in a jam. Slow and steady is the best approach. Simplify3D provides all of your feed rate settings on the Speeds tab of your process settings so that you can easily configure these values. Finding the optimal print speed for your material can take several attempts based on trial and error. We have seen that speeds of 1200 mm/min (20 mm/s) can be a good starting point for most materials.
Reduce Resistance from the Filament Spool
A few tweaks to your material spool can also make a big difference with flexible materials. Typically, your extruder will pull the filament into the nozzle, forcing the filament spool mounted on your printer to unwind a bit of plastic in the process. However, because flexible materials are elastic, this will stretch the filament out as it is being pulled in and can actually result in under-extrusion. Try mounting the spool above your printer so that the filament unwinds in a downward direction which can reduce the resistance. It can also be incredibly helpful to mount the spool’s hub on a bearing to allow the spool to spin as freely as possible.
Tune Your Retraction Settings
The elastic nature of flexible filament makes it sensitive to quick movements such as retractions. In order to successfully print the filament, you will need to optimize your retraction settings to reduce these movements. While you are first starting with this material, we would recommend disabling retraction completely. You can make this change in Simplify3D on the Extruders tab of your process settings. With retraction disabled, you can focus on finding the perfect speed and extrusion rates that allow you to reliably print your models. After you are more confident in these settings, you may wish to add a very small amount of retraction with a slower retraction speed to help with any potential oozing from the hot-end. Simplify3D also includes a unique option called Coasting, which will automatically help lower the pressure in the nozzle when you approach the end of a segment, which can significantly reduce blobs and stringing with these materials. If you want more information about other options that can help reduce hairs and stringing on your prints, we have an entire section on our Print Quality Guide dedicated to that issue: How to Reduce Stringing and Oozing.
Optimize Your Travel Movements
Retractions can be particularly troublesome for flexible materials, so it is typically best to minimize the number of retractions required for your print.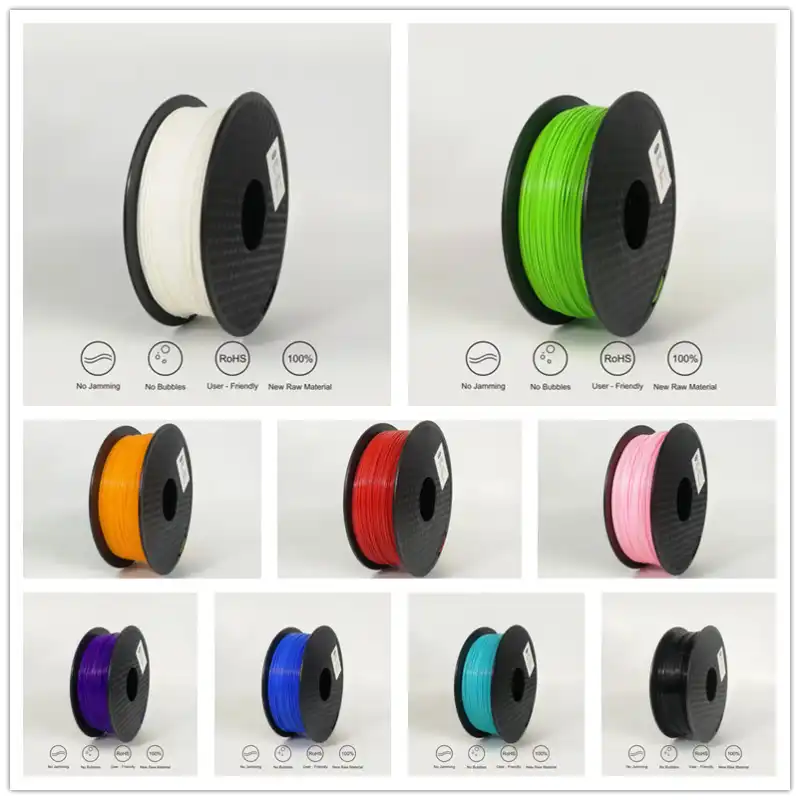 Simplify3D has a great feature that was built specifically for this situation. Instead of moving in a straight line from point A to B, the software will actually choose a completely new path when moving between these points, with the goal of staying within the interior of your object so that there won’t be any oozing or stringing. With this unique feature enabled, you can greatly reduce the amount of retractions required for your print and significantly improve your print quality. To use this feature, click on the Advanced tab of your process settings, and enable the “Avoid crossing outline for travel movement” option.
Pro-Tips
- Optimize the feed rate by printing at lower layer heights in the 0.1mm – 0.2mm range. The lower layer height requires less plastic, so it allows your extruder to use a lower feed-rate, relieving the burden on the filament.
- Try to avoid using rafts with flexible materials, as the base layers of the raft have higher extrusion rates which may create issues.
- If you are designing a flexible part that needs to fit on top of another object, try using a negative tolerance between the parts so that the flexible part will need to stretch to fit over the other object snugly.
Get Started with Flexible Filaments
Now that you’re ready to start printing with flexible materials, we have a few tips to help you get started. View some typical applications below, try out a few of our sample projects, or choose a popular filament brand to purchase for your next project.
Common Applications
- Vibration dampening
- Grip Sleeves
- Phone cases
Sample Projects
- RC Car Tire
- Phone case
- Bike Handle
Popular Brands
- NinjaTek Ninjaflex, Armadillo, Cheetah
- Polymaker PolyFlex
- eSun TPE
- Sainsmart Flexible TPU
How To Succeed When Printing With Flexible Filament
Let’s take a look at what makes flexible filaments easier to print and how you can add flexible filament to your 3D printing material toolbox.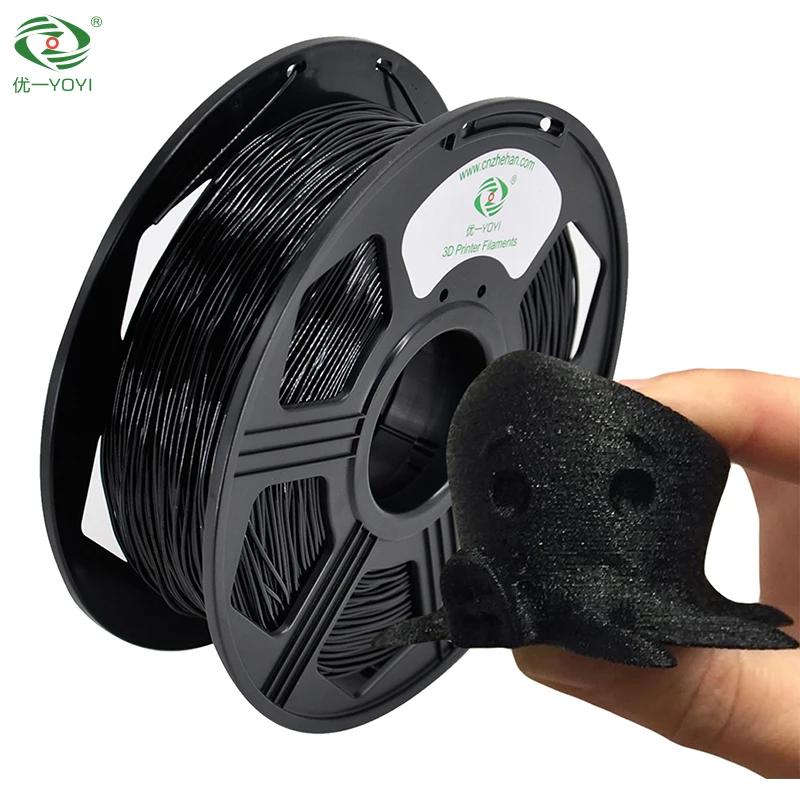
Alec Richter
May 5, 2017
When most people think of 3D printing materials, plastics like PLA, ABS, or nylon are some of the first materials that come to mind. These materials all have one thing in common: their rigidity. Sometimes you want a part that is ductile and able to bend or compress as it is stressed. Fortunately, there's more than just rigid 3D printing materials; from TPU to PRO Series Flex, flexible 3D printing filaments are widely useful materials to have at the ready. By design, these filaments are essentially printable rubber, allowing you to create complex elastic designs in your specific shape for any project or product requirements. Flexible filaments come in a variety of colors, chemical make-ups, and hardness, giving you the flexibility to apply their various properties in unique ways. Let's talk about how to successfully 3D print flexible filaments.
What are Flexible 3D Printing Filaments?
In general, most rubbers are thermoset through a process called "vulcanization"; you heat them up, shape them, let them cool, and that shape is final. Once rubber is shaped and molded, it can't be melted back down and reformed into something new. To be able to melt rubber down into filament and re-melt it into the desired shape when 3D printing, some careful material science was needed to create a thermoplastic (reshapable) rubber. By combining plastic polymers with rubber polymers, you get a Thermoplastic Elastomer (TPE). With this same principle, you can combine materials to create Thermoplastic Polyurethane (TPU), Polyester Copolyamide Thermoplastic Elastomer (PCTPE), or Soft PLA. Each of these materials has different properties, like shore hardness or elasticity, depending on the formulation of the spool of 3D printing filament.
Flexibles are really fun to print and play with.
With a flexible material like MatterHackers PRO Series Flex, you can drop it a thousand times over and not break it. It's important to remember that every material has its place, and just because flexibles don't break when you drop them doesn’t means they are ready to replace other materials like PLA. Flexible filament is a great choice for gaskets or bumpers, but you wouldn't want to print a shelf bracket with it. Conversely, PLA would make for a terrible sole for a shoe. Consider the needs of the project before committing to any one material.
Keys to Success by When 3D Printing Flexible Filament:
Limited retraction
The question of “how much retraction is enough” is entirely dependent on the style of extruder your 3D printer has. The latest extruders you can buy make it very clear that they have a "constrained filament path." In older models of extruders, there was open space after the extruder gear for filament to move into. This isn't a problem for rigid materials as once they are directed to the bowden tube or the nozzle, they will keep extruding without issue, but flexible filaments will almost immediately spit out the side of the extruder and coil around the extruder gear.
With a newer extruder, after first 3D printing some calibration prints, you should be able to print flexibles with retraction settings comparable to your normal rigid filament settings. The E3D Hemera has been shown to excel at 3D printing with flexible filaments, being able to keep the filament tightly constrained and 3D print at high speeds without any kinks in the filament.
With an older extruder, you will have to disable retractions to achieve a good 3D print quality. This does mean that you may experience some stringing as the nozzle moves around over the 3D print, but it will prevent you from having under extrusion caused by the filament bunching up in the extruder from the constant back-and-forth motion it would experience with retracting.
Keep it dry
Follow the same procedures described in this article to dry your flexible filaments: 135°F for six hours in a conventional oven, then turn it off and let the oven cool back to room temperature. You can also use a vacuum oven to dry your filament in a half hour to an hour, or use a PrintDry to easily dry your filament and keep it dry. Most flexible filaments are hygroscopic to some degree, and will pop and sizzle if you try extruding before the material is dried.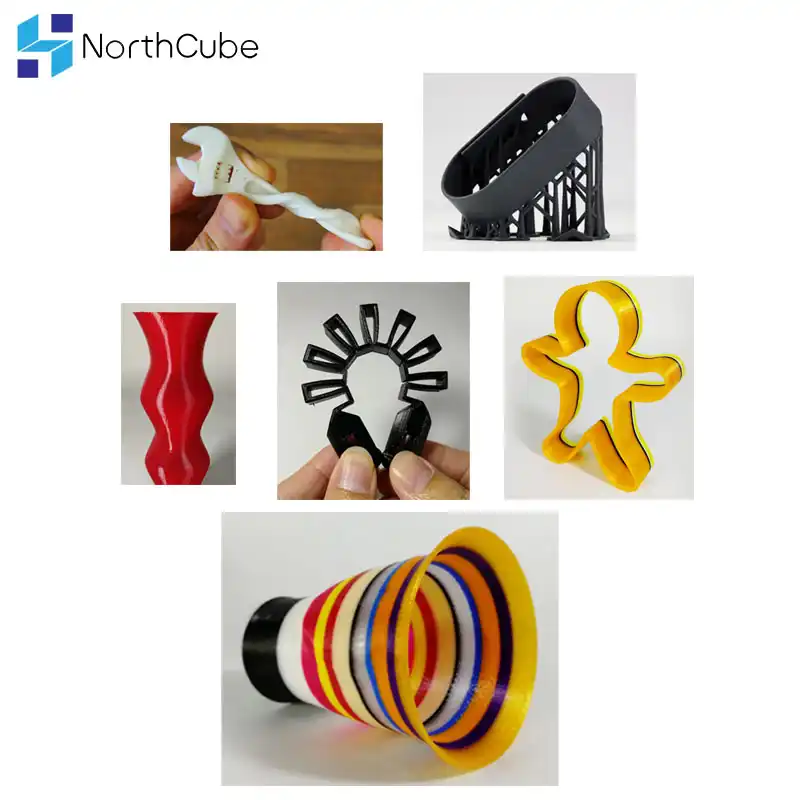 The sizzling is caused by pockets of water absorbed into the filament instantly turning to steam as they hit the nozzle, leaving voids in your print or causing excessive stringing along your parts. Not only is the visual quality significantly worse, but the molecular chains within the material are broken down, creating a weaker part overall. Using the same 3D printer, gcode, and spool of filament, the two 3D prints below were 3D printed. The key difference: the one on the left had been left in the open air for some unknown amount of time, and the one on the right was printed directly from a PrintDry after letting it dry for several hours.
Wet flexible filament on the left, recently dried filament on the right.
Slow it down
Like it was mentioned with retraction settings, PLA or ABS, you can print fast as they’re a hard material, so it’s really easy to grip and push the filament through the nozzle. Printing flexibles is like trying to guide one end of a rope by pushing the other. By slowing it down, you decrease the pressure within the nozzle making the filament much less likely to bind up or even wrap around your extruder gear. Like any other filament, exact speed settings will differ from one printer to another, so you may need to experiment to determine what speed is the upper limit that your specific 3D printer is capable of. For some that might mean 10mm/s, and other more advanced 3D printers might not need any changes at all and can print at 60mm/s with ease.
Dispelling Some Myths
This myth certainly isn't as pervasive as it once was, but there existed a time when it was common belief that bowden 3D printers were unable to 3D print flexible materials. Whether or not that was the case, it is most definitely not true now. There is nothing that specifically precludes bowden 3D printers from being able to use flexibles. It all comes back to constrained filament paths being the root cause of any concerns. While yes, most direct-drive 3D printers are more responsive than bowden 3D printers when using flexible 3D printing filaments, bowden 3D printers are fully capable of creating beautiful 3D prints with flexible filaments.
Getting the First Layer Right
The first layer is the most important part of any print. There are a few things you need to do to get the first layer to stick well.
- You need the print surface to be level. If you are unfamiliar with how to level your 3D printer's bed, you can read about the procedure here.
- Have your Z-Offset set to the right height. This will depend on the material that your 3D printer's bed surface is made of, as some materials will bond too well to flexible filaments, permanently attaching to them. For most surfaces, you will want a decent "squish" to your first layer.
- You need a good base material for your flexible filament to adhere to. Blue painter’s tape or a heated glass bed with PVA glue stick or MatterHackers Stick Stick are ideal surfaces for your print bed.
3D Printing on Blue Painters Tape
Blue Tape, or Painter’s Tape, is one of the easiest and fastest ways to get a reliable bed adhesion for your flexible filaments.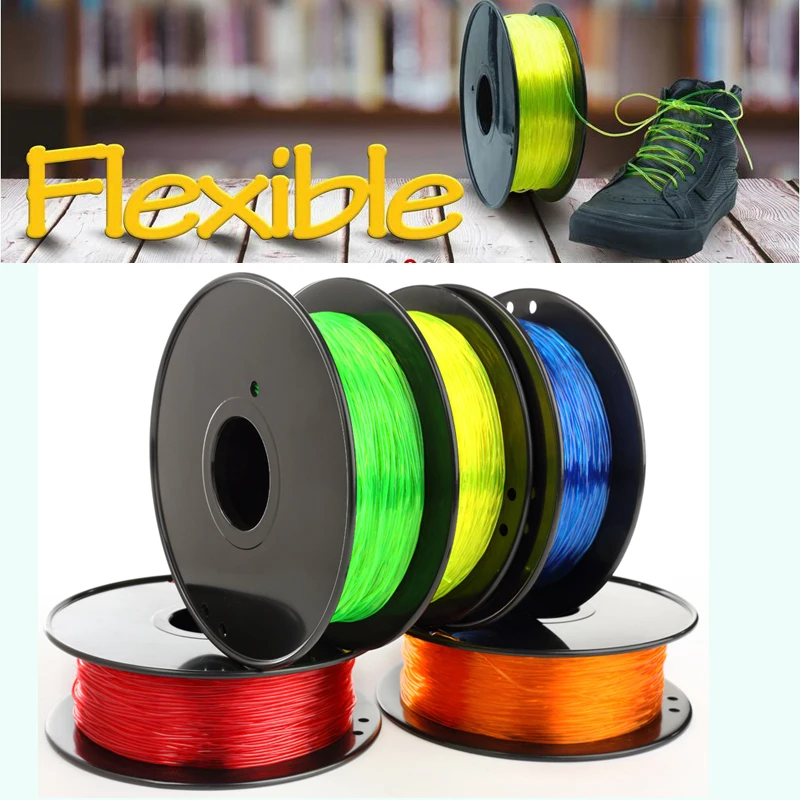 Here is a quick checklist of things you want to make sure you are doing.
- Make sure each piece of tape lines up edge to edge without any overlap or gaps.
- Keep the bed temperature fairly low when using Blue Tape, as a temperature that is too high may cause the tape to stick too well to your printed part. 55°C-65°C should be enough heat to get the job done with most flexibles.
- Replace any tape strips that get damaged when removing parts.
- Replace the tape after 5-10 prints, when parts stop sticking, or when there is a noticeable loss in the texture on the tape's surface.
- If your first layer is not sticking - make sure the print head is close enough to make a nice squished line of filament. If that doesn't take care of your problem, you can apply a thin smear of PVA glue stick to get a little more adhesion.
Printed PRO Series Flex on blue painters tape.
3D Printing On Glass With A Heated Bed
When you have a temperature controlled bed, printing directly on glass can be a great option.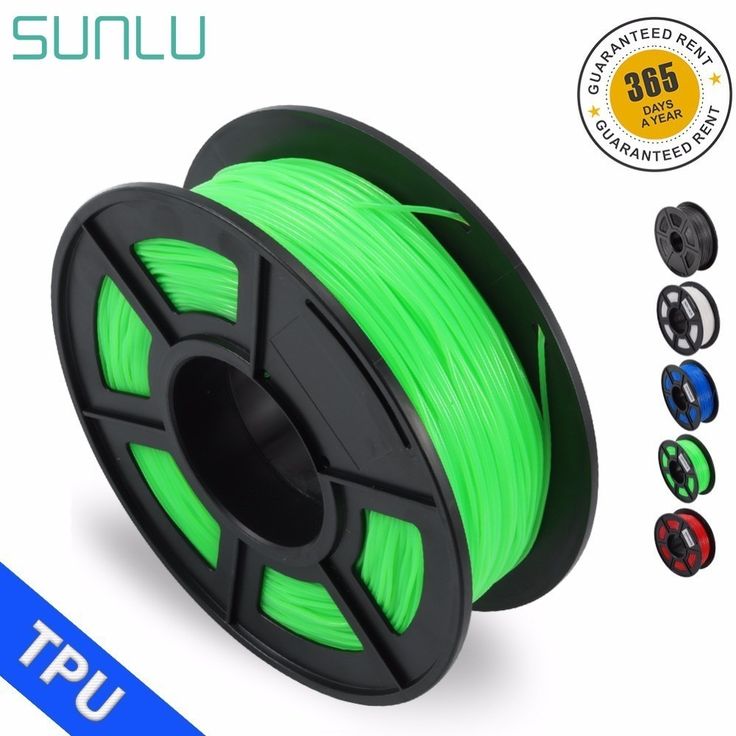 The recommended bed temperature for flexible filaments vary greatly, from room temperature to 110°C, so follow the recommended bed settings as described in our Filament Comparison Guide or in the Technical Specifications for the filament. In general, PVA glue stick is a great adhesive to apply to the glass when 3D printing with flexible filaments to ensure that they stick throughout the entirety of the 3D print job.
Printed PRO Series Flex on a heated glass plate.
Getting The Temperature Right
When working with a new roll of filament for the first time, we generally like to start printing at about 235°C and then adjusting the temperature up or down by 5°C increments until we get a quality print.
Recommended printing temperatures for various flexible filaments.
If the temperature is too high
If the spool of filament is already dry but your temperature is too high you will still see strings between the separate parts of your print, like cobwebs. When this happens you should try to incrementally lower the temperature by 5°C until the nozzle doesn't leak any material. Sometimes that isn't treating the underlying problem, which could simply be retraction settings that aren't quite aggressive enough and need just a small bump to get everything in tune.
If the temperature is too low
A 3D print with an extruder temperature set too low for the material being printed will have layers that don't bond together very well or at all and can be easily pulled apart. Make sure the filament is dry and try again, but if you know that it's dry and you are still experiencing problems, raise the temperature of the nozzle in 5°C increments until you achieve strong layer adhesion and can see that the perimeters and infill of the 3D prints aren't sparse and are well connected to each other.
First Layer Troubleshooting
If you followed the steps to getting your first layer right and your print isn’t sticking, here are some tips to help improve your experience:
- It takes more torque for the extruder to push flexible filament out of the nozzle, so make sure the nozzle is adequately primed before your part starts being printed.
 Use a skirt, prime blob, or purge line at the start of the print to make sure there is enough filament in the hot end by the time it gets started on your part.
- Make sure the extruder temperature is hot enough to properly melt the filament. Otherwise, the plastic may not flow and leave you with sparse layers and infill disconnected from the perimeters. Gradually raise the printing temperature by 5°C to a maximum of around 255°C if filament isn't flowing as nicely as you need.
- Make sure the speeds for your printer aren't too fast. Printing too fast can cause underextrusion and make infill look like a spider web. With flexible filaments, printing faster takes more torque to get through the hot end, so your options are increase the torque of your extruder by upgrading to a stronger extruder and motor, or slow down to lower the torque necessary to extrude the filament.
- Turn up the extrusion multiplier a bit more. When E-steps are calibrated for a 3D printer, it is usually done using a rigid material like PLA which means extruder movements are much more responsive.
 When using a flexible material, you may need to recalibrate to get the same experience. A great way to get this accurate, is to do an E-step calibration for your flexible filament. The Extruder steps/mm that extrudes 100mm in PLA might only get you 85mm with TPE, so follow our E-step calibration article to get that set up. Or, once you find the proper E-steps for the flexible filament, calculate the percent difference from the original E-steps (flexible E-Steps divided by rigid E-steps multiplied by 100), and you have your extrusion multiplier percentage you can use anytime you come back to this material, rather than modifying the firmware of your 3D printer to get the same result.
 - For example, your printer uses 400 E-steps for PLA, and after calibrating you find TPE uses 500 E-steps. 500/400=1.25. Multiply by 100 to find an extrusion multiplier for TPE at 125%. Now you can print PLA with an extrusion multiplier of 100% and TPE at 125% and keep those profiles always in sync without modifying the other.

- For example, your printer uses 400 E-steps for PLA, and after calibrating you find TPE uses 500 E-steps. 500/400=1.25. Multiply by 100 to find an extrusion multiplier for TPE at 125%. Now you can print PLA with an extrusion multiplier of 100% and TPE at 125% and keep those profiles always in sync without modifying the other.
With the help of this guide you will be able to 3D print flexible materials with ease or know what you need to do to get your 3D printer up and running.
If you have any comments or contributions, please drop us an email or give us a call. We are always looking for tips, and best practices - and would love to hear from you. Feel free to reach out with any specific questions in the comments down below.
Check out our Filament Comparison Guide to get the scoop on all the latest and greatest filaments.
Happy Printing!
Free 3D File Anet A6 Flexible Thread Tensioner・3D Printing Template to Download・Cults
Killer team injury tracker (for 12mm dice)
1.87 €
Miniature rotary handle / gripper with quick-change magnetic caps
Free
Caja Chorus RF DIY Laptimer LEVEL RC
Free
DJI Mavic Quadlock Support and Gimbal Protector
Free
SMA Pigtail holder for Realacc X210 / Genius (30 mm between posts)
Free
Gran Board Dash - Wall Mount
Free
Gran Board Dash - Mount for GoPro
Free
Luminaire with active cooling without stand
Free of charge
The best files for 3D printers in the Tools category
AFINIA Tools Stand
Free
Xenomorph - alien bottle opener
3 €
Handle and top cap for Silca track bicycle tire pump
Free
Screw bit holder
1. 39 €
39 €
Ear of hat for face mask
Free
Case for screwdriver bits
1.02 €
Knob for Ikea coffee/tea maker
Free
PLA Alternative for n95 face mask corona covid19 - EML
Free
Bestsellers in the Tools category
well designed: Hemera fan duct
2.50 €
INDICATOR FOR BETTER BED LEVELING FOR ENDER 3 V2
3.06 €
Fire hydrant storage container
2.05 €
ENDER 3 S1/PRO SPRITE, V3 AIR DUCT 5015 OR 4020
€2.28 -fifteen% 1.94 €
Creality CR-10 Smart Pro Camera Mount Bracket X2 and CR10 screw
1. 15 €
15 €
UNIVERSAL BED LEVELING INDICATOR FOR PRACTICALLY ALL PRINTERS
3.06 €
SUPERBOX
1,50 €
Version 2 Alligator 2 || Repeating crossbow || 3d printed shop || Inspired by Joerg Sprave
1.50 €
Scissor Paint Rack (Citadel)
5.69 €
BED LEVELING INDICATOR FOR ENDER 3 PRO
3.06 €
GEAR AND DRIVE
3.58 €
Quick print stackable parts containers / storage boxes
2.87 €
Printer boxes for Ikea Lack Table
1,99 €
PET-Machine, make your own plastic bottle filament at home!
50 € -80% 10 €
Cooling system Minimus Hotend
€2. -thirty% 1.78 €  54
54
telephone ring holder
0,90 €
Do you want to support Cults?
Do you like Cults and want to help us continue our journey on our own ? Please note that we are a small team of 3 people, so it is very easy to support us in maintaining activities and creating future developments of . Here are 4 solutions available to everyone:
-
ADVERTISING: Disable the AdBlock banner blocker and click on our banner ads.
-
AFFILIATION: Shop online with our affiliate links here Amazon.
-
DONATIONS: If you want, you can donate via PayPal here.
-
* INVITE FRIENDS: * Invite your friends, discover the platform and great 3D files shared by the community!
Nylon Resin: 3D Printing Technologies and Features
Nylon Resin - belongs to the polyamide family, used in 3D printing, has strength and durability. He is very popular in the printing business and for good reason. Plastic has a number of advantages and characteristics that contribute to the high quality of product manufacturing.
How to work with nylon filament before printing
The only problematic nuance when printing with nylon filament may be increased hygroscopicity. Therefore, the material must be dried before printing.
Dry filament will cause good adhesion of the layer, but if moisture gets on it, it will be more difficult to make the product when printing. Dry nylon has a smoother surface and even a sheen. It is recommended to dry nylon in the oven at a temperature not exceeding 82 degrees. Dry bags may not help in this case. It is necessary to print the material in a room where there is no cold and drafts.
Media warps
Media tends to warp if handled incorrectly, so all necessary process controls must be in place before printing.
What settings must be observed before printing with nylon:
- The extruder must have a temperature of 240 to 260 degrees Celsius.
- Printing must begin at a temperature of 250 degrees. In the process, you can search for the required temperature to obtain a smooth and even surface.
- The bed must have a temperature of no more than 80 degrees.
- Work at a speed of thirty to sixty millimeters per second.
- The fan should not be cooled with a cooling layer.
What are the properties of nylon filament
Nylon filament is one of the best for 3D printing compared to many other similar materials.
Its main advantages are good durability, strength and flexibility, and they are not typical for all threads. Nylon is low friction, durable and cost effective. It is usually used for all types of printing from thin to hard. Available in clear or black material. For printing with nylon thread, printer models corresponding to its capabilities are selected to make it more convenient to work.
How nylon is used in 3D printing
Nylon is best used in industrial and engineering production. It is used for the manufacture of automotive parts, tools and movable hinges. True, nylon also has its drawbacks - for example, a low level of flexibility. To avoid problems in the production of parts, nylon must be strengthened.
Benefits of 3D printing with nylon filament:
This printing material has good properties. Among them are:
- Affordable price
- Durability, strength, aesthetics
- Materials melt well due to high temperature
- Odorless when applied
- Nylon is UV resistant Level
is a product. For thin objects, flexibility will be at a fairly high level and vice versa. The material is easily dyed if dyes are added to the filament. You can also paint the finished product, giving it the desired color.
Among the shortcomings, one can also highlight certain difficulties when working with the material. To be ready for them, you need to have special knowledge. It is better for beginners to engage in materials of this kind and should be entrusted with the work of more experienced craftsmen.
Also among the minuses are noted:
- High hygroscopicity - it is better to avoid moisture on the material and pre-dry the thread before work.
- Pyrolysis produces toxic fumes.
- Some threads have a very small diameter.
Compared with the advantages, this number of disadvantages is negligible. Therefore, when selecting threads for 3D printing on printers, you can pay attention to this one.
Nylon does not adhere to glass or other types of plastic surfaces, so masking tape must be applied to the work surface prior to preparation. In order not to be disappointed in the quality of printing or the manufacture of objects, it is necessary to purchase nylon at a relatively high cost, since cheap options can lead to undesirable consequences. For FDM printing, a commercial version of ABC filaments is suitable. Also, during operation, temperature regimes should be controlled so that they are neither higher nor lower than the norm, so that future results of work are not deformed.