Drawings for 3d printing
How to Turn a 2D Sketch into a 3D Printed Part in 3 Easy Steps
Do you have a concept sketch that you want to turn into a 3D Printed part? Read this guide to learn how to turn a simple 2D sketch, drawing, or image file into a 3D Printed part.
Learn how to turn your simple sketches into 3D Model files and 3D Printed parts.
If you can make a simple drawing, then you can make a 3D Printed part.
Getting from your sketch to a final 3D Printed part requires just one step in between: creating a 3D Model in STL file format. See this blog post to learn a little more about what 3D Model is, and why you need one in order to start 3D Printing.
This guide will walk you through how to transform your 2D sketch into a 3D Model file in STL format, and then how to use the Hollywood 3D Printing instant 3D Printing quoting tools to order your 3D Prints online.
Step 1: Make your Sketch with Dimensions
In this guide, we'll focus on turning this simple 2D outline of an anchor into a 3D Printed part. This shape outline will be copied 1-to-1 in a 3D CAD program, and then assigned a thickness to turn it into a three-dimensional model.
Your drawing should have a basic outline of your part, with any important dimensions included.
While this is a relatively basic task compared to the complex design geometry that 3D Printing is able to reproduce, it's nevertheless a foundational concept in 3D Design. Understanding how to turn a simple sketch outline into a 3D Model is the first step towards creating more detailed 3D shapes.
There are two things you want to make sure you have here: a sketch trace, and any dimensions that are important to your final part.
Sketch Trace: This is the outline of the part you'll be creating. This can be drawn free-hand; lines don't have to be perfectly straight, and you don't need to be good at drawing circles. Luckily, the design tools covered in the next step of this article will take care of this perfection for you.
Dimensions: Define the overall size of the item you'll be creating. For a 2D shape, this can be only one dimension such as the overall height or width -- but if you have other areas where hole sizes or widths are important, you can call these out as well. For this anchor piece, we'll be focusing on only the overall height dimension to start. Then, when we're done creating our 3D Model, we can use a software measurement tool to check against the other dimensions written on the sketch.
Once you have your sketch ready, just take a picture of it -- or scan it to an image file -- and then you're ready to start creating your 3D Model design.
Step 2: Creating a 3D Model from Your Sketch
If you're new to the world of 3D Design software, creating a 3D Model from scratch may sound like a daunting task. While it's true that the 3D Design process can be a very in-depth process requiring skill and experience, you'll see here that the process of creating a 3D Model from a simple 2D sketch is quite simple.
The first thing you'll need is a 3D Design program. We recommend Autodesk Fusion 360 because it's free to start and easy for beginners, but it is also an incredibly powerful platform that will allow you to create just about anything you can imagine as you become more experienced in using the software.
While it might be more comfortable to use a more basic lighweight design tool, you'll thank yourself later for starting out with Fusion 360. Let's jump right in!
Draw a line defining your object height: When you launch Fusion 360, you'll have a new design open and ready. Press the "L" key to draw a line. This will first prompt you to select a sketch plane, so click any of the three options. We'll use the horizontal plane for a nice top-down view. Click anywhere to place your first point, and then as you go to place your second point, you'll see a text box appear. Type your height dimension into this box, and hit Enter to draw the line.
Congratulations! Now you have a line that matches the height of the anchor in the drawing.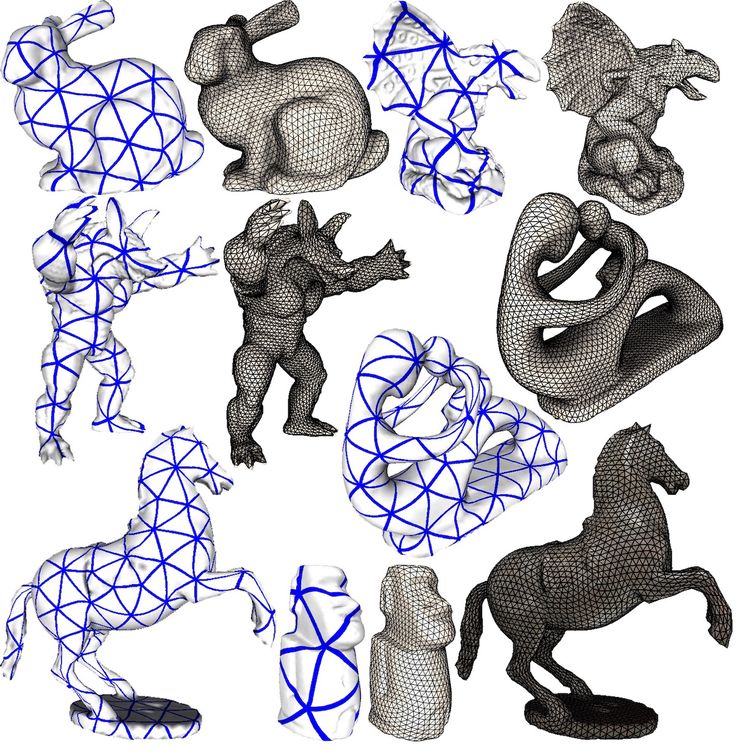 When you add your sketch image in the next step, you'll have a visual aid to help you scale the image to match this height dimension.
Import your sketch image: While still in Sketch mode, click Insert -> Canvas from the top tool menu, and select the image from your computer.
This will import your sketch into your CAD software, and then you can use the placement and sizing tools to get your image to be the same height as the height line you drew in the previous step.
When you've got your trace lined up with your height line, click OK to exit the canvas import menu. Now you're ready to trace over your sketch and create a flat profile of your shape in this 3D CAD software.
Trace the image: To trace this image, we'll use the Circle tool, Line tool, and Fit-Point Spline tool. We start off with the Circle tool, and place the center points in the middle of the round areas, and draw the circles out until they overlap with the drawing.
Use the line tool to trace over the straight areas of the drawing, and the Fit-Point Spline tool to place points along the areas of the drawing which have curvature. The Fit-Point Spline tool will create a curve which traces along the points you place one-by-one.
Since this is an object with symmetry along the vertical axis, meaning that it looks the same on the left half as it does on the right half, then we can save ourselves some time by mirroring the sketch across a vertical axis. Once you trace the left half of the drawing, you can use the Mirror tool to create that sketch geometry flipped over on the right axis.
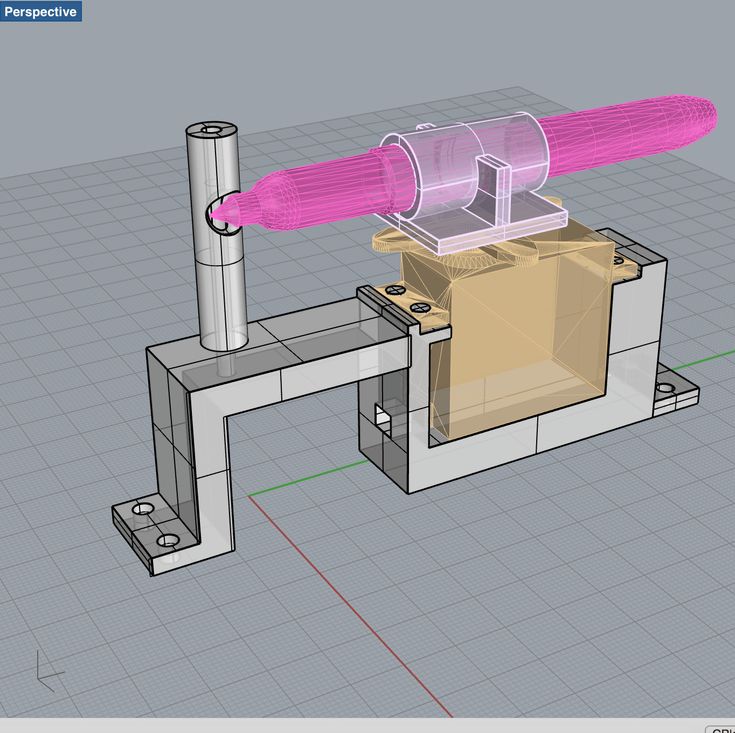
After selecting and mirroring the left-half geometry we traced manually using the Circle, Line, and Fit-Point Spline tools, we now have a full trace of our drawing. Now it's time to create a solid three-dimensional object from this sketch geometry, using the Extrude tool.
Extrude the sketch geometry: Select the Extrude tool, and click all of the closed sketch faces that you want to give a thickness to, and type in the thickness you want them to be. We want this part to be 10mm thick, so we type in 10mm into the Extrude tool box after selecting the sketch faces, and this gives us our final 3D Model of our anchor.
Now you have completed the process of creating a 3D Model file from your sketch. We just need to save it off in the right format for 3D Printing.
Saving as an STL file: From the Bodies section in the model tree on the left of the design area, right-click the model body, and select Save as STL. Name your file, and click Save. Now you're ready to 3D Print this STL file.
Step 3: 3D Printing Your STL File
The hardest part is over -- once you have your STL file, getting a 3D Print is simple.
When you create a user account at Hollywood 3D Printing, you get 10% off your first online 3D Printing order. You also get free access to a suite of helpful online 3D tools.
On sign-in to your Hollywood 3D Printing user account, you're directed to a blank new quote which is ready for uploading your 3D Model files in STL, OBJ, STEP, or IGES file format.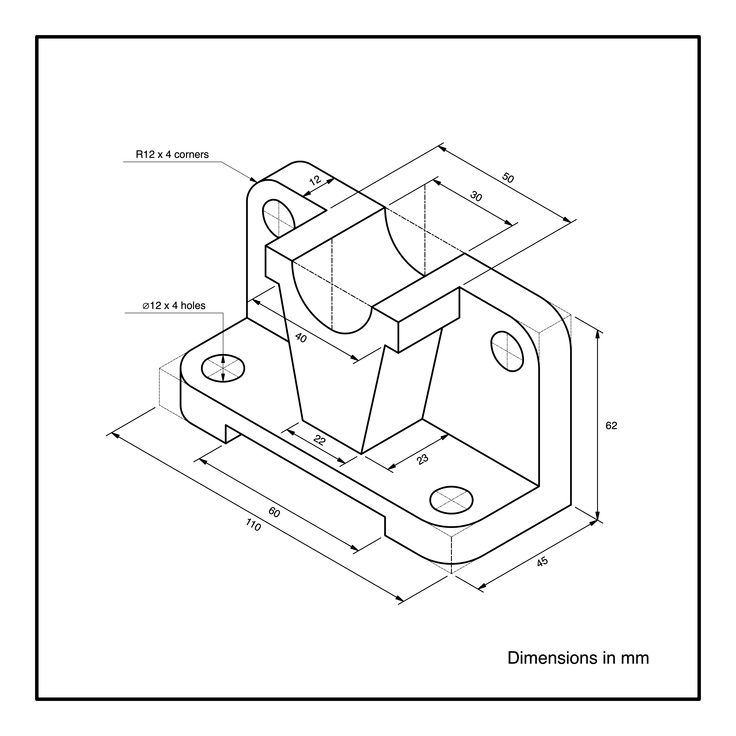 This is where we're going to be uploading the STL file created in the previous step of this guide.
When you sign in to your user account, you're directed to a blank New Quote. This is where you can upload 3D Model files and get an automatic 3D Printing quote and order parts online.
To order a 3D Print of your 3D Model file, just drag+drop your STL file over the upload icon in this window, and it will appear as a new Line Item in your automatic online 3D Printing quote.
Once your 3D Model appears as a new line item in this 3D Printing quote, you can click the "Generate Price" button. This step is where our online 3D software analyzes your 3D Model file, and determines the size of your part, how long it takes to 3D Print, and the volume of material required by the part. Based on this information, you will see a quoted price to 3D Print your 3D Model.
After adding a 3D Model file to your automatic quote, you will see a "Generate Price" button appear.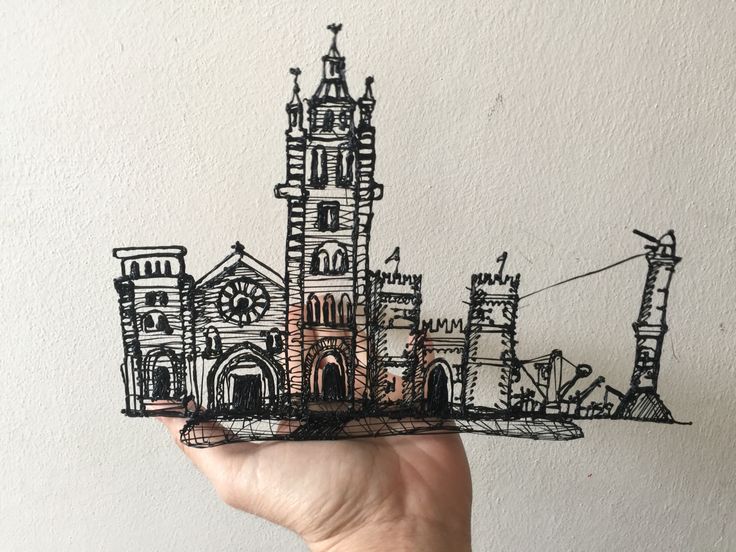 Click this button, and our online 3D software will analyze your 3D Model file and generate a 3D Printing price.
Along with this pricing information will be the dimensional size of your 3D Model. If the default choice for the 3D Model dimension units is not right, you can change your units by clicking "mm", "cm", or "in" in the Set Units section, and you will see your dimensions update.
In addition to changing the dimension units, you can select your build material option, and change the quantity of your order if you're looking for more just one part.
Upon generating a price, your 3D Printing quote will include a thumbnail image of your part, and a link to view your 3D Model in the online 3D viewer software.
From here, you are ready to proceed to checkout, and your 3D Printed part will ship to you within a matter of days.
Thanks for reading this guide! If you got this far, hopefully you now understand how to go from a simple 2D sketch to a finished 3D Printed part.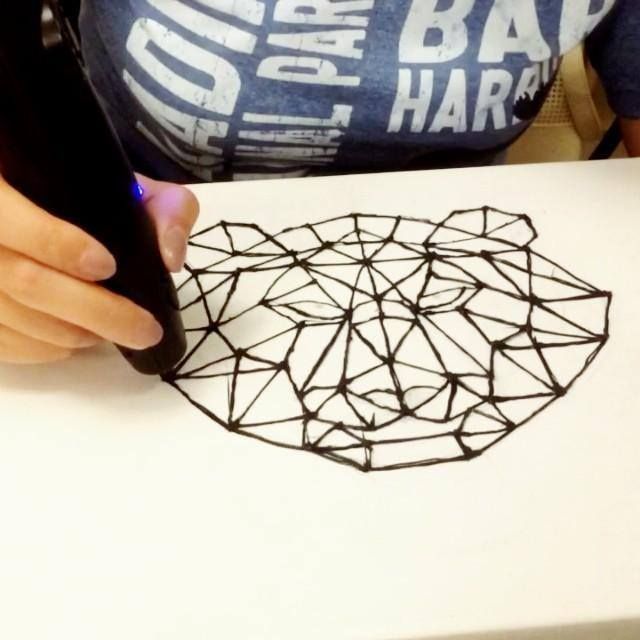 We look forward to becoming your trusted 3D Printing partner.
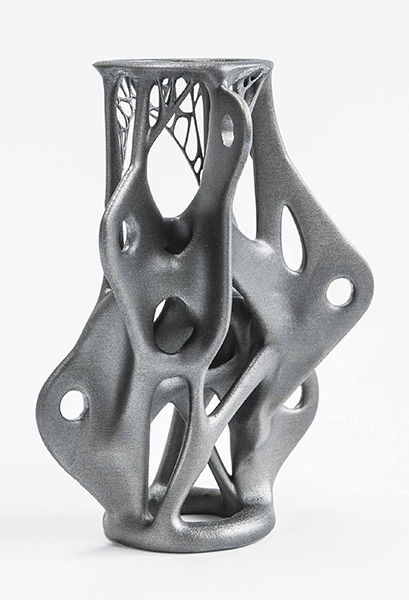
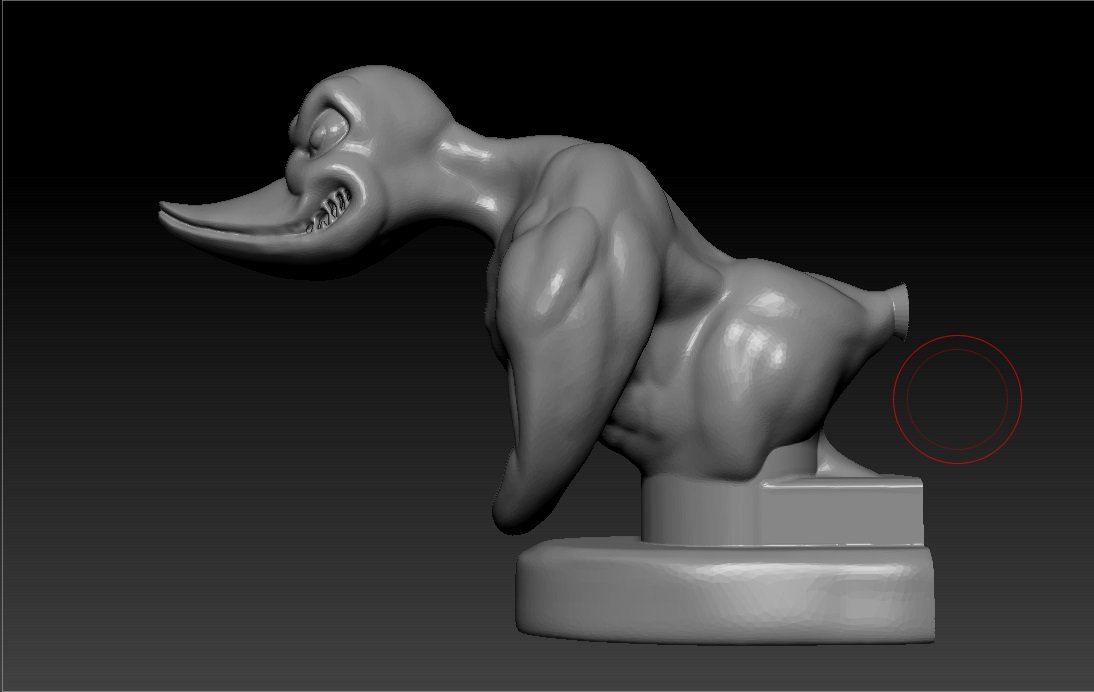
Get Inspired
Browse through hundreds of examples of our 3D printing, 3D design, and custom fabricated builds.
Cults・Download free 3D printer models・STL, OBJ, 3MF, CAD
Featured
By FlexiFactory
This Flexi Yeti is an articulated 3D print-in-place model that needs no supports, what an amazing modeling job! New feature: it easily stands on its feet right after printing! Bonus points if you can make it stand on it's head :) This little guy is the perfect print for Christmas season, also a very nice gift idea.
Download STL Files
01
EGLISH BULLDOG YOGA POSE 2
€3.91 -20% €3.12
Alien Bust
€2. 19
19
Dragon Scale Egg
€3.92
04Touring Bike
€1.40
05FLEXI GOLLUM PRINT IN PALCE
€3.91
06funny
Free
07POCHITA articulated print on place
€3
08MINECRAFT CHICKEN APPLE WATCH STAND
Free
09Christmas tree in articulated underwear
€1.96
10Parrot chopper
€3
11Poseidon, God of the Sea
€2.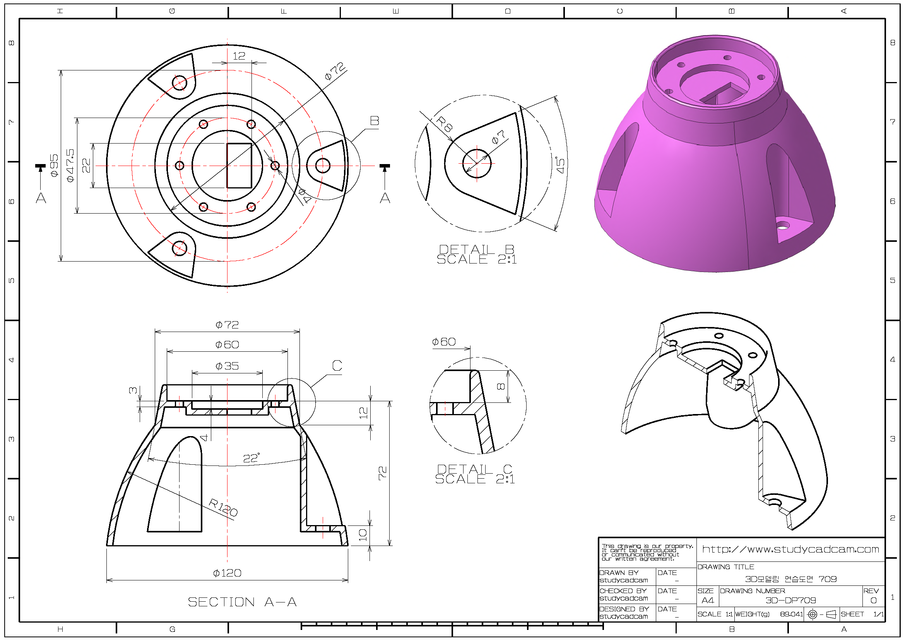 45
45
STEERING WHEEL KEYCHAIN SPRING LOADED FULLY 3D PRINTED
€0.97
13Notebook
€2.60
14Kinetic Floating Christmas Tree
€1.89
15Lazy Beaver
€3.99
16** FOR GAMERS ** JOYSTICK HOLDER
€2 -10% €1.80
ARTICULATED CARTOON TURTLE
€3.26
18Multitools organizer
€2.50
19Grand Concert Piano
€5.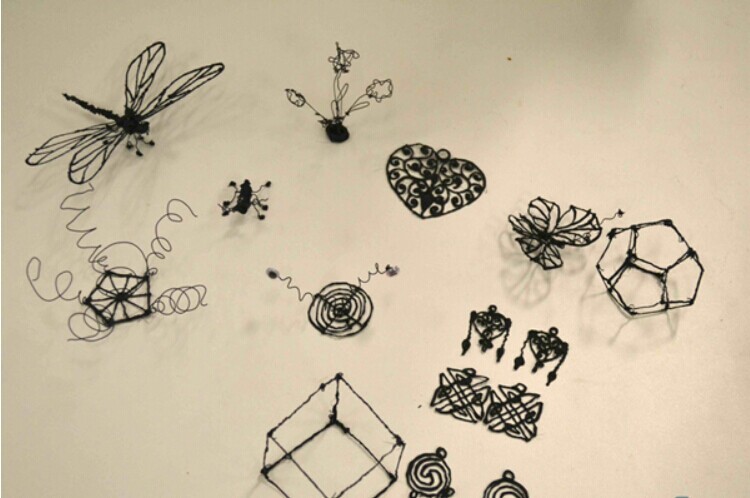 99
99
ARTICULATED SCORPION
€3.33
01
4th Planet Battleduke Pre-Olympian God
€12
02Cessna 172 Skyhawk 1:72
€2
03Northrop YF-23 Black Widow II 1:72
€2
04Gengar - Flexi Articulated Pokémon (print in place, no supports)
€2
05Nice Flexi Hedgehog
€1.05
06Trash can with swing lid
€3.20
07Charizard - Flexi Articulated Pokémon (print in place, no supports)
€3
08Voidwalker Exosuits Truescale
€14. 82
82
01
FUTURAMA BENDER LARGE FIGURE
€8.75 -40% €5.25
Christmas Shadow Candle Holder with 13 Silhouettes Files
€2.50
03Hobbit House / Hobbiton
€2.93
04Mosaic Cake - Birthday Cake Model
Free
05The Cute Flexi Skull
Free
06WOWSTICK STAND
€2.50
07Deer Horns - 3D Ready to Print
€9. 78
78
Giant Dino Egg With Lid
€2.89
09Samurai Dragon Mask | Liberty Square Fan Art
Free
10Cotton Swab Holder
€1.68
11Articulated Itsy Bitsy Spider
€2.45
12Christmas sign / 3D word
€2.70 -30% €1.89
City liner bus
€1.50 -33% €1
Falcon Google nest mini holder
Free
15MINE SWEEPER OFFLINE - NO SUPPORTS
€3. 54
54
Christmas gnome decor COMBO PACK
€13 -62% €4.94
Flexi Snail / Flexi Snail
€3.66
18Multicolor Master Sword Switch Storage (extended!)
Free
19Cute Flexi Pochita Cainsawman
€3.50
20jordan retro
€4.89
01
Bogal Born Battle Bank
Free
02itsboyinspace Rocket Keychain
Free
03flexi turtle
Free
04Rick The Thinker
Free
05New imperial armoured sentinel model
Free
06Print-in-place and articulated F14 Jet Fighter with Improved Wingdesign
Free
07Lord Challenger
Free
08Danish christmas hearts
Free
🔁 Updated
Star Wars Cantina Counter, Dispensers, Stills for 3.
 75" and 6" figures
€6.34
Space alien guards
€7.95
Rolls Royce Keychain
€1
1/144 Mobile Suit Recten - Gundam Reconguista in G
€12.73
Mass Effect Tali'Zorah Statue
Christmas spheres - santa claus - reindeer - christmas
DESENSITIZING PLATE U.S
Mining Loader
Alfa Romeo Mito Car Wheel Rim
€22.95
Mirko - My Hero Academia
€19.59
Cartoon Flamingo
€3.92
Repuesto ventana - replacement window
€0.61
Audi A3 S3 Car Wheel Rim
€22. 95
95
Phone holder pen holder, USB, Micro SD Star Wars
Free
Sheet metal brake
€10.95
3d decor for indoor - outdoor
€1
See all 3D models
Cults, the 3D printing platform
Welcome to Cults, the world’s leading independent website for 3D printer files. Discover and download the best 3D models for all your 3D printing & DIY projects.
Cults is a digital marketplace for 3D printing and design. Use our 3D model library to discover everything you can do with a 3D printer (FDM, SLA, DLP, SLS) event with CNC machining and laser cutting. You don’t know how to make a 3D file but you want to 3D print objects? Cults is for you! Browse our different categories and download the best 3D printer models for free, open-source or paid mode. The formats you can download are in STL, OBJ, 3MF, CAD, STEP, SCAD or DXF, DWG, SVG format, they are all 3D printable guaranteed or CNC compatible.
We are connecting 3D print files makers with people who want to use their 3D printer. Our 3D model repository acts as a real source of inspiration since the best designers share their best STL files daily to offer you their latest inventions!
On Cults you can also find a 3D printer nearby, get voucher codes to buy cheap 3D printers or filaments at best prices and also a whole series of 3D printing contests. Cults is a joyful community that brings together all 3D printing fans to dialogue and create together.
Commission system
You are a designer and you want to sell your 3D models optimized for 3D printing? Thanks to Cults you can earn money with your files STL, OBJ, CAD, 3MF, etc. ! For each download, you will receive 80% of the net selling price (excluding VAT) via PayPal. Cults keeps 20% of commission which is used to finance bank fees (about 5%) and then all the costs related to the technical maintenance of the platform: hosting, bandwidth, accounting, email communications, translations, etc. There is no subscription system or fixed fee to pay. You sell, you win!
If you are still hesitating to share your models on Cults, feel free to read this article Why publish my designs on Cults? List of advantages and benefits to get an idea.
- Designers 80%
- Cults 15%
- Banking fees 5%
Upload a 3D model
3D printer models
Looking for 3D printer models? The Internet is filled with sites that offer them for free.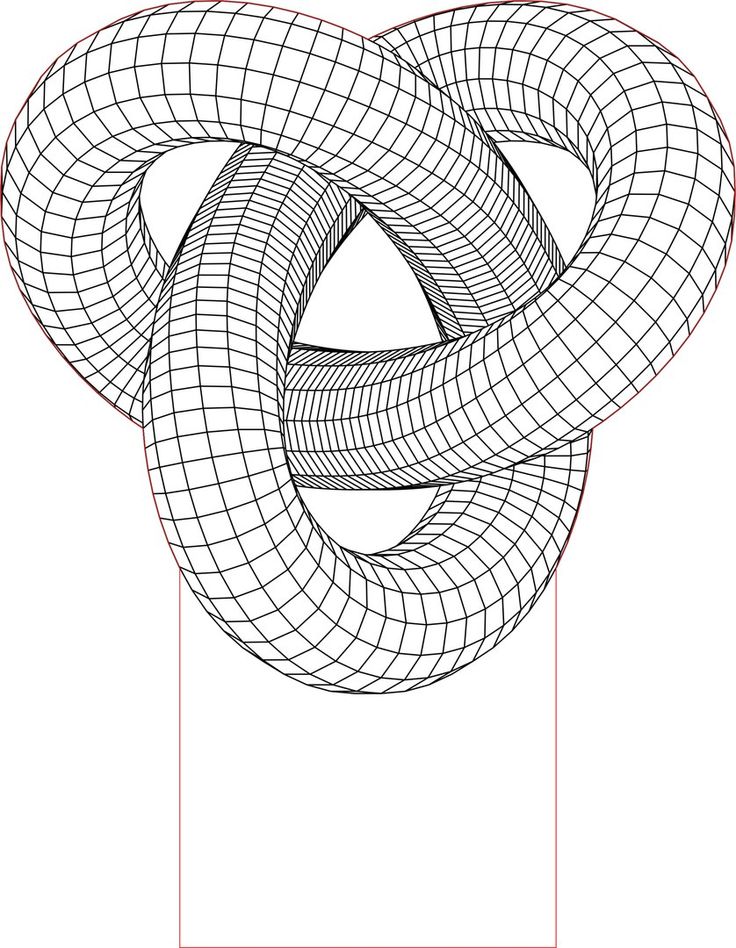 We have collected the TOP 10 catalogs that you can use to search and download free models in STL format. We hope you can find what you are looking for.
- Yeggi
- Yobi 3D
- STLfinder
→ myminifactory.com
My Mini Factory is a 3D model depository operated by iMakr, an online store that sells 3D printers and accessories. It also has one of the biggest 3D printer shops in Central London. The site contains 3D models designed by professionals, and all models stored on it are checked for quality. You can also make a request for the desired model, which their designers will create and put in the public domain. Billing itself as a 3D printing social network, MyMiniFactory is a thriving community of makers who love to showcase their creations. Users vote for the best models, which allows popular creations to rise to the top of the list and gain popularity. The site presents models that are stored on its social network, as well as outside it, for example, on the Thingiverse and YouMagine sites.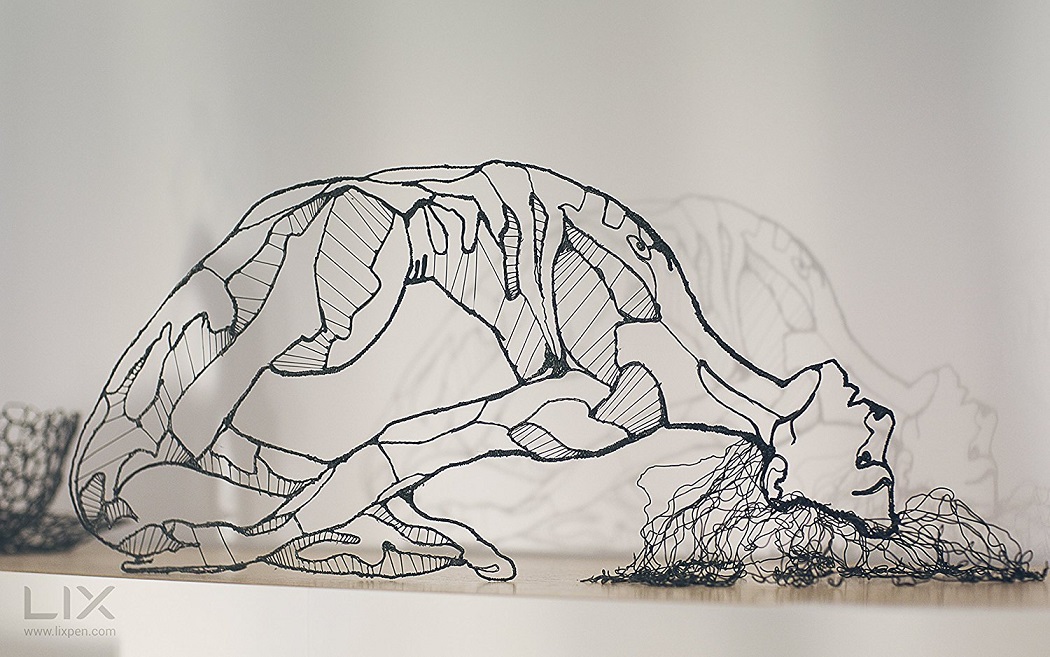
→ thingiverse.com
The most popular and famous site among 3D printer users, Thingiverse is owned by MakerBot Industries, the creator of the popular Replicator 3D printer series. The site allows users to store and share 3D model files that are used with 3D printers. It's a very popular site and has a large community of people hosting various categories of files on it. So if you're looking for "cool" printable stuff, Thingiverse is worth a visit. It is a portal designed to provide its users with ways to share their designs and to help print 3D creations. The site has a system that tries to find out what you like. The more you interact with the site, downloading and evaluating various developments, the better its recommendations will be.
→ 3dshook.com
Another online community for 3D printing hobbyists showcasing interesting 3D printer accessories, electronics and most importantly 3D models. The site contains many very interesting models of cars and buildings, as well as various add-ons and spare parts for your 3D printer.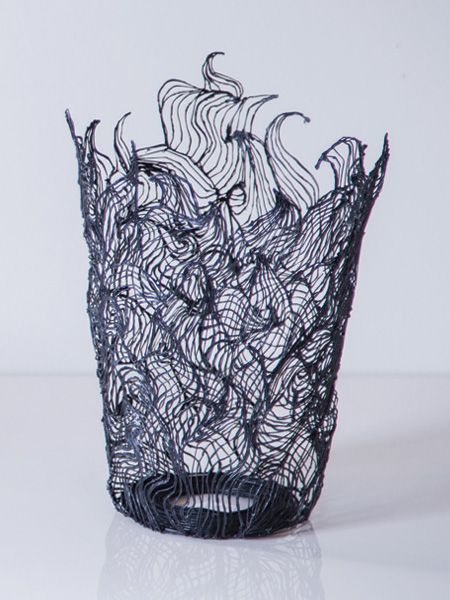 A huge catalog of paid and free models for a 3D printer. There are original unique products. Convenient search, navigation, rubricator. 3DShook has over 40 categories and adds over 100 new models to its collection every month. On 3DShook you can always find something for your home, animals, kids or something special for yourself.
→ youmagine.com
YouMagine catalog for Cube series consumer 3D printers manufactured by 3D Systems. The site mainly offers various ways to buy 3D printer supplies and files, but it also has a number of cool free items available, mostly in the Kids section. Some of these elements can be customized by children using an online application. The company offers 3D modeling and publishing tools on its website for both hobbyists and professionals. The site offers a content warehouse where the community hosts and shares models. Registration is required to download files.
→ 123dapp.com
Autodesk 123D is a suite of computer-aided design (CAD) and 3D modeling tools aimed specifically at hobbyists.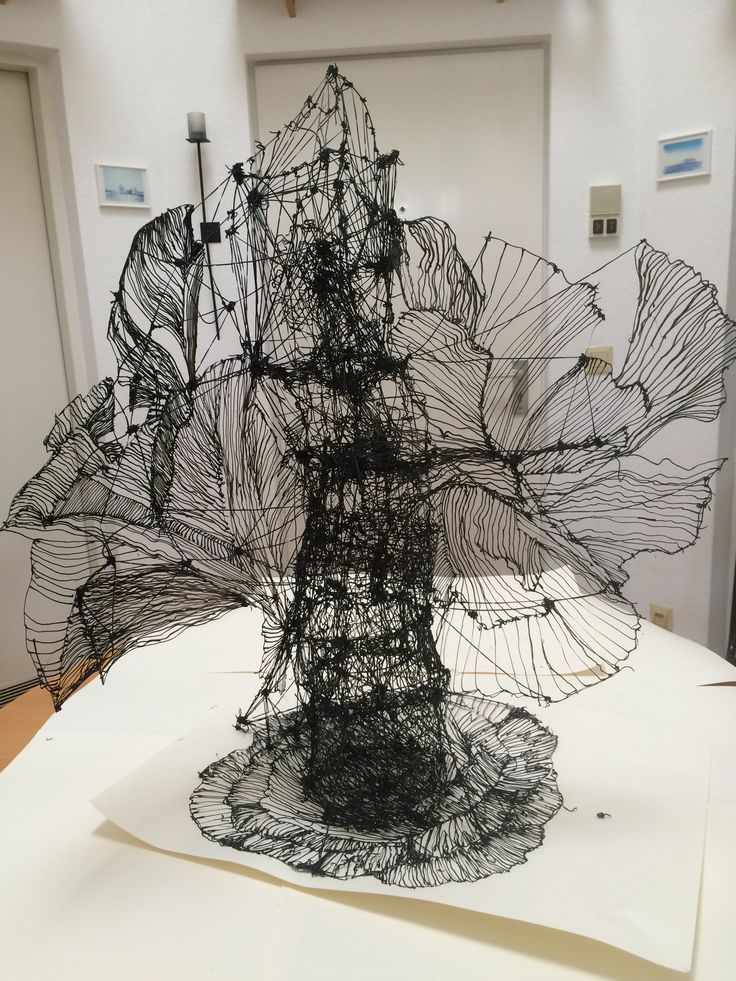 Along with the toolkit, Autodesk also has a website where users can record their designs and share them with other users. Many of these models can be downloaded and printed using Autodesk as a utility to interface with the MakerBot 3D printer. The goal of the Autodesk website is to "help engineers build products faster." The site offers tools to help them collaborate on their files. For the casual 3D printing enthusiast, the best part of the site is the large library of free files created by a community of over a million engineers. Registration on the site is required, but the number of files that are then available is worth it.
→ cgtrader.com
Being primarily a place to buy and sell a variety of 3D models (not necessarily just those designed for 3D printers), CGTrader does offer a selection of free models that can be used on 3D printers. The site has a system that tries to find out what you like. The more you interact with the site, downloading and evaluating various developments, the body will have better recommendations.
→ cults3d.com
A French community and marketplace where developers can share or sell their creations. The site has a collection of high quality models that you can download. Users can follow the work of the designers they like and get instant updates when a new creation is posted on the site. The site's name, Cults, is a backwards spelling of St. Luc, the patron saint of artists. The site also supports English. This is a relatively new community, so the number of its users is not very large yet.
→ instructables.com
The Instructables website is a community where users can share their DIY projects. This also includes products obtained using 3D printers. The site also provides explanations and instructions describing how to build 3D elements, and some designers take the time to answer questions from site members. Instructables allows users to store and organize their 3D printing projects. This is done to help them work together in the future. You can think of this site as a GitHub 3D printing site where users can share their files, discuss projects, and participate in them. The site also offers the ability to make a request, so if you can't find what you're looking for, you can ask the site's community about it.
→ pinshape.com
Pinshape, a marketplace for 3D models, is similar in style (layout, look, and ability to capture likes) to the well-known site Pinterest. You can buy models from designers, or download them for printing yourself if they are offered for free. Pinshape allows users to host and share 3D model files on it. Basically, this site acts as an online store where you can buy 3D printed parts, or order your own 3D model to be printed. But if you look closely enough, you can find people who sell their products and also offer the files you need so you can print them yourself.
→ 3dfilemarket.com
A new and growing repository of 3D File Market models. All models are tested for suitability for 3D printing. You can download as many models as you like without registration, although you must provide your email address to access the 3D model files. This is a very simple site aimed at being a repository of model files for 3D printers, and nothing more. The basic design of the site allows users to put files on it for public access, and download files that they would like to use. The site contains many small, simple 3D models ready to be printed, as well as a good selection of everyday items and even spare parts for 3D printers.
Search engines for 3D models in various formats, including STL for a 3D printer. Use queries in English, these search services collect information about models from all over the Internet.
→ yeggi.com
Yeggi is a search engine that will browse major 3D printing sites to find files compatible with 3D printers. You can also browse some popular searches to get an idea of what the community is currently interested in.
→ yobi3d.com
When in doubt, use yobi3D to search for files that match the desired 3D printer. This tool is useful if you want to search for one thing across all sites at once. A very convenient format filter, fast search, high-quality previews and stl models prepared for 3D printing for printing.
→ stlfinder.com
This is another STLfinder that surfs the web looking for 3D printing. To select files compatible with 3D printers, he goes through many 3D modeling sites.
Oops.. there seems to be no such page
Apparently, you've landed on a page that either doesn't exist or was deleted long ago. Start your search first!
Request a call back
Telephone
By clicking on the button, you agree to the privacy policy of
Item added to cart
Go to cart
Product added to comparison
Compare products
Cannot compare more than 4 products
Request CP
Organization name:
Your e-mail
Your phone
Name of contact person:
Legal address:
Comment:
By clicking on the button, you agree to the privacy policy of
Goods on the way, find out when the delivery is
Your name:
Your e-mail
Your phone
By clicking on the button, you agree to the privacy policy of
Contact us
How to call
By phone +7(495)155-45-19. Your call will be answered by an answering machine. We won't call back if you don't speak up. Each request is processed, we contact clients in accordance with requests. Prepare the information you want to report, send it to the answering machine and we will call you back. We kindly request: do not be silent and do not hang up, this is just an answering machine. 🙂 Other most effective ways to get in touch:
- Write to Telegam @techno3dru
- Write to Whatsapp +74951554519
- Write Email [email protected]
Is the product in stock
On the product page, under the product name, there are 3 statuses:
- In Stock - We have this item in stock. Make a purchase with the Buy button.
- Pre-order - goods on the way, delivery soon. Find out about delivery times by clicking on 'Delivery times' or make a purchase using the Buy button.
Learn more