Diy 3d printer bed
DIY 3D Printer from scratch — Heated bed | by Daniel Faegnell | 3DPrinterChat
Welcome to 3DPrinterChat.com, this article is part of the DIY 3D Printer from scratch, and you will learn a bit more about how the Heated bed works.
What is a heated bed and how it works?
The heated bed is a device that should provide a warm surface to the plastic stick, heated-beds have a huge advantage against warping and other adhesion issues when compared to cold beds. The heated bed have the heating element and the surface material, that can be glass, aluminium or the heating element itself.
The heating element works by converting electrical energy into heat, this happens when electric current flows through an resistance or non-ideal electronic, the amount of energy converted into heat is measured in watts. for example, an ordinary heated bed produces about 80W of heat.
There are two main kinds of heated beds, the printed circuit board and the resistor bank, since the resistor bank is not used due its disadvantages, we wont cover it, but here is a image of how it looks.
How a PCB Heated bed works
The heated bed is made using the printed circuit board concept, which is basically a board (which is usually made of glass or fenolite) with a thin layer of copper on one side (or even multiple layers), then this board is printed or treated in a way that will protect some lines of copper, and leave the rest exposed, then this copper will receive a treatment with acid to remove the parts not protected, this process will leave us with only the useful circuits and connections,
Those tiny lines of copper will behave like an resistor (remember that everything in the universe poses some resistance to electrical flow, and this resistance is dissipated as heat), When we connect those “wires” to a power supply will we will generate heat, exactly what we were expecting.
The PCB has the great advantage of using a small amount of space when compared to other kinds of heating elements, it also can contain multiple layers, which will increase the power/cm² dissipated dramatically.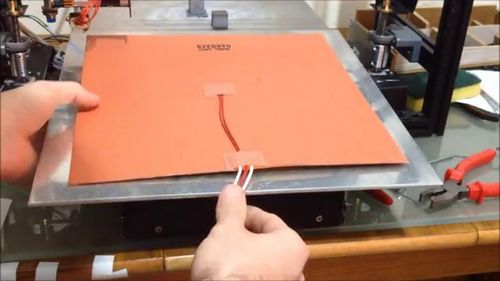
If properly designed, the printed circuit board is capable of distributing the heat more efficiently than any other kind of heated bed, since the power distribution can be drawn and simulated.
Heat distribution and why it matters
See these two examples below:
[caption id=”attachment_15225" align=”aligncenter” width=”501"]
First example: Heated bed without heat distribution correction[/caption]
[caption id=”attachment_15246" align=”aligncenter” width=”502"]
Second example: Heated bed without heat distribution correction and weird behavior[/caption]
[caption id=”attachment_15224" align=”aligncenter” width=”501"]
Third example: Heated bed with heat distribution correction[/caption]
As you can probably guess, a deficient heat distribution is bad, but why is it bad? For materials with high “warping rate”, or technically speaking: with high contraction propensity. These temperature differences will create opposite forces (contraction and expansion), that will force the material to bend, see the image below:
[caption id=”attachment_15295" align=”aligncenter” width=”554"]
Source: https://goo. gl/lIvCgV[/caption]
On the first example, we have a cold bed, you can see the red area which the nozzle has just passed by, and the heat it leaves behind, this is likely to cause warping. On the second example, with the heated bed, we can see that the printed part is also hot, this will reduce the contraction and expansion forces because the temperature difference is lower (ΔT), this part is not likely to have issues with warping.
Now that you understood why a proper bed heat distribution matters, i’ll take as example the famous MK2 Heated bed
RepRap MK2 | $14–18
The MK2 Heated bed is by far the most used heated bed on the DIY community, it is an printed circuit board heated bed, which has the advantage of being capable of handling 12 or 24v just by changing the wires position.
Bed dimensions: 200x200 mm (heated area)
[caption id=”attachment_15302" align=”aligncenter” width=”430"]
Mk2 heating from 60ºC to 110ºC[/caption]
[caption id=”attachment_15303" align=”aligncenter” width=”430"]
Mk2 Holding 60ºC[/caption]
Final judgement:
The Mk2 is a good and cheap bed, for lower temperatures the heat distribution is fair, but is good to mention, if you will print something with the maximum allowed size (200x200) on a material that can be printed with 60ºC (like PLA) the warping propensity is smaller than a material that needs 110º (like ABS).
Improving my current bed
If you don’t want to replace your current heated-bed, there are some workarounds, like adding a glass on the top of the heating element, 3–5mm gives the best result. (keep in mind that this will slow down the heating process, but it also will makes the temperature distribution better)
Example image of a MK2 with 4mm glass. source
Credits and Sources:
All this work would not be possible without the awesome posts below, consider visiting them!
SD3D — Not all heated beds are created equal
RepRap — Heated_Bed
3D Printing Systems — Warping
Heated Bed | Hackaday
November 29, 2021 by Tom Nardi
For a few years now it’s been an open secret that Prusa Research was working on a larger printer named, imaginatively enough, the Prusa XL. Positioned at the opposite end of their product spectrum from the wildly popular Prusa Mini, this upper-tier machine would be for serious hobbyists or small companies that need to print single-part objects that were too large for their flagship i3 MK3S+ printer. Unfortunately, the global COVID-19 pandemic made it difficult for the Czech company to focus on bringing a new product to market, to the point that some had begun to wonder if we’d ever see this mythical machine.
But now, finally, the wait is over. Or perhaps, it’s just beginning. That’s because while Prusa Research has officially announced their new XL model and opened preorders for the $1,999+ USD printer, it’s not expected to ship until at least the second quarter of 2022. That’s already a pretty substantial lead time, but given Prusa’s track record when it comes to product launches, we wouldn’t be surprised if early adopters don’t start seeing their machines until this time next year.
So what do you get for your money? Well, not an over-sized Prusa i3, that’s for sure. While many had speculated the XL would simply be a larger version of the company’s popular open source printer with a few modern niceties like a 32-bit control board sprinkled in, the reality is something else entirely. While the high purchase price and ponderous dimensions of the new machine might make it a tough sell for many in the hacker and maker communities, there’s little question that the technical improvements and innovations built into the Prusa XL provide a glimpse of the future for the desktop 3D printer market as a whole.
Continue reading “Prusa XL Goes Big, But That’s Only Half The Story” →
Posted in 3d Printer hacks, Engineering, Featured, hardware, SliderTagged 32-bit, CoreXY, heated bed, load cell, multi-material, prusa, Prusa XL, reprapFebruary 9, 2019 by Donald Papp
Aluminum bed with new kinematic mount and base on printer Son of Megamax, at the Milwaukee Makerspace[Mark Rehorst] has been busy designing and building 3D printers, and Son of Megamax — one of his earlier builds — needed a bed heater replacement. He took the opportunity to add a Kelvin-type kinematic mount as well. The kinematic mount and base efficiently constrain the bed in a controlled way while allowing for thermal expansion, providing a stable platform that also allows for removal and repeatable re-positioning.
After a short discussion regarding the heater replacement, [Mark] explains the design and manufacture of his kinematic mount. Of particular note are the practical considerations of the design; [Mark] aimed to use square aluminum tubing as much as possible, with machining requirements that were easily done with the equipment he had available. Time is a resource after all, and design decisions that help one get something working quickly have a value all their own.
If you’re still a bit foggy on kinematic mounts and how they work, you’re not alone. Check out our coverage of this 3D-printed kinematic camera mount which should make the concept a bit clearer.
Posted in 3d Printer hacks, hardwareTagged 3d printer, 3d printing, cnc, heated bed, heater, kinematic, son of megamax, thermal expansionJanuary 20, 2018 by Dan Maloney
Thanks to the holiday gifting cycle, many homes are newly adorned with 3D printers. Some noobs are clearly in the “plug and play” camp, looking for a user experience no more complicated than installing a new 2D printer. But most of us quickly learn that adding a dimension increases the level of difficulty substantially, and tinkering ensues.
One such tinkerer, [Marco Reps], has been taking his new Cetus 3D printer to new places, and his latest video offers a trio of tips to enhance the user experience of this bare-bones but capable printer. First tip: adding a heated bed. While the company offers a heated aluminum bed for ABS and PETG printing at a very reasonable price, [Marco] rolled his own. He bolted some power resistors to the aluminum platen, built a simple controller, and used the oversized stock power supply to run everything.
To contain the heat, tip two is an enclosure for the printer. Nothing revolutionary here — [Marco] just built a quick cover from aluminum profiles and acrylic.
But the clear case allows for tip number three, the gem of this video: synchronized time-lapse photography.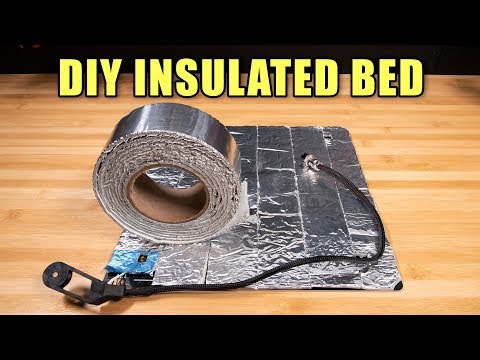 Unhappy with the jerky time-lapse sequences that are standard fare, he wrote a Python program that uses OpenCV to compare webcam frames and save those that are similar to the last saved frame. This results in super smooth time-lapse sequences that make it look like the print is being extruded as a unit. Pretty neat stuff.
Did you find a 3D printer under your Festivus Pole, and now you’re wondering what’s next? Check out [Tom Nardi]’s guide for 3D newbies for more tips.
Continue reading “Trio Of Tips For A Cetus Printer” →
Posted in 3d Printer hacksTagged Cetus3D, frame dropping, heated bed, opencv, printer, time-lapseSeptember 17, 2016 by Moritz Walter
A while ago Wanhao was reaching out to its customers and resellers, warning them of a design flaw in their Duplicator i3 that may cause fires. The printers suffered from an issue that caused crimp connections of the nozzle heater cartridge’s supply line to fail due to the mechanical stress in the cable drag chain. In their “Recall” titled note, Wanhao provides instructions on how to fix the issue.
Now, [Chuck Hellebuyck] released an unboxing video on the Duplicator i3 Plus, during which the heated bed emitted magic smoke that could be rationally explained as another design flaw.
Continue reading “Possible Fire Hazard: Wanhao Duplicator I3 3D Printer” →
Posted in 3d Printer hacks, News, SliderTagged cheap 3D printers, design fail manufacturing, heated bed, heater cartridge, product recall, short circuitJuly 6, 2016 by Moritz Walter
3D printers have become incredibly cheap, you can get a fully workable unit for $200 – even without throwing your money down a crowdfunded abyss. Looking at the folks who still buy kits or even build their own 3D printer from scratch, investing far more than those $200 and so many hours of work into a machine you can buy for cheap, the question “Why the heck would you do that?” may justifiably arise.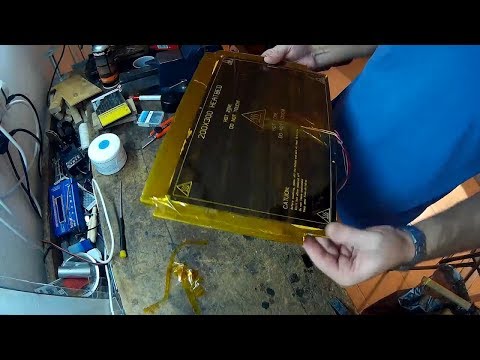
The answer is simple: DIY 3D printers done right are rugged workhorses. They work every single time, they never break, and even if: they are an inexhaustible source of spare parts for themselves. They have exactly the quality and functionality you build them to have. No clutter and nothing’s missing. However, the term DIY 3D printer, in its current commonly accepted use, actually means: the first and the last 3D printer someone ever built, which often ends in the amazing disappointment machine.
This post is dedicated to unlocking the full potential in all of these builds, and to turning almost any combination of threaded rods and plywood into a workshop-grade piece of equipment.
Continue reading “Build A 3D Printer Workhorse, Not An Amazing Disappointment Machine” →
Posted in 3d Printer hacks, Engineering, Hackaday Columns, SliderTagged 3d printer, 3d printer upgrade, 3D Printering, 3d printing, amazing disappointment machine, garolite, heatbed, heated bed, marlin, mendel, MK42, Octoprint, PEI, polyetherimide, prusa, Prusa i3, prusa mendel, Repetier, reprap, tufnol, yodaDecember 16, 2015 by Brian Benchoff
Converting mains voltage down to 12 or 24VDC to drive a heating element makes no sense. To get 120 watts at 12 volts requires thick wires that can handle 10 amps, whereas at 120V, tiny 1A wires will do. If you’ve ever felt the MOSFET that switches your heated bed on and off, you know it’s working hard to pass that much current. [Makertum] is of the opinion this is a dumb idea. He’s creating a 110 / 230 V, mains-powered heated bed.
Creating a PCB heat bed isn’t an art – it’s a science. There are equations and variables to calculate, possibly some empirical measurements by measuring the resistance of a trace, but Ohm’s Law is a law for a reason. If you do things right, you can make a PCB heat bed perfectly suited for the task. You can even design in safety features like overcurrent protection and fuses. It can’t be that hard. After all, your house is full of devices that are plugged into the wall.
However, there’s a reason we use 12V and 24V heated beds – they give us, at the very least, the illusion of safety. Therefore, [Makertum] is looking for a few comments from specialists and people who know what they’re doing.
Although a mains powered heated bed sounds scary for a hobbyist-built 3D printer, there are a number of positives to the design. It would heat up faster, thin down a few parts, and significantly reduce the overall cost of the printer by not requiring another 100 Watts delivered from a 12V power supply. It’s a great idea if it doesn’t burn down the house. Anyone want to help?
Posted in 3d Printer hacks, SliderTagged 3d printing, hackaday.io, heated bed, PCB heat bedSeptember 9, 2015 by Al Williams
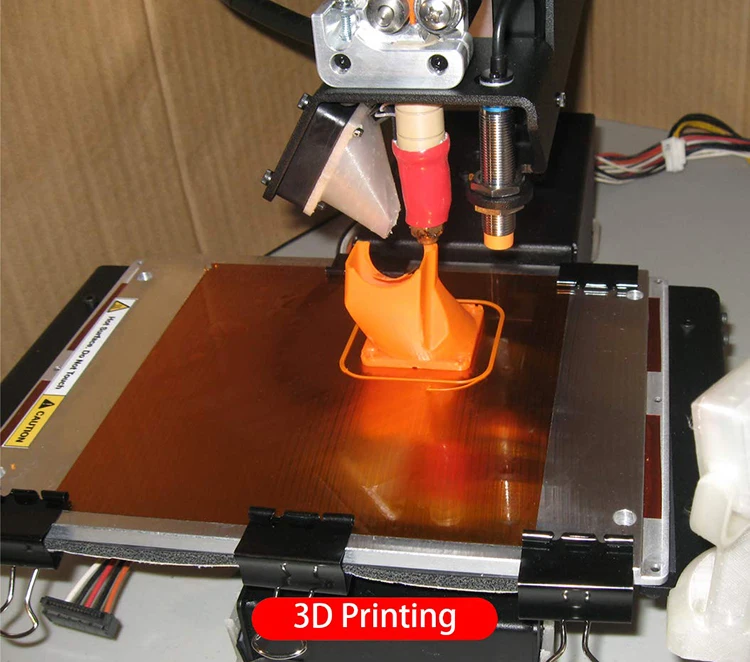
A heated bed is nearly essential for printing with ABS. Without it, it is difficult to keep parts from warping as the plastic cools. However, heating up a large print bed is difficult and time consuming. It is true that the printer easily heats the hot end to 200C or higher and the bed’s temperature is only half of that. However, the hot end is a small insulated spot and the bed is a large flat surface. It takes a lot of power and time to heat the bed up and keep the temperature stable.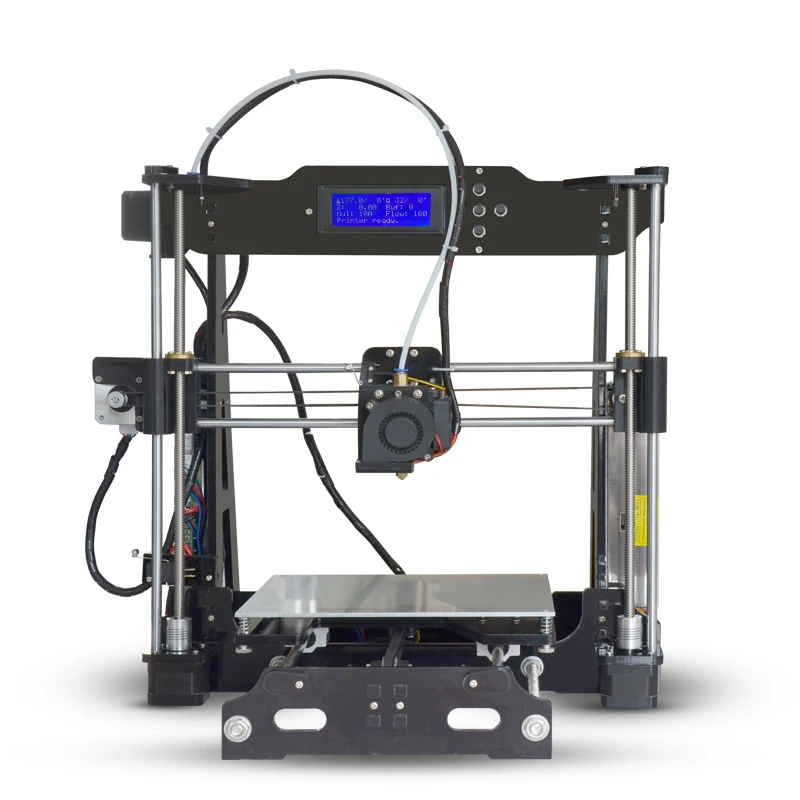
We’ve used cork and even Reflectix with pretty good results. However, [Bill Gertz] wasn’t getting the performance he wanted from conventional material, so he got a piece of aerogel and used it as insulation. Aerogel material is a gel where a gas replaces the liquid part of the gel. Due to the Knudsen effect, the insulating properties of an aerogel may be greater than the gas it contains.
Continue reading “Aerogel Insulation For 3D Printers” →
Posted in 3d Printer hacks, Tool HacksTagged aerogel, heated bed, insulationHigh-tech bed - punchboard
Technician
Subscribe author
Subscribe
Don't want
29
My second printer was UP! 2 plus. You can endlessly sing odes to him, he suited me with everything except a small area of \u200b\u200bprint. What about Afinia (Tiertime)? He has a unique bed - punchboard. It is a perforated textolite. The raft settings in the 3D printer were such that the first layer was slowly and calmly poured partially into the holes. This is the best, simplest, most reliable and fastest way to hold a part that I have seen. The part is removed simply - with a sharp knife or spatula we hook the edge and drive it under the part - it will fly off.
If the plastic remains in the holes after removing the part, it does not matter, the next time you print, the new layer will be firmly welded to the old plastic.
After buying a new printer, I wondered where to get such a platform. It was not possible to do it, but on Ali I saw options - what is in the photo is an ordinary circuit board 15x20cm, with drilling of not very good quality. Only it has 4K holes. Checked out: it's holding up well. In the next photo, the reverse side of the raft shows traces of fastening in the holes - spikes.
You can separate the model with a spatula sharpened on one side, such a 'Japanese leather knife' is best suited, searched on Ali.
Pluses:
+ quick detachment of the model
+ quick start of printing - no need to smear anything
+ no smell (except for the initial smell from the textolite) UP, circuit boards, punch boards from Aurora 3D printers, homemade punch boards.
+ no matter the type of plastic - everything sticks. Checked ABS, PLA, nylon.
Cons:
- the initial stench of the textolite (if not a branded perforated board)
- printing only with a raft
- when printing a large part, it requires a longer warm-up time so that the textolite warms up evenly.
Features:
- degreasing is mandatory after touching with hands (this is not a minus - there is nothing to touch the bed)
- the need to fine-tune all slicer profiles to the maximum thickness of the first raft layer
- separation requires a flat knife or sharpened spatula
Happy printing everyone!
Subscribe to the author
Subscribe
Don't want
29
More interesting articles
zl0_0ka
Loading
05. 12.2022
801
16
Subscribe to the author
Subscribe
Don't want
Hello everyone, my first attempt to help myself and I hope someone else.
Can...
Read more
alexpr0
Loading
08.12.2022
766
3
Subscribe to the author
Subscribe
Don't want
Modification Creality Filament Dry Box (Part 1)Description
Inexpensive box for warming...
Read more
AKDZG
Loading
14.02.2015
847704
365
Subscribe author
Subscribe
Don't want
Many 3D printers run the popular Marlin firmware.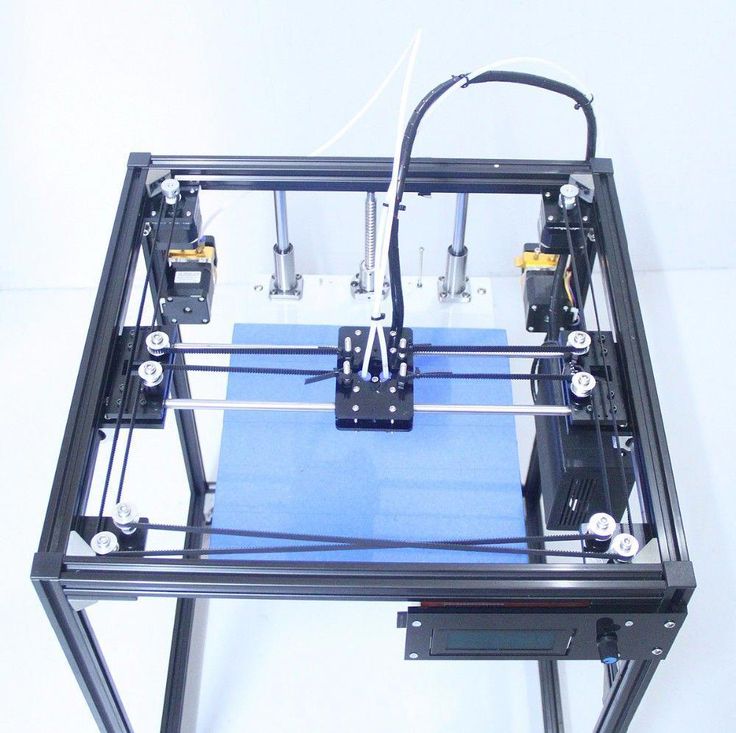 The firmware is initially configured ...
Read more
Do-it-yourself cabinet for a 3D printer
Do-it-yourself cabinet for a 3D printer - just a screwdriver, a head and Leroy to help your hands.
Hello everyone! Good day to all and happy reading. I share a positive experience in the manufacture and use of a printer cabinet.
I want to say right away that to make this cabinet, from a tool, you only need a screwdriver or a screwdriver.
Relatively compact cabinet on wheels with dimensions of 600 x 600 x 1600 mm
contains:
1. Ender 3 pro 3D printer and 10 spools of plastic on rotating axes of holders in quick access next to the printer.
2. 28 rolls of plastic on 2 shelves with easy access to each.
3. All available tools, consumables and other small things.
Initial and boundary conditions:
1. Even before purchasing the printer, I learned that there is a very useful addition to the printer - a thermal camera.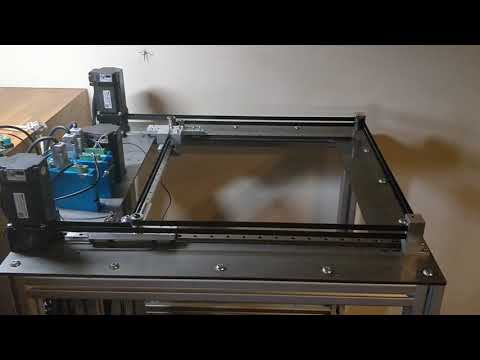 However, due to the high price, buying a printer with a thermal camera was not part of my plans. But it was decided to make a thermal chamber or just a chamber without drafts in advance - it was implemented.
2. I really wanted all the items related to 3D printing to be in one place (cabinet / cabinet) - implemented, although spare parts for the printer are stored elsewhere, but fortunately they are rarely required.
3. Possibility of easy access to any part of the printer for its maintenance - implemented. The shelf with the printer extends almost completely, giving access to it from all sides.
4. Convenient arrangement of coils with plastic for its quick replacement - implemented. From any spool placed on the holders near the printer, you can thread the bar into the printer by passing it through the rotary blocks and guides (printed parts).
5. Due to my circumstances, the mobility of this closet within the apartment was required - implemented.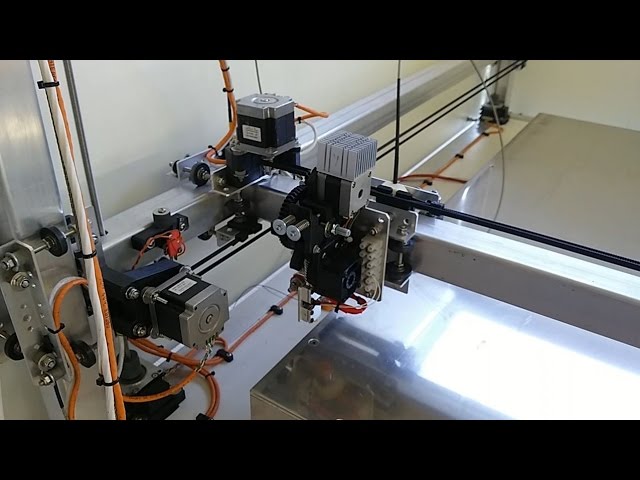 Wheel supports and a wire reel from a vacuum cleaner with a wire about 6 meters long are installed. The vacuum cleaner reel is protected by a chipboard case and is fixed inside the cabinet to the right of the printer, next to two electrical circuit breakers it can be seen in many photos.
6. The cabinet should be budget-friendly, attractive, with a minimum amount of labor and dust in the apartment during its manufacture.
7. Material and accessories should be easily accessible and preferably in one place.
8. Possibility of developing and modifying an already finished cabinet.
Since there is experience in making furniture, almost all the furniture in the apartment is made on our own. It only remained to move the brain gyrus and come up with the device and layout of this cabinet. I decided to take sliding shelves on ball guides (on ball linear bearings) as the basis for easy access.
From the available stores and companies for the purchase of materials and components, Leroy Merlin was chosen, Laminated chipboard (LDSP) is always available there, ball guides, wheel supports, mounting angles and self-tapping screws. In addition to the availability of material, Leroy provides a wonderful service in our business - this is cutting chipboard to your size, almost without chips, charging a small fee for this in relation to the cost of tools and cleaning mountains of sawdust and dust in the apartment accompanying independent cutting of chipboard. By the way, I have this experience too - I have a tool, and some of the furniture was made in this way. Even with a vacuum cleaner connected to the tool, a lot of dust and sawdust flies past the vacuum cleaner. And after all, this is not just wood dust, but dust containing phenol-formaldehyde compositions used in the manufacture of laminated chipboard, although I may be wrong here, it is possible that laminated chipboard manufacturers have already switched to environmentally friendly binders for its manufacture.
Initially, two drawers were made for plastic reels.
And printed bearings
but due to the curvature of the edges of the coils themselves, they kept flying off the supports, so this option for placing the coils had to be abandoned in favor of the next option, which still works.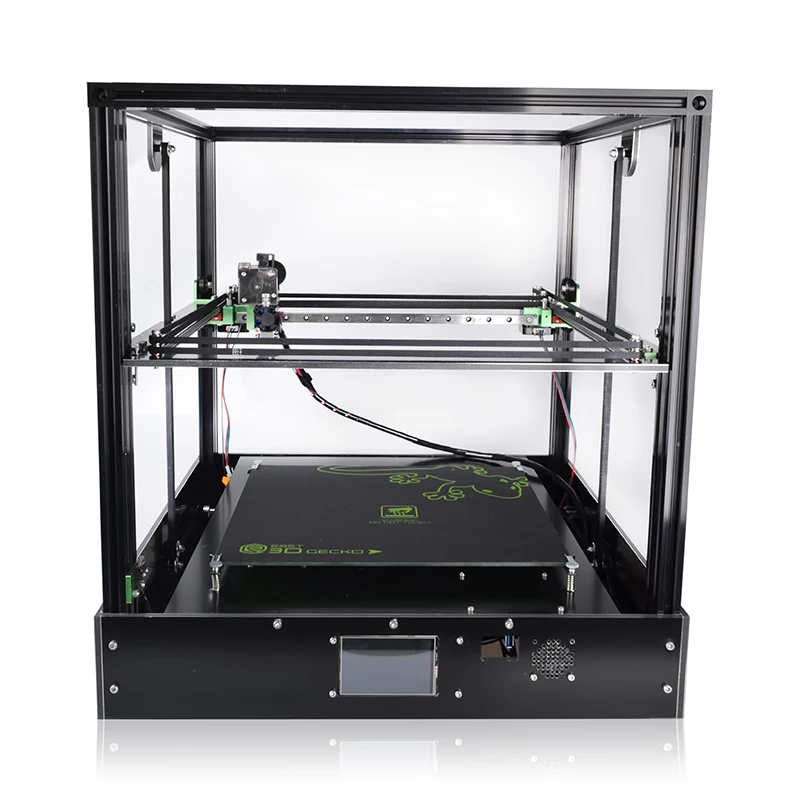
The hardest part was deciding how to fix the transparent front panel? On hinges? On magnets? Somehow else? Since the place where the printer stands does not indulge in space, the options with hinges disappeared immediately. I installed the magnets by screwing them with self-tapping screws into the drilled holes in the ends of the sidewalls and the roof of the cabinet,
I fixed a U-shaped profile on the printer shelf, “legs” up. Stationery clips were put on the transparent panel itself so that they would not fidget around the panel, I glued them with adhesive tape, having previously removed the “unclamps” from them.
Printer power supply, system unit, control panel are removed from the printer and fixed at the bottom of the shelf on which the printer is located or on a fixed shelf below it. All switches are displayed on the right edge of the printer shelf (in the photo below on the right): printer, weak lighting, more powerful lighting, turning on the exhaust fan and switching its operating modes. Initially, a flexible air duct was connected to the fan with access to the street. I did not use this exhaust system for a long time, having heard a lot about the stench and harmful fumes of ABS plastic. For the convenience of checking coolers and other 24-volt households arriving from China, I installed wags and brought 24 V to them from the printer power supply. The lighting is powered by 12 V, lying in the corner of the computer power supply. Because the body of the brain turned out to be recessed, which made it inconvenient to insert and remove the micro-SD card, to facilitate the process, an extension cord for the SD card was used in the center of the photo below in the green holder. This extension cable would still be used in order not to "stagger" the regular SD card socket soldered into the motherboard, replacing the extension cable seems to be an easier task than resoldering the regular socket on the motherboard.
If it is required to remove the printer completely from the shelf, then in order not to disconnect the wires from the brains, a slot is made in the shelf,
into which the box with "brains" freely passes. For the same purpose, you can run the wires to the printer behind the shelf, but then the wires will need to be lengthened, the slotted option allows you to get by with regular wires - here who is more suitable.
There is an idea to make mezzanines in two or three tiers, each with 8-10 spools of plastic with each thread passing into the printer chamber from above, but I don’t do it until there is a need for it.
Some remarks for those who are going to repeat this design.
In the file is an Excel book https://yadi.sk/i/xLZoXu-91Qku0A with dimensions and cutting of laminated chipboard sheets All sheets are taken 600 mm wide, 2700 mm long - 3 pcs and 800 mm - 1 pc. Please note that the first column on the “panel cut” sheet is cutting across the sheet (along its short side 600 mm), the second column is cutting along the sheet of already cut parts, it is advisable not to confuse this, otherwise the front ends of the shelves will be without laminate and will have to or put up with this, or buy and glue the edge on the ends of the chipboard.