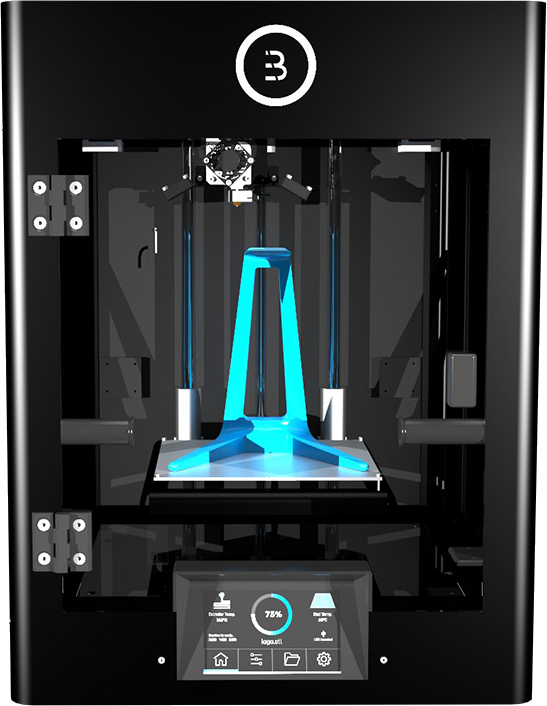
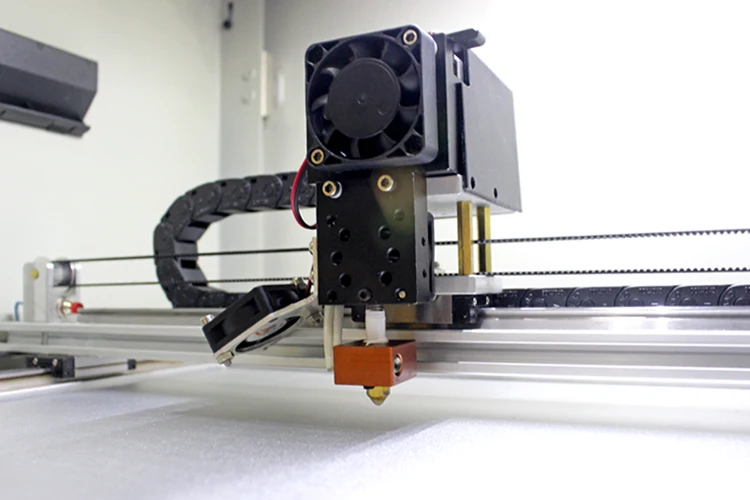
Car parts 3d printer
How To 3D Print Replacement Car Parts [2022 Guide]
If you're looking to create your own car parts, you can do so with ease. Here is a guide on how to 3D print replacement car parts very cheap.
By Justin Evans
As 3D printing technology grows more popular, hobbyists and automotive industry leaders alike are starting to 3D print car parts as an alternative to expensive repairs and manufacturing.
This may seem unbelievable to people outside of the 3D printing space, but it is true. 3D printers can create all kinds of car parts, and they work just as well as traditionally manufactured parts.
There are plenty of reasons why people do this. They may want to personalize their car, make their car lighter, or just replace a part quickly without needing to pay an excessive amount for it.
For people who want to get into it, it is a lot easier than it looks.
Table of ContentsShow
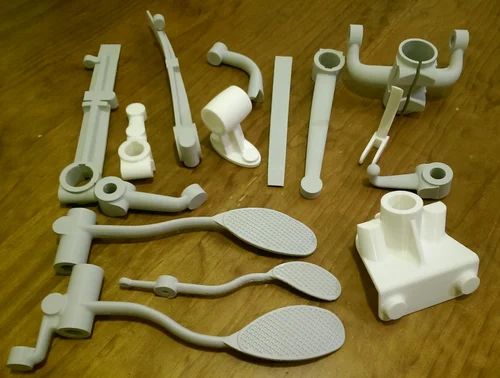
What Kind of Parts Can You Make With 3D Printers?
There are several types of parts that you can use 3D printing to manufacture:
- Cosmetic customization (rear-view mirrors, cup holders, custom frames)
- Small parts (lids, valves, specialized parts)
- Larger parts (grills, dashboards)
While you can make powerful parts with 3D printing (like with carbon fiber), it is not recommended for making internal car parts. These parts must deal with excessive heat or pressure and require a specialized manufacturing process.
So long as you keep the part, your intended material, and what that part is used for in mind, the sky is the limit as far as what you can create.
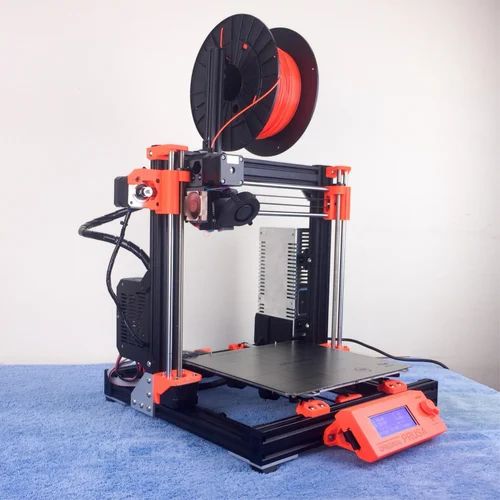
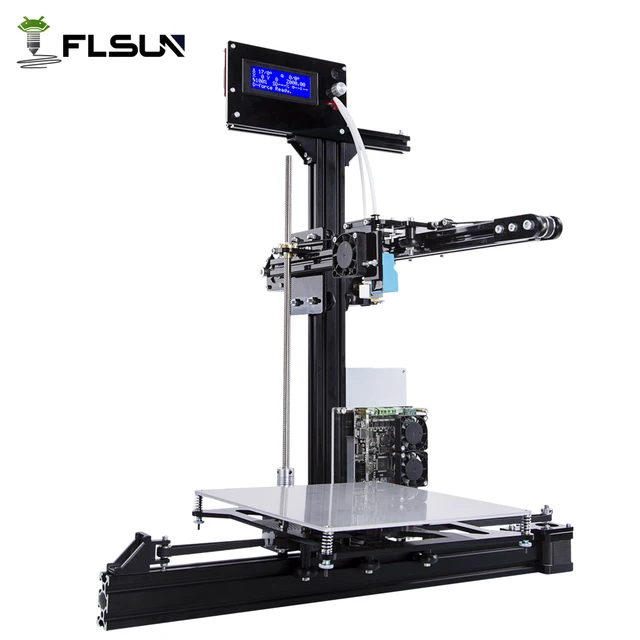
What Kinds of 3D Printers Are Best for 3D Printing Car Parts?
When 3D printing car parts, the ideal printer can vary depending on what you are trying to print.
For most things, an inexpensive basic printer is fine. Plenty of car parts are small and simple and should not need a heavy-duty machine to do the lifting.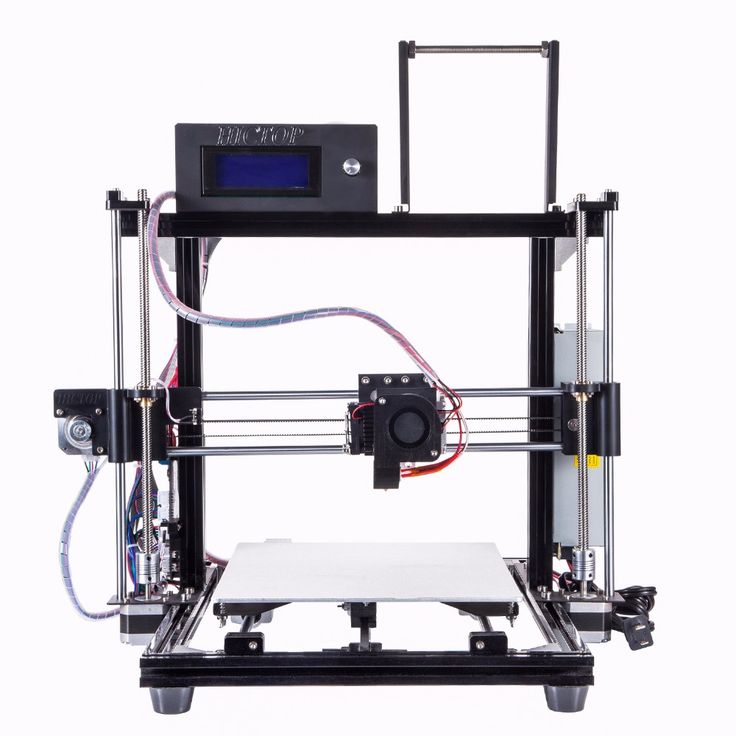
If you plan on printing more complex parts or want intricate engravings on your customized parts, you may want to use a higher-end model that can handle that.
What Materials Should You Use?
There are plenty of materials you can use to 3D print your car parts, but the rule of thumb is they should be durable, lightweight, and flexible.
A few standout materials are:
- TPU (shock-absorbent, flexible, and durable)
- Polypropylene (great for airflow and fluid systems)
- Nylon PA11 (great if you are worried about sustainability)
- Polyamide 6 (heat resistant)
What material you use depends entirely on what part you want to make, so always do your due diligence and research what materials work best for each part before you start printing.
How Do You Go About 3D Printing Car Parts?
3D printing car parts seems complex, but when you get down to it, it is a simple process that only requires a few steps.
Make or Find a Scale Model
This is the most important step of the entire process. A high-quality 3D printed car part relies on using the proper material and creating it from a good model.
You can set up your scale model in one of two ways. You can make the model yourself using a 3D modeler or find a model online. If you are not confident in your 3D modeling skills, it may be best to find an online model rather than make it yourself.
Many websites offer 3D models for parts that you can download and use with your 3D printer. Make sure the model is from a reputable source for the best results.
Pick Your Material
After picking out your model, the next step is to pick what material you want to use. This will depend entirely on what part you are making and your specific needs.
Remember, materials are not a one-size-fits-all solution. Make sure the material you choose matches your part’s use (heat resistance or flexibility, for example). If you make a part with the wrong material and install it, it can break or damage your car.
Also, keep in mind that just because you can theoretically make engine parts with 3D printing does not mean that you should.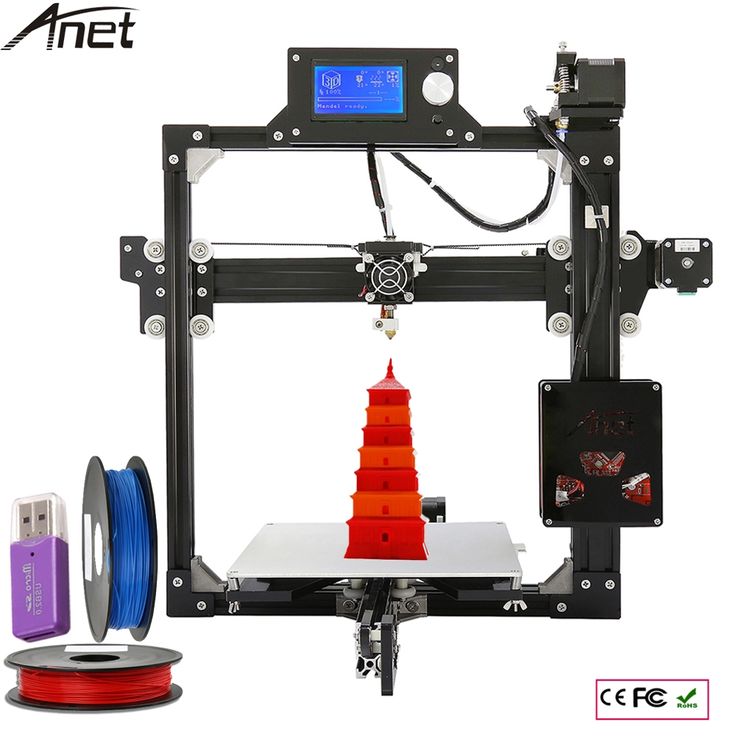
Print the Part
After you have your model and material, it is time to make your part. Make sure the parameters are set the way you want them and double-check everything before printing. Follow the instructions based on your specific printer.
Finishing Touches
Once your part is printed, it is time to add any finishing touches. This is when you paint any small details, like numbers on a knob, or coat the part in another material for a better finish.
You should also use this time to check over the part and make sure everything is up to standard. If there are any defects or issues with the part, you will need to start over.
Install the Part
After printing the part, it is time to install it. This is simple for a part like a cup holder or knob — just pop it in and see if it fits.
If you 3D printed a part like a grill or a dashboard, try going on a test drive first and see how it holds up under a stress test. If it looks like it is not holding up well, it’s time to go back to the drawing board.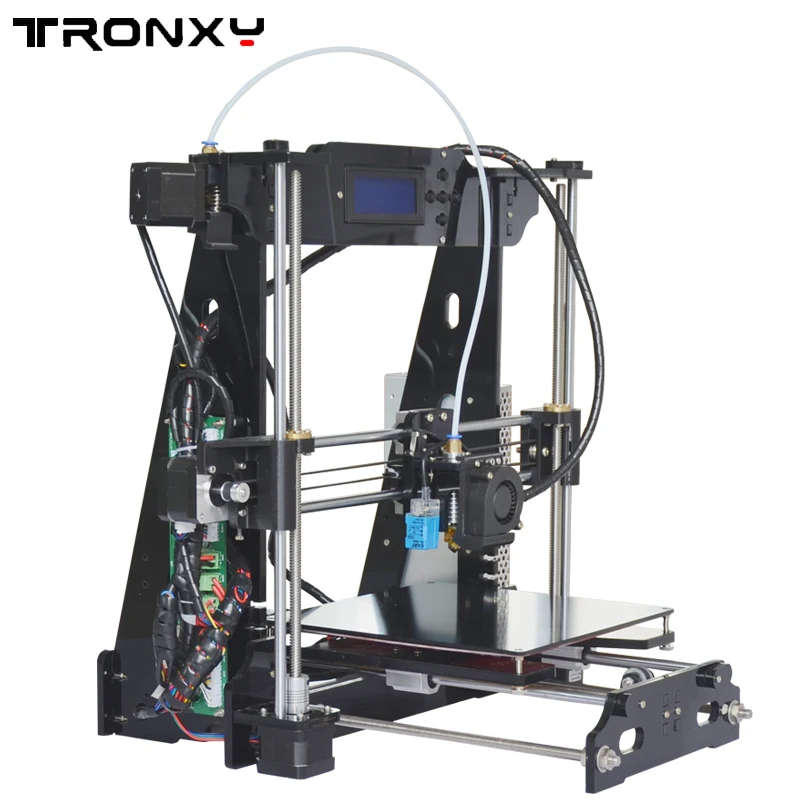
What if You Don’t Want to Do It Yourself?
Sometimes 3D printing car parts is not feasible for everyone. A person may want to 3D print a part, but they do not have access to a printer or are not confident in their 3D modeling skills.
In this case, you may want to consider hiring a business that specializes in 3D printing car parts. Be sure to check the business’ rates, selection, and reviews before committing.
Conclusion
3D printing car parts is an easy way to customize and repair your car without breaking the bank. With the right model, materials, and plenty of patience, 3D printing your own parts is a reliable way to take care of your car and make it your own.
There are no limits to what can be done with 3D printing, whether you do it yourself or hire someone else to make the parts for you.
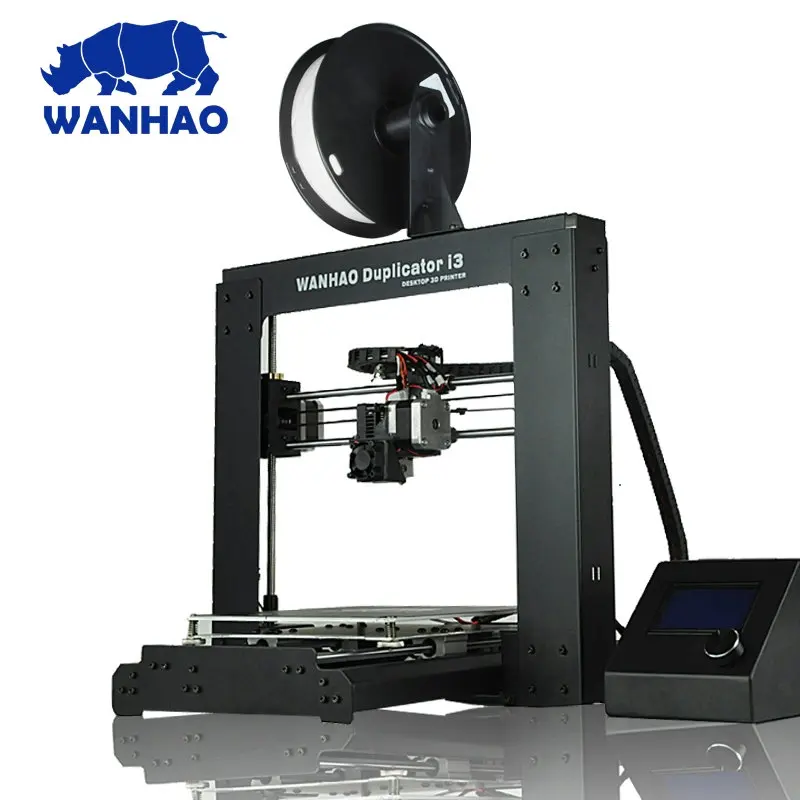
7 Best 3D Printers for Automotive Cars & Motorcycle Parts – 3D Printerly
3D printing has accelerated the growth of many industries in the world today. The automotive industry, in particular, has benefitted the most since the inception of additive manufacturing.
The prototyping life cycle has been shortened significantly. Rapid prototyping is now possible since people can easily design, print, test fit, and make adjustments to automotive parts in-house.
This saves a lot of time which can be used to experiment on better and more complex designs at a more feasible cost.
More people are also customizing their cars and Motorcycles nowadays. Mechanical engineers, automotive engineers, or any car and motorcycle enthusiasts now can easily create and print custom automotive parts and test their functionality with their vehicle.
To 3D print an automotive part or a motorcycle part, you need to figure out which 3D printer is up to the task.
In this review, I’ll look at some of the best 3D printers in the market suited for printing automotive parts and motorcycle parts. Let’s get into it.
First on this list is the Artillery Sidewinder X1 V4 (Amazon). This printer first came onto the scene in October 2018. After a couple of iterations, Artillery was able to come up with a mid-level 3D printer that could rival many other high-end printers in the market.
Let’s take a look at some of its impressive features.
Features of the Artillery Sidewinder X1 V4
- Rapid Heating Ceramic Glass Print Bed
- Direct Drive Extruder System
- Large Build Volume
- Print Resume Capability After a Power Outage
- Ultra-Quiet Stepper Motor
- Filament Detector Sensor
- LCD-Color Touch Screen
- Safe and Secure, Quality Packaging
- Synchronized Dual Z-Axis System
Specifications of the Artillery Sidewinder X1 V4
- Build Volume: 300 x 300 x 400mm
- Printing Speed: 150mm/s
- Layer Height/Print Resolution: 0.1mm
- Maximum Extruder Temperature: 265°C
- Maximum Bed Temperature: 130°C
- Filament Diameter: 1.75mm
- Nozzle Diameter: 0.
 4mm
4mm - Extruder: Single
- Control Board: MKS Gen L
- Nozzle Type: Volcano
- Connectivity: USB A, MicroSD card
- Bed Levelling: Manual
- Build Area: Open
- Compatible Printing Materials: PLA / ABS / TPU / Flexible materials
What you immediately notice in the Sidewinder X1 V4’s design is that the base unit houses the power supply, the mainboard, and the touchscreen. This gives it a sleeker look.
To ensure that both sides of the gantry move up and down the same distance, the Artillery Sidewinder X1 V4 (Amazon) has a synchronized dual Z system.
In case the Z-stepper motor gets damaged, this system will make sure that the X carriage moves parallel to the build plate.
For printing automotive parts, you have a Direct Drive Extruder. Coupled with a volcano hot end that can attain temperatures of up to 270 degrees Celsius, you can print flexible filaments like nylon without any issue.
This will come in handy when printing automotive parts that are usually put under extreme conditions like exhaust parts that are exposed to too much heat.
On the print bed, the Sidewinder X1 V4 has a modern lattice glass 3D printer platform. This eliminates warping and provides a flat surface with good bed adhesion. The bed is AC heated, unlike many printers which employ DC heating.
Every printing session will go smoothly due to the power failure protection system. This ensures that you can continue to print from the last position you stopped when there was a power failure.
User Experience of the Artillery Sidewinder X1 V4
A recent customer’s feedback stated that she loved how well-packed the Artillery Sidewinder X1 V4 came. Setting it up was very simple, and took a relatively short time. He added that he liked the modern design which made it very sturdy.
One user said that the Artillery Sidewinder X1 V4 is one of her favorite Direct Drive printers. She had printed several flexible filaments through the extruder without its wheel slipping.
The build plate, which has a glass lattice surface, provides excellent adhesion. It also facilitates for easy removal of prints once it cools according to one happy customer.
However, he cautioned against trying to remove the prints before the bed had cooled down because it sticks and messes the prints.
Many users concur with the fact that this printer is ultra-silent because of Artillery’s self-developed driver and that the print quality was up to standard.
Pros of the Artillery Sidewinder X1 V4
- Heated glass build plate
- It supported both USB and MicroSD cards for more choice
- Well-organized bunch of ribbon cables for better organization
- Large build volume
- Quiet printing operation
- Has large leveling knobs for easier leveling
- Smooth and firmly placed print bed gives the bottom of your prints a shiny finish
- Fast heating of the heated bed
- Very quiet operation in the steppers
- Easy to assemble
- Helpful community that will guide you through any issues that come up
- Prints reliable, consistently, and at a high quality
- Amazing build volume for the price
Cons of the Artillery Sidewinder X1 V4
- Uneven heat distribution on the print bed
- Delicate wiring on the heat pad and extruder
- The spool holder is pretty tricky and hard to adjust
- EEPROM save is not supported by the unit
Final Thoughts
Aside from spending some time before you find the optimum settings that will allow you to print quality automotive parts, the Artillery Sidewinder X1 V4 is still a wonderful piece of innovation.
You also don’t have to dig deep into your pockets before securing one for yourself.
Get the Artillery Sidewinder X1 V4 on Amazon.
For a budget 3D printer, the Creality Ender 3 V2 exceeds our expectations. An upgraded version of the original Ender 3, the Ender 3 V2 offers respectable print volume, easy usage, and high-quality prints.
If you’re wondering what makes it perfect for printing motorcycle and automotive parts, then this section will help you out.
Let check out some of its features.
Features of the Creality Ender 3 V2
- Open Build Space
- Carborundum Glass Platform
- High-Quality Meanwell Power Supply
- 3-Inch LCD Color Screen
- XY-Axis Tensioners
- Built-In Storage Compartment
- New Silent Motherboard
- Fully Upgraded Hotend & Fan Duct
- Smart Filament Run Out Detection
- Effortless Filament Feeding
- Print Resume Capabilities
- Quick-Heating Hot Bed
Specifications of the Creality Ender 3 V2
- Build Volume: 220 x 220 x 250mm
- Maximum Printing Speed: 180mm/s
- Layer Height/Print Resolution: 0.
 1mm
1mm - Maximum Extruder Temperature: 255°C
- Maximum Bed Temperature: 100°C
- Filament Diameter: 1.75mm
- Nozzle Diameter: 0.4mm
- Extruder: Single
- Connectivity: MicroSD Card, USB.
- Bed Levelling: Manual
- Build Area: Open
- Compatible Printing Materials: PLA, TPU, PETG
The Creality Ender 3 V2 (Amazon) has an all-metal frame like every other Ender 3 printer. Accompanying the metal frame is an efficient Filament Feed-in system. This consists of a rotary knob on the extruder that makes feeding in filaments an effortless process.
For top performance, this printer comes with a self-developed silent motherboard. This motherboard facilitates faster printing at lower noise levels.
It has a Resume printing function to ensure that printing goes on smoothly in the event of a power outage. To make this possible, the printer records the last position the extruder was, thus avoiding time and filament wastage.
You don’t have to worry about your cost of production ballooning while still experimenting with different designs for your car parts.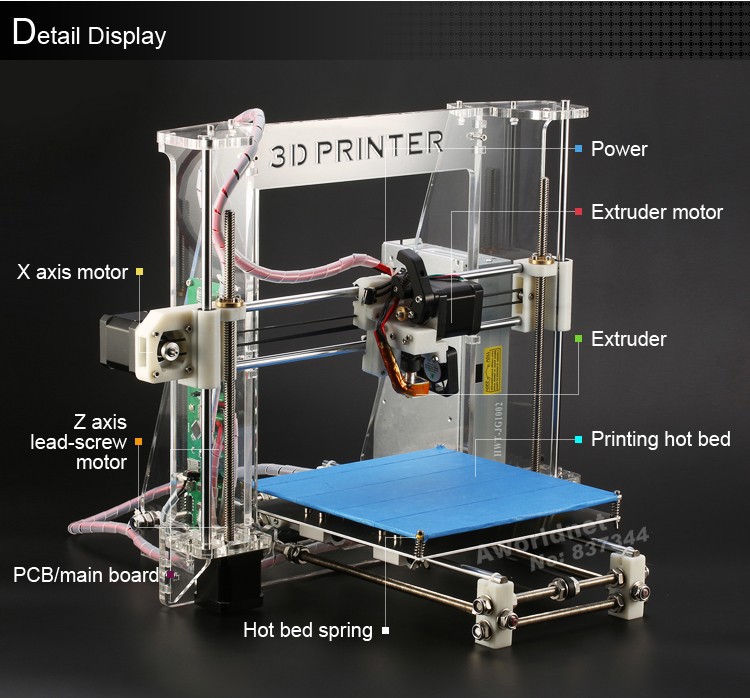
Differing from its predecessor, the Ender 3 V2 has a Carborundum Glass platform. This reduces warping and makes it easier to remove prints as compared to aluminum print beds. Glass platforms also heat up faster.
The Creality Ender 3 V2 is powered by a UL-certified MeanWell Power supply unit which enables the printer to heat up quickly, and print for a long time.
User Experience of the Creality Ender 3 V2
Setting up this printer took one user 90 minutes of careful assembling as compared to the 8+ hours it took him to set up the Prusa3D. He simply followed the instructions in the build manual and watched a few YouTube videos and he was good to go.
One user printed a coral statue to gauge the level of precision of the Ender 3 V2. Despite this being a test print, it went pretty well. He noticed that the pointed pillars and arching points were well printed.
Another user was amused that she had not, up to this point, experienced any issue with the PLA filament that came with the printer. She, however, had trouble printing TPU that she had bought. She contacted the support and they assisted her.
An SD card slot is provided for you to directly transfer your gcode files from Cura to the machine. One user was afraid that inserting and removing the SD card would damage the printer, but the process was simple and quick.
Pros of the Creality Ender 3 V2
- Easy to use for beginners, giving out high performance and much enjoyment
- Relatively cheap and great value for money
- Great support community.
- Design and structure look very aesthetically pleasing
- High precision printing
- 5 minutes to heat up
- All-metal body gives stability and durability
- Easy to assemble and maintain
- Power supply is integrated underneath the build-plate unlike the Ender 3
- It is modular and easy to customize
Cons of the Creality Ender 3 V2
- A bit difficult to assemble
- Open build space is not ideal for minors
- Only 1 motor on the Z-axis
- Glass beds do tend to be heavier so it may lead to ringing in prints
- No touchscreen interface like some other modern printers
Final Thoughts
The Creality Ender 3 V2 has a large following among motorcycle enthusiasts. This is because it can churn out well-crafted motorcycle parts. Additionally, it is fairly easy to use, even for beginners.
If you want to get a Creality Ender 3 V2 today, go to Amazon.
The Anycubic Mega X combines an absolutely large size with high-quality printing capabilities – all these without costing an arm and a leg. It is one of the few budget 3D printers capable of printing automotive parts for long periods without a problem.
Let’s take a look under its hood so you can decide whether it’s the right printer for you.
Features of the Anycubic Mega X
- Large Build Volume
- Rapid Heating Ultrabase Print Bed
- Filament Runout Detector
- Z-Axis Dual Screw Rod Design
- Resume Print Function
- Rigid Metal Frame
- 5-Inch LCD Touch Screen
- Multiple Filament Support
- Powerful Titan Extruder
Specifications of the Anycubic Mega X
- Build Volume: 300 x 300 x 305mm
- Printing Speed: 100mm/s
- Layer Height/Print Resolution: 0.
 05 – 0.3mm
 - Maximum Extruder Temperature: 250°C
- Maximum Bed Temperature: 100°C
- Filament Diameter: 0.75mm
- Nozzle Diameter: 0.4mm
- Extruder: Single
- Connectivity: USB A, MicroSD card
- Bed Levelling: Manual
- Build Area: Open
- Compatible Printing Materials: PLA, ABS, HIPS
When it comes to the size of the build plate, no printer comes close to the Anycubic Mega X (Amazon). The Mega X’s bed measures 300 by 300mm. Printing large-sized objects is impressive enough, but with this 3D printer, you can go a step further and print a couple of objects at once.
This will be a huge advantage when printing large automotive or motorcycle parts such as vents and motorcycle toolboxes.
For the print bed, you have an Ultrabase bed surface with good adhesion because of a one-of-a-kind microporous coating. You don’t have to worry about your prints falling off before the printing is done.
The Anycubic Mega X has a Y-axis Dual sideways design, and a Z-axis dual screw design to help improve precision during printing. On the lower side, there is a highly responsive 2 TFT touch screen. This screen allows you to control all aspects during printing.
You also have a 3 Meanwell power supply which is UL60950-1 compliant. It means that safety will be the least of your concerns when 3D printing.
User Experience of the Anycubic Mega X
One user from Amazon3D says that the Anycubic Mega X requires virtually no maintenance at all. He said that he, most of the time, goes about his other business after hitting print, only coming back to check on the final print.
When you buy the Anycubic Mega X, be prepared to do a little work to set it up as it comes partially assembled. The company provides a set of instructions on a USB stick or a paper manual. However, many users have said that this process is very fun and straightforward.
Another customer who left a positive review on Amazon stated that out of the 14 printers she owned, the Mega X produced the best quality of prints. With the right slicer settings, you are guaranteed smooth and clean prints every time.
You have the option to go with the Anycubic Mega X Pro which has a sweet laser engraving feature. This will enable you to make superb engravings on your custom motorcycle parts such as dashboards or undertails.
Pros of the Anycubic Mega X
- Overall an easy-to-use 3D printer with features perfect for beginners
- Large build volume means more freedom for bigger projects
- Solid, premium build quality
- User-friendly touchscreen interface
- Very competitive price for high quality printer
- Great quality prints straight out of the box without necessary upgrades
- Improved packaging to ensure safe delivery to your door
Cons of the Anycubic Mega X
- Low maximum temperature of the print bed
- Noisy operation
- Buggy resume print function
- No auto-leveling – manual leveling system
Final Thoughts
When it comes to printing automotive parts, bigger will always be better. The Anycubic Mega X not only offers size, but also precision. Its affordability makes it a suitable model for all beginners.
You can find the Anycubic Mega X on Amazon for your 3D printing needs.
The Creality CR-10 Max is the epitome of 3D printers from the CR-10 series. After researching and incorporating customer feedback from their previous models, Creality was able to develop an upgraded and ultra-high performance printer for the high-end market.
In this section, we’ll see some features that make the Creality CR-10 Max the best machine for printing motorcycle and automotive parts.
Features of the Creality CR-10 Max
- Super-Large Build Volume
- Golden Triangle Stability
- Auto Bed Leveling
- Power Off Resume Function
- Low Filament Detection
- Two Models of Nozzles
- Fast Heating Build Platform
- Dual Output Power Supply
- Capricorn Teflon Tubing
- Certified BondTech Double Drive Extruder
- Double Y-Axis Transmission Belts
- Double Screw Rod-Driven
- HD Touch Screen
Specifications of the Creality CR-10 Max
- Build Volume: 450 x 450 x 470mm
- Extrusion Platform board: Aluminum Base
- Nozzle Quantity: Single
- Nozzle Diameter: 0.
 4mm & 0.8mm
 - Max. Platform Temperature: 100°C
- Max. Nozzle Temperature: 250°C
- Layer Thickness: 0.1-0.4mm
- Working Mode: Online or TF Card Offline
- Print Speed: 180mm/s
- Supporting Material: PETG, PLA, TPU, Wood
- Material diameter: 1.75mm
- Printer Dimensions: 735 x 735 x 305 mm
- Display: 4.3-Inch Touch Screen
- File format: AMF, OBJ, STL
- Software: Cura, Simplify3D
- Connector Type: TF card, USB
For the dimensions, the CR-10 Max (Amazon) measures 450 x 450 x 470mm, which is huge for a 3D printer. It allows you to explore different designs when creating a custom automotive or motorcycle part, without worrying if it would fit on the build plate.
Leveling can be quite a headache when it comes to many 3D printers, but not this one. It has a support automatic leveling system that encompasses accurate induction, dynamic leveling compensation, and precise point measurement.
The CR-10 Max has a quality Bowden extruder with two BondTech drives. The Capricorn tube is also resistant to temperature to a high degree. These two work hand in hand to simplify the feeding process while ensuring that the printing process is efficient.
Most 3D printers have one power supply unit, but the Creality CR-10 Max has two. One to powers the motherboard, and another one to power the hotbed. This eliminates any interferences on the motherboard from electromagnetic signals when powering the hotbed.
This printer has a Golden triangle structure to minimize vibration of the Z-axis and improve stability thus increasing accuracy during printing.
User Experience of the Creality CR-10 Max
One Amazon customer said that the Creality CR-10 Max was easy to assemble and operate. Setting it up took him approximately one hour. Once you set it up, the CR-10 Max produces excellent PLA prints. He added that beginners would have no trouble operating it.
Another user loved how big the print volume was. She said that she had to improvise some of her designs in the past due to their size, but that is no longer an issue with the CR-10 Max.
CR-10 Max’s glass plate ensures that your prints don’t stick to the print bed once it cools down. This will be important when printing automotive parts with material like Nylon or PETG.
However, many people have complained about poor customer support. You literally have to figure out how to solve any problem that arises on your own. The other downside is that the touchscreen needs massive improvements.
Pros of the Creality CR-10 Max
- Have a massive build volume to print larger 3D models
- Provide a high degree of printing precision
- Its stable structure reduces vibration and improves stability
- High print success rate with auto-leveling
- Quality certification: ISO9001 for guaranteed quality
- Great customer service and response times
- 1-year warranty and lifetime maintenance
- Simple return and refund system if necessary
- For a large-scale 3D printer the heated bed is relatively fast
Cons of the Creality CR-10 Max
- The bed turns off when the filament runs out
- The heated bed doesn’t heat up very fast compared to average 3D printers
- Some printers have come with the incorrect firmware
- Very heavy 3D printer
- Layer shifting can occur after replacing the filament
Final Thoughts of the Creality CR-10 Max
The Creality CR-10 Max has almost all the up-to-date features which enable it to deliver a high-quality performance. Its massive build volume, support automatic leveling, and high accuracy makes it a bargain at its retail price.
For the best 3D printer for automotive parts, get the Creality CR-10 Max on Amazon.
The Creality CR-10 V3 was first released in 2020 as the newest upgrade to the widely popular CR-10 series that came out in 2017.
Creality mildly iterated the CR-10 V2 which was a total overhaul of the earlier CR-10S model. The result was a solid 3D printer capable of providing one of the best print quality in the market.
Let’s take a look at some of its features
Features of the Creality CR-10 V3
- Direct Titan Drive
- Dual Port Cooling Fan
- TMC2208 Ultra-Silent Motherboard
- Filament Breakage Sensor
- Resume Printing Sensor
- 350W Branded Power Supply
- BL-Touch Supported
- UI Navigation
Specifications of the Creality CR-10 V3
- Build Volume: 300 x 300 x 400mm
- Feeder System: Direct Drive
- Extruder Type: Single Nozzle
- Nozzle Size: 0.
 4mm
4mm - Max. Hot End Temperature: 260°C
- Max. Heated Bed Temperature: 100°C
- Print Bed Material: Carborundum glass platform
- Frame: Metal
- Bed Leveling: Automatic optional
- Connectivity: SD card
- Print Recovery: Yes
- Filament Sensor: Yes
Just like the CR-10 Max, the CR-10 V3 has what Creality likes to call the “golden triangle”. This is formed when the Z-axis brace connects the top part of the frame to the base. This new design makes the frame sturdy.
Next, you have a Titan Direct Drive which not only prints flexible filaments faster but also makes it easier to load filaments. You can now print that windscreen cover or custom exhaust for your motorcycle upgrade project much faster.
Another improvement is the Self-developed TMC2208 motherboard and an ultra-silent drive which are the heart of this printer’s operation. You can now print custom motorcycle parts in your garage, workshop, or home office without noise.
The Creality CR-10 V3 (Amazon) also boasts a dual-port cooling fan extruder which ensures that heat is distributed evenly and cools the print appropriately. This eliminates poor spillages which causes the quality of prints to reduce.
With the CR-10 V3 you can choose between an auto-leveling system and a manual one. If you’re more of the DIY type, then the manual one (which is also the default) will suit you. If you want the leveling to be automatic, you can add a BL touch by yourself.
User Experience of the Creality CR-10 V3
The Creality CR-10 V3 comes almost fully assembled. It took one customer only 30 minutes to assemble the remaining parts. Another user even said that if you were used to setting up IKEA furniture, then assembling this printer wouldn’t take more than 15 minutes.
One 3D printing enthusiast said that the Z-axis brace was an important addition as it helped to stabilize the whole frame improving the quality of prints.
When it comes to reliability, the CR-10 V3 is king.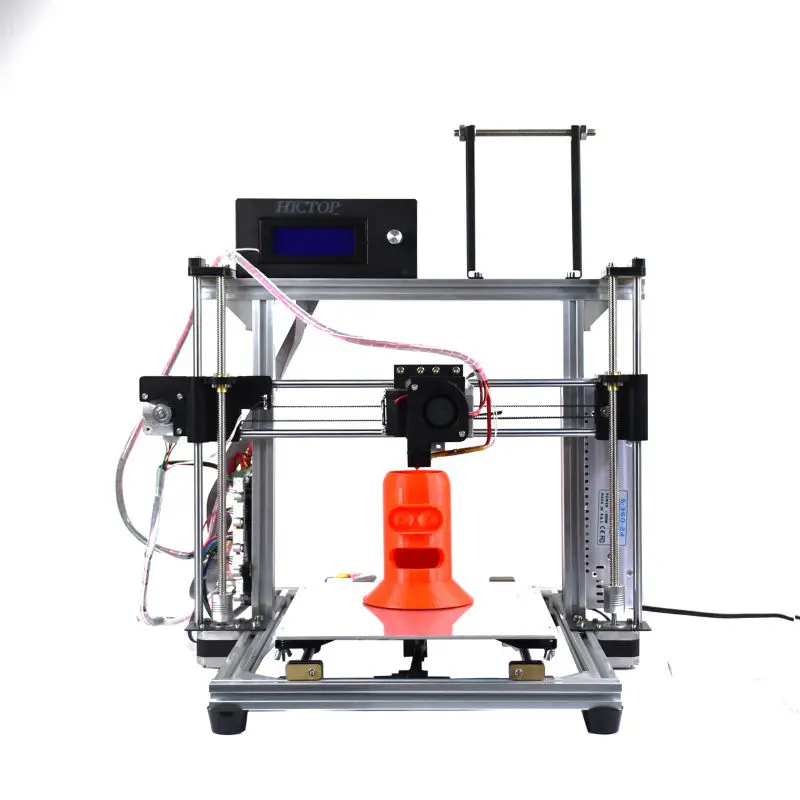 A customer gave it a five-star review after comparing it to other models he owned. He said that it has managed to print for more than 100 hours while all the other printers (CR-10, CR-10 mini, and Lotmaxx sc-10) developed issues.
According to a random user on Amazon, the filament runout sensor is badly positioned and can sometimes cause drag on the filament. However, this can’t affect the quality of prints too much.
Generally, most of the people who purchased this printer on Amazon were fully satisfied with the quality of the print output.
Pros of the Creality CR-10 V3
- Easy to assembly and operate
- Quick heating for faster printing
- Parts pop of the print bed after cooling
- Great customer service with Comgrow
- Amazing value compared to other 3D printers out there
Cons of the Creality CR-10 V3
- Badly positioned filament sensor
Final Thoughts
The Creality CR-10 V3 outperforms its competitors in the market. By adding features such as the Titan Direct Drive and a TMC2208 motherboard, CR-10 got the edge over its competitors.
It has the ability to print high-quality objects using flexible materials with ease. It is definitely worth your cash.
Go to Amazon to get the Creality CR-10 V3.
Only the CR-10 Max can outshine the Ender 5 plus when it comes to size. With the Ender series, Creality demonstrated its prowess in making big reliable printers that can be affordable to people starting out their 3D printing journey.
Ender 5 plus shares some traits that made its predecessors adored in the automotive 3D printing space.
I’ll share some of these features with you.
Features of the Ender 5 plus
- Large Build Volume
- BL Touch Pre-Installed
- Filament Run-out Sensor
- Resume Printing Function
- Dual Z-Axis
- 4.3 Inch Touch Screen
- Removable Tempered Glass Plates
- Branded Power Supply
Specifications of the Ender 5 plus
- Build Volume: 350 x 350 x 400mm
- Display: 4.
 3 inch
 - Print Accuracy: ±0.1mm
- Max. Nozzle Temperature: ≤ 260℃
- Max. Hot Bed Temperature: ≤ 110℃
- File Formats: STL, ODJ
- Power Parameters: Input – 100-240V AC; Output: DC 24V 21A; Max. 25A
- Printing Materials: PLA, ABS
- Package Size: 730 x 740 x 310mm
- Machine Size: 632 x 666 x 619mm
- Gross Weight: 23.8 KG
- Net Weight: 18.2 KG
The Ender 5 Plus (Amazon) is one big cube with a print volume of 350 x 350 x 400mm which is sufficient for many prints.
One feature that is present in Ender printers is the Dual Z-axis. Each axis has a stepper motor that moves the print bed up and down smoothly.
The Ender 5 plus has 2040 V-slot extrusions on both the Y and Z axes. The X-axis uses a slightly different 2020 extrusion. The bed travels along the Z-axis only which ensures that the printer is stable at all times.
For leveling purposes, it has a BLTouch Bed Leveling Sensor. It measures any differences in the surface level and compensates for them on the Z-axis.
On the operating side, the Ender 5 Plus comes with a color touch screen that can be assembled easily using the kits provided. This provides beginners with an opportunity to learn how the 3D printer is constructed.
At the base, you have a tempered glass plate that makes the removal of prints easy. A tempered glass plate is very level and doesn’t distort due to warping. Due to this, you can obtain printed automotive parts which require very little sanding or adjusting.
User Experience of the Ender 5 Plus
One user who owned both the Ender 5 pro and Ender 3 Pro said that the Ender 5 plus’s design was solid and he appreciated the build volume which allowed him to print large figurines.
The dual Z-axis rods improve the stability significantly and make printing more efficient. However, you have to grease it a bit to get rid of the squeaking according to one user.
Another user liked the full glass print bed and the BLTouch which assisted her in leveling the bed.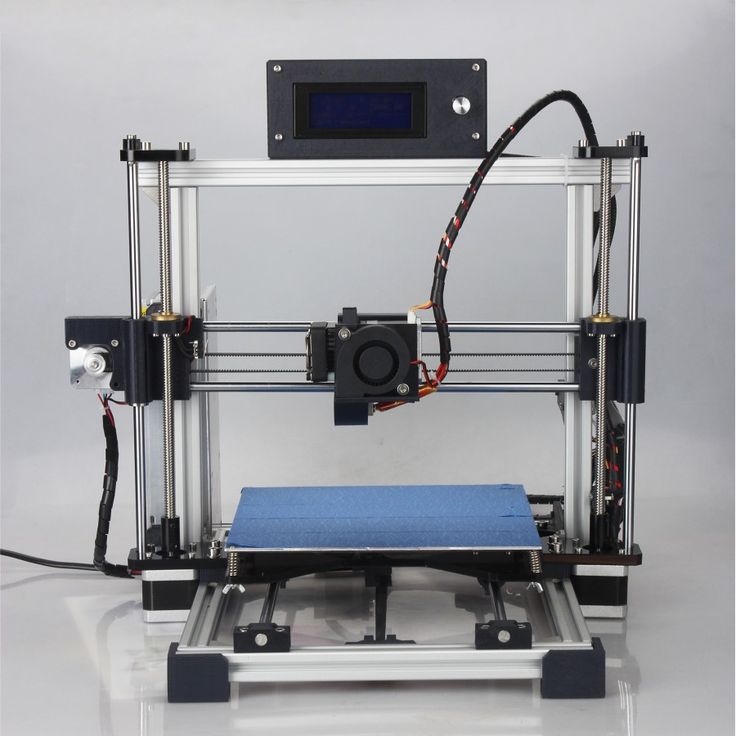 Many beginners find that process to be very hectic.
As for the printing quality, you won’t be disappointed. One customer says that she just had to countercheck the slicer settings and the quality of prints turned out great each time.
You can achieve great results when printing with PLA’s, ASA, and Protopasta metallic filaments according to her experience.
Pros of the Ender 5 Plus
- The dual z-axis rods provide great stability
- Prints reliably and with good quality
- Has great cable management
- Touch display makes for easy operation
- Can be assembled in just 10 minutes
- Very popular among customers, especially liked for the build volume
Cons of the Ender 5 Plus
- Has the non-silent mainboard meaning the 3D printer is loud but can be upgraded
- Fans are also loud
- Really heavy 3D printer
- Some people have complained about the plastic extruder not being strong enough
Final Thoughts
For a budget printer, the Ender 5 has a really generous print volume. You can print small parts such as brake line clips to larger ones like charge pipes. However, what drives most people to purchase the Ender 5 is their ease of usage and top-level performance.
You can get yourself the Ender 5 Plus from Amazon today.
The Sovol SV03 is a large-format direct drive 3D printer by the Chinese company Sovol. The SV03 encompasses automatic bed leveling, a large print volume, a dual Z-axis, and a quiet motherboard.
Today, I’ll focus on expounding on these features and why they will suit your automotive or motorcycle parts printing needs.
Features of the Sovol SV03
- Print Resume Capabilities
- Meanwell Power Supply
- Carbon Coated Removable Glass Plate
- Thermal Runaway Protection.
- Mostly Pre-Assembled
- Filament Runout Detector
- Direct Drive Extruder
Specifications of the Sovol SV03
- Build Volume: 240 x 280 x 300mm
- Printing Speed: 180mm/s
- Layer Height/Print Resolution: 0.
 1-0.4mm
 - Maximum Extruder Temperature: 250°C
- Maximum Bed Temperature: 120°C
- Filament Diameter: 1.75mm
- Nozzle Diameter: 0.4mm
- Extruder: Single
- Connectivity: USB A, MicroSD card
- Bed Levelling: Manual
- Build Area: Open
- Compatible Printing Materials: PLA, ABS, PETG, TPU
Just like the Ender 5 Plus, the Sovol SV03 (Amazon) is a big machine with a build volume of 350 x 350 x400mm. This space is enough to 3D print some great automotive, motorcycle and parts for your vehicle.
This printer comes with a direct drive extruder which supports the printing of flexible material while increasing the accuracy. It also has a filament sensor to automatically stop the printing in case the filament runs out.
Preinstalled within the base are a TMC2208 motherboard and a BLTouch screen. The motherboard is very silent. The BL touch, on the other hand, helps to adjust the bed for precise printing.
Talking about the bed, the Sovol SV03 has a carbon crystal silicon glass bed.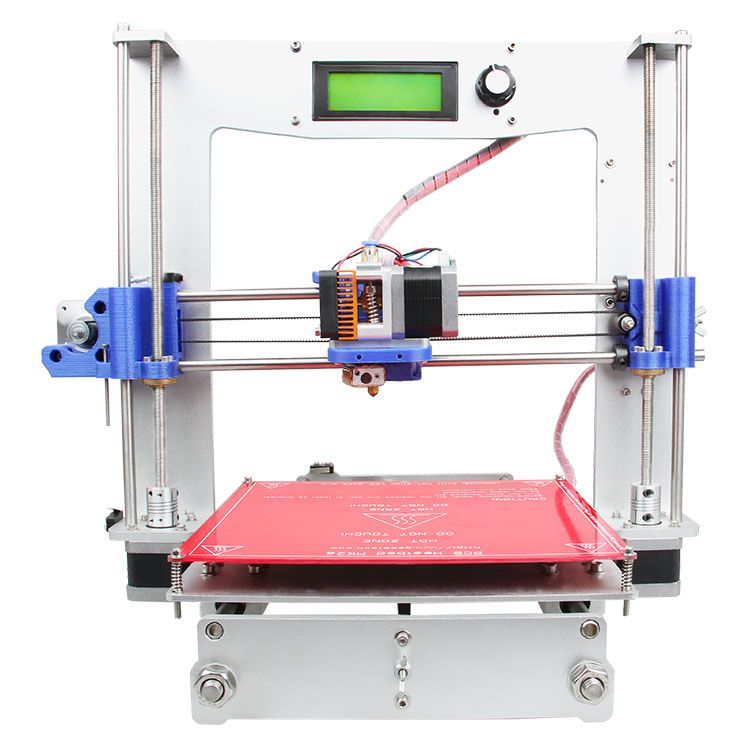 With this bed, warping is completely eliminated. The surface of the bed will always be flat and ready to print out small or large models.
To power up this 3D printer, SOVOL provided a built-in Meanwell power supply unit. This unit heats the print bed and steadily supplies power.
Lastly, there is a Resume Printing Function that enables printing to continue from where it stopped last.
User Experience of the Sovol SV03
A beginner using the SV03 for the first time easily assembled it, leveled the bed by following the instructions that came with it, and started printing with it right then.
By using the recommended slicer settings he was able to carry out the Benchy test to completion. The prints came out good according to him, and he even displayed some of the pictures of the finished result.
One customer loved the silent stepper motor drivers which allowed her to print battery packs while simultaneously watching a movie from the next room.
The only issue you might encounter is that the filament sensor doesn’t work correctly.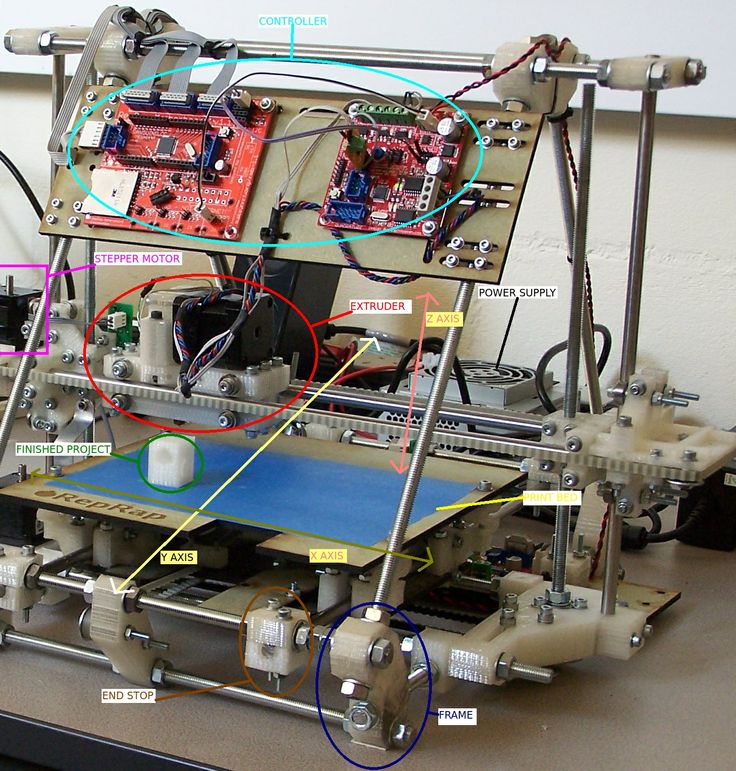 The machine might sometimes continue running even when the filament runs out. You might need to completely unplug the machine as one 3D printing enthusiast advises.
With a large plate comes the ability to print out large objects. For many users, this size was one of the major factors that made them acquire the Sovol SV03
Pros of the Sovol SV03
- Can print at fairly fast printing speeds with great quality (80mm/s)
- Easy to assemble for users
- Direct drive extruder which is great for flexible filament and other types
- Heated build plate allows for printing more filament types
- Dual Z-motors ensures greater stability than single
- Users have mentioned that it comes with a generous 200g spool of filament
- Has great safety features installed such as thermal runaway protection, power off resume, and a filament end detector
- Great print quality right out the box
Cons of the Sovol SV03
- Doesn’t have auto leveling with it, but it is compatible
- Cable management is good, but it can sometimes sag into the print area, but you can print a cable chain to solve this issue.
- Has been known to clog if you don’t use PTFE tubing in the feed area
- Poor filament spool positioning
- The fan inside the case has been known to be quite loud
Final Thoughts
I, personally, like the Sovol SV03. It is very simple to use and is perfectly suited for beginners. If you have plenty of room and don’t want to spend a lot of money, then the SV03 will solve your problems.
Going by the reviews on Amazon you should be able to a couple of years of service from this printer.
You can check out the Sovol SV03 on Amazon.
3D printing of prototype parts for automobiles and auto parts
3D printing of auto parts and prototype parts is one of the most common applications for 3D printing technology. Its effectiveness is confirmed at least by the fact that almost all global automotive brands are already opening additive centers for the production of components for their car models. In our country, this industry is being developed by many enthusiasts: from owners of desktop 3D printers to specialized companies. The use of 3D printing in the automotive industry is a common practice that has proven to be effective and promising.
Benefits of 3D printing in the automotive industry
3D printing technology is widely used in the automotive industry. Developers and designers using additive manufacturing have the ability to quickly and cheaply create prototype parts for car concepts, test the assembly and performance of various components with the ability to make adjustments at any stage. For service centers, 3D printing of spare parts allows you to save on the purchase of parts and reduce their waiting time. The printing of spare parts on a 3D printer for modeling among collectors is also common. Printing parts on a 3D printer brings a lot of advantages.
Advantages of 3D printing in the automotive industry:
- 3D printer for auto parts allows you to create any component from any of the elements. This makes it possible to manufacture a part to replace a broken one: be it one of the gears in the gearbox or a retainer for the rear-view mirror;
- A variety of consumables allows you to create spare parts with different properties: elastic, soft, hard, and so on.
 If ABS plastic is used as the basis, the main quality will be low cost and conformity of products to linear dimensions. If it is polyamide, then the key advantage will be hardness and resistance to friction;
 - it is possible to introduce unique developments of limited edition equipment - this is valuable both for car developers and for people who modernize and tune their car models;
- high speed of creation - 3D printing of auto parts takes on average much less time compared to traditional production methods;
- Available post-processing: applying primer and putty, sanding, painting, varnishing, polishing;
- low cost - a component printed in a single copy is an order of magnitude cheaper than an industrial sample. This is especially true for spare parts that are difficult or impossible to find in mass sales.
Auto tuning and 3D printing
Printing parts on a 3D printer is of particular value among connoisseurs of car tuning.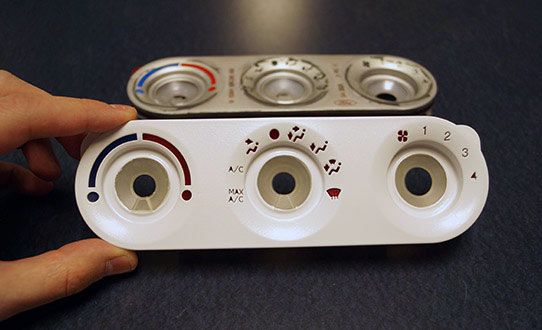 The modernization process itself involves not only changing the appearance, but also improving the performance of the vehicle. For this, uniquely designed parts and components are used, often existing in a single copy. Previously, their development and production required large financial and time costs. Now it is enough just to develop a three-dimensional computer model, after which any suitable 3D printer will make it possible to produce both prototypes and functional parts with the desired characteristics.
What parts are usually ordered to be printed?
3D printing of car parts allows you to create both prototypes and products designed for long-term and efficient performance of certain functions in systems and mechanisms.
Most often ordered:
- gears and cogwheels;
- tips, brackets and retainers;
- levers, knobs and knobs;
- enclosures for devices installed inside;
- prototypes of body and interior elements;
- frames for acoustic systems and radio;
- accessories for the electrical system of a car and other purposes;
- plastic machine parts;
- aerodynamic body kit prototypes and more.

Pyramid 3DMC provides 3D printing of auto parts, parts and prototypes for the automotive industry. Thanks to the availability of professional equipment and the use of popular, well-proven technologies, we have optimal and affordable prices. We will help with the development of a three-dimensional model of the element you need, and it does not matter whether it is unique or created to replace the broken one. Contact to discuss details.
The cost of creation of objects depends on the material used, the volume of printing, time costs and the need for post-processing of printed products, so is calculated individually.
If you have any questions CONTACT US. We will calculate the cost and term of 3D printing of your products.
[email protected]
+7 (812) 389-64-81
3D printing of spare parts, parts, gears on a 3D printer.
3D printing of spare parts, parts, gears on a 3D printer
3D4U uses 3D printing technology to offer a quick and affordable solution for repairing or replacing broken, lost parts, parts and gears of various devices.
Order 3D printing
Who among us has not encountered an annoying nuisance when parts of household, industrial, electronic or digital appliances break or are lost? Coffee maker gear, blender, food processor ... Oven handle, microwave oven, washing machine ...
Wheels, roller clamps, bushings, pins, brackets and other plastic parts.
When we find ourselves in this situation, most often we throw away the whole device or a separate part of it and replace it with a new one. This approach leads to high financial costs.
You can try to find spare parts on Chinese marketplaces at reasonable prices. But more often they sell the whole assembly, rather than its individual element, or a wholesale kit (100+ of the same parts). This option also results in high financial costs, not to mention the fact that it can take months for your goods to be delivered.
3D printing technology offers a fast and affordable solution to all these problems!
Online order 3D printing
How to fix broken plastic parts, gears and parts using 3D printing?
Is one important part broken/missing on your appliance? Instead of changing the whole device, it is enough to create a 3D model of your part or find it among the many libraries of 3D mockups on the Internet.
Bed slat holder
Iron plug
Washing machine handle
Didn't find a 3D model and don't know how to create it? No problem!
Provide us with a sketch, drawing, drawing or original part (even damaged). 3D4U engineers will design the model and prepare it for 3D printing.
If your part often breaks, you can order a 3D modeling and design service.
Reengineering a part, adding stiffeners, thickening walls, etc. can significantly increase the wear resistance of your part.
Electric Drive Gear
Food Processor Gear
Wheelchair Gear
Order 3D modeling and printing of spare parts on a 3D printer
How can 3D4U help you save time and money on parts repair?
Thanks to 3D4U's fast and reliable 3D printing service, you can get a replica of your parts in just 2-3 days.
A range of materials will allow you to make your part according to the required characteristics (hardness, flexibility, strength, heat resistance, etc. )
)
Skilled engineers optimize the part and produce it in the shortest possible time.
High-tech 3D printers allow you to recreate a part with an accuracy of 20 microns.
As a result, you will receive an exact copy of your part with the specified parameters at a reasonable price within a few days.
Reviews of our customers
Reviews of our customers
I ordered 3D printing at 100 and 200 microns + modeling, everything was done within a day + sending. I am very satisfied with the quality, not a single flaw, I will use again!
Maxim
Dnepropetrovsk
Professional and very high quality service. Orders are responded to quickly and completed in a timely manner.
Petr
Odessa
An idea came up with an unusual project. In our city they could not help. I turned to 3d for u and did not regret it. We developed a layout, agreed and printed the first sample. Now we order in bulk. The timing and price are amazing.
Oleg
Nikolaev
Guys, thank you very much!
Developed my own project. All that was - a handwritten image on a notebook sheet. Both the layout and the project itself are excellent.
Victoria
Odessa
I started working with the company when I didn't have my own printer. I took orders, they printed them and gave them to me. After I bought a printer, but I still apply for modeling.
Alexey
Odessa
I ordered 3D printing for 100 and 200 microns + modeling, everything was done within a day + sending. I am very satisfied with the quality, not a single flaw, I will use again!
Maxim
Dnepropetrovsk
Professional and very high quality service. Orders are responded to quickly and completed in a timely manner.
Petr
Odessa
An idea came up with an unusual project. In our city they could not help. I turned to 3d for u and did not regret it. We developed a layout, agreed and printed the first sample.