Arduino due 3d printer shield
RADDS v1.6 - Pre-assembled 3D printer board | 3D printing experts
Overview Description Documentation Specifications Related products
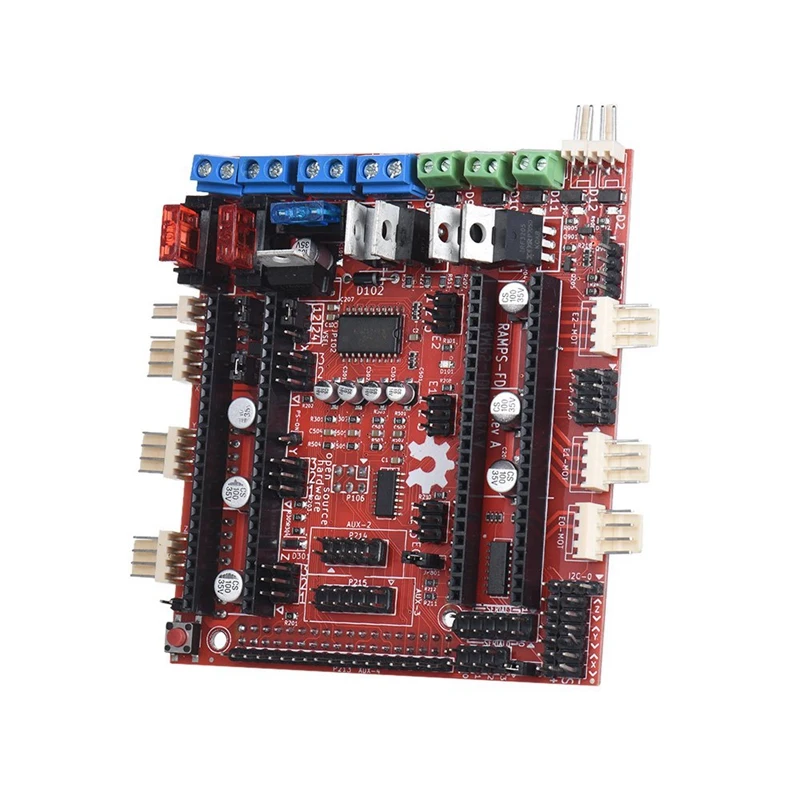
RepRap Arduino-Due Driver Shield (RADDS)
Stock - NL: 0
€ 66.07 excl VAT
Please contact us for an expected shipping date
Product description
RepRap Arduino-Due Driver Shield (RADDS)
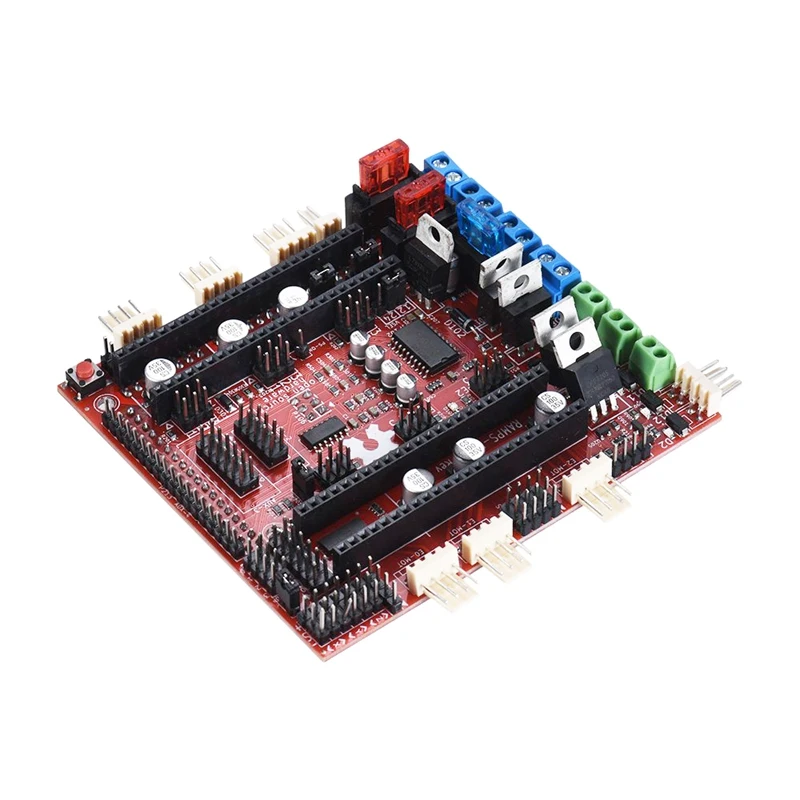
The RADDS-Board provides the following connectivity’s:
- 6 Steppers on-board : X,Y,Z, E0, E1, E2. (Sample: 3 axis and 3 extruders (Z-axis, and E3 extruder, comes with 2 pins strips for optional second stepper).
- 6 Heavy duty MOSFET`s (Sample: 1 HeatBed, 3 HotEnds and 2 fans)
- SD-Card (micro-SD-slot onboard, optional external SD-slot)
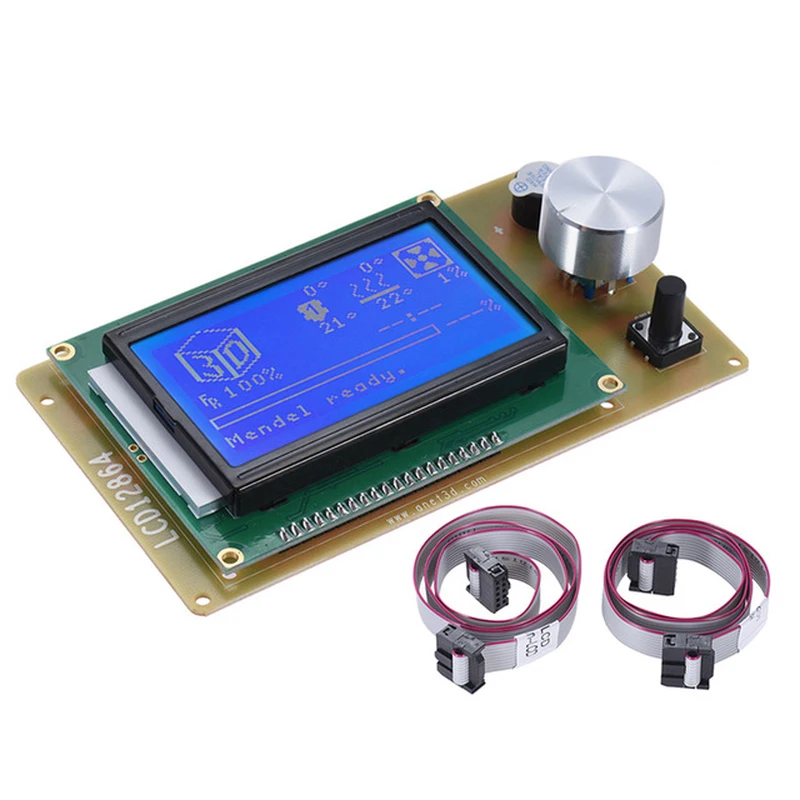
- Standard LCD (5V) with 4×20 characters (HD44780 compatible)
- Rotating encoder (on LCD panel)
- 6 endstops (Xmin,Ymin,Zmin,Xmax,Ymax;Zmax)
- 5 thermistors and an ADC
- 3 servomotors
- I2C, SPI, CAN, DAC, RS232 and 8 digital-pins available via pin strips
Additional Features:
- EEPROM
- Control-LEDs for loads and operation voltage
- Catch-diodes on the MOSFET`s
- Car-fuses instead of thermo fuses
- Variable input voltage: can be supplied from 10V up to 25V
- Heatbed electronic control supports up to15A without a heatsink
- Premium screw terminals
12bit ADC (analog to digital converter) upgraded from 10 to 12 bit. Now temperature calculation is done on 4096 measure points instead of 1024, what give a read temperature with 4x better resolution. Combined to a new firmware algorithm that uses 660 measure points to extrapolate results, a new level of accuracy is reached for reprap temperature control…
Documentation
Documentation
Specifications
| sku | RADDSFA16 |
|---|---|
| gtin | 8719345004445 |
Price breaks
| 1 - 9: | excl € 66.07 |
| 10 - 29: | excl € 62.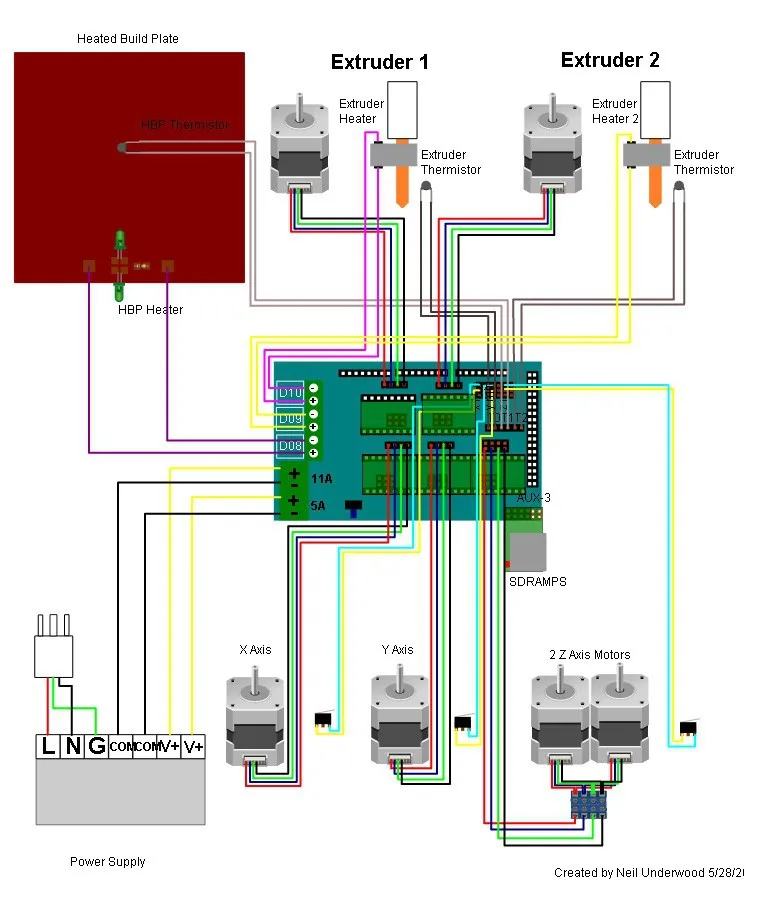 77 77 |
| 30 - : | excl € 59.47 |
| Need a larger quantity? Contact our Sales department. | |
Related products
Discover products that go hand in hand with the RADDS v1.6 - Pre-assembled 3D printer board. These are products that have been purchased the most with the RADDS v1.6 - Pre-assembled 3D printer board. Do not miss out on items that will cut down on time, boost efficiency, and provide the best experience.
Official Arduino Due 32bit ARM Cortex-M3 module
Official Arduino Due 32bit ARM Cortex-M3
€ 40.45
SAM3X8E Electronics - ARM Cortex-M3 module (Arduino compatible)
€ 23.96
RAPS128 - 1/128 stepresolution stepper driver
€ 19.63
RADDS - LCD Display 4x20 including SD
LCD upgrade for RADDS board
€ 49.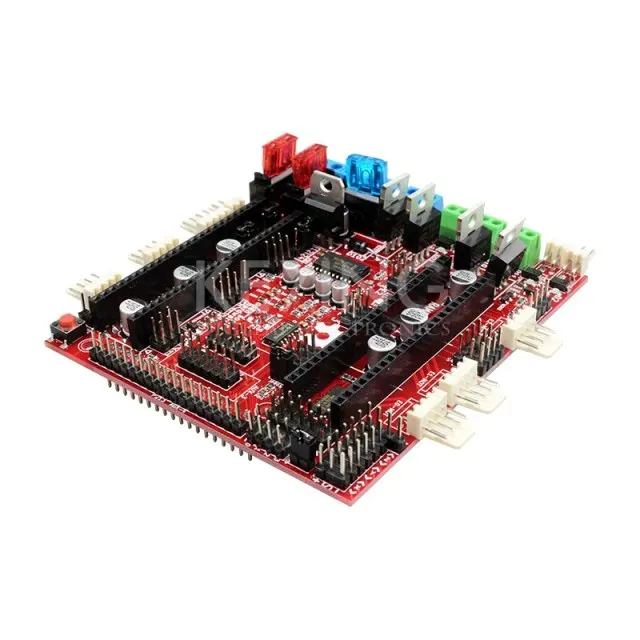 54
54
ramps 1.4 - Is Arduino Due a worth buy as controller electronics for deltabots?
An 8bit Atmega can provide bare-bones delta performance with Marlin (eg 40mm/s print speed) or pretty good performance with Repetier (due to more optimized algorithms). For a small and simple delta like a bare-bones Mini Kossel, 8bit may be fine. If you want to do high-speed printing or use any of the fancier features, you should go with 32bit.
The big issue with 8bit comes up when you want to do something that taxes the MCU. Delta kinematics already add a lot of extra math on top of all the normal printer functions like command parsing, motion planning, and heater control. For example, adding any of these to an 8bit Delta can cause issues:
- Bed tilt compensation "auto-leveling" -- the coordinate space rotation transform adds a lot of extra floating point calculations to every movement segment. That really taxes the 8bit Atmega since it does not have native floating point support.
 (Note that pre-print auto-calibration such as in the RichCattell Marlin fork is not the same as bed tilt compensation and does not add any run-time processor load.)
 - Full graphics LCDs -- refreshing the LCD screen for animations and status reports takes a surprising amount of horsepower. 8bit Marlin is widely known to suffer from stuttering and print quality issues when running a GLCD on a delta.
- Highly faceted (smooth) curves, particularly over USB -- the high rate of gcode command processing sucks up a lot of clock cycles, particularly in firmwares that run USB comms as a top-priority interrupt.
What the Due (or other 32bit board option) does for you is de-bottleneck the MCU so you can push the printer harder or utilize features that add processor load. Here's why they're so much better:
- In simple clock speed terms, the SAM3X8E in the Due/Duet/Alligator/etc is about 5 times faster than the Atmega 2560, and the LPC1769 in the Smoothieboard/MKS-SBASE/etc is about 7 times faster.
 But they're actually MUCH higher performance than clock speed alone would suggest, because the 32bit architecture and native floating point support mean far fewer clock cycles are required for complex calculations.
 - They also have more RAM, meaning the the firmware can manage more features and look farther ahead when motion planning.
- They also have more program space, meaning the firmware can, if desired, be compiled as a single full-featured build that covers all possible printers (as RepRapFirmware and Smoothieware do) and thus end-users don't have to edit and compile code in the Arduino IDE to configure the firmware. The Atmega line requires hundreds of conditional compile statements in the firmware to exclude unused features from the binary to get the memory footprint down.
All that said, the switch from an 8bit Atmega AVR to a 32bit ARM Cortex-M3 is still just an upgrade from a late-1990s processor to an early-2000s processor. Neither is "modern" by any stretch. (For example, the BeagleBone Black used by Redeem and MachineKit utterly blows away the Due in processing power and memory. But those options have steep learning curves at the moment.) The Due can still be bogged down by printing very fast with lots of features enabled. It's a big upgrade on an Atmega, but I predict it's going to be replaced by much faster controllers within the next few years. Announcements of upcoming next-gen controller boards are already trickling out.
To summarize, the answer is yes, a Due-type board is a good buy if you want a high-performance printer. It will meet 99%+ of user's needs today. But it will be replaced in a few years, just like the Atmegas are being replaced now.
As for specific Due shields, I strongly recommend NOT going with RAMPS-FD. It was cloned for sale by Asian companies before the design was finished, which seemingly caused the original designer to abandon it before working out all the bugs. RAMPS-FDv1 has some nasty design flaws such as heaters turning on while flashing firmware. RAMPS-FDv2 is better, but can experience unreliable and oddball behavior due to unresolved issues in the circuits intended to make it compatible with both 3v3 boards like the Due and 5v boards like the Mega. (For example, the thermistor voltage reference circuit needs modifying to work right, and there appears to be timing issues in the 3v3-5v level shifters.)
RADDS is a good Due shield. It is a simpler, more reliable, more compact version of RAMPS-FD. It is very popular in Germany and has recently (late 2015) become available for sale in the US.
I also recommend purchasing the Due R3-E instead of the regular Due R3. Anecdotally, the "E" version appears to eliminate some firmware bootup issues that can occur when the board is first powered at lower than nominal voltage.
One possible downside to the Due is that Arduino just announced they are no longer manufacturing it. So all new Due boards from here on will be made by 3rd parties. That's not necessarily bad, since it's open source and many other companies will surely continue making them, but there won't be any more made by Arduino.
For single-board options using the same SAM3X8E processor as the Due, the Duet 0.8.5 is becoming quite popular. (It runs RepRapFirmware, which has some great Delta features.) The Alligator runs Repetier. There are several other beta/experimental/development boards in the works too. The community appears to be moving towards the Due and Due-compatible boards over the other various options.
Arduino Due in a 3D printer. Little trick powered by RAMPS1.5
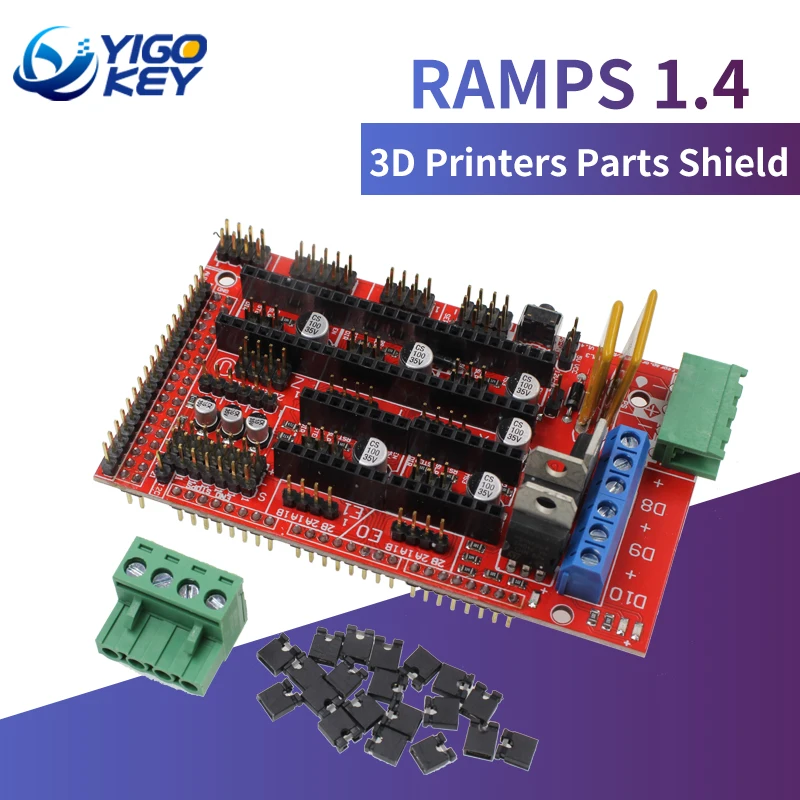
I print (not often) on delta with a Micromake D1 skeleton, with the usual 8-bit brains on the 2560th atmel and RAMPS nerves (version 1.4).
And even when typing rarely, I have already experienced system friezes and 'snot' on models with high polygon density.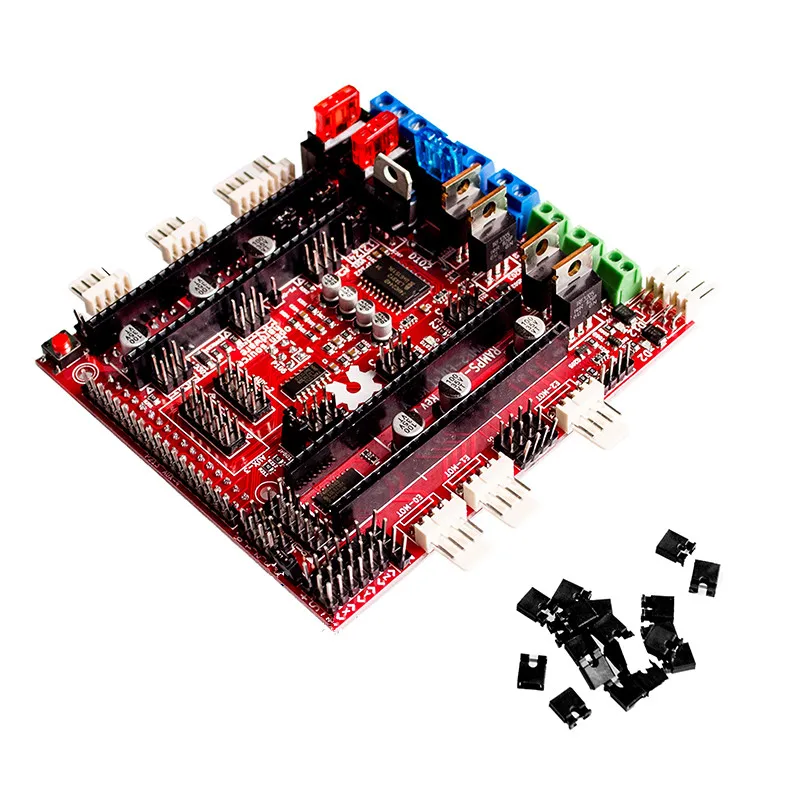
And since there were plans to assemble another CoreXY phaneroid, I decided to use Goodwin and give delta more powerful brains, and transfer these to a new one. nine0003
We are not looking for simple ways, because ready-made solutions for 32-bit control boards are not interesting. I want hardcore ... Well, at least a little.
Inspired by articles on the RAMPS hack to cross it with the Arduino DUE, this particular kit was chosen.
I ordered RAMPS1.5 (something to him lay more heart) and after 2 weeks I'm ready to dissect it.
I thought that everything had already been invented for me, but it turned out that the technology has room for improvement.
Details under the cat. nine0003
Mainly focused on this article With the exception of powering the display and encoder, as I used a Full Graphic Smart Controller with a standard adapter. Here I used a similar article on another resource. The difference is in the transfer of just one incision.
But this is not what prompted me to write this post.
When modding the shield, I didn't like a couple of things.
1. If you look at the layout of the RAMPS1.5 board, you can see that the power plus is routed along the mounting side. I consider it not entirely correct to load vias for the power connector, as the author of the article did, like many others. Therefore, I made a jumper (putting heat shrink just in case) right between the fuses F1 and F2. nine0003
This, of course, does not exclude the possibility of adding a jumper on the printed side of the board, but it can be soldered at any time.
The idea for the jumper came up while looking for a solution to another problem.
2. Initially, I did not like how the author made power on the Arduino. I'm talking about the L7809 sticking out from the side.
(Photo by the author of the article)
The very use of this stub I consider useful and, most likely, this is a temporary option for the author of the photo. That's why we had to solve this problem for ourselves. nine0003
Actually, the solution I came up with, I think there is a worthy continuation of the modding of the board, as a result of which the Arduino Due does not 'suffer' at all. And I decided to share it.
So, Arduino Due remains virgin (perhaps except for reset stabilization, but that's a completely different story). We do not solder or cut anything, because we are sawing RAMPS)))
Remove diode D1 from the RAMPS1.5 board (you can clearly see where it was in the photo)
Remove one leg from the PLS-R (angled) connector and solder it to puzu L7809, and bend the extreme legs. We check (just in case) that the 'belly' is a common wire of the stub.
By the way, the jumper from the first revision is made from the same leg of the connector, it is without the letter R, that is, the pin is initially straight.
Bend the legs of the stabilizer in such a way that, when put in place, the stub itself does not touch the mosfet.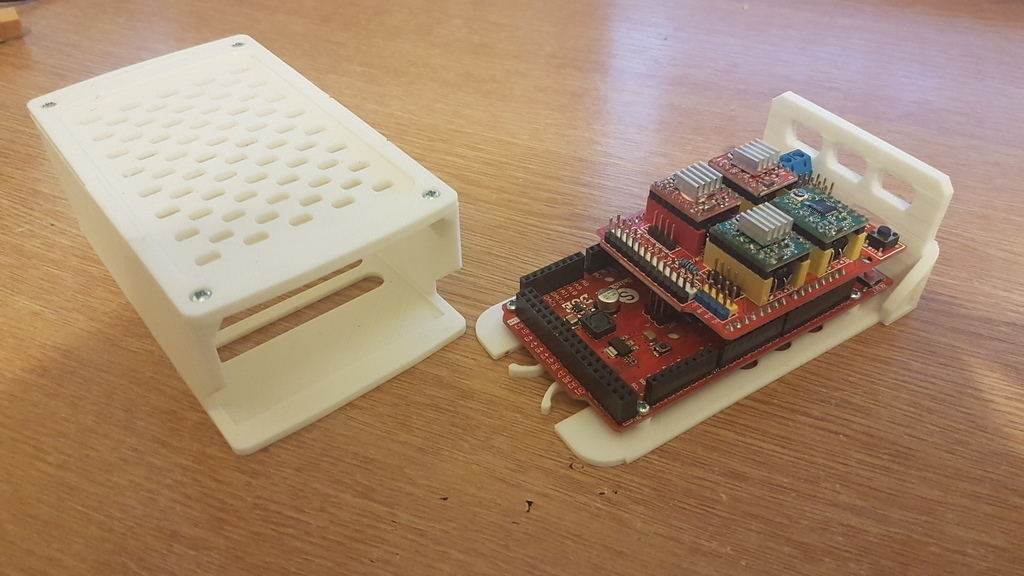 Not necessarily, but I think it's better that way.
The new leg L7809 is mounted in a hole with a round nickel of an uninstalled J4 connector as in the photo. There is a minus on this contact. nine0003
Next is a matter of technique: we stop the L7809 standard earth leg, solder it in place and hang blocking capacitors 0.33uF and 0.1uF directly on the legs. We check the power supply without connecting the Arduino to the Vin leg (it is signed on the Arduino Due) and solder the connector with the final chord. You can have a kopeck piece, like the author of the article, but I only had a 3-pin ... And why not? An earth contact for a clamp is never superfluous)))
We get just such a refinement of the shield.
I'll make a reservation right away. The table heater is used at 220V, because it is switched by a solid-state relay and there is no load on the mosfet, on which the L7809 will now work. And that means it won't get hot.
I actually thought about replacing it with something low-powered, but it was already late and I wanted to sleep.
It remains only to replace the mosfet of the hot end or screw on the level converter - I haven't decided yet, since neither one nor the other is available.
P.S. I'm not a photographer, so sorry. nine0003
Answers to questions about ramps 1.4
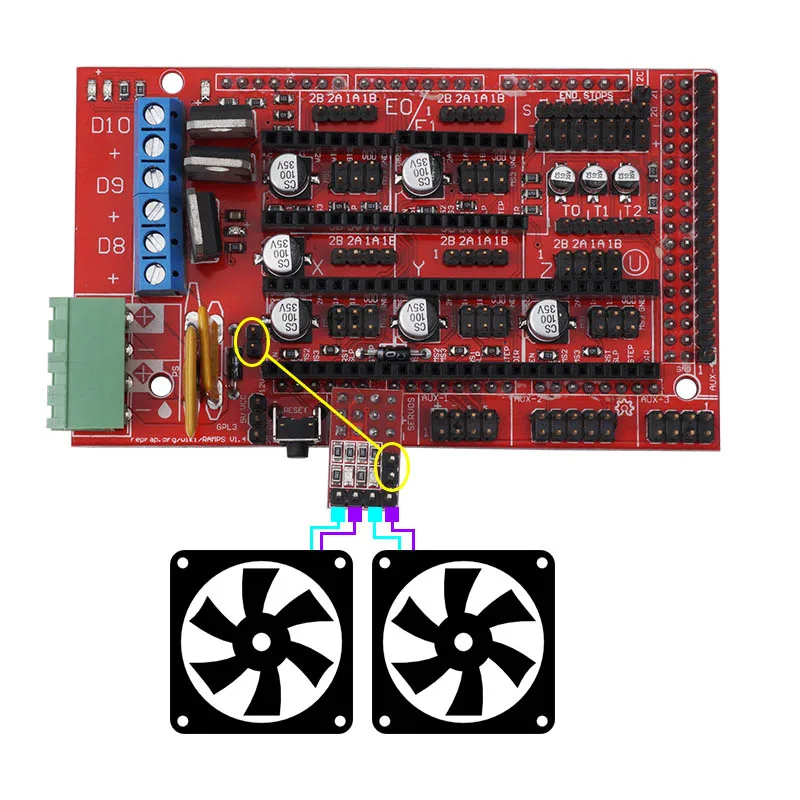
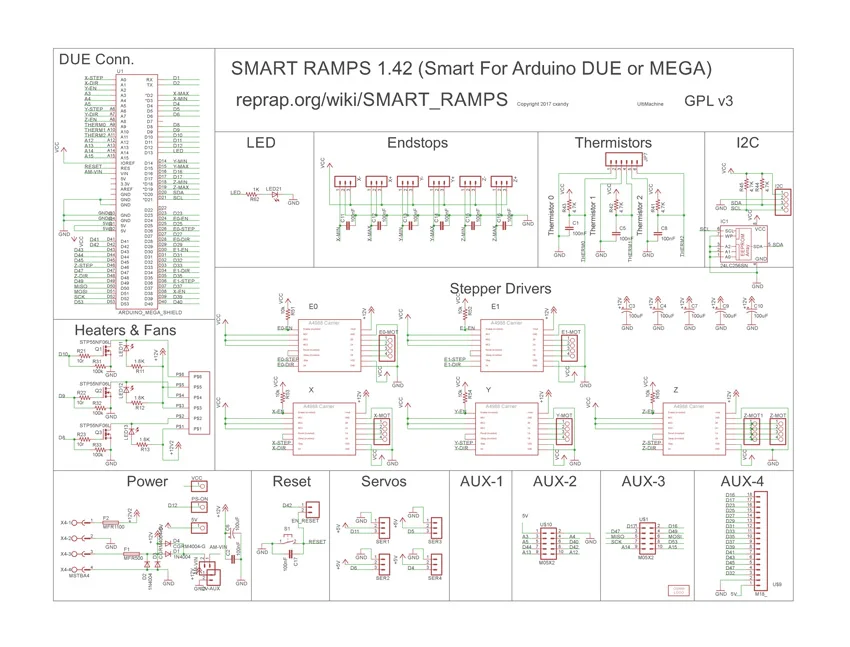
For questions specifically related to the RAMPS 1.6 controller board - The RepRap Arduino Mega Pololu Shield, or RAMPS for short, is an Arduino Mega expansion shield designed to house all the electronics for a RepRap 3D printer in a small, inexpensive package.
The RepRap Arduino Mega Pololu Shield, or RAMPS for short, is an Arduino Mega Shield extension designed to fit all electronics for a RepRap 3D printer in a small, low cost package. nine0003
New in version 1.4 is the use of surface mount capacitors and resistors to increase coverage in case of problems.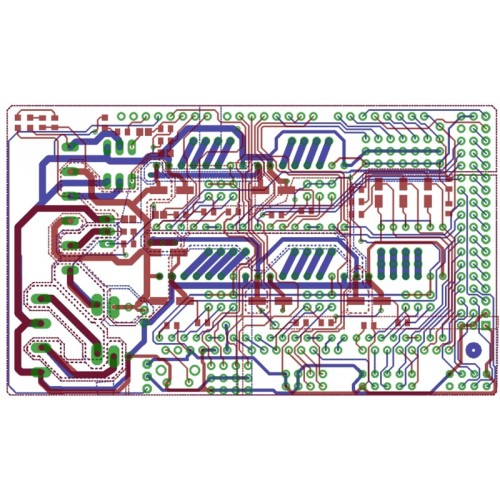 Also, unlike version 1.3, version 1.4 is no longer suitable for home board etching.
For more information and a complete list of features, see the RepRap RAMPS printer wiki.
- TMC2130 External VM RAMPS 1.4 I am trying to replace my DRV8825 with a TMC2130 on a Prusa i3 remake clone, 12V RAMPS1.4, motor currents have been taken into account. Because they don't work as well with 12V as they do with higher voltages, I...
- Confusing stepper motor behavior I am trying to control stepper motors for a 3D printer with a RAMPS 1.4 screen connected to an Arduino Mega 2560. I have uploaded the Marlin firmware to the board and am currently using Pronterface for…
- Do insulation types matter wires TW, THW and THHN or THWN in terms of RAMPS 1.4 power or MK2a thermal layer? I'm still looking for wires for my Prusa i3 to connect the power supply to the RAMPS 1.4 and the power supply to the MK2a heating table. I also recently found 400 feet.
 Wire storage ,…
 - Where and how to connect a physical emergency stop button directly to the RAMPS 1.4 board to quickly stop all stepper motor movements? This is a Prusa I3 printer. I run it directly from a PC with Repetier 2.2.4. Repeater has a mild emergency Stop, but you have to grab the mouse and hover over the hotspot on…
- Endstops won't work when using Marlin firmware I have an old Solidoodle 2 that I bought broken at a garage sale and which I'm converting to use RAMPS 1.4 with Marlin firmware. All engines are working properly, I have ...
- Why does the power supply turn on and off automatically? I have a 12V/30A power supply. I also installed the firmware on the Arduino Mega2560. But the problem is that the display on the LCD keeps turning on and off automatically (it's stuck on the logo...
- Direction of the 4 pin fan on the RAMPS board The question is simple - I have a RAMPS 1.
 4 running Marlin 1.1.9 with three used MOSFETs (end, fan, table) but I would like to have a couple of other fans controlled by Marlin.…
 - Simultaneously connect Arduino Mega USB input (for power supply) and RAMPS 1.4 power input Can I connect Arduino Mega USB input (for power supply) and RAMPS 1.4 power input at the same time? This is because when I connect the power supply to RAMPS 1.4 only, the LCD...
- Can I connect a power supply with a higher current rating than RAMPS 1.4 can handle? I have a 12V/30A power supply. Will the RAMPS 1.4 screen light up if I use this power supply with it? nine0076
- Maximum input current, voltage and power for RAMPS 1.4, 1.5 and 1.6? I need to know the maximum input current, voltage and power for: RAMPS 1.4 RAMPS 1.5 RAMPS 1.6 I want to build a homemade 3D printer. RAMPS 1.6 can only put out 270W. But if…
- How to set up Marlin to turn on automatic fans with dual extruder I successfully built my custom 3D printer and set up Marlin for two extruders and one heated bed.
 Here is a photo of the printer. My heated table runs on a linear axis with…
 - Right Z axis problems My 3D printer was working great but one day I put it in an acrylic box and put it to work which was not a good idea because the Z axis grabbed the box, after that the Z axis started…
- How to connect motors with z axis in parallel on Prusa i3? The wiring diagram for the i3 has a small circuit board or breadboard or something. And it is mentioned that z-axis motors should be connected in parallel, but beyond that they don't give…
- Hot end temperature increases to infinity after several layers I have a "classic" home 3D printer, Arduino Mega, RAMPS 1.4 with Marlin 2.0. It worked, was put into storage, and now I'm trying to start it again. During all stages…
- Stepper motor pauses, problem with drivers I am sharing here this problem that happens to me. I have a printer installed with Arduino and RAMPS 1.
 4 shield with A49 drivers88. I was trying to calibrate the printer when I came across…
 - Bed Heating Failed, Printer Halted, Please Reset A couple of weeks ago I successfully built a 3D printer and printed an XYZ calibration cube with ABS material at a bed temperature of 80°C. The next day I tried the table heat at…
- Marlin restarts when the 5 Vcc pins are on and a servomotor is connected (RAMPS 1.4) My printer uses an ATmega 2560 with a RAMPS 1.4 screen, A49 stepper drivers88 and 2004 LCD controller interface. The power of the power supply is 360 W (12 V, 30 A). I…
- Heated bed heating acceleration I am currently using a 12 volt, 20 amp power supply (Model S-240-12) The stepper motors and extruder need 5 amps and the heated tabletop needs 11 amps… Thermistor on my Anycubic Mega displays meaningless temperatures (e.g. 700°C) because the resistor in the hotend works fine, the problem is 100% in the board (Trigorilla RAMPS 1…
- Limit switch problems on RAMPS 1.
 4 and a custom 3D printer running Marlin 1.1.0-rc6 So I'm trying to fix a custom 3D printer for my institute and I'm running into a problem I can't figure out. So the limit switches for the Y and Z axes…
 - Temperature problems after switching to RAMPS 1.4 I recently switched to RAMPS 1.4 on an Arduino Mega 2560. Ever since I got extruder temperature drops a couple of minutes after printing, but it looks like a problem with the temperature reading, eh…
- Cooling fan spins very fast, noisy on startup I built a 3D printer from parts. It uses a standard 12V power supply, an Arduino Mega 2560 replica, and a RAMPS 1.4 board. Hotend cooling fan connected to 12V-AUX pin (the one that…
- 3D printer always resets after extruder start My 3D printer (Inventor 3D plus) is using RAMPS1.4 with Arduino Mega using Marlin firmware (modified by manufacturer) . I preheat with the hot end and…
- How do I turn on the RAMPS 1.
 4 when not using the heated table? I bought a new RAMPS 1.4, Arduino Mega 2560, new 12V 20A PSU, not using a heated printbed. In the 5 terminal, in RAMPS 1.4 only take as many amps as it should (is it 5 huh?) …
 - Stepper motors do not work when connected to RAMPS 1.4 Stepper motors do not work when connected to the RAMPS board in pins X,Y, Z. I used A4988 drivers and the Arduino board is the original version. I checked the input voltage on the RAMPS board,…
- Heated table does not heat up Hello, I am building a Prusa MK2 clone. Therefore, I connected all connections to the RAMPS 1.4 shield. I successfully used the Pronterface to set the temperature of the table, but it didn't heat up... So I...
- Mixing Nozzle vs Dual Nozzle vs IDEX vs Tool Changer for pva and pla I am planning to build a dual extrusion 3D printer. I want to use PVA with one of the extruders and base material with the other, so color printing is not important to me and I just want to.
 ..
.. - Burnt MOSFET and high heated bed resistance I am new to 3D printing and making a 3D printer from scratch (cartesian). I have a RAMPS 1.4 shield and an Arduino Mega 2560 board. I have a few questions and it would be really nice if I could get… a printer. Everything works fine, except for the heated table. When I connect my heated table to terminal D8, smoke comes out. This is my 3rd RAMPS board and I…
- CoreXY with 8 bit board problems I know the CoreXY kinematics are very complex and hard to compute for firmware, making it more suitable to use a 32 bit board. For some reason I can't use either...
- Arduino and power up RAMPS I want to run two stepper motors with an Arduino Mega 2560 and RAMPS 1.4. But somehow I burned the Arduino when I connected the motor and connected the board to the computer. Can I connect…
- TMC2208 Drivers - Microvias configured incorrectly I just installed two TMC2208 drivers on my RAMPS board.
 I followed a very good step by step tutorial and after some trouble, I got it to almost work. One problem that has…
 - Automatic table leveling with stepper motor lock I have a discontinued botObject printer that I want to run with a RAMPS 1.4 board. Table alignment was done with the print nozzle pressed against the spring loaded…
- RAMPS 1.4 LED 2 flashes when trying to warm up the table On my i3 clone I tried to add an Anycubic i3 Ultrabase to my RAMPS 1.4 board and after adding the necessary configurations to the Marlin firmware I am able to heat up the table. The problem is that it is very…
- Display lockups when doing G-code for laser cutting with Marlin on a RAMPS board I'm working on a laser cutter. I am using RAMPS 1.4 and Marlin software. To get the Marlin software to work with the laser, I was inspired by this blog from dreammakercnc: ...
- Stepper motor homing as extruder using E0/E1 with limit switch and end stop Note: I expanded my question as some of you mentioned that this question is not entirely clear.
 I am using a RAMPS 1.4 board with an Arduino mega 2560. I need to control a stepper motor in…
 - Which 3D printer controller should I use? I recently built a 3D printer from scratch and used an Arduino Mega + RAMPS 1.4 to control it. A few weeks later, I installed a heated table so that my prints would better adhere to…
- How do I connect a NEMA 17 stepper motor to RAMPS 1.4? I have a NEMA 17 17HS4401 stepper motor and a RAMPS 1.4 driver. Engine outputs: RED A+ BLUE A- GREEN B+ BLACK B- while the RAMPS board has the following: 2B 2A 1A 1B …
- Makerbase MKS Slot2 V1.0 + RepRapDiscount Full Graphics LCD + RAMPS 1.4 I want to add an external SD card adapter to my RepRapDiscount Full Graphics LCD. My 3D printer is based on (Arduino Mega + RAMPS v1.4 + RepRapDiscount Full Graphics LCD). I buy…
- Stepper motors do not move, RAMPS 1.4 I have an Arduino Mega clone and RAMPS 1.4 along with A4988 drivers and NEMA 17 motors that do not move.
 The motors are easily turned by hand with or without RAMPS. Between…
 - Extruder steps per mm wrong after rebuilding I have a problem that after upgrading my printer to an aluminum frame my extruder went from about 400 steps per mm at 16 micro steps (which was perfectly in line with the recommendation…
- Z motor does not move during automatic home My Monoprice maker select recently burned its melzi board. So I bought the ramps 1.4 kit. I plugged it all in and flashed the firmware with marlin (most recent build). When it boots up,…
- Printing chocolate with RAMPS 1.4 Can I print chocolate or food with RAMPS 1.4? I have seen printers that are capable of printing food. But I'm not sure if there is one that is open source. At…
- Digital and analog pins On the RAMPS v1.4 board, it appears that all X, Y, and Z motors use at least one analog pin, while the extruder motors are fully digital. See only the upper left block.
 ..
.. - Add laser module for Reprap Guru Prusa i3 I have a Reprap Guru Prusa i3 v2 3D printer. Here is a link to the 192MB manual. And here is a link to the resource page for Guru Reprap. On page 58 of the manual,…
- How to lengthen a Marlin to support an additional axis of motion? 5 stepper motors can be installed on RAMP 1.4: stepper motors X , Y , Z are used for Cartesian movements, while E0 and E1 are provided for driving extruders. I…
- Where did I go wrong trying to add an extra motor to my board? I would like to add an extra motor to my board and I'm not sure where I went wrong. The motor will be used to turn a spinning wheel/carriage with potential hot ends for…
- Replacing RAMPS 1.4 with 1.6 While building my printer I accidentally shorted the RAMPS 1.4 board, looking for a replacement I found RAMPS 1.6 which would eliminate the need for a MOSFET power module. My question is, can I just…
- Tips on how not to burn out the Arduino Mega when connecting the Prusa i3? I am reading about connecting electronic components to my Prusa i3 using Arduino Mega 2650 and Ramps 1.

Learn more


