3D print ironing
Guide to Ironing: How to make top surfaces super smooth with PrusaSlicer 2.3 (RC)
The top surface of 3D prints is typically not perfectly smooth. As the nozzle draws the perimeters and solid infill, small gaps and ridges remain visible between the toolpath lines. However, if your model has flat areas parallel to the print bed, you can use Ironing to smooth them.
How does ironing work?
Ironing smooths flat top surfaces by running a special second infill phase in the same layer.
As the hot nozzle travels over the just printed top layer, it flattens any plastic that might have curled up. The nozzle also extrudes a small amount of filament to fill in any holes in the top surface. The spacing between individual ironing passes is usually a fraction of the nozzle diameter. That means the nozzle will go over the same spot several times. Ironing is angled at fixed 45 degrees compared to the first phase of normal top infill as this approach produces better results.
Macro comparison of Ironing OFF (left), Ironing ON (right)
PrusaSlicer 2.3
At the time of the release of this article, PrusaSlicer 2.3 is available as a release candidate version. You can download it from our GitHub. You will not find ironing in the previous versions of PrusaSlicer.
History
The Ironing idea was first proposed in 2016 by the Spanish user “Neotko” on the Ultimaker community forum. Neotko prototyped “Neosanding” – a smoothing of top surfaces in Simplify3D by running a second infill phase at the same print height with zero or a tiny extrusion rate perpendicularly to the first infill run. The “Neosanding” was later integrated by Ultimaker into their Cura slicer. Kisslicer integrated Ironing with a small twist: The second phase is not perpendicular to the first phase, but at 45 degrees, which Jonathan, the author of Kisslicer, validated to produce better results.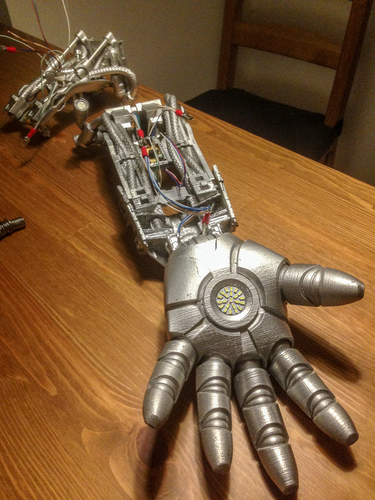 For PrusaSlicer, we implemented Neotko’s “Neosanding” at 45 degrees as in Kisslicer.
When to use Ironing
Ironing is useful for prints with flat top surfaces, like nameplates, logos, badges, boxes, lids, etc.
It can also be useful when you want to glue two pieces together and need the surfaces to be as flat as possible so that the gap between them is minimized.
Ironing is not useful for round objects, figures and organic shapes in general. It’s also not useful for objects which do have flat areas, but these flat areas are not aligned parallel to the print bed. With that said, ironing will not have a significant negative impact when printing such models. It will just unnecessarily increase the print time.
Ironing has little to no effect on non-flat surfaces, Ironing Off (left), Ironing On (right)
Don’t forget, that some models can be printed upside down. The bottom layer printed on the build plate will typically be even smoother than an ironed top layer (depending on the print sheet that you use).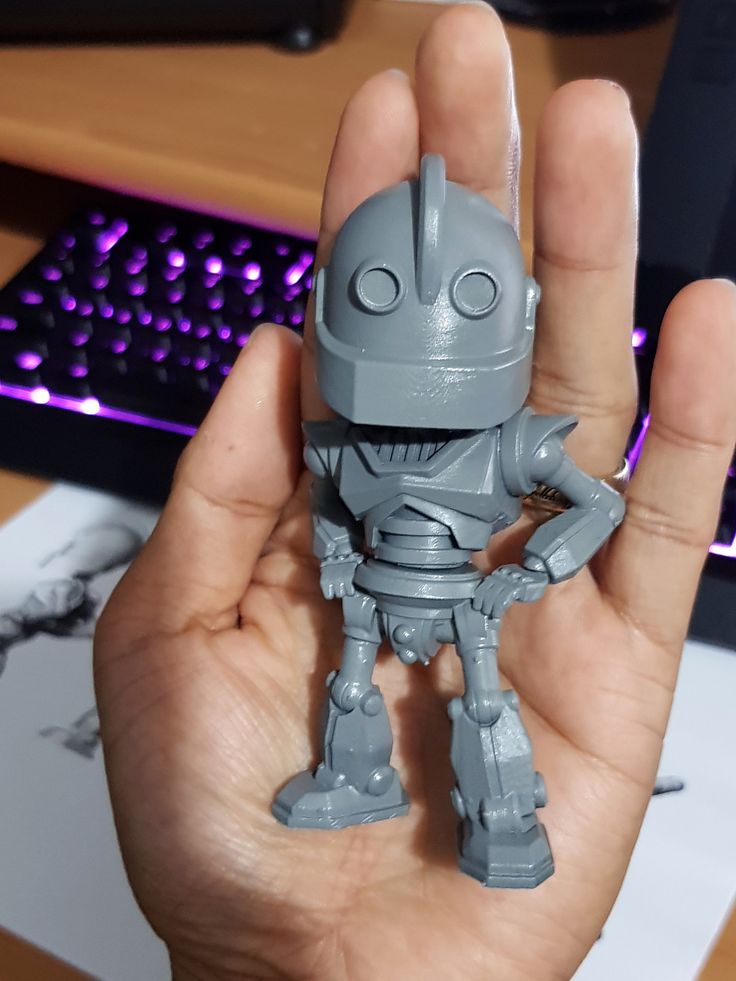
Use in combination with the Monotonic infill
The Monotonic infill is another feature, which improves the quality of the top layers. It’s essentially the good old rectilinear infill with modified path planning – it’s always extruded only in one direction (e.g. left to right). Use it in combination with Ironing to get the best results. Original Prusa profiles have the Monotonic infill already set as the default for top&bottom layers.
Downsides
The main downside is increased print time as the second phase of top infill is performed with very small spacing between ironing lines. You can see how much print time will be spent on ironing in the preview.
For uniformly sized objects (roughly cube shape) Ironing will increase the print time by about 10-20%.
However, for prints just a few millimeters tall, Ironing can increase the print quite significantly.Starfleet badge by Andrew Sink
If you’re ironing a big surface area, on some machines you might experience heat creep and eventually, a clogged hotend because the extrusion is very small and slow during ironing.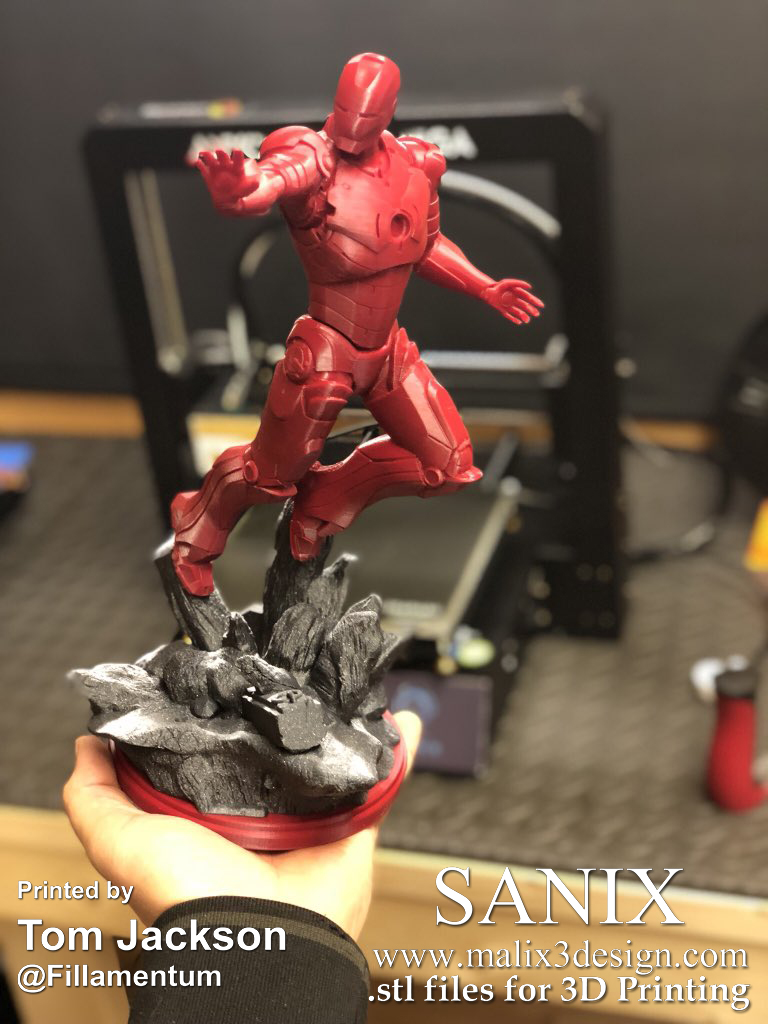 This might a problem mainly when printing with PLA, because of its low-temperature resistance. The risk is increased during summer heatwaves.
Another downside is that the edges will be a tiny bit fuzzy or less sharp. The ironing toolpath is planned for a small extrusion, but the nozzle is physically still the same size, so some plastic will bleed over the edge.
We wouldn’t exactly call it a downside, but shiny surfaces will also become a bit more matte.
Ironing settings
Ironing is not available in the Simple mode, so switch to the Advanced or Expert mode. To turn Ironing on for all models on the build plate, select Print settings – Infill – Ironing – Enable Ironing.
If you want to turn on ironing just for a selected model, you have to be in expert mode. Right-click on a model and select Add settings – Ironing from the context menu. Tick Enable ironing, optionally you can also select the rest of the ironing settings in order to customize them for individual objects. You can now change the ironing settings for this model using the right panel.
The Ironing type All top surfaces is selected by default. The nozzle will iron the top layer of each surface (the last layer of each flat area).
If you switch the Ironing type to the Topmost surface only, only the very last layer of the object will be ironed. This means that in the case of an embossed text (oriented parallel to the print bed) the nozzle will iron only the top of the letters, but not the space between the letters.
You can also use Modifiers to turn on Ironing just for a selected part of a model. Check our Documentation for a step-by-step tutorial.
Different materials
As far as settings go, there’s nothing much to tweak no matter which filament you use. However, different filaments produce different results based on their specific properties.
PLA irons very nicely, however, it is most prone to heat creep (depends on your printer and ambient temperature).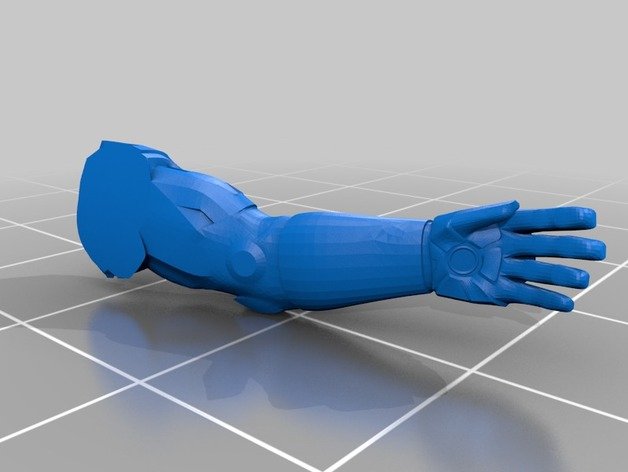
PETG irons fine, but there’s an increased risk of extra filament sticking to the nozzle. This plastic might accumulate on the nozzle, get dark as it’s overheated and eventually attach to the print. The same goes for FLEX, but much more pronounced.
ASA irons incredibly well, producing super smooth top surfaces.
When we tried ironing WOOD FILLED filaments, we didn’t achieve very good results. But your experience may vary.
Calibration
If you’re using an Original Prusa printer, all you have to do is to turn Ironing on. We’ve already tested and set all the values for you. Furthermore, many community profiles included in PrusaSlicer will also have Ironing already set-up.
If you want to use Ironing with a custom machine, you’ll have to experiment with the ironing flow, speed and line spacing. Make sure you’re in the Expert mode, you won’t see these values otherwise. Ironing is very sensitive to accurate extruder calibration. Too little and shiny groves will be visible at the top layer, which will not be ironed. Too much and the excess plastic will be dragged by the nozzle to the edges of the top surface. So calibrating is a matter of trial and error.
Conclusion
Ironing is a great tool that you can use to smooth models like badges or logos. It works so well you might even have problems recognizing which part of the model was printed on the build plate and which one was smoothed with ironing 🙂
However, keep in mind that it increases the print time and that it’s not useful for figures and other organic shapes. So it’s not something you should leave turned on all the time.
How to Use Ironing in 3D Printing – Best Settings for Cura – 3D Printerly
Ironing in 3D printing is a setting that many people use to improve the top layers of their models. Some people do get confused on how to use it so I decided to make an article to help users out with it.
Keep on reading for more details on how to use ironing to improve your 3D prints.
What is Ironing in 3D Printing?
Ironing is a slicer setting that makes your 3D printer’s nozzle do a pass over the top surface of your 3D print to melt any imperfections and make the surface smoother.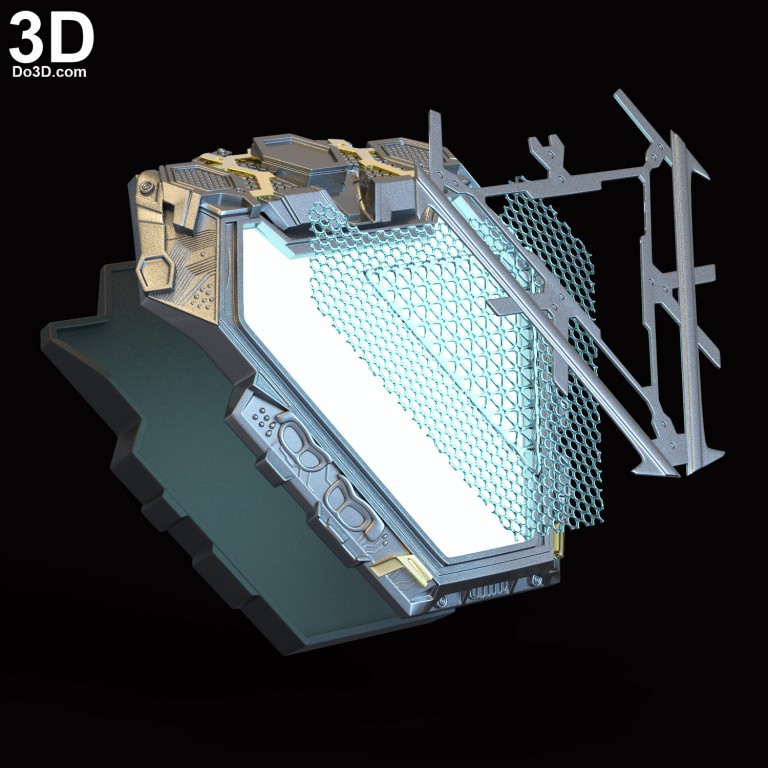 This pass will still extrude material but in a very small amount and slowly to fill any gaps and get the desired effect.
The main advantages of using ironing in your 3D prints are:
- Improved top surface smoothness
- Fills in gaps on the top surfaces
- Better assembly of parts due to dimensional accuracy
The main disadvantages of using ironing are:
- Significant increases in printing time
- Certain ironing patterns can cause visible lines – Concentric is best to avoid this
- Curved or detailed top surfaces aren’t good when ironing is enabled
Whether you want to enable Cura ironing settings on an Ender 3 or similar 3D print, you can get some great results.
One key limitation for Ironing is that it’s mostly effective on top layers that are flat since the nozzle repeatedly moves forward and backwards over the same spots to ensure a smoother surface.
It’s possible to iron slightly curved surfaces but it usually doesn’t yield great results.
Ironing can be considered experimental by some but most slicers do have some form of it such as Cura, PrusaSlicer, Slic3r & Simplify3D. You’ll get the best Ironing results by initially calibrating your 3D printer properly.
I wrote an article about How to Use Cura Experimental Settings for 3D Printing, that goes through some interesting settings you might not know about.
How to Use Ironing in Cura – Best Settings
To use the ironing setting in Cura, you need search “ironing” in the search bar to find the “Enable Ironing” setting and check the box. “Enable Ironing” is found under the Top/Bottom section of the print settings. The default settings usually work pretty well, but you can dial in the settings better.
There are a few additional ironing settings you can use here, and I will go through each of them below:
- Iron Only Highest Layer
- Ironing Pattern
- Monotonic Ironing Order
- Ironing Line Spacing
- Ironing Flow
- Ironing Inset
- Ironing Speed
You can right-click any of the ironing settings during the search, and set them to “Keep this setting visible” so you can find them without searching again by scrolling to the Top/Bottom section.
Iron Only Highest Layer
The Iron Only Highest Layer is a setting you can enable to only iron the very top layer of a 3D print. In the example above with the cubes, only the top faces of the very top cubes would be smoothed, not the top surfaces of each cube.
This is a useful setting to enable if you don’t need any other top layers on different parts of the 3D model to be ironed, which saves a lot of time.
Another use of this setting would be if you have a model that has top layers that are curved and a highest layer that is flat. Ironing works best on flat surfaces, so it depends on the geometry of your model whether you enable this setting or not.
If you are printing multiple models at the same time, the highest top layer of each of the models will be ironed.
Ironing Pattern
The Ironing Pattern is a setting that lets you control what pattern the ironing moves in across your 3D print. You can choose between Concentric and Zig Zag patterns.
Many users prefer the Zig Zag pattern, which is also the default one since it works for all kinds of shapes, but the Concentric pattern is also quite popular.
Each pattern has its advantages and disadvantages:
- Zig Zag is said to be the mostly very reliable, but can result in some visible borders due to the frequent change in direction
- Concentric does not normally result in borders, but it can result in a spot of material in the center if the circles are too small.
Choose the pattern that works best for your particular model. For example, Cura recommends the Concentric pattern for long and thin surfaces and the Zig Zag pattern for surfaces of similar length and height.
Monotonic Ironing Order
The Monotonic Ironing Order is a setting that can be enabled to make the ironing process more consistent by ordering the ironing lines in a way that adjacent lines are always printed overlapping in the same direction.
The idea behind the Monotonic Ironing Order setting is that by having this consistent overlapping direction, the surface doesn’t have slopes like the usual ironing process creates. This then results in light being reflected the same way over the entire surface, leading to a smooth and consistent surface.
When this setting is enabled, the length of travel moves slightly increase, but at a very minimal level.
Cura recommends to also pair this setting with Z Hops for a smoother surface.
Cura has another setting called Monotonic Top/Bottom Order which is not linked to Ironing, but works in a similar way but affects the main printing lines and not the ironing lines.
PrusaSlicer also offers a Monotonic Infill setting which creates some very nice results, according to users.
I love the new monotonic infill option. Such a huge difference in some of my prints. from prusa3d
Check out the video below by ModBot that explains the Monotonic Order for ironing, as well as the general monotonic order setting in Cura.
Ironing Line Spacing
The Ironing Line Spacing setting controls how far apart each line of ironing will be. With regular 3D printing, these lines are spaced further apart compared to ironing lines which is why ironing works well to improve the top surface.
The default Cura ironing line spacing is 0.1mm, and this works well for some users, such as this one:
I’ve been perfecting my ironing settings! PETG 25% .1 spacing from 3Dprinting
A smaller line spacing will result in a longer printing time but will give a smoother result. Many users suggest 0.2mm, which strikes a balance between smoothness of the surface and speed.
One user got great results by using a 0.3mm Ironing Line Spacing in his model.
Another user who tried a 0.2mm Ironing Line Spacing got a lovely smooth top surface in his 3D print:
I may have found the perfect ironing settings… from ender3
I’d recommend trying out different values to see how much of a difference it makes in your 3D prints. You can also check the printing times in Cura to see if they increase or decrease significantly.
Ironing Flow
The Ironing Flow setting refers to the amount of filament that is extruded during the ironing process and is expressed as a percentage. The default value is 10%. One user suggested that 10-15% works well for their prints, while another recommended going all the way to 25%.
One person pointed out that 16-18% is a good value, since going over 20% might cause issues but this can vary based on model and 3D printer.
Depending on your model, you should find the settings that work best for you. For example, if you have a lot of visible gaps in your top layer, you can increase your Ironing Flow to fill those gaps in better.
Many users suggest that the first way to try and fix ironing issues is to adjust your Ironing Flow value, either an increase or a decrease. The example below is one user mentioning that Ironing was making his 3D print’s top surface look worse.
Increasing the Ironing Flow was the main suggestion to fix this problem.
Why is my ironing making it look worse? from FixMyPrint
In this next example, decreasing the Ironing Flow made the most sense since there looked like over extrusion in the top surface of the 3D print. They suggested to decrease the Ironing Flow by 2% until the results looked good.
Why am I getting bumbs and not smooth ironing layer? 205 degree 0.2 late height. Ironing line spacing .1 ironing flow 10% ironing inset .22 ironing speed 17mm/s from FixMyPrint
The Ironing Flow shouldn’t be too low though because it needs to be high enough to maintain a good pressure in the nozzle so it can fill any gaps properly, even if the gaps aren’t very visible.
Ironing Inset
The Ironing Inset setting refers to the distance from the edge that ironing starts from. Basically, a value of 0 would mean that ironing starts directly from the edge of the layer.
Generally speaking, ironing doesn’t smooth out models all the way to the edge since material would flow over the edge of the model due to continuous pressure of filament.
The default Ironing Inset value in Cura is 0.38mm, but many users suggested using 0.2mm instead, maybe due to the standard layer height of 0.2mm. This value does depend on the model you are printing, as well as the material you are using.
Another way to use this setting is to stop thin strips of your model from being ironed, by increasing the setting, but this would also cause bigger parts to not get ironed close to the edge depending on how high the setting is.
This setting does automatically adjust when some of your other settings are changed such as the Ironing Pattern, Ironing Line Spacing, Outer Wall Line Width, Ironing Flow and Top/Bottom Line Width.
Ironing Speed
The Ironing Speed is simply how fast the nozzle will travel while ironing. Generally speaking, the Ironing Speed is much slower than your normal printing speed so the lines of the top surface can properly fuse together, though at the cost of a higher printing time.
The default value for Ironing Speed is 16.6667mm/s, but many users choose to take it higher.
One user suggested values between 15-17mm/s, while others have recommended speeds of 26mm/s and one user said he got good results with a speed of 150mm/s, even mentioning that Cura would highlight the value as yellow.
It’s also possible to adjust Ironing Acceleration and Ironing Jerk, though these shouldn’t be too necessary to get the best results. The default values should work pretty well – these are only found by enabling Acceleration Control and Jerk Control, as well as enabling Ironing.
Check out the video below for a great explanation of Ironing in Cura, along with some suggested values.
If you are using PrusaSlicer, then this video explains the Ironing settings more in-depth:
Free 3MF file Wild Holes Labyrinth・3D printer model for download・Cults
Articulated Dolphin Clipper
Free
Magic crystals
Free
Maze Cube - Novice
Free
Christmas tree
Free
Hermann Ohme Chess Set
Free
Wasy Stand
Free
Sir Nigel Squintsworth's spectacle holder
Free
Maze Cube - Expert
Free
Best 3D printer files in Game category nine0037
Playmobil Squid Game head
Free
3D printed illusion - breaks the laws of physics
0. 93 €
VW GOLF MK1 - classic style
0.91 €
More robust marble machine
Free
nine0003 M1 Abrams Tank Model KitFree
Hive! Boardgame - Expansion Bugs
Free
Crusader Castle
0.61 €
Penguin 3D-puzzle cnc/laser
Free
Bestsellers in the Game category
nine0003 WARFORGED VOIDWALKER EXOSUIT UPGRADE KIT9.41 €
USS EnterSurprise - printable game container for tiny F14 jet fighters
3.75 €
Abandoned damaged spaceship compatible kill team in the dark or boarding action game
€13. -fifty% 6.89€  78
78
Voidwalker Exosuits Truescale
14.83 €
Dugtrio Funny 3D print model
8,47 €
Articulated snowman
2.81 €
Chopper motorcycle print-in-place
1 €
Lev Fu
5.50 €
Good flexi dragon
1.77 €
Articulated dragon
3.75 €
Heavy Imperial Fire Support Weapon [Preliminary Support]
5 €
Snake and rattlesnake
3.75 €
Enourmous 9 Imperial Heavy Tank0004
10 €
Heavily armored warriors Catafrac - set of limbs
1,85 €
Bicycle
1. 40 €
40 €
Healer conversion kit SM
6 €
Do you want to support Cults?
Do you like Cults and want to help us continue our journey on our own ? Please note that we are a small team of 3 people, so it is very easy to support us in maintaining activities and creating future developments. Here are 4 solutions available to everyone:
-
ADVERTISING: Disable the AdBlock banner blocker and click on our banner ads.
-
AFFILIATION: Shop online with our affiliate links here Amazon.
-
DONATIONS: If you want, you can donate via PayPal here.
-
* INVITE FRIENDS: * Invite your friends, discover the platform and great 3D files shared by the community!
materials, equipment and technologies for advertising production
- Product catalog
Product catalog
Go to expanded catalog
Catalogs PDF
CONSUMABLES
- Silk-screen materials
- Advertising and decorative lighting
- Chemistry (adhesives, paints, varnishes, special chemicals, cleaners)
- Mounting and packaging materials
- Aluminum and plastic profiles
- Materials and equipment DTF
- Digital printing ink
- POS materials and equipment, Joker, Uno and Tritix systems
- Mobile stands, Flagpoles, Pavement signs, Fencing posts nine0161
- Rigid sheet materials
- Colored self-adhesive films
- Materials for printing and lamination
- Reflective materials
- Thermal transfer materials
- Souvenir and premium products
- Clothes and accessories for labeling
- CRAFT materials and equipment
EQUIPMENT AND TOOLS
- Printers for advertising production nine0161
- Printers for printing and transfer printing
- 3D printers
- Equipment for nesting and cutting
- Milling and engraving equipment and laser engravers
- Fabric printing equipment
- T-shirt printers
- Laminators
- Thermopresses
- power tool
- Aluminum ladders and ladders
- Equipment for the production of liquid acrylic letters nine0161
- Trimmers, abrasives, film tools
- Eyelets and tools for their installation
- Knives, blades, scissors, mats
- Silk-screen equipment
- Spare parts, add.
 hardware and software
Sale New Year
- Zenon Academy
- Video
- Articles
- Webinar Schedule
- About Us
- About company
- Our staff
- News
- News
- Stock
- New
- Developments
- Seminars
- Exhibitions
- Congratulations
- Webinars
- Service
- Signboard calculation
- Service
nine0156 Working conditions - Shipping
- Payment
- Contacts
You use an outdated
browser in order to use all the features of the site,
download and install one of the browsers:
Google Chrome
Download the latest version
download the latest version
00 6 download latest versionYandex Browser
download latest version
article
Newsletter subscription
A confirmation email has been sent to the email address you specified.
Please follow the instructions in the letter.
Sorry, an error has occurred, please try the service later.
To subscribe to the newsletter, please fill in ALL fields of the form
Subscription regions
- Moscow - Golyanovo
- Moscow - Losiny Ostrov
- Moscow region - Odintsovo
- Moscow region - Podolsk nine0161
- Arkhangelsk
- Barnaul
- Belgorod
- Vladivostok
- Vladimir nine0161
- Volgograd
- Voronezh
- Ekaterinburg
- Izhevsk
- Irkutsk nine0161
- Kazan
- Kaliningrad
- Krasnodar
- Krasnoyarsk
- Kursk nine0161
- Lipetsk
- Nizhny Novgorod
- Novosibirsk
- Omsk
- Orenburg nine0161
- Penza
- Permian
- Pyatigorsk
- Rostov-on-Don
- Ryazan nine0161
- Samara
- Saint Petersburg
- Saransk
- Saratov
- Simferopol nine0161
- Smolensk
- Sochi
- Stavropol
- Tambov
- Tolyatti nine0161
- Tomsk
- Tula
- Tyumen
- Ulyanovsk
- Ufa nine0161
- Khabarovsk
- Cheboksary
- Chelyabinsk
- Yakutsk
- Yaroslavl nine0161
I AM agree for the processing of personal data
Product request:
You can submit this product request form, or contact us by phone or by email , informing the manager of the article .