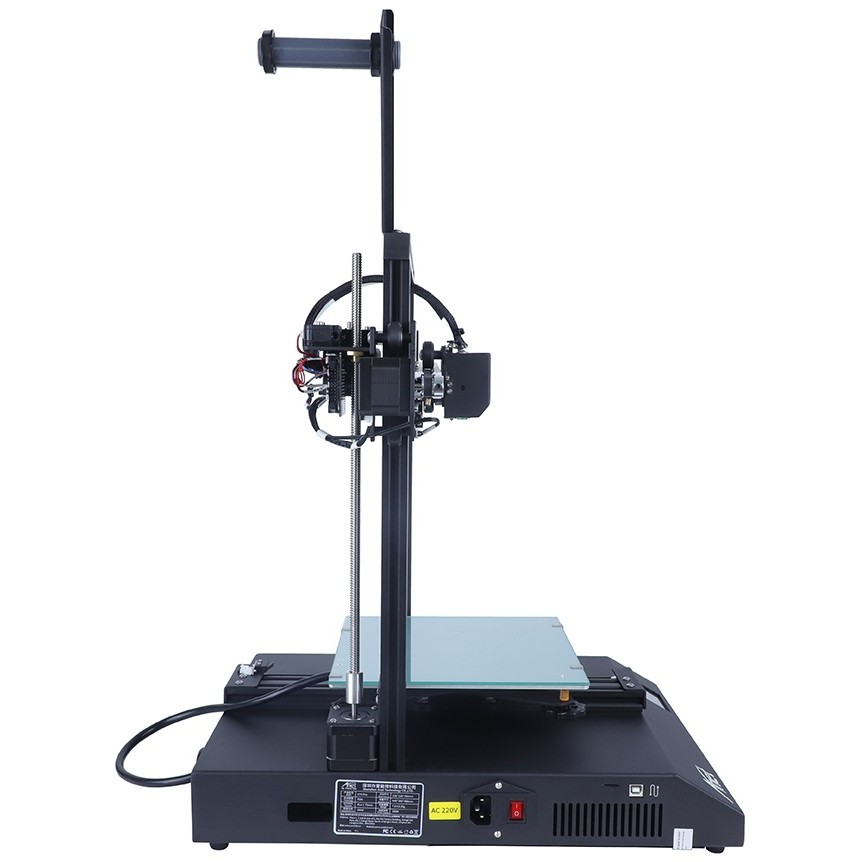
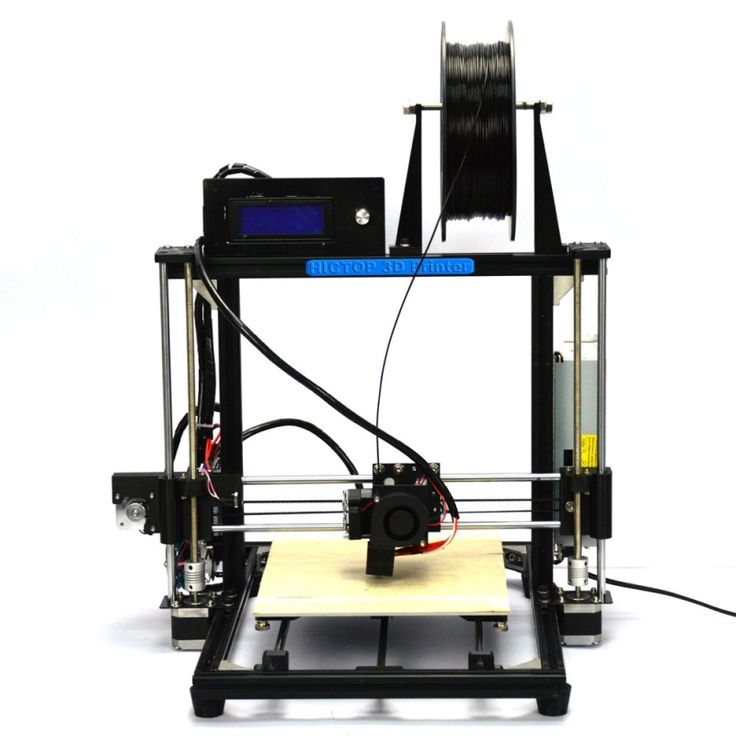
Anet et4 pro 3d printer
3D Printer Anet ET4 with Auto Leveling Resume Printing — Anet 3D Printer
Save $90.00
Original Price $279.00
Current Price $189.00
EU (VAT included) / 220V & EU Plug - $189.00 US / 110V & US Plug - $189.00 EU for UK (VAT included) / 220V & EU Plug - $189.00 BR / 220V & EU Plug - $329.00 CA / 110V & US Plug - $229.00 RU / 220V & EU Plug - $229.00 CN / 220V & EU Plug - $279.00 CN / 110V & US Plug - $279.00 Vietnam / 220V & EU Plug - $255.00
EU (VAT included)
US
EU for UK (VAT included)
BR
CA
RU
CN
Vietnam
220V & EU Plug
110V & US Plug
1 2 3 4 5 6 7 8 9 10+ Quantity
Quantity
Share this:The Anet ET4 is all-metal FDM 3D printer that made of industrial grade 32bit motherboard and comes mostly assembled. It supports auto-leveling, resume printing and filament detection and comes with a more stable and compact construction design. ET4 is the professional 3D printing solution that you can afford.
【32bit Mainboard】Anet ET4 is equipped with 32bit mainboard with advanced STM F407 chip that on the basis of the brand new CORTEX-M4.
【Automatic Bed Leveling】 Auto-leveling frees you from time-consuming and labor-intensive leveling tasks.
【Power Outage Recovery】Resume printing and recover from exactly where it left off. No worries about unexpected power outages.
【Filament Detection】Filament detection that detects the filament end and sent reminder to avoid air-printing.
【Automatic Filament Assignment】Automatic load and unload the filament with just a click.
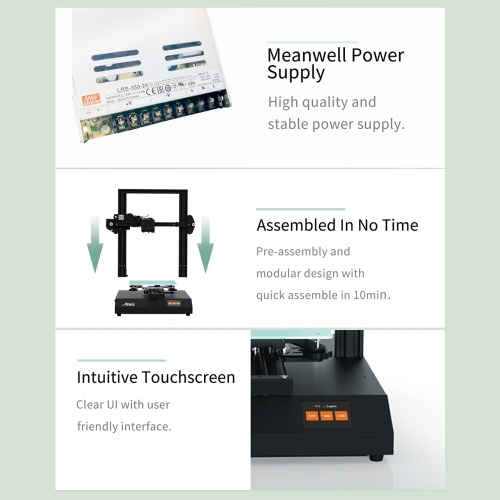
【Assembled In No Time】With modular designed units, you will be able to quick assemble your ET4 on your first try in 10min.
【Integrated Modular Design】Integrated, modular design with terminal pinboard for connection ports, covered wires and a more sleek appearance.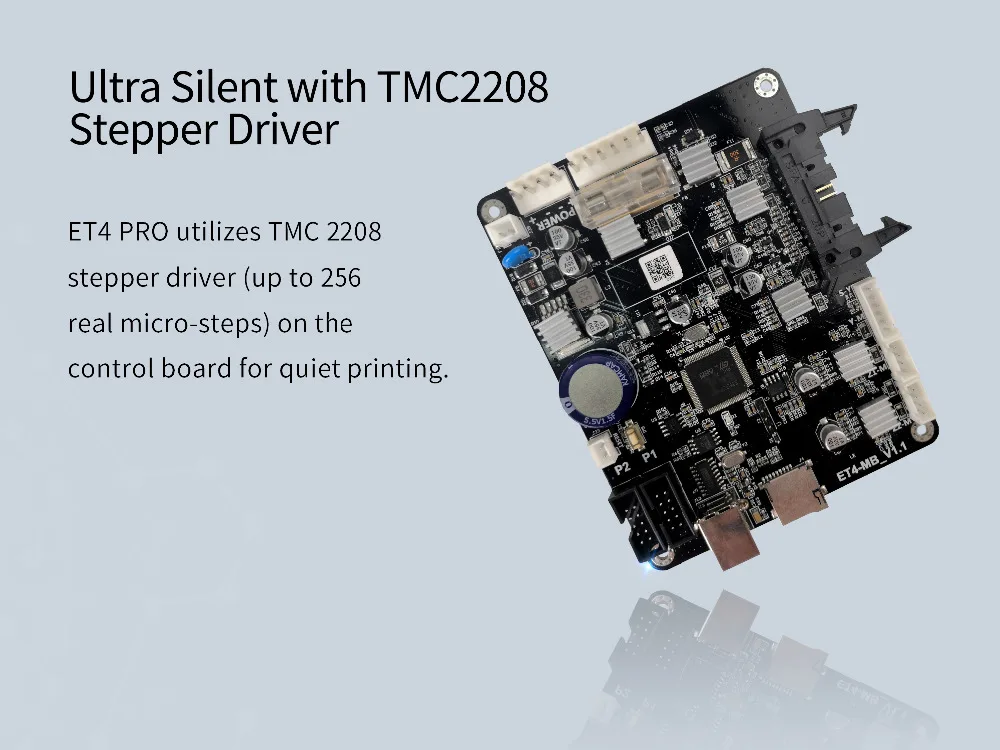
【Designed With Safety In Mind】The mainboard features thermal runaway protection.
【2.8-inch Touch Screen】2.8-inch LCD full-color touch screen for easy operation.
【Well-Made All-Metal Frame】ET4 is built to last with high strength aluminum frame. Enclosed metal unibody design enables a more stable and rigid structure with compact size.
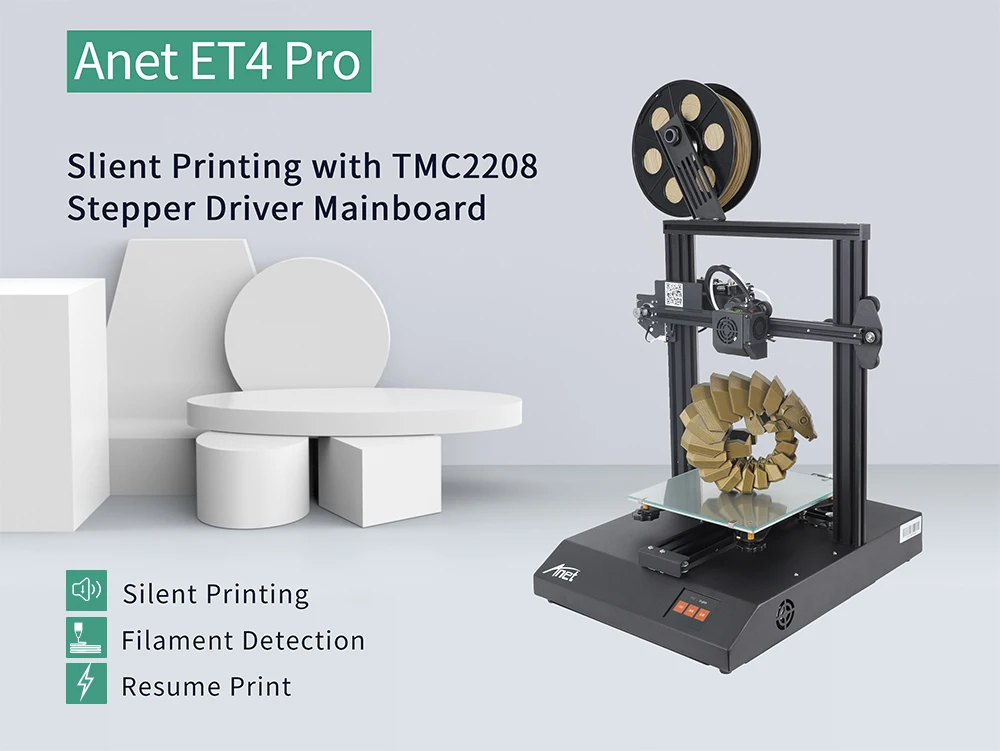
Upgraded TMC2208 silent mainboard version - Anet ET4 Pro.
- Sold out
- Sold out
- Save $66.
 00
00
Anet ET4 Pro 3D Printer review - Compact & Quiet
Table of Contents
Anet has kindly sent me their Anet ET4 Pro 3D printer for review, along with 2kg of PLA filament. This updated version from their original Anet ET4 has silent stepper drivers and automatic bed-levelling. This is my first Anet product since starting 3D printing around 3 years ago. Let’s check it out and see how it performs!
Anet ET4 Pro Specifications
| Model: ET4 PRO | Printing size: 220*220*250mm | Printing resolution: ±0.1mm |
| Layer Thickness: 0.1-0.3mm | Printing speed: 20-150mm/s | Hotbed temperature(Max): 100℃ |
| LCD Display: 2.8″ colour touch screen | Standard nozzle diameter: 0.4mm | XY Axis Position Precision: 0.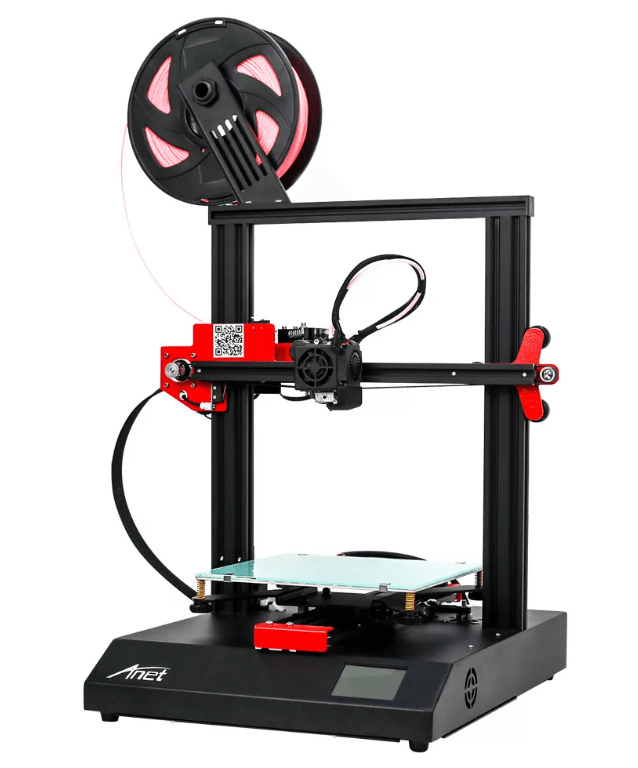 012mm 012mm |
| Movement speed: 10~300mm/s | Extruder working temperature(Max): 250℃ | Z AxiPositioPresicion: 0.004mm |
| Printable Filaments: ABS/PLA/HIPS etc. | Continued power failure: YES | Broken material detection: YES |
| Filament Diameter: 1.75mm | Automatic levelling: YES | Automatic feeding and returning: YES |
Anet ET4 Pro What’s In The box
The Anet ET4 Pro 3D printer came packaged well as expected. A large box with dense custom foam cut to the requirements to house all the parts of the 3D printer. Removing the top layer exposes the instructions and accessories along with the gantry and the hot end packed separately. The 2nd layer houses the main base unit, the build sheet and the mains cable underneath. Unfortunately, the wrong power cable was supplied, but I have plenty of spare UK plugs lying around, so no issues there.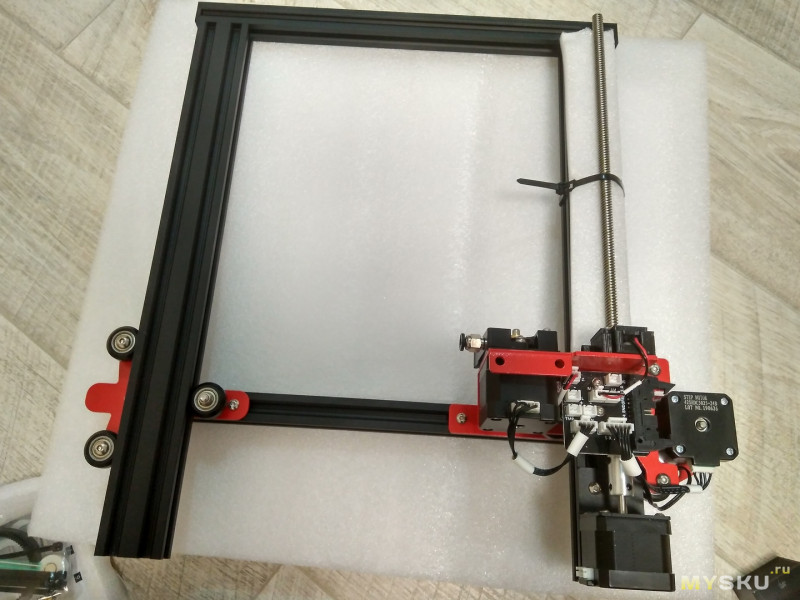
Inside the Anet ET4 Pro 3D printer box you will get the following: All are in their own section of the foam, which is secure so no chance of anything being loose in the box.
| User and setup manual | Parts List | Wrench |
| Cable ties | Micro SD card with USB reader | PLA sample (seems to be a white silk PLA) |
| Belt for gantry | Bolts | Hex Keys |
| Spare nozzle | Spool holder | Screwdriver |
| Build surface sticker | Power cable | Warranty card |
This slideshow requires JavaScript.
A Closer Look At The Anet ET3 Pro 3D Printer
As I was unpacking the Anet ET4 Pro 3D printer, I noticed a couple of interesting things about this printer. The bed mechanics are different from what I have seen before! The mechanics run on only one side of the bed. To tension the belt, you just need to loosen the 2 screws holding the motor, get the tension, then tighten back up.
Underneath the base of the printer, there is a large empty gap. It would have been good if this could have been utilised to include mounting points for a Raspberry Pi for example. It seems like it should have had some cover over it. I don’t know if they designed it like this to save on the weight, or for future upgrades maybe??
Lastly, I found this a clever idea! As part of the packing, you would normally find your bed secured with just packing foam to stop it from moving about during transit. Anet have cleverly used the coloured decorative strips either side of the bed wheels to stop it from moving about… Genius!
tension the belt Underneath the basecoloured decorative stripsSetting Up The ET4 3D Printer
To build the Anet ET4 Pro 3D printer is fairly straightforward. Just 4 bolts are used to secure the gantry to the base and then the extruder is installed on the gantry along with the belt. We can now plug everything in. They label everything, which is great, and the breakout board has the corresponding labels on them too.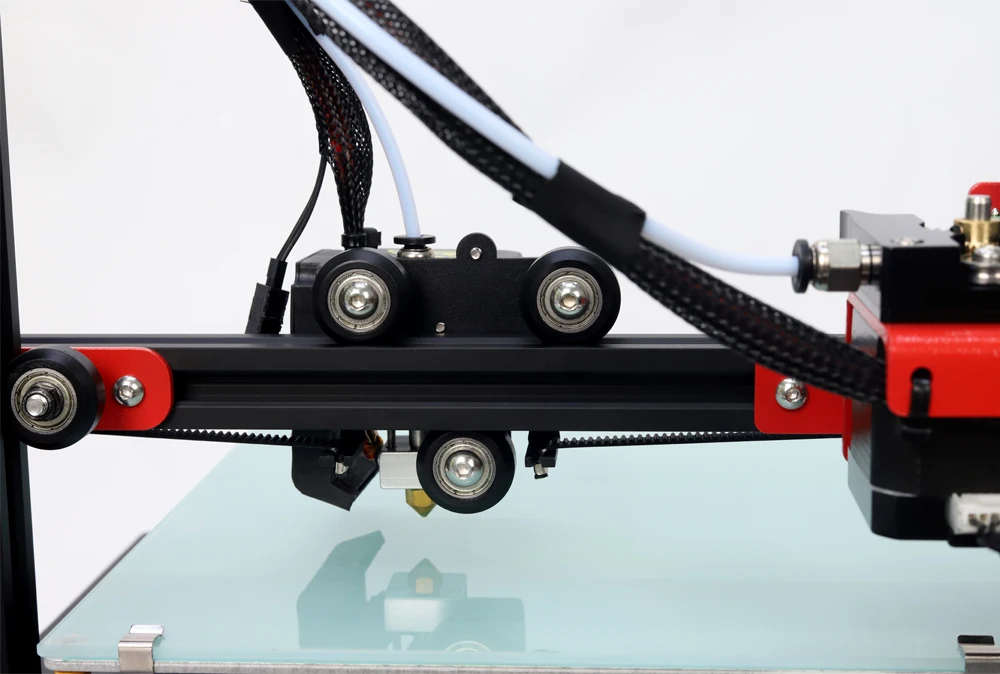 Plug in the 1 stepper motor for the Z-axis and then plug the main cable into the side of the breakout board. Plug in your power cable and connectivity is complete! Secure the spool holder to the top gantry, apply your build sheet to the glass bed and we are ready!
Anet ET4 Pro 3D Prints
Before printing, I used the auto bed levelling feature. I was going into the menu to then select the auto levelling and pressing the play button on the screen. One would assume this would start it, but in fact, you have to double-tap the auto levelling feature to start it. This is listed in the instructions too, so an oversight on my part! The bed probes 25 points on the bed, taking approximately 6 minutes. Once the bed is levelled, you shouldn’t have to level it again.
The first thing I normally do when testing a new printer is to print the files normally supplied on the SD card. The Anet ET4 Pro has only 2 test files on the SD card, along with some instructions. The test files are of a pig and a dog.
Dog
The first test file I printed was the dog which took approximately 2.5 hours which is also labelled on the filename. I used the supplied sample of white silk PLA.
The first layer went down well. As with most test prints, it printed with a brim which helps secure the model to avoid any warping. There was very slight stringing, but I can sort this with some heat. I had a rough line just above the feet, however; I believe this was because of the Z rod being secured tightly as whilst printing. It was squealing! I loosened the 2 bolts that secure the brass part of the Z rod and I also applied some grease to the rod as it was dry.
Overall, the print wasn’t bad. A few imperfections on the print which looks like it could be where it changes layer and retraction too.
XYZ Calibration Cube And Benchy
As I had only a little of the sample filament, however, Anet provided me with a Black and a White PLA, I wanted to load up some of my own. I have a gorgeous looking Dark Champagne Silk Gold PLA and I wanted to try with this. After loading up Simplify3D, I used an Ender 3 profile seeing as it is very similar. I proceeded to print a XYZ calibration cube.
A successful print and I have eradicated that rough line I experienced before. Some very slight ghosting, but this could be down to print speed (I think was 60 mm/s). Next on my list was the famous Benchy! Again, using the same filament and profile, let’s see how this turns out.
I was pleased with the result of this print.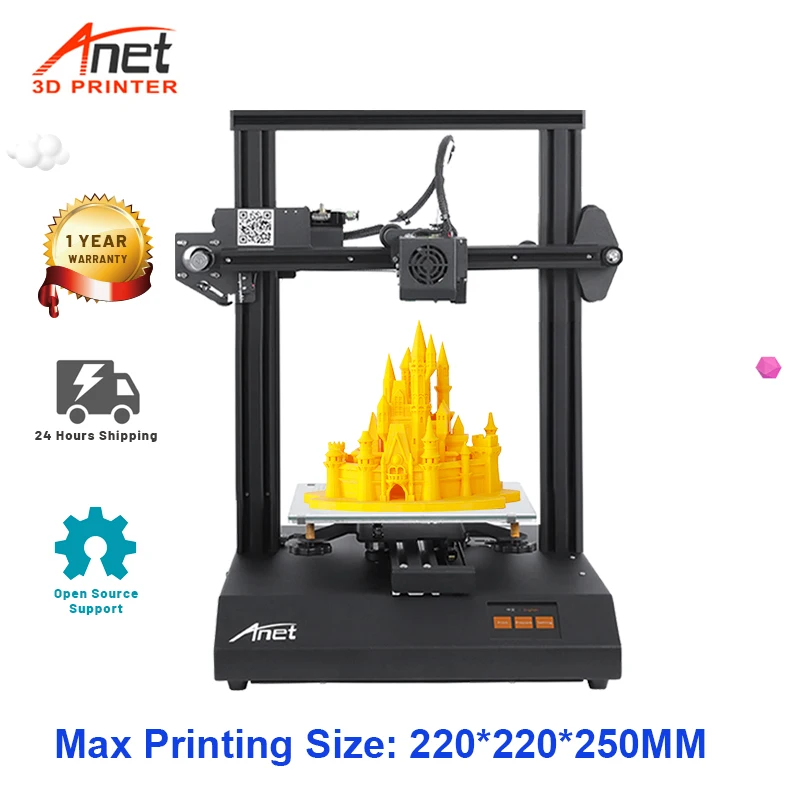 The overhangs held up good, stringing was minimal, and layer lines were OK. This 3D print shines well thanks to the fantastic filament! the only downside was the bottom which has picked up the ink from the build plate. This could be that I’m that bit too close to the bed. Unfortunately, I can’t baby step whilst printing!
Personalised Cable Tags
Whilst testing the Anet ET4 Pro 3D printer, I had a request from a friend to print some personalised cable tags, and thought, let’s use the Anet! I needed different colours for each name, so meant changing filaments after each print. My first came out perfectly!
This was using T-Tek’s Tangy Orange Filament, and I was thrilled with this! Time to print the others using different colours! Again, all came out flawlessly! A little cleanup required from some stringing, but nothing major. You can see on the build plate where the ink has come away with the prints. Filaments used on the other names were Ziro Blue Diamond PLA, Eryone Glitter Red PLA and 3DQF Sky Blue PLA.
This slideshow requires JavaScript.
Movable Skeleton That Snaps Together
Because of Halloween, I decided it was fitting to print something bigger, using multiple parts. I decided on this movable Skeleton that snaps together using the supplied 1kg of White filament Anet sent me. This printed out fairly well, apart from some obvious layer lines on my first part. After this first part, I loosened the brass nut on the Z rod a little more, which seemed to improve things. I required some cleanup from the supports and the stringing, but cleaned up fairly well.
All the parts fit snugly together with this model, which shows that the printer seems to be calibrated OK. As an addition to this model, I printed some eyes in a glow in the dark PLA filament. I then cut a bit of black PLA, heated it up and used as the pupil of the eyeball. Charging up the glow in the dark filament, it looks fab!
This slideshow requires JavaScript.
Anet ET4 Problems
Now there will never be a perfect 3D printer! The Anet ET4 Pro doesn’t come without its faults. Firstly, the clips for the heated bed are fiddly and awkward! They do keep the bed secure, however, are sharp because of their size and they do need to be manipulated with some force to put them back on. I would suggest just using bulldog clips, or better still, a magnetic removable build plate.
Screen Menu
Secondly, the menu isn’t that great, to be honest. It’s not overly clear on what does what. When selecting a file from the SD card, you need to press the down button to scroll through and then OK. You can’t just tap on the file you want to print, unfortunately. Disabling the stepper motors, it is just an icon with an M in it. Good guess on my part realising that was what it was for. Whilst printing, you can’t amend anything other than fan speed, print speed and temperature of the hotend and bed. No baby stepping to help get that flawless first layer!
In addition, when manual levelling, the 4 squares are the wrong way round. 1 & 2 are at the top of the screen but corresponds to the 2 bottom corners of the build plate. 3 & 4 are at the bottom on the screen but correspond to the top 2 corners of the build plate. Swap them around!… more work required on the interface, I think.
Other issues I have encountered whilst printing include the options on the screen menu becoming unresponsive after a print, meaning I have to power cycle the printer. You can go to the other menus, but if you try to start a command, it does nothing.
SD Card
The SD card also stopped working properly. It was able to see the files, however, when going to print, the printer just whizzed through the progress to 100% without printing a thing. I re-sliced the file and tried again, but the same thing. I power cycled the printer… same thing again! After moving off some files on the SD card to increase the space, I tried again, but again, the same issue. To resolve this, I had to format the SD card, which then allowed me to print again. Obviously an issue with the SD card itself.
Graphics On The Build Plate
The printed graphics on the build plate come off easily with the prints. This could be caused by the print being that little bit too close to the build plate. However, being on the bottom of the print, no major issues but should be addressed.
What Is Good About The Anet ET4 Pro 3D Printer
Not everything is bad with the Anet ET4 Pro 3D Printer. There are in fact some great things about it! It is quiet! With it’s installed TMC2208 stepper drivers, the operation is quiet. As expected, you have the noise from the fan in the base, but this isn’t that loud either. A lot quieter than other printers I have! The auto bed-levelling works well. There is no need to level each time. It will sense the middle of the print bed and then start printing, ensuring you have that perfect first layer!
If you want to use my Simplify3D profile, you can download a copy of it here
Where To Buy
The Anet ET4 Pro 3D Printer can be bought directly from Anet on their site at a price of just $339. Amazon is also another option of £329.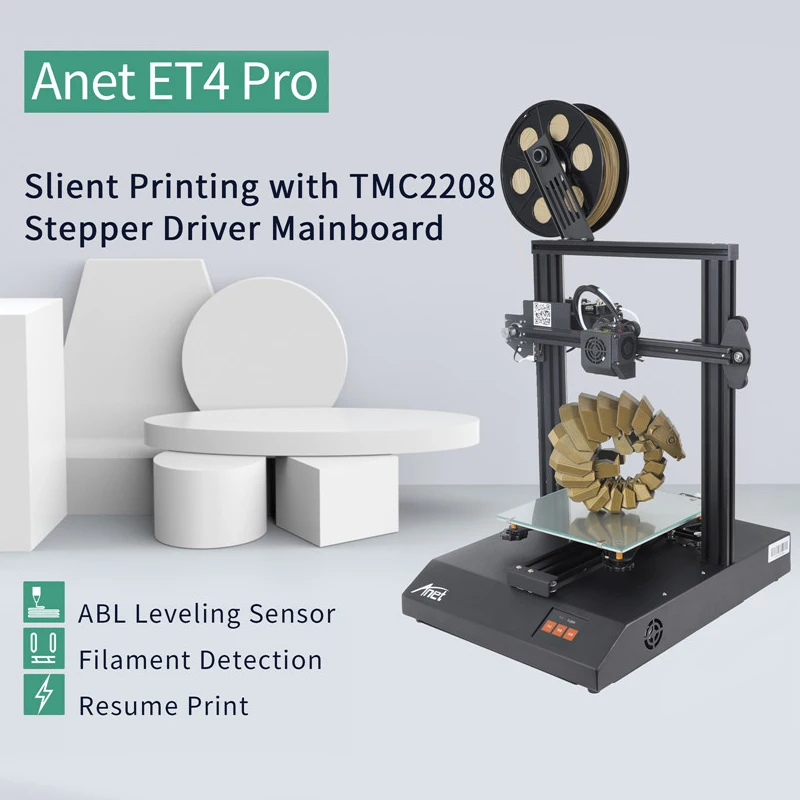 Other sources such as Banggood, Gearbest and Tomtop are other avenues you can source one of these from.
Anet ET4 Pro 3D Printer, Upgrade High Precision with 2.8 Inch Full Color Touchscreen Heatbed 8GB...
Anet ET4 Pro 3D Printer, Upgrade High Precision with 2.8 Inch Full Color Touchscreen Heatbed 8GB...
£329.00
in stock
as of October 6, 2022 7:05 pm ⓘ
Buy Now
Amazon.co.uk
Anet ET4 Pro Upgrade High Precision 3D Printer
Anet ET4 Pro Upgrade High Precision 3D Printer
$484.74
in stock
Buy Now
Tomtop.com
Anet ET4 PRO Touch Control Mute FDM 3D Printer Quick Assembly
Anet ET4 PRO Touch Control Mute FDM 3D Printer Quick Assembly
$414.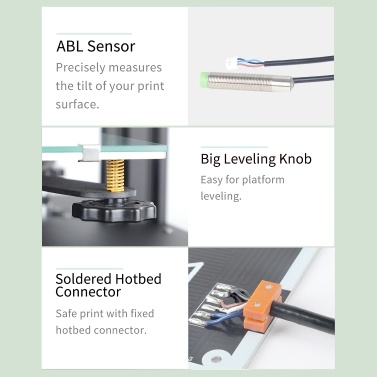 38
38
out of stock
Buy Now
Gearbest.com
Conclusion
To sum up, the Anet ET4 Pro isn’t a poor printer at all! It can produce some great prints with a bit of tweaking and with its silent operation, it’s great! Some things I would change as mentioned above, and a few bugs need to be ironed out, it seems, with the touch screen interface. The auto bed-levelling is an impressive addition to which helps with your first layers. I would say this is a good printer for those just starting out.
For the more experienced of us, we’d probably be looking for a printer that can produce flawless prints. Maybe the Anet ET4 Pro has upgradability to help achieve this? I don’t think it will beat the Ender 3 in affordability and upgradability, but overall, it’s a pretty good printer, despite the issues I encountered.
Related Articles:
- Labists ET4 3D Printer Review The Specifications
- MakerPi M1 3D Printer review – It’s the little things!
- Longer Cube2 Mini Review Quality From a Compact 3D Printer
- WeeDo ME40 Pro Review Dual Extruder- Professional Or ?
- Longer LK4 Pro 3D Printer Review – Pro Or No?
3d printer3d printing3dprintingbirdanetautomatic bed levellinget4et4profdmplasilent stepper drivers 2020-11-19
Tags 3d printer 3d printing 3dprintingbird anet automatic bed levelling et4 et4pro fdm pla silent stepper drivers
the case when "Pro" did not report / 3D printers, machine tools and accessories / iXBT Live
Anet ET4 Pro is 3D printer which I definitely would not recommend to beginners.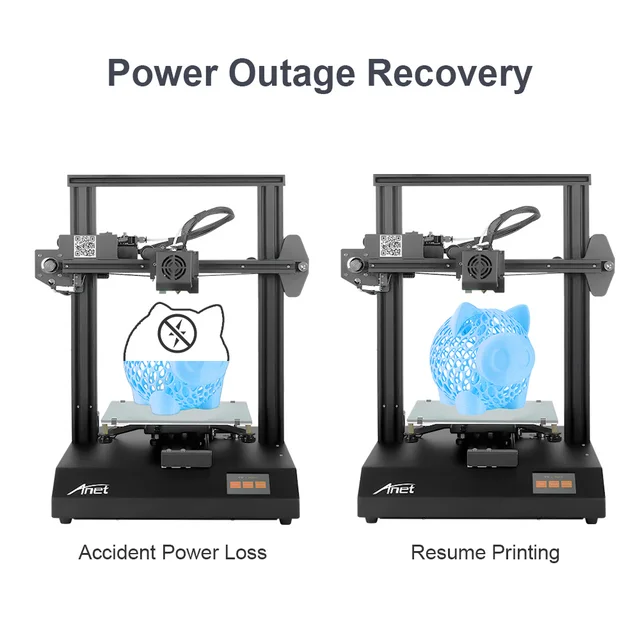 Before he started typing more or less normal, he drank a lot of blood from me. Table calibration made easy pain. Screws loose during printing, firmware failure, limit switch glitch, not very high quality build. All this you get in full, with the purchase of this models. It took me weeks to get this printer to print more or less bearable. But I still don't trust him to print important models, only drafts, prototypes or parts that do not have requirements for perfect surfaces. But here, rather, the reason is that I have other printers, which out of the box print much better. And all this for $200+. AT in general, right away and at the beginning of the review I can say that this printer is definitely not Suitable for beginners in 3D printing. Although if you tinker a little, then on this printer and you can get normal quality models. But is it necessary to you? This is the question. I personally definitely plan in the future completely remake this printer, leaving only the frame as a base, and on its basis already build a more interesting printer.
 Perhaps hands will reach and tell about this. But now the review is precisely Anet ET4 Pro in stock condition.
- Model: ET4 PRO
- Print technology: FDM
- Print block type: 1xBowden extruder
- Media Type: plastics PLA, ABS, HIPS and analogues
- Filament diameter: 1.75mm
- Frame material: aluminum
- Print area: 220x220x250mm
- Nozzle diameter: 0.4mm
- Accuracy: ±0.1mm
- Layer thickness: 0.1-0.3mm
- Model loading options: connection to a computer; off-line with microSD
- LCD display: 2.8 inch color
- Max speed printing: up to 150mm/s
- Recommended speed printing: 30-60mm/s
- Table material (HotBed): aluminum platform + tempered glass or thermal pad
- Extruder temperature: up to 250°C
- HotBed temperature: up to 100°С
- 3D printer size: 510x485x250mm
- Weight: 7.
 6 kg
6 kg
The printer comes in a large heavy box, already half assembled form:
We take out two substrates, one contains the lower part of the printer, and into the second gantry of the Z axis. There are also various accessories between the frame. I also come with the printer was a 1kg PLA plastic spool, but it did not get into the photo.
I also can't help but show how the box with the printer was damaged, and the presence of soft foam material is clearly not superfluous here. After all, our mail probably it can, as in a joke: when delivering two iron balls from a bearing, one was lost and the other was broken. There was such a hole in the sidewall of the box:
We admired the hole, now let's admire the printer. Let's start with lower part. The motherboard, power supply and one motor are inside the metal body, which is also reinforced from the inside with an additional profile. Heating table implemented from a sandwich in the form of a retaining plate, on which there is an aluminum plate with heating and glass on top. Also included is a sticker for table, which I naturally pasted. The case itself is well made. FROM on the right side it has a switch, a hole for the power cord, MicroSD card slot and Type-B port for connecting the printer to the computer. There is also a grille motherboard
On the left side there is a cooler grill through which the printer blows air:
If you turn the base over, you can see the power supply, a little wires, which are fixed with plastic holders and the Y-axis motor
Now let's take a closer look at the heating table. As I wrote above, this sandwich made of X-shaped plate, aluminum plate and glass:
It is good that the manufacturer has abandoned unreliable plug connections during assembly. Here the heater wire is rigidly fixed with a plastic clamp and soldered to the contact site:
But not happy that the heating plate has no insulation. Although To be honest, the table heats up quickly enough. Up to 60-70 degrees it heats up in about 1-2 minutes.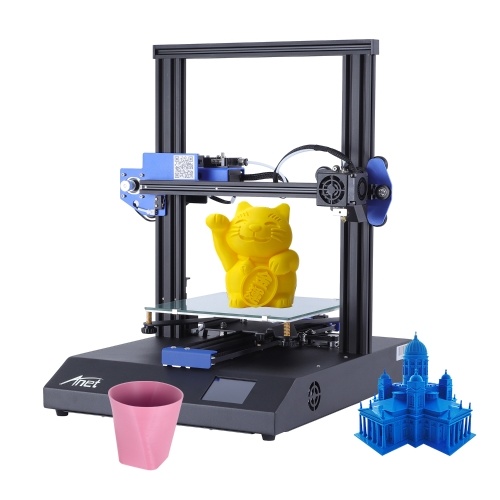 This is enough for printing by most popular filaments.
As for the sticker, it definitely needs to be glued. And not in order to improve the adhesion of the filament, but in order not to crush the glass with a nozzle table. This is easier to do than it seems.
After a couple of test prints, during the calibration process, I have a sticker immediately damaged:
But I'm already getting ahead of myself. Now consider the portal of the Z axis. It has a classic construction. The Z axis moves vertically with a single motor with fixed on it with a rigid hitch pin. The pin itself at the top is not has a latch. This is a plus for some and a minus for others. I personally never I fix the stud on top of the frame, and I think that it is not necessary to do this.
Interestingly, I can also note the presence of an adapter board on the Z axis, which also serves for beauty, and for reliability:
One cable comes from the motherboard, and on this board there is already connection of all necessary elements.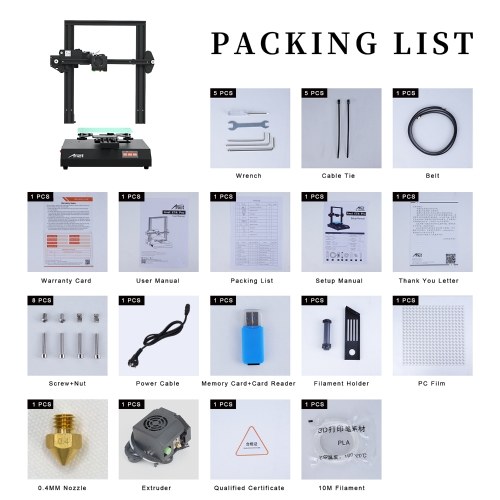
X and Y axis mechanical limit switches:
Extruder in Bowden printer. There is a filament end sensor. But they are not placed very conveniently, and replacing plastic you understand.
The print head itself is separate. It moves along the profile due to the wheels in the V-slot profile. When assembling, you need to put it on the frame, place the belt and tension it with the X-axis motor
Now that we have looked at the details, we can start assembling. For Assembly included with the printer has all the necessary tools. Kit hexagons, a wrench for adjusting the table sensor and an open end wrench. And yes, in In the kit there is also a card reader and a non-named MicroSD card. ( by the way, the card turned out to be buggy. At first it lost files, and then it completely died )
Assembly is actually not difficult. First of all, you need to twist both half of the frame with four supplied screws, as well as connect all the plugs in connectors
The second step is to put the print head in place, tighten the belt and connect the cable from the motherboard to the distribution board:
We clamp the cords with ties:
coil holder. Here the manufacturer did not reinvent the wheel, and, as in most printers just put in a kit a metal leg with a plastic tube:
And on this the printer is ready to go. Sort of. But it's really worth checking out. tightening absolutely all screws, tighten the eccentric nuts on all axles to remove backlash ( and they are here and decent ). My printer is just up between the bedside table and the table where he will work:
And if you think that now you can definitely print, then you are mistaken. Now we need set the automatic table sensor. He's a capacitive ABL. First we need a piece of paper. On sensor there is a screw that needs to be tightened until it stops when the sensor react to the table, but will react to the inserted sheet. Then you can make automatic calibration, and tighten the screws of the table to level it. I got the following:
Real table curve, and no matter how I tried, the photo shows the best calibration that I could get. By the way, I don’t know if these are jambs of my printer, or everyone has it, but in fact the printer does not remember and does not take into account the nervousness of the table.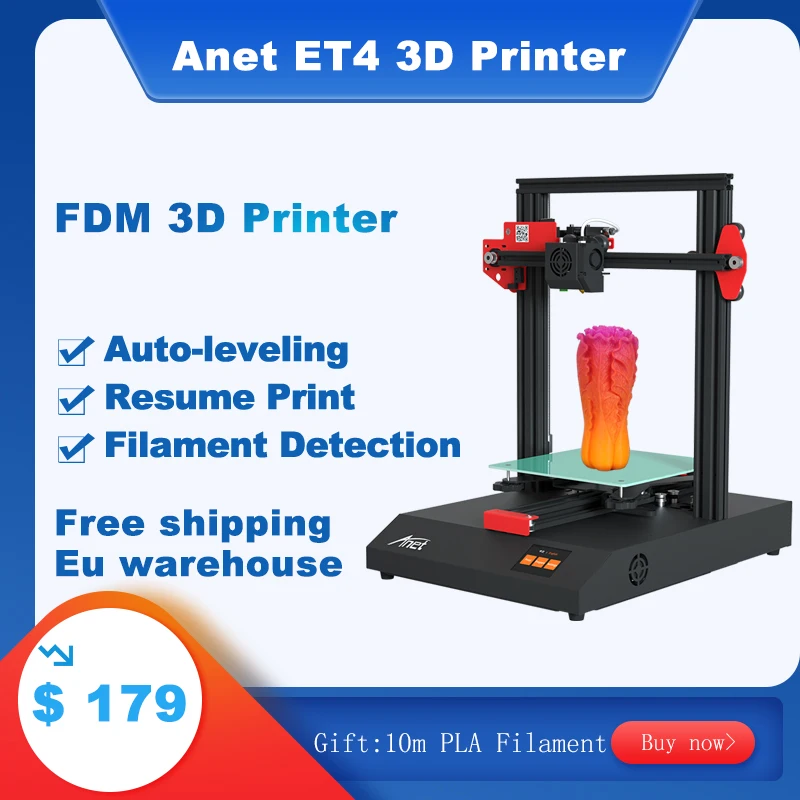 He is not writes these measurements to memory and does not use them when printing. And this is a joint. Therefore, you can simply use the usual calibration, and then set the desired us the amount of clearance of the Z axis.
Well now you can start printing. But before that, let's get acquainted with the printer software.
Printer has 2.8 inch color touch screen. The sensor is resistive, and reacts not only to the finger, but also for other things.
When switched on printer, the user sees a splash screen with the manufacturer's logo:
Loading printer is quite fast, it turns on in 15 seconds. This is what the main looks like menu:
Here you can immediately try to select the language we need, but, unfortunately, the Russian language was not delivered:
In the Prepare menu are axis settings and calibration, as well as the menu for changing the filament:
In the Settings menu, you can perform manual calibration, view information about the printer and firmware and also update the firmware from a flash drive:
And like this looks like the Print menu.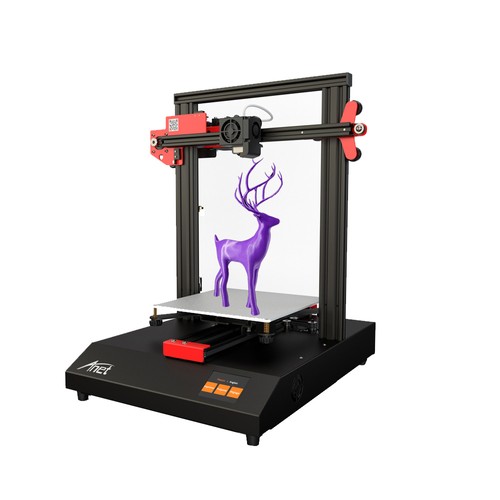 At pressing it opens the contents of the flash drive, where you can select a file for printing:
True, there is One obvious jamb of the firmware. The file that we need to print must be selected with the arrows up and down. It would be logical to just click on the file name to choose but no. You must first scroll through, and click on the desired selected file OK button.
After selected a file for printing, we see this menu:
Here, right away, so to speak, on the fly, you can adjust the temperature of the table and nozzles, as well as adjust the fan speed. Come on and stamp on pause or stop it altogether.
Upon completion of printing, the printer displays this window with information about that printing is complete:
And now about printing. As I said above, the printer loves to fail. For example, he can completely forget the gaps, and start pushing the nozzle into the table, or lose limit switches and their directions. At any moment, one or the other can unwind screw, and as a result, one of the axes will loosen. And as a result, left without An oversight print might look like this:
Or like this:
Or like this:
Which, of course, does not add joy. And sometimes it can print two details in a row, but one of them will look normal, and the second not so. How here:
Although if you sit over the printer and watch, you can make quite good details. Here, the same hooks as in the photo above, but this time he decided that he was ready for work:
But, by the way. If you still calibrate the printer before printing, everything will check several times, make sure that the temperature is set correctly, and the gaps did not run away, then you can get normal models. Here are examples:
And this adjustment and adjustment before each print, frankly, very annoying. Sit and think, print or not. How to play the lottery.
Either he prints well, then some bug will come out.
In general, you understand. It's pretty nerve-wracking.
Conclusion
To be honest. AnetET4 Pro 3D printer I definitely do not recommend for purchase. Look like that's it smartly done, but poorly implemented. I personally keep this printer only in as a backup printer when my two primary printers are busy printing. Suddenly you urgently need to print something else, and this is something not very complicated and the customer will have no complaints about the quality, only then I start printing. I can to forgive such a printer if it cost 100-130 bucks. But the price of this the printer is now 230-270 bucks. What kind of product is just a frank overprice. For example, I have a Kywoo3D Tycoon Max 3D printer (my review), its price is about $300 and it fully justifies its price. And here is the printer not that he does not pull on his price, he also requires dancing with a tambourine around him. It's better to buy folk Ender, than this share.
I am personally planning to rebuild this printer. Already looked at the linear guides, but have not yet decided on the motherboard.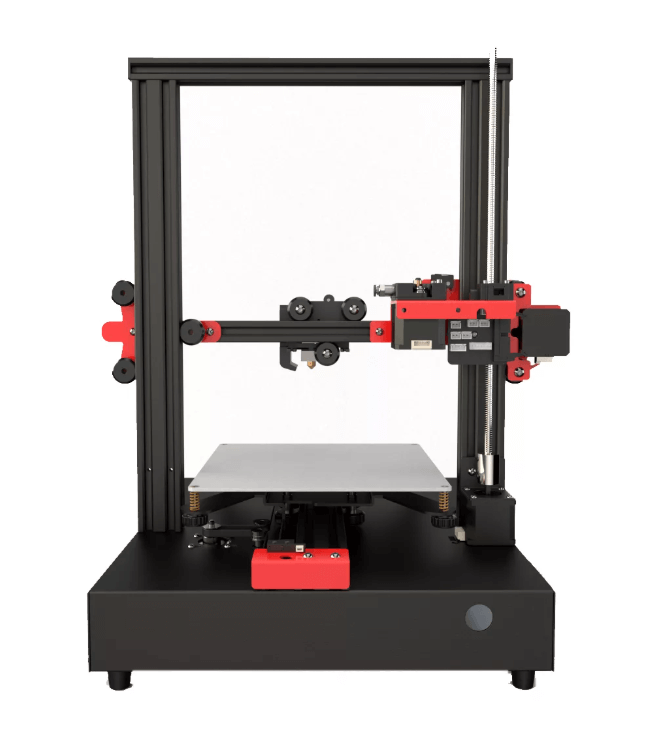 I want to take anything with Klipper support. Well, I think it's better to transfer it from Bowden to Direct in order to print in flex. Yes and in general, I like it better when the printer has a Direct extruder. Well, with a crooked table it will be necessary do something. You could, of course, sell this printer, but I'm not a pest your health to sell this inferior product.
That's it. Well, suddenly, if you are interested, this printer bought here.
Anet ET4 Pro 3D printer with silent drivers TMC2208 / 3D printers, machines and accessories / iXBT Live
Hello everyone! 3D printers, thanks to a large number of Chinese manufacturers of such devices, have ceased to be something exotic and are quite accessible to almost anyone who wants to join the world of three-dimensional printing, because. the average price of models with good characteristics and print quality is almost unbeatable and is comparable to the cost of a medium-sized smartphone. I note that competition does its job and forces printer manufacturers to constantly introduce new features into basic models that were previously available exclusively on expensive devices.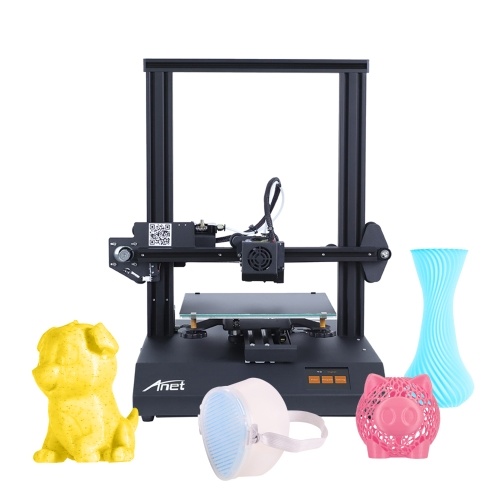 In this review, I will talk about the new ANET ET4 PRO FDM model from the long-established and well-established company Anet.
The main feature of the novelty is the use of noiseless TMC2208 stepper motor drivers in the electronic part of the device, thanks to which, during the operation of the printer, the noise level is significantly reduced, which significantly affects the comfort of others in the room where 3d printing takes place.
There is a cheaper model with the same characteristics, but on regular drivers - Anet ET4 X
This is my first own 3D printer, so do not charge if some points that seem obvious to experienced users were a revelation for me :) But first things first...
The printer arrived in a large box weighing about 10kg:
This is important because The printer is practically assembled, and damage to the geometry of the all-aluminum frame can significantly affect the quality of printing in general and its possibility in principle.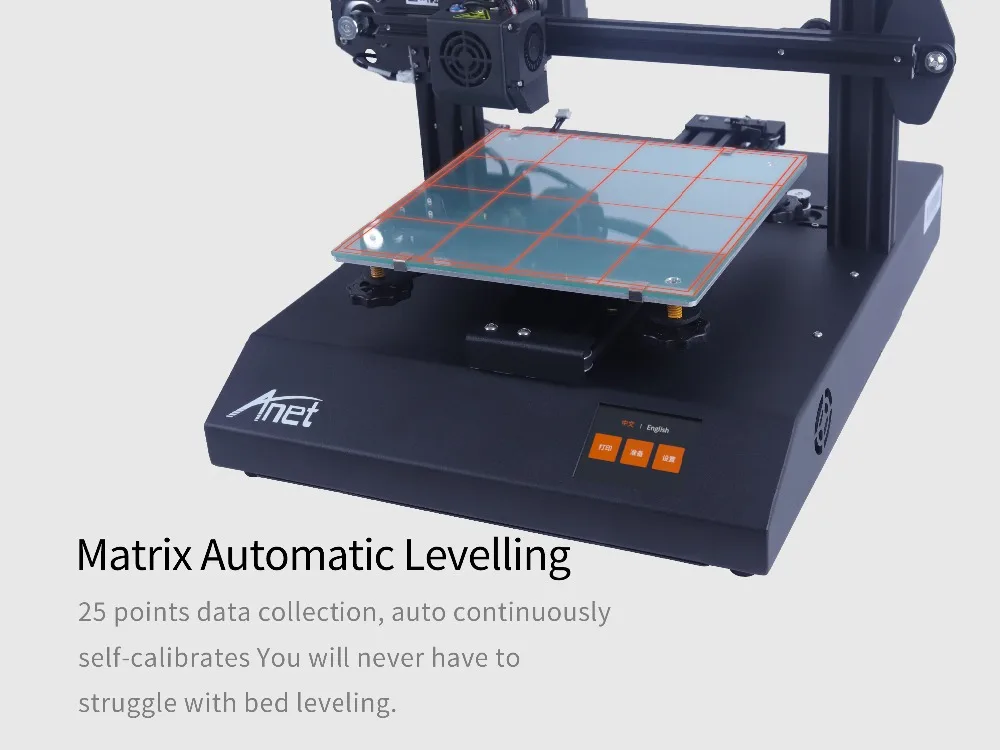 There is a hot-end in a separate section, i.e. the part of the printhead that prints the plastic:
The package is two-tiered, at the top there is a frame with a printhead guide mounted on it, in the lower tier there is a main unit with an already installed heated printing table: may be damaged in some way during delivery, protected by the manufacturer with additional packaging:
ET4 PRO model specifications:
- Model: ET4 PRO
- Press technology: FDM
- Type of printing unit: 1xbowden Extruder
- Type of Printing Material: Plastic PLA, ABS, HIPS and analogues
- Filament diameter: 1.75mm
- Material Material: Aluminum 9000
- Press Square: 220x220x 9000m
- Nozzle diameter: 0.4mm
- Accuracy: ±0.1mm
- Layer thickness: 0.1-0.3mm
- Model loading options: computer connection; off-line with microSD
- LCD display: 2.8" color
- Maximum print speed: up to 150mm/s
- Recommended print speed: 30-60mm/s
- Bed material (HotBed): aluminum platform + tempered glass or thermal pad
- Extruder temperature: up to 250°C
- HotBed temperature: up to 100°С
- 3D printer size: 510x485x250mm
- Weight: 7.
 6 kg
6 kg
full metal frame construction; built-in adjustable sensor of the distance of the printing nozzle to the table; auto-calibration by 25 points; pause and resume printing; control of the presence of the filament in the extruder; offline printing from a memory card.
The package is rich, everything you need to assemble and start printing is included:
- printer and accessories: fasteners, straps, tempered glass, HotBed thermal sticker, etc.
- set of keys (3 hexagons + double-ended ring wrench and screwdriver)
- microSD 8Gb memory card + card reader
- Spare nozzle and fuse
- PLA plastic probe (10m)
- power cable
- coil holder with
- coil holder with
- spool holder
- 0005 Instructions
Instructions (click)
Additionally in my configuration there was a 1 kg coil with filament (random color), I was sent bright yellow:
| 0 |
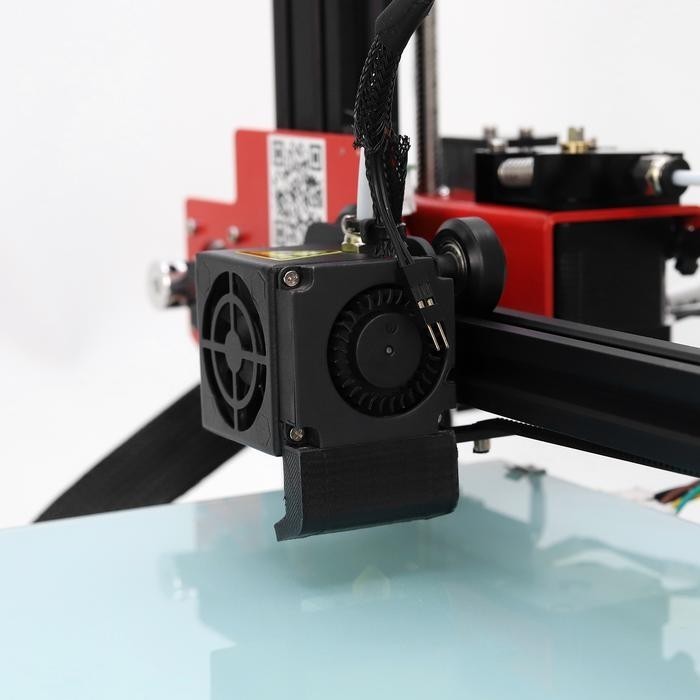
The classic scheme is used.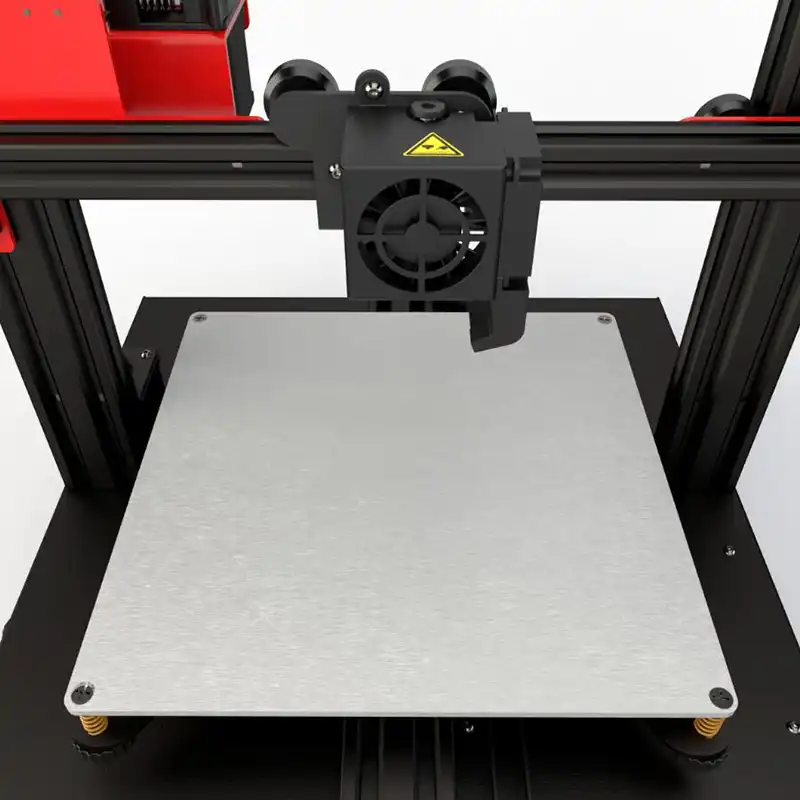 Bowden. The hot-end is already assembled with all protective covers, fans, tubes and airflow nozzle, and it is enough just to install it on the rail, connect the connectors and snap the plastic feed tube into the corresponding feeder fittings.
adjusting screw, and on the side where the nozzle is located - a green cap). In addition, the lower photo shows that some details, for example, the blower nozzle, are themselves printed on a 3D printer - “robots make robots” :)
, there are slots for blowing the power supply, and the corresponding holes are made for cables and loops in the right places:
Platform from the bottom side. All cables are secured and the assembly itself makes a good impression:
Rear view:
Front panel display:
All stepper motors and connection board are already installed on the frame, the frame itself is made of double aluminum profile:
Feeder with filament presence sensor and limit switches:
Aluminum rollers:
The frame is attached to the base with two screws on each side, the end of the long Z-axis screw is not fixed from above, as far as I studied the issue, there is no point in such fastening, it is important that the screw itself be even :
Installation of the printing unit is elementary, only the installation of belts can cause some problem, because.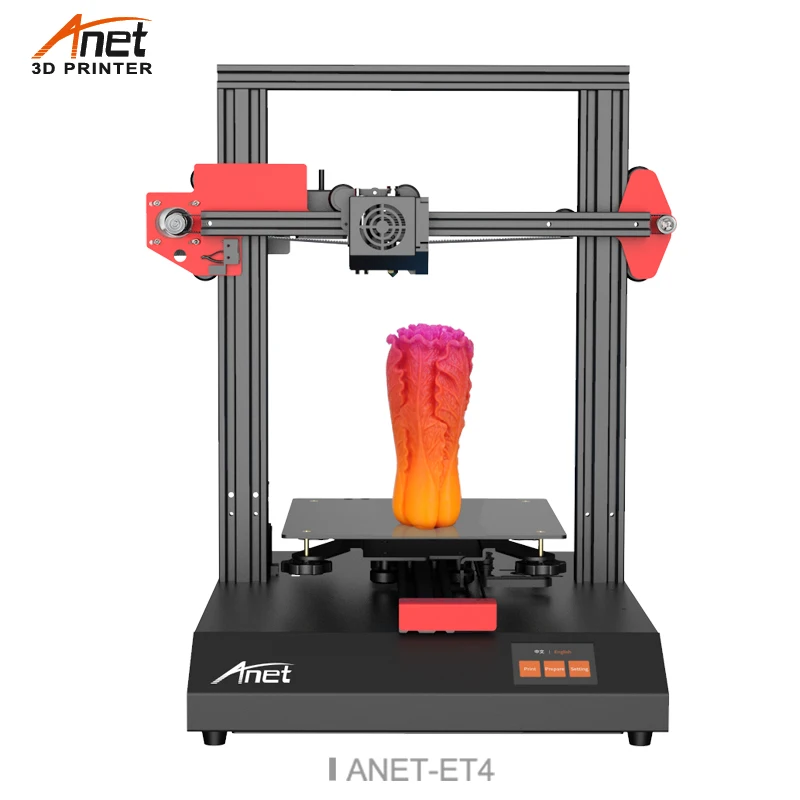 it is necessary to thread their ends into the appropriate clamps, it is better to do this either by removing the roller or by loosening the screws with which the tension of these belts is adjusted:
The filament supply tube is fixed in self-clamping fittings: head:
Some structural elements, eg air nozzle. printed on the printer:
All motors are connected to the board with marked connectors:
Finally, install the filament holder:
Naturally, “ready” is very conditional, it will print, but the question is as a print result. Despite the fact that the manufacturer writes in the instructions that the device is preconfigured at the factory, you need to understand that almost any Chinese 3D printer is a kind of DIY project and minimal setup and adjustment are simply necessary. I, as they say, “burned” and I, not really “confused”, decided to start printing right away and, in principle, what came out was similar to the model that I sent for printing, but .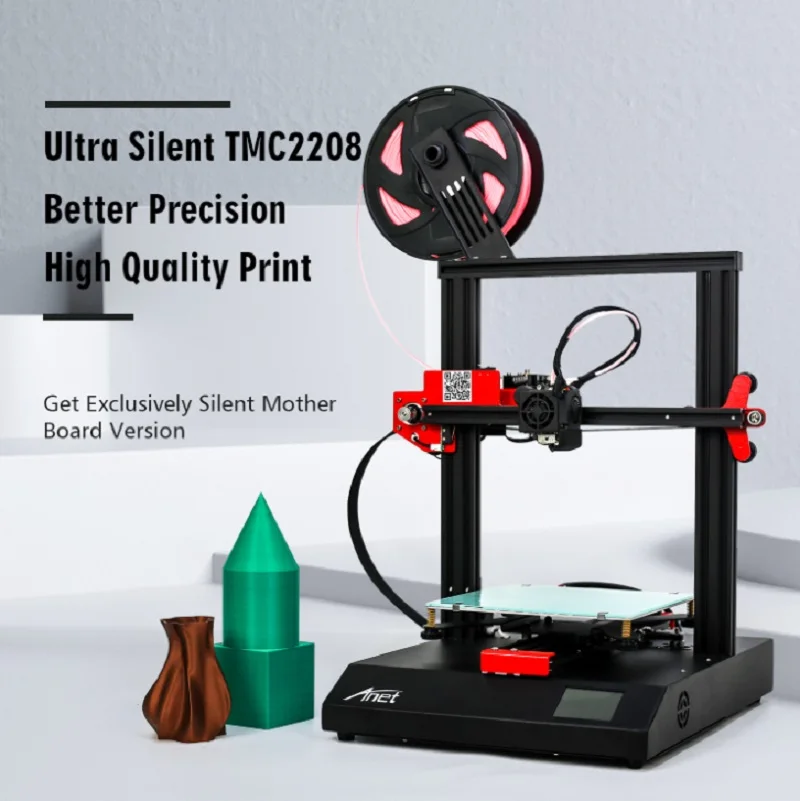 .. not quite, pictures I will give comparisons before and after tuning a little lower. If compressed, then, in general, significant “dances with tambourines”, if there is some understanding of the process, is not required for tuning, although this is a creative process: you need to adjust the tension of the belts along the Y and X axes (loosen the screws and tighten the belt roller, tighten again screws) and adjust the eccentrics of the guide rollers so that they can be turned by hand with some effort:
In addition, it is important to adjust the level of the print table. Using a float level is ineffective, so you need to use the built-in calibration, which I will talk about in a little more detail.
After turning on the printer, three buttons appear on the small touch screen: Print, Prepare and Setting. All items are very simple and almost intuitive, it seemed that Anet made the most simplified menu specifically for ease of use.
I'll start from right to left, because this is how, in theory, you need to prepare the printer for printing.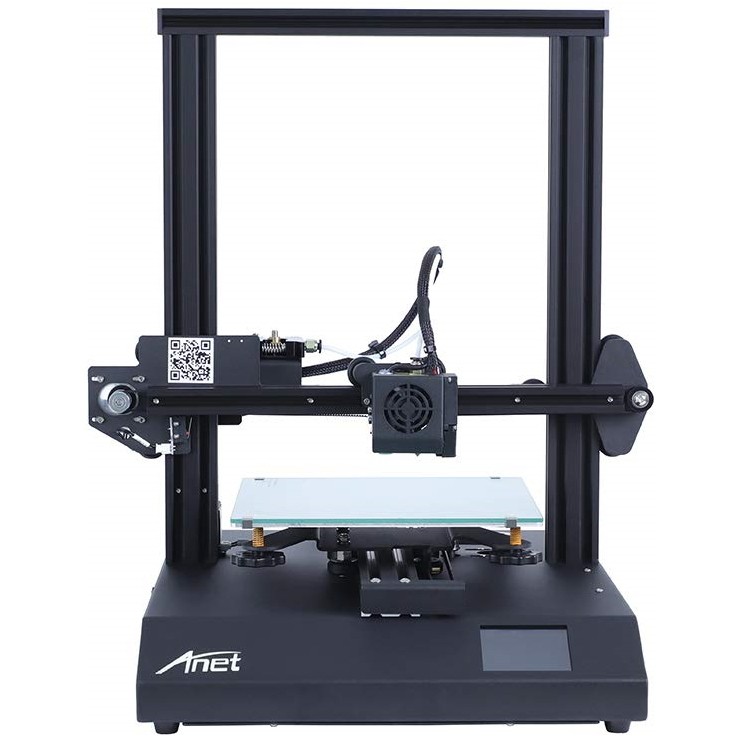 Using the Setting button, in fact, little can be configured, there is an opportunity to check the performance of all axes of the printer, “park” the print head to see from what place and height printing will start, view information about the printer and software version, as well as , update the firmware (if it is written to the microSd card) and, in general, everything:
The central Prepare button of the main menu, the most important in terms of settings, here we calibrate the print table and the height of the nozzle above it, and you need to do this in parallel with adjusting the sensor sensitivity screw on the printhead itself, according to the instructions, it should work at a height of 2-3mm from the table surface, and the nozzle height should not exceed 0.2mm (the thickness of a sheet of plain paper for the printer, which I used for calibration):
Naturally, nothing is written in the instructions about adjusting the sensitivity of the sensor, and for some time I could not understand why my head rests on the table and scrapes along it, drawing “patterns” on the surface of the thermal pad, but in the end I won and adjusted so that the sensor is activated only when the nozzle touches the surface minimally.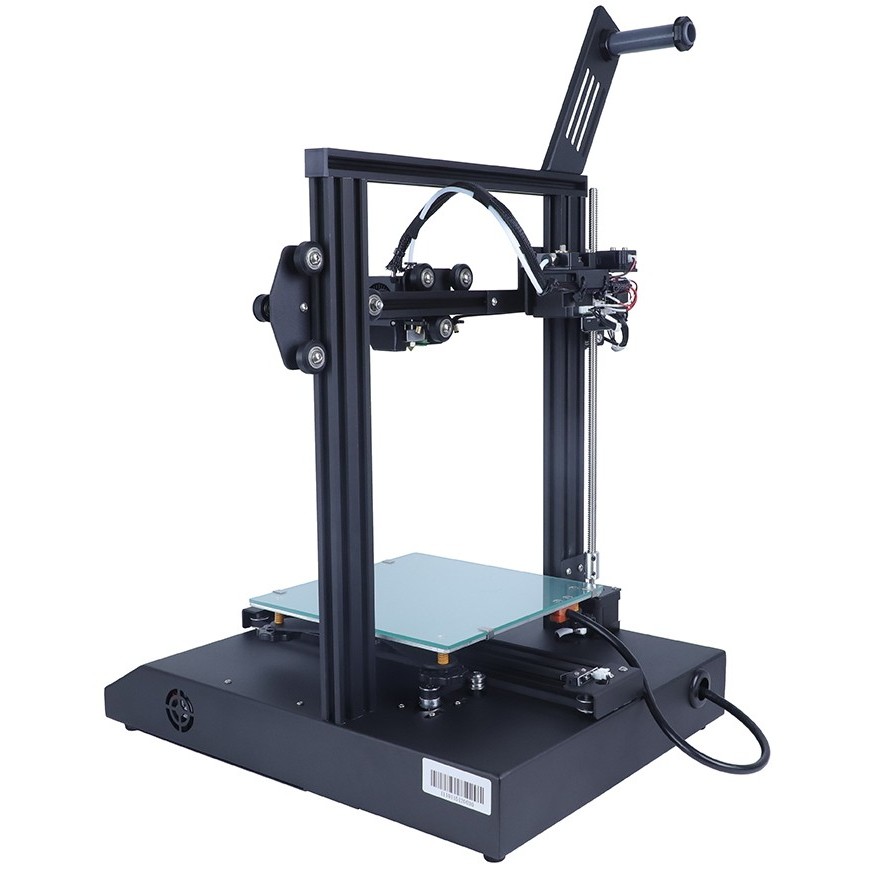 When the sensor is triggered, the red LED lights up for a moment and the print head starts moving along the Z axis in the direction opposite from the print table:
But back to the calibration, which is carried out in the Prepare item, 2 modes are possible, “automatic” and “manual”. Manual, in my purely personal opinion, is of little use, and I set it up in automatic mode. Calibration is carried out at 25 points for 5 minutes, the print head sequentially touches different points of the table with the nozzle (like the intersection points of the 5x5 grid), but displays only nine digits, i.e. through one measured value, this is quite enough to understand how crooked the table is. At the first calibration, such a horror can turn out (numbers in the photo below), and here we begin to manually adjust the four spring lamb height of the table at each of its corners and adjust the head sensor (it is enough to adjust it once):
then we lower it, start the calibration again after each adjustment of the screws.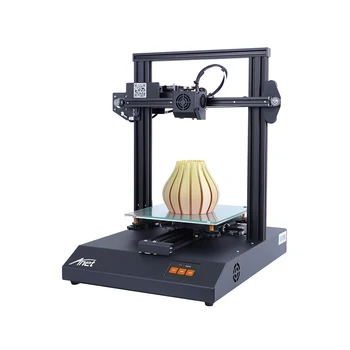 Ideally, it should turn out so that all the numbers are equal to zero, but this is not so easy to achieve, because. the table, being metal, in itself may have a slight curvature, and besides this, when heated, its geometry may also change, so here, as I already wrote, it’s a creative matter, it also adds piquancy that when heated, the table can change your geometry a little :) I managed to achieve such a result of tuning and calibration, which is very good. In principle, as far as I know, a discrepancy of up to 0.5mm is acceptable. The figure 0.15mm on the screen below is the height of the nozzle from the table, which I set manually:
In addition to important calibration, this section of the menu has 2 more useful tabs, loading / unloading filament and preheating the table and extruder: just go in, select a file in .gcode format (created in any program designed for this, for example, Cura) and after a minute, warming up the table and extruder to the specified temperature (55-60 ° C for the table and 200-220 ° C for the print head ), the printer starts printing.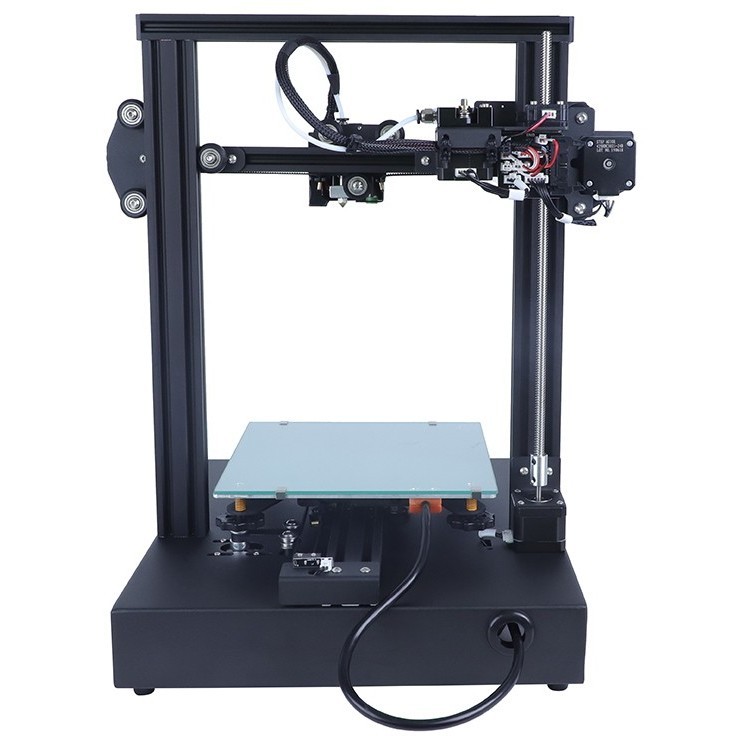 On the display, you can already change the temperature of the table and extruder, the speed of the blower fan, pause or cancel printing during the printing process. The bottom shows the progress of printing the model and the time elapsed since the start of printing:
A few words about connecting ET4 PRO to a computer. Due to the fact that Anet is a well-known company, this printer and its parameters are already in the latest versions of CURA, where you can select it: , the main thing is to find an interface cable with a USB printer connector, which is not included with the printer.
The flash card that comes with the kit contains 3 interesting models, assembly and setup instructions, fairly ancient versions of software for working with the printer and, in a separate folder, models for printing printer parts:
3D printing
As already mentioned above, although I’m technically well versed, I’m new to this topic, and since I wanted to quickly use a new device for me, I didn’t adjust the mechanics at first, but now you can see the result, as they say, “before and after”. Of course, professionals will always say that there is something to work on, but, nevertheless, I am quite satisfied with the print results after adjustment and adjustment. When printing, the quiet TMC2208 drivers do their job without adding stepper motor noise to the overall sound picture. Of course, several coolers emit a certain noise, if we compare the noise emitted by the printer in operation, it is comparable to the work of the desktop in game mode :) When printing, it was interesting to experiment in programs with layer thickness settings, print speed and other model parameters. The models below were printed with a layer of 0.2 mm, the print speed was 60-70 mm / s.
The well-known test cube more or less turned out from the very beginning (on the left), but on the right after setting up: walls and the upper cube was melting all the time, after adjusting the pyramid turns out very well:0170
I really liked the model of another cube, it has both a protruding cylinder and a recess in the form of a cylinder:
It is printed quickly and problems with the geometry are immediately visible when the base of these cylinders turned out to be not round, but oval. The problem turned out to be the eccentric of the print head, which I had tightened heavily, which is fraught not only with the crookedness of the printed objects, but also with the rapid wear of the rubber rollers. Again comparison before and after (you can see on the right cubes, the circle already looks like a circle :)
And I also tried the function of pausing and continuing printing on it, which made it possible to print a two-color model by replacing the plastic in the extruder, that is, you can print models of two different colors even with one printing unit:
By the way, if suddenly the filament bar runs out or breaks, then the printer pauses and waits for it to load:
The famous boat "before and after" settings:
And, of course, on more complex figures, artifacts and problems of poor adjustment will be even more noticeable. Here is an interesting model of a puppy, at first it was printed poorly, after that it turned out, in my opinion, quite amazingly:
The most representative models that will reveal most of the problems, in my opinion, are compound figures, i.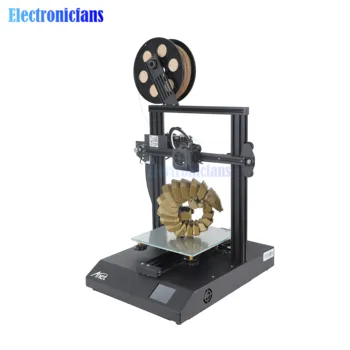 e. with parts moving relative to each other, if the printer is poorly configured, the figure will not move after printing. Examples of such models are the skeleton of a fish, a dinosaur, and the like. Here I will immediately show the finished result of high-quality printing, which I was able to get on this printer.
Fish:
Dinosaur:
One more thing, when choosing what to print on: on glass or on a thermal pad, I preferred the latter, sticking it on the hot-bed, my models peeled off the glass more often, perhaps I needed to experiment more with heating the table .
More examples of printing, even very small figures 3 cm high turn out quite well.
I'm still learning how to work with the support parameters used when printing models - elements that provide the ability to print "hanging" objects, for example, hands on figures. The main thing here is to find a balance so that the figures print evenly, and the supports can then be removed (which is not always easy to do):
Another composite model - consists of five parts rotating relative to each other:
I was pleased with the printing of small detailed models, for example, the T-34 tank was a success, consists of two parts, the tower rotates:
I tried plastics from different manufacturers, for example, from PLA "FDplast" color "Terminator", you need to raise the temperature of the extruder a little (up to 230-235C), but the result is very good:
And the SUNLU plastic in the Copper color (Cooper) looks fantastic, which was bought on sale by Aliexpress here:
Total
The Anet ET4 PRO printer pleased me: it’s easy to assemble, easy, understandable and quickly set up.